

Creating realistic materials is a very time-consuming task in three-dimensional modeling for the reason that the designer is obliged to take into account all the subtleties of the physical condition of the material object. Thanks to the V-Ray plugin used in 3DS MAX, the materials are created quickly and naturally, since all the physical characteristics of the plugin have already taken care, leaving the modeller only creative tasks.
This article will have a small lesson for the rapid creation of realistic glass in V-Ray.
Useful information: Hot keys in 3DS MAX
How to create glass in V-ray
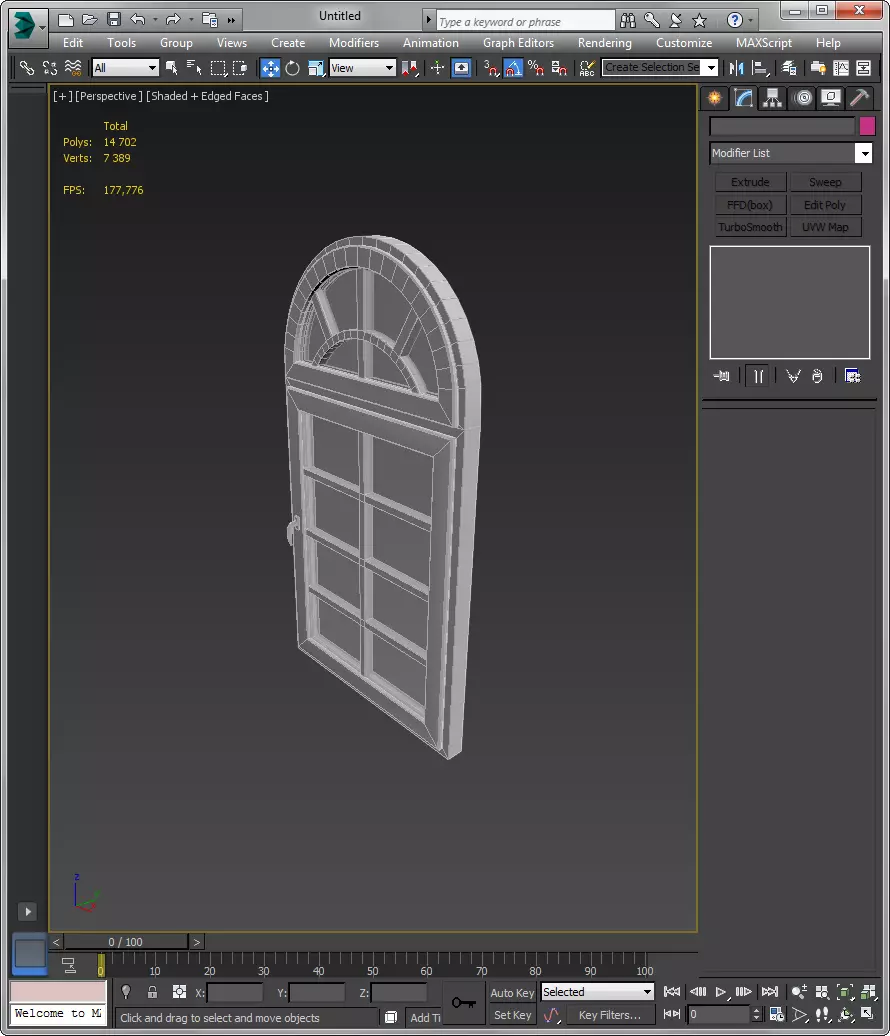
1. Run 3DS MAX and open a smalled object in which glass will be applied.
2. Assign V-Ray as a default renderer.
Installing a V-Ray on a computer. Its appointment with render is described in the article: Setting the Lighting in V-Ray.
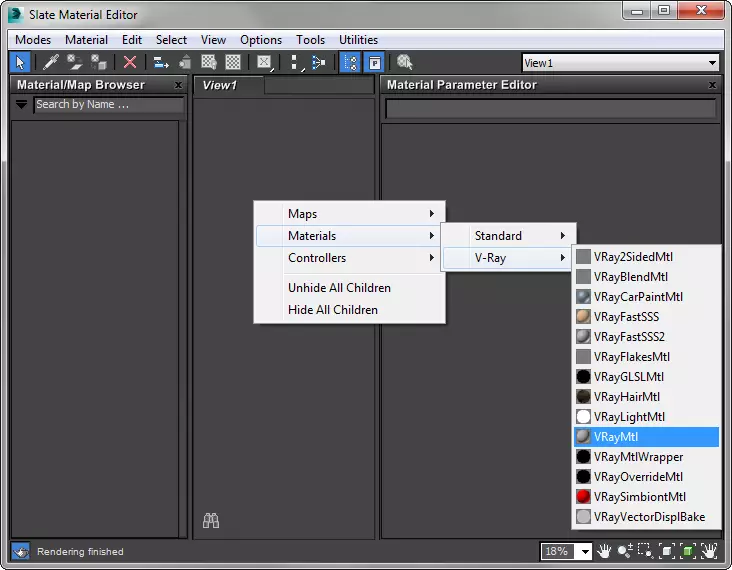
3. Press the "M" key by opening the editor of the materials. Right-click in the "View 1" field and create a standard V-Ray material as shown in the screenshot.
4. Before you, the material pattern that we will now turn into glass.
- At the top of the materials editor panel, click the "Show Background in Preview" button. This will help us control the transparency and reflection of the glass.
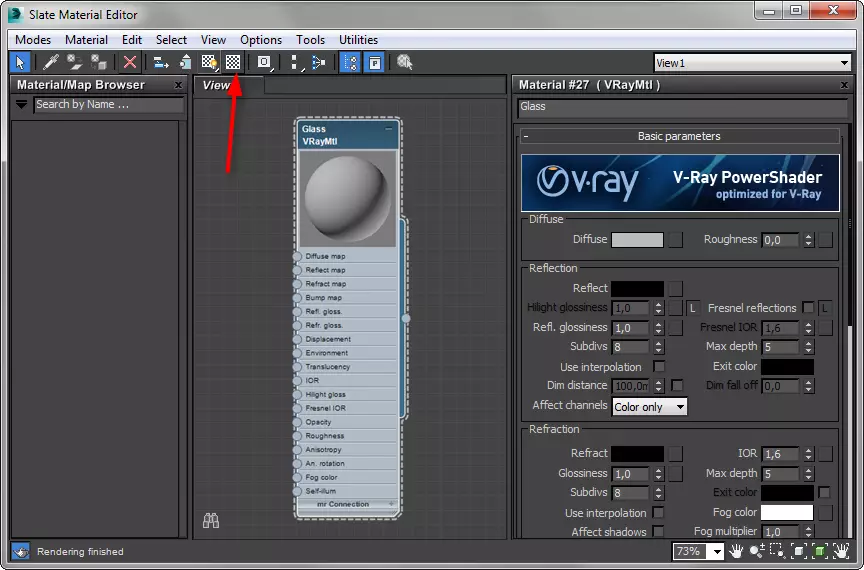
- Right, in the settings of the material, enter the name of the material.
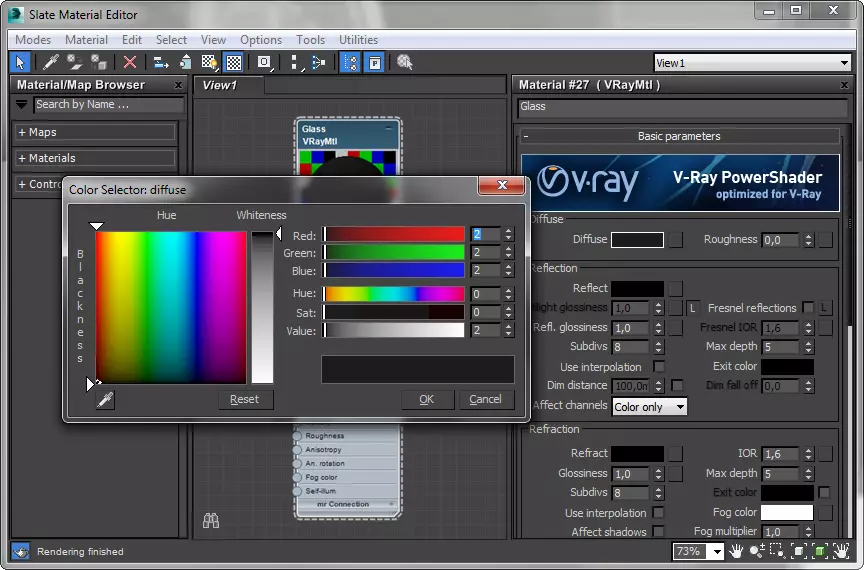
- In the Diffuse window, click on the gray rectangle. This is the color of glass. Choose a color from the palette (it is desirable to choose a black color).
- Go to the "Reflection" box (reflection). The black rectangle opposite the inscription "REFLECT" means that the material does not absolutely reflect anything. The closer this color will be to white, the greater the reflectivity of the material. Set the color close to white. Check into the checkbox "FRESNEL REFLECTION" so that the transparency of our material changes depending on the angle of view.
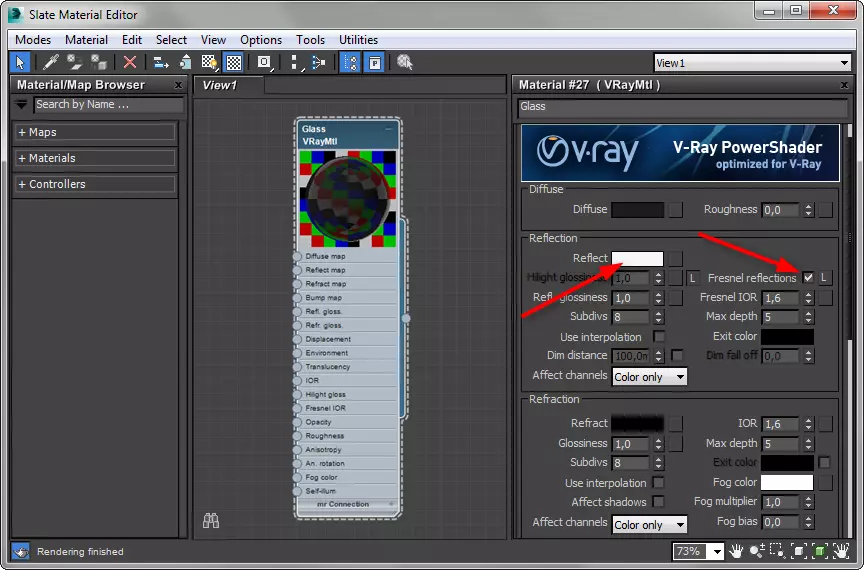
- In the "Refl Glossiness" string, set the value of 0.98. This will task a bright glare on the surface.
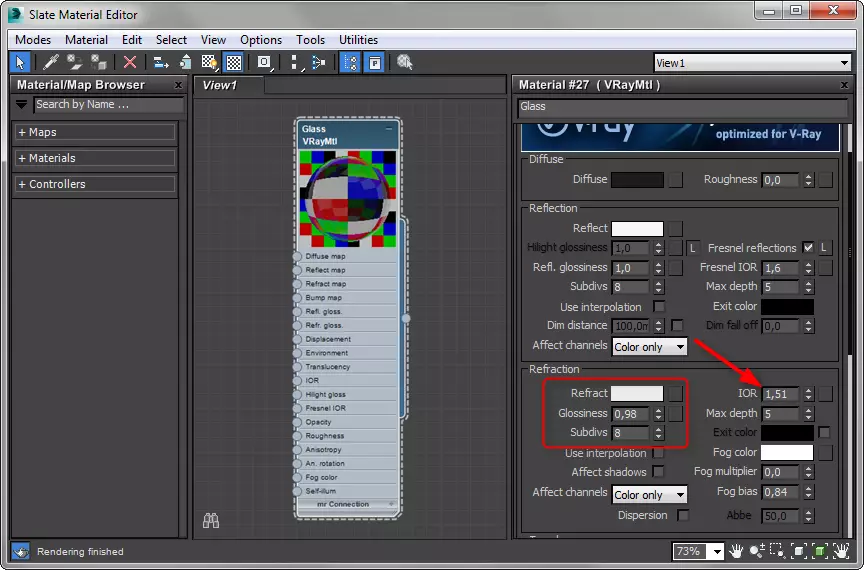
- In the "refraction" box (refraction), we set the level of transparency of the material by analogy with the reflection: the more white color, the more apparently transparency. Set the color close to white.
- "Glossiness" with this parameter Adjust the material of the material. The value close to "1" is complete transparency, the further - the greater the froth has glass. Put the value of 0.98.
- IOR - one of the most important parameters. It represents the refractive factor. On the Internet you can find tables where this coefficient is presented for different materials. For glass it is 1.51.
That's all the basic settings. The rest can be left by default and adjust them depending on the complexity of the material.
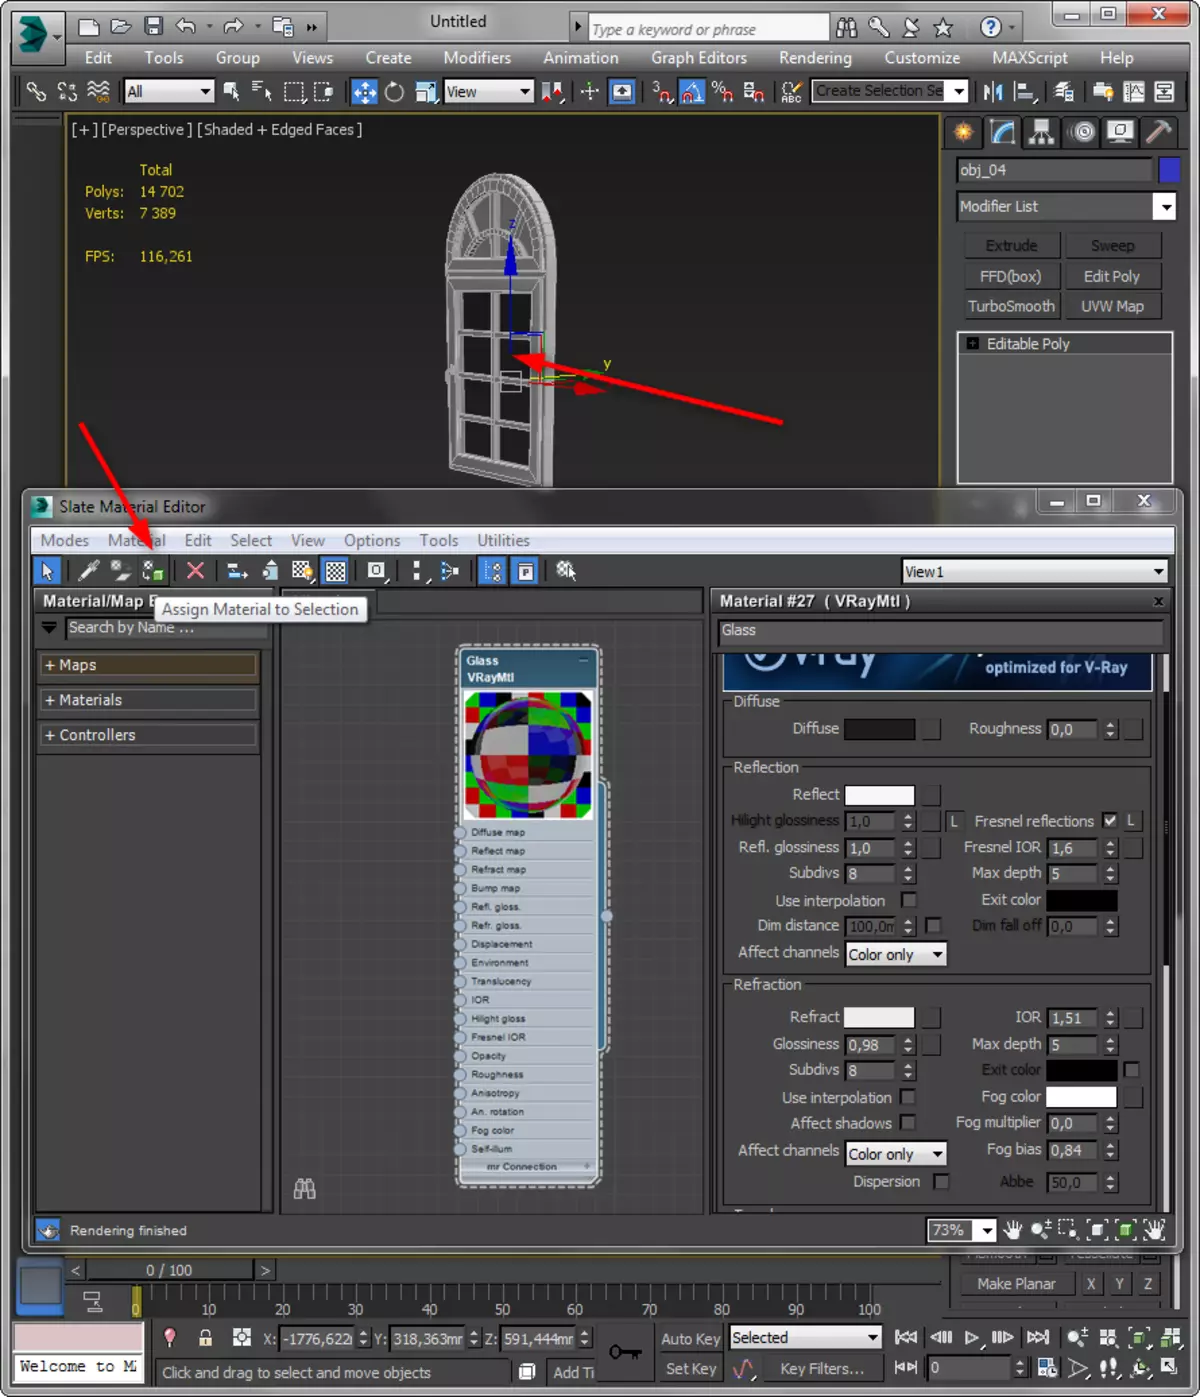
5. Select an object to which you want to assign glass material. In the materials editor, click the "Assign Material to Selection" button. The material is assigned and will change on the object automatically when editing.
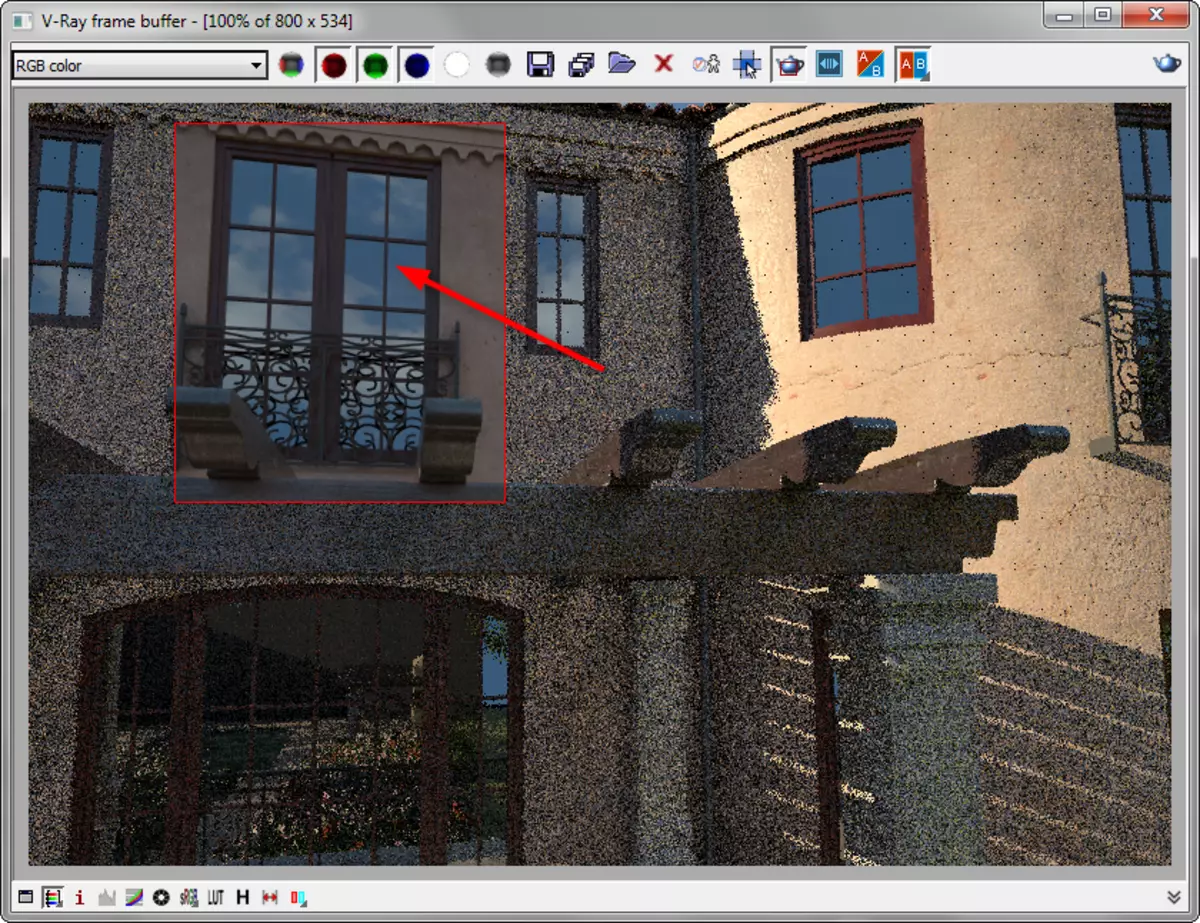
6. Run the trial render and look at the result. Experiment until it is satisfactory.
We advise you to read: programs for 3D modeling.
Thus, we learned how to create a simple glass. Over time, you will be able to more complex and realistic materials!