

Very often, especially in corporate correspondence, when making a letter, you must specify a signature in which, as a rule, contains information about the post and sender name, as well as its contact details. And if the letters have to send a lot, every time it is necessary to write one and the same hard. Fortunately, in the Microsoft Outlook email client, which is essentially the standard in the industry, is able to automatically add signature to the letter.
Adding a signature to Outlook
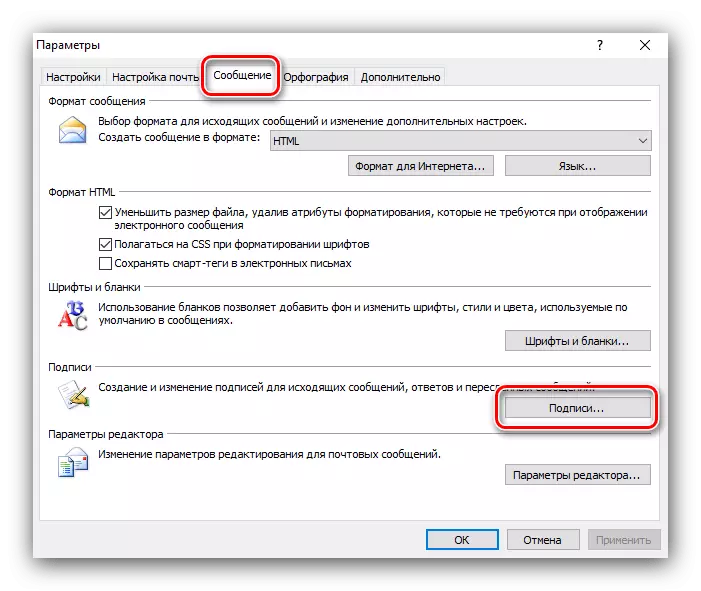
Consider setting up the signature in all existing versions of the office package from Microsoft, starting with the most "Fresh" at the time of writing the article.Actual Office (2013-2019)
Outlook variations released in office packages 2013-2019 have a practically identical interface, so the instruction is suitable for all such versions.
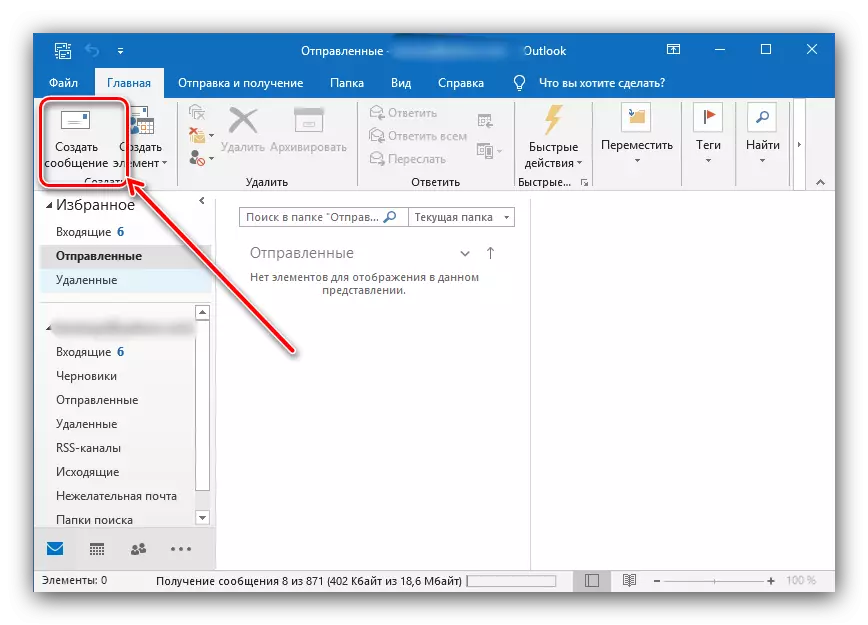
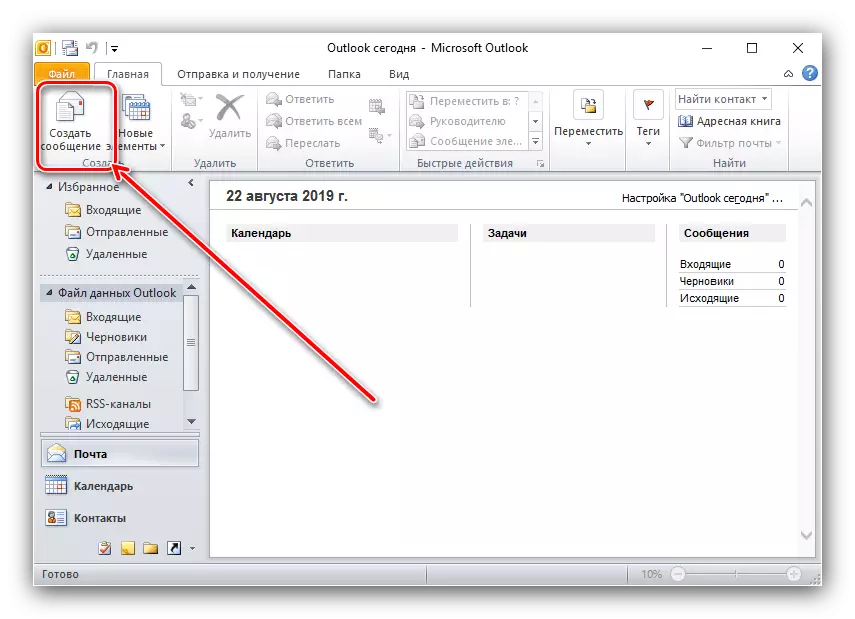
- Call the application, after which in the Home tab, use the "Create Message" button.
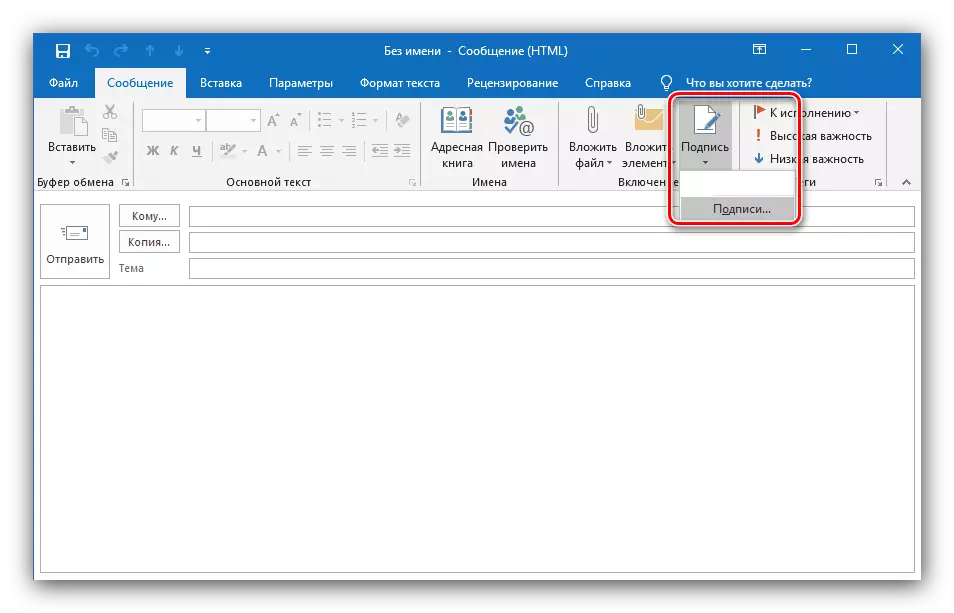
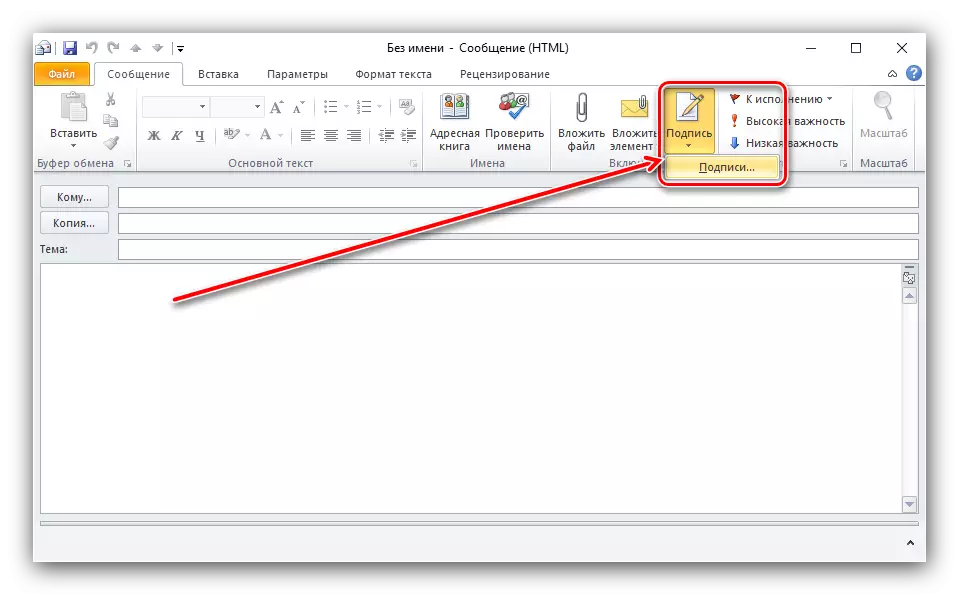
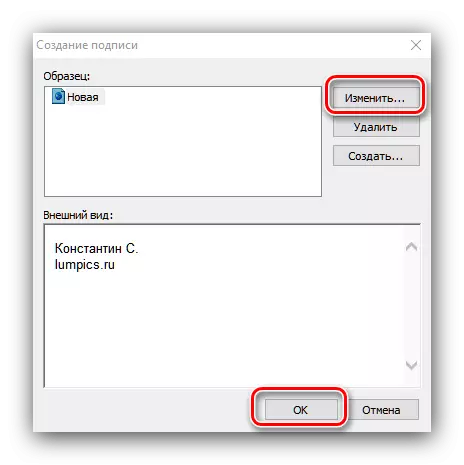
- Next, expand the "Message" section, find the "Signature" elements in it - "Signatures" and click on it.
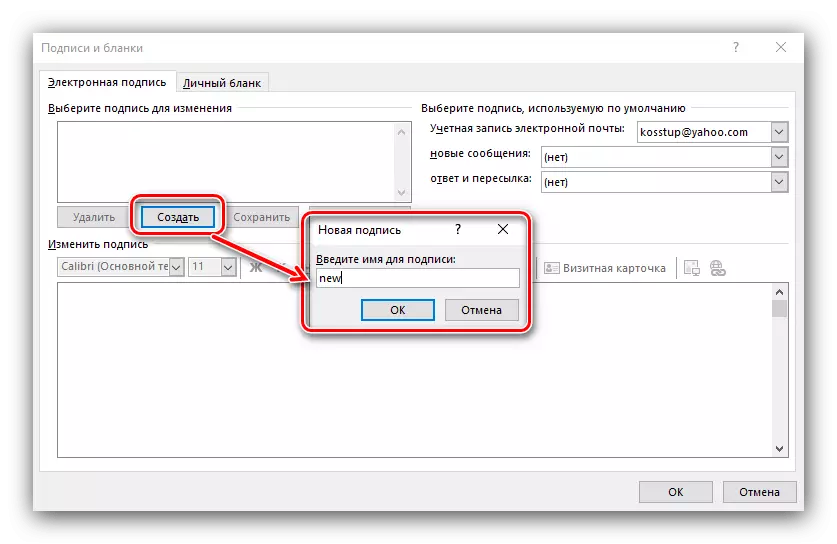
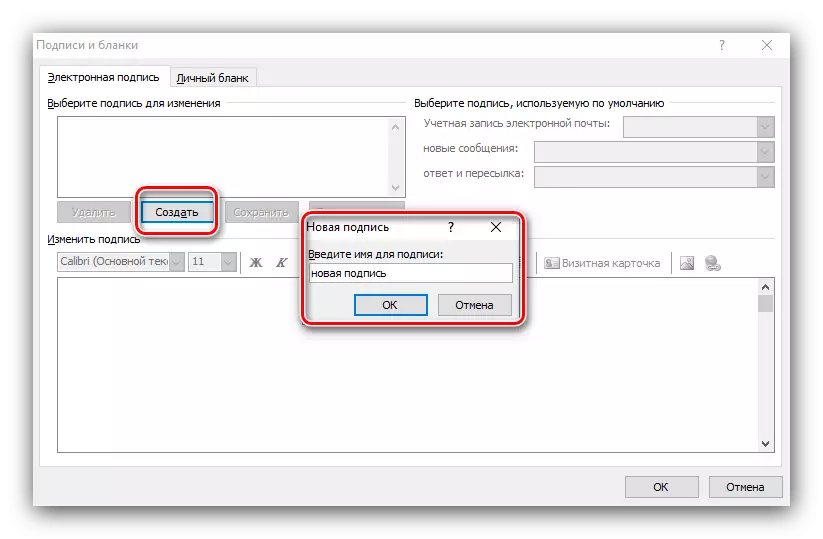
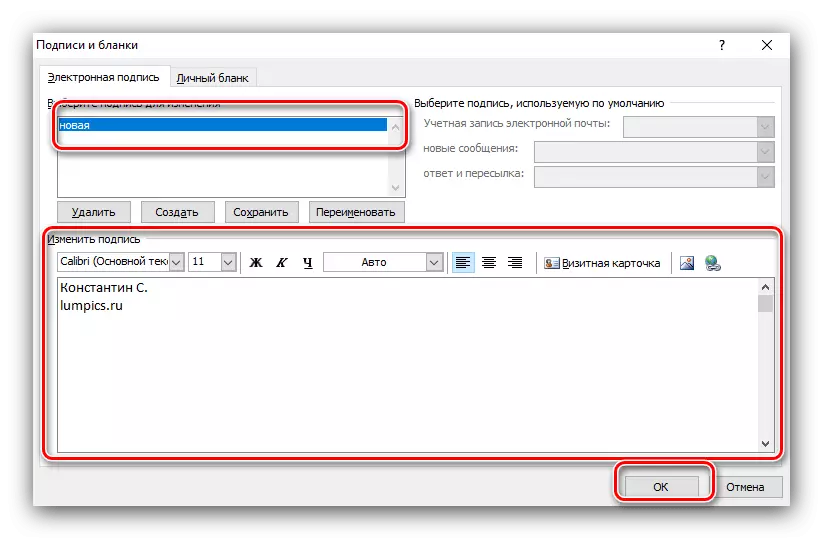
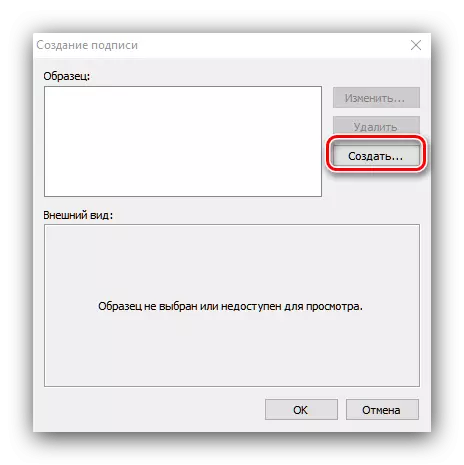
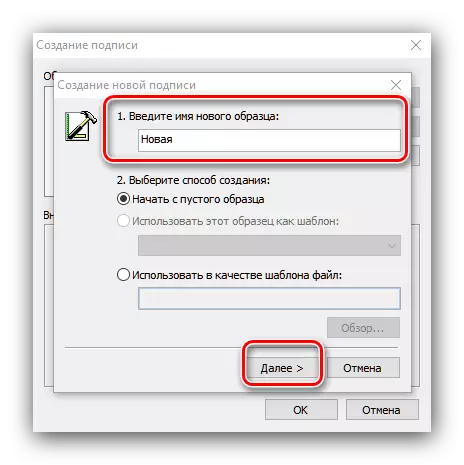
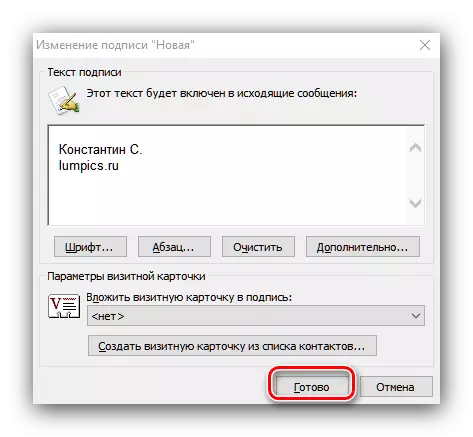
- In the add tool, use the "Create" button and specify its name.
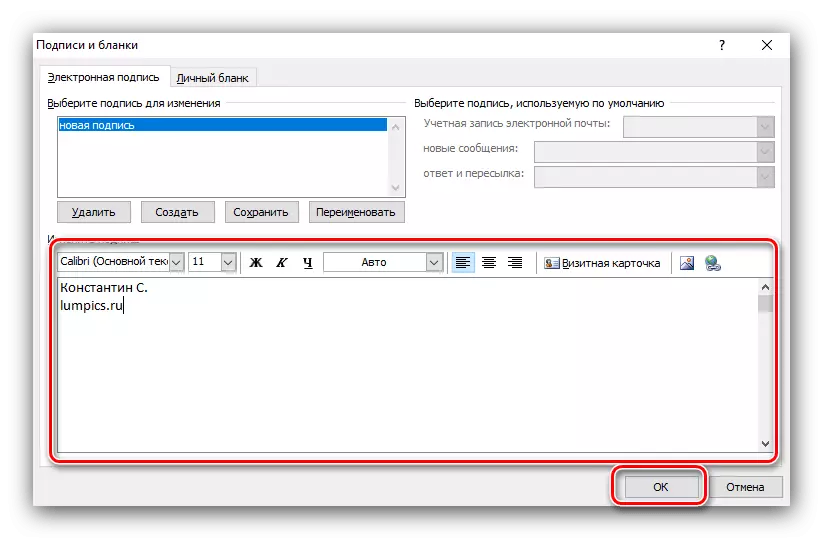
- In the "Change Signature" block, enter the required data and edit at your discretion or corporate standard.
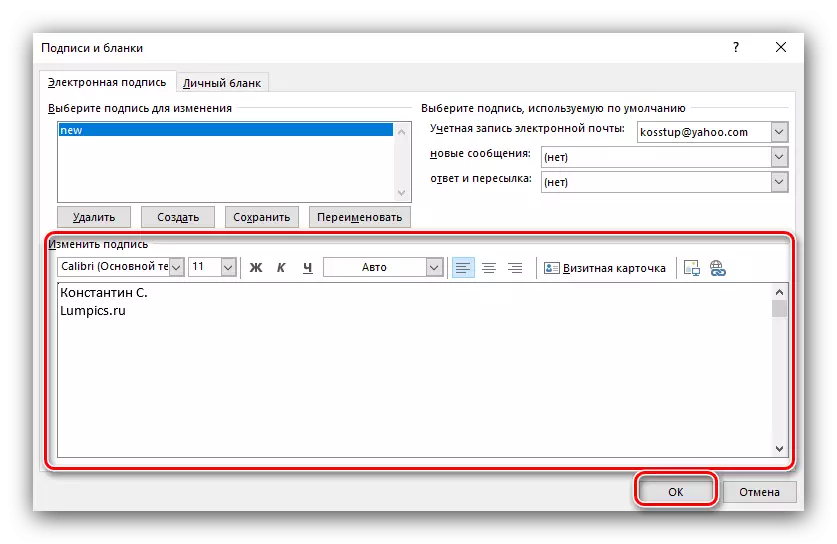
At the end of the work, click "OK" - the new signature will be automatically added.
Outlook 2010.
Now let's see how to make an Outlook 2010 signature
- Run Outlook 2010 and create a new letter.
- Click the "Signature" button and in the menu that appears, select the "Signature" item.
- In this window, click "Create", enter the name of the new signature and confirm the creation of the "OK" button by pressing
- Now we go to the editing window of the text of the signature. Here you can create the necessary text and format it to your taste. Unlike previous versions, Outlook 2010 has more advanced features.
As soon as the text is entered and formatted, click "OK", after which our signature will be present in each new letter.
Outlook 2007.
Many users consider the version of the Microsoft 2007 office package of 2007 and continue to use it, despite the obvious obsolence.
- Run outluk. Use the "Service" menu item and select the option "Parameters".
- Open the "Message" tab. Find the "Signatures" block in it and press the corresponding button.
- The adding interface of signatures is similar to newer options, so the acting algorithm is the same - create a new signature, then enter the desired information into the text box at the bottom of the window and click OK.

Outlook 2003.
Finally, go to add signature in the oldest version of the outlook.
- The first thing is to run the mail client and in the main menu switch to the "Service" section where you select "Parameters".
- In the parameter window, go to the "Message" tab and at the bottom of this window, select the desired entry from the list in the "Sedistent Signature" field. Now press the "Signatures" button.
- Now, before us opens the signature creation window in which we press the "Create" button.
- Here you need to set the name of our signature and then click the "Next" button.
- Now the new signature appeared in the list. To quickly create, you can enter the text of the signature to the bottom field. If it takes a special way to place the text, you should click "Change".
- As soon as the necessary text is entered, all changes must be saved. To do this, click the "OK" button and "apply" in open windows.


Conclusion
So, we looked at you how to add a signature to Outlook. The result of the work done will be automatically adding the required entry to the end of the letter. Thanks to this, it is no longer necessary to enter the same text every time.