
One of the most interesting functions of photoshop is to give transparency objects. Transparency can be applied not only to the object itself, but also to its fill, leaving visible only layer styles.
Basic opacity
The main opacity of the active layer is configured in the upper part of the palette of the layers and is measured as a percentage.
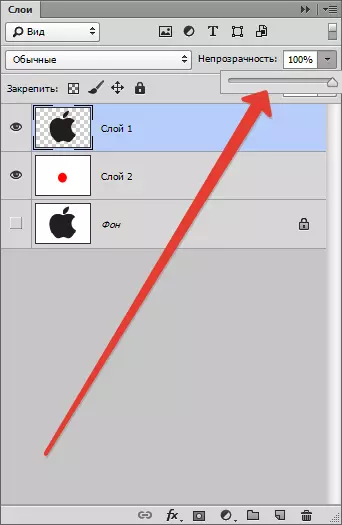
Here you can work as a slider and enter the exact value.

As you can see, through our black object partially sharpened subject to the layer.
Pouring opacity
If the basic opacity affects the entire layer of the whole, the "Filling" setting does not affect the styles applied to the layer.
Suppose we applied to object style "Embossing",
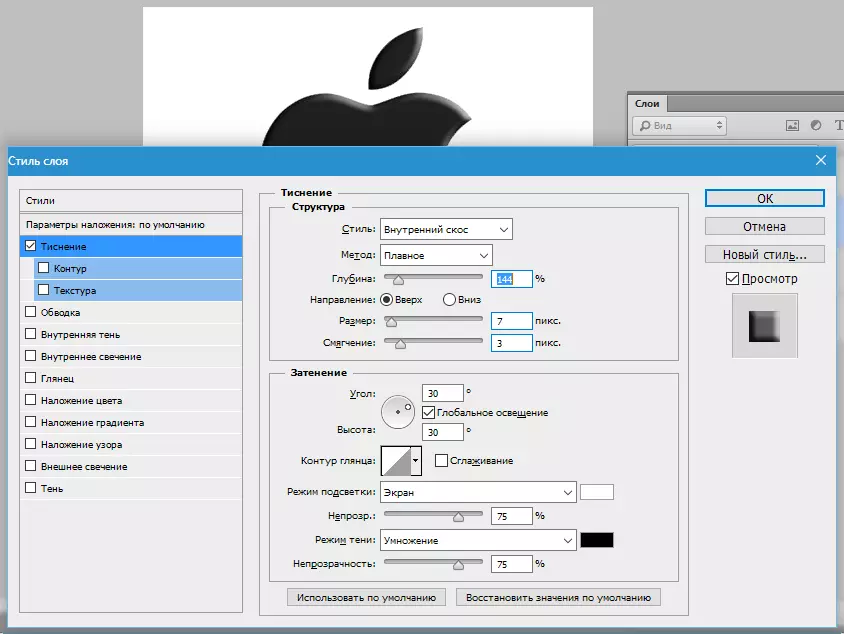
and then reduced the value "Fill" to zero.

In this case, we will get an image on which only this style will remain visible, and the object itself will disappear from appearance.

With this reception, transparent objects are created, in particular, watermarks.
Opacity of a separate object
The opacity of one of the objects contained on one layer is achieved by applying the layer mask.
To change the opacity, the object must be allocated in any available way.
Read the article "How to Cut an Object in Photoshop"
I use "Magic wand".
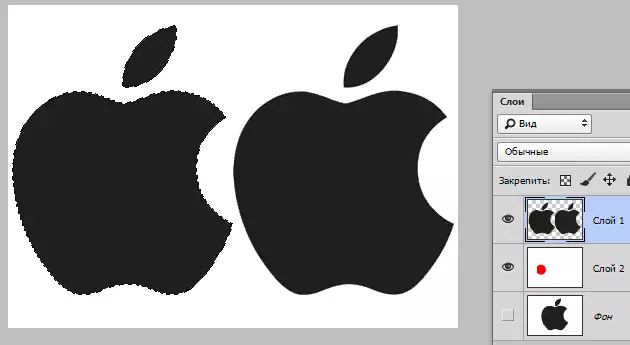
Then pushing the key Alt. And click on the mask icon in the layers panel.
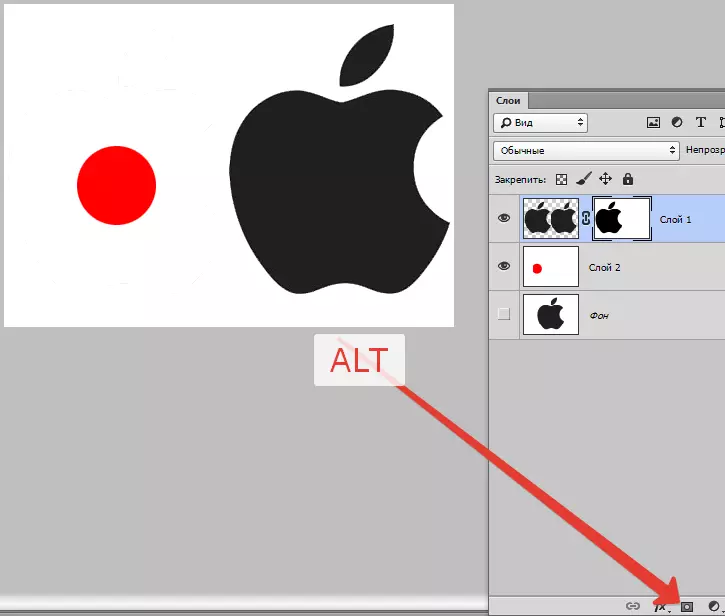
As we can see, the object is completely disappeared from the view, and a black region appeared on the mask repeating its shape.
Next, clamp the key Ctrl And click on the miniature mask in the palette of the layers.

On canvas appeared selection.
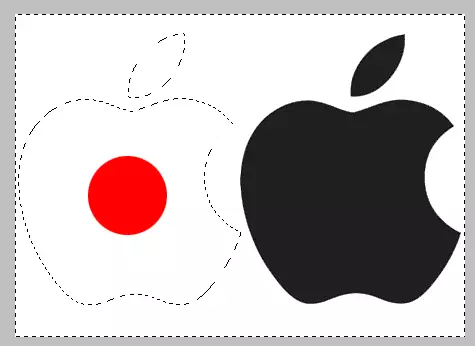
Selection need to be inverted by pressing the keyboard key Ctrl + SHIFT + I.

Now the selection must be pouring in any shade of gray. Fully black hobs the object, but completely white will open.
Press the keyboard key SHIFT + F5. And in the settings, choose color.

Press OK In both windows and get opaque in accordance with the selected shade.

Selection can (need) Remove with keys Ctrl + D..
Gradient opacity
Gradient, that is, uneven over the entire area, opacity is also created with a mask.
This time you need to create a white mask on an active layer by clicking on the mask icon without a key. Alt..

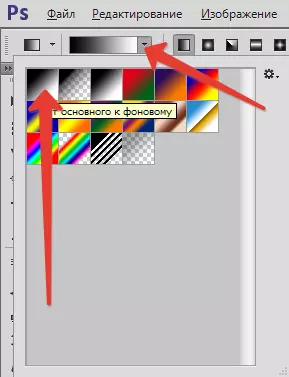
Then choose the tool "Gradient".

As we already know, on the mask you can draw only black, white and gray, so we choose this gradient in the settings on the top panel:
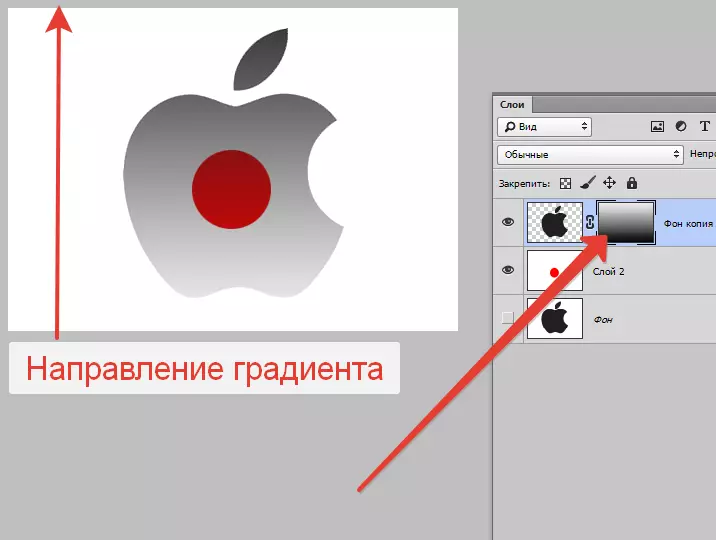
Then, being on the mask, clamp the left mouse button and stretch the gradient through the canvas.
You can pull in any desired direction. If the result did not suit the first time, then the "broach" can be repeated an unlimited number of times. The new gradient will completely block the old one.
This is all that can be said about opacity in Photoshop. I sincerely hope that this information will help you understand the principles for obtaining transparency and apply these techniques in your work.