

Each site, a device or a specific location has its own IP address, defined by equipment when accessing networks and interaction with them. Users who face the need, for example, transition to sites or connecting to another network computer, must also enter the appropriate address for the successful information exchange. However, remember the random set of numbers is quite difficult. That is why the DNS domain name system (DOMAIN NAME SYSTEM) was invented. Now the computer independently refers to the server to define the IP address when specifying the domain name during the transition to the resource. Such servers are automatically or manually indicated, which depends on the type of configuration. It is about this process that we want to talk within the framework of today's material, taking the example of the well-known distribution of the Linux operating system.
Configure DNS in Linux
Almost all Linux distributions operate on a similar principle. Only some console teams and graphic shell design are distinguished. As an example, we will look at Ubuntu, and you, pushing out from the features of your assembly, will also be able to fulfill the task without any problems. If the difficulties arise at the level of using specific commands or when searching for the graphics menu items, use the official distribution documentation to find out which alternative command or option is responsible for the implementation of the desired action.Method 1: Graphic Shell Menu
This method is primarily aimed at novice users, since most often in Linux they are afraid of the need to perform each action by entering the command to the console. It has long been practically in all environments there are relevant items that allow you to implement various configurations without a single appeal to the Terminal. DNS also applies. Let's see how this editing is made in the standard graphic shell Ubuntu.
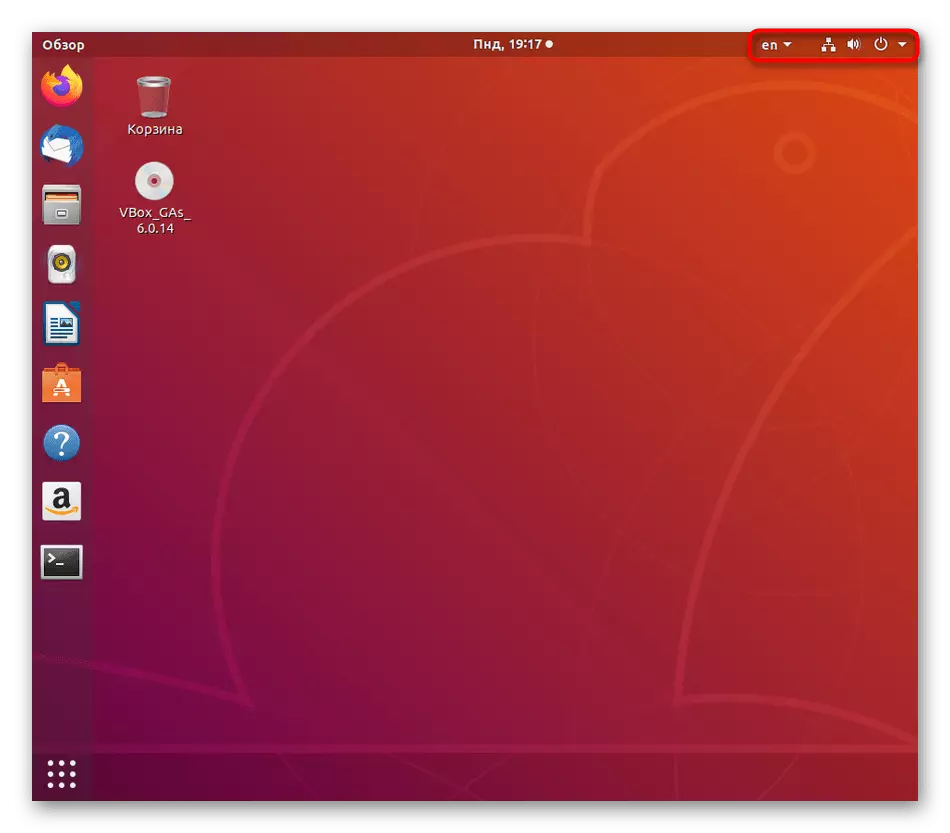
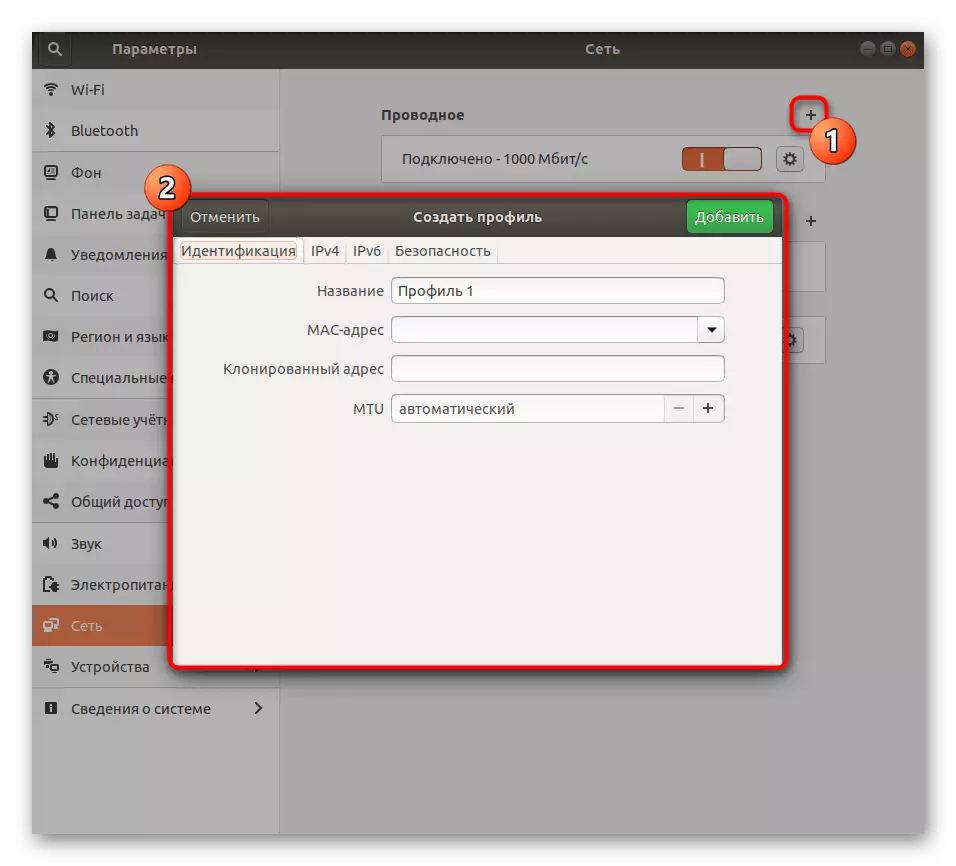
- Pay attention to the top panel where the network button is present and off the computer. Click one of them to view the list of connections.
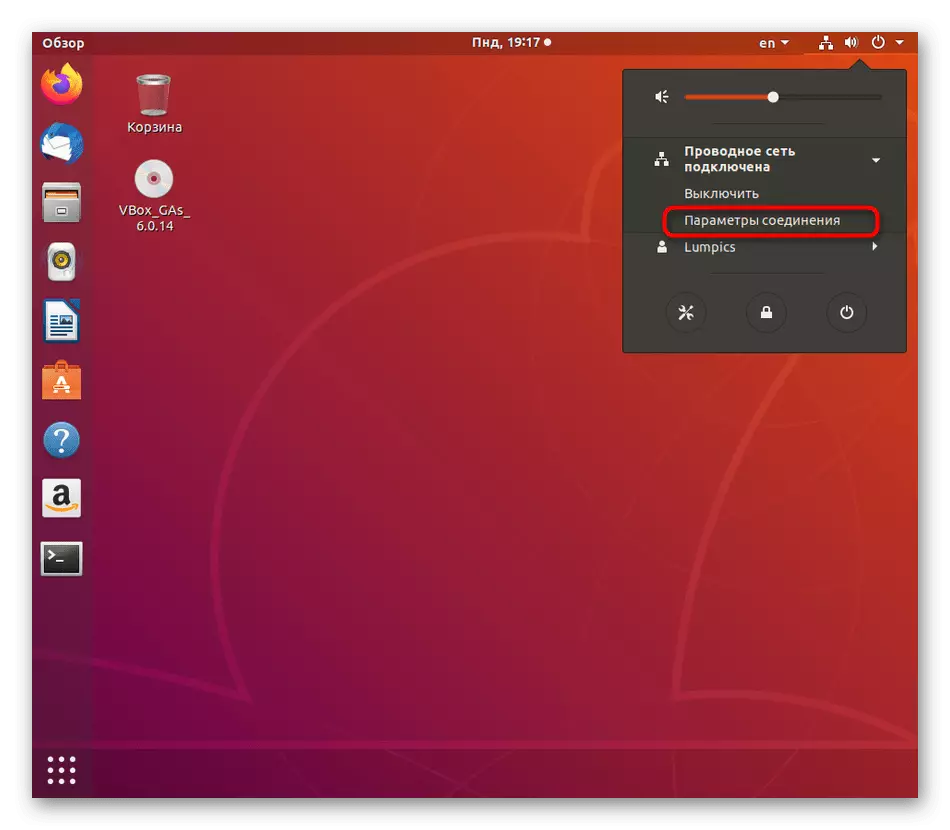
- Here you are interested in a button called "Connection Parameters".
- In the menu that opens, find the current connection and click on the gear icon to go to the configuration.
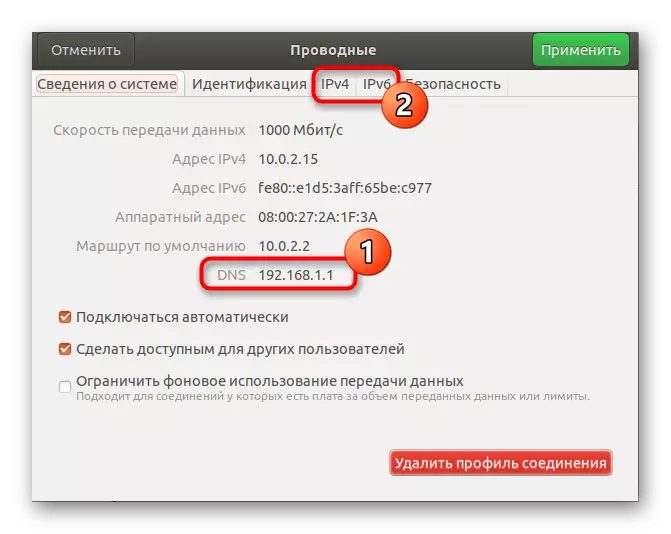
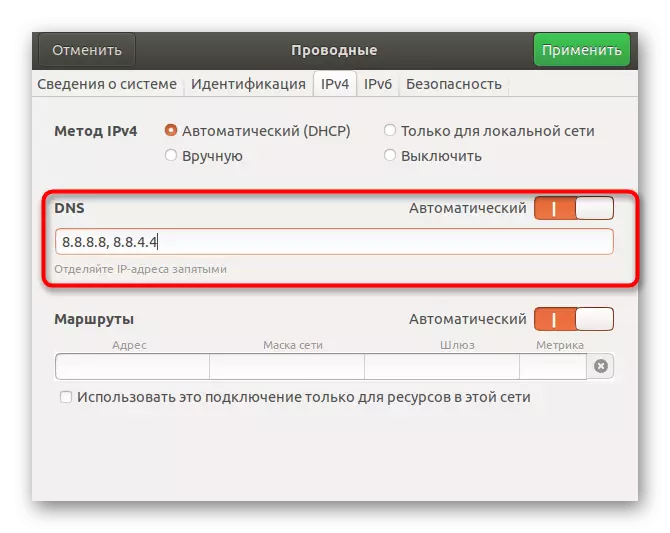
- If you want to know your DNS address, just look at the specifically allotted string on the System Information tab. To configure the DNS reception, move to the "IPv4" or "IPv6" tab using the top panel.
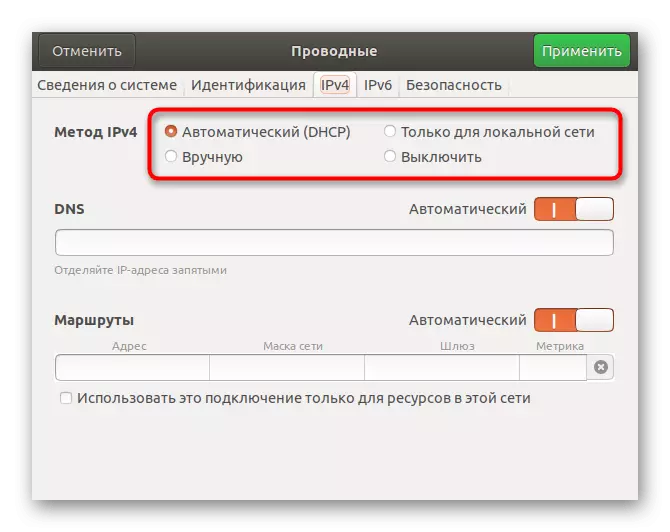
- In the "Method" line you can specify the optimal method for obtaining DNS. The default is automatic type via DHCP. However, nothing prevents you from just noting the marker one of the other items present.
- You can independently register the DNS servers to which your router should contact. To do this, in the "DNS" string, specify the IP addresses. In the screenshot below you see servers from Google, and they look like this: 8.8.8.8 and 8.8.4.4.
- After completing the configuration, make sure that everything is set correctly, and only then click on "apply".
- If there is no need to create a new type of connection, then you can immediately register the DNS settings in exactly the same way as it has just been shown.
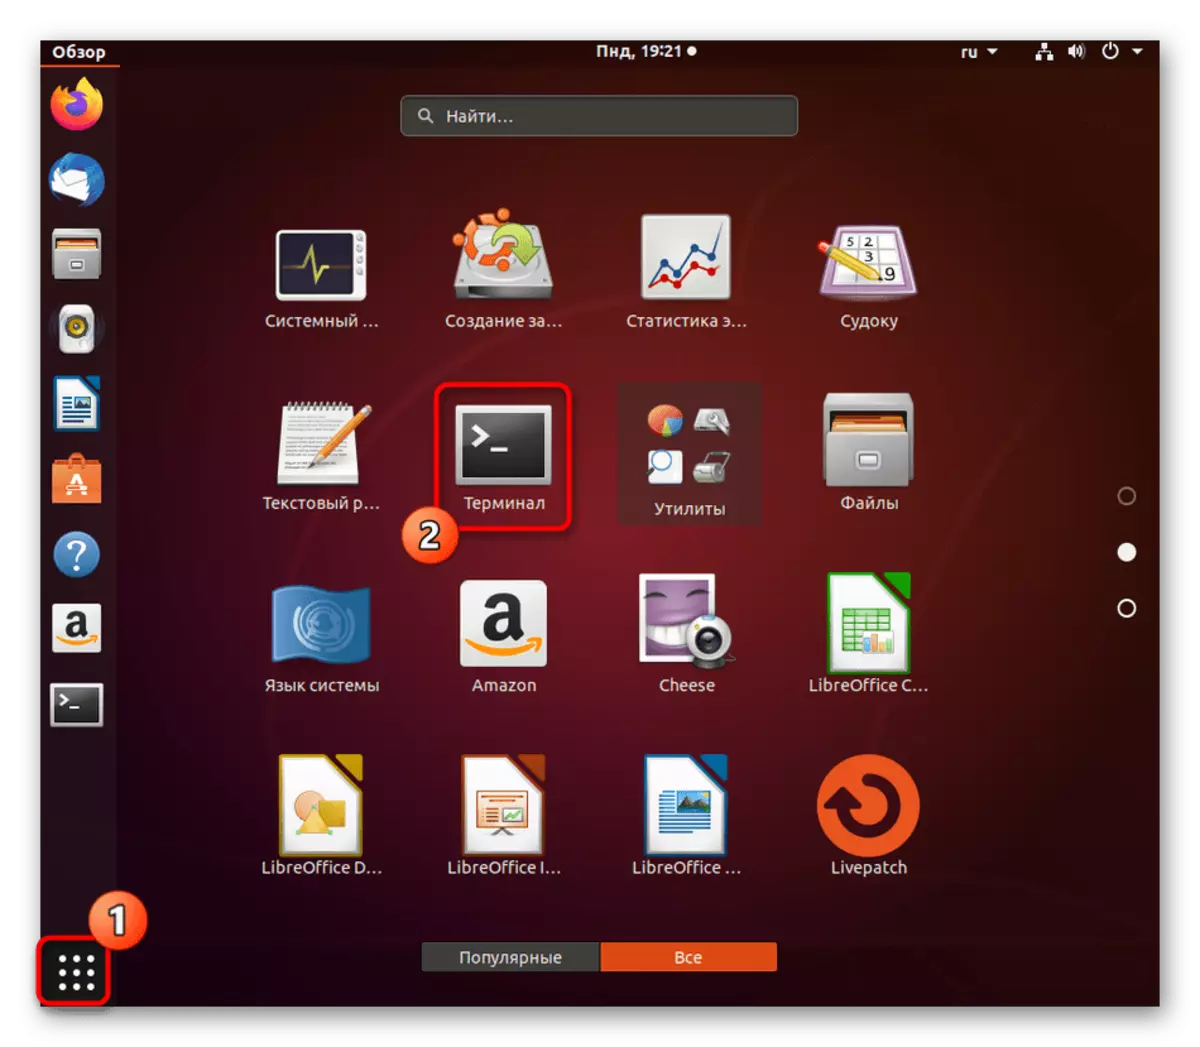
- Upon completion of the configuration, open the main menu and run the "Terminal" to check.
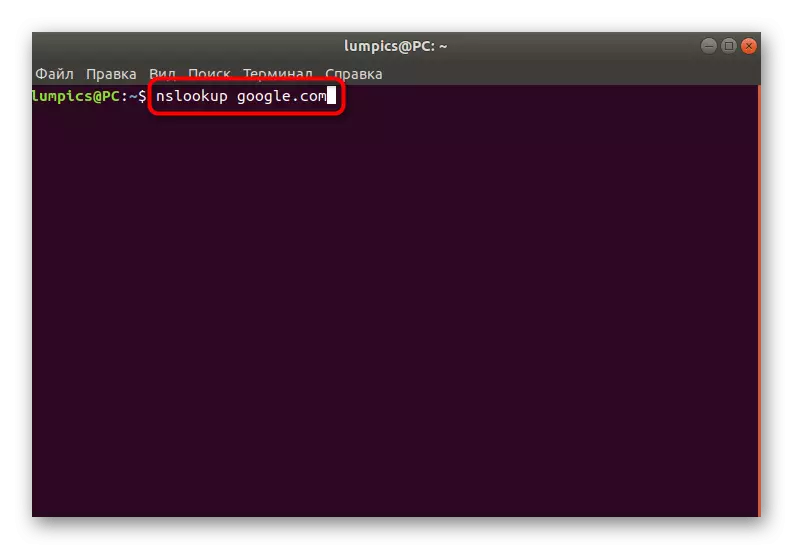
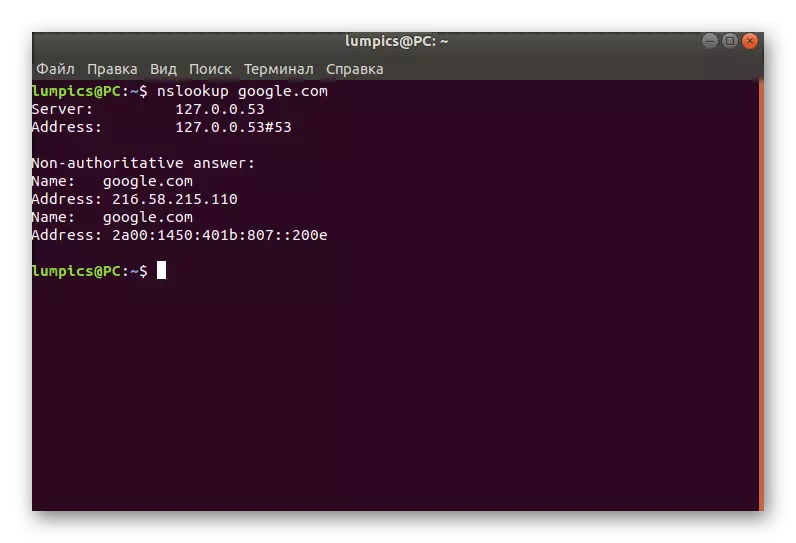
- Enter NSLookup, and then specify the desired address to check, for example, google.com.
- After clicking on ENTER, wait a few seconds and read the information received. You will be notified of which DNS server was used when adding the address.


As you can see, this method is as simple as possible and allows you to do without editing configuration files through the console. However, some users do not have the ability to use the graphical interface or the setting is constantly knocked down. In this case, you will have to turn to the "Terminal", which will be devoted to our next method.
Method 2: Editing configuration files
Using the "Terminal" to edit configuration files when changing system parameters - the most effective way, since all actions will be carried out here on behalf of the superuser, and will not be discounted at the first restart system. For the DNS configuration, use the following instructions.
- Run the console as it was shown earlier, or use any convenient way, for example, the created icon on the "Favorites" panel.
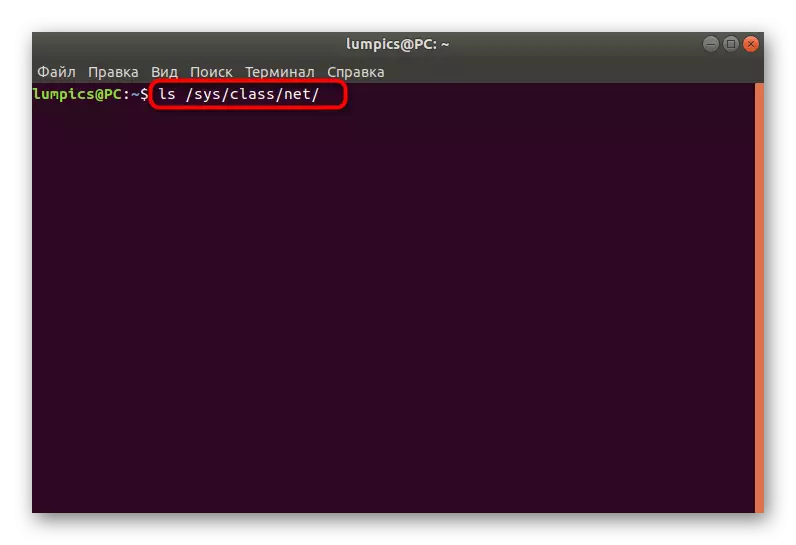
- To begin with, browse the list of existing network interfaces to check the file for the configuration. Enter LS / SYS / CLASS / NET / and press ENTER.
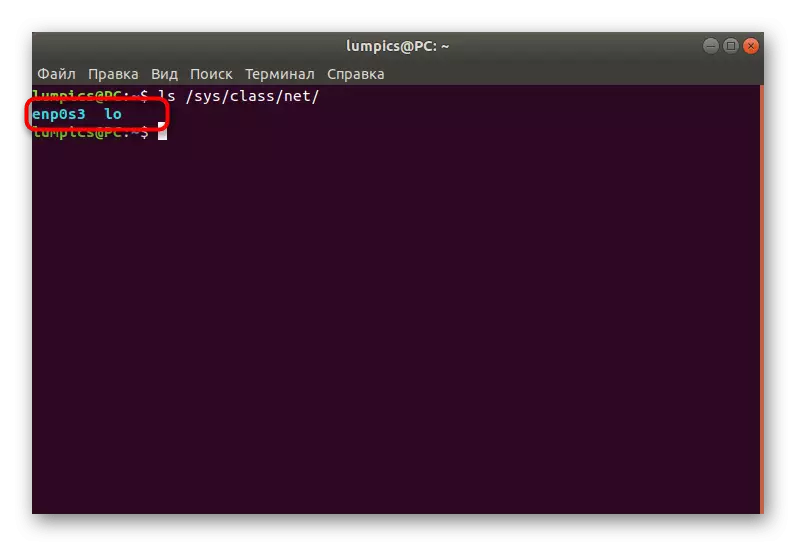
- Check if your interface name is present here. By default, it looks like this: ENP0S3. In the absence of such a line, you will have to add it yourself, what the following steps will be devoted. Skip them if the name is present.
- Next, the case will concern interaction with configuration text files. To do this, you can use any editor set by default, for example, VI. However, novice users are not always convenient to manage such software. In such situations, we advise you to establish a more appropriate solution. Push the sudo apt install nano and click on ENTER.
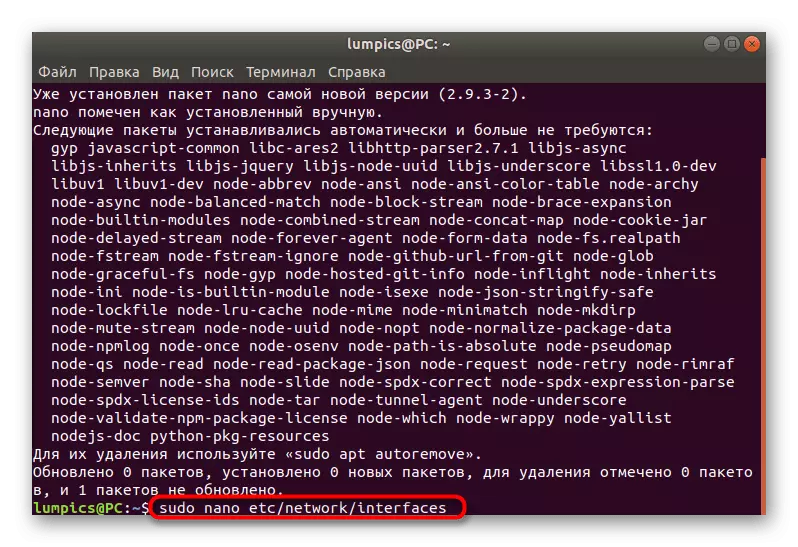
- Confirm your intentions to add software, and after successfully installing, go to work with files. Enter the Sudo Nano / etc / Network / Interfaces command and then confirm it.
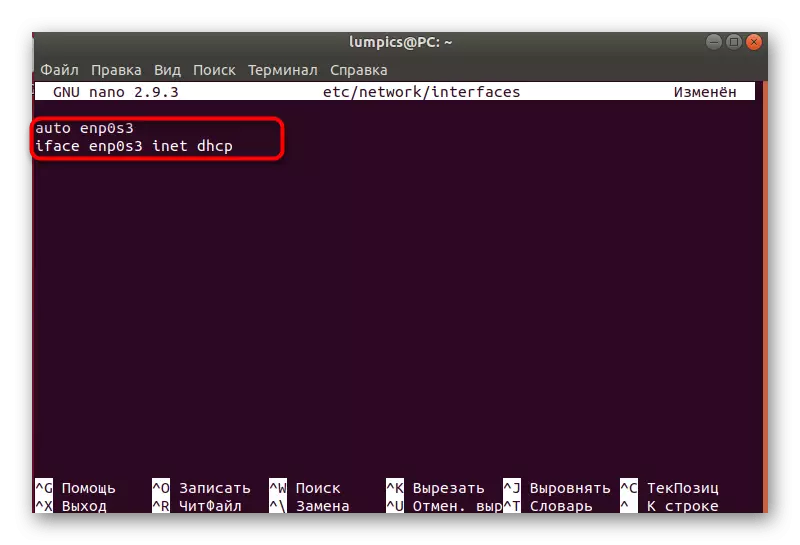
- Insert the AUTO ENP0S3 and IFACE ENP0S3 INET DHCP rows to set the interface configuration.
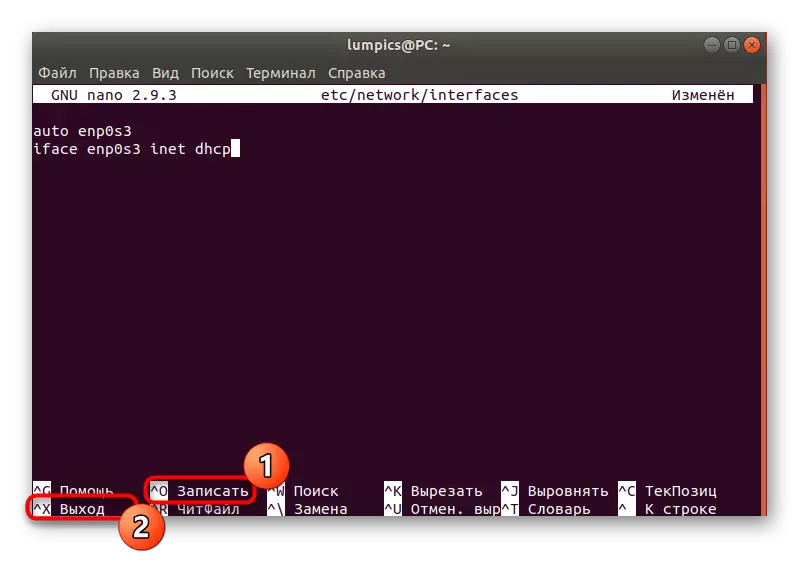
- Use the Ctrl + O combination to save the settings. In the future, remember that the sign ^ refers to Ctrl, that is, for example, the output from the editor is carried out via Ctrl + X.
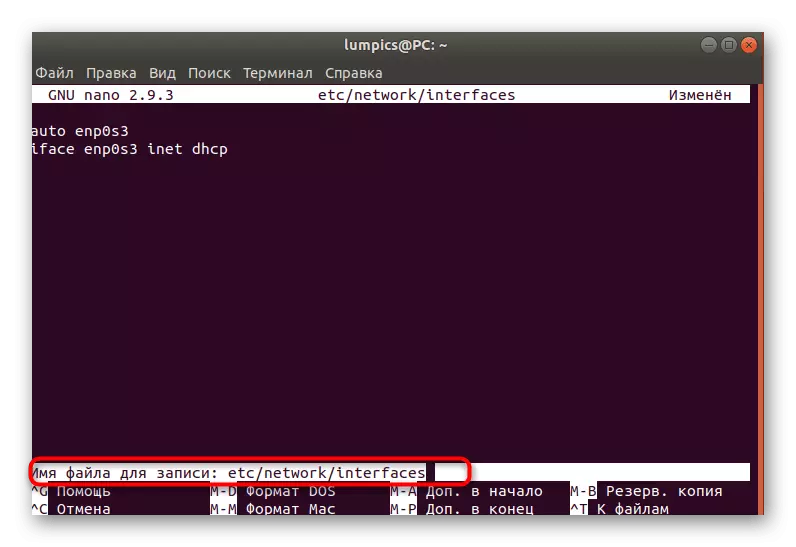
- When saving, do not change the file name to write, but simply click on ENTER.
- In the same file, enter the DNS-NameServer 8.8.8.8 to install DNS from Google, and then you can then close this object.
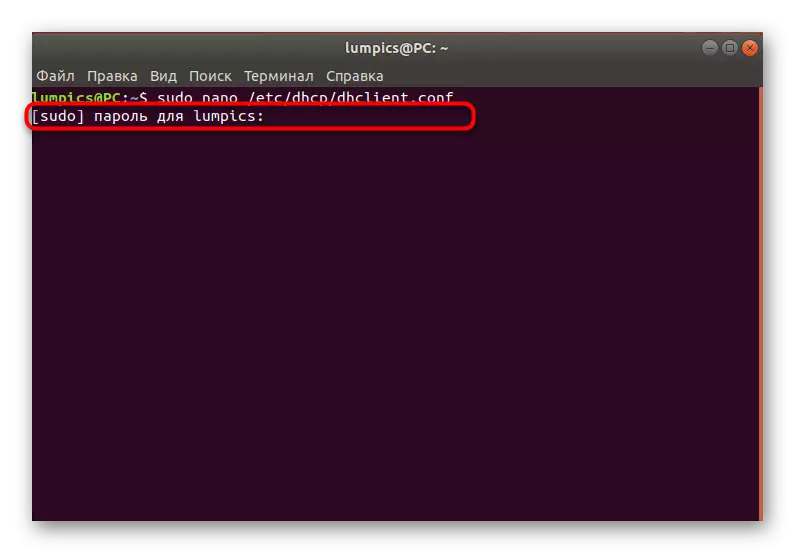
- Next, you need to configure another item, go to it via sudo nano /etc/dhcp/dhclient.conf.
- When requesting a superuser password, enter it. Note that symbols with such a set method are not displayed for security purposes.
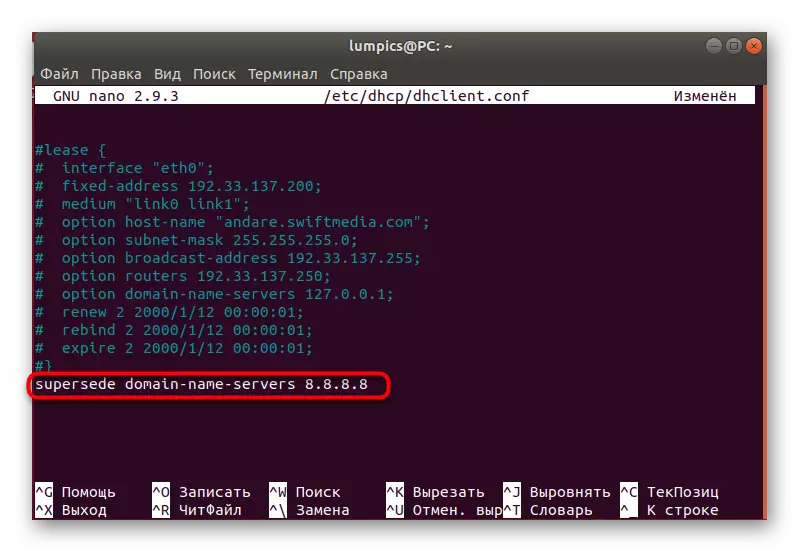
- Source to the lowest on the contents and insert the SuperSede Domain-Name-Servers string 8.8.8.8. Then save the changes and close the file.
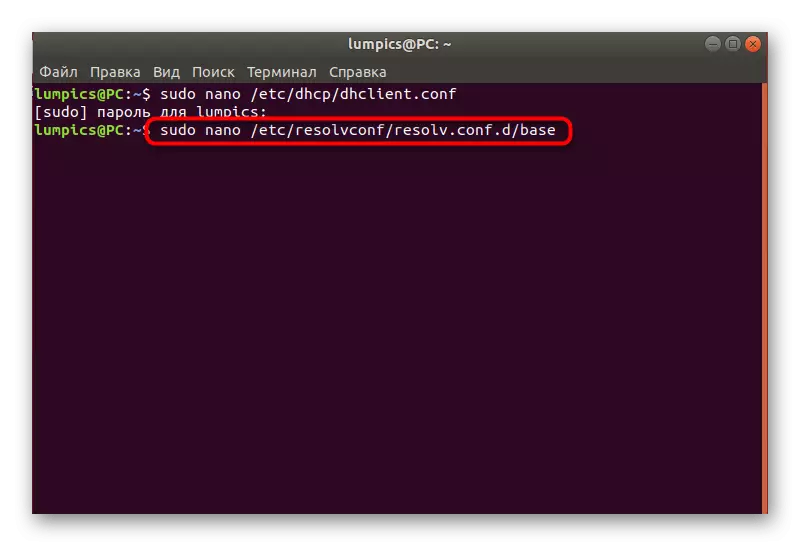
- It remains to edit the last parameters in sudo nano /etc/resolvconf/resolv.conf.d/base.
- Insert the NameServer string 8.8.8.8, defining DNS. Before entering, do not forget to apply changes in the same file.
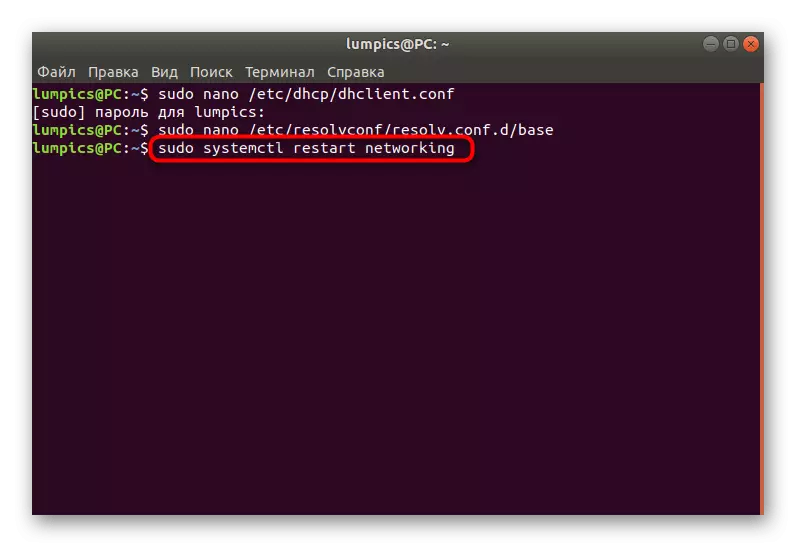
- All DNS changes will take effect immediately after restarting the network. This is done by the Sudo SystemCTL RESTART NETWORKING command.
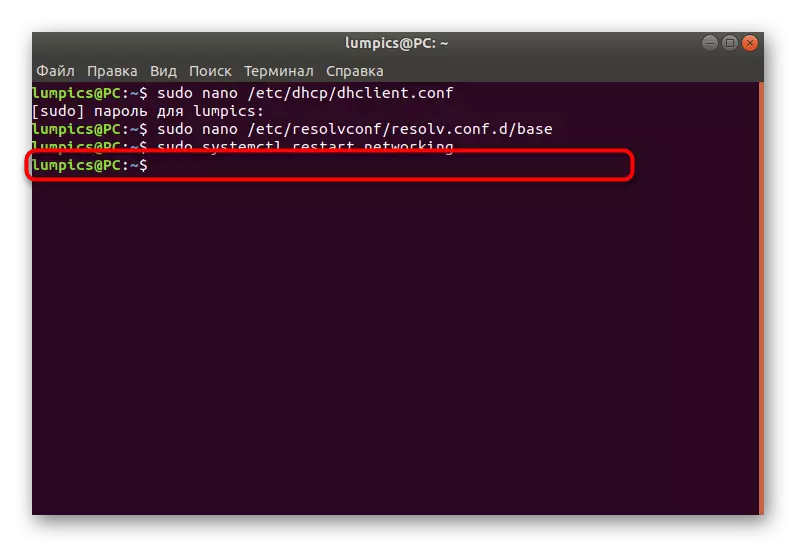
- The empty string appeared for input means that the restart was successful.


Of course, it is much more complicated to use the second way, however, this is the only alternative that is effective in cases where the changes of DNS through the graphical shell do not bring any results due to the constant reset of the settings. It is enough for you to follow the instructions, accurately performing them for the correct configuration, and you can cope with editing the parameters for obtaining domain names.