Option 1: If the system is loaded
If the error "Changes made to the computer are canceled" is repeated from each download of Windows 10, try to restart the system several times. Often it is enough to work successfully, however, remember that the error itself will not be eliminated. To eliminate it, you need to do the following changes:
- First of all, you should delete the latest installed updates and accumulative packages, since it is precisely because of them a mentioned problem appears. Sometimes they are loaded incorrectly, and the system cannot install them. You can uninstall updates in several ways, about each of which you will find out in the reference instructions below.
Read more: Delete updates in Windows 10
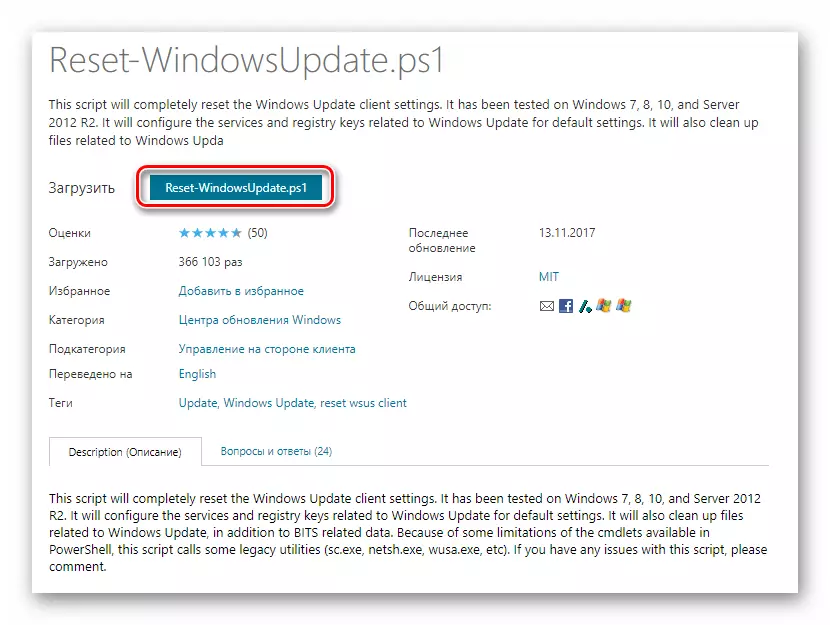
- Next, you need to download a special script to the device created by Microsoft specialists. It corrects errors associated with the work of the "update center". Follow this link and click the button marked in the screenshot below.
- The provisions of the license agreement will appear on the screen. Click on the "I agree" button in the lower right corner.
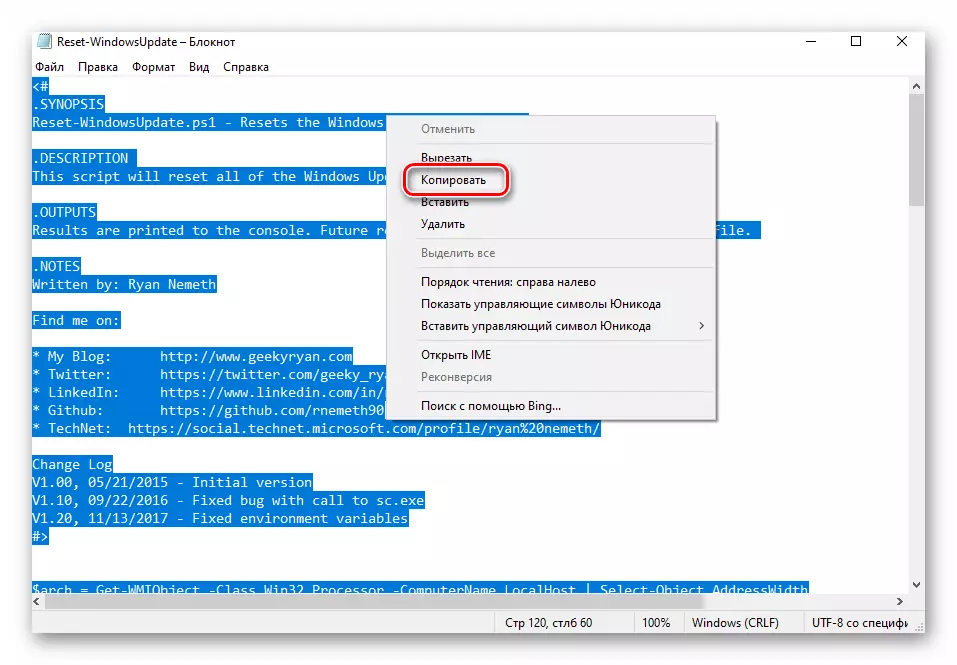
- As a result, the file "Reset-WindowsUpdate.ps1" will be automatically loaded. Open it with a double click of the left mouse button. Its content will be displayed in the text editor, which is assigned to you by default. Select all the text with the CTRL + A key combination, then click on any area right-click and select Copy item from the context menu.
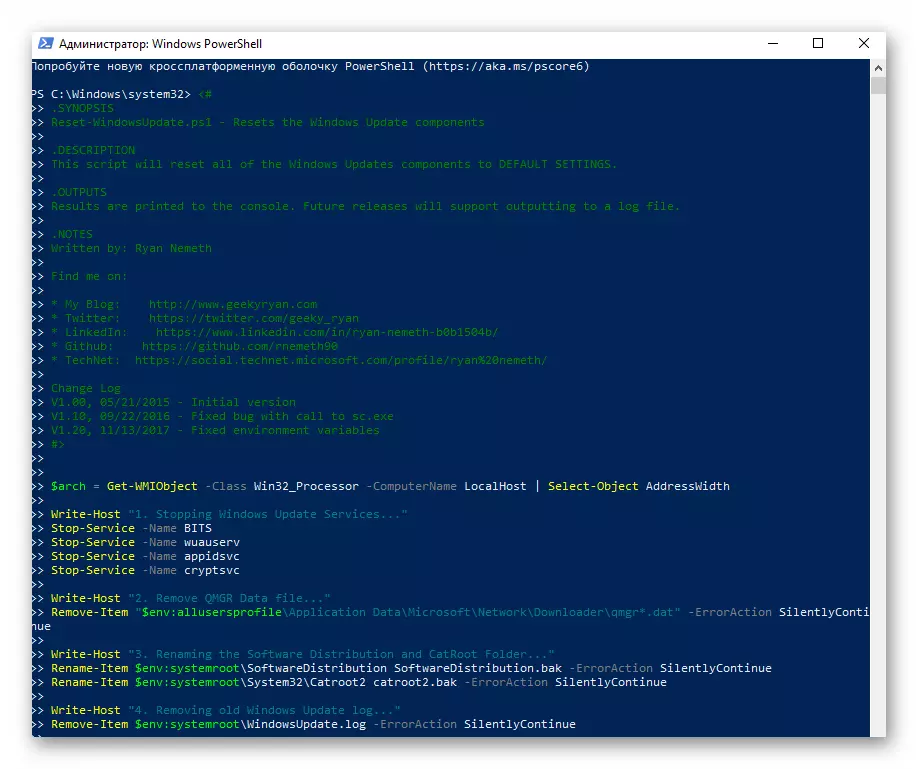
- After that, run the "Windows PowerShell" shell with administrator rights. To do this, click the PCM on the Start button, and then select the same line from the open menu.
- In the "PowerShell" snap window appears insert the text copied earlier using the "Ctrl + V" key combination, and then press "Enter" to process the script.
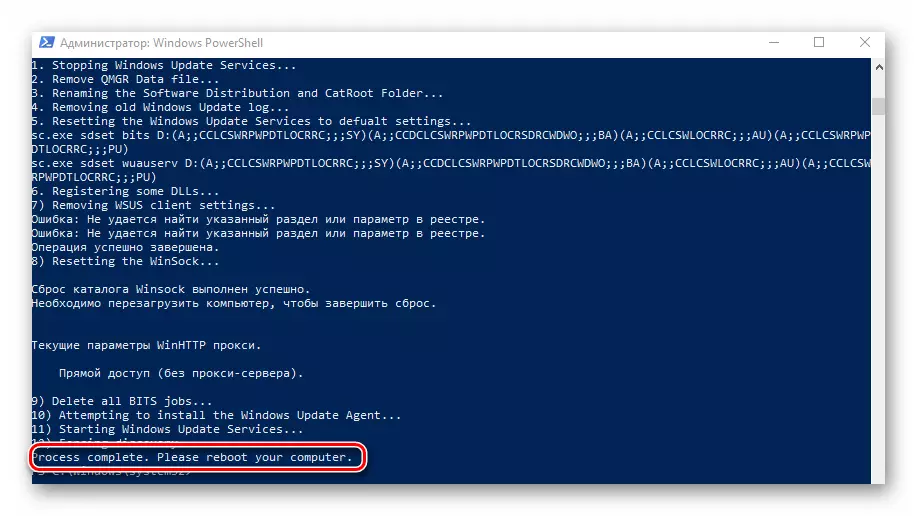
- If everything is done correctly, after a while you will see an inscription about the successful completion of the operation at the bottom of the PowerShell window. You will recommend to reboot the system, but do not rush to do it. Previously need to perform several additional actions. At this stage, you can close the utility window.
- Open the "Explorer" of the operating system and go with it on the next way:
C: \ Windows \ SoftWaredistribution
Inside the "SoftWaredistRibution" directory you will find the "Download" folder, which should be renamed to "Download.old". To do this, highlight it with a single click LKM, then press "F2". Enter the specified name, then press "ENTER".
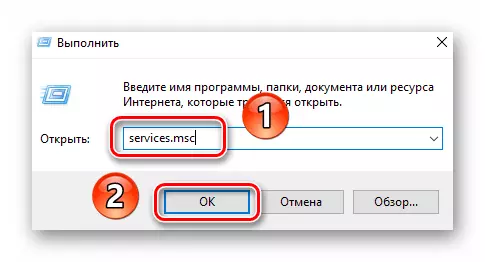
- The next step is to change the type of launch for the Windows Update Center. Use the combination of the hot key "Windows + R", enter the Services.msc command called the window, and then press "ENTER" or the "OK" button.
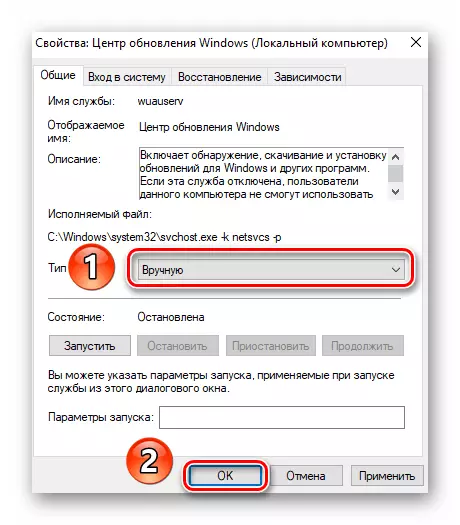
- Scroll through the right side of the window that appears at the bottom and open the Windows Update Center with a double click.
- Install the startup type to "manually" in the window that appears, and then click OK.
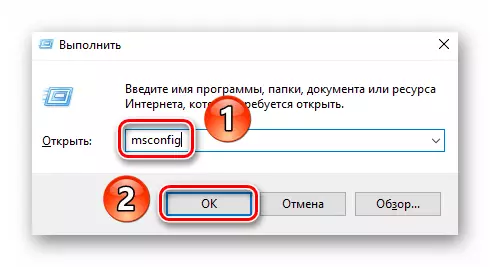
- Finally, you need to check the system bootloader. In some cases, during the installation of cumulative packages, a corresponding entry is added, which is capable of calling an error again. Use the "Windows + R" combination and suck the MSconfig command into the text box. Next, click on the keyboard "ENTER" or "OK" button in the same window.
- Open the "Load" tab and make sure that there is only one entry with the "current operating system" in the list. If you find additional lines, highlight them with a single click LKM, then click the Delete button. At the end, click OK.
- Now it remains only to restart the system. The error described should disappear.
Option 2: If the system is not loaded
This method should be used in those situations where the system is cyclically rebooted and displays the error "Changes made to the computer are canceled." In such cases, most often, Windows will not work in "Safe Mode". To implement, you will need a drive with pre-installed OS.