

If it becomes necessary to work with the same files on different computers under the control of different operating systems, the Samba will help this. But independently set up shared folders is not so simple, and for an ordinary user, this task is rather impossible. This article will tell how to configure Samba in Ubuntu.
The name of the group you are interested in is located in the Line of the Workstation Domain. Concrete location you can see in the image above.
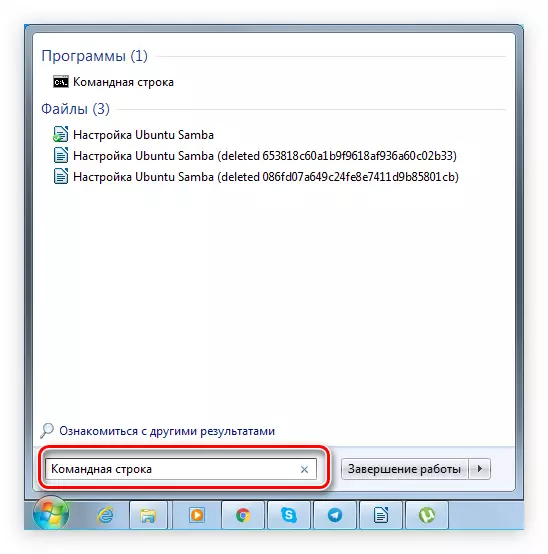
Next, if on a computer with Ubuntu static IP, it must be prescribed to the "Hosts" file on Windows. The easiest way to do this using the "Command Line" with administrator rights:
- Specify the system with the "Command Line" request.
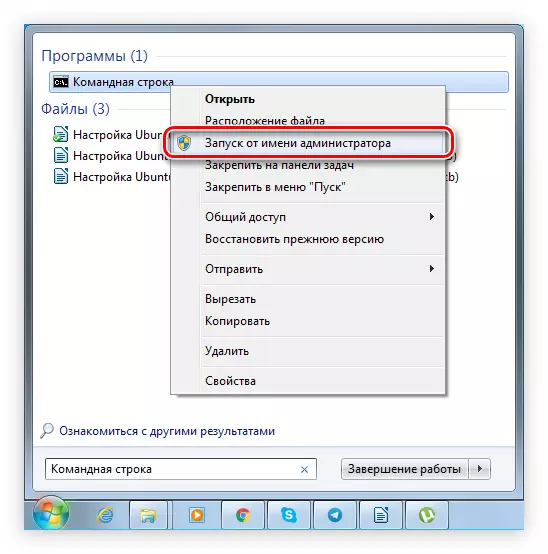
- In the results, click on the "command line" with the right mouse button (PCM) and select "Run from the administrator".
- In the window that opens, do the following:
NotePad C: \ Windows \ System32 \ Drivers \ ETC \ HOSTS
- In the file that opened after executing the command, write your IP address in a separate line.
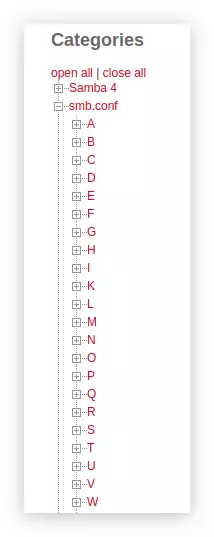
After that, the primary SAMBA setup is over. If you want to understand all the set parameters, you can do it on this site. To find the parameter you are interested in, expand on the left side of the "SMB.conf" list and find it there by selecting the first letter of the name.
In addition to the file "SMB.conf", the changes must also be made to "limits.conf". For this:
- Open the desired file in a text editor:
Sudo gedit /etc/security/limits.conf.
- Before the last string in the file, insert the following text:
* - Nofile 16384
root - nofile 16384
- Save the file.
According to the result, he must have the following form:
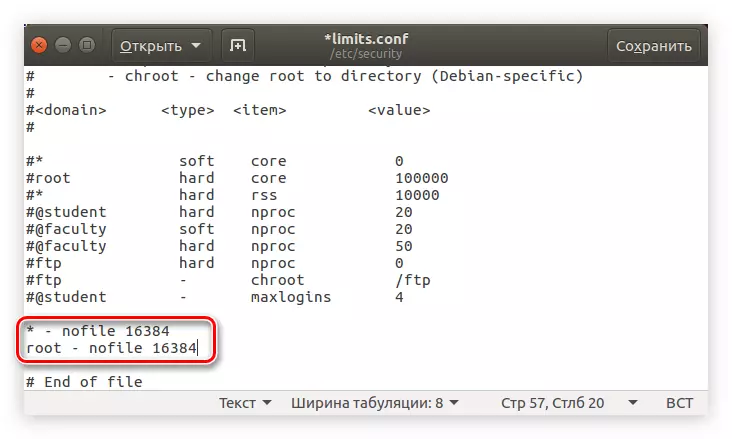
This is necessary to avoid an error that occurs while connecting multiple users to the local network.
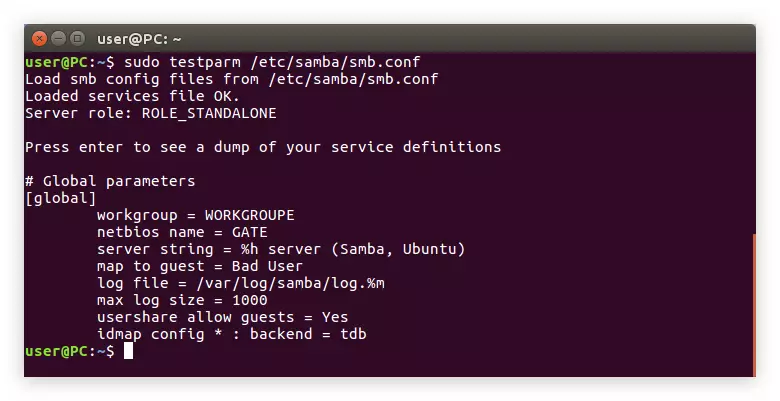
Now, to ensure the correctness of the entered parameters, you need to execute the command:
Sudo TestParm /etc/samba/smb.conf.
If, as a result, you will see the text that is shown in the picture below, it means that all the data you entered are correct.
It remains to restart the Samba server with the following command:
Sudo /etc/init.d/samba Restart.
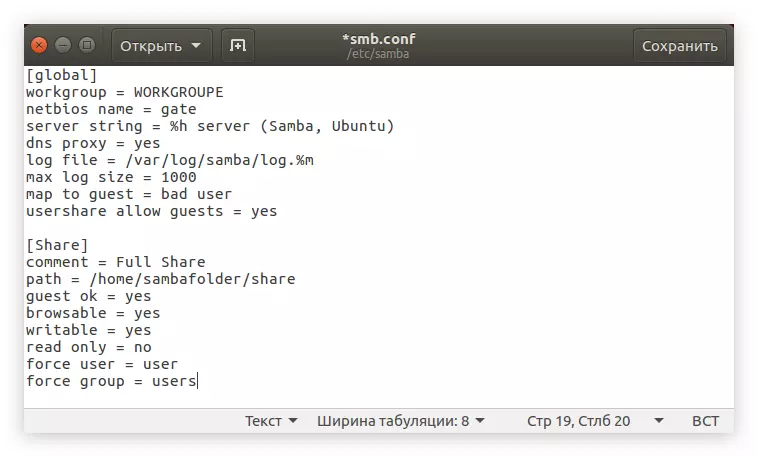
Ravating all the variables of the file "smb.conf" and making changes to "limits.conf", you can go directly to creating folders
Now the contents of the configuration file should look like this:
So that all changes entered into force, you need to restart Samba. This is done by the already known team:
Sudo Service Smbd Restart
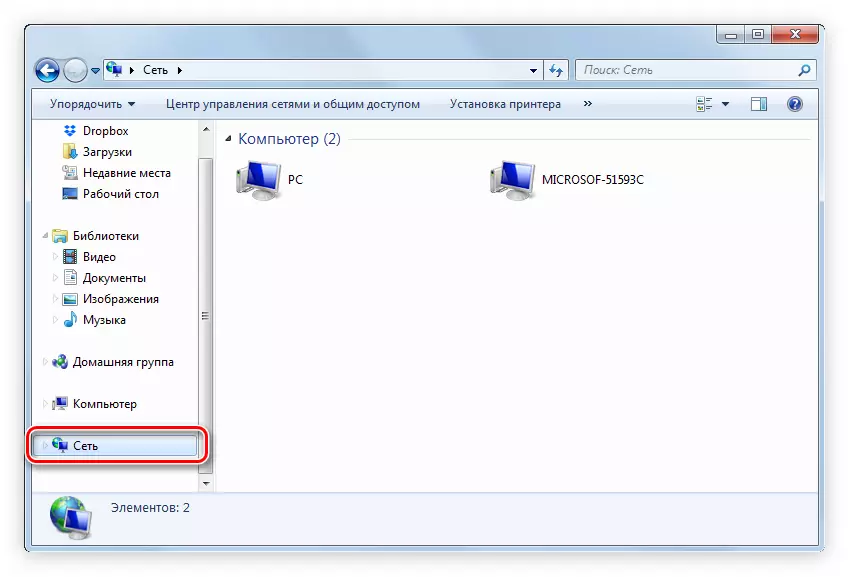
After that, the shared folder will appear in Windows. To ensure that you follow the following in the "Command Line":
\\ Gate \ Share
Also, you can also open it through the conductor, by going to the "Network" directory, which is located on the side panel of the window.
It happens that the folders are still not visible. Most likely, the reason for this is a configuration error. Therefore, once again go through all the above stages.
Step 4: Creating a folder with read-reading access
If you want users to view files on the local network, but do not edit them, you need to create a folder with read-only access. This is done by analogy with the shared folder, only other parameters are set in the configuration file. But in order not to remain unnecessary questions, we will analyze everything in stages:
Following the configuration file there should be three text blocks:
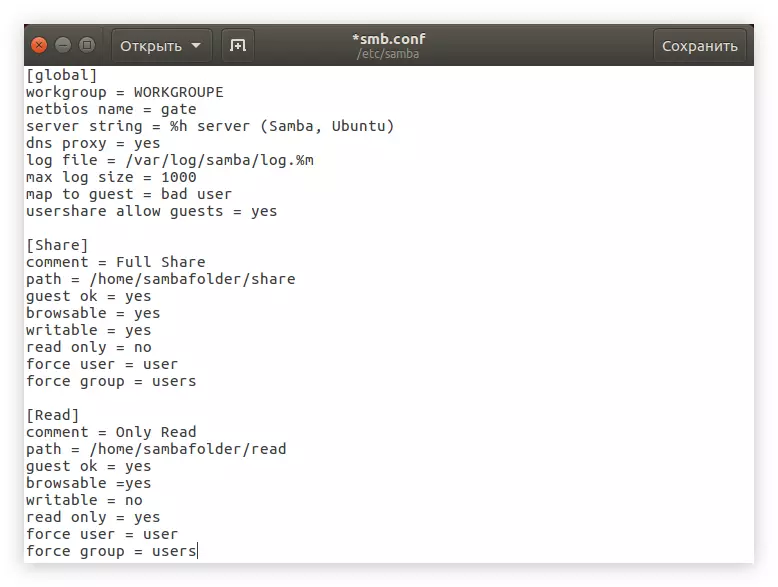
Now restart the SAMBA server so that all changes entered into force:
Sudo Service Smbd Restart
After that, the folder with read-only rights will be created, and all users will be able to enter it, but will not be able to somehow change the files contained in it.
Step 5: Creating a folder with closed access
If you want the users to open the network folder to open, passing authentication, the actions for its creation are slightly different from the above. Make the following:
- Create a folder, for example, "PASW":
Sudo Mkdir -p / Home / Sambafolder / Pasw
- Change its rights:
Sudo Chmod 777 -R / Home / Sambafolder / Pasw
- Now create a user in the Samba group, which will be endowed with all the rights to access the network folder. For this, first create a group "Smbuser":
Sudo Groupadd SMBuser.
- Add to the newly created user group. You can think of his name independently, in the example will be "Teacher":
Sudo UseRADD -G SMBUSER TEACHER
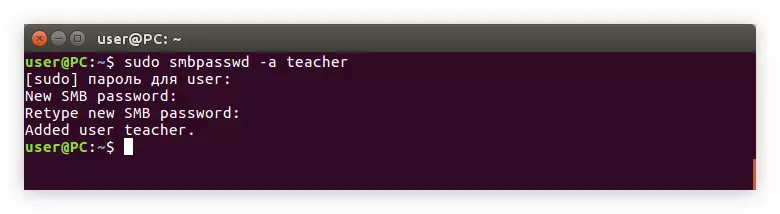
- Set the password to be entered to open the folder:
Sudo Smbpasswd -a Teacher
Note: After executing the command, you will be asked to enter the password, and then repeat it, note that when entering characters are not displayed.
- It remains only to enter all the desired folder parameters to the SAMBA configuration file. To do this, first open it:
Sudo gedit /etc/samba/smb.conf.
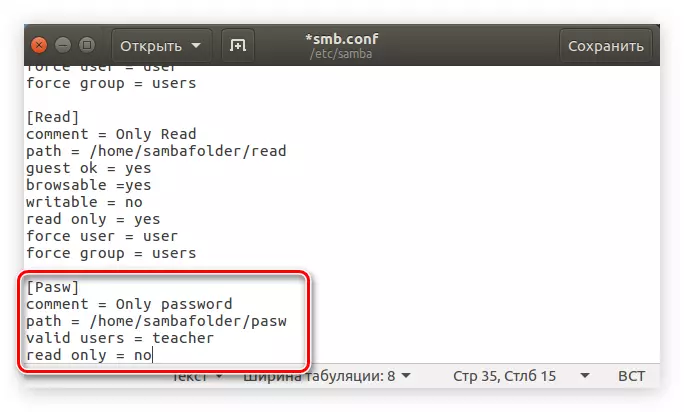
And then copy this text:
[PASW]
Comment = Only Password
Path = / Home / Sambafolder / Pasw
Valid Users = Teacher
read only = no
Important: If performing the fourth item of this instruction, you have created a user with another name, then it must be entered in the "Valid Users" string after the symbol "=" and a space.
- Save the changes and close the text editor.
The text in the configuration file should now look like this:
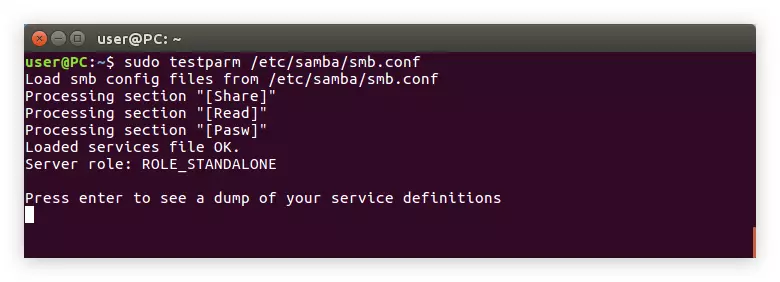
To be restred, check the file using the command:
Sudo TestParm /etc/samba/smb.conf.
According to the result, you should see about this:
If everything is in order, then restart the server:
Sudo /etc/init.d/samba Restart.
System Config Samba.
The graphical interface (GUI) is able to largely facilitate the SAMBA setting process in Ubuntu. At a minimum, the user who only switched to Linux, this method will seem more understandable.Step 1: Installation
Initially, you need to install a special program in the system that has an interface and which is necessary for configuring. You can do this with the "Terminal" by executing the command:
Sudo Apt Install System-Config-Samba
If before that you did not install all Samba components to your computer, you will need to download with it and install some more packages:
Sudo Apt-Get Install -Y Samba Samba-Common Python-Glade2 System-Config-Samba
After everything you need has been set, you can go directly to the setting.
Step 2: Run
You can run System Config Samba in two ways: using the "Terminal" and through the Bash menu.
Method 1: Terminal
If you decide to use the Terminal, then you need to do the following:
- Press the CTRL + ALT + T key combination.
- Enter the following command:
Sudo System-Config-Samba
- Press ENTER.
Next, you will need to enter a system password, after which the program window opens.
Note: During the implementation of the SAMBA configuration using the System Config Samba, do not close the terminal window, since in this case the program closes, and all changes will not be saved.
Method 2: Bash menu
The second method will seem easier to many, since all operations are performed in the graphical interface.
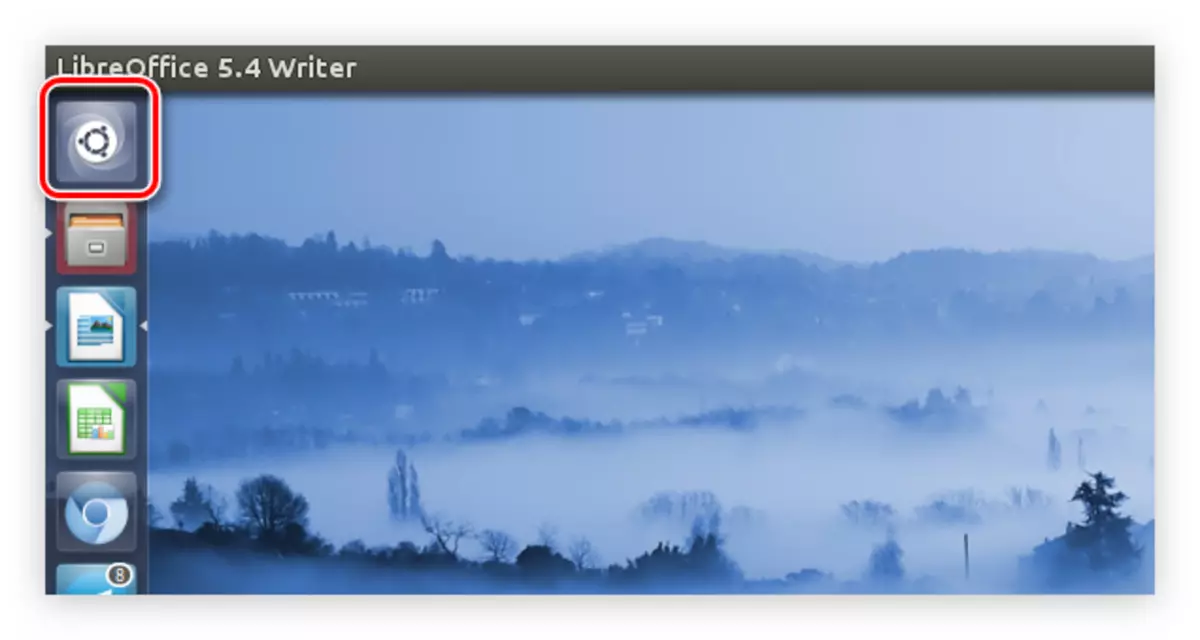
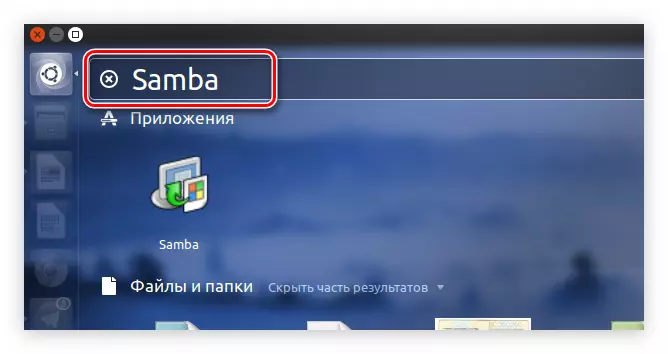
- Press the BASH menu button, which is located in the upper left corner of the desktop.
- Enter the search query request "Samba" in the window that opens.
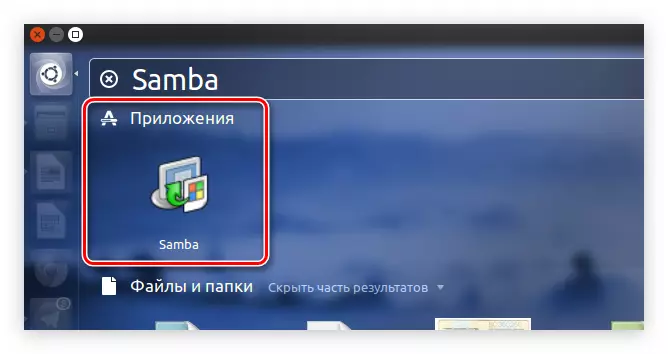
- Click on the program of the same name in the "Applications" section.
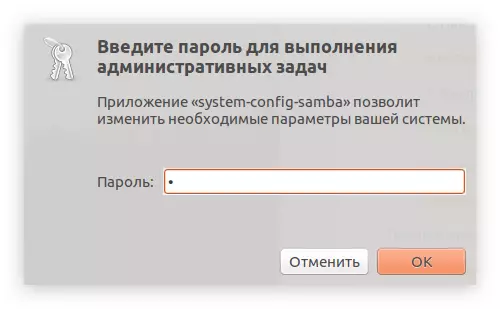
After that, the system will ask you for a user password. Enter it and the program will open.
Step 3: Adding users
Before you begin directly to configure the Samba folders, you need to add users. It is done through the program settings menu.
- Click on the "Setup" item on the top panel.
- In the menu, select "Users Samba".
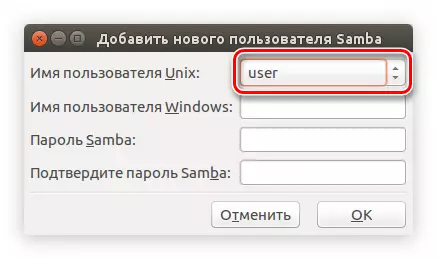
- In the window that appears, click "Add user".
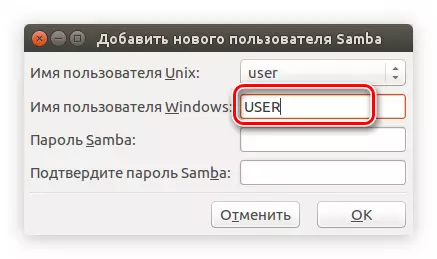
- In the "User Name of the Unix" drop-down list, select the user to which it be allowed to enter the folder.
- Manually enter the Windows username.
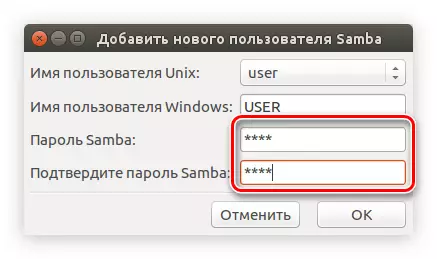
- Enter the password, and then repeat it input in the appropriate field.
- Click the "OK" button.


In this way, you can add one or more Samba users, and in the future determine their rights.
After that, the server configuration will be over, you can go directly to the creation of the SAMBA folders.
Step 5: Create folders
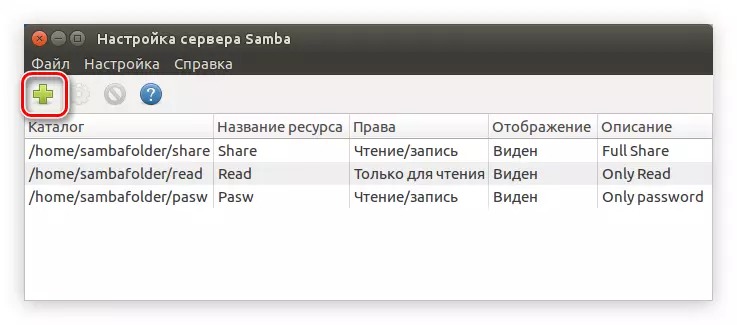
If you did not create public folders earlier, the program window will be empty. To create a new folder, you need to do the following:
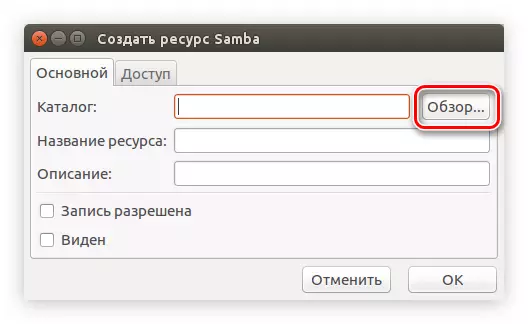
- Click on button with sign plus sign.
- In the window that opens, in the "Main" tab, click "Overview".
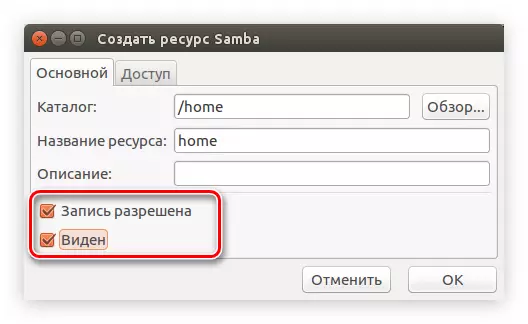
- In the file manager, specify the desired folder to share it.
- Depending on preferences, check the checkboxes next to the "Record is allowed" (the user will be allowed to edit files in a public folder) and "visible" (on another PC, the folder will be visible).
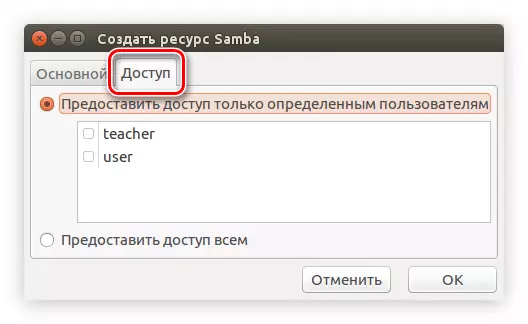
- Go to the "Access" tab.
- It has the ability to identify users who will be allowed to open a shared folder. To do this, put the mark next to "provide access to only specific users". After that you need to choose them from the list.
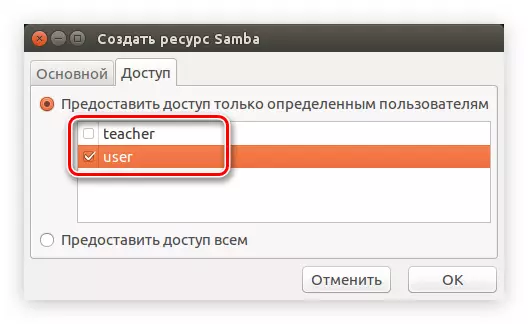
If you are going to make a public folder, then put the switch to the "Provide Access All" position.
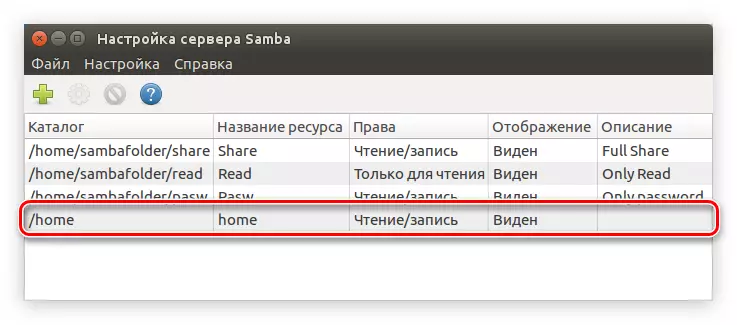
- Click the "OK" button.

After that, the newly created folder will be displayed in the main program window.
If you wish, you can create some more folders using the above instruction, or change the already created by clicking on the "Change Properties of the Selected Catalog" button.
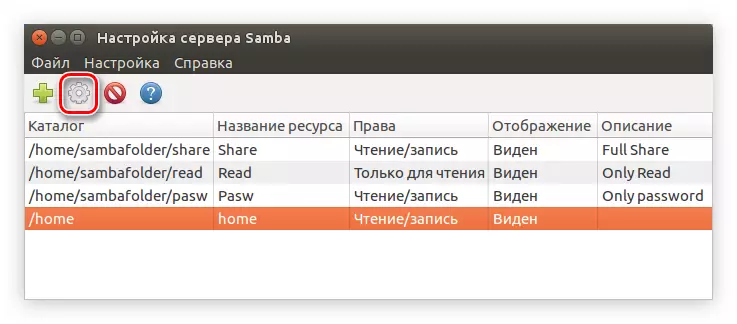
As soon as you create all the desired folders, you can close the program. On this instruction on setting up Samba in Ubuntu using the System Config Samba program is over.
Nautilus.
There is another way to configure Samba in Ubuntu. It is perfect for those users who do not want to install extra on their own to the computer and who do not like to resort to the use of the "Terminal". All settings will be performed in the standard Nautilus file manager.Step 1: Installation
Using Nautilus to configure Samba, the method of installing the program is slightly different. This task can be performed using the "Terminal", as described above, but the following method will be considered below.
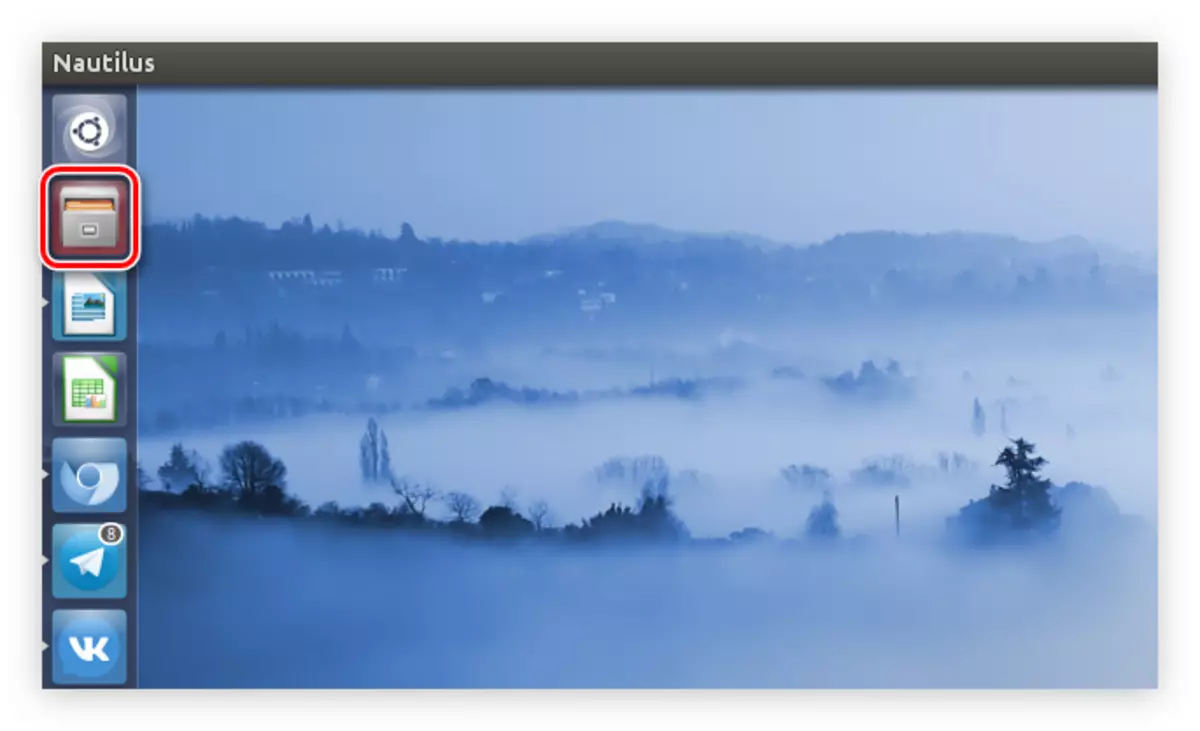
- Open Nautilus by pressing the icon in the taskbar or searching on the system.
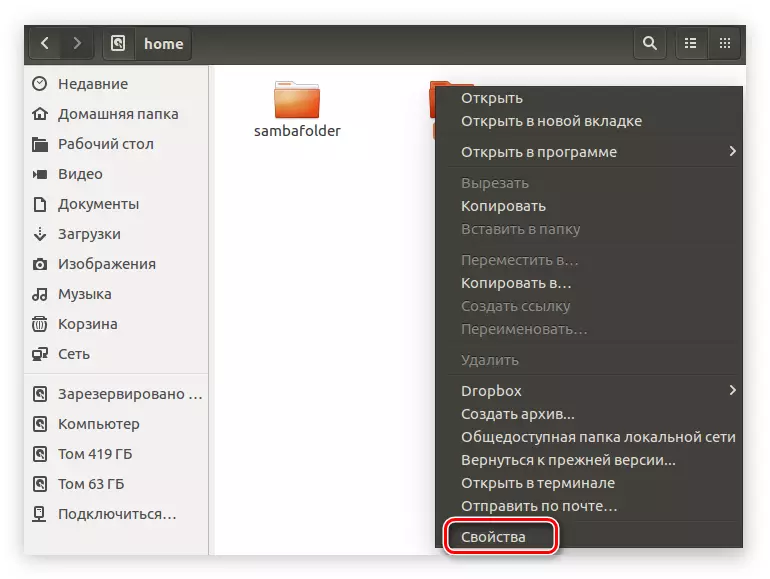
- Go to the directory where the desired directory is located.
- Click on the PCM and select the "Properties" line from the menu.
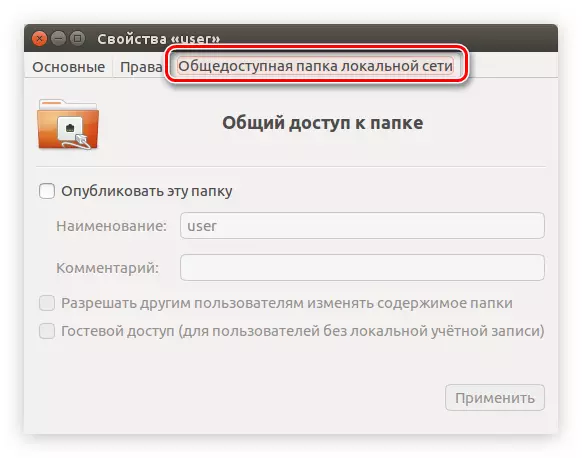
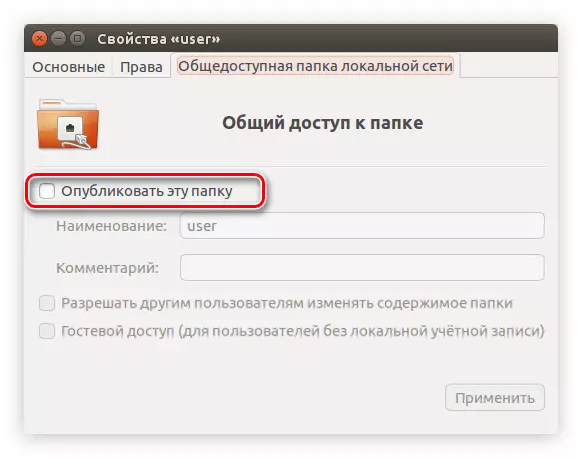
- In the window that opens, go to the "Open Local Network" folder.
- Check the box next to "Publish this folder".
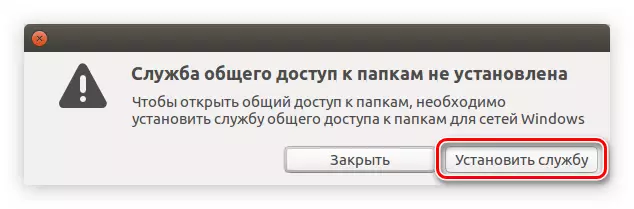
- A window will appear in which you want to click on the "Install Services" button to start the SAMBA to the system.
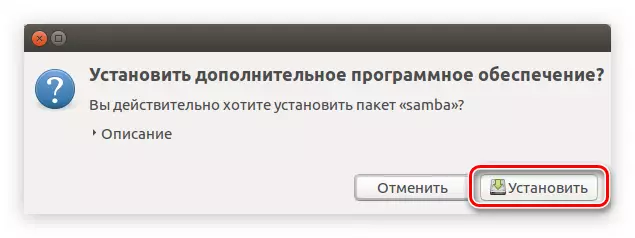
- A window appears in which you can familiarize yourself with the list of installed packages. After reading, click the Install button.
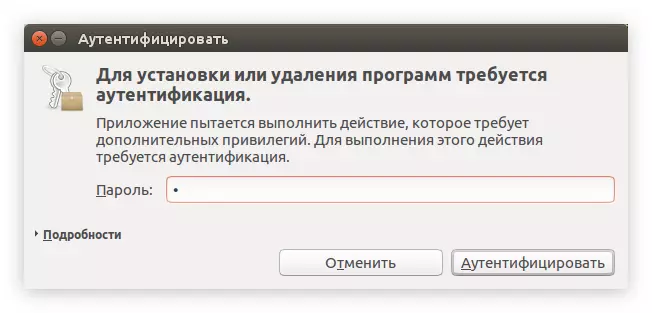
- Enter the user password to allow the system to download and install.
After that, you can wait for the end of the installation of the program. As soon as it is completed, you can go directly to the SAMBA setting.
Step 2: Setup
Customize Samba in Nautilus is much easier than using the "Terminal" or System Config Samba. All parameters are specified in the catalog properties. If you forgot how to open them, then follow the three items of the previous instruction.
To make the folder publicly available, follow the instructions:
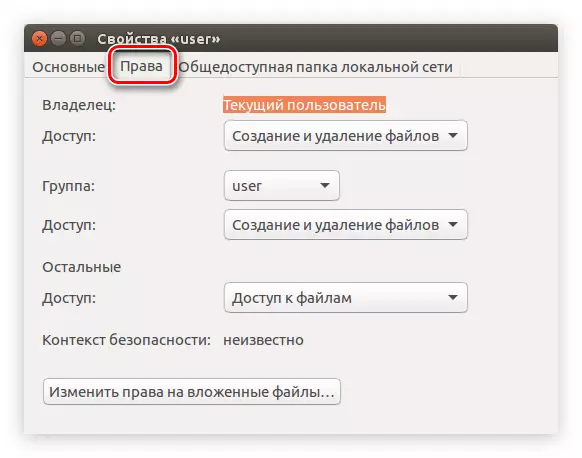
- In the window, go to the "Rights" tab.
- Determine the rights for the owner, group and other users.
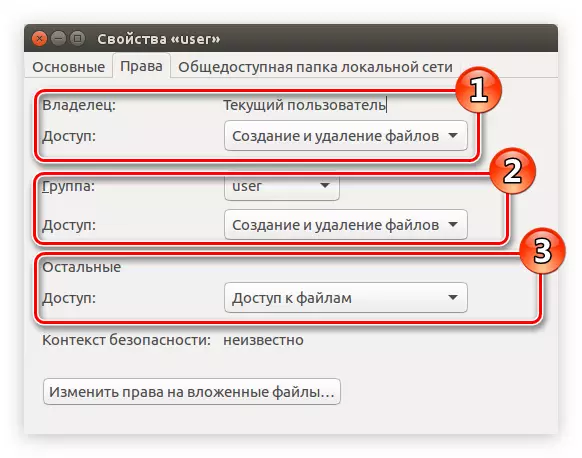
Note: If you need to restrict access to the public folder, then from the list, select the "No" string.
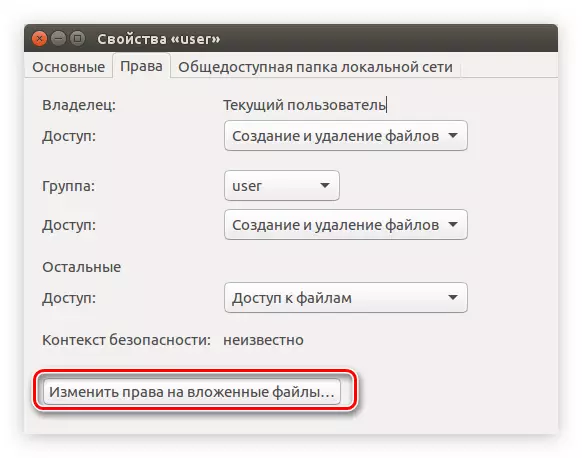
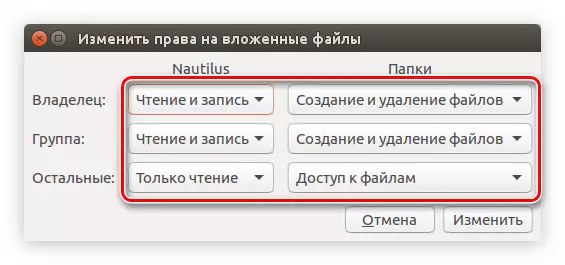
- Click "Change Rights to Nested Files".
- In the window that opens, by analogy with the second item of this list, determine the rights of users to interact with all the files invested in the folder.
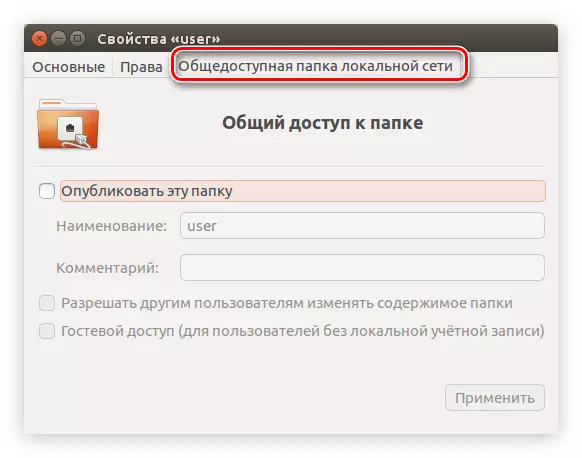
- Click "Change", and then go to the "Shared Local Network Folder" tab.
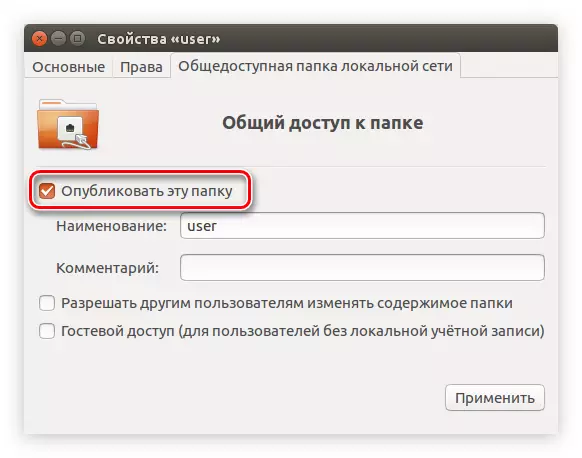
- Mark the "Publish this folder" item.
- Enter the name of this folder.
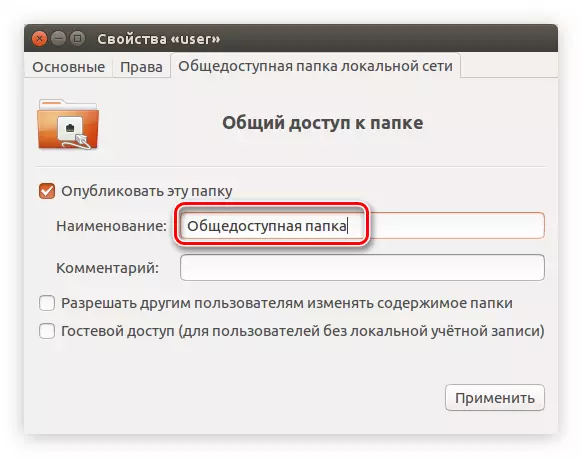
Note: The "Comment" field, if you wish, you can leave not filled.
- Put or, on the contrary, remove the checkboxes with "Allow other users to change the contents of the folder" and "guest access". The first paragraph will allow users who are not endowed with rights, edit nested files. The second - will open access to all users who do not have a local account.
- Click "Apply".

After that, you can close the window - the folder has become publicly available. But it is worth noting that if you did not set up the Samba server, that is, the likelihood that the folder will not be displayed on the local network.
Note: How to configure the Samba server told at the beginning of the article.
Conclusion
Summing up, we can say that all of the above methods are largely different from each other, but they all equally allow the SAMBA setting to Ubuntu. So, using the "Terminal", you can make a flexible setting by setting all the necessary parameters as the Samba server and the publicly available folders created. The System Config Samba program also allows you to configure the server and folders, but the number of specified parameters is much smaller. The main advantage of this method is the presence of a graphical interface, which will largely facilitate the setting for an ordinary user. Using the Nautilus file manager, you do not have to download and install additional software, but in some cases it will be necessary to manually configure the SAMBA server using the same "Terminal".