
The printer has a special mechanism that provides automatic paper feed when printing the document. Some users face such a problem that the sheets simply are not captured. Call it not only physical, but also software malfunctions. Next, we will tell you in detail about what to do to eliminate the problem.
We solve a paper capture problem on the printer
We primarily recommend paying attention to the following tips. They will help to quickly resolve a mistake without resorting to the use of complex methods. You need to perform such actions:
- If, when sending a file, you observe that the device does not even try to capture the paper, and the "Printer is not ready" type notifications appear on the screen, download and install the appropriate drivers, and after trying to simplify printout. Expanded instructions on this topic read in our next material.
- Make sure that the limiters are shrouded not much, and the sheets themselves are located exactly. Often the roller fails to capture precisely because of these factors.
- Reset the printer settings. It is possible that some hardware or system failure occurred during sending a file to print. It is solved just enough. You will need to turn off the device and disable it from the network somewhere for a minute.
- Use another paper. Some equipment is poorly coping with glossy or cardboard paper, the exciting roller simply lacks the capacity to take it. Try insert a regular A4 sheet into the tray and repeat the printout.
Read more: Installing drivers for printer
After any changes, we recommend to test the test printing through a special function in the driver. You can do it like this:
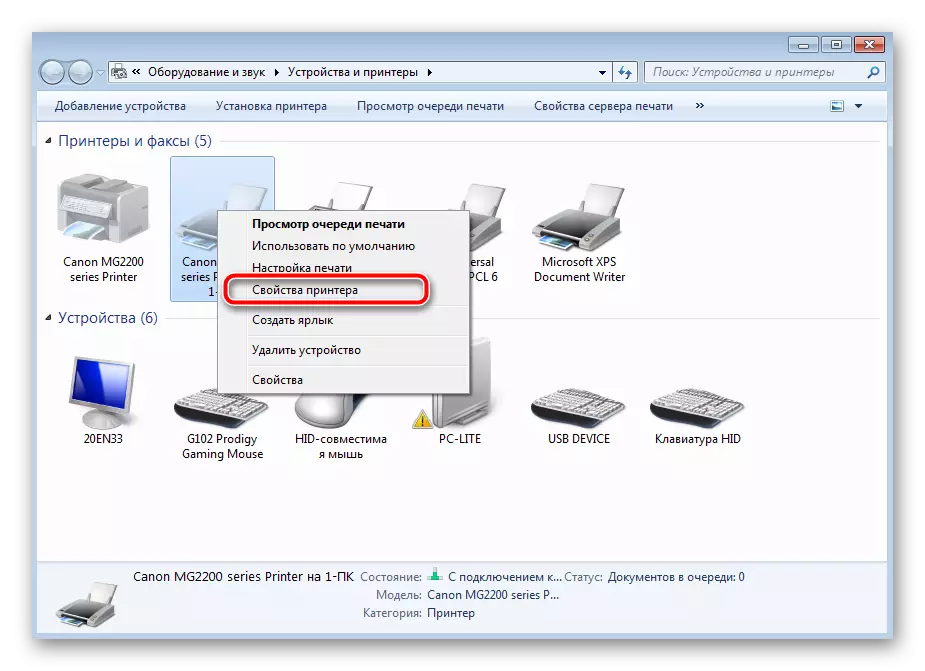
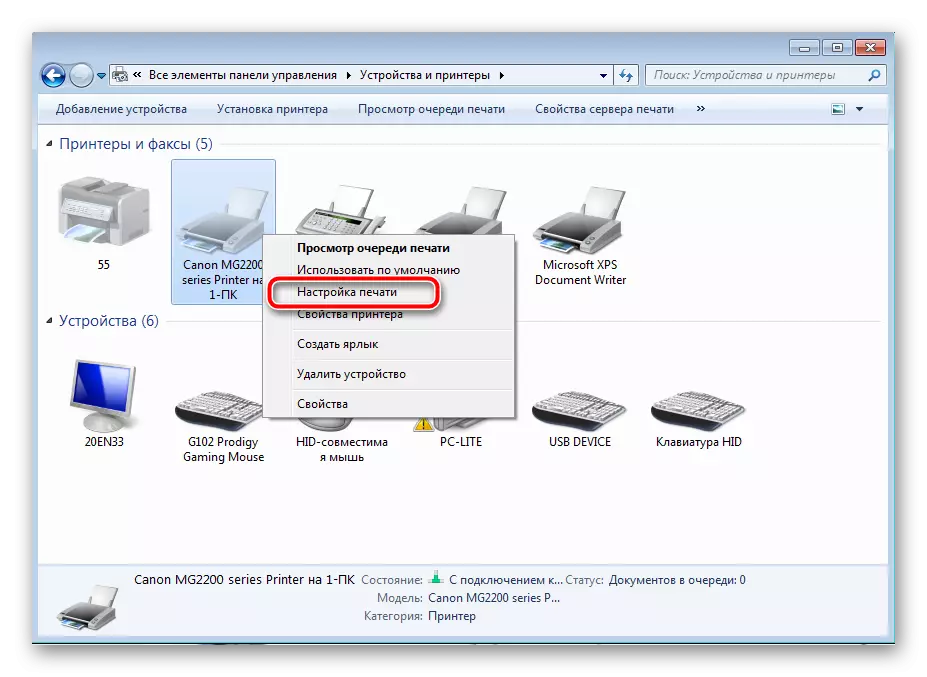
- Through the "Control Panel", go to the "Devices and Printers" menu, where right-click on the connected machine and open the Printer Properties.
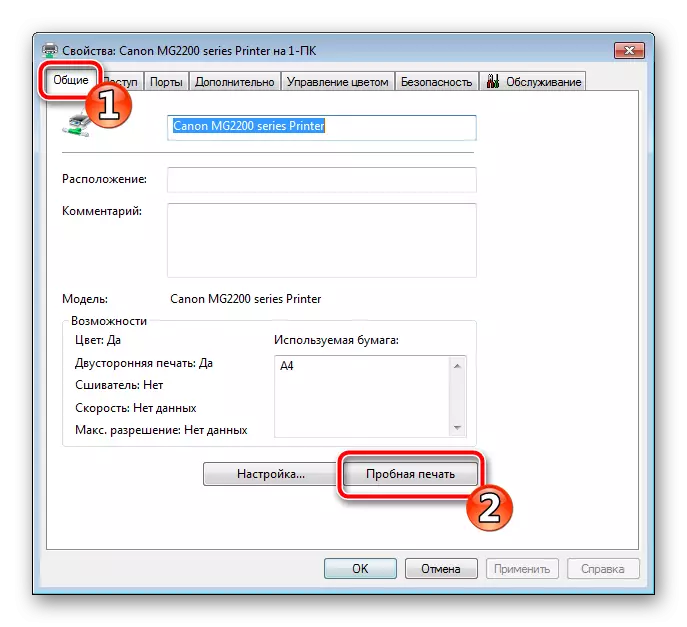
- In the General tab, click on the "Test Print" button.
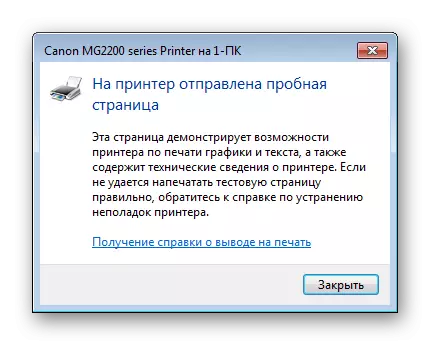
- You will be notified that the trial page was sent, wait for it.
Now let's talk about more complex correction methods that have arisen. In one of them, it will be necessary to change the system configuration, which is not a particularly difficult task, and in the second, all attention will be focused on a breathtaking video. Let's start with a simpler option.
Method 1: Setting the "Paper Source" parameter
After installing the driver, you get access to the hardware configuration. There are sets a lot of parameters, including the "paper source". It is responsible for the type of sheet feed, from which the correctness of the functioning of the roller depends. So that everything worked correctly, you need to check and, if necessary, edit this setting:
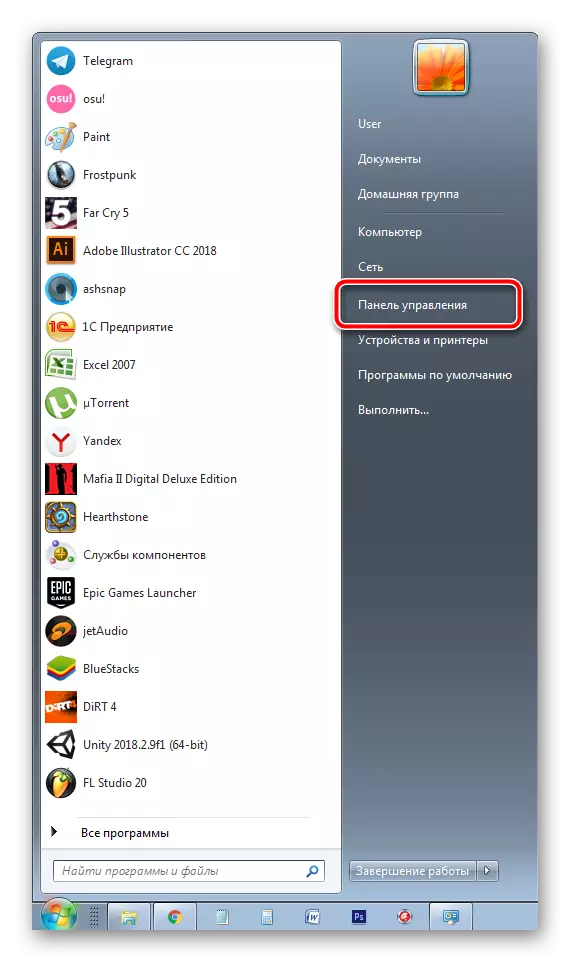
- Open "Start" and go to "Control Panel".
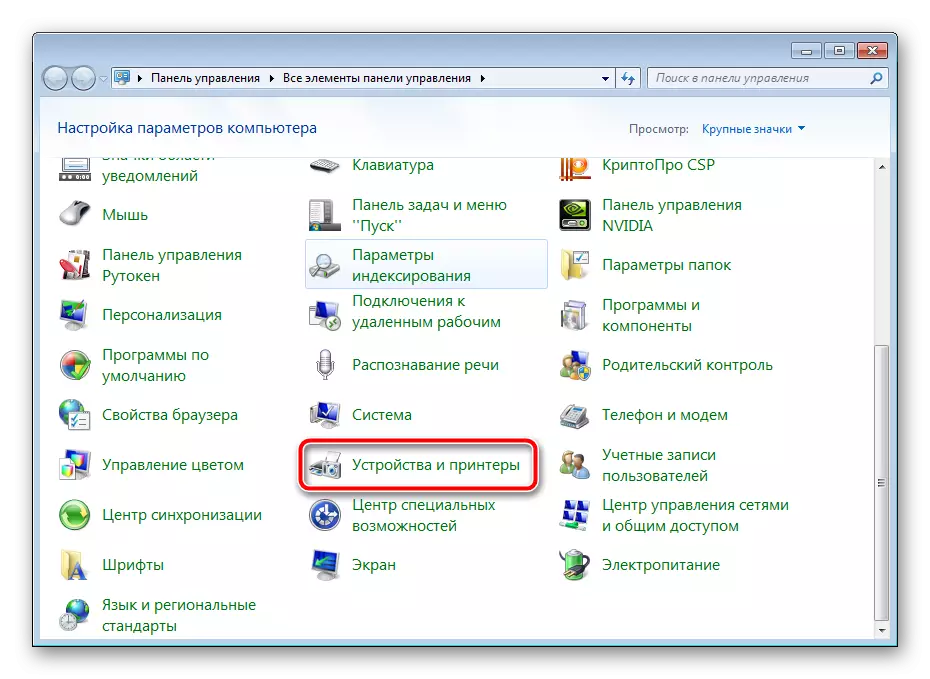
- Among the category list, find "devices and printers".
- You will display a window where you find the connected device, click on the PCM and select "Print Setup".
- Move in the "Labels" menu, where for the "Paper Source" parameter, set the "Auto Bab" value.
- Save the changes to click on "Apply".


Above the process of starting the trial printing, execute it after you have changed the configuration in order to make sure that the equipment is correct.
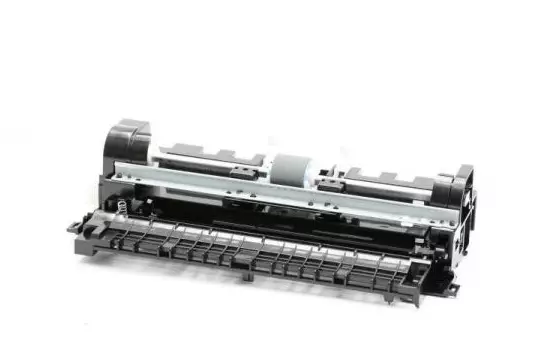
Method 2: Capture Roller Repair
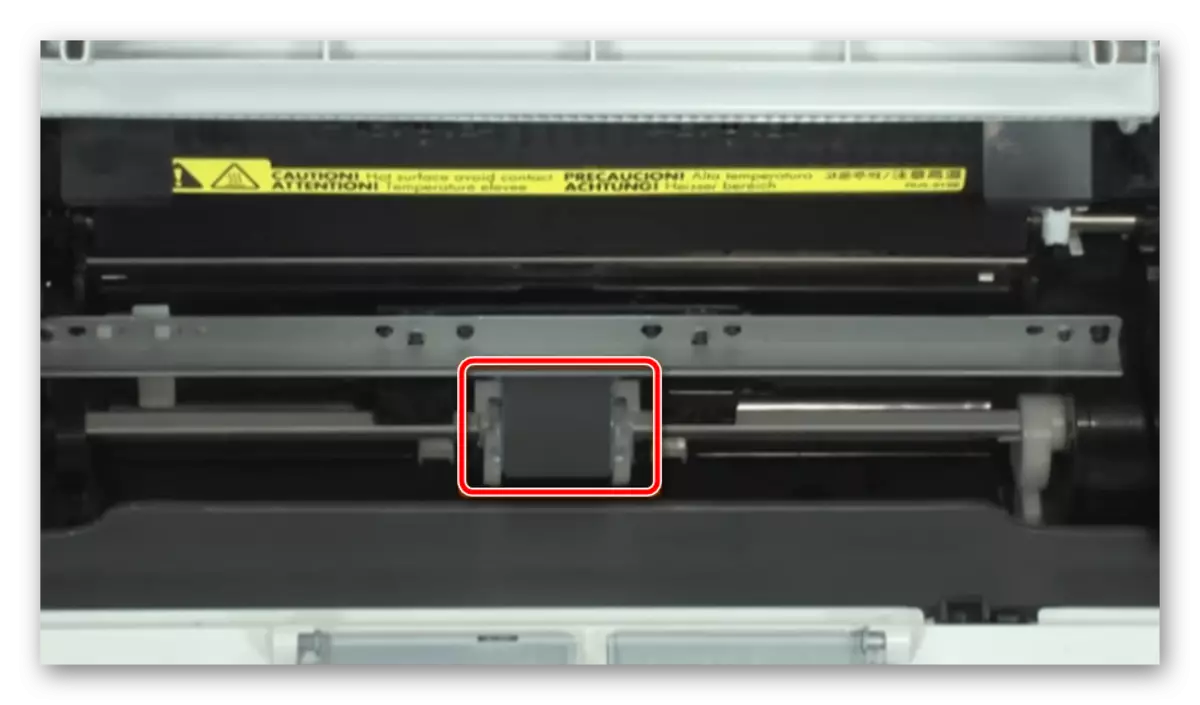
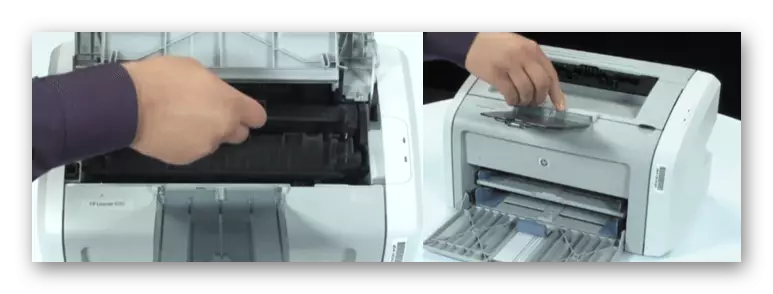
In this article you have already learned that a special video is responsible for capturing sheets. It is a special mechanism consisting of several parts. Of course, with time or with physical impact, such components can malfunction in operation, therefore, it is necessary to check their condition. First, clean:
- Turn off the printer and disconnect it from the network.
- Open the top cover and carefully remove the cartridge.
- Approximately the center inside the device will be the roller you need. Find it.
- Using the finger or rebel to unlock the locks and get the element.
- Make sure that it does not have any damage and defects, for example, scratching, scratches or chips of the structure itself. In the case when they were found, you will need to purchase a new video. If everything is fine, take a dry cloth or pre-moisten it with a cleaning agent, after which it is neatly walking throughout the rubber surface. Wait until it dry.
- Find the mounting slots and set the roller back.
- Insert the cartridge back and close the lid.


Now you can connect the printer again and spend test printing. If the actions performed did not bring any results, we recommend to get a roller again, only this time carefully remove the gum and install it with the other side. In addition, carefully consider the insides of the equipment for foreign objects. If you find just remove them and try repeating the printout.
A more serious problem is any damage to the print node. Fastening molded, metal plank or increased the coupling friction occurred.
In all these cases, we advise you to contact a special service, where professionals diagnose equipment and replace items.
With the problem of capturing paper on the printer, many users of printed equipment are facing. As you can see, there are several solutions. Above, we talked about the most popular and provided detailed instructions. We hope our guide helped you cope with the problem.