
Method 1: ClipChamp
The functionality in the free version of the famous online video editor clipChamp will be able to fully meet the needs of a regular user. This web resource is quite suitable in order to connect several videos into one, spending the minimum amount of strength and time on this.
Go to the online service clipCHAMP
- Before using CLIPCHAMP will have to create a profile. You can do this by authorization through the web services present or entering an email address to the appropriate field.
- After authorization on the main page, click on the "Create A Video" button, which is located on the left.
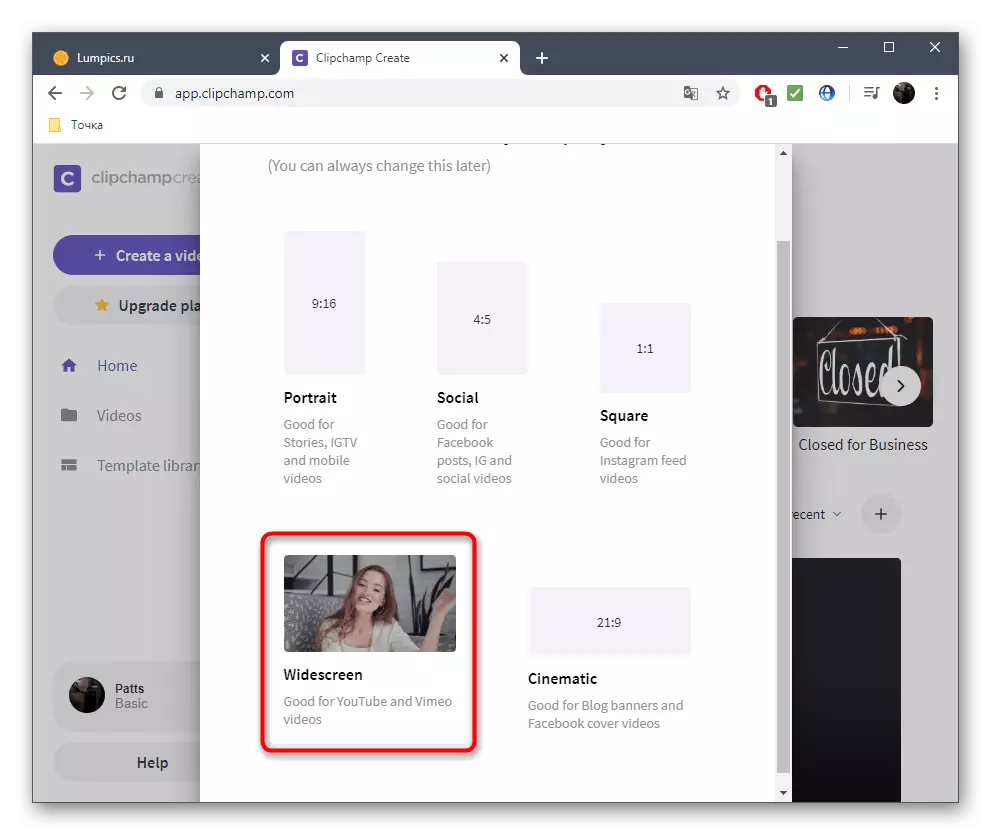
- Select the appropriate screen proportions to optimize the roller to view on specific devices. For example, we took a popular 16: 9 format.
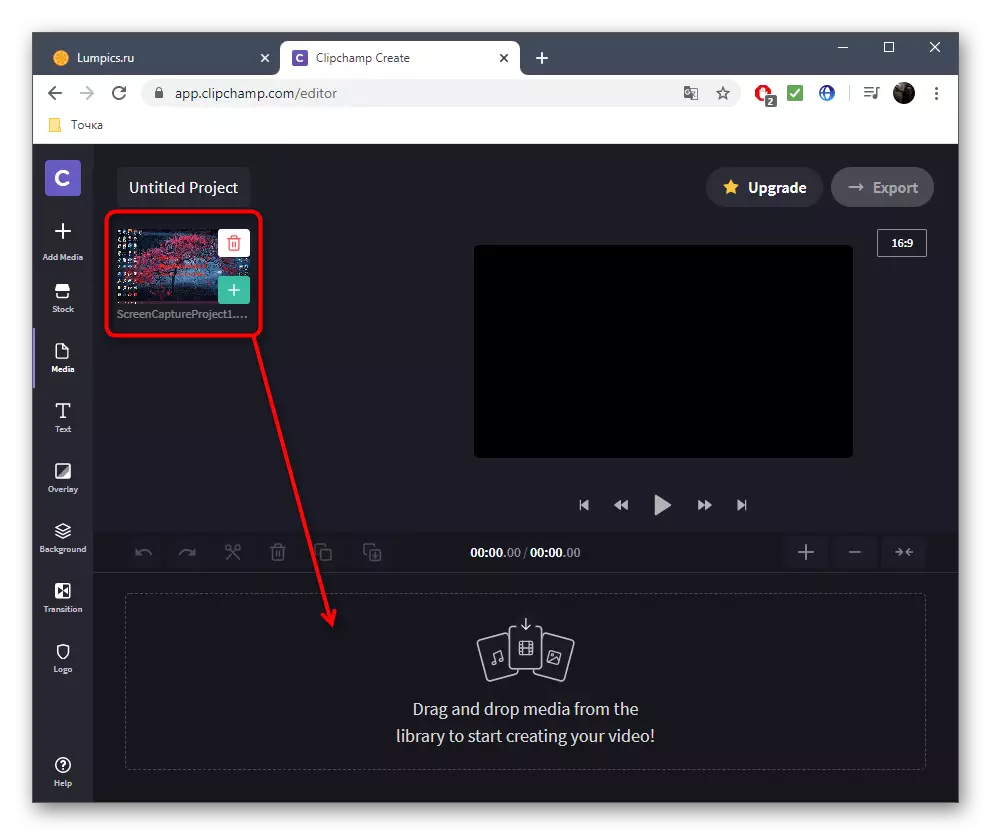
- In the block on the left, click "Browse My Files" to go to add rollers that will be brought further.
- You can add one video at first through the conductor, moving it to the timeline with the left mouse button.
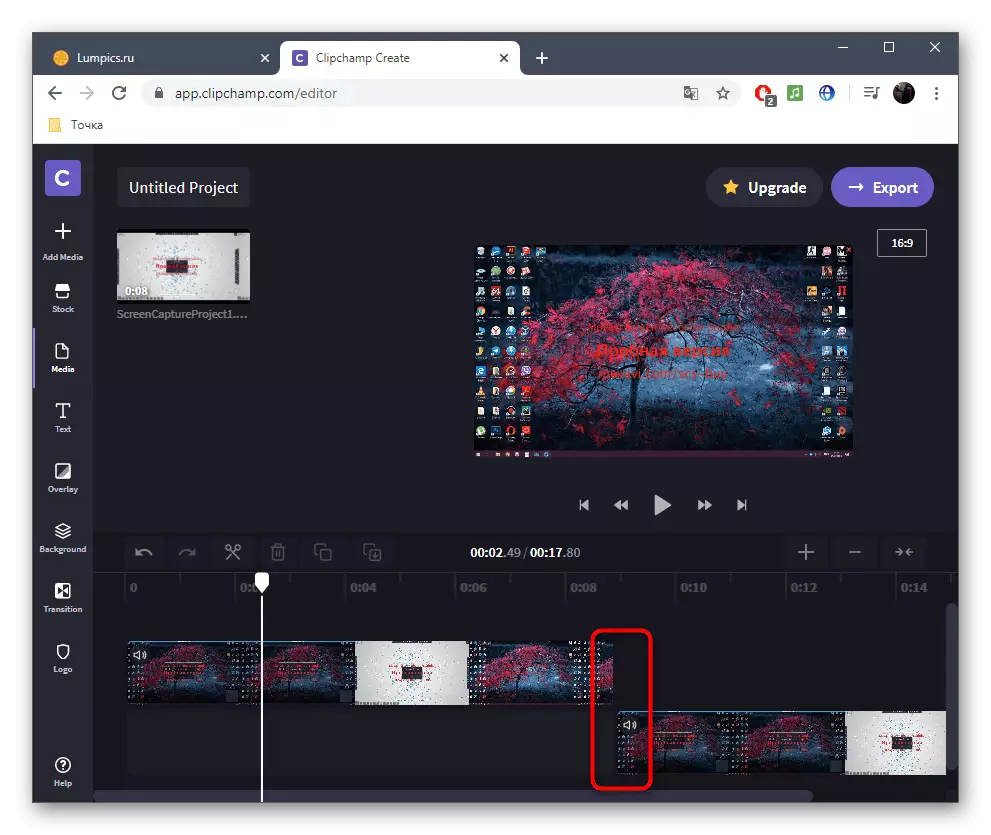
- After that, open the "Add Media" block and add a second media file.
- Connect these two videos on one or two tracks so that after completing one immediately began the second.
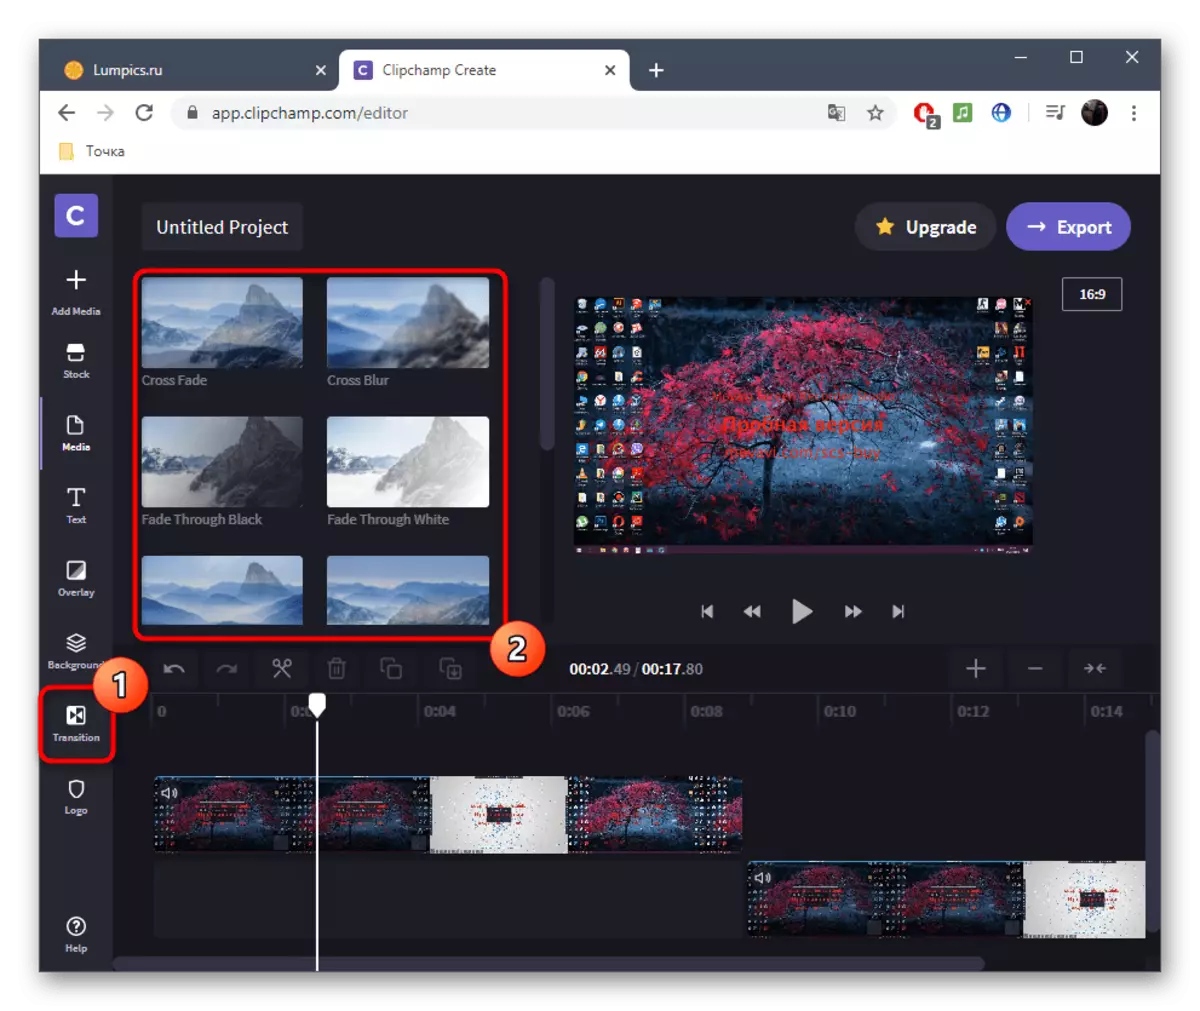
- We recommend adding a smooth transition to start a new video not seemingly so sharp. To do this, open the "Transition" category and select there one of the existing transitions.
- Move the transition to the timeline area, where two video is connected, as a result, the element stood between them.
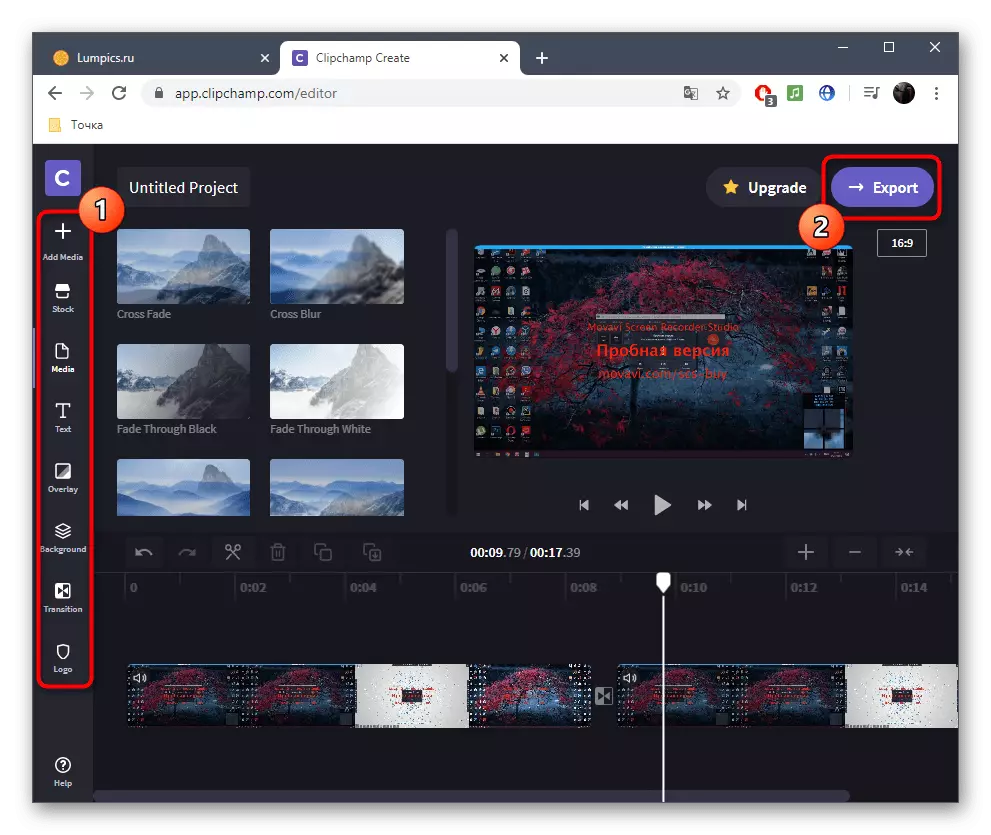
- Use additional editing options if required, or add more more materials, and upon completion, click "Export".
- Only 480p quality is available in the free version. If you want to keep clips with a higher resolution, you will have to purchase one of the subscriptions. By selecting the appropriate option, click "Continue".
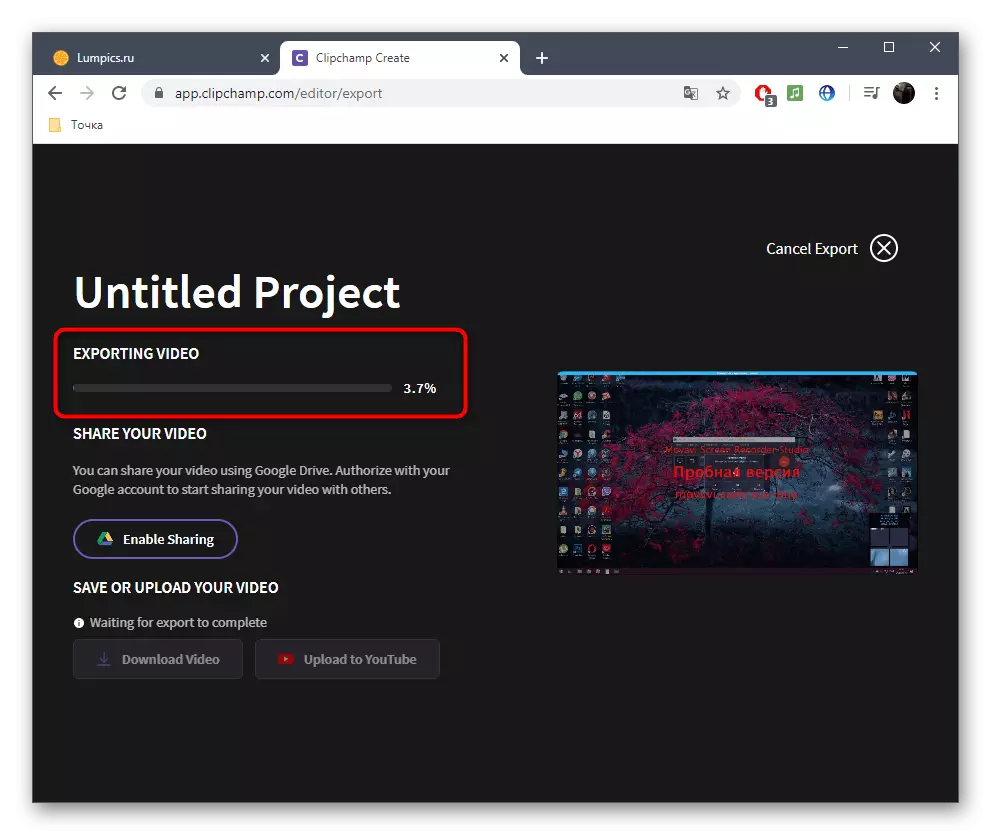
- Wait for the end of export. If the total roller volume turned out to be quite large, even a few hours can be spent on the rendering process, because it all depends on the power of the server where the online CLIPCHAMP service is located.
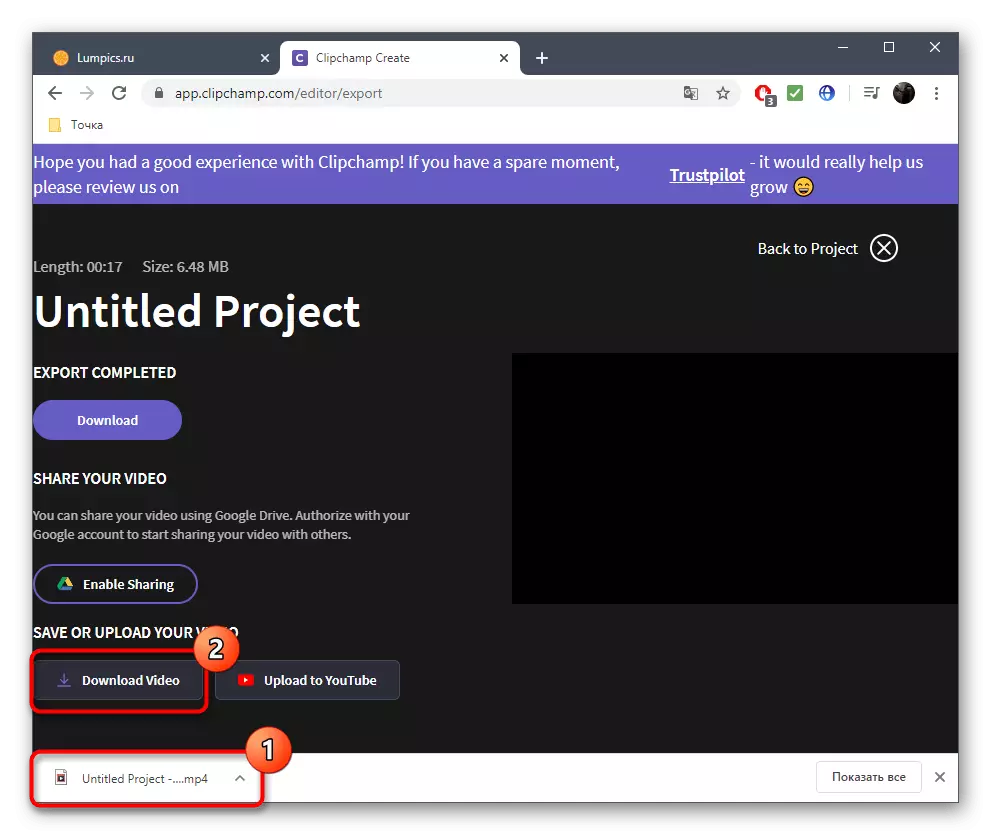
- After the rendering is completed, the video should boot on the computer automatically. If this did not happen, click "Download Video" and download it yourself.
- In the case when it is planned to pour the finished material on YouTube, you can simply click on the website on the Upload to YouTube button, log in to your profile and finish adding the material.


If you plan to purchase a subscription to CLIPCHAMP, we strongly recommend familiarizing yourself with all its advantages and features on the official website to understand whether this online service is suitable for permanent use and will satisfy all needs.
Method 2: WEVIDEO
Wevideo is another English-language web service providing basic video editing features for free. The restrictions here are exactly the same as in the previous representative, so we will not dwell on them, but we will immediately consider the features of gluing video.
Go to the WEVIDEO online service
- After switching to WEVideo, you will definitely follow the registration procedure, because all projects must be stored in a personal profile, which is automatically moderated directly when editing so that any materials are not randomly lost.
- Next, click on the "Make A Video" button to open the editor.
- Select the optimal aspect ratio for the future project and click on the "Start Editing" button.
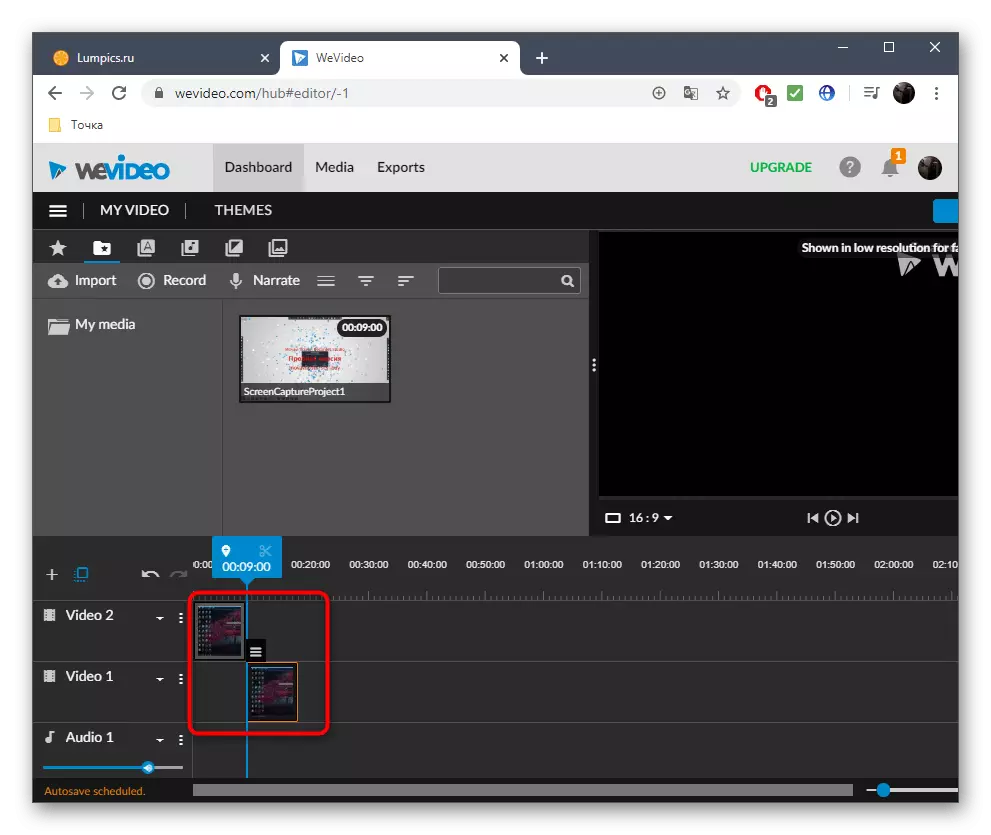
- Open the "My Media" section to go to add rollers.
- Place them on the timeline, using one, two or more tracks, designated specifically for the video. Set the optimal distance to connect fragments and, if necessary, download the background music in exactly the same way.
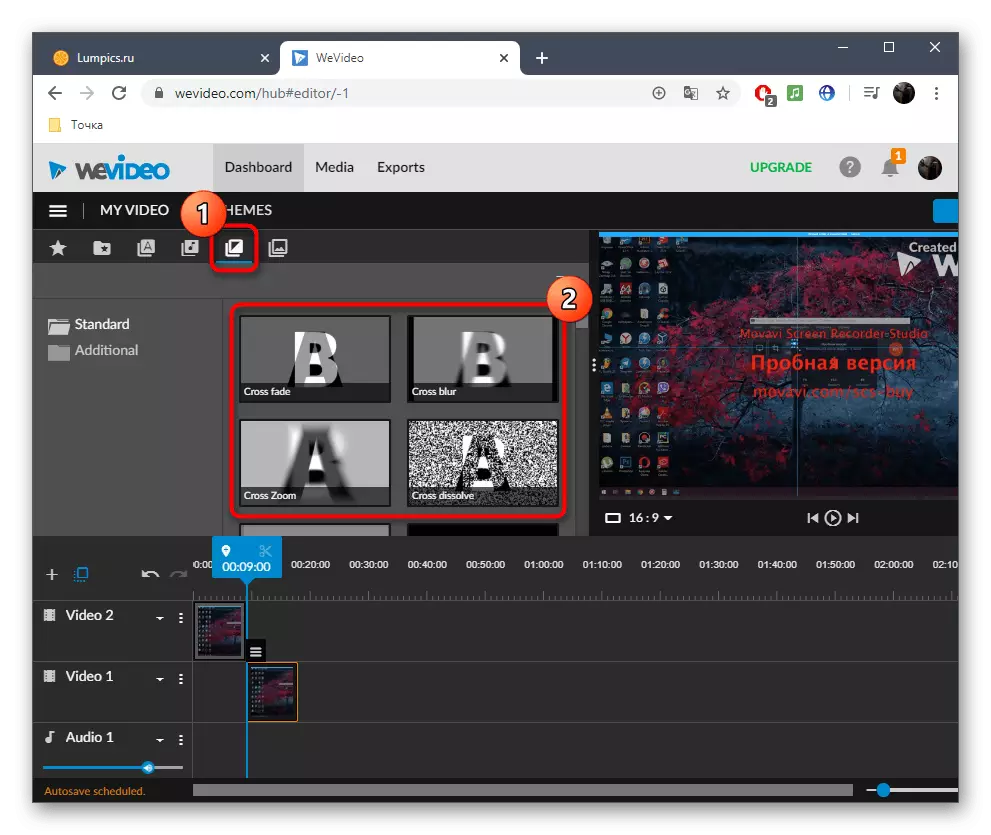
- There is a separate directory with standard transitions on the toolbar. Most of them are available for free, so there is from what to choose. Check out the list and decide which option you want to use.
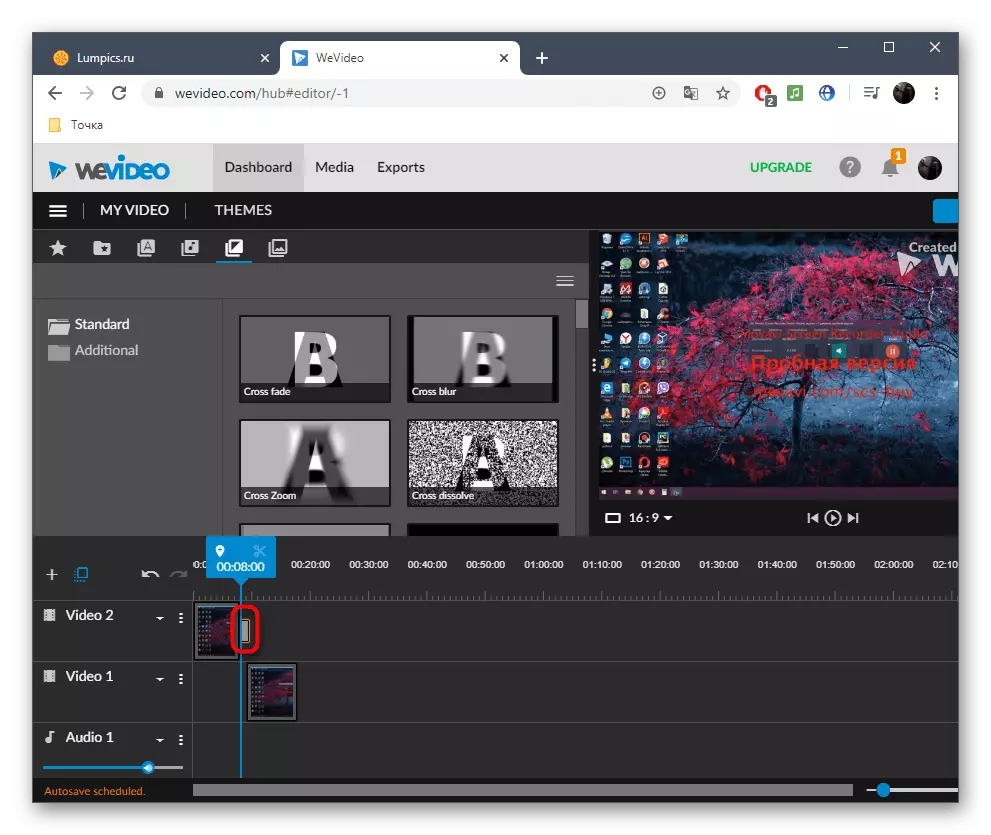
- Add a transition to timeline so that it concisely fit into the gluing of fragments.
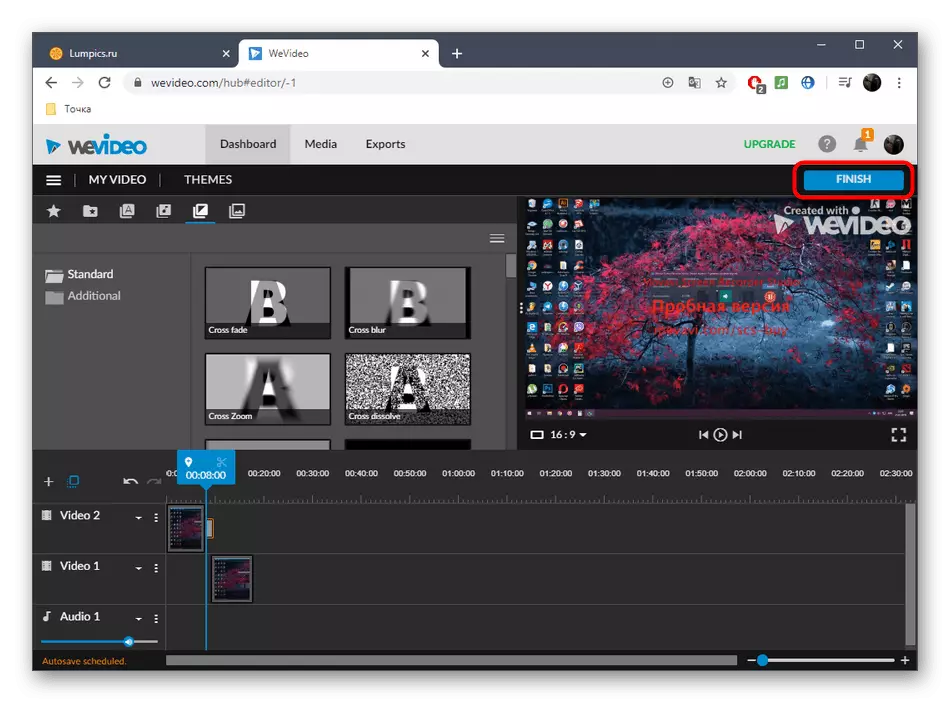
- When editing is completed, click on the blue button "Finish", which is located on the right above.
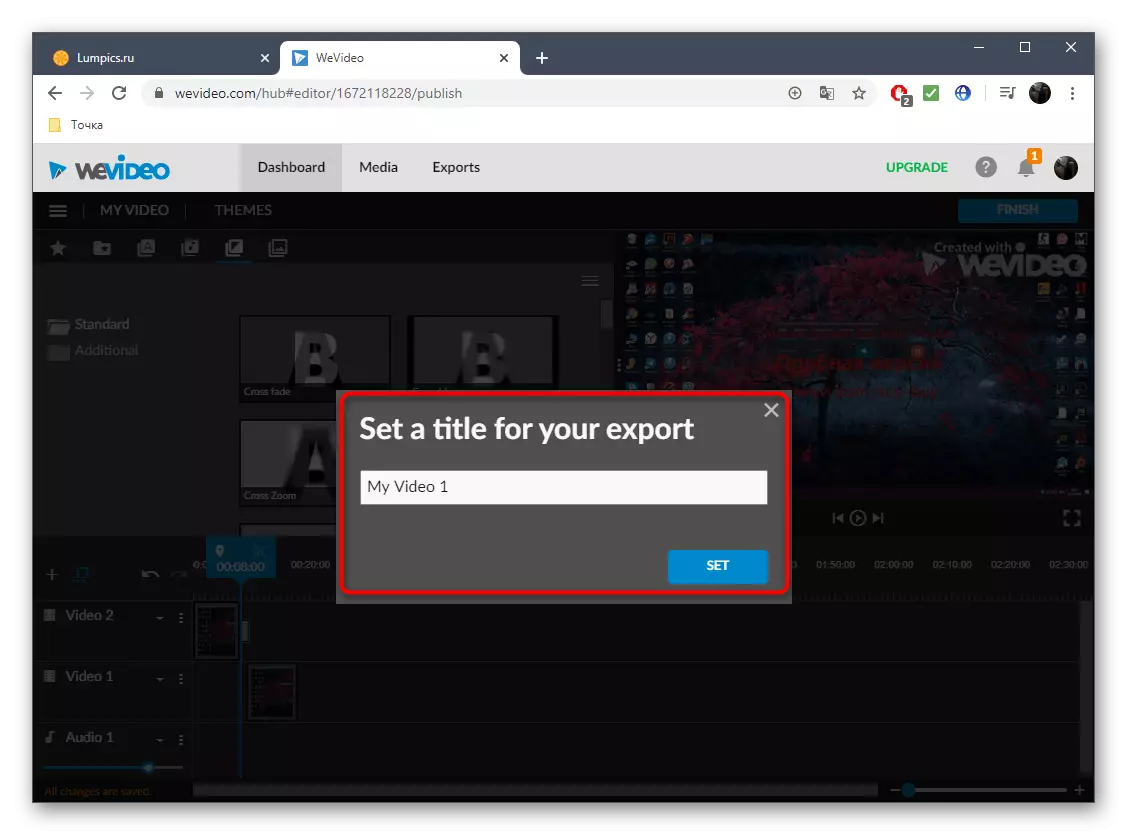
- Set the name for your project and click "SET".
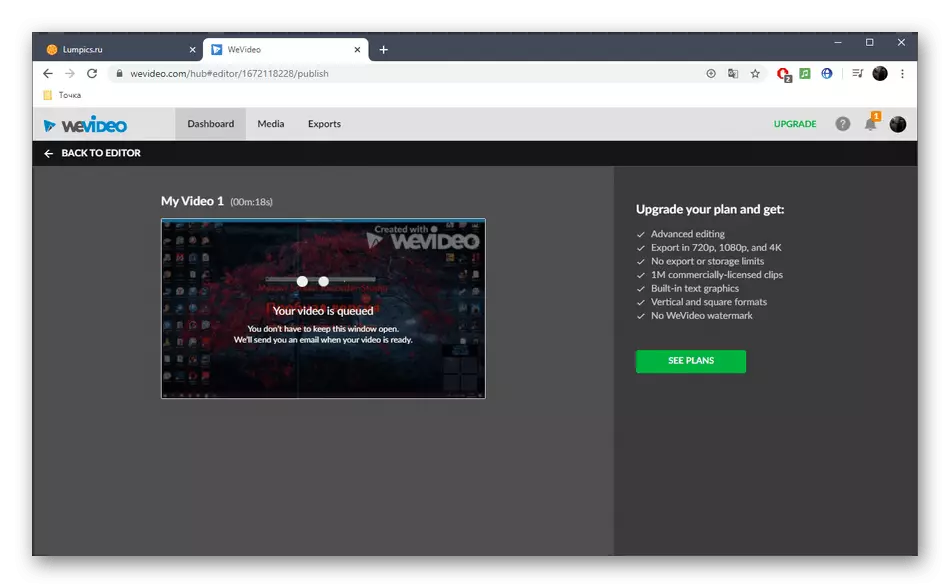
- Specify previews for the roller, use the quality present in the basic version and start export when you are ready.
- Video processing speed depends on its length, total volume and amount of additional elements. In any case, you will be notified of the completion.
- Rate the finished project in the preview window and download it to the computer if the final option is satisfied.
- The file will have MP4 format. Now it can be moved, watch or used for further editing for any purpose.


Method 3: FlexClip
Most online services providing video editing options are offered to acquire subscriptions to fully use all available functions. It also applies to FlexClip. Here, too, there is a free version, which will suit us for gluing a few videos in one.
Go to the online service FlexClip
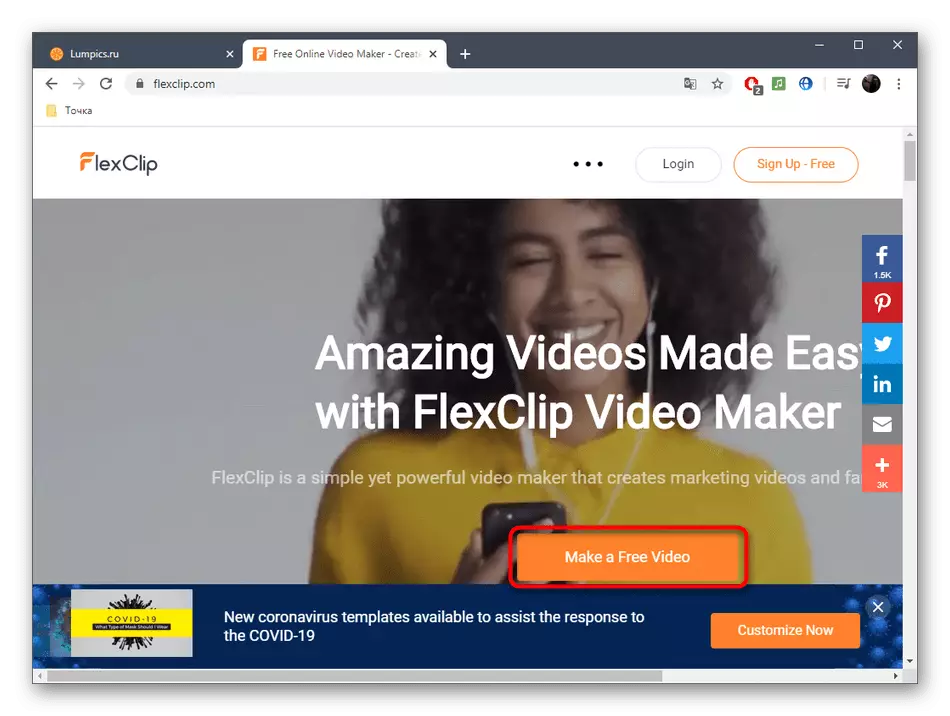
- Use the link above leading to the FlexClip home page, and click on the "Make A Free Video" button.
- We will not use the available templates, so just click on "Start From Scratch".
- In the Preview window, click on the up arrow button to go to the download of local files.
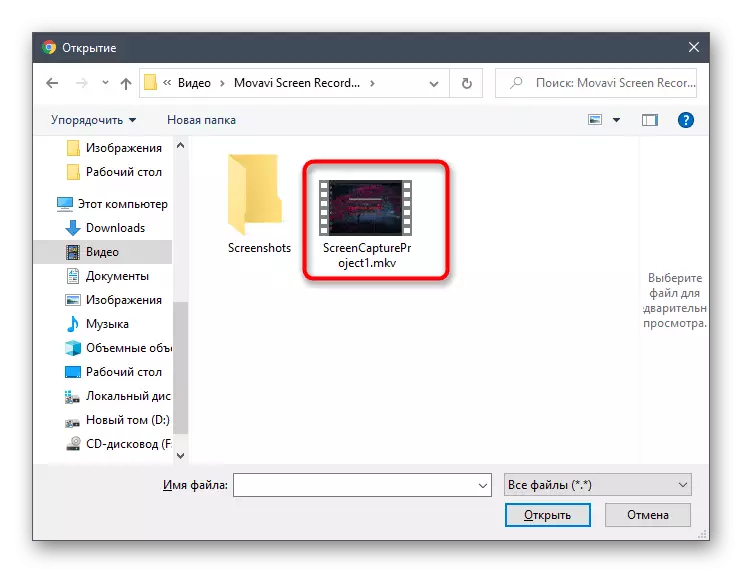
- Through the standard Explorer window, select one or more objects you want to connect together.
- You can view them before clicking on Trim Video.
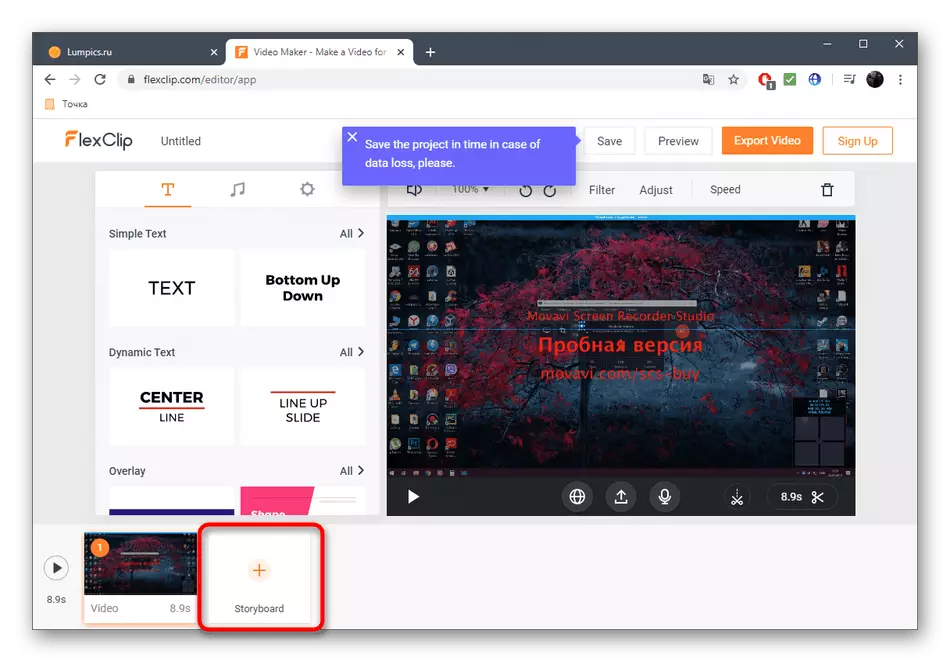
- Add a second stitching material by specifying the "Storyboard" item.
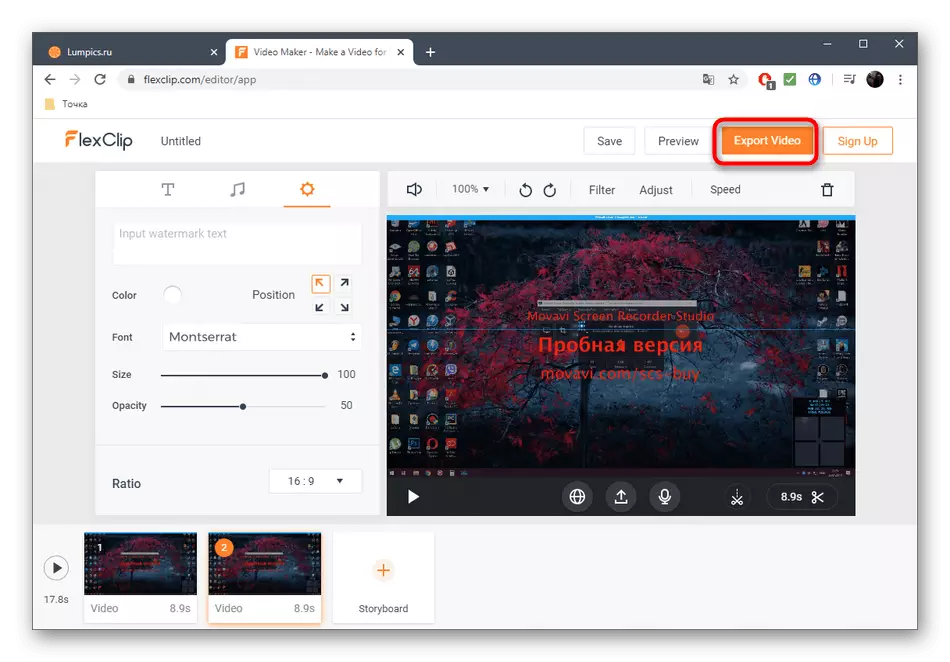
- If necessary, use additional settings by imposing text or music.
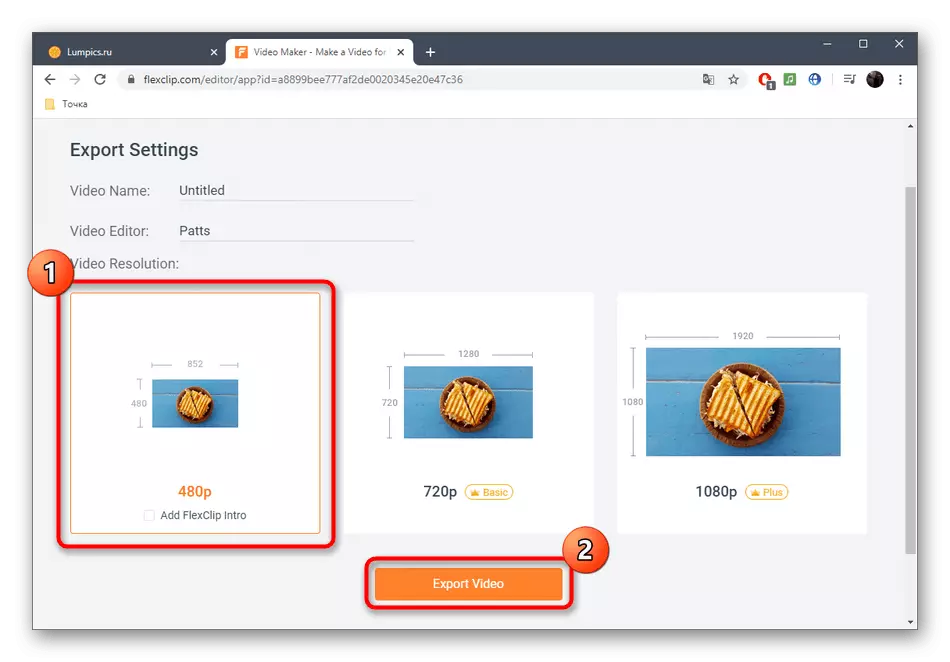
- Then click Export Video.
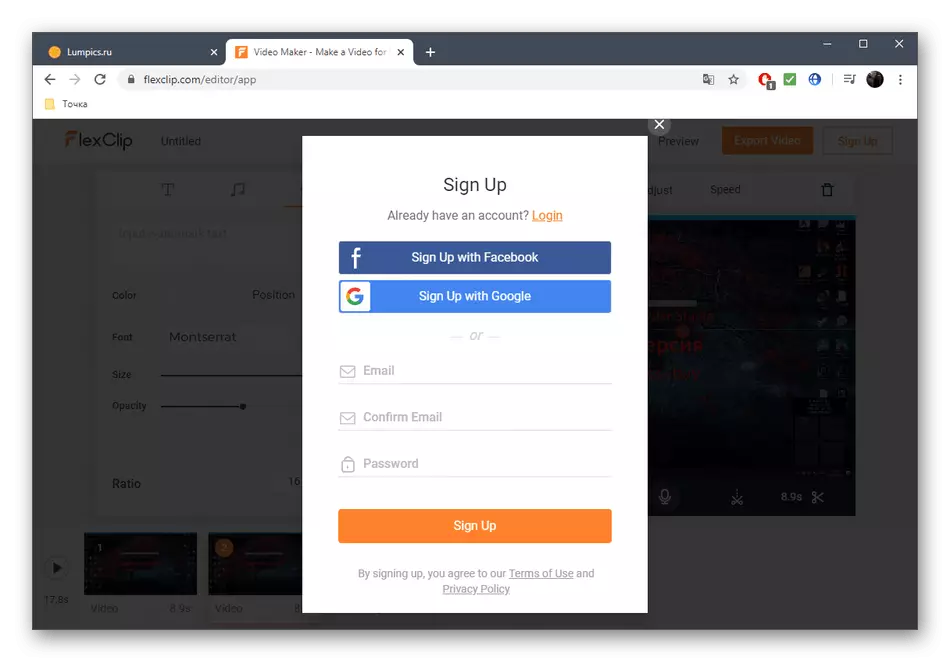
- Create an account or log in through other web services to open the ability to export.
- Select the available free format and start processing the material.
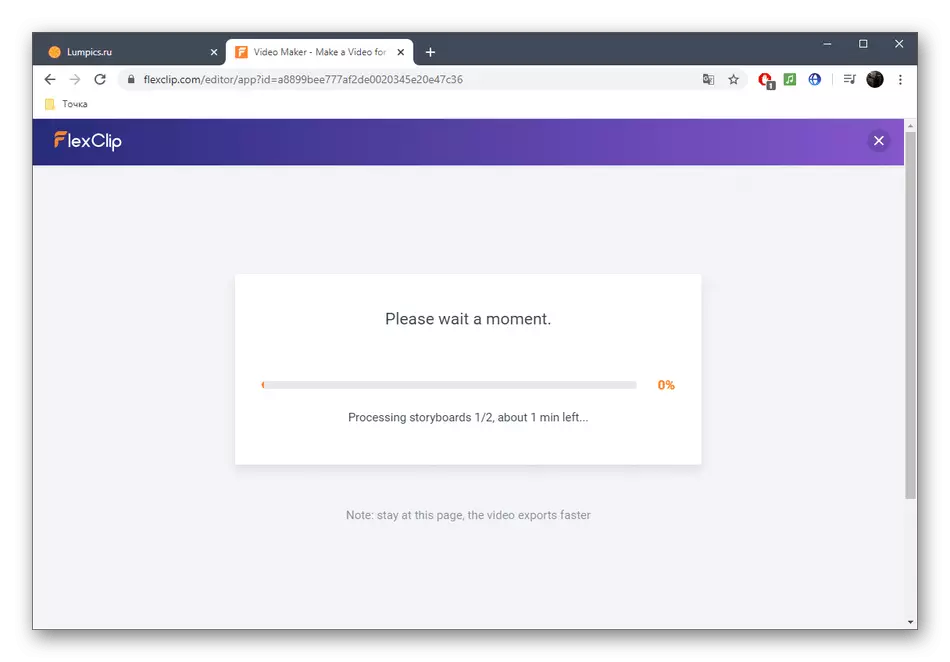
- Expect the render completion, following its progress in a separate tab.
- Upon completion, the roller will be downloaded automatically. Play it to make sure the gluing.


READ ALSO: Video orders for Windows