
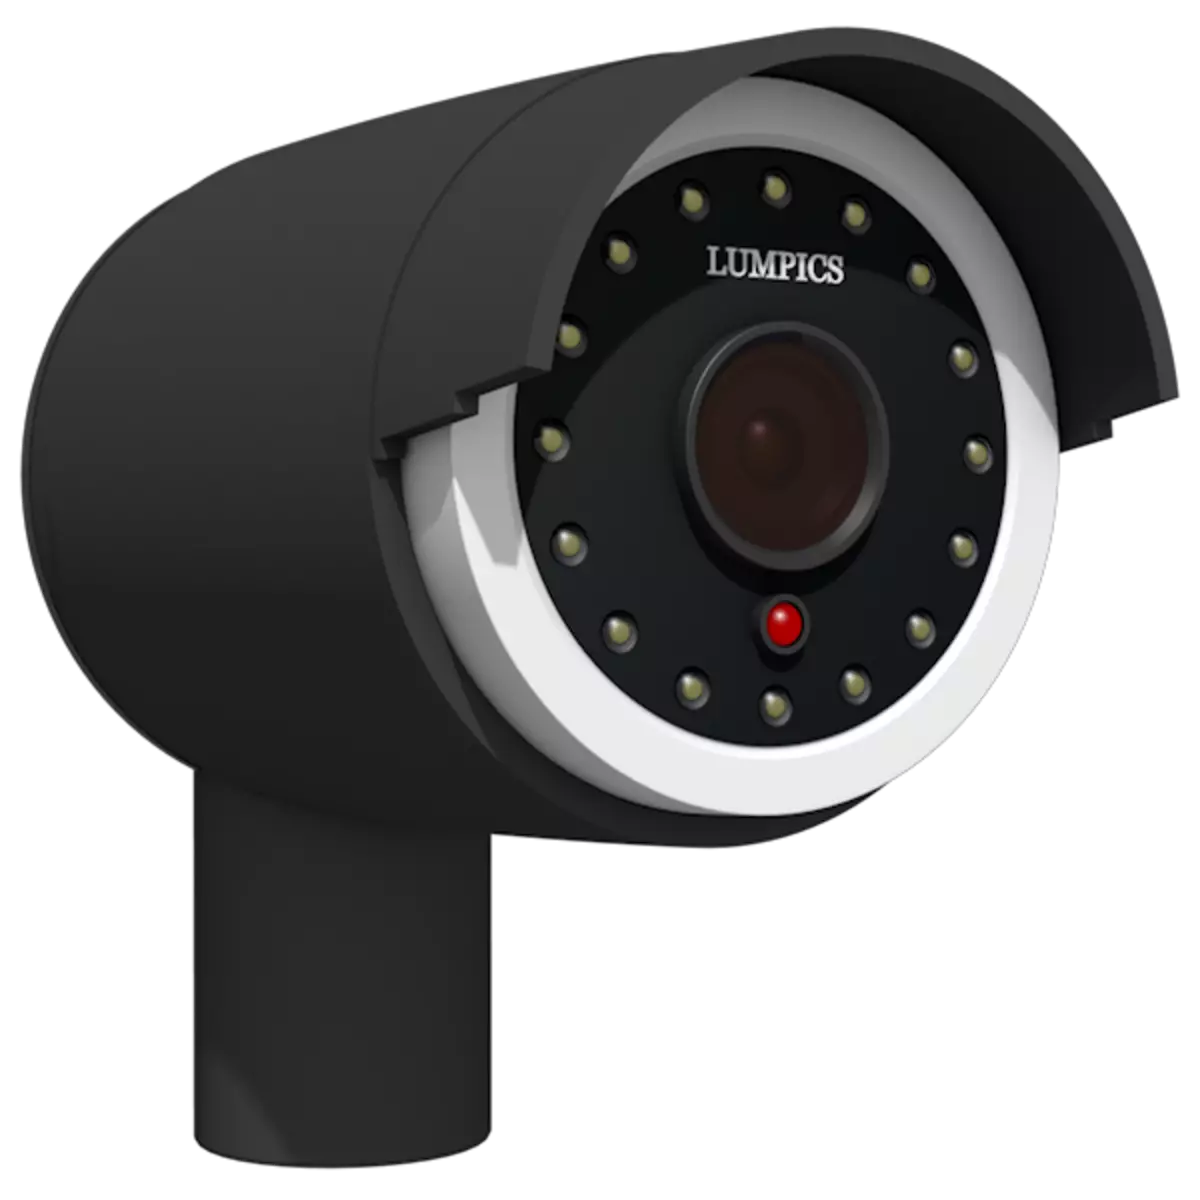
IP camera is a network device transmitting the video stream through the IP protocol. Unlike the analog, translates the image in a digital format that remains so right before displaying on the monitor. Devices are used to remotely control objects, so then we will tell you how to connect an IP camera for video surveillance to a computer.
How to connect an IP camera
Depending on the type of device, the IP camera can be connected to a PC using a cable or Wi-Fi. First, you need to configure the parameters of the local network and log in via the Web interface. You can do it yourself, using the built-in Windows tools or installing special software on your computer, which comes with a video camera.Step 1: Camera Setup
All chambers, independently used type of data transfer, are first connected to the computer network card. To do this, you will need a USB or Ethernet cable. As a rule, it is supplied with the device. Procedure:
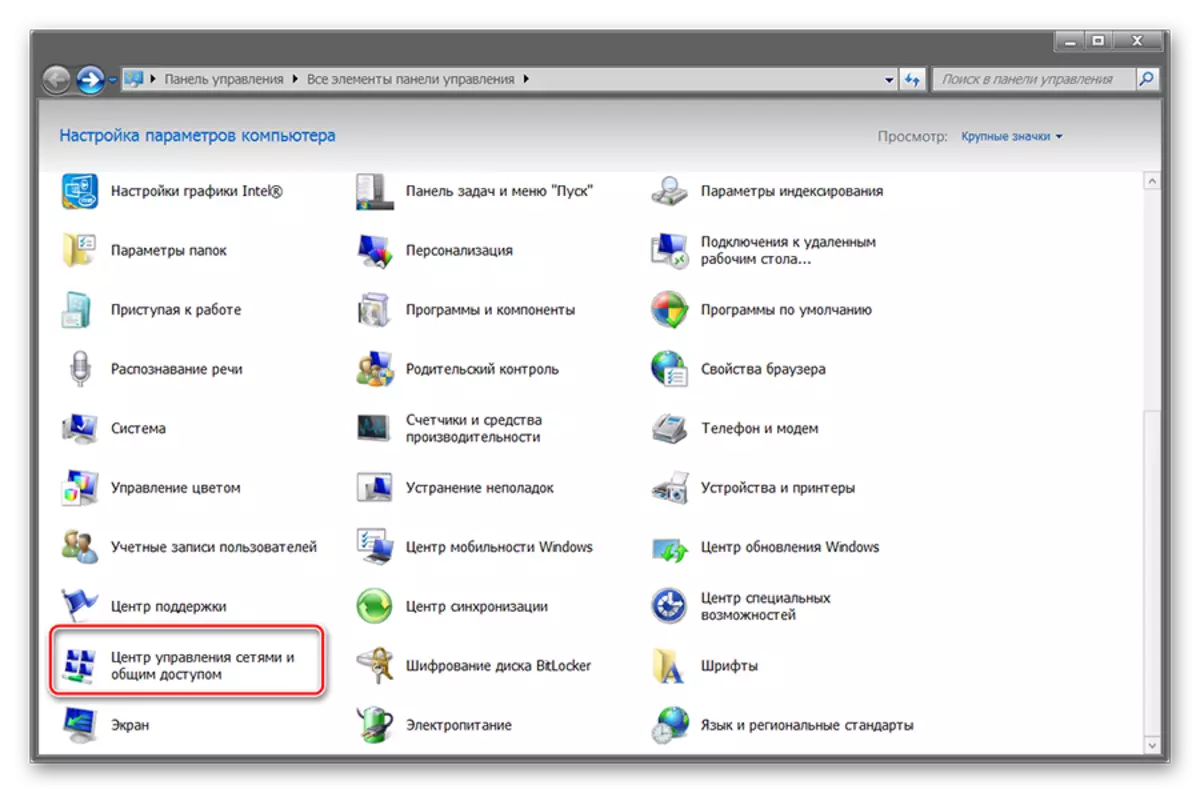
- Connect the camcorder to the PC using a special cable and change the default subnet address. To do this, launch the "Network and Shared Access Center". You can get into this menu through the "Control Panel" or clicking on the network icon in the tray.
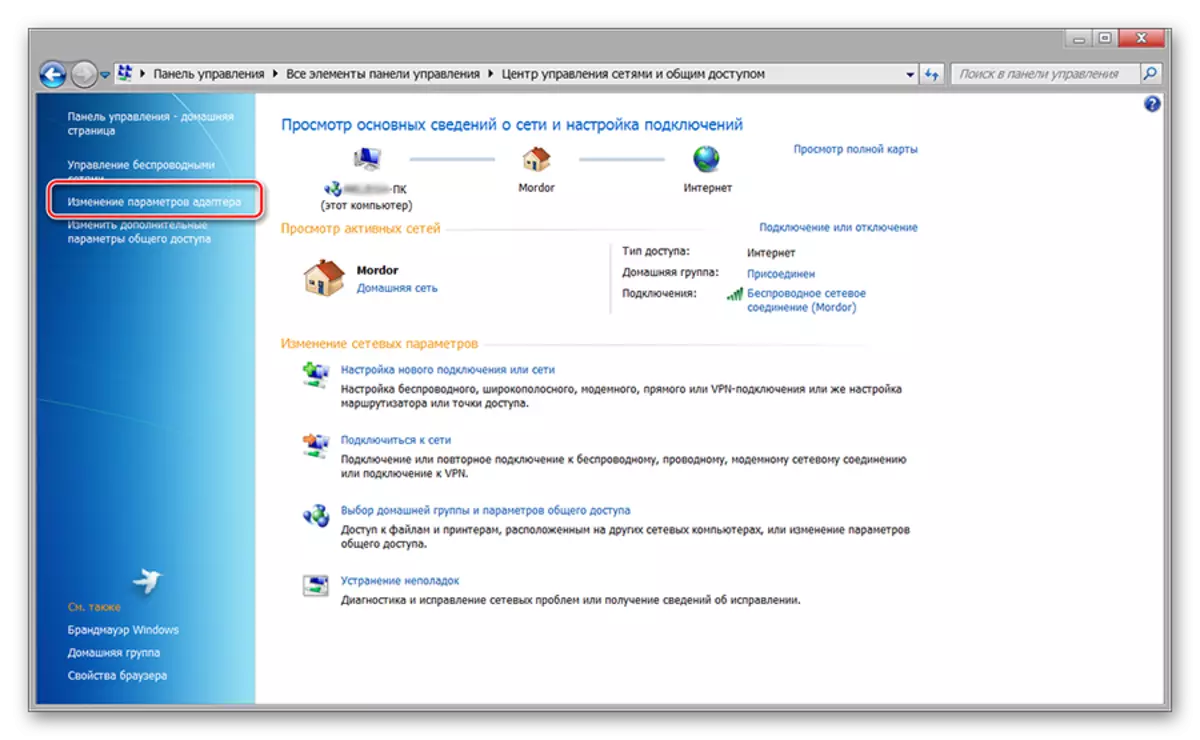
- On the left side of the window that opens, find and click on the "Changing Adapter Settings" string. Here will display the connections available to the computer.
- For the local network, open the "Properties" menu. In the window that opens, on the "Network" tab, click on the Internet version 4 protocol.
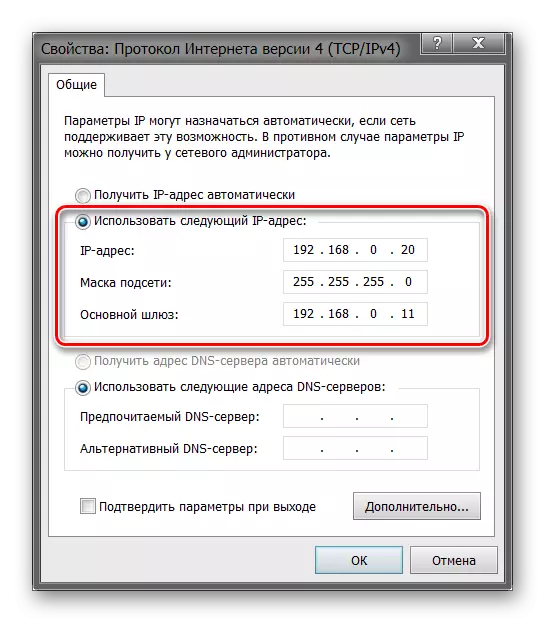
- Specify the IP address that the camera uses. Information is specified on the device sticker, in the instructions. Most often, manufacturers use 192.168.0.20, but different models may differ information. Specify the address of the device in the "Main Gateway" paragraph. Subnet mask Lost (255.255.255.0), IP - depending on the camera data. For 192.168.0.20, change "20" to any other value.
- In the window that appears, enter the username and password. For example, "Admin / Admin" or "Admin / 1234". The accurate authorization data is in the instructions and on the official website of the manufacturer.
- Open the browser and enter IP cameras in the address bar. Additionally, specify authorization data (login, password). They are in the instructions, on the device sticker (there, where IP).


After that, a web interface will appear where you can track the image from the camera, change the basic settings. If multiple devices are planned for video surveillance, connect them separately and change the IP address of each in accordance with the subnet data (via the web interface).
Stage 2: Viewing Images
After the camera is connected and configured, you can get the image from it through the browser. To do this, it is enough to enter its address in the browser string and log in with the help of login, password. It is more convenient to video surveillance with special software. How to do it:
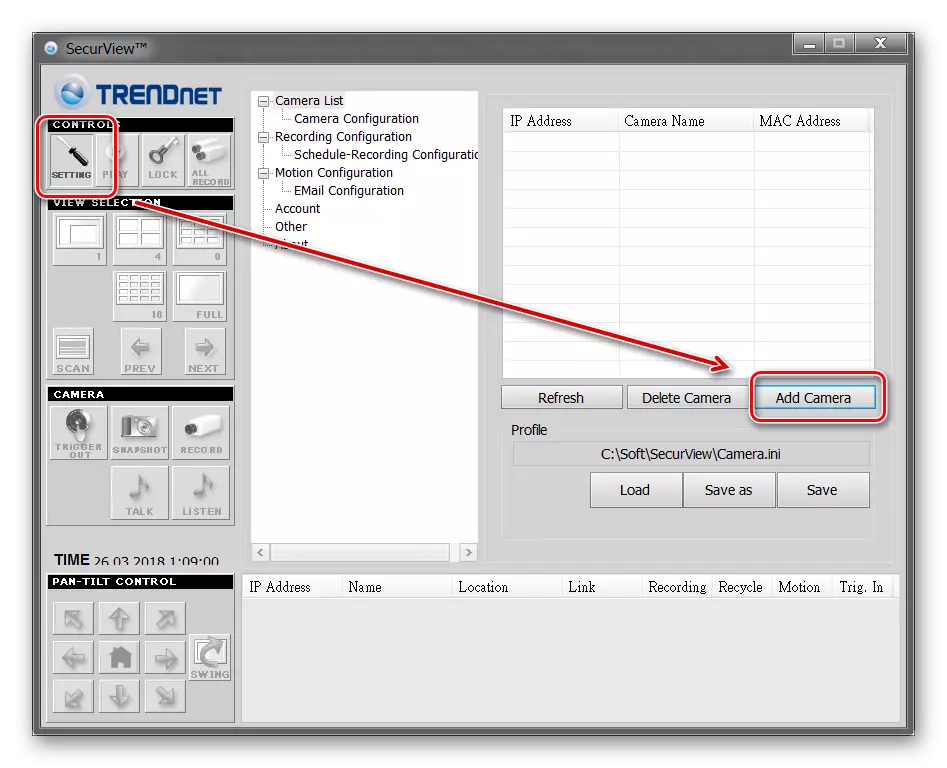
- Install the program that comes with the device. Most often it is a SecureView or IP Camera Viewer - a universal software that can be used with different video cameras. If there is no drives with drivers, then download software from the manufacturer's official website.
- Open the program and via the "Settings" or "Settings" menu. Add all device connected to the network. To do this, use the "Add New" or "Add Camera" button. Additionally, specify authorization data (which are used to access through the browser).
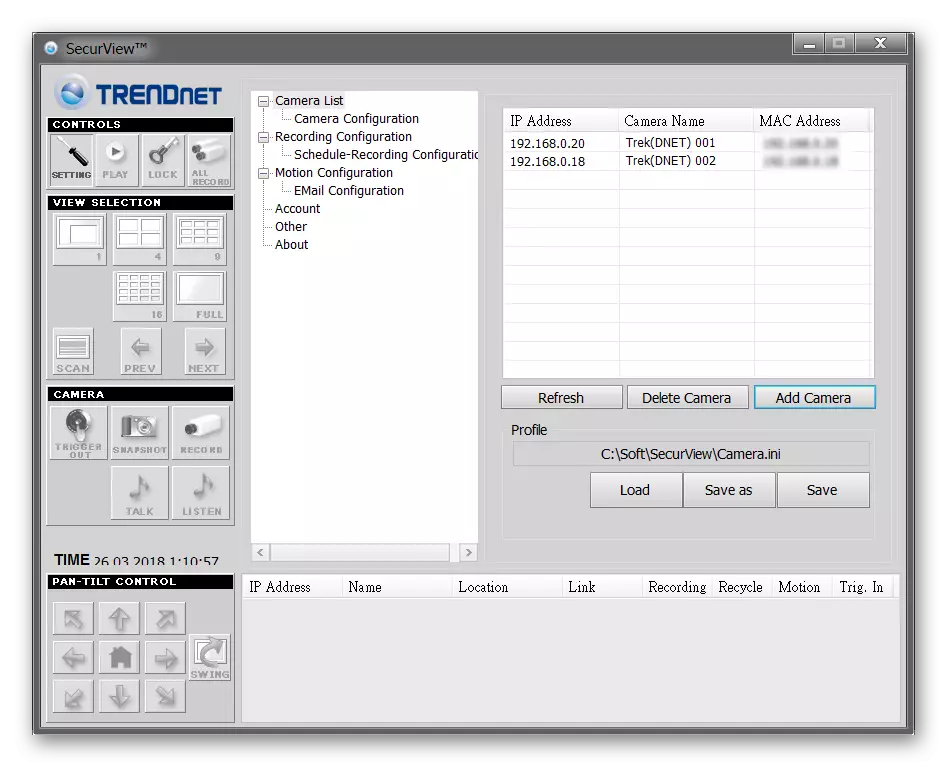
- The list will appear a list of available models with detailed information (IP, Mac, name). If necessary, you can delete the connected device from the list.
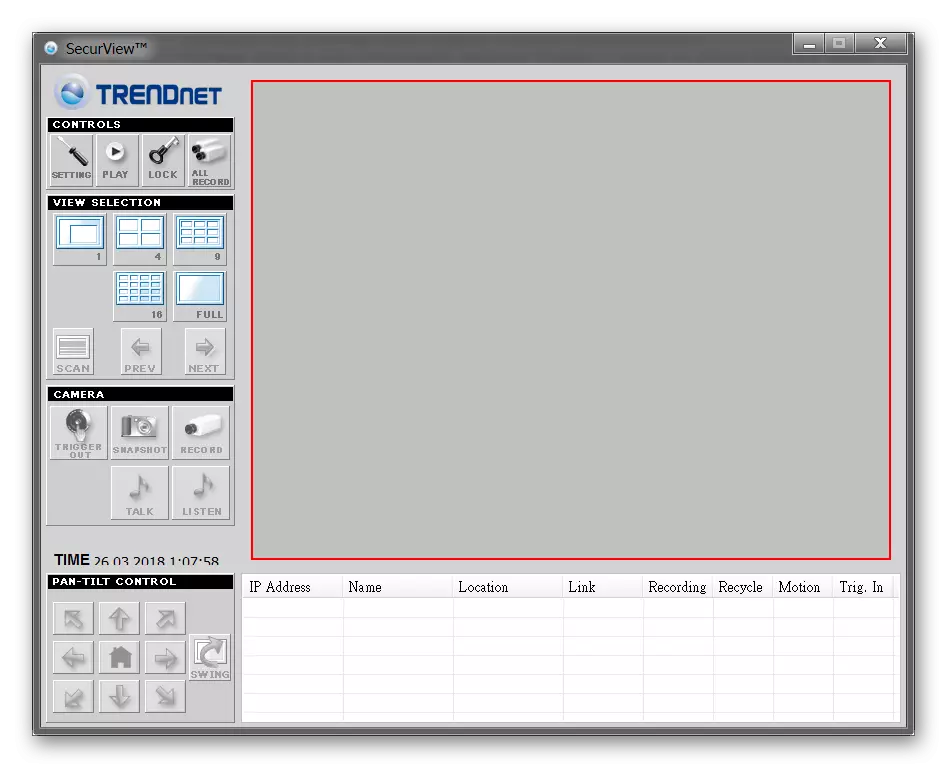
- Click the "Play" tab to start viewing the video stream. Here you can configure the recording schedule, sending notifications, etc.
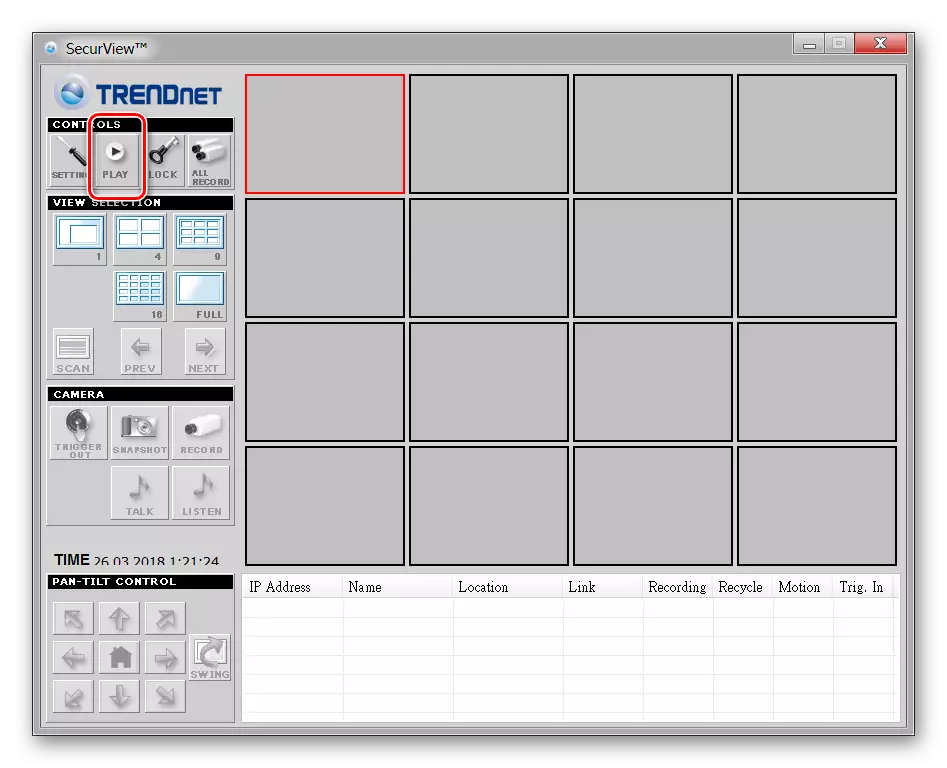
The program automatically remembers all the changes made, so it is not necessary to re-enter information. If necessary, you can configure different profiles for observation. It is convenient if you use not one camcorder, but several.
On this, the IP camera setting ends. If you need to add new equipment through the iVideon Server main screen. Here you can change other parameters.
Connection via IP Camera Super Client
IP Camera Super Client - Universal Software for Managing IP Equipment and Create Video Surveillance System. Allows you to view the video stream in real time, write it to the computer.
Download IP Camera Super Client
Connection order:
- Run the program distribution and continue the setting in normal mode. Select the location of the software, confirm the creation of shortcuts for quick access.
- Open the IP Camera Super Client through the Start or Label on the Desktop. The Windows security alert will appear. Allow SuperipCam to connect to the Internet.
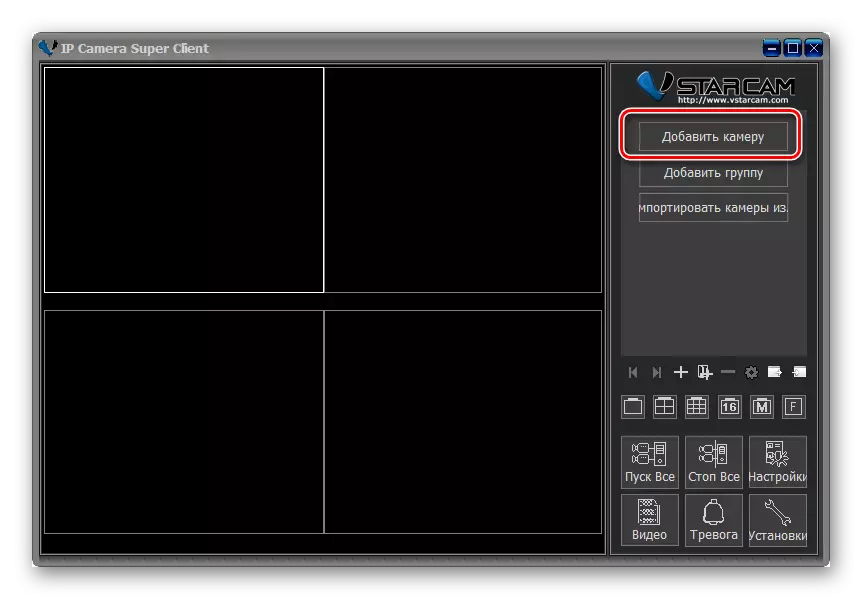
- The main IP Camera Super Client appears. Using a USB cable, connect the device to the computer and click "Add Camera".
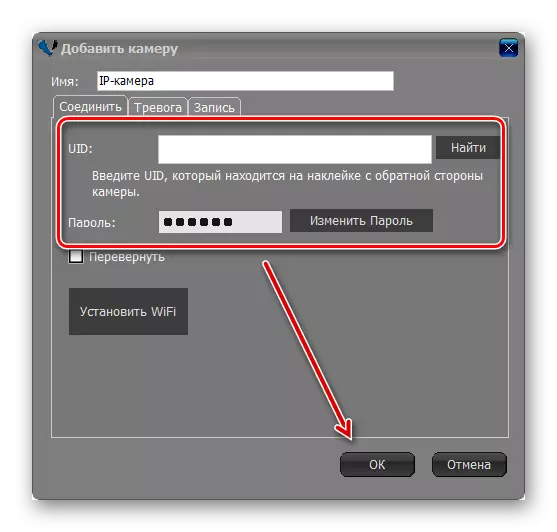
- A new window will appear. Click the Connect tab and enter the device data (UID, password). They can be found in the instructions.
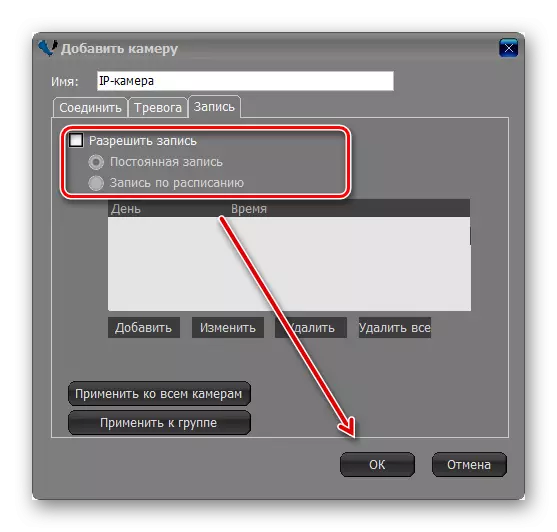
- Click the "Record" tab. Allow or disable the program to save the video stream to the computer. After that, click "OK" to apply all changes.


The program allows you to view the image from several devices. They are added in the same way. After that, the image will be broadcast on the main screen. Here you can manage the video surveillance system.
To connect an IP camera for video surveillance, you must configure the local network and register the device through the web interface. After that, you can view the image directly through the browser or installing a special software on the computer.