In modern realities, many sites and applications are blocked for a particular country or even for a particular user. Bypassing this restriction will be able to only only with a substitution of the IP address, and the most convenient to do this using various software. To quickly change information about your location, it is easier to use extensions installed in web browsers. One of the popular solutions for Google Chrome is now Zenmate. Consider what functions it provides.
Installing Zenmate in Chrome and Registration
The process of installing expansion is no different from the already familiar to all active users of the browser. However, immediately after installation, it is not possible to quickly change the location data - Zenmeit will require register a personal account, which, by the way, gives certain privileges for 7 days.
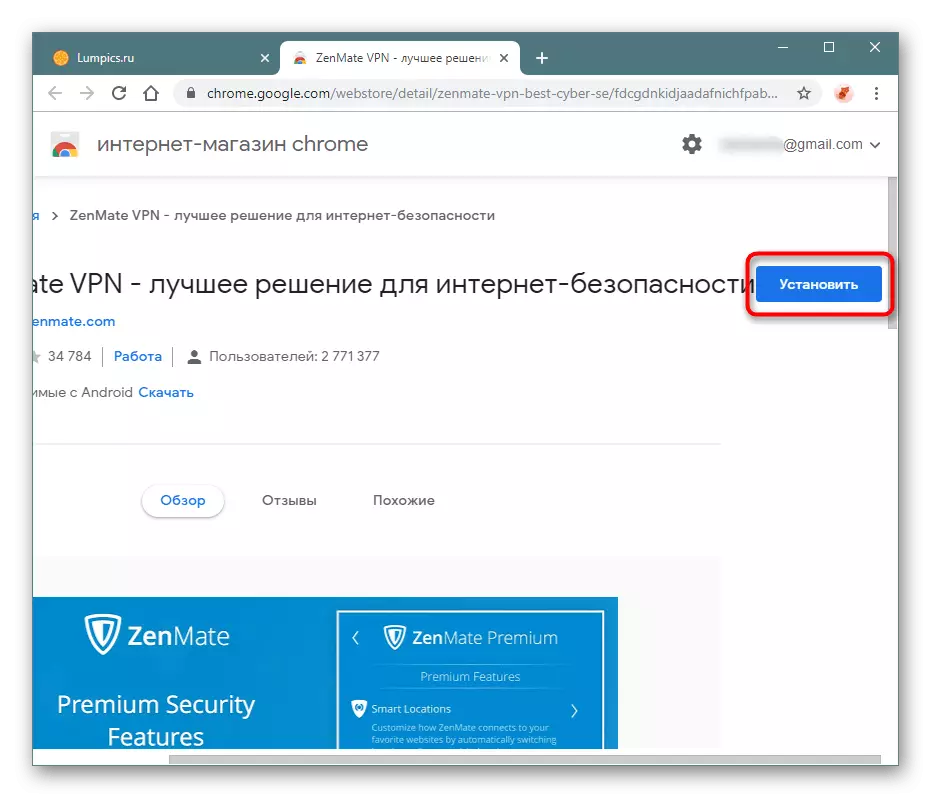
Download zenmate from Google WebStore
- Follow the link above to get to the VPN page in the chrome online store. Click on the "Install" button.
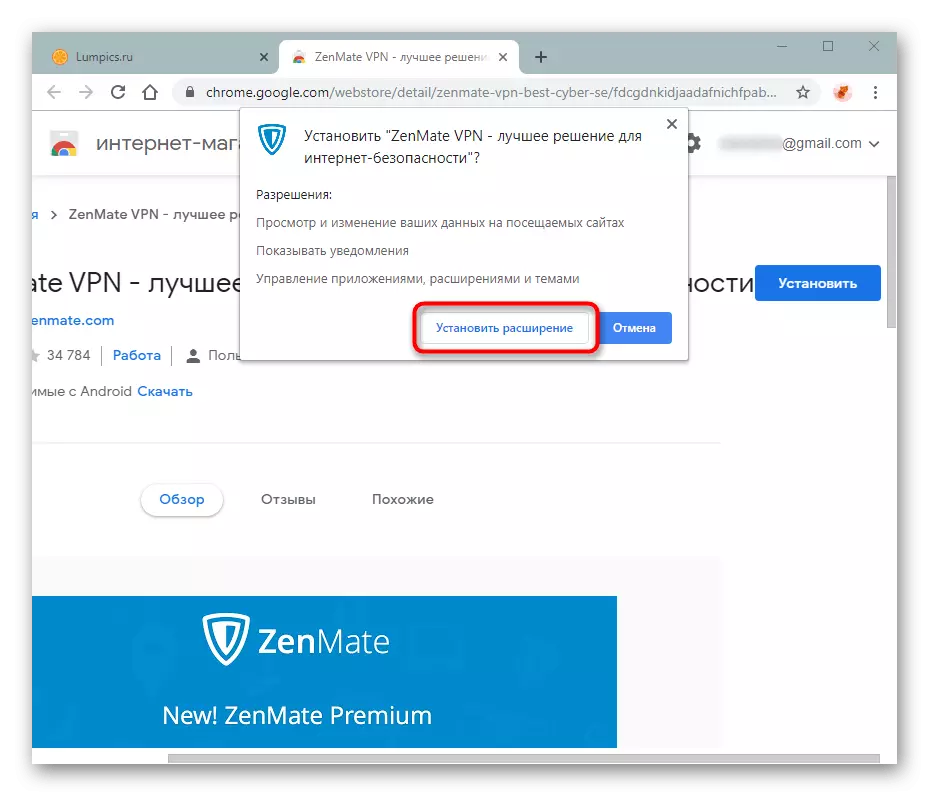
- Confirm your consent by clicking on "Install Expansion".
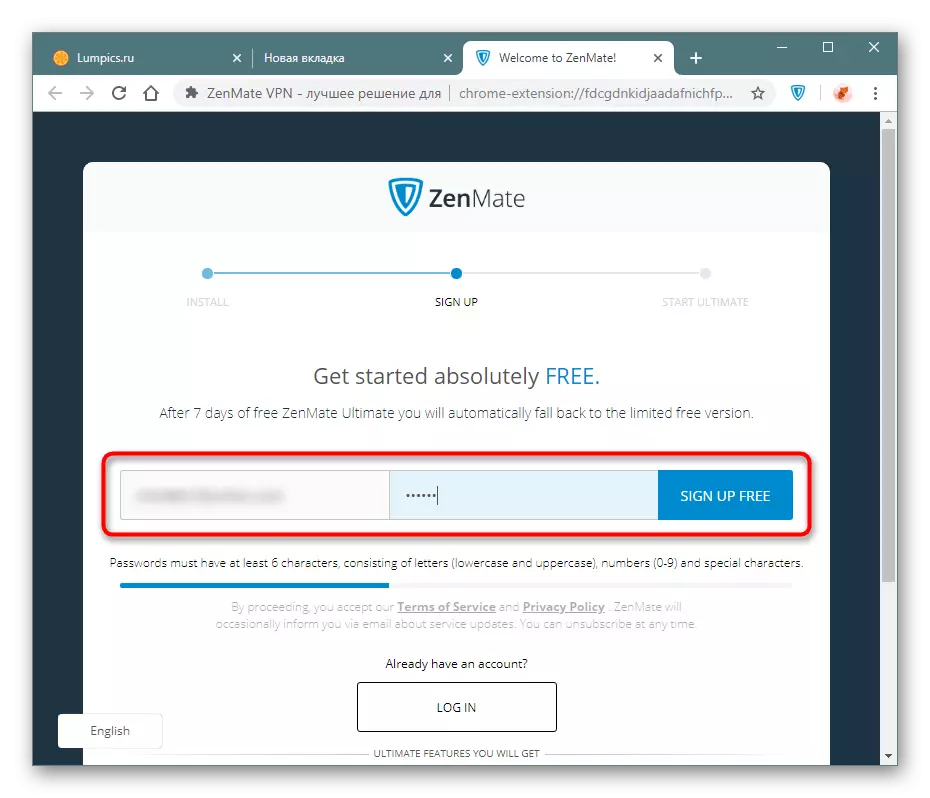
- After a short installation, a window opens. Fill in both of the fields by entering the email and password sequentially, and click Sign Up Free. We want to notice that the password here must be complicated here, otherwise you just can not go. It should consist of at least 6 characters, contain lowercase and uppercase (i.e. small and large) letters, numbers and symbols. For example, LUMPICS-1.
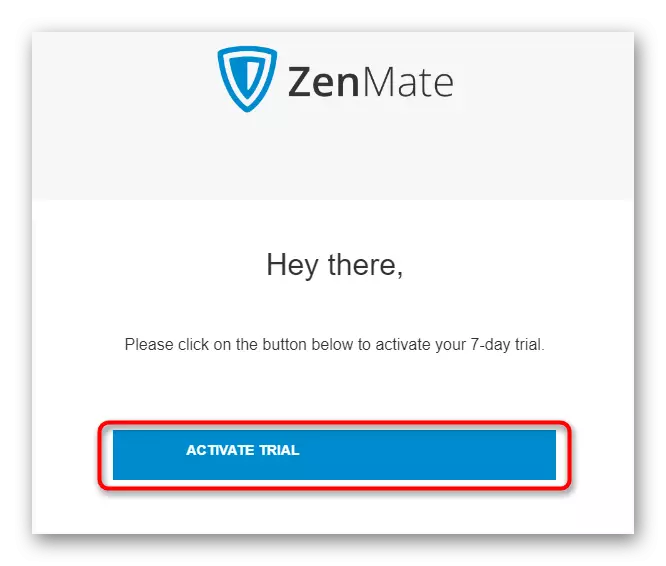
- After successful registration, a window opens with your account. The status "Pending Trial Confirmation" means that to complete you need to activate it. To do this, open the mail on which you can register and click on the "Activate Trial" link.
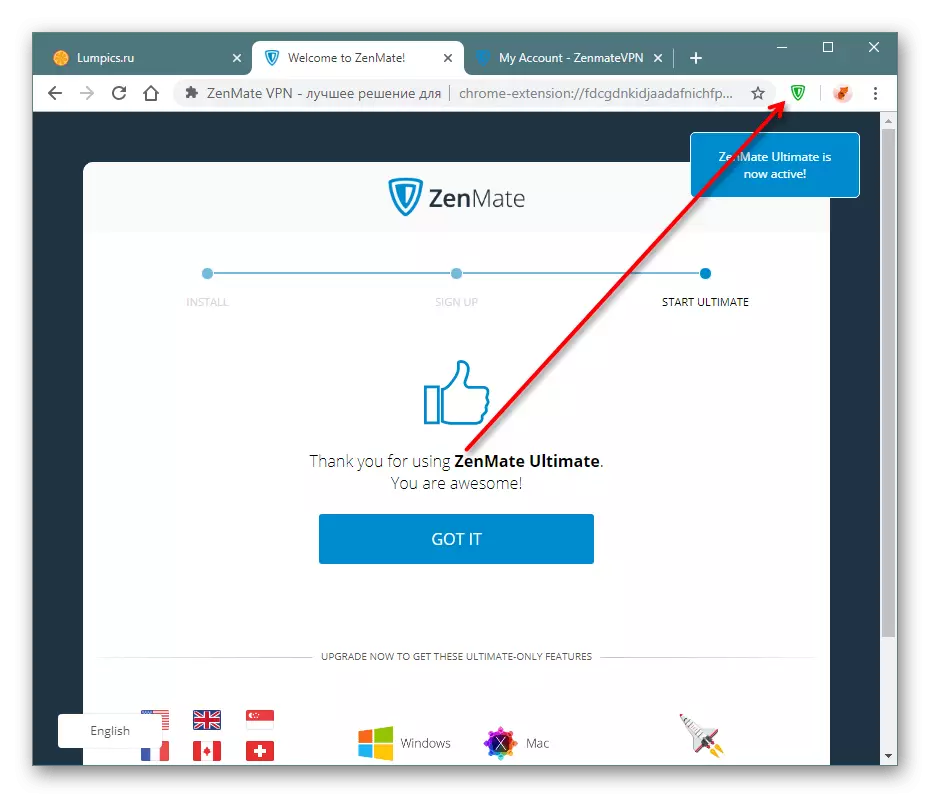
- A window appears with a notification that the application is already working. Click on the extension icon that has become green.
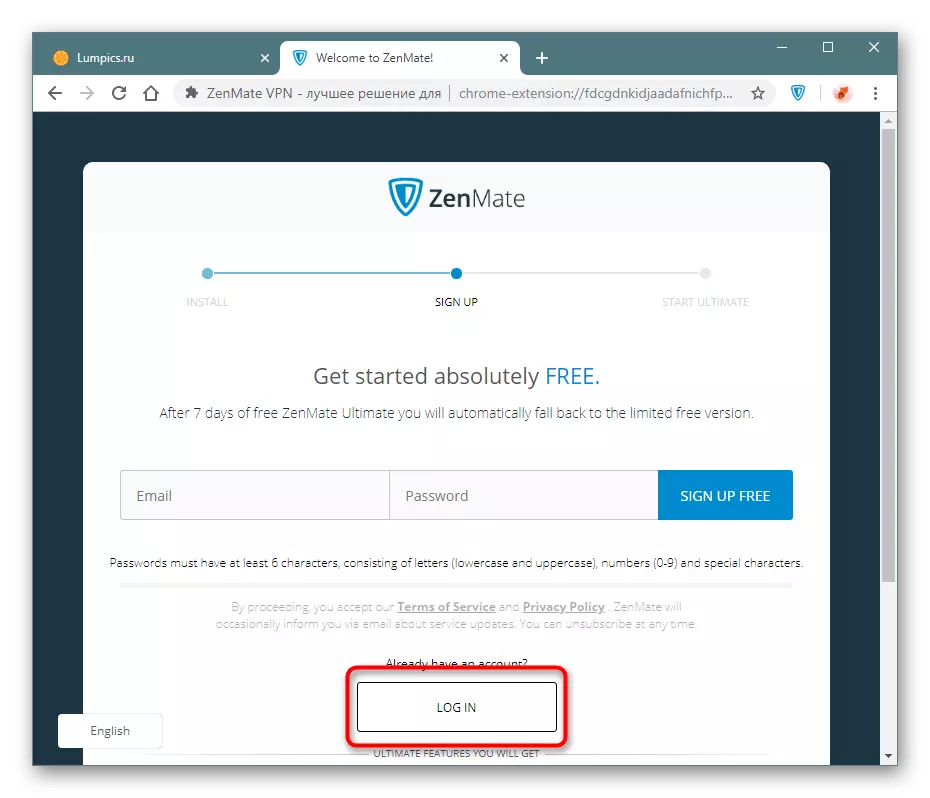
- You may need to additionally enter the account with these same data. To do this, click "Log In".
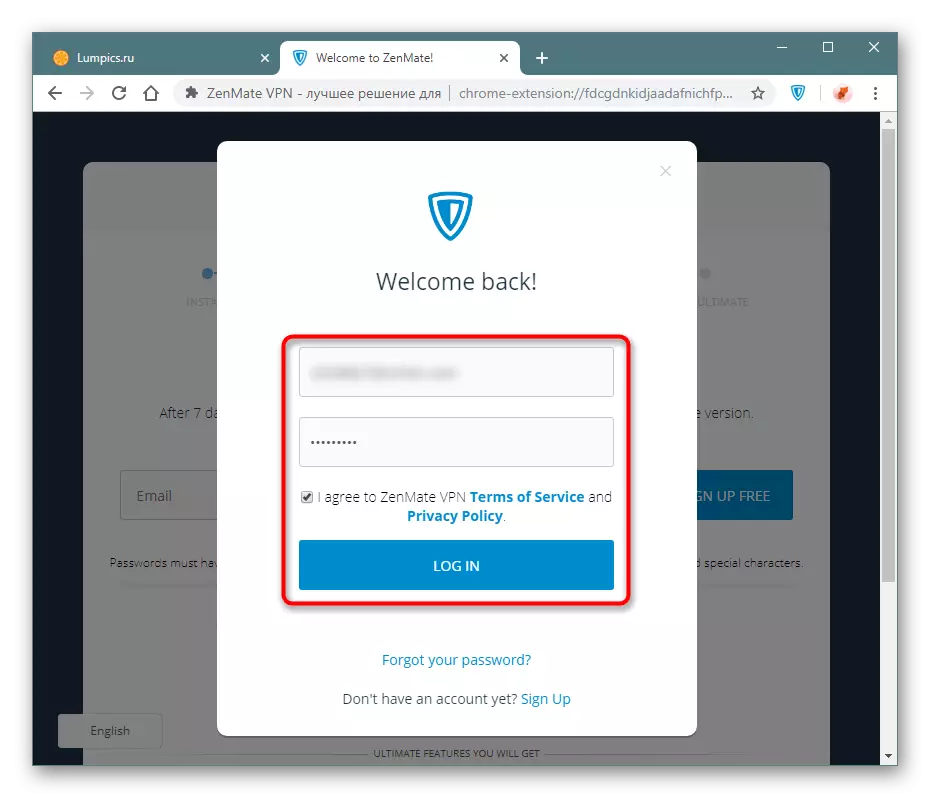
- Enter the registration data, check the fact that it agrees with the terms of the company, and re-click on "Log In".
Using zenmate.
Extension can be started to use. We recommend not to hide its button from the panel, otherwise you will not manage to manage. The menu call is performed by pressing the left mouse button on the Zenmeit icon.Enabling and shutdown
By default, the extension works for all sites immediately when starting the browser. If there is a need to disable its operation for a while, expand the Add-ons menu and click on the bottom right button with the "ON" name.
The turned off extension is turned on in the same way, only the button will be called "OFF".
Setting up the interface language
If the VNN interface is not in the language you need, you can always change it.
- By default, I used English, so we go to "settings".
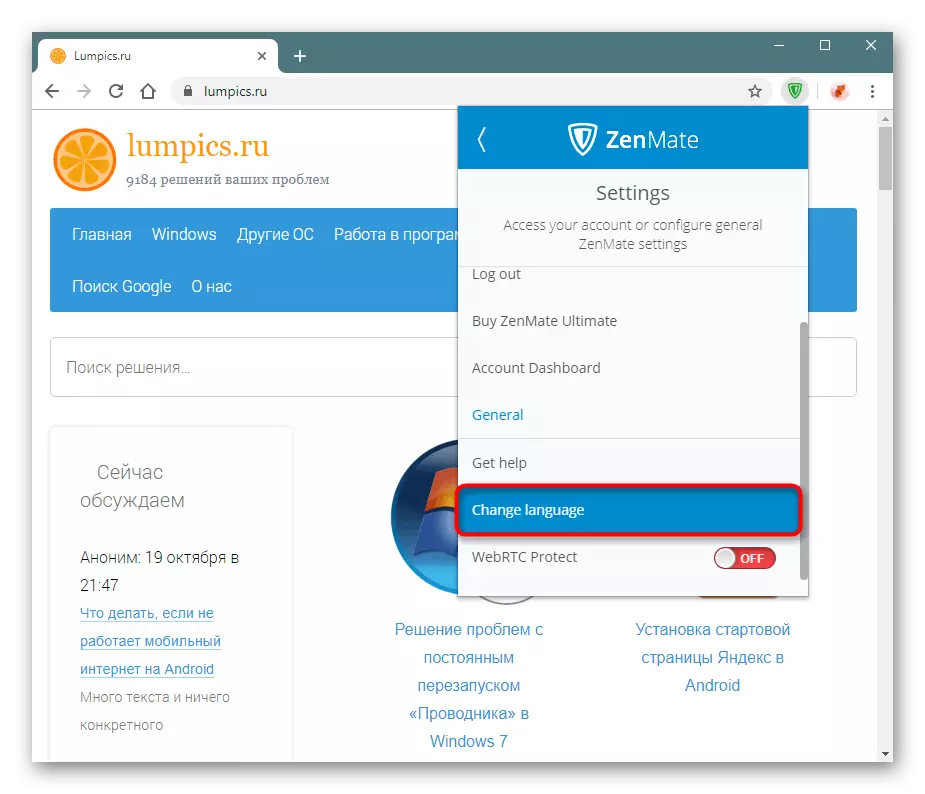
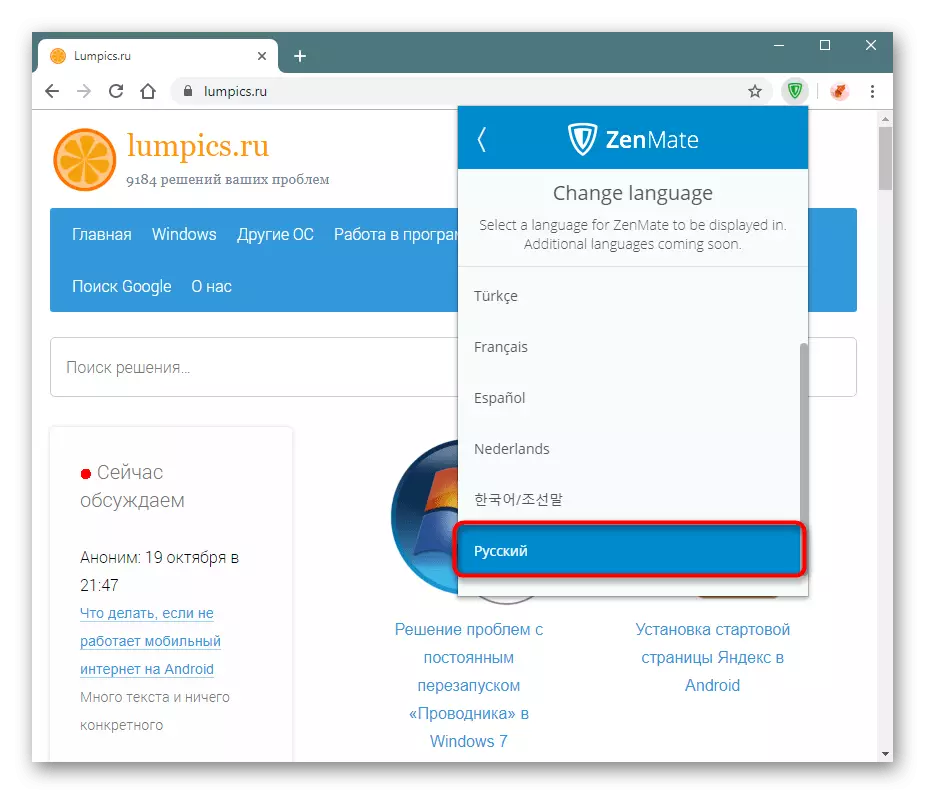
- We are looking for "Change Language".
- I specify a suitable language and click on it.

Change IP Address
We will analyze the basic possibility - change IP.
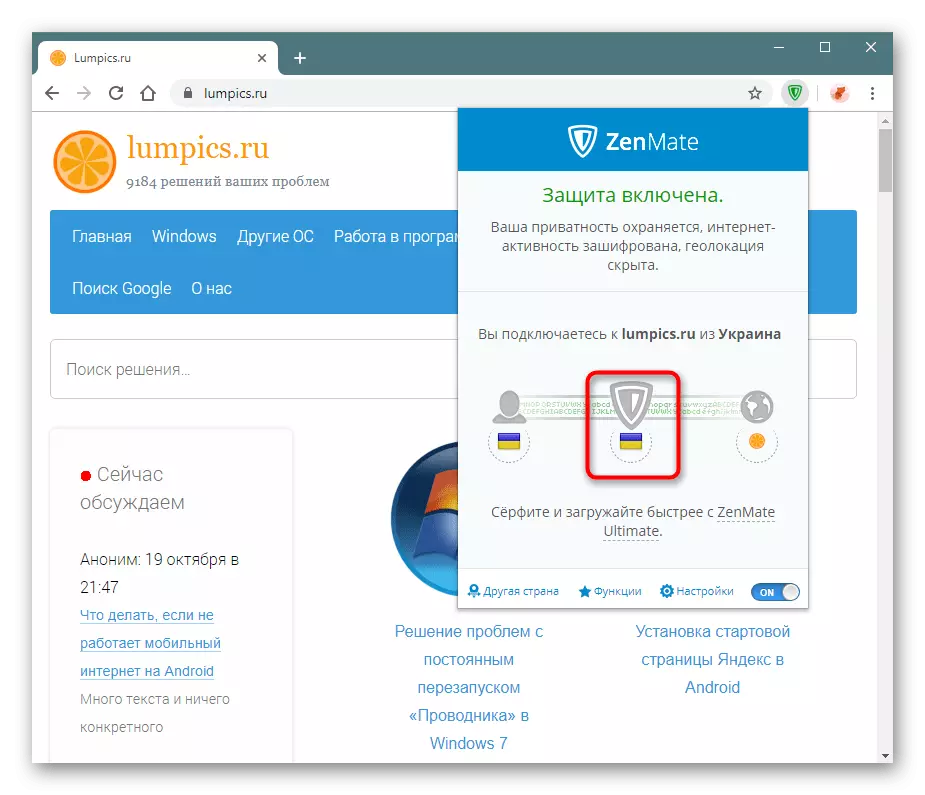
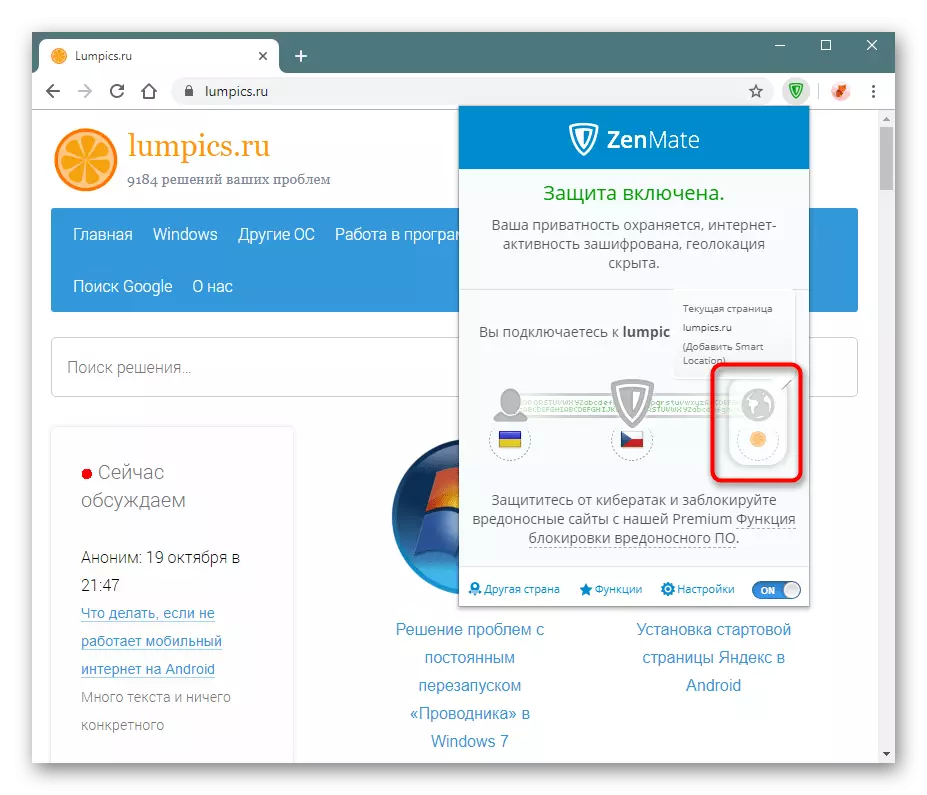
- By default, the addition picks up the same country in which you live, but simply changes the ip inside her. Not everyone is satisfied with this option, so we click on the icon in the middle, having the logo of the extension itself.
- Through the search or manually, select the desired country and click Edit. Selected countries are better to marry "asterisk" to have quick access to them.
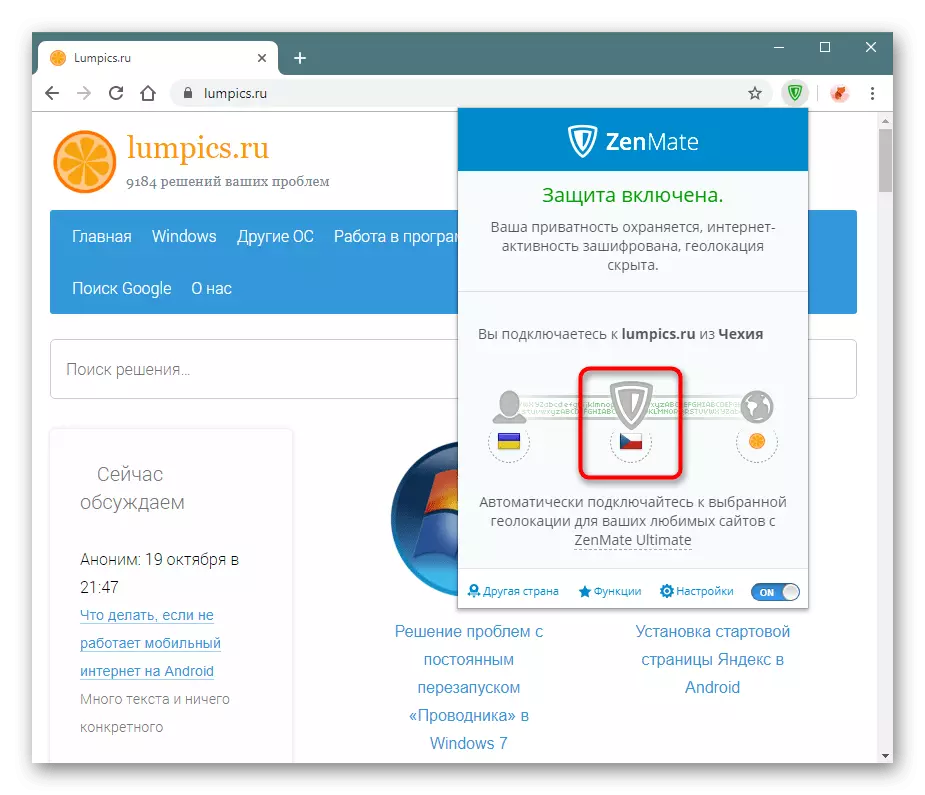
- After selecting the country immediately applies and you will see its flag.
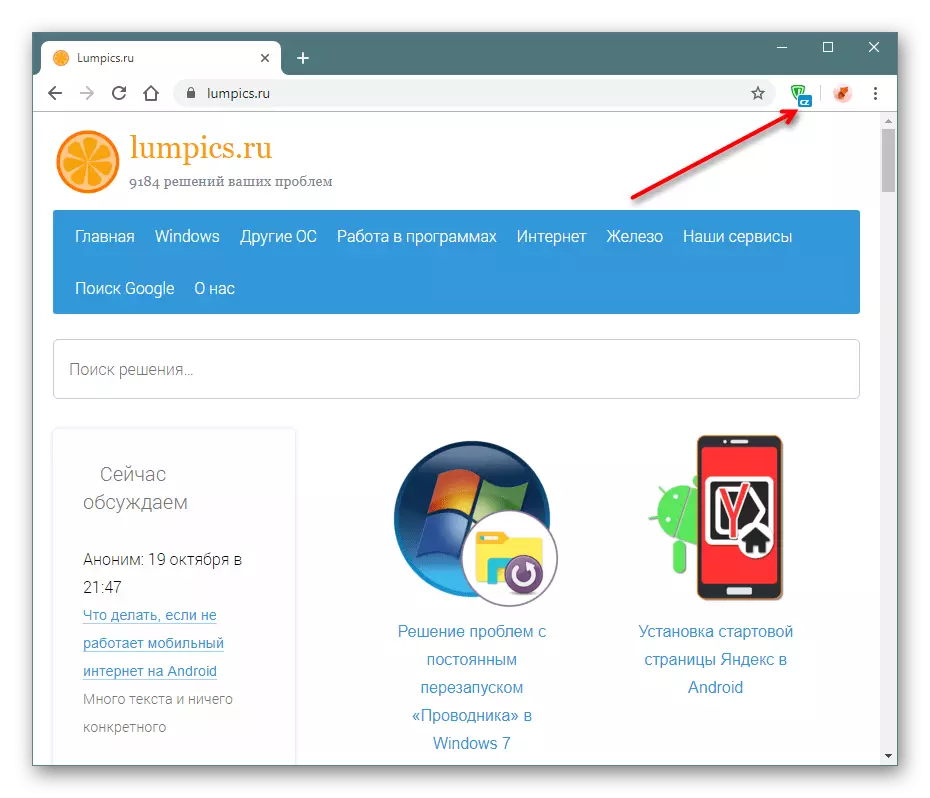
- The extension button will also display the generally accepted country code. In our example, this "CZ" is the Czech Republic.
- Check whether the address has really occurred. Open the site to check the IP and see the result. Please note: the service immediately realized that a proxy was used, so if you plan to enter the sites that collect detailed statistics on visitors, take into account the moment that this moment is not difficult to determine this moment. However, most sites do not respond to the use of proxy, this warning concerns special cases.
Now all sites will open through the specified country that you can change at any time.
We remind you that the complete list of countries is available exclusively in the paid extension version, which you can use the first 7 days for free. In the future, ZenMate will automatically switch to the free version, offering only several countries to connect. In addition, the connection speed via VPN in the basic profile status will also be lower.
Creating smart locations
Zenmate allows you to create smart filters: for each site you yourself assign the country, which will receive the IP when switching.
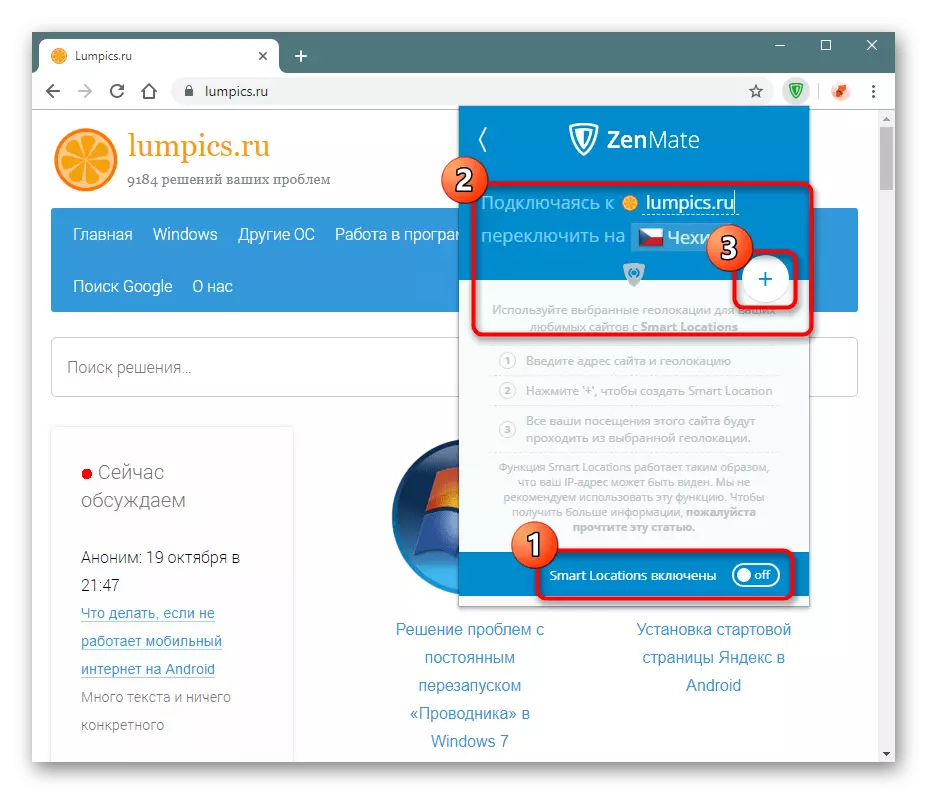
- Open the extension menu and click on the third icon in the connection chain, also having a globe icon.
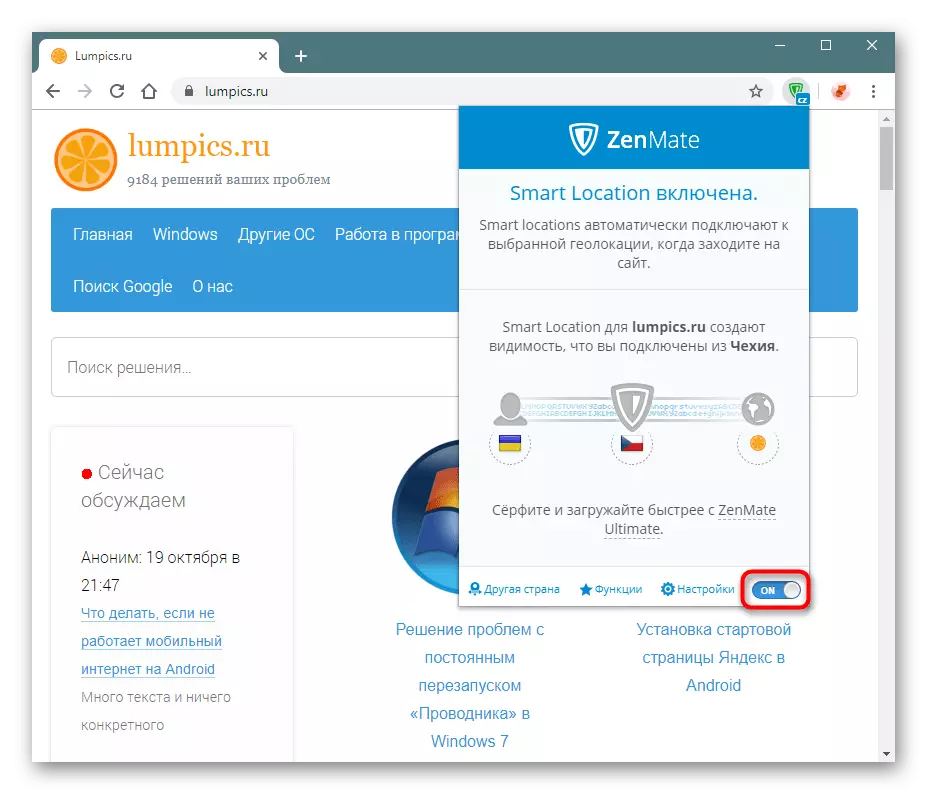
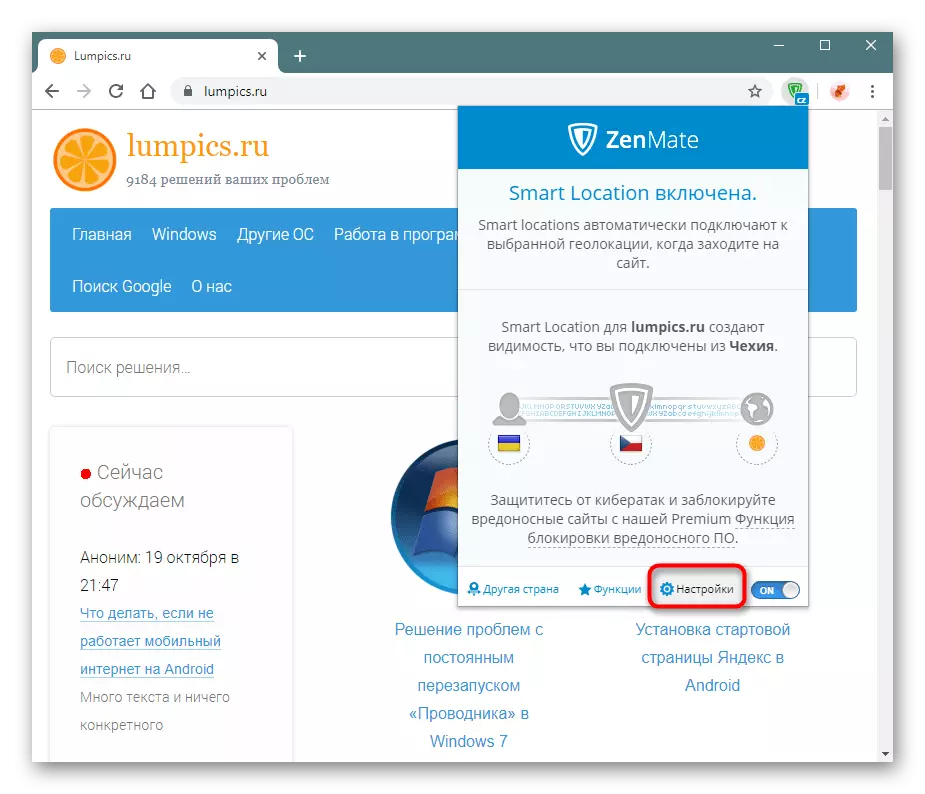
- First of all, enable support for smart locations by switching this slider to the "ON" status. By default, the data for the smart filter will be set automatically: this is the site where you are at the current moment, and the country previously selected for the IP substitution. If necessary, click on the fields to change the information. In the end, it remains to click on the "+" icon.
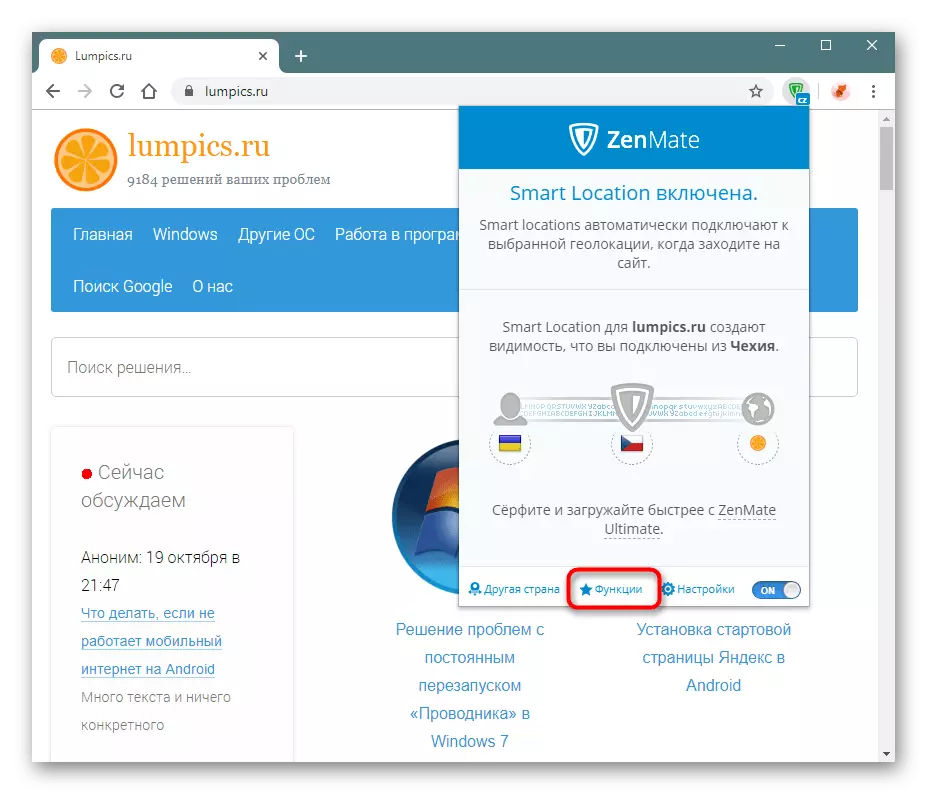
- Smart location will be added and appears in the list. The form for the creation of "Smart Location" will be half empty. Enter any other address of the site and select the country for it, and then click on the "plus" again. However, it is more convenient to do it, being on the desired site - it will not be necessary to manually print its address.

The "Smart Locations" feature is that when Zenmate is turned off, they will continue to work. Consider this when creating rules.
Additional functions
Premium users have the ability to customize additional safety. While you are on a 7-day trial version, you can also use them.
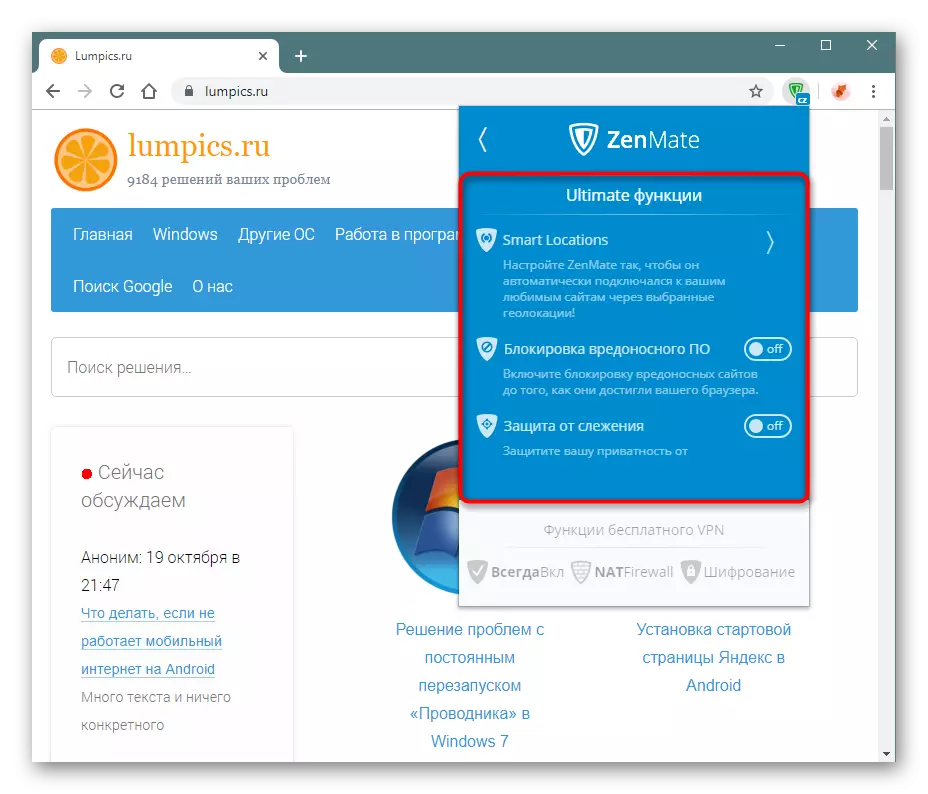
- Expand the extension menu and press the "Functions" button.
- In the blue block, there are tools for a paid extension version, which is allowed to test during the trial term. Smart locations ("Smart Locations") We have already turned on and figured out how to use them. By clicking on this item, you can manage all filters by deleting and adding them yourself.
- The remaining two default tools are turned off, but if after reading the description they are interested, activate them.
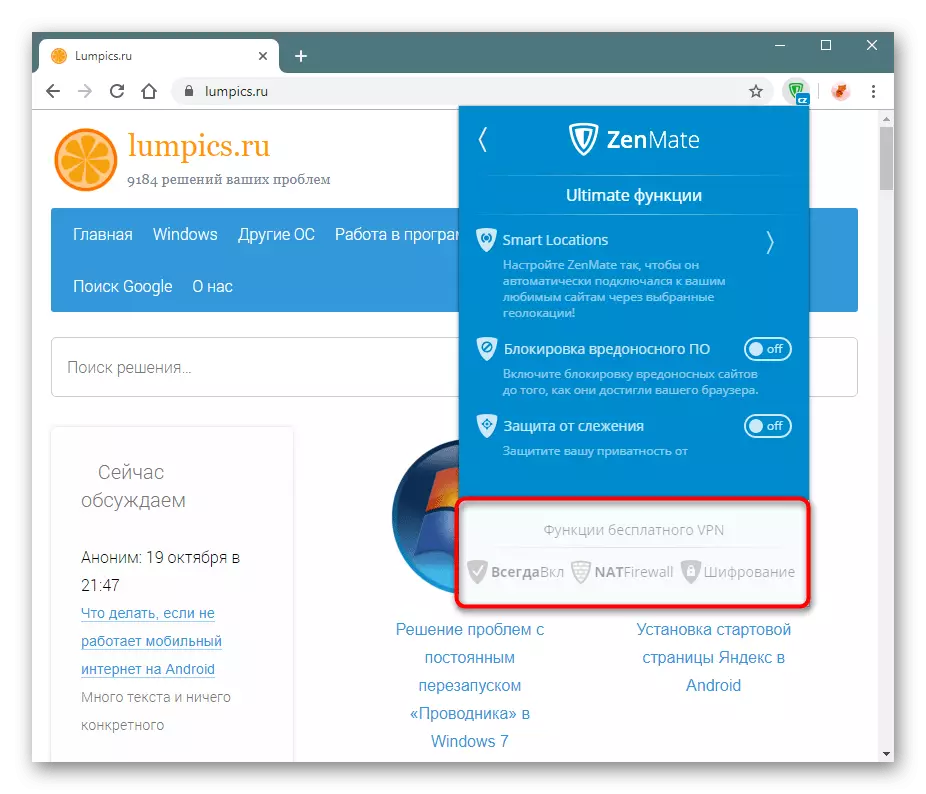
- When a transition to a free version occurs, these options will be disabled. Three functions are already available for you (automatic inclusion, NAT Firewall and encryption), to control the state of which through this window will not work. Looking at them, you can only read the description.
Disable Webrtc.
Advanced users know that WEBRTC technology activated by default in many browsers sometimes causes IP leaks, which completely levels the benefits of VPN. Many web browsers on the Chromium engine, where comes and google chrome, do not allow to disconnect the WebrTC unlike more private Mozilla Firefox. In this regard, the deactivation of this technology should be carried out by coaming paths. So, zenmate allows you to turn it off through your own settings.
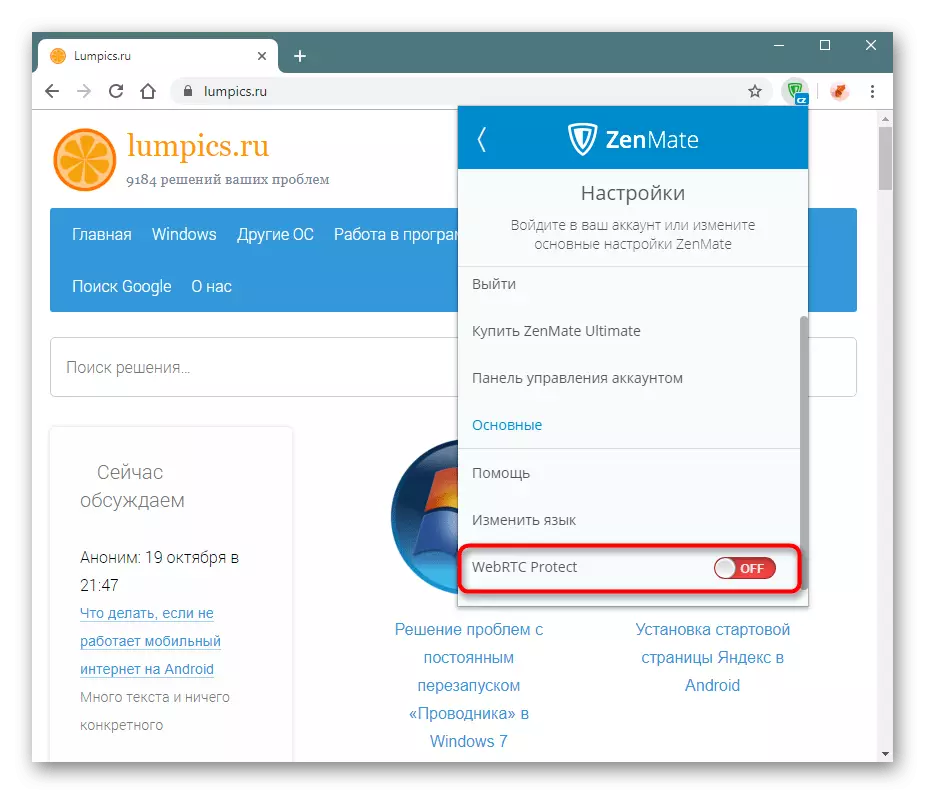
- Go to "Settings".
- Click on the WEBRTC PROTECT item to change its status with "OFF" to "ON".
- A request will be prompted to change the confidential settings you want to "resolve".
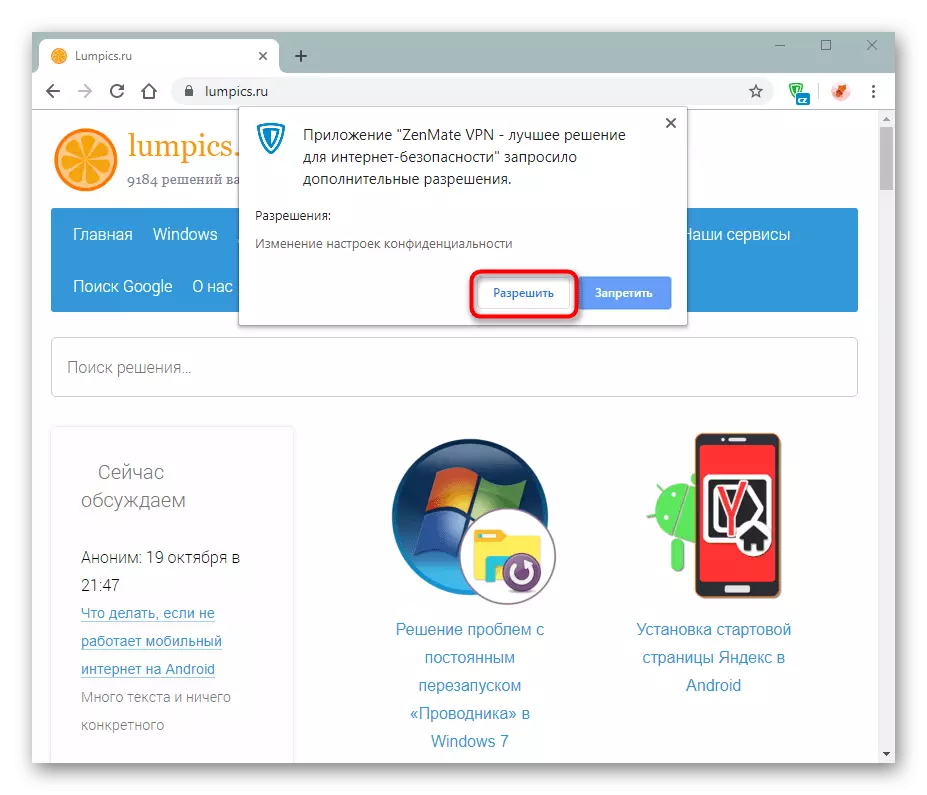
Now you can not fear for privacy. Additionally, we advise you to follow the work of Flash, which is also considered unsafe and has similar vulnerabilities.
From this article you learned how to use the extension. This is a pretty good choice for the active users of proxy and VPN, however, the free version provides trimmed functionality of the already poorly affected by the possibility of supplement.