
Hand-drawn photos created by hand, look rather interesting. Such images are unique and will always be in fashion.
If there are some skills and perfection, you can make a cartoon frame from any photo. At the same time, it is not necessary to know how to draw, you only need to have photoshop at hand and a couple of hours free time.
In this lesson, we will create such a photo using the source code, the pen tool and two types of corrective layers.
Creating a cartoon photo
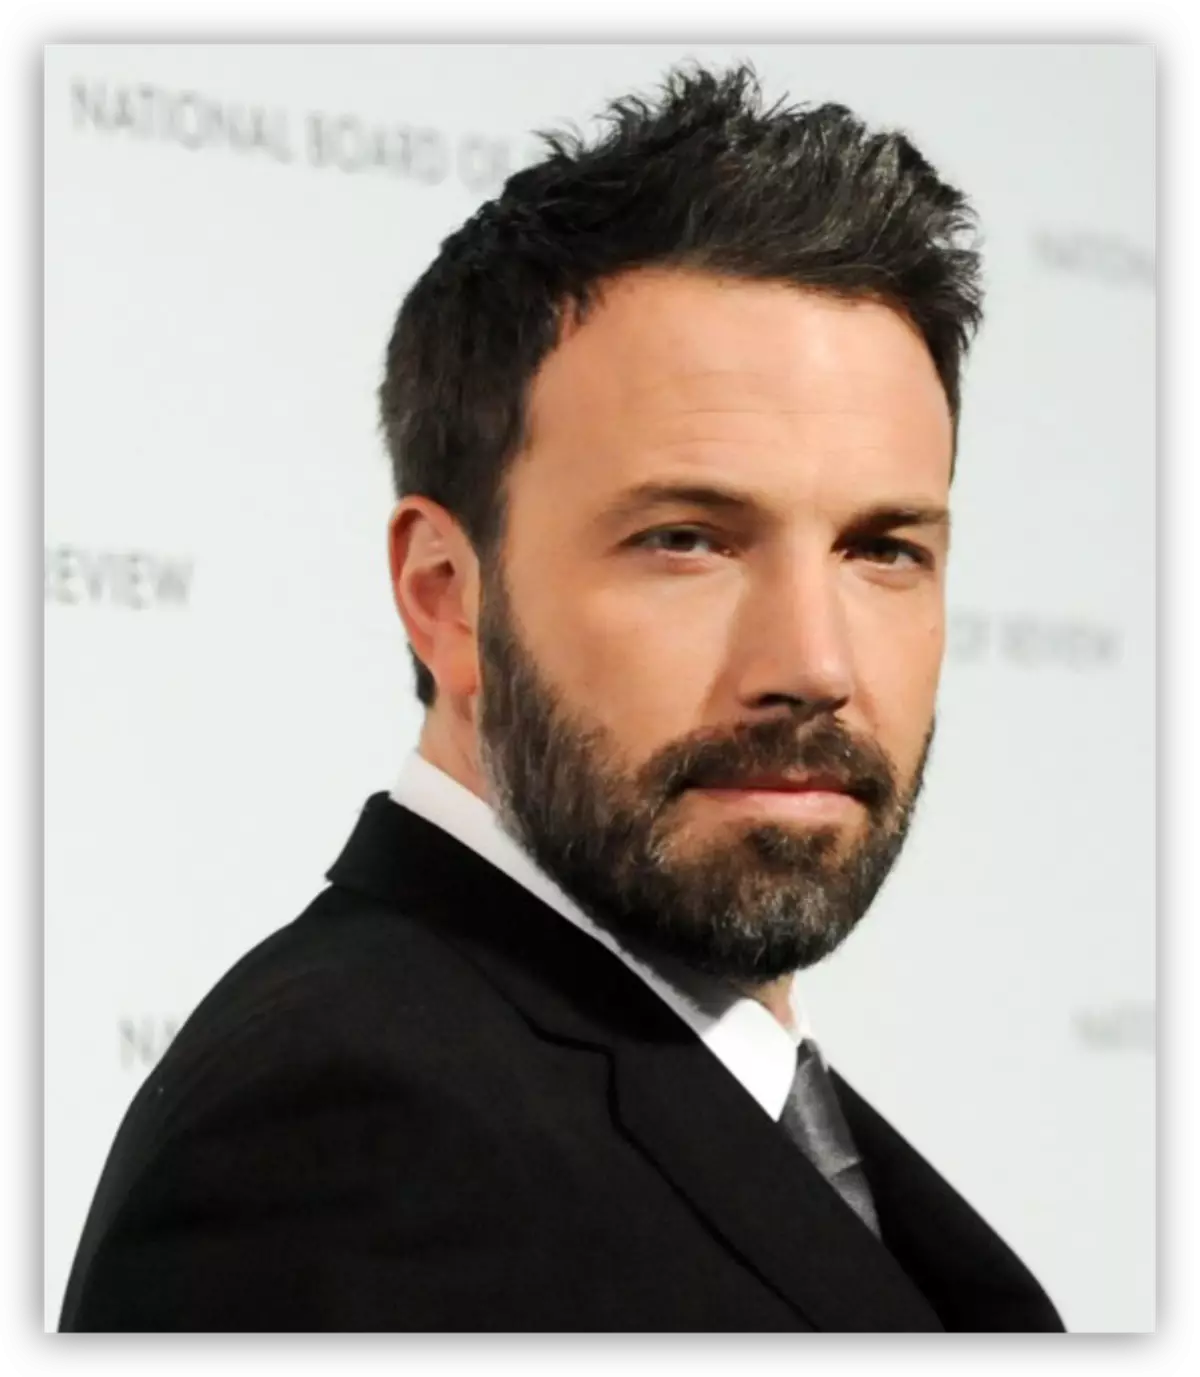
Not all photos are equally good to create a cartoon effect. The images of people with pronounced shadows, contours, glare, are best suited.
The lesson will be built around this photo of the famous actor:
Converting a picture into a cartoon occurs in two stages - preparation and coloring.
Preparation
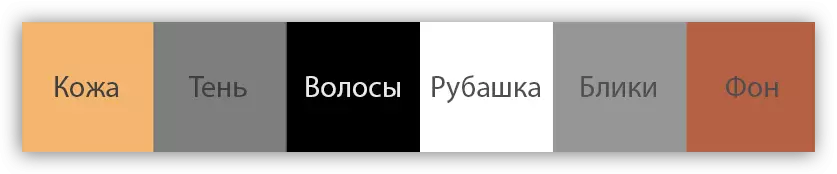
Preparation lies in the selection of colors for work, for which it is necessary to divide the image to certain zones.
To achieve the desired effect, we will divide the snapshot like this:
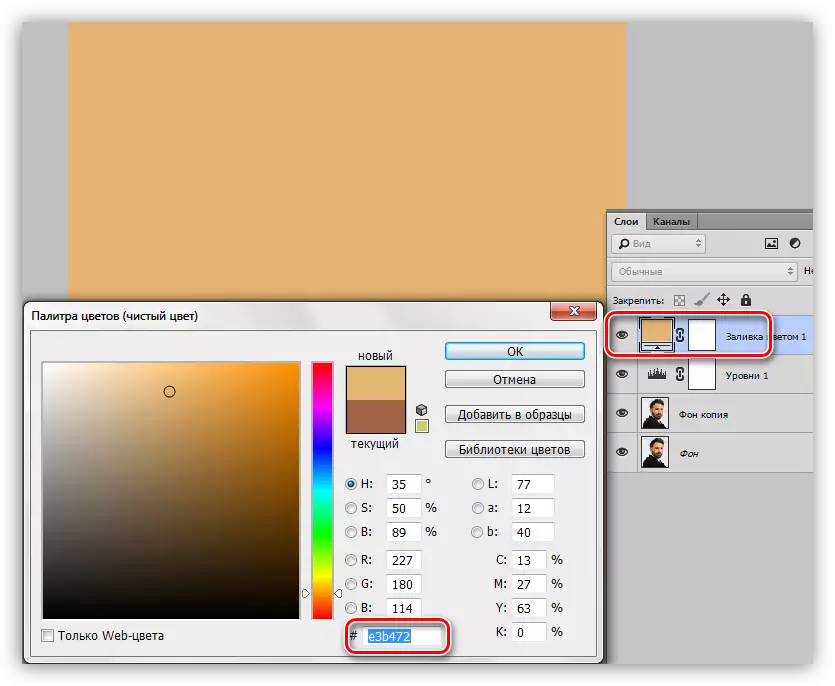
- Leather. For the skin, choose a shade with a numeric value of E3B472.
- Shadow make gray 7d7d7d.
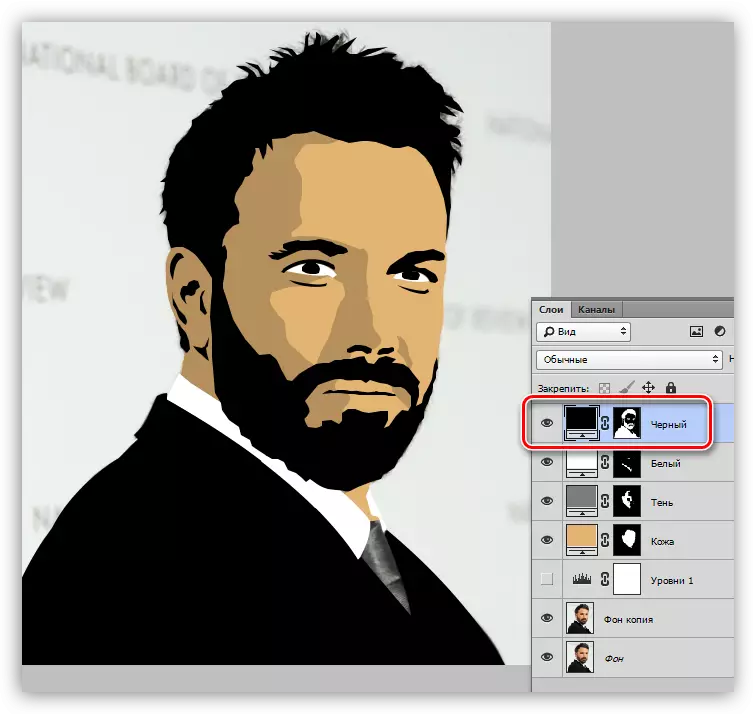
- Hair, beard, costume and those areas that determine the contours of the features of the face will be absolutely black - 000000.
- A collar shirt and eyes should be white - fffff.
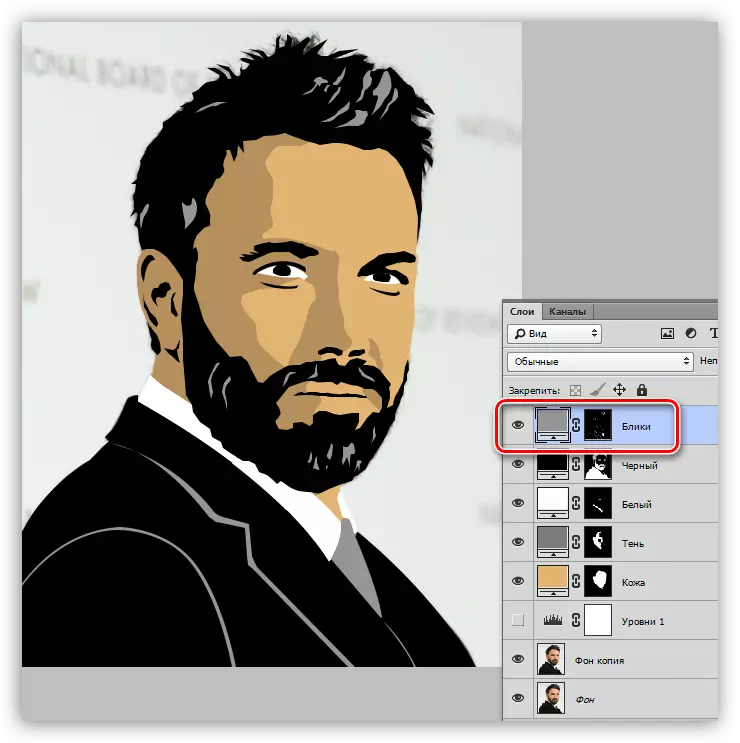
- The glare needs to make a slightly lighter shadow. Hex code - 959595.
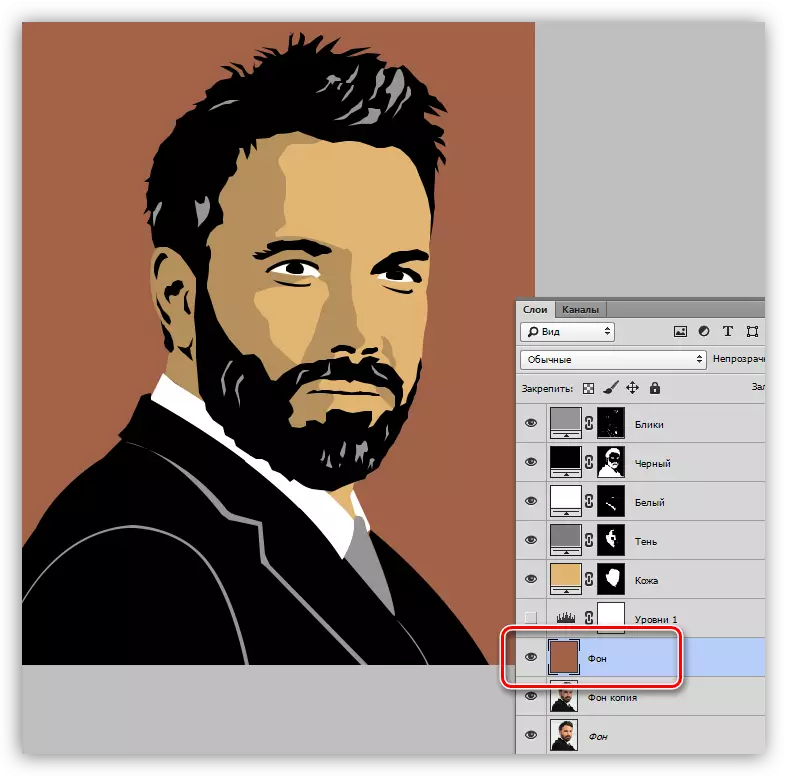
- Background - A26148.
The tool that we will work today - Pen. If there are difficulties with its application, read the article on our website.
Lesson: Pen tool in Photoshop - Theory and Practice
Coloring
The essence of the creation of the cartoon photo lies in the stroke of the above zones "Feather" with the subsequent fill with the corresponding color. For ease of editing the obtained layers, we use one trick: instead of the usual fill, we use the correction layer "color", and we will edit it with a mask.
So let's start painting Mr. Affleck.
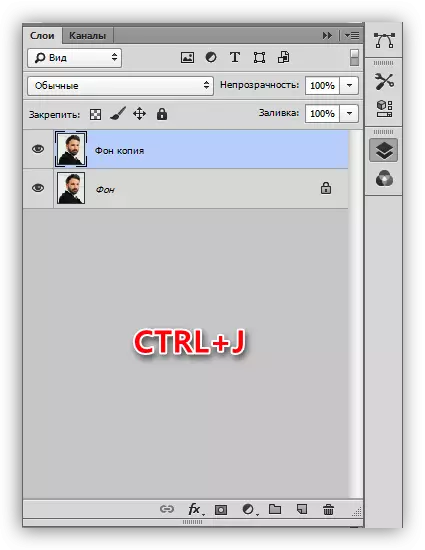
- We make a copy of the original picture.
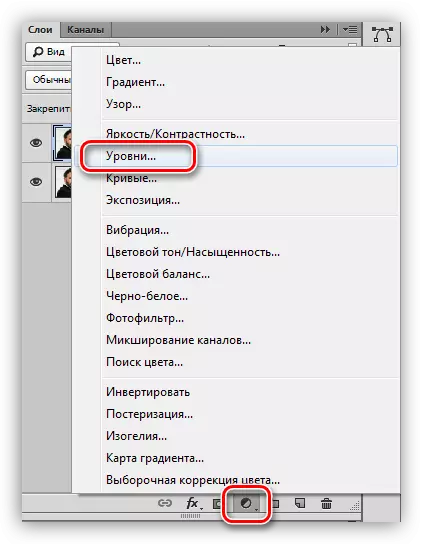
- Immediately create a correction layer "Levels", it will come in handy later.
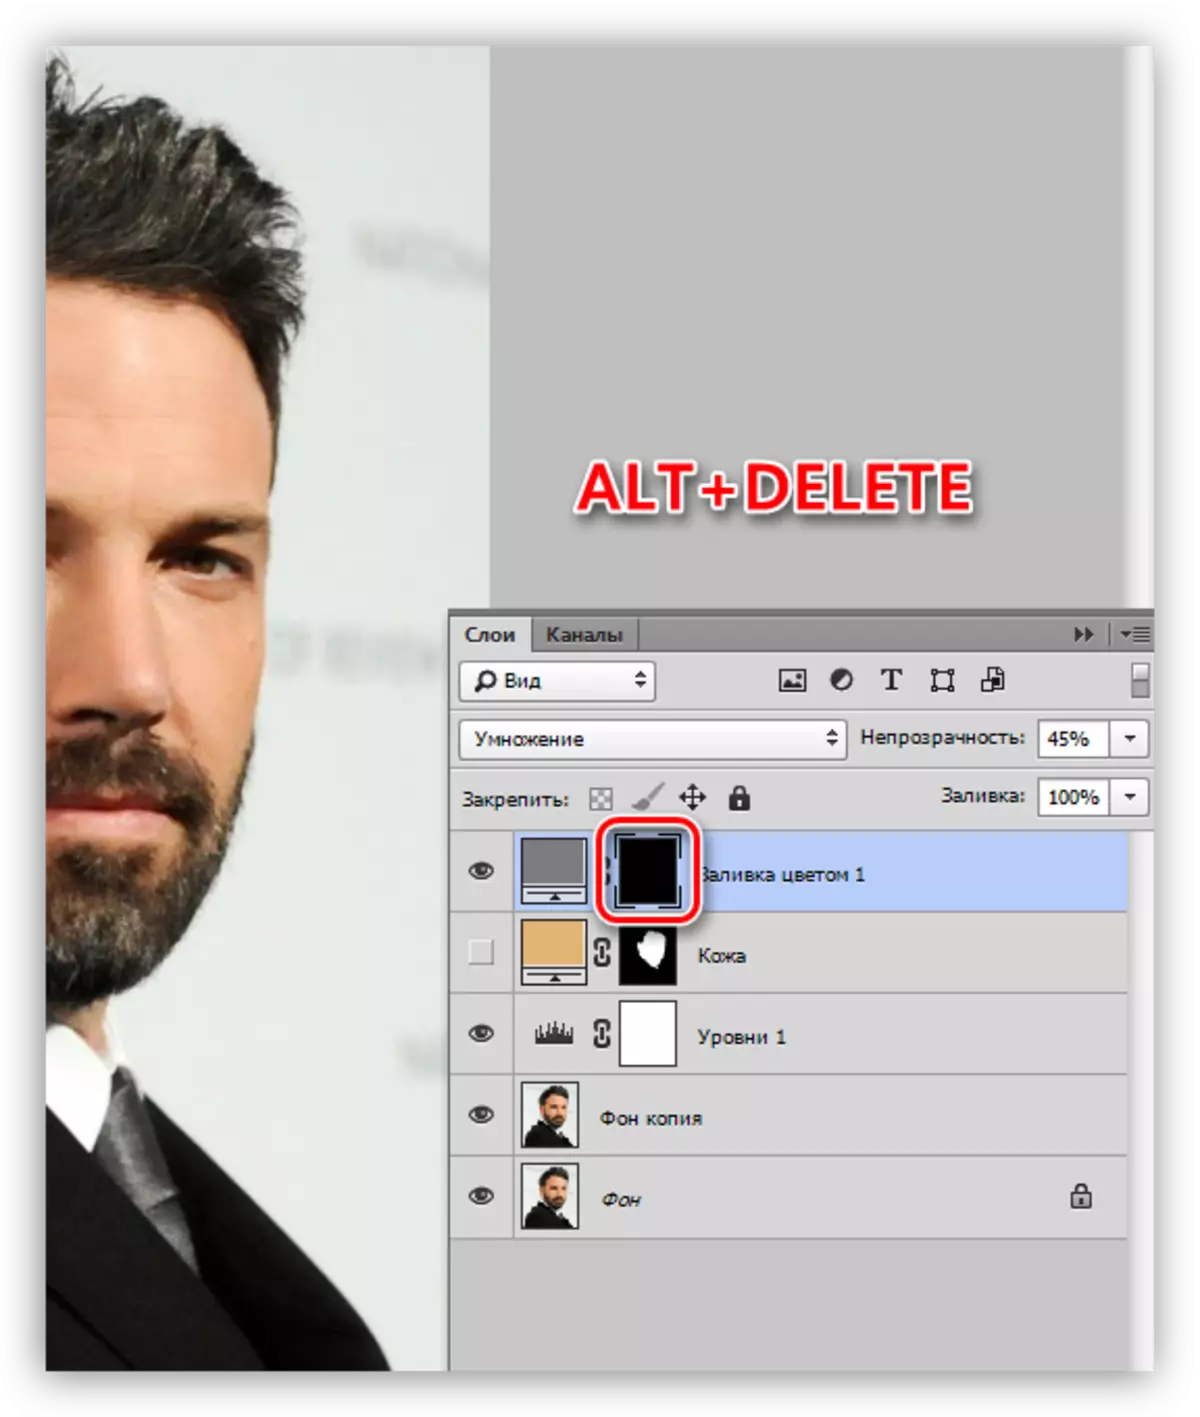
- Apply the correction layer "Color",
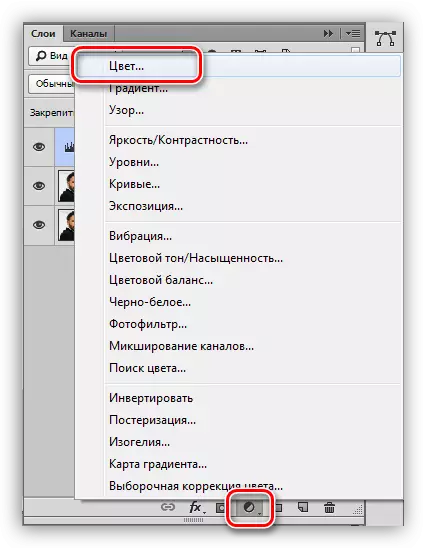
In the settings of which we prescribe the desired shade.
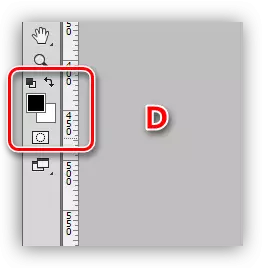
- Press the D key on the keyboard, thereby resetting the colors (main and background) to the default values.
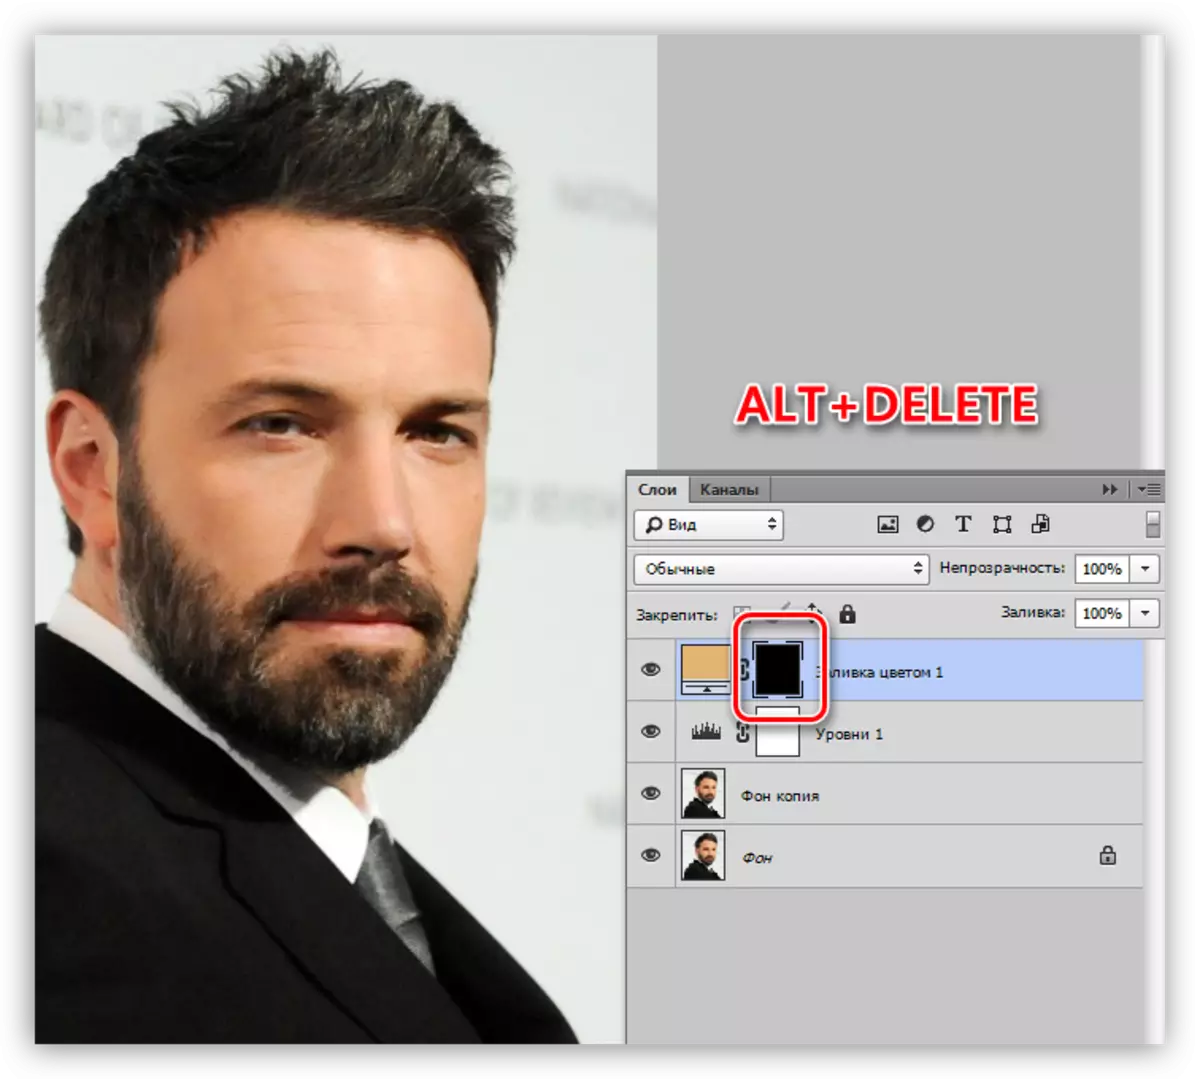
- Go to the mask of the corrective layer "Color" and press the combination of the ALT + DELETE keys. This action will paint the mask in black and completely hobs the fill.
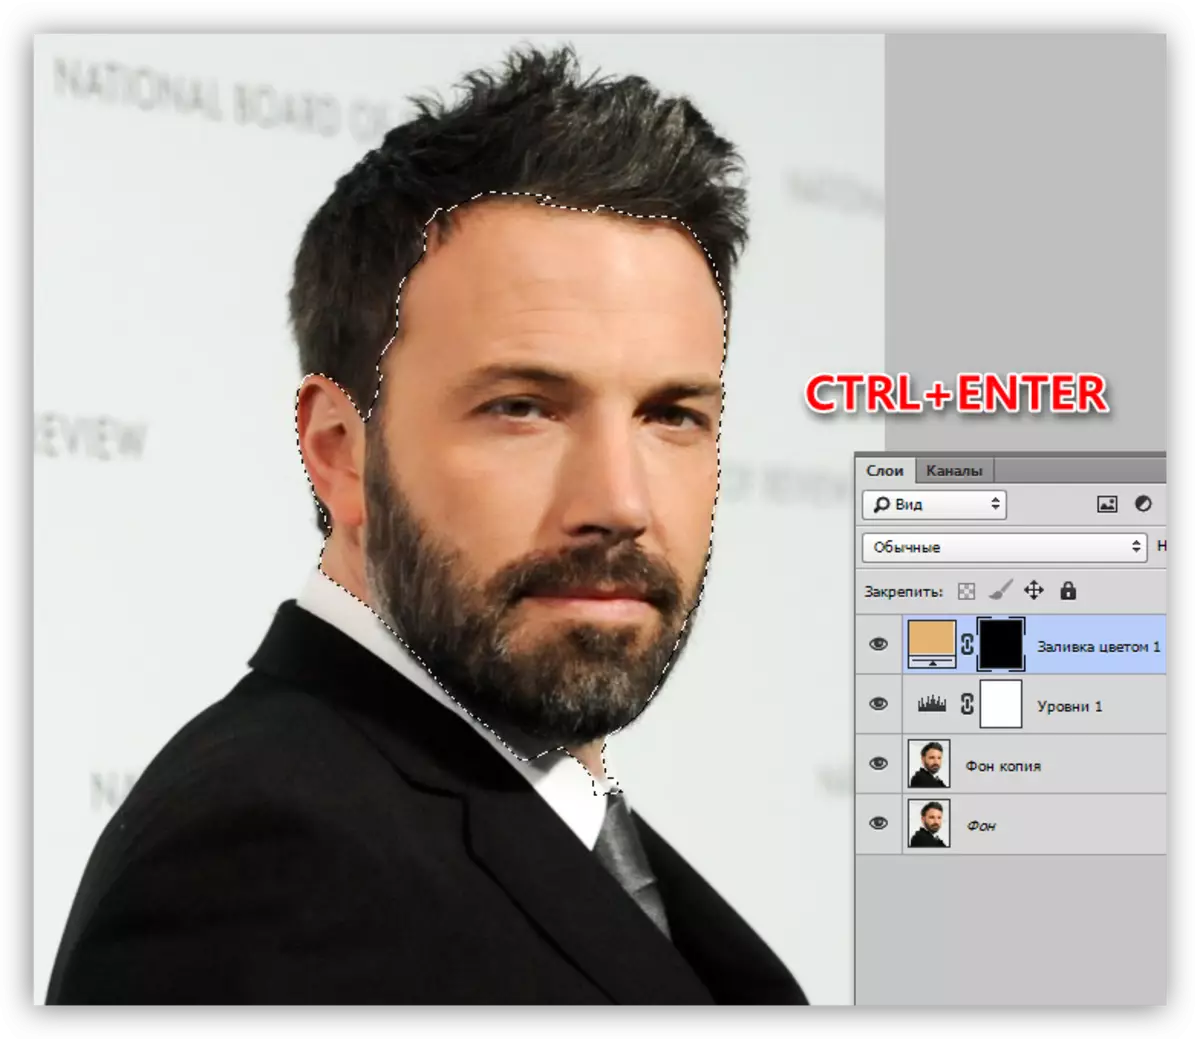
- It's time to proceed to the skin stroke "Feather". Activate the tool and create a contour. Please note that we must allocate all areas, including the ear.

- To convert the circuit to the selected area, press the CTRL + ENTER key combination.
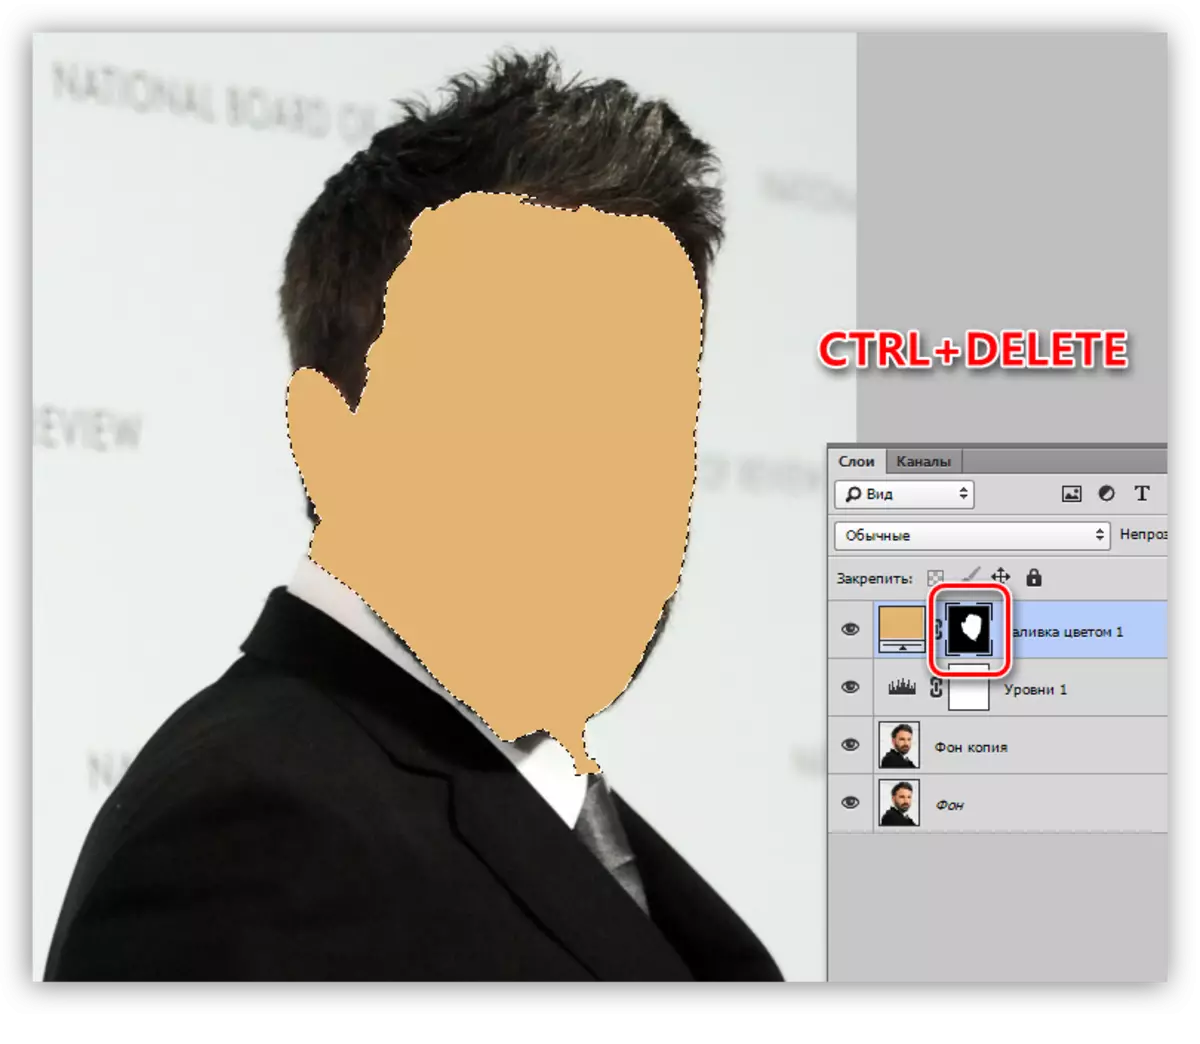
- Being on the mask of the corrective layer "Color", click the Ctrl + Delete key combination, pouring the selection with white. At the same time, it will be visible to the corresponding site.
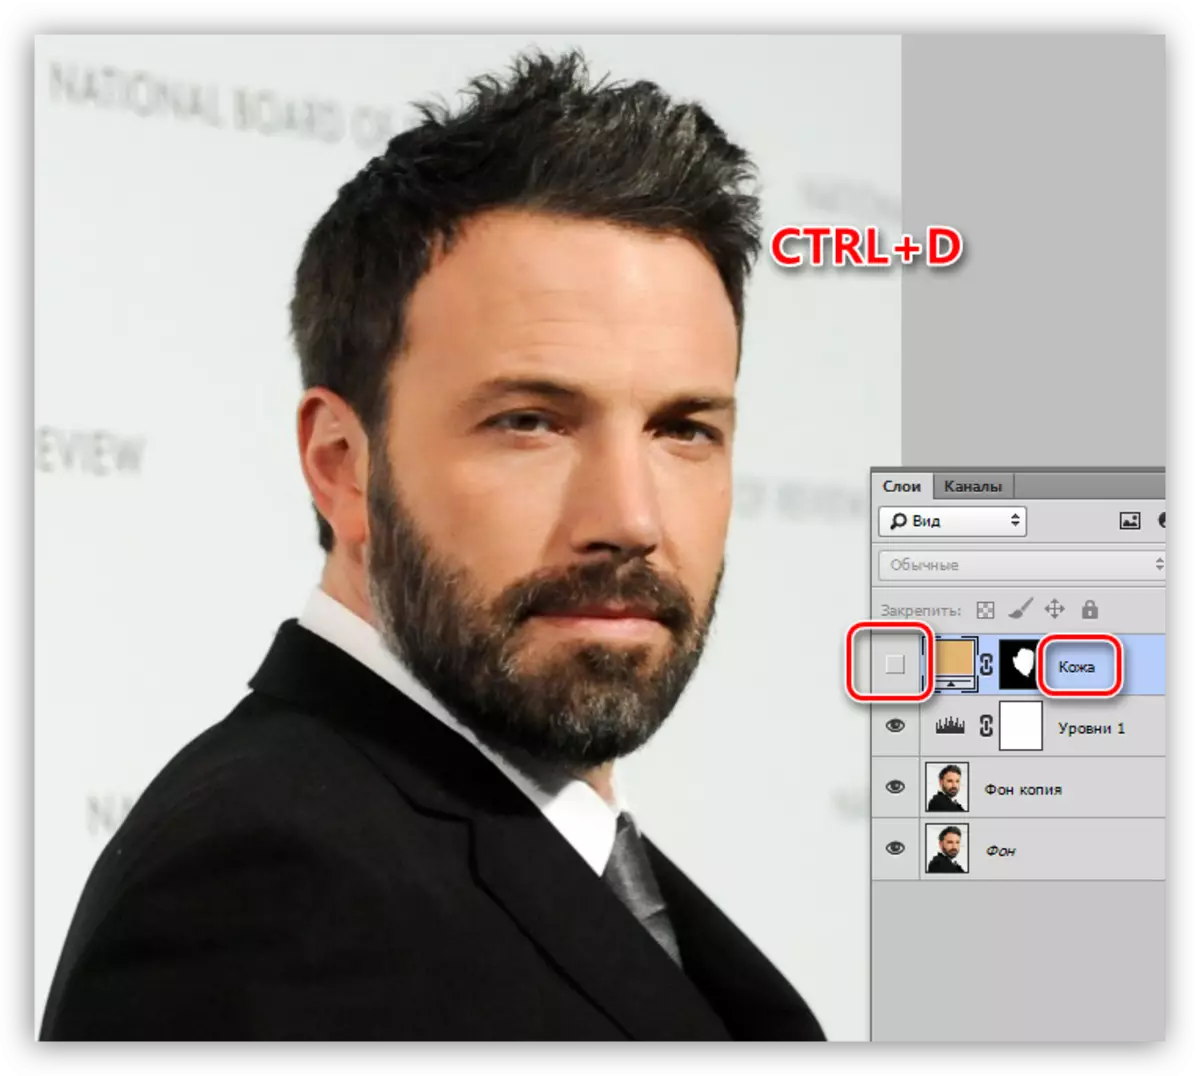
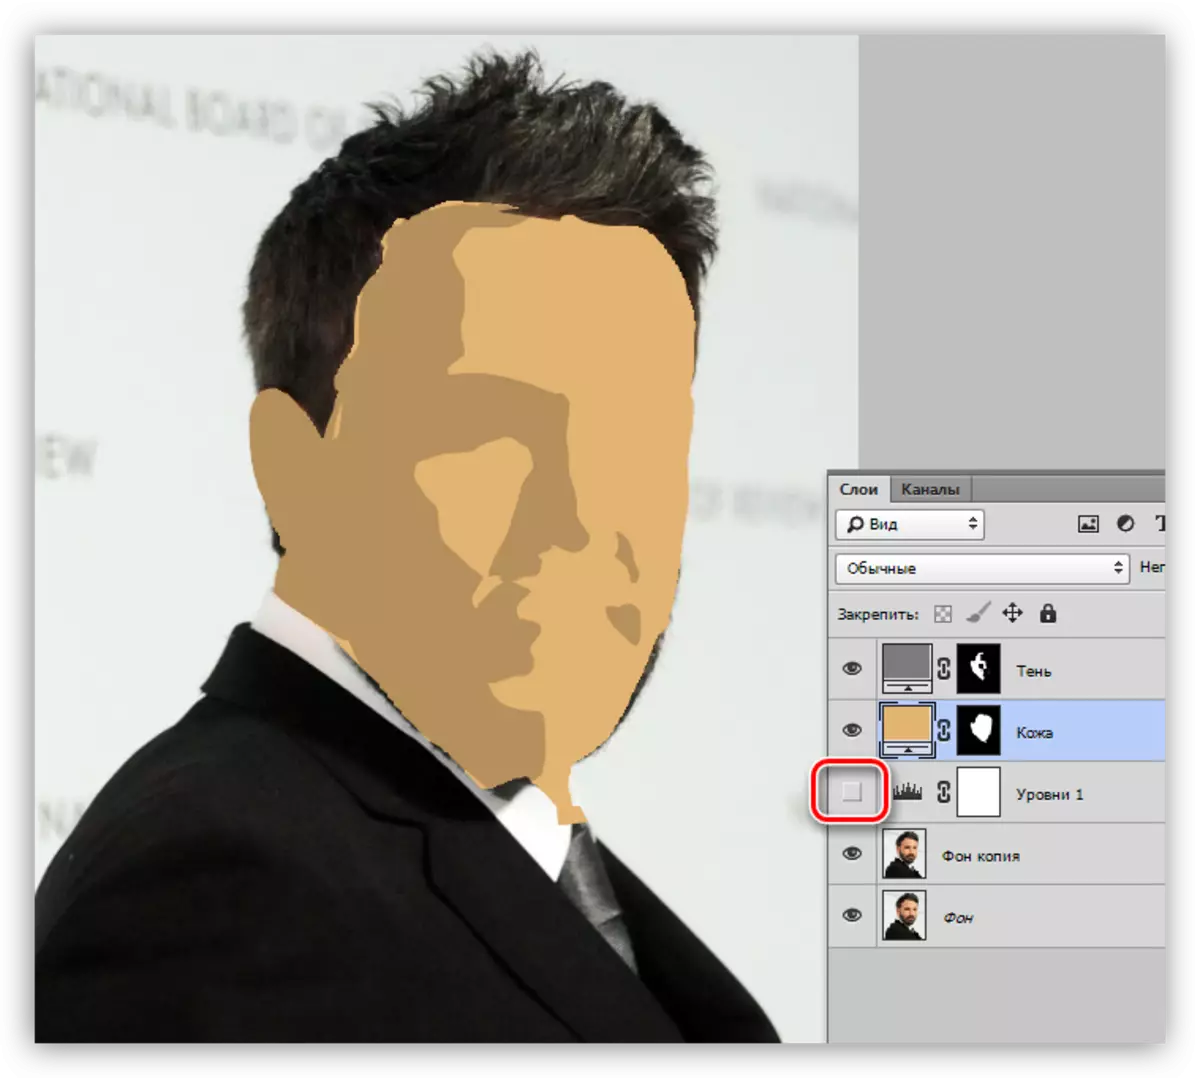
- We remove the selection by the hot keys Ctrl + D and click on the eye near the layer, removing visibility. Let's give this element the name "Leather".
- Apply another layer "Color". Tint exhibit a palette accordingly. The overlay mode must be changed to "multiplication" and reduce opacity to 40-50%. This value can be changed in the future.

- Go to the layer mask and poured it in black (Alt + Delete).
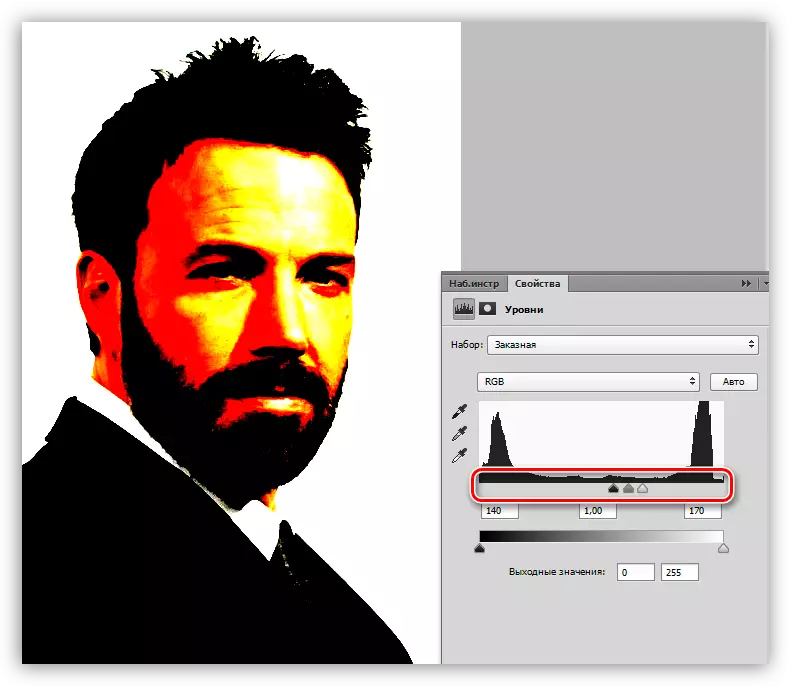
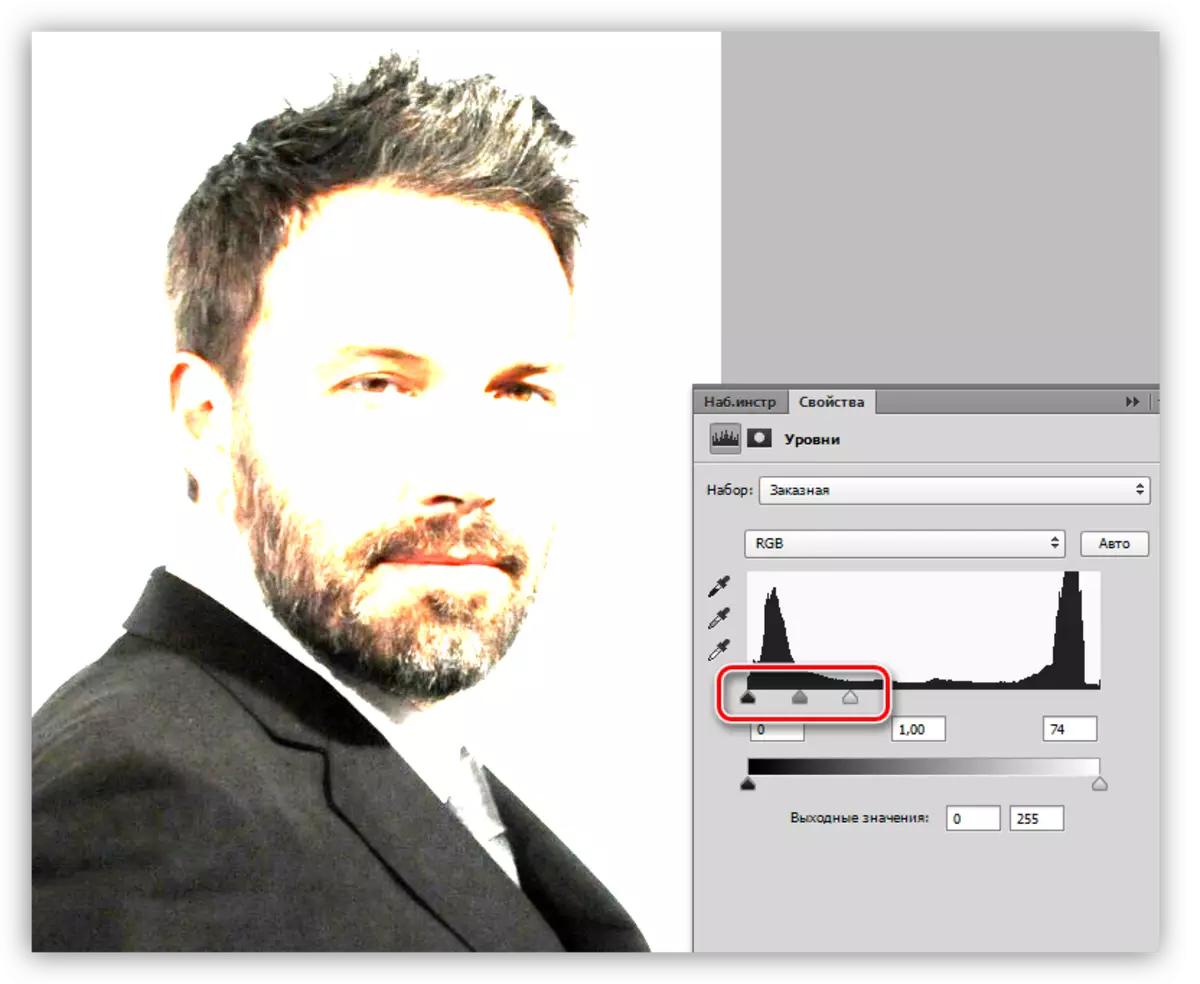
- As you remember, we created the auxiliary layer "Levels". Now he will help us in drawing the shadow. Two times with the clique of LKM on the layer miniature and the sliders make darkened areas more pronounced.
- We become on the mask of the layer with the shadow, and the relevant sections in the pen. After creating the contour, we repeat the action with the fill. At the end, turn off the "Levels".
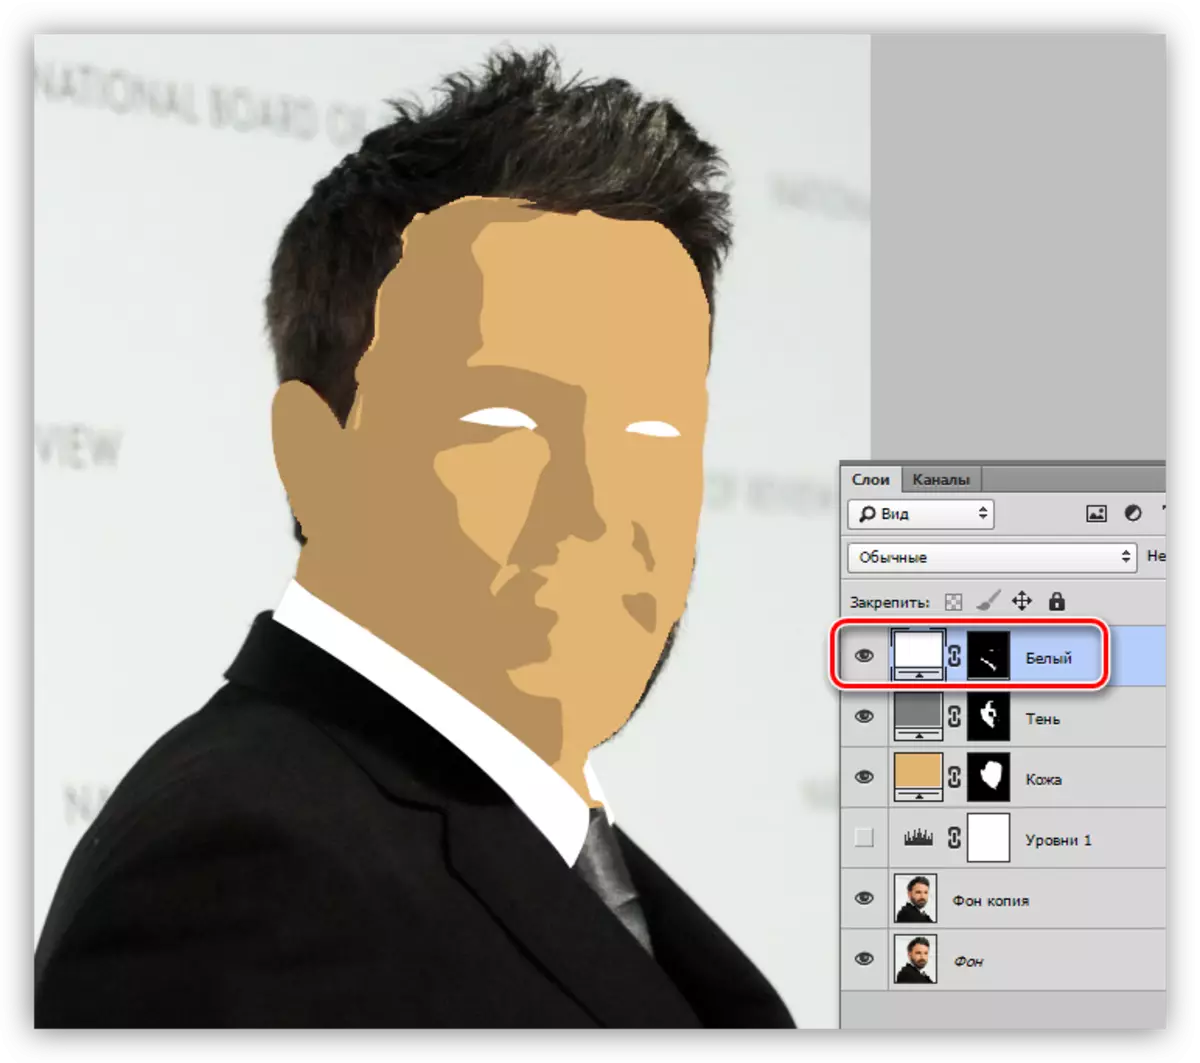
- The next step is the stroke of the white elements of our cartoon photo. The algorithm of actions is the same as in the case of leather.
- We repeat the procedure with black sites.
- Next should be coloring glare. Here we will again come in handy layer with "levels". With the help of the slider, weigh the snapshot.
- Create a new layer with fill and draw glare, tie, jacket contours.
- It remains only to add background to our cartoon photo. Go to a copy of the source and create a new layer. Fill it with color defined by the palette.
- Disadvantages and "misses" can be corrected by working with a brush on the mask of the corresponding layer. White brush adds sections to the area, and black removes.
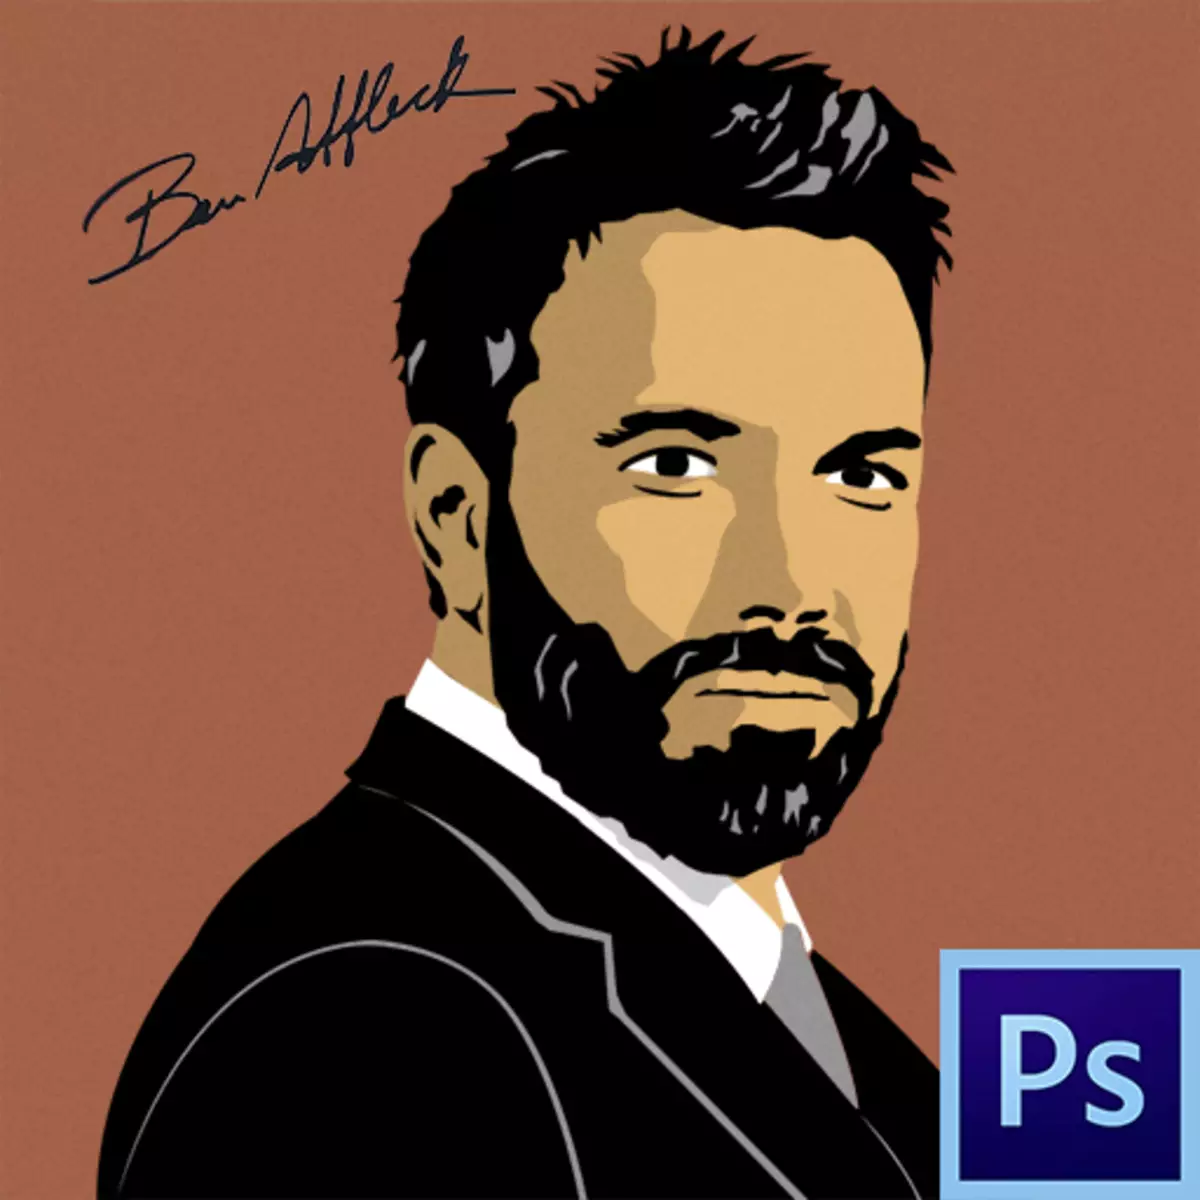
The result of our works is as follows:
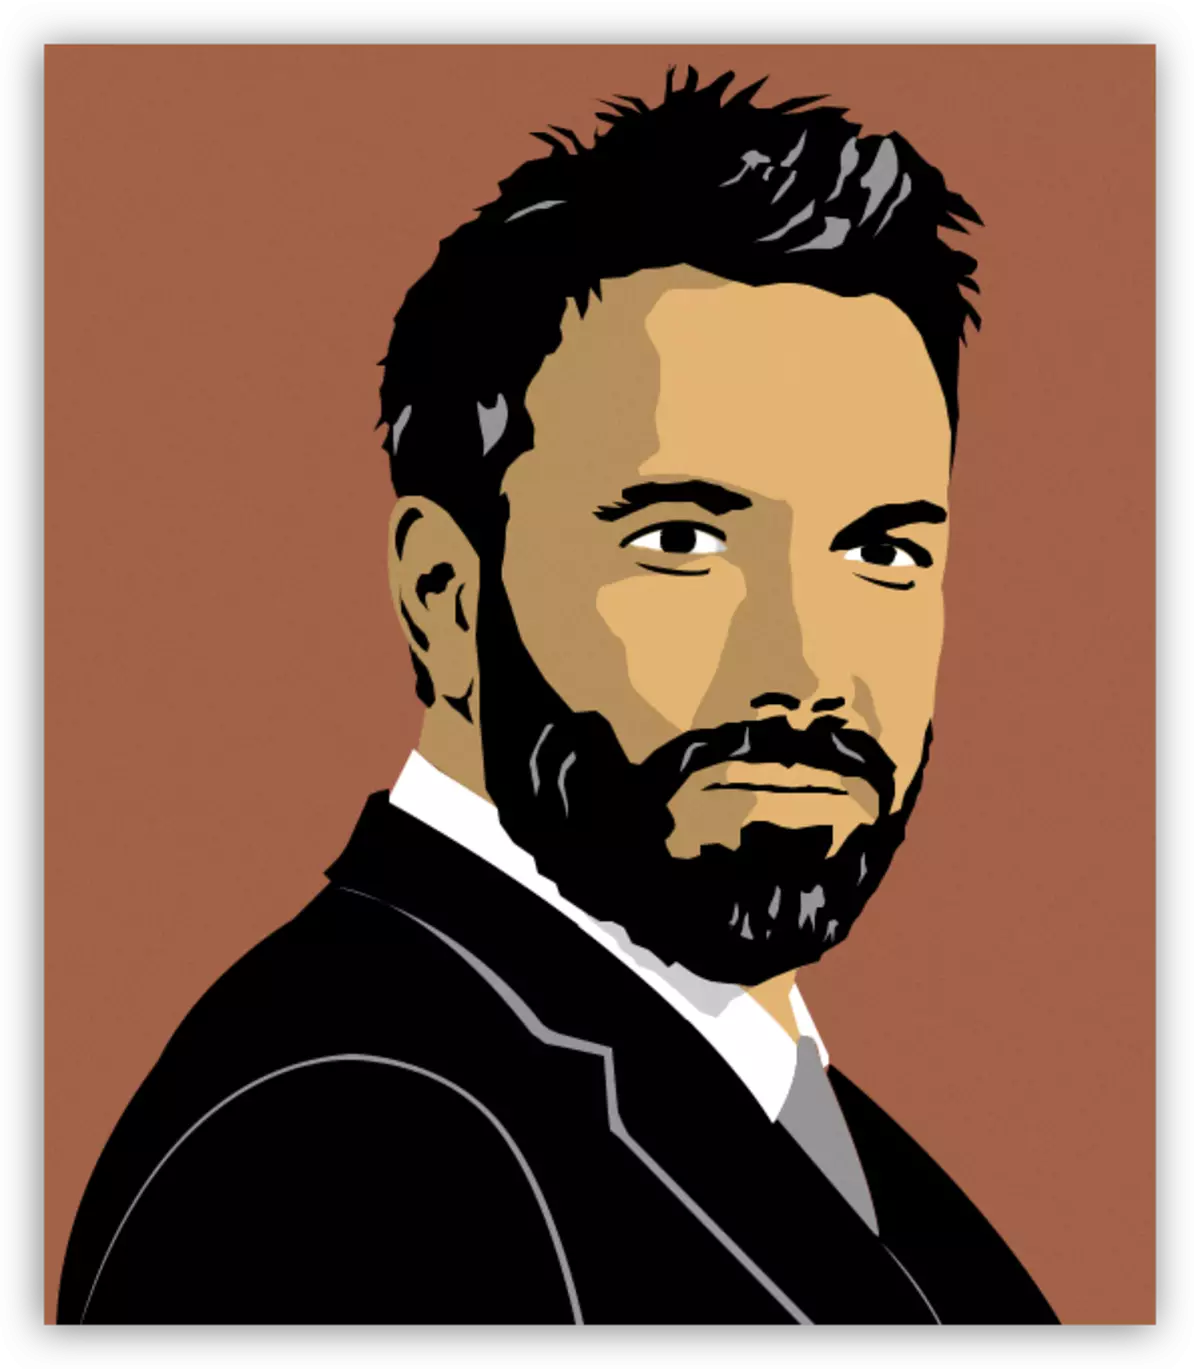
As you can see, nothing complicated in the creation of a cartoon photo in Photoshop. This work is interesting, however, quite a laborious. The first snapshot can take away a few hours of your time. Experience will be aware of how the character should look like on such a frame and, accordingly, the processing speed will increase.
Be sure to study the lesson on the Pen tool, work out in the stroke of the contours, and the drawing of such images will not cause difficulties. Good luck in your work.