
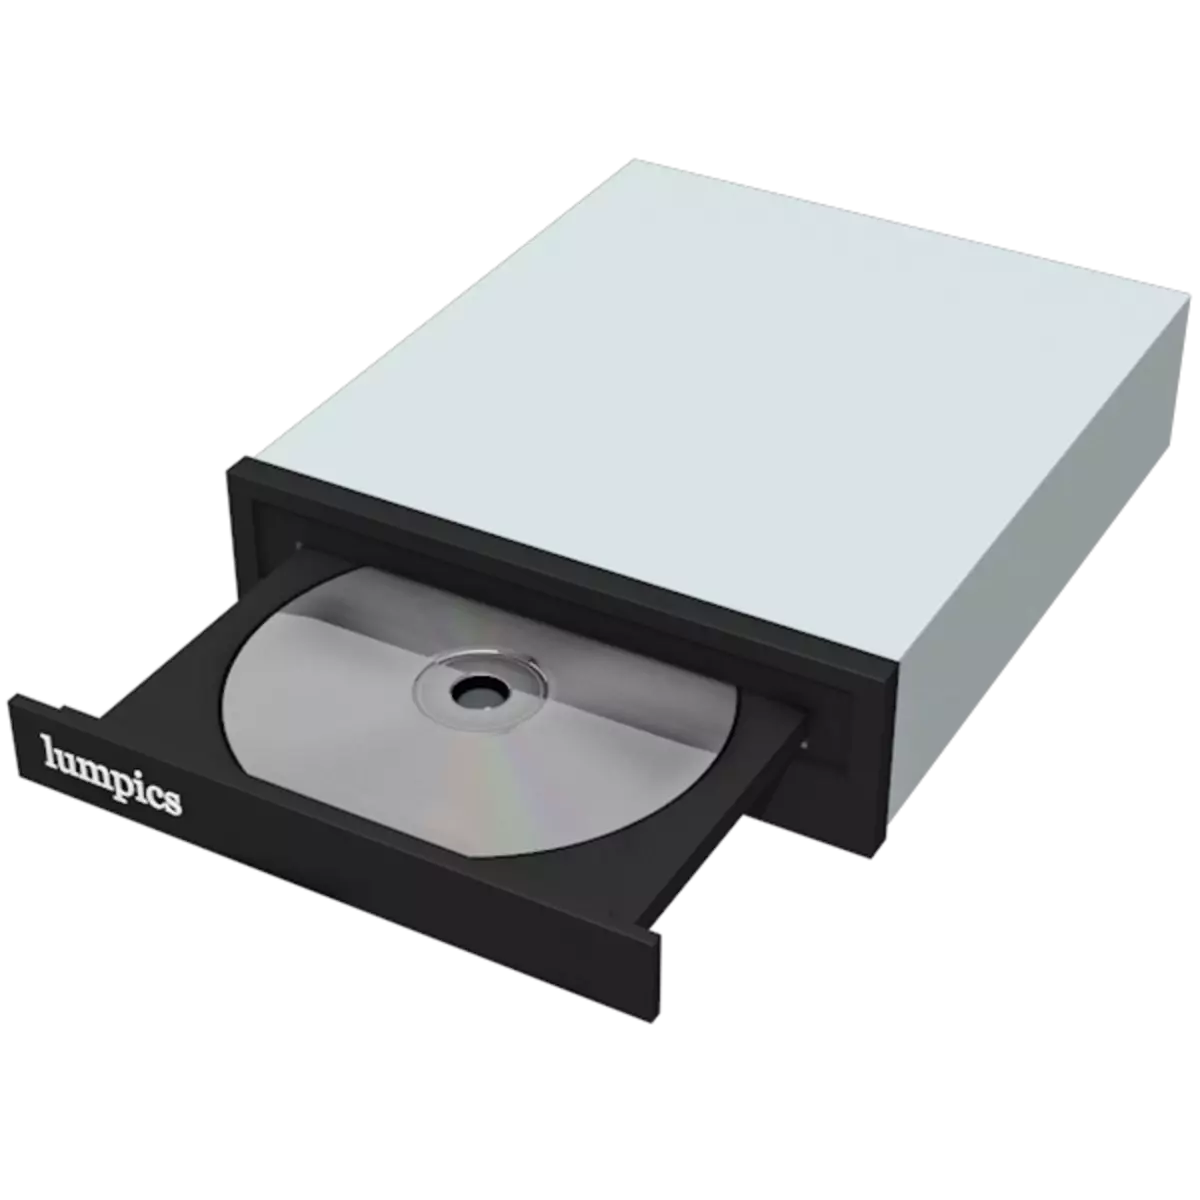
Despite the fact that CD and DVDs as information media are hopelessly outdated, in some cases their use is required. To read data from these discs, a CD or DVD-ROM requires, and how it is easy to guess, it must be connected to a computer. Here, some users have problems in the form of the inability to determine the drive system. In this article we will analyze ways to eliminate this problem.
The system does not define the drive
The causes of the problem with the definition of a CD or DVD-ROM can be divided into software and hardware. The first is the driver malfunctions, BIOS settings as well as possible viral attacks. To the second - physical malfunctions and inattention of the user when the device is connected to the PC.Cause 1: Connection Errors
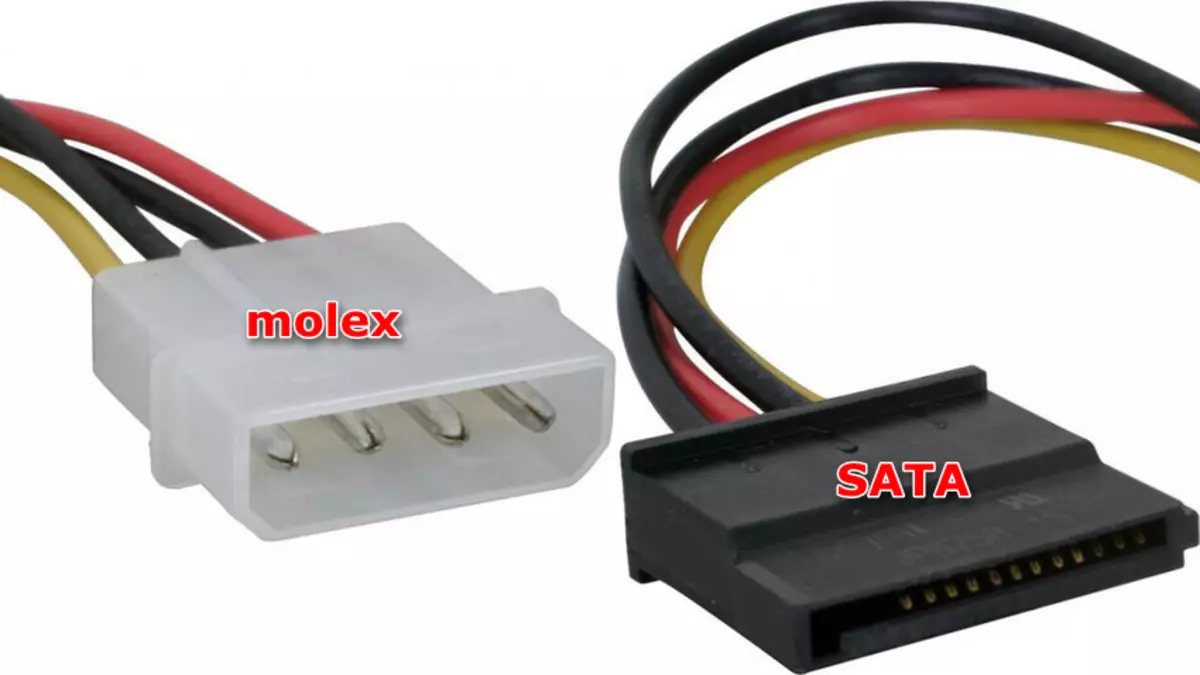
Connecting the drive to the motherboard is carried out using a loop for data transfer. It can be a SATA or IDE cable (in older models).

For normal operation, the device also requires nutrition that provides a cable that comes from BP. Here are also possible two options - SATA or MOLEX. When connecting cables, you must pay attention to the reliability of the connection, since it is precisely the most common cause of the "invisible" drive.
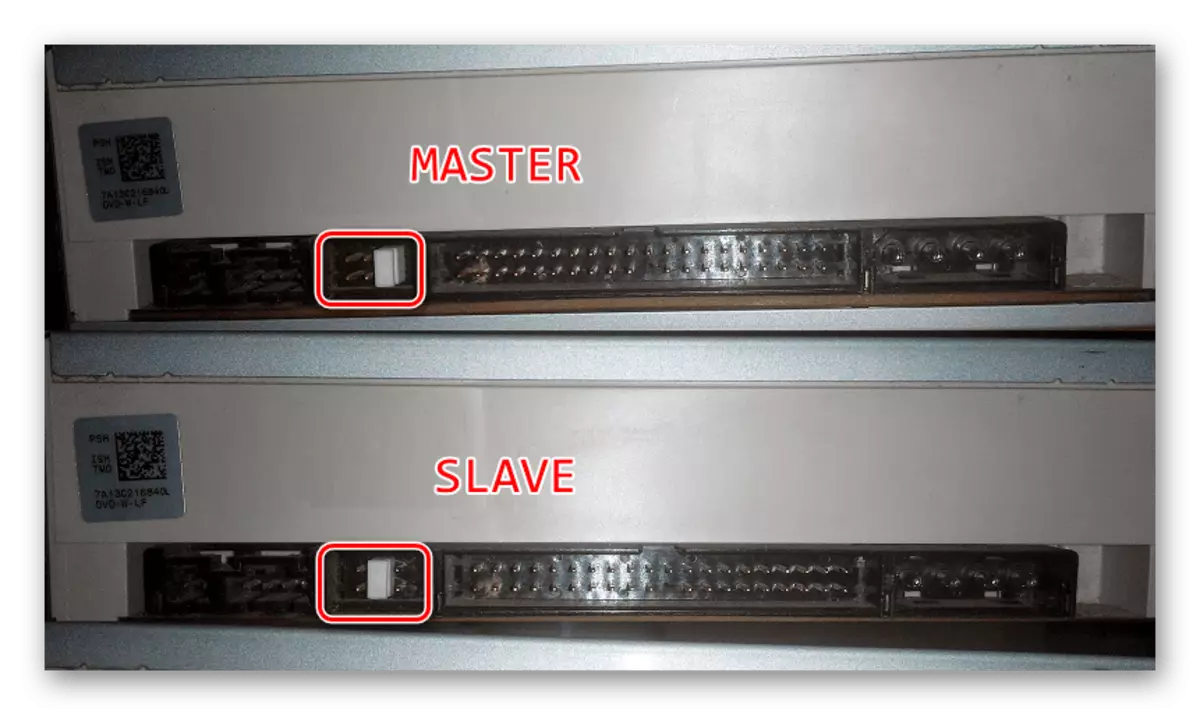
If your drive is already in old age and has the type of IDE connectors, then the data loop (non-power) can "hang" two such devices. Since they are connected to one port on the motherboard, the system must be explicitly indicated by differences in devices - "Master" or "Slave". This is done using special jumpers. If one drive has the "Master" property, then the other must be connected as "slave".
More: Why do you need a jumper on the hard disk
Cause 2: Incorrect BIOS Settings
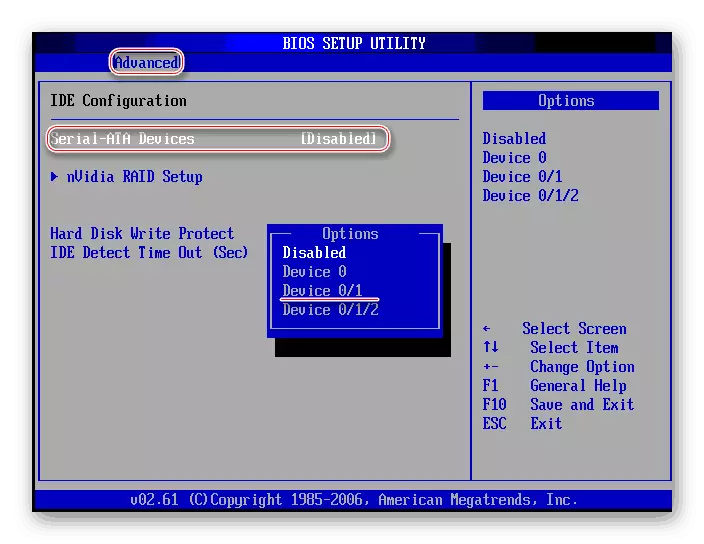
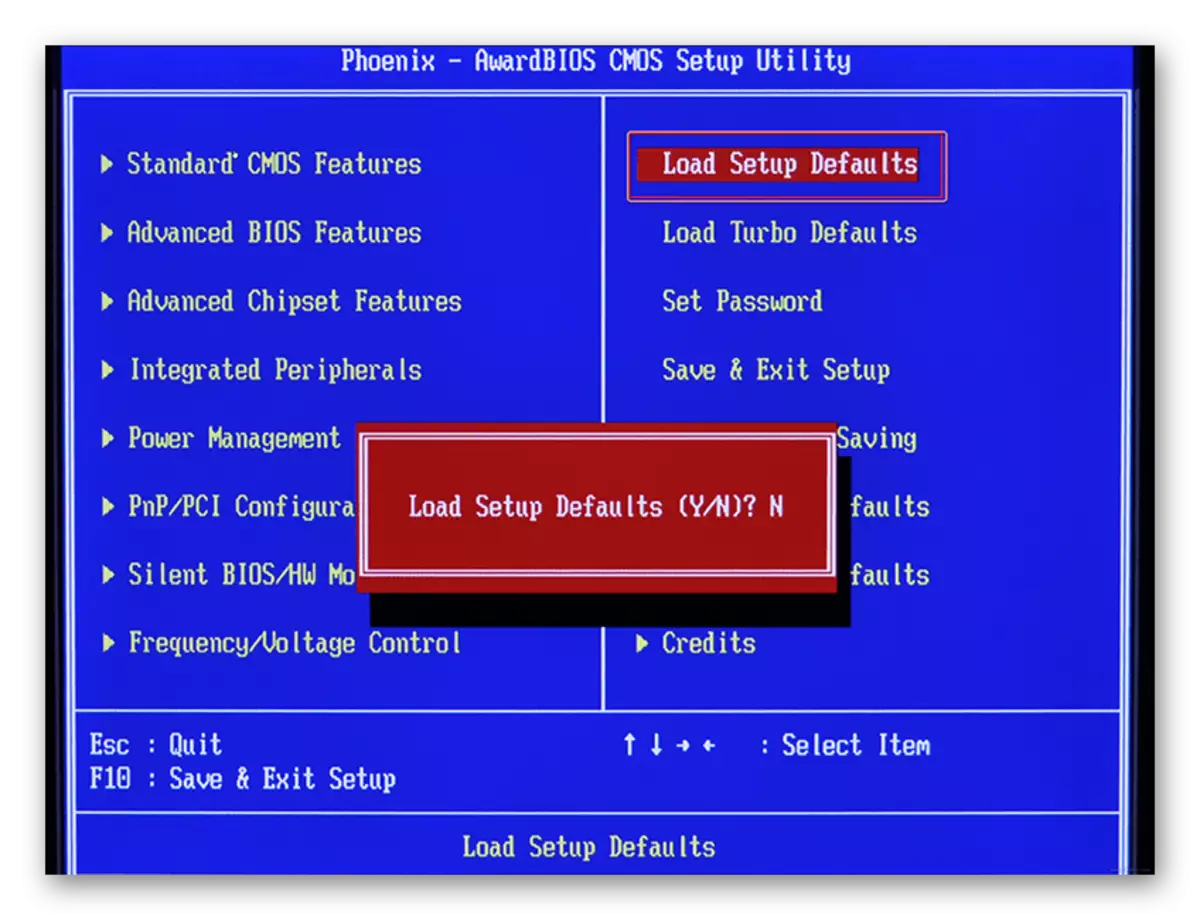
Situations where the drive as unnecessary was disconnected in the BIOS motherboard, there are quite often. To enable it, you need to visit the location and drive detection settings section and find the corresponding item there.
Read more: Connect the BIOS drive
If problems are found with the search for the desired partition or item, then the latter will reset the BIOS settings to the default state.
Read more: Reset BIOS settings
Cause 3: missing or outdated drivers
The main cause of problems associated with the program part is the drivers that allow the OS to interact with hardware. If we say that the device is disabled, then we mean the stop of the driver.
After checking the correctness and reliability of the disk drive to the "Maternity" and the settings of the BIOS parameters, contact the parameters management system.
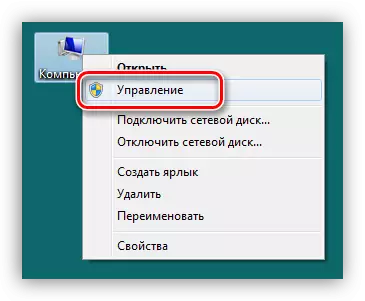
- Click on the computer icon on the desktop and go to the "Management".
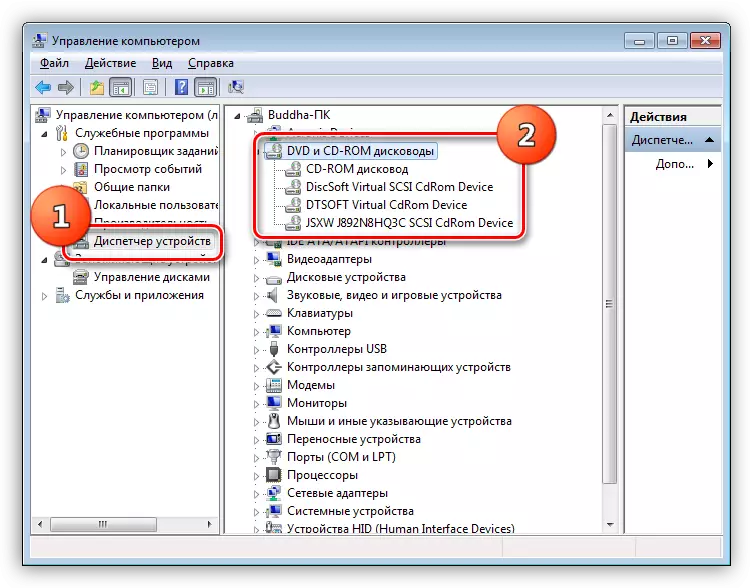
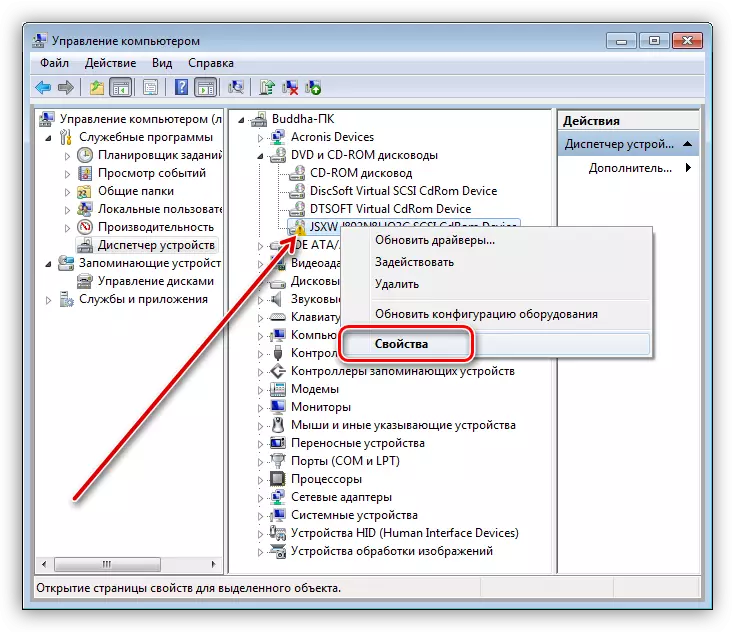
- We go to the Device Manager section and open a branch with DVD and CD-ROM drives.
Launch Driver
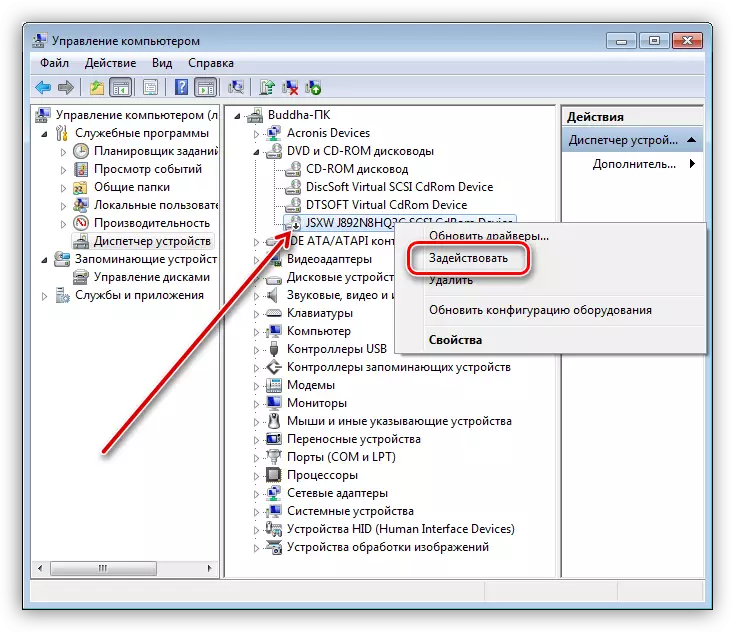
Here you need to pay attention to the icons next to the devices. If there is an arrow, as in the screenshot, then the drive is disabled. You can enable it by clicking on the PCM by name and selecting the "Enable" item.
Restart Driver
In the event that the yellow icon is visible near the drive, it means that this is an explicit problem with software. Standard drivers for drivers are already built into the operating system and such a signal says that they work incorrectly or damaged. Restart the driver can be as follows:
- Click PCM on the device and go to its properties.
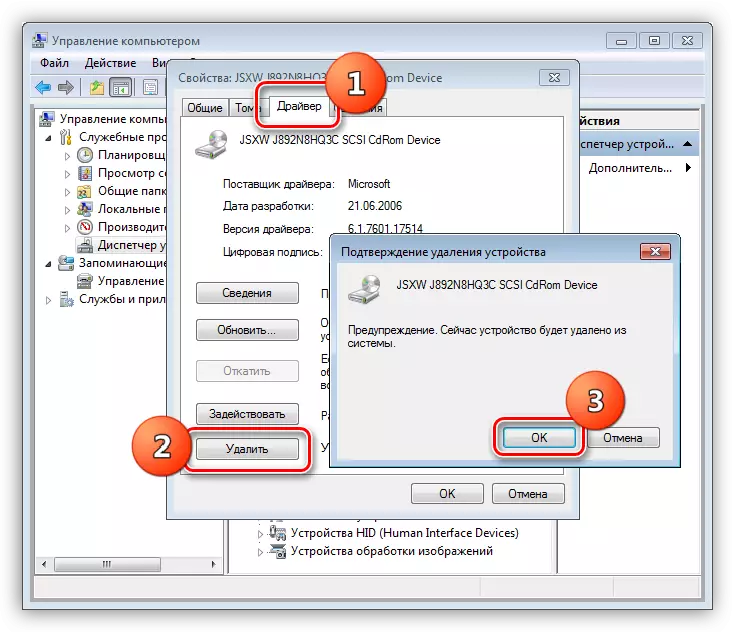
- We go to the "Driver" tab and click on the "Delete" button. A system warning will follow, with the terms of which you need to agree.
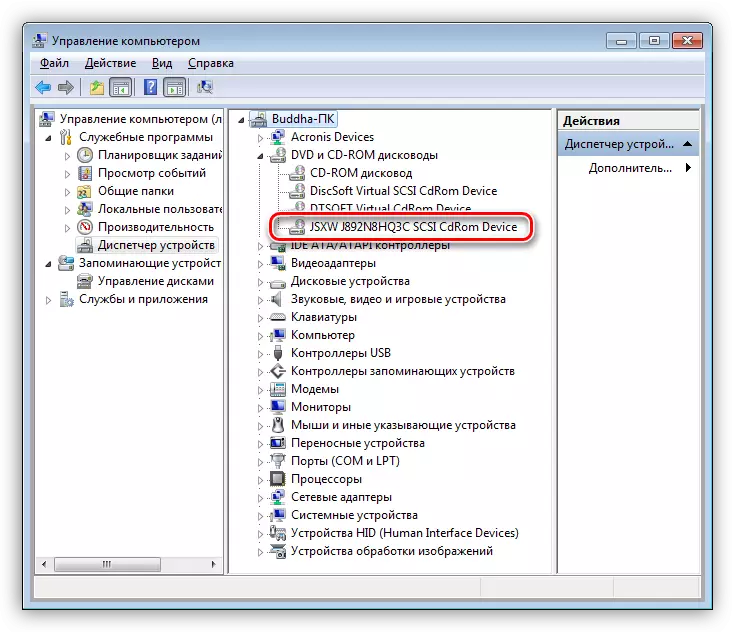
- Next, we find a computer icon with a magnifying glass at the top of the window ("update the hardware configuration") and click on it.

- The drive will appear in the list of devices. If this did not happen, restart the machine.
Update
If the above steps have not led to troubleshooting, it is worth trying to update the driver in automatic mode.
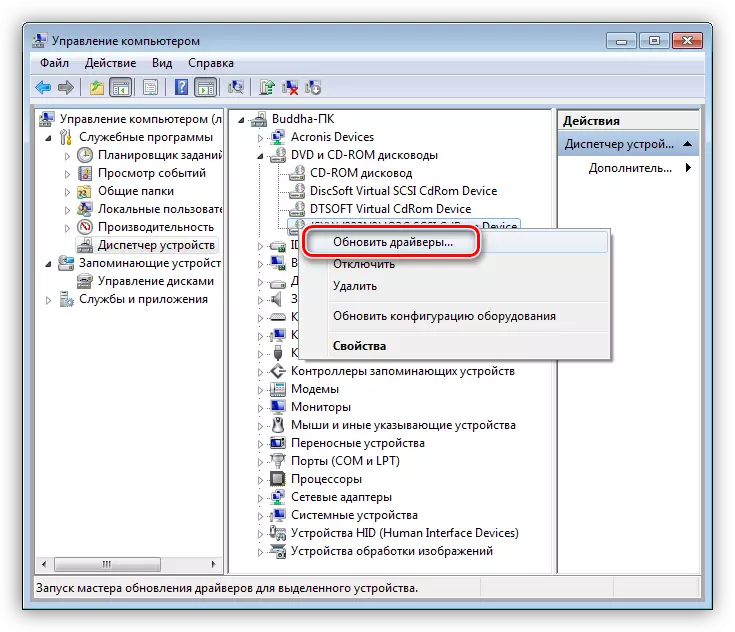
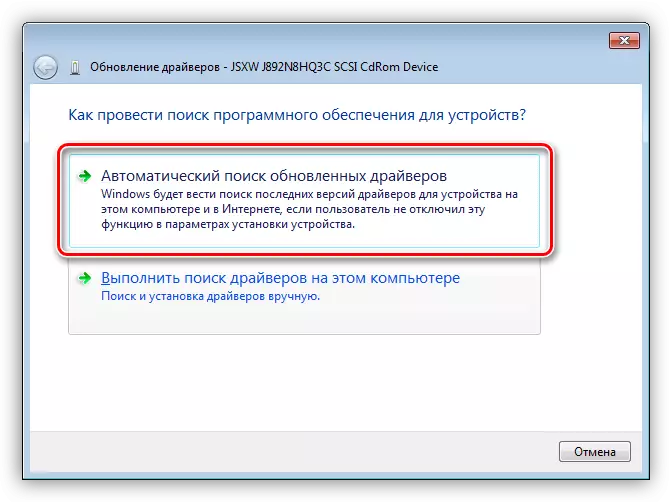
- Press the right-click on the drive and select "Update Drivers".
- Click on the upper version - "Automatic Search".
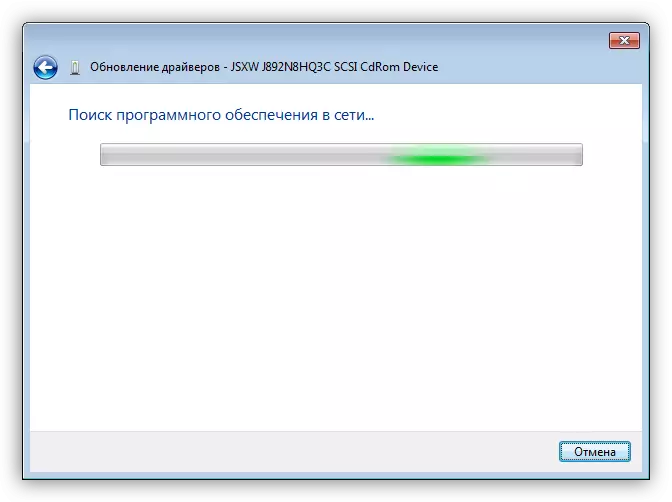
- The system scans the repositories on the network and deletes the necessary files, after which it will install them on the computer.
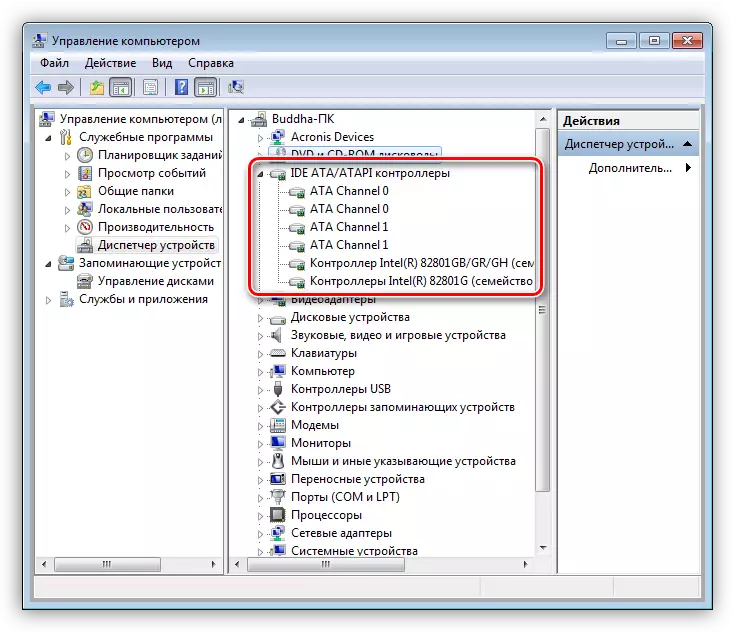
Reboot controllers
Another reason is the incorrect operation of SATA controllers and (or) IDE drivers. Reboot and update is performed in the same way as in the example with the drive: open a branch with IDE ATA / ATAPI controllers and delete all devices according to the above scheme, after which you can update the equipment configuration, and it is better to restart.
For motherboard
The last option is to update the chipset driver or the entire package of motherboard software.
Read more: find out which drivers need to be installed on a computer
Cause 4: missing or incorrect registry keys
This problem usually occurs after the next Windows update. The registry includes filters that block the use of optical drives, or, on the contrary, the keys necessary for their operation are removed. All operations that will be described below must be performed from under the administrator account.
Delete parameters
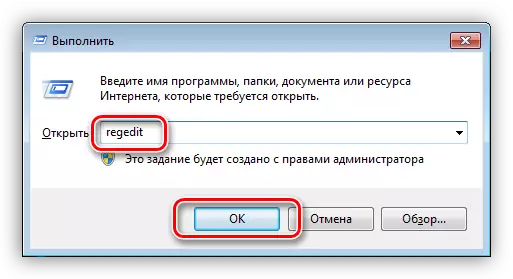
- Run the system registry editor using the appropriate command in the "Run" menu (Win + R).
regedit.
- We go to the "Edit" menu and click on the "Find" item.

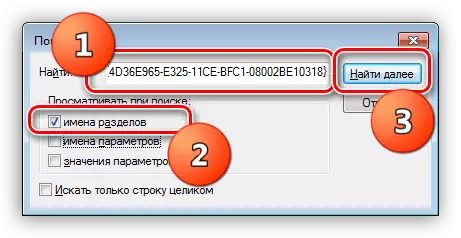
- In the search field, we enter such a value (you can copy and paste):
{4D36E965-E325-11ce-BFC1-08002BE10318}
We leave Galka only near the "section names" item, and then click "Find Next".
- The Registry Section will be found with this name, in which the following keys must be removed:
Upperfilters.
LowerFilters.
If the list contains the key named below, it does not touch it.
UpperFilters.bak.

- After deleting (or lack), the keys in the first section continue to search the F3 key. We do it until the specified keys remain in the registry. After completing the procedure, reboot PC.
If the UpperFilters and LowerFilters parameters are not found or the problem is not solved, then proceed to the next method.
Adding parameters
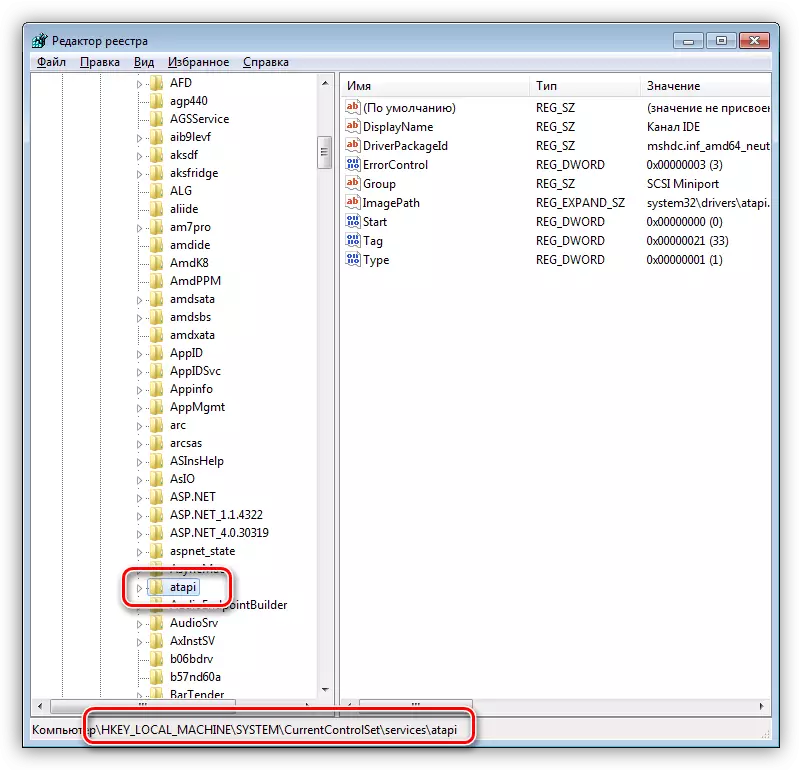
- Go to the branch
HKEY_LOCAL_MACHINE \ SYSTEM \ CURRENTCONTROLSET \ SERVICES \ ATAPI
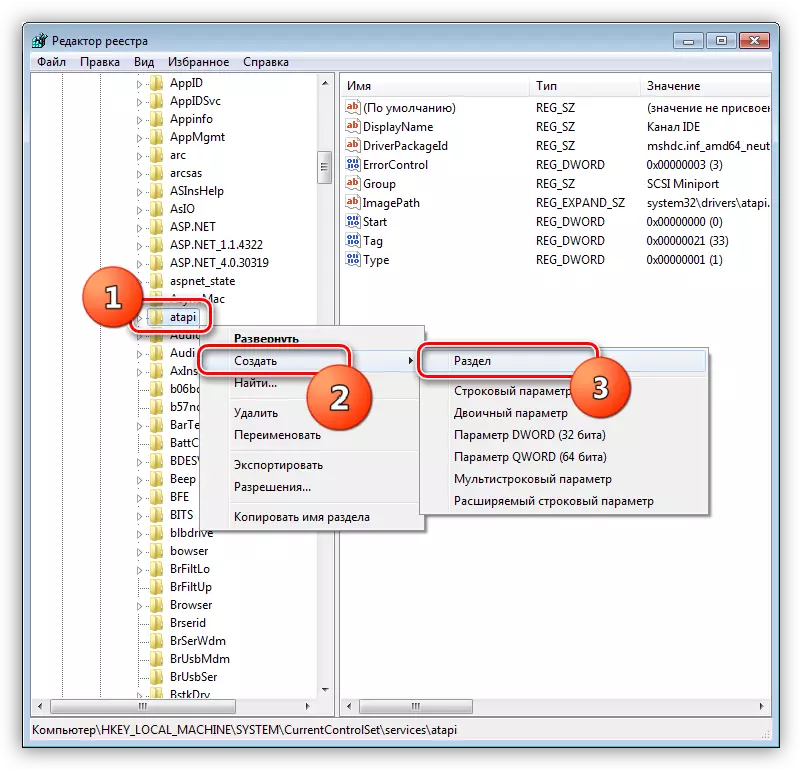
- Click on the PCM on the section (folder) and choose "Create - section".
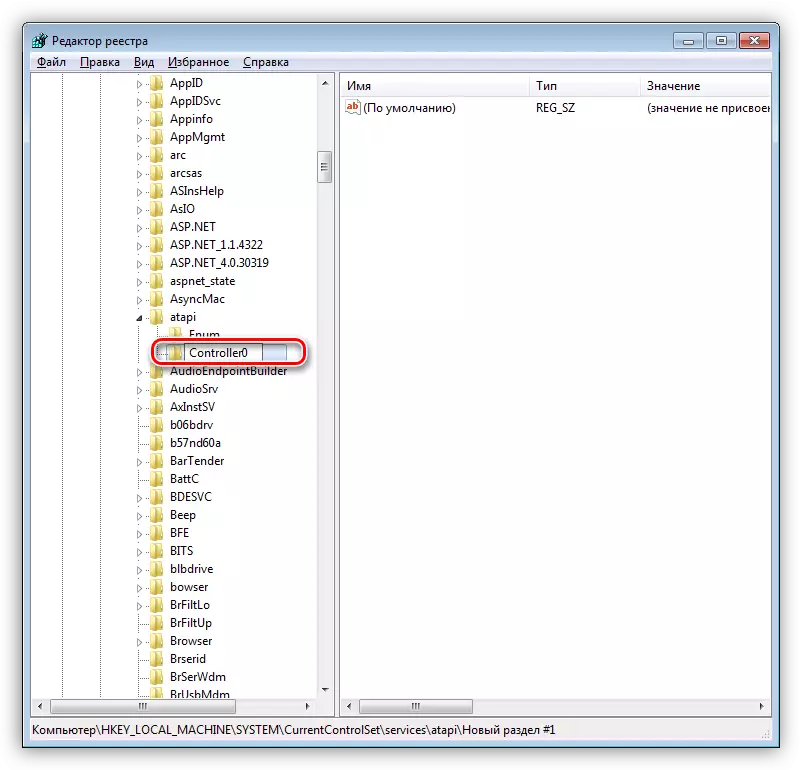
- Give a new item name
Controller0.
- Next, click on the PCM on an empty place in the right block and create the DWORD parameter (32bit).
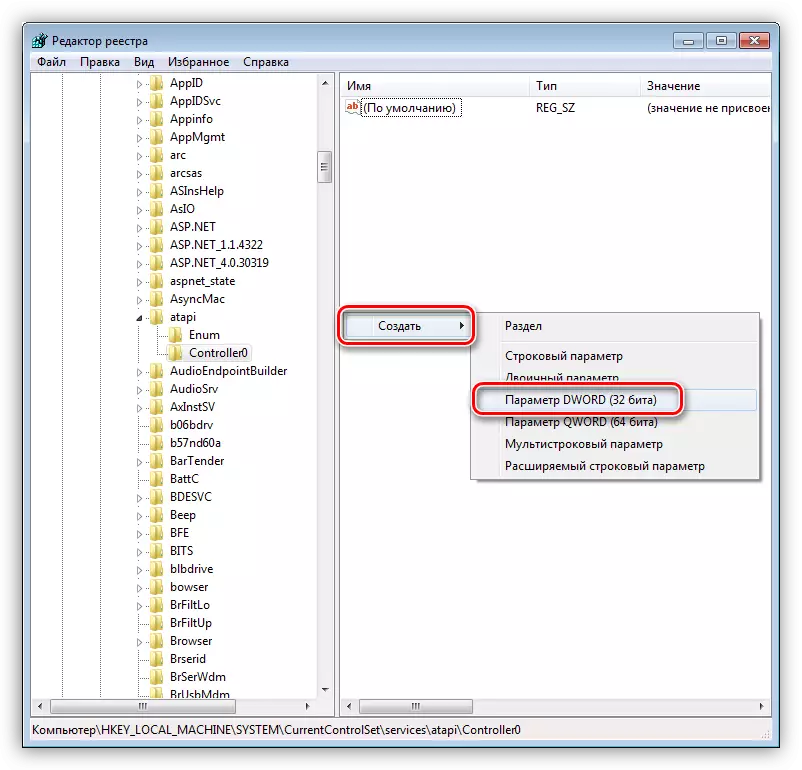
- We call it
EnumDevice1
Then double click open properties and change the value to "1". Click OK.
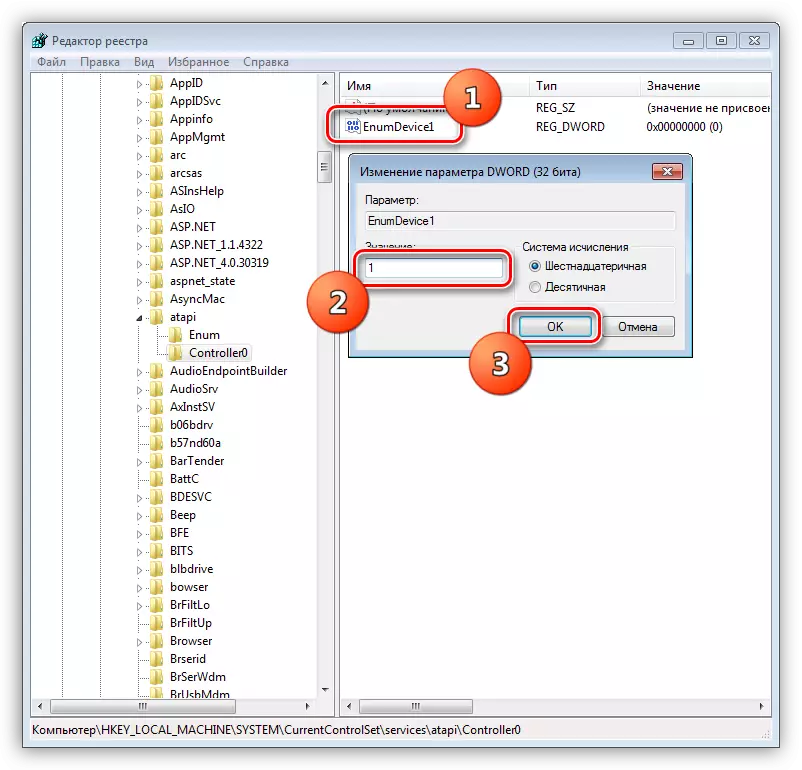
- Restart the machine so that the settings take effect.
Cause 5: Phuch fault
The essence of this cause is a breakdown of both the actuator itself and the port to which it is currently connected. You can check the working capacity of the drive only by comparing it with another, obviously good. To do this, you will have to find another device and connect it to the PC. The state's serviceability is checked easier: it is enough to connect the drive to another similar connector on the motherboard.There are rare cases of breakdowns inside BP, on the line to which ROM is connected. Try to supply the power to another cable from the block if it is available.
Cause 6: Viruses
Many users think that malware can only delete files, steal personal data or encrypt the system with subsequent extortion. This is not true. Among other things, viruses are capable of implementing in the driver or damage them to affect the operation of the computer's hardware. This is also expressed in the impossibility of determining drives.
Check the operating system for the presence of pests and, if necessary, you can get rid of them with the help of specialized programs, free of charge distributed by developers of popular antiviruses. Another way is to seek help to volunteers living on profile resources.
Read more: Fighting computer viruses
Conclusion
These are all the recommendations that can be given when troubleshooting associated with the impossibility of detecting the drive system for laser disks. If it helped you, then most likely, the drive failed or systemic components responsible for the operation of such devices, it is so damaged so that only the OS reinstalling will help. If there is no such desire or possibility, we advise you to look at external USB drives - much less problems arise with them.