

Unwanted shadows appear in pictures due to many reasons. It may be insufficient exposure, illiterate alignment of light sources, or, when shooting outdoors, too strong contrast. In this lesson, we will look at the reception, allowing you to quickly clarify the picture of the picture.
Clamping face in Photoshop
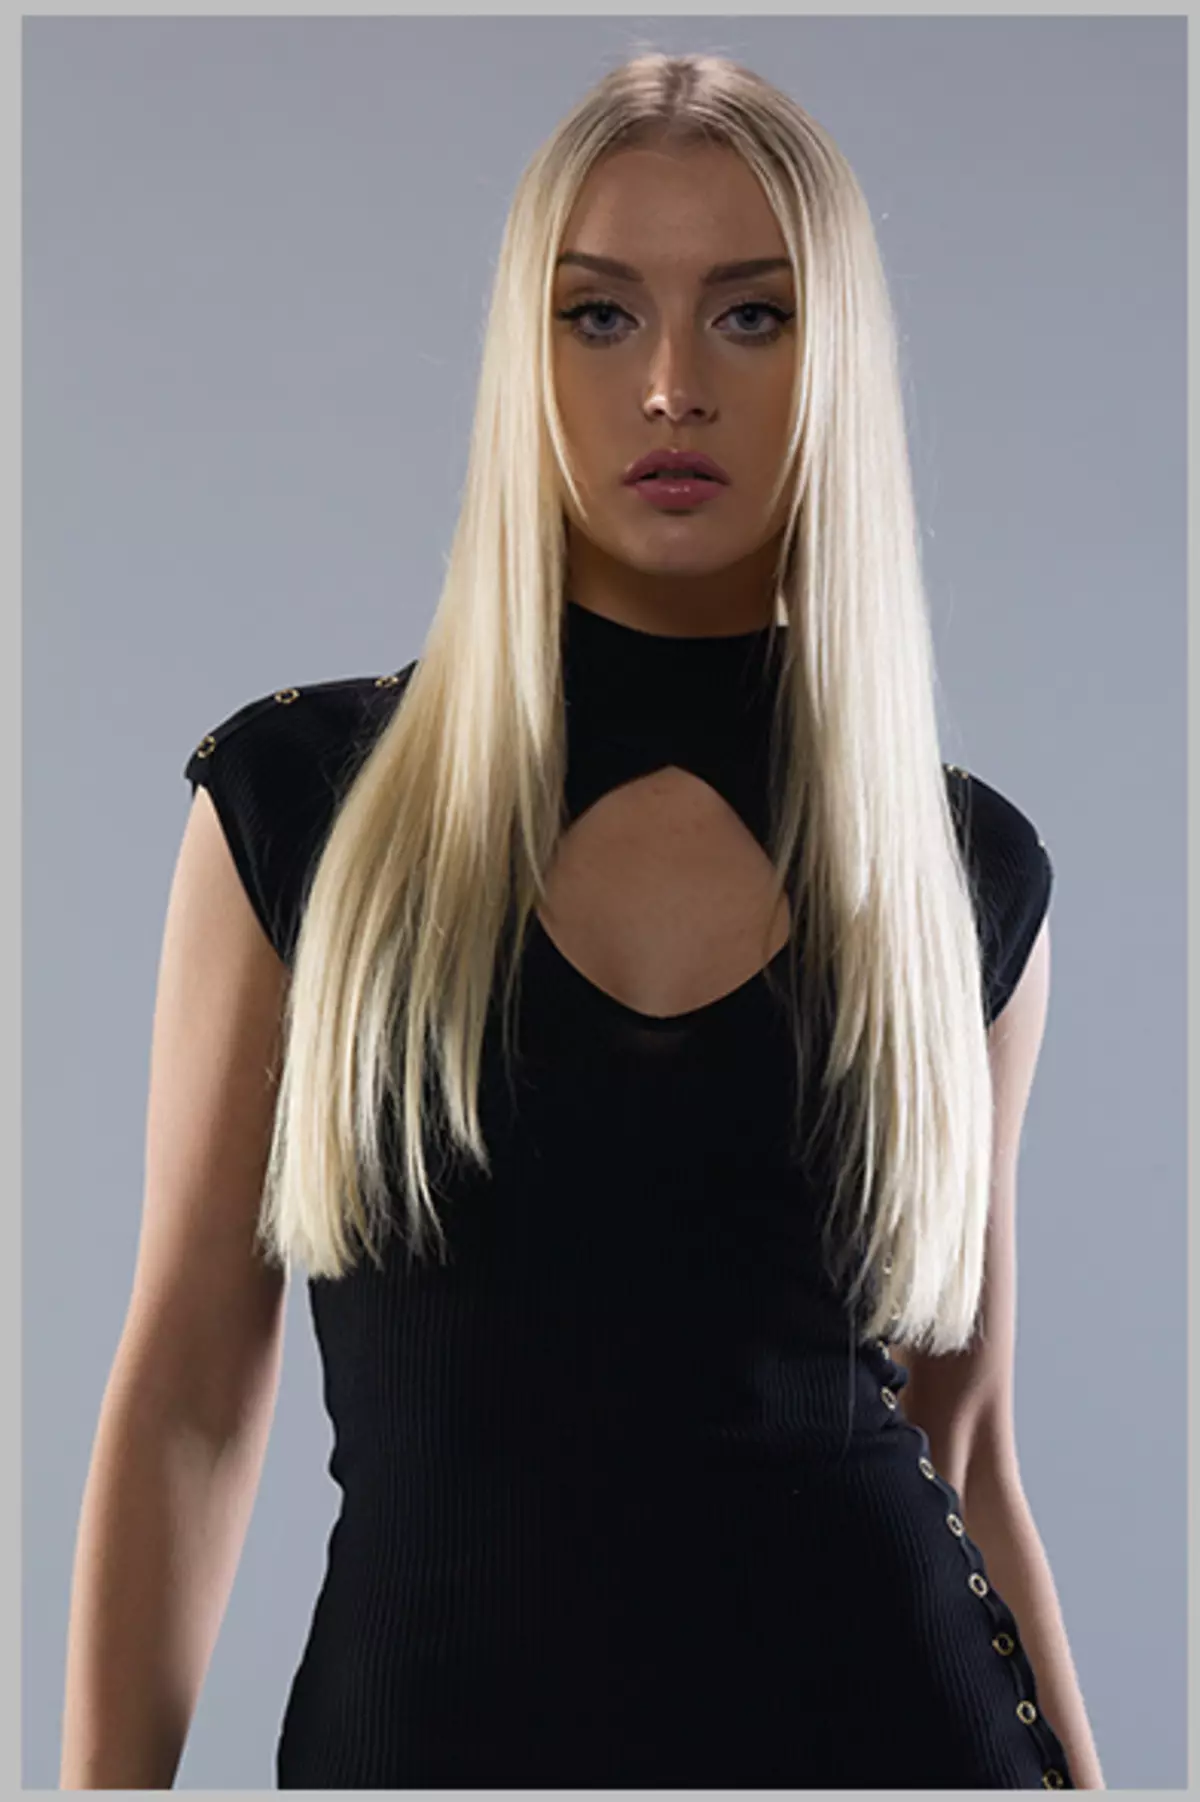
We have the following photos in Photoshop. As we see, there is a common shading here, so we will remove the shadow not only from the face, but also "extend" from the shadow other sections of the picture.
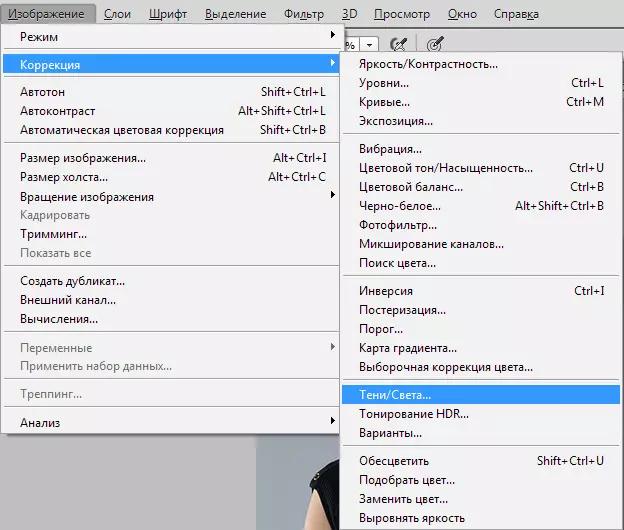
- First of all, create a copy of the layer with the background ( Ctrl + J. ). Then go to the menu "Image - Correction - Shadows / Lights".
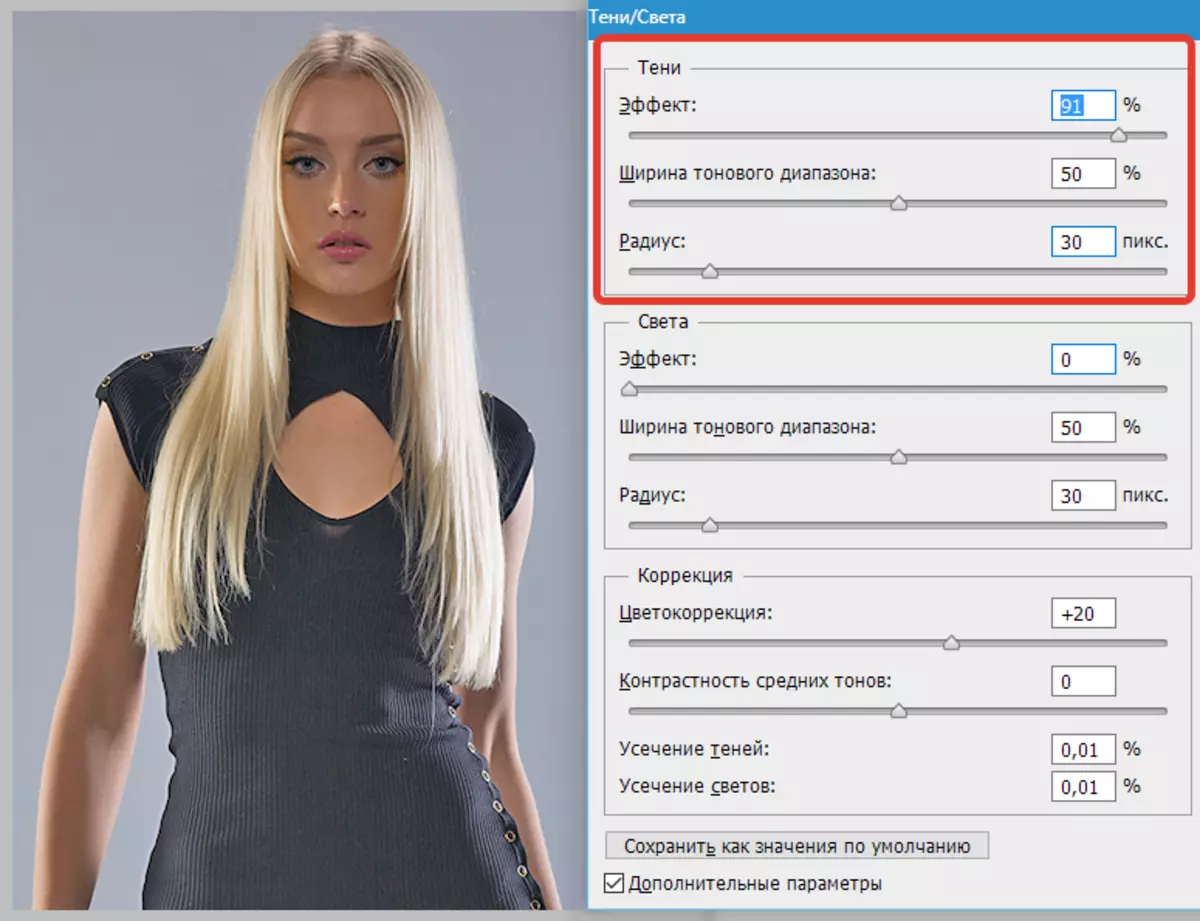
- In the settings window, moving the slider, we achieve the manifestation of parts hidden in the shadows.
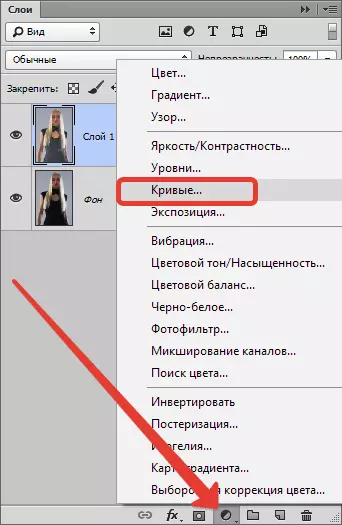
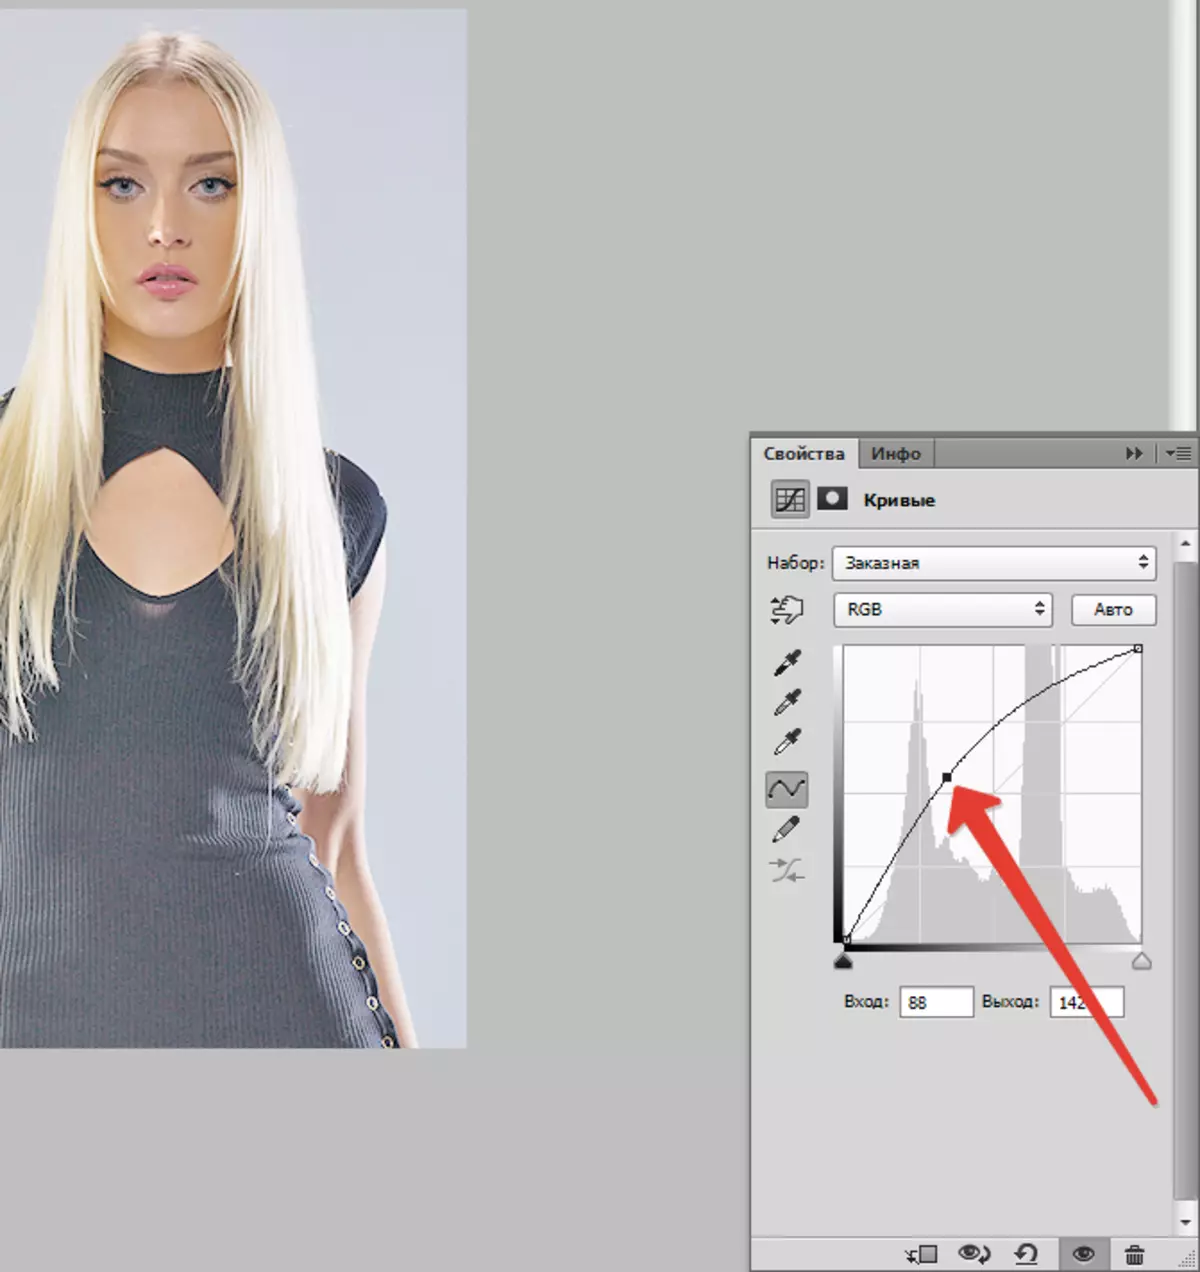
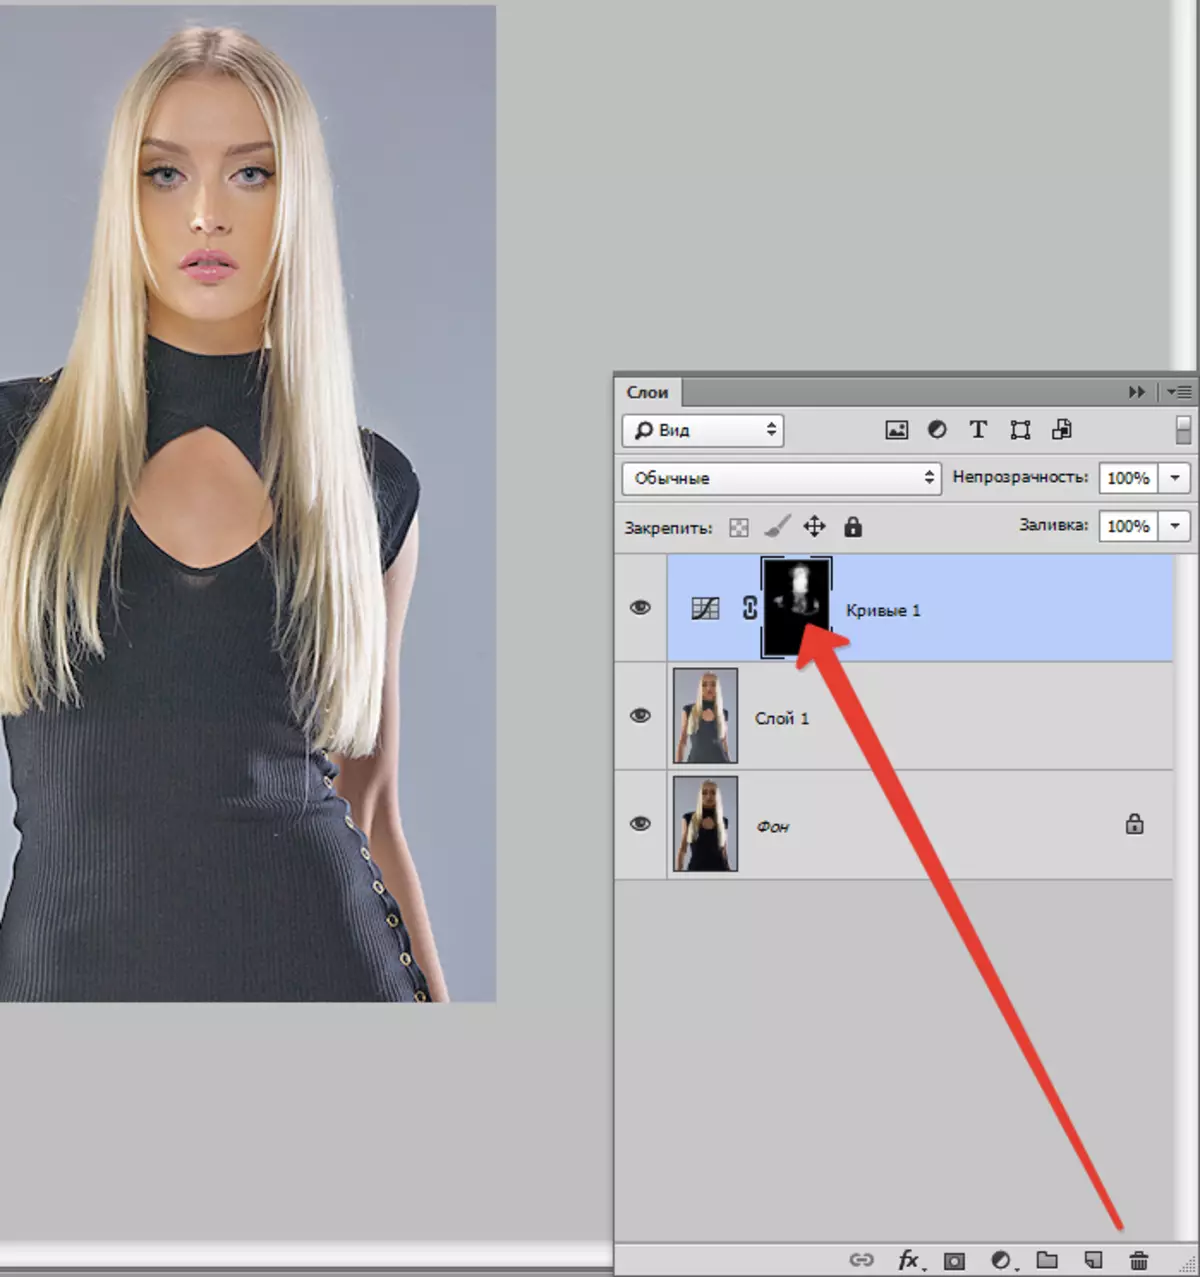
- As we see, the face of the model still remains somewhat darkened, therefore we apply a correction layer "Curves".
- In the settings window that opens, I wip the curve towards the clarification until the required effect is achieved.
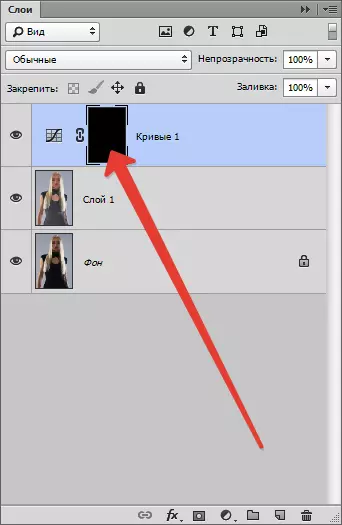
- The effect of the clarification must be left only on the face. Press key D. , dropping colors in default settings, and press the key combination Ctrl + Del. , pouring a layer mask with curves in black.
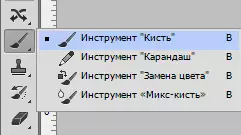
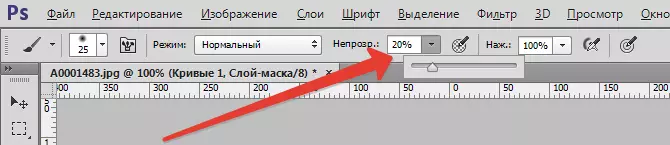
- Then take a white brush.
Form "Soft Round".
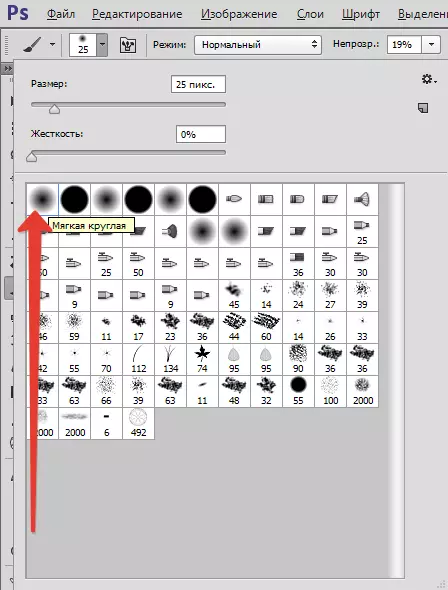
"Opacity" 20-25%.
- Prayes on mask those areas that need to additionally clarify.
Compare the result with the original image.
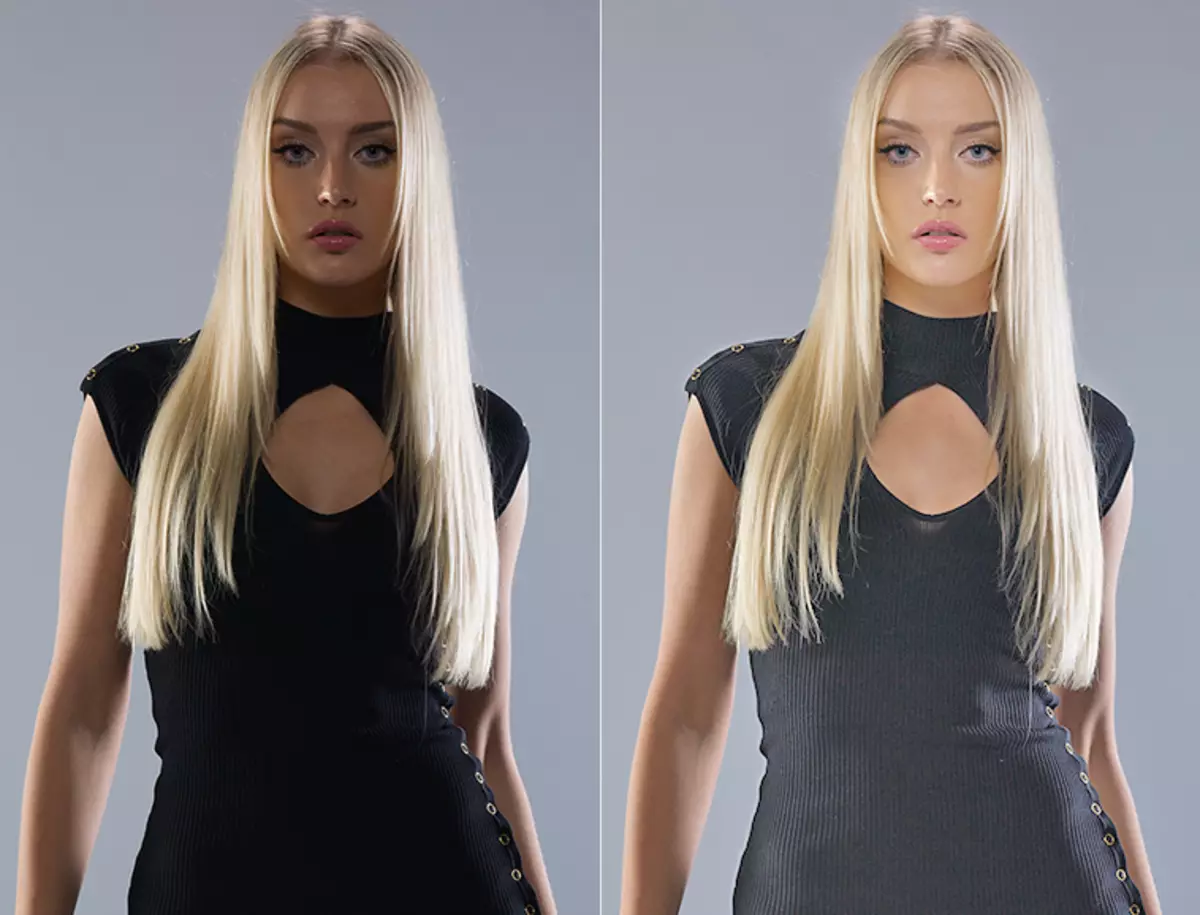
As you can see, the details that were hidden in the shadows manifested themselves, the shadow from the face was gone. We achieved the desired result. The lesson can be considered finished.