
It is no secret that over time, as the work «Windows» Computers folder filled with all sorts of needs or not the item. The last is called "garbage". The benefits of such files is practically no, and sometimes even harmful, expressed in slowing system performance, and other unpleasant things. But the main thing is that the "junk" take up much space on your hard disk, which could be used more productively. Let's find out how to remove unwanted content from the specified directory on the PC running windose 7.
There are many other third-party applications for the cleaning system directories, but the principle of operation of most of them is the same as in CCleaner.
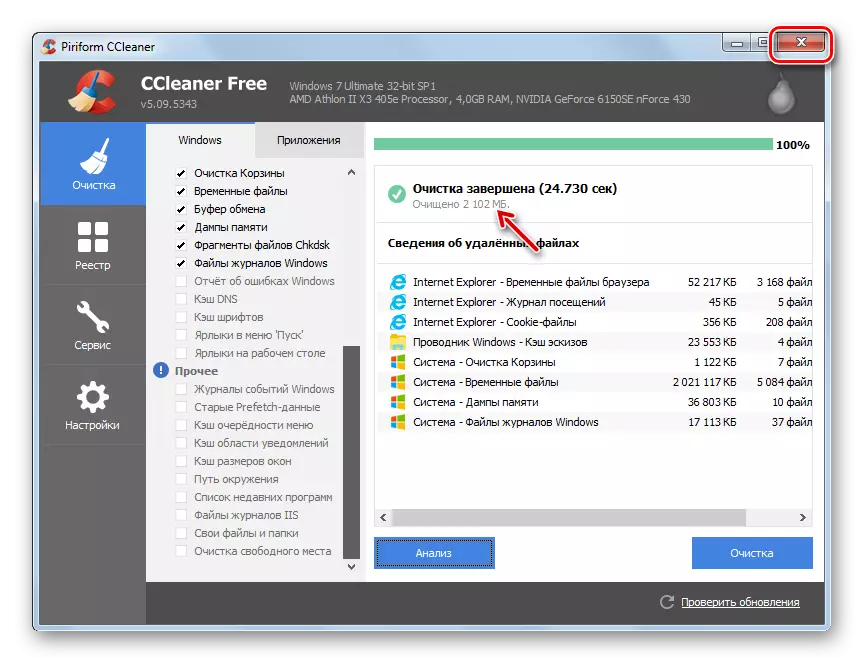
Lesson: Cleaning your computer from the "garbage" using CCleaner
Method 2: Purification by built-in instrument
However, it is not necessary to use «Windows» folder cleaning for some third-party software. This procedure can be performed with success is only limited by the tools that provides the operating system.
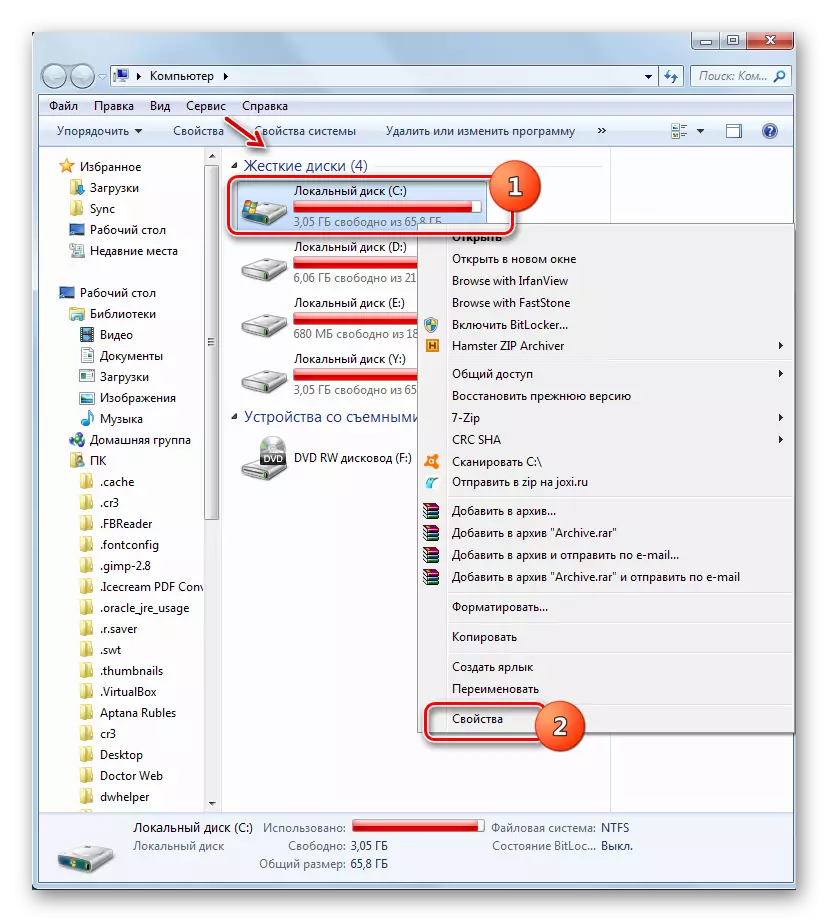
- Click "Start". You go in the "Computer".
- In the list of hard drives click the right mouse button (RMB) under the name of section C. From the pop-list, select "Properties".
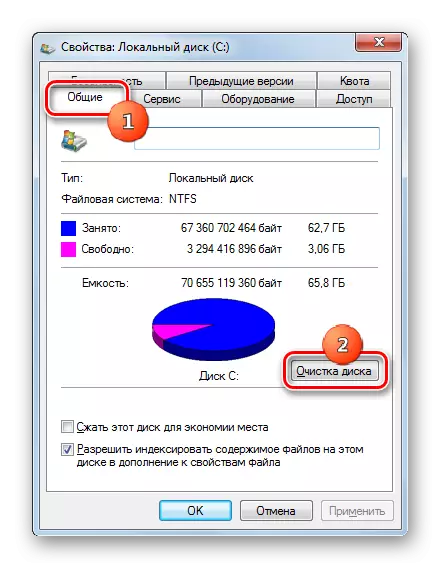
- In the "General" tab in the opened envelope click "Disk Cleanup."
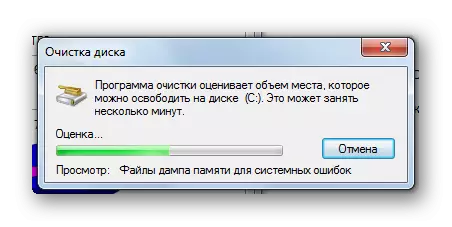
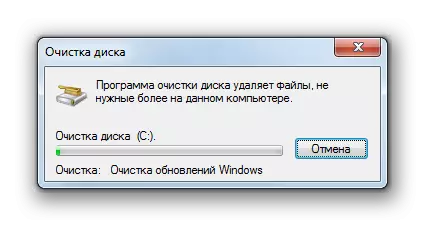
- Runs the utility "Disk Cleanup." It analyzes the amount of data to be deleted in Section C.
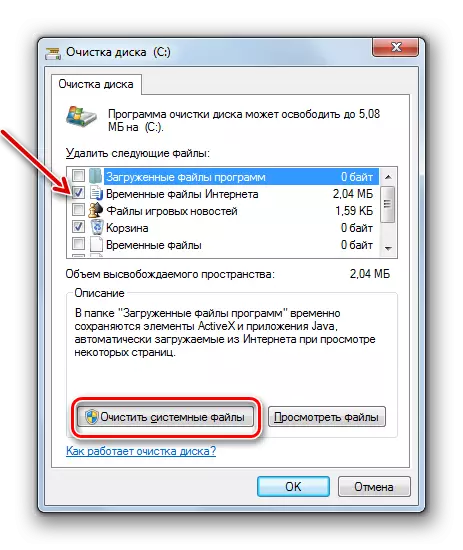
- After that there is a window "Disk Cleanup" with a single tab. Here, as when working with CCleaner, opens a list of elements inside which content can be removed, with the displayed volume liberated space in front of each. By exhibiting ticks you specify that it should be removed. If you do not know the meaning of the name elements, then leave the default settings. If you want to clean up even more space, in this case, click "Clean up system files."
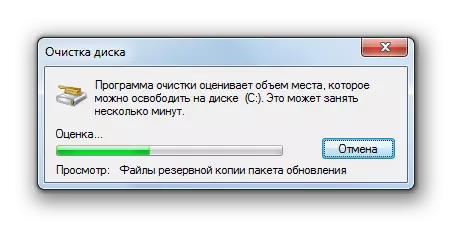
- Utility again evaluates the volume to be to delete the data, but taking into account the system files.
- After that, the window opens with the list of items in which the content will be cleared. This time the total amount of data removed must be greater. Install the checkboxes near those elements that you want to clean or, on the contrary, remove the mark from those objects where you do not want to delete. After that click "OK".
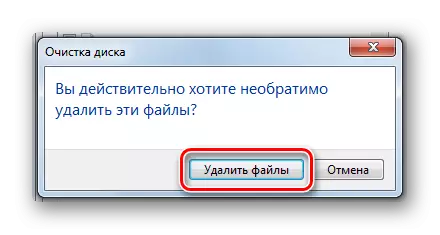
- A window will open in which you need to confirm your actions by clicking "Delete Files".
- The system utility will be performed procedure for cleaning the C disc, including the Windows folder.


Method 3: Manual Cleaning
You can also make manual cleaning of the Windows folder. This method is good in that it allows, if necessary, to point to delete individual elements. But at the same time, it requires special caution, as there is a possibility of deleting important files.
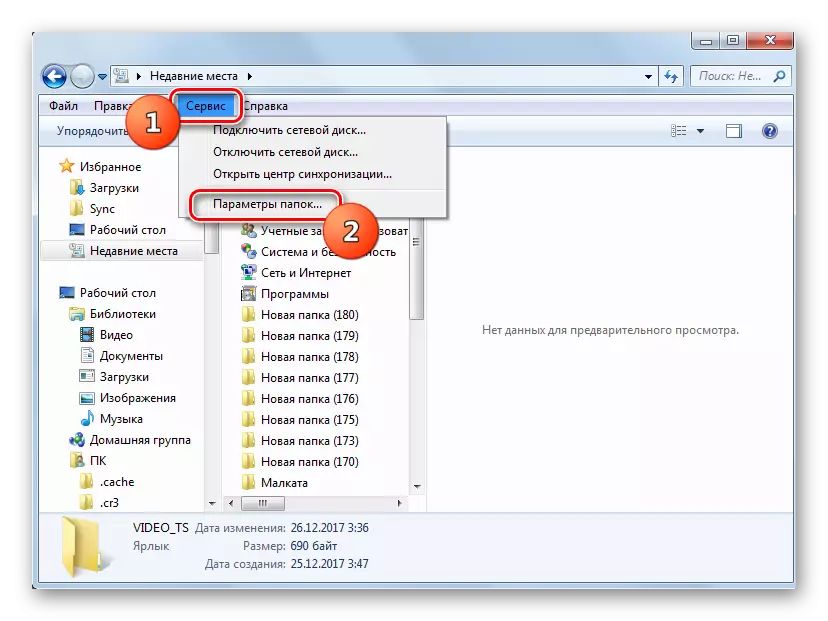
- Given the fact that some of the directories described below are hidden, you need to disable the hide system files on your system. To do this, while in the "Explorer" go to the "Service" menu and select "folder options ...".
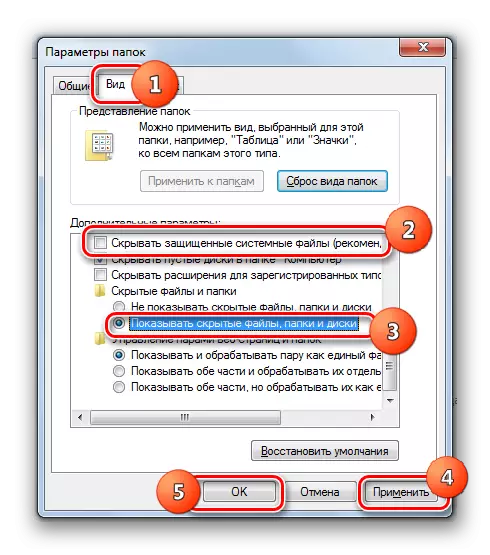
- Next, go to the "View" tab, remove the mark from the "Hide secure files" item and put the radio button to the "Show hidden files" position. Click "Save" and "OK". Now the directories you need and all their contents will be displayed.
TEMP folder
First of all, you can delete the contents of the "TEMP" folder, which is located in the Windows directory. This directory is quite strongly filling in various "garbage", as temporary files are stored, but manual removal of data from this directory is practically not connected with any risks.
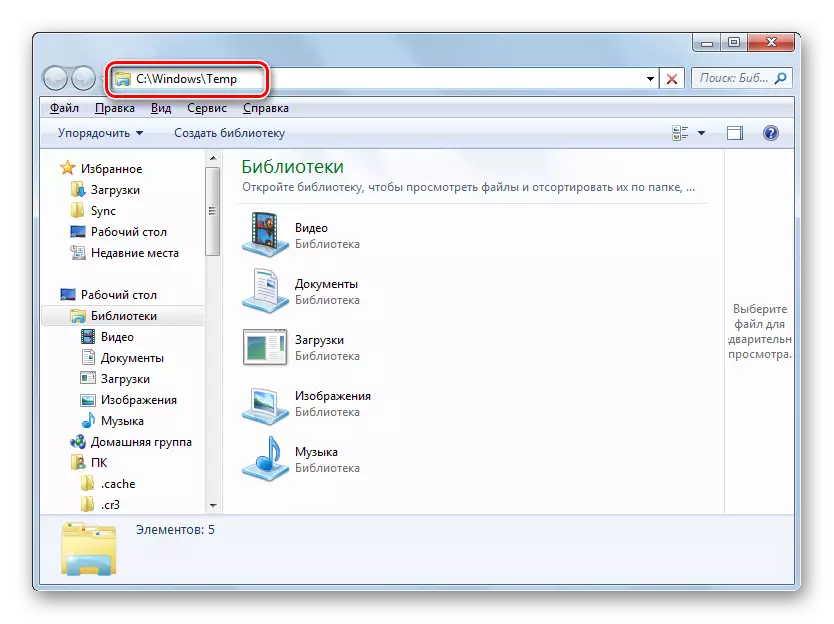
- Open the "Explorer" and enter the path to its address line:
C: \ Windows \ Temp
Press ENTER.
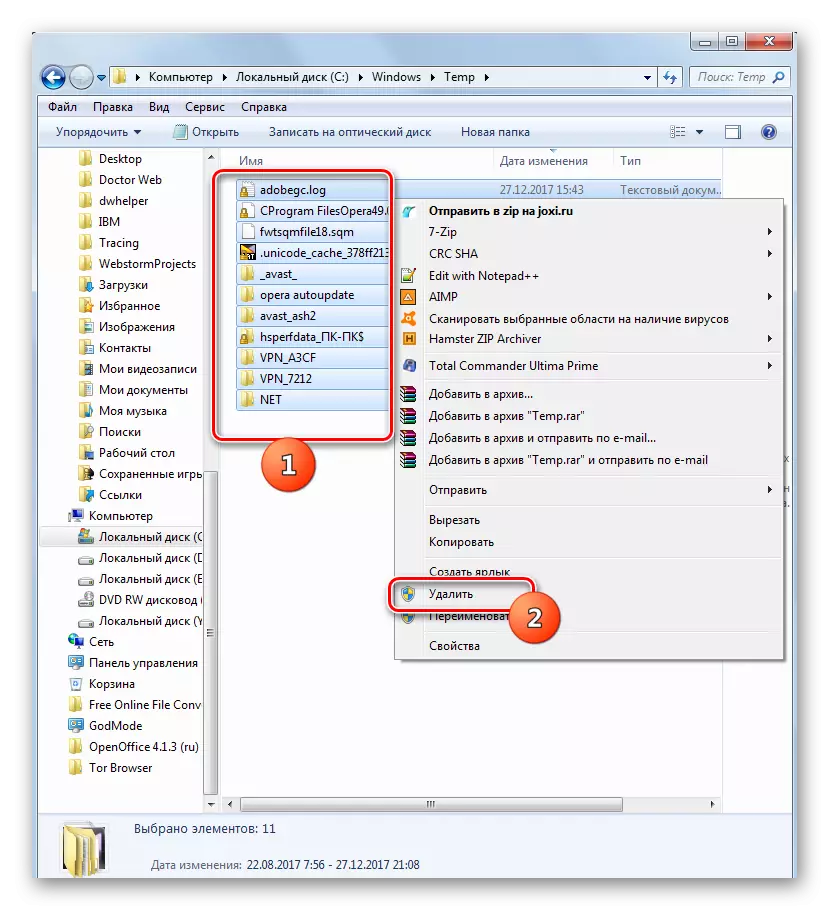
- A transition to the TEMP folder is performed. In order to highlight all the items that are located in this directory, apply the combination of Ctrl + a. Click PCM on the selection and select "Delete" in the context menu. Or just press "DEL".
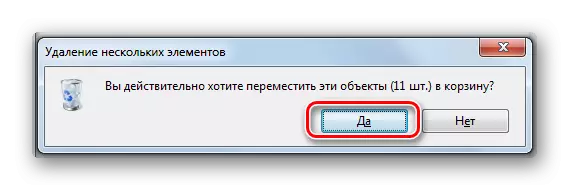
- The dialog box is activated, where you need to confirm your intentions by clicking "Yes."
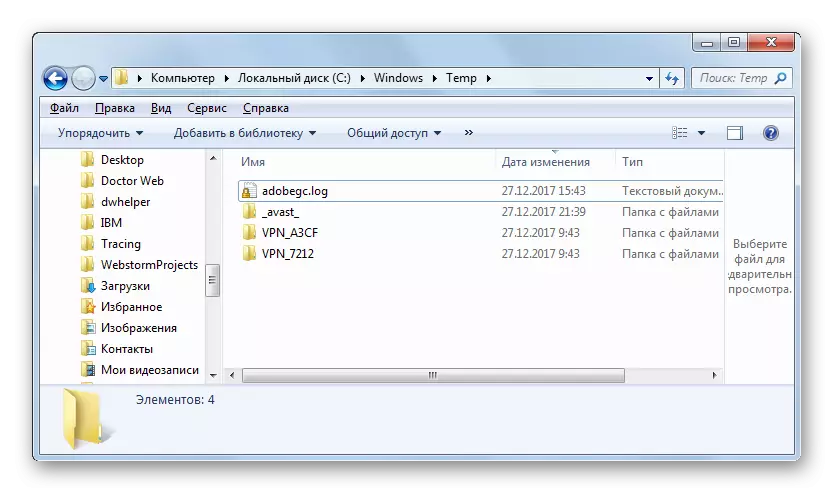
- After that, most elements from the Temp folder will be removed, that is, it will be cleaned. But, most likely, some objects in it will still remain. These are the folders and files that are currently engaged in processes. It should not be forced to delete them.
Clearing folders "WINSXS" and "SYSTEM32"
Unlike manual cleaning of the Temp folder, the corresponding manipulation with the "WINSXS" and "System32" directories is a rather dangerous procedure, which WINDOVS 7 is better not to start without deep knowledge. But in general, the principle of the same that was described above.
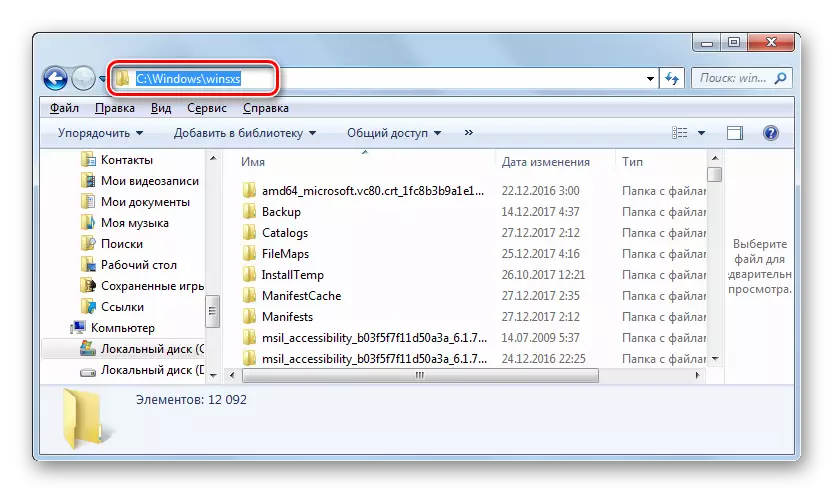
- Come to the target directory by entering the "WinSXS" folder to the "WinSXS" address line:
C: \ Windows \ Winsxs
And enter the path to the "System32" directory:
C: \ Windows \ System32
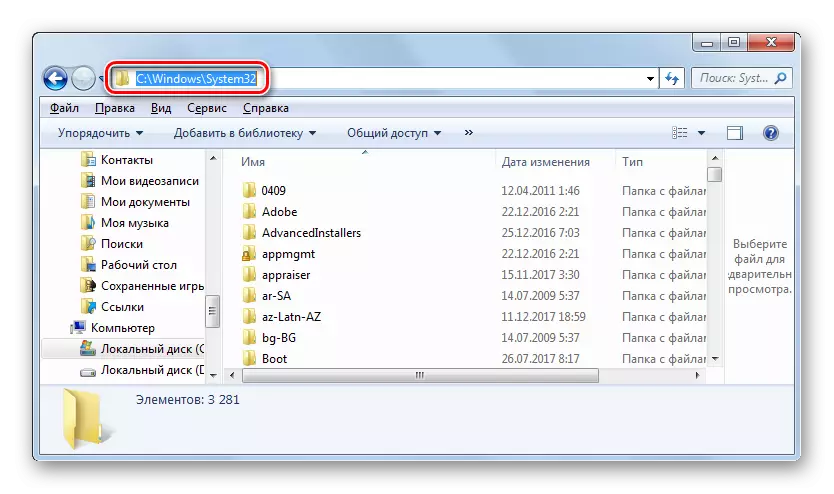
Click ENTER.
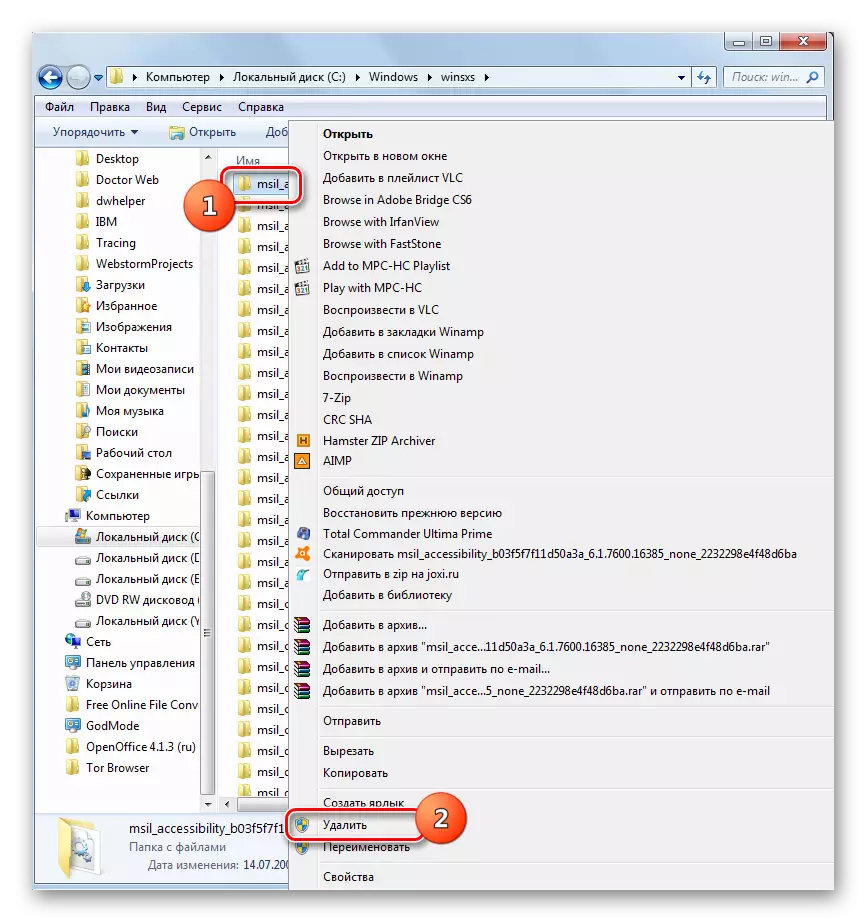
- Turning to the desired directory, delete the contents of the folders, including the elements in subdirectors. But in this case, you need to remove selectively, that is, in no case apply the Ctrl + A combination for the selection, but to remove specific elements, clearly understand the consequences of each of its action.
Attention! If you thoroughly do not know the Windows structure, then it is better not to use manual removal to clean the WinSXS directories and System32, but to use one of the first two ways in this article. Any error when manually deleted in these folders is fraught with serious consequences.
As you can see, there are three main options for cleaning the Windows system folder on computers with Windows OS 7. This procedure can be performed using third-party programs, built-in OS functional and manual removal of items. The last way, if it does not concern the contents of the TEMP directory, it is recommended to use only advanced users who have a clear understanding of the consequences of each of their activities.