
The MVD virus is one of the varieties of malware blocking a computer file system or restricting Internet access by changing the configuration of the connection and (or) browser. Today we will talk about how to get rid of this virus.
Remove the MVD virus
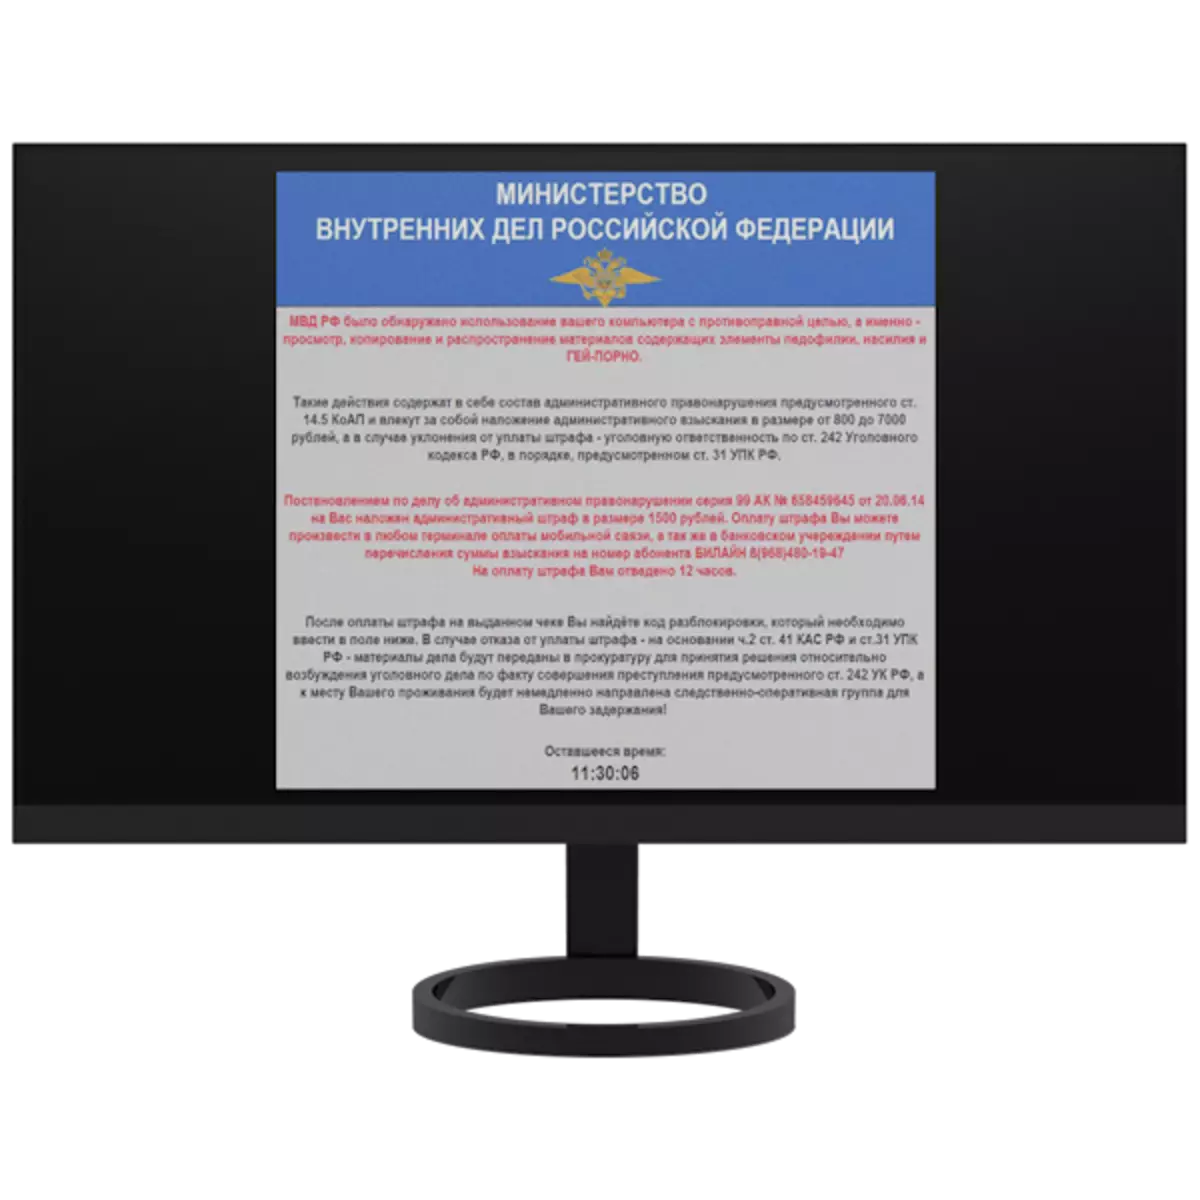
The main sign of infection with this virus is the appearance of approximately such content in the browser or on the desktop:
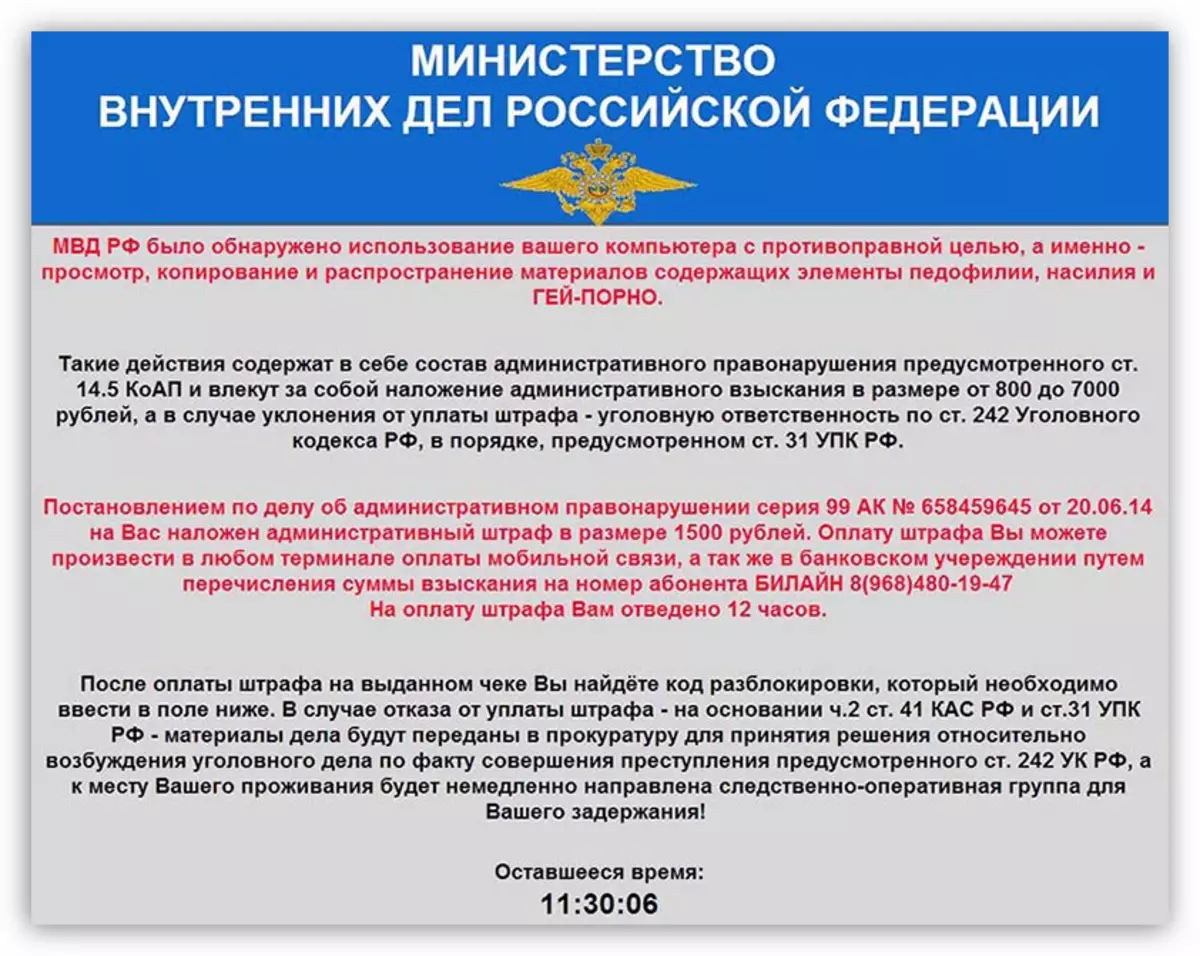
It is worth noting here that law enforcement agencies do not have a completely nothing to be written in this window. Based on this, we can conclude that in no case should you pay a "fine" - by this you just encourage attackers to continue our activities.
You can remove the MVD virus from the computer in several ways, it all depends on what they have been blocked - a file system or browser. Next, we will analyze two universal options that will help solve the problem.
Method 1: Kaspersky Rescue Disk
Kaspersky Rescue Disk is a Linux-based distribution kit containing tools for treating a system from various types of malware. The assembly is officially produced and supported by Kaspersky Lab and distributed free of charge. With it, you can get rid of blocking both files and browser.
In order to take advantage of the distribution, it must be recorded on the USB flash drive or CD.
Read more: Creating a bootable flash drive with Kaspersky Rescue Disk
After creating a flash drive, you need to upload a computer from it by setting up the appropriate parameters in the BIOS.
Read more: How to set the download from the flash drive in bios
Upon completion of all settings and start the PC loading, we carry out the following actions:
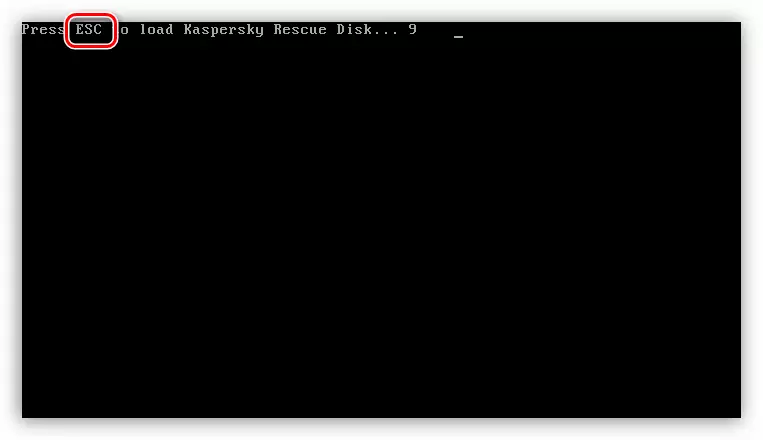
- In order to work to work on the disk, click ESC at the request of the system.
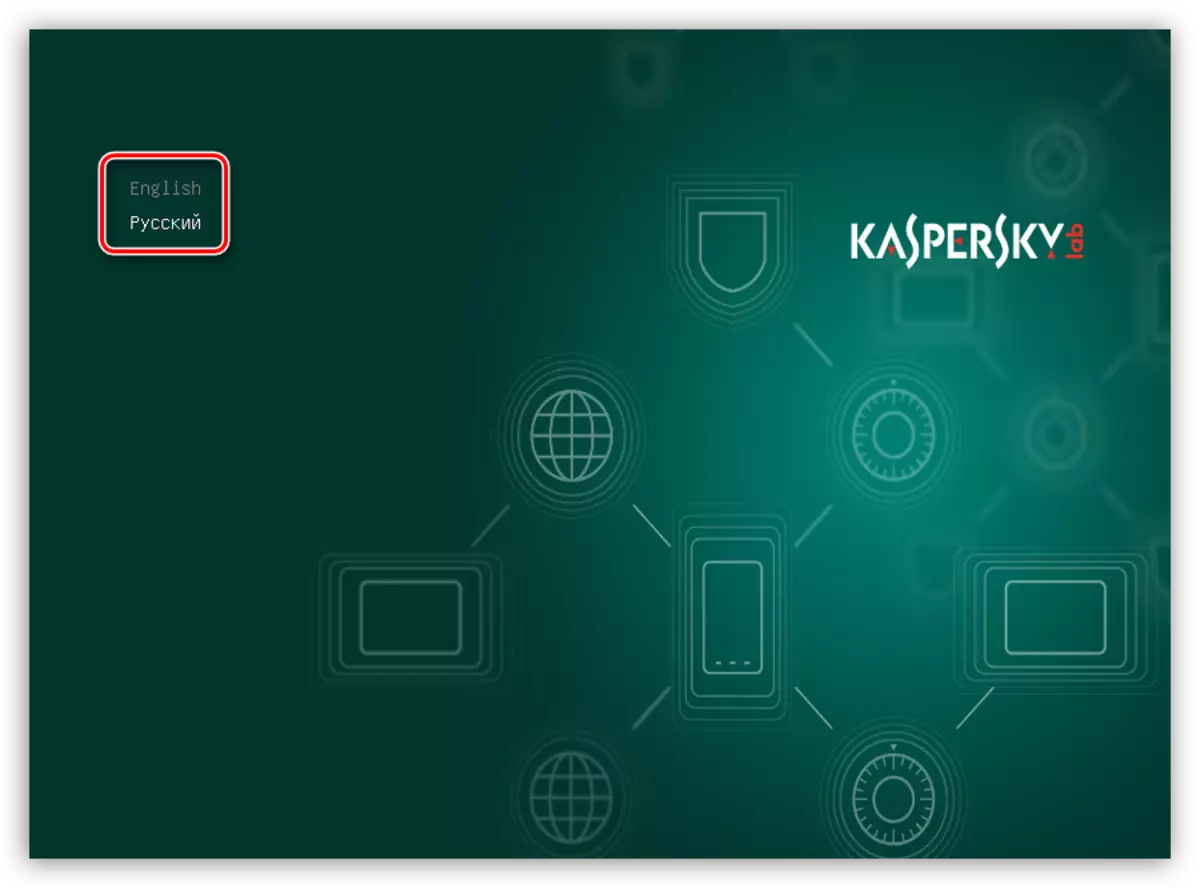
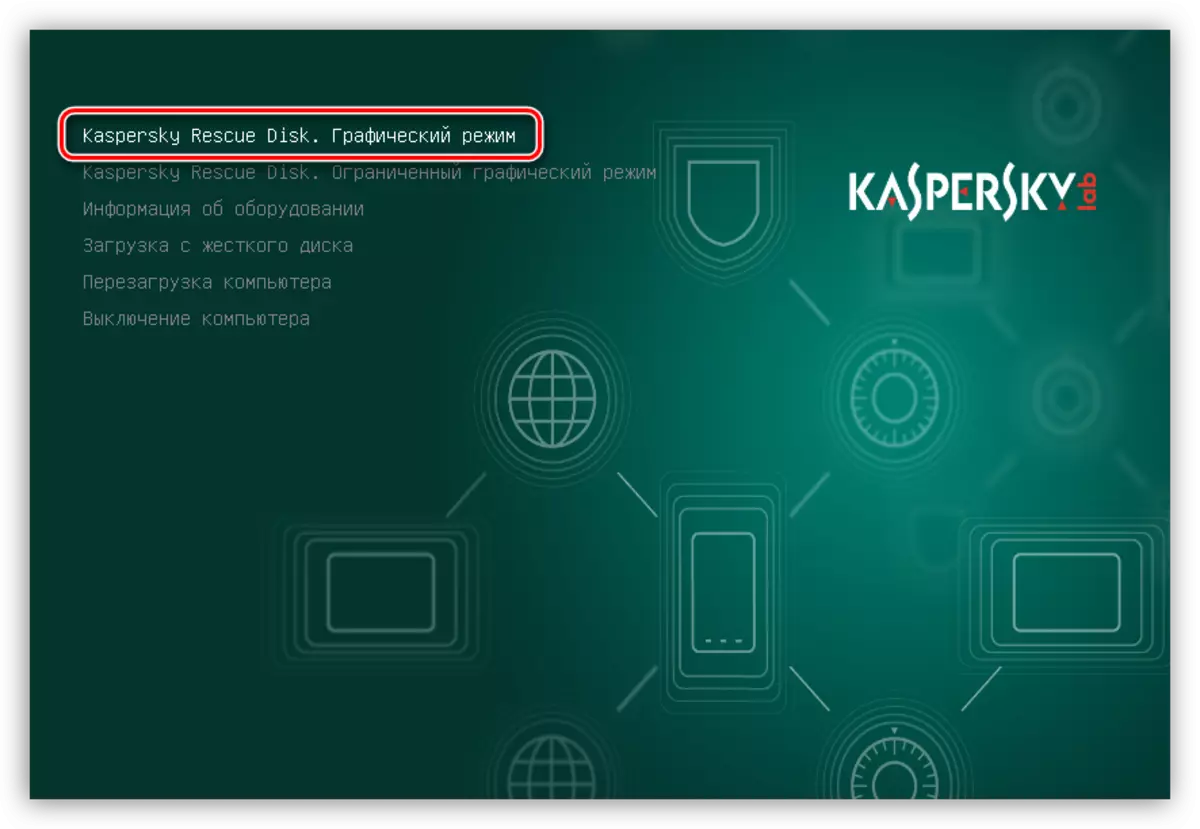
- We choose the arrows on the keyboard and press ENTER.
- Next, also arrows, select "Graphic Mode" and press ENTER again.
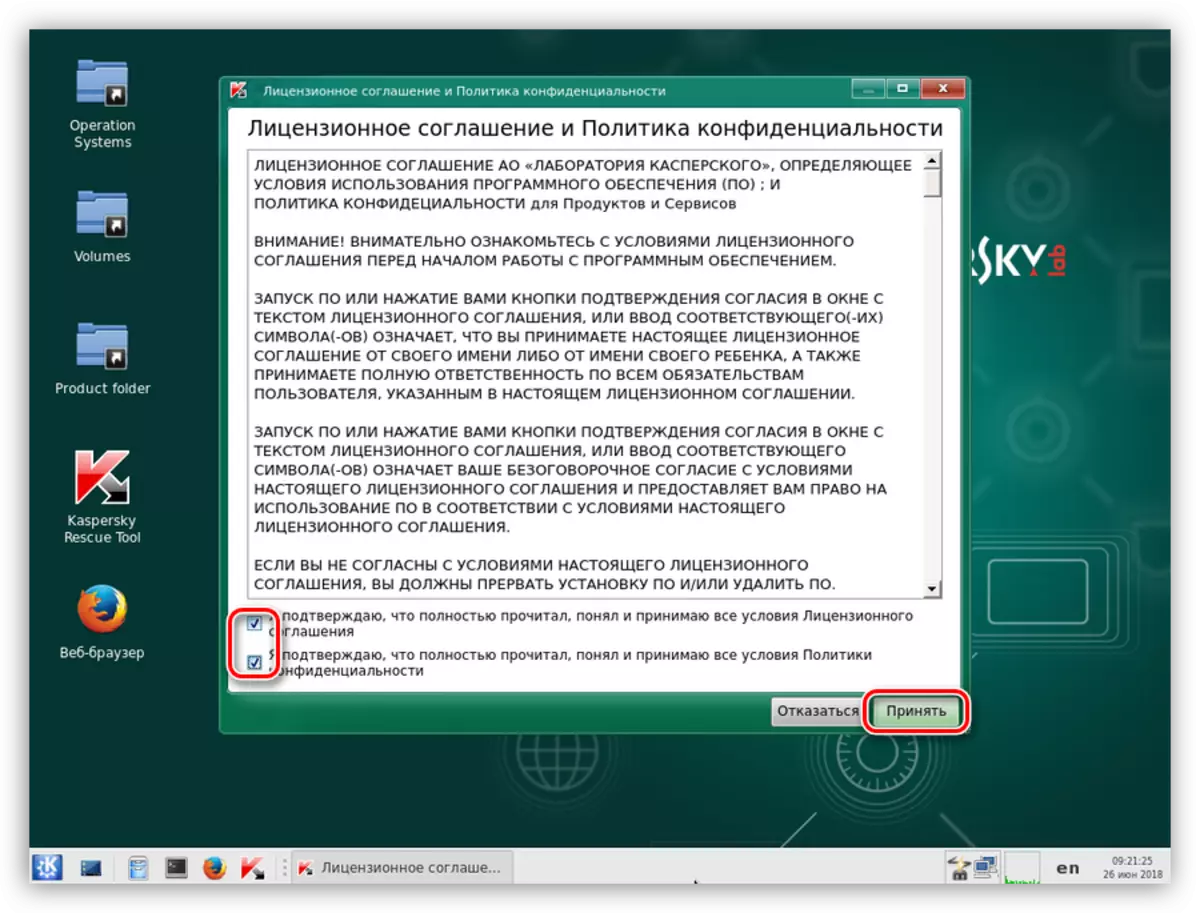
- We accept the license agreement by setting two tanks at the bottom left and pressing "accept".
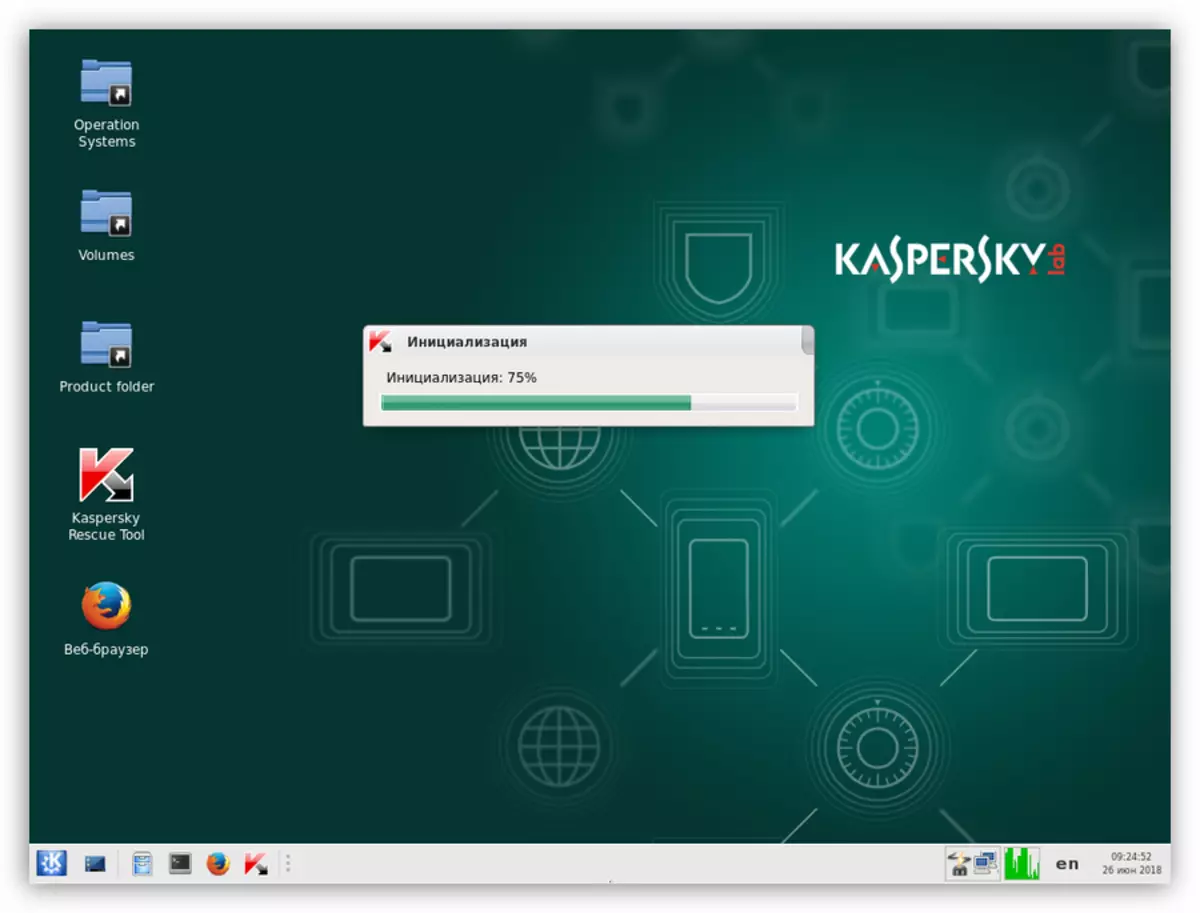
- We are waiting for the completion of initialization.
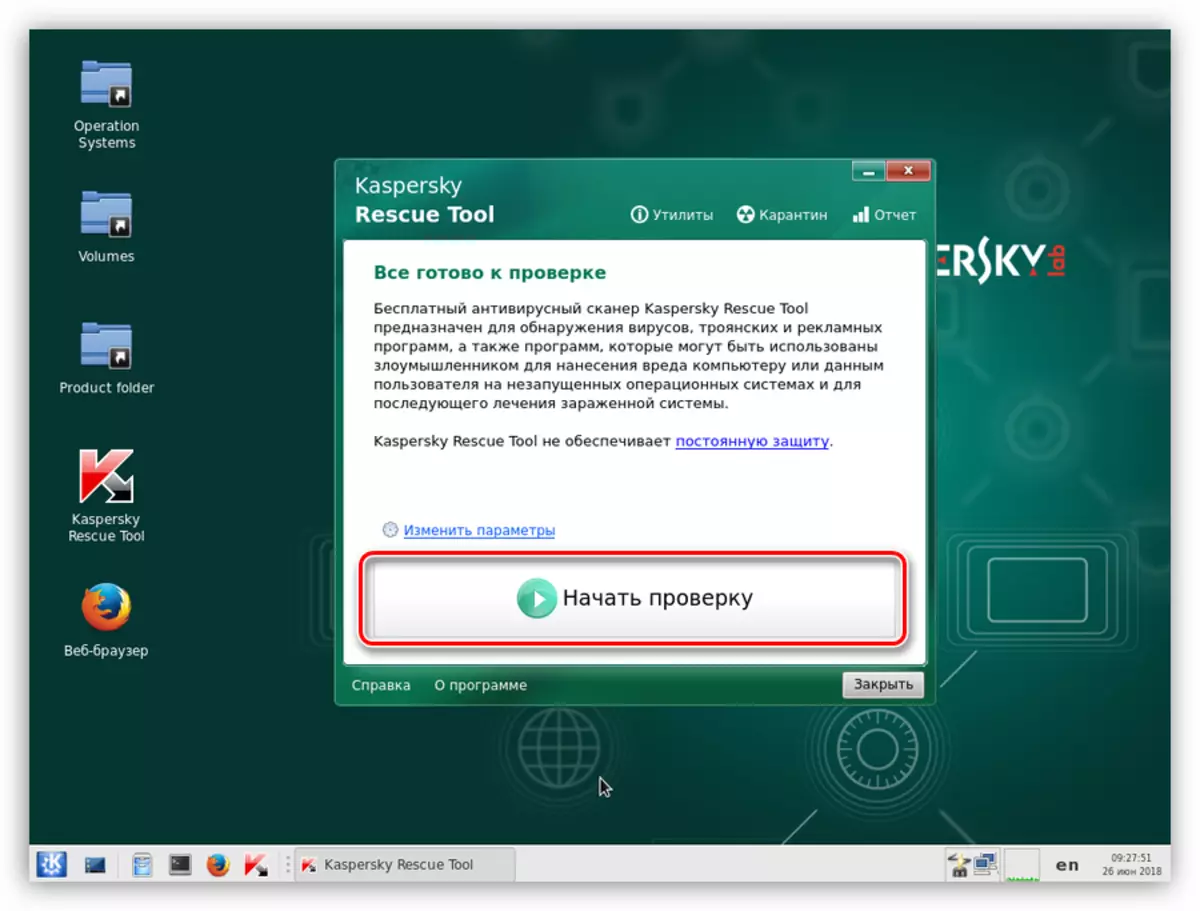
- To start the scan, click the "Start Check" button.
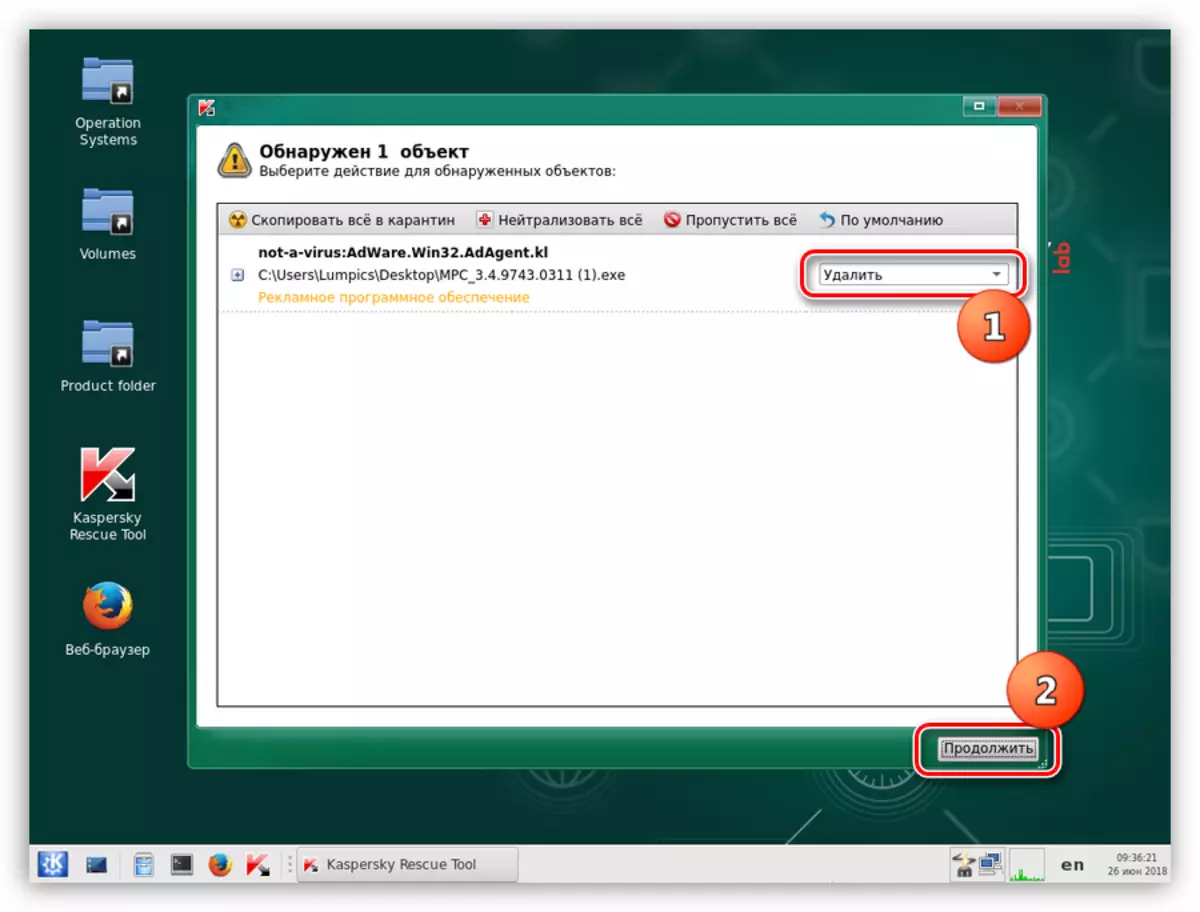
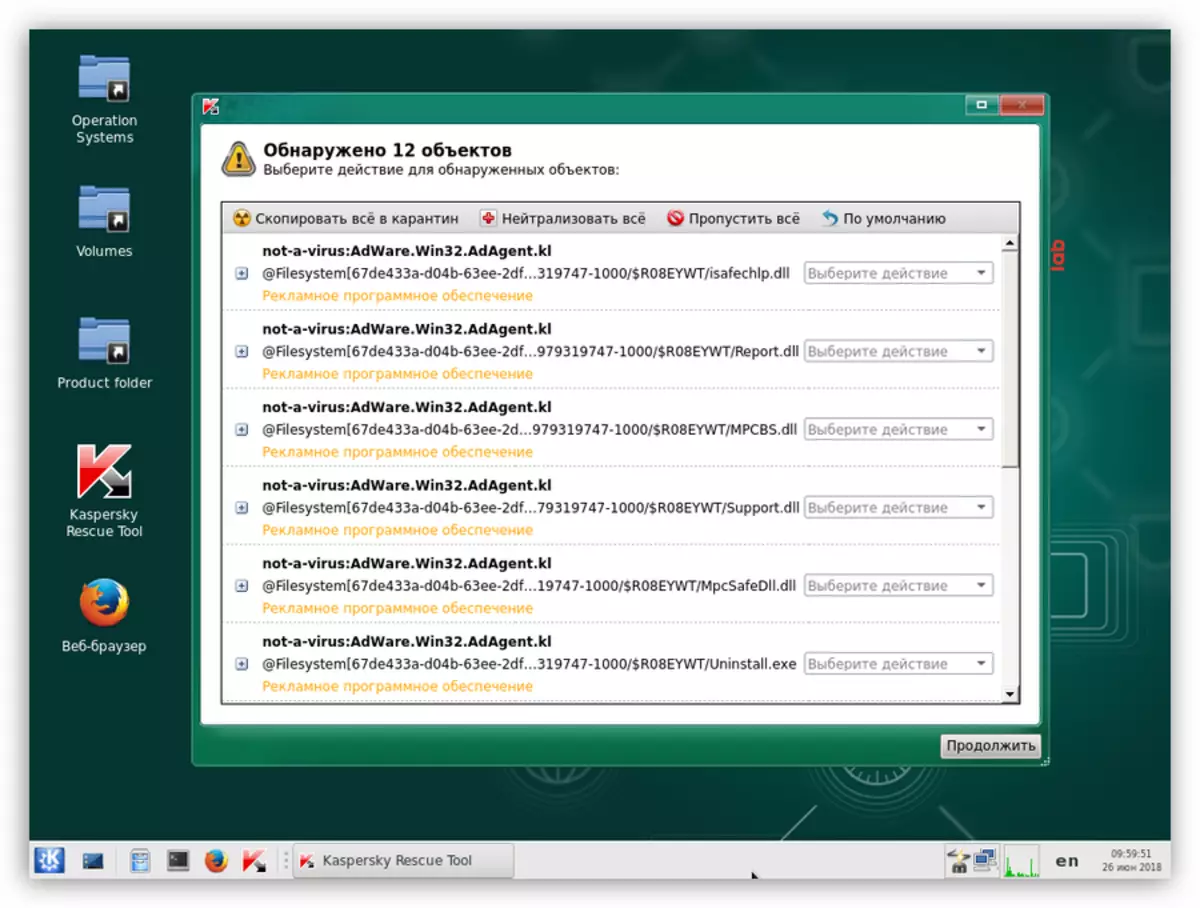
- After the scan is complete, the program will display a window with the results. Carefully check which objects were labeled as suspicious. We are interested in those that are disposed of not in the system folders (subfolders in the Windows directory on the system disk). It can be a user directory, temporary folders ("temp") or even the desktop. For such objects, select the "Delete" action and click "Continue".
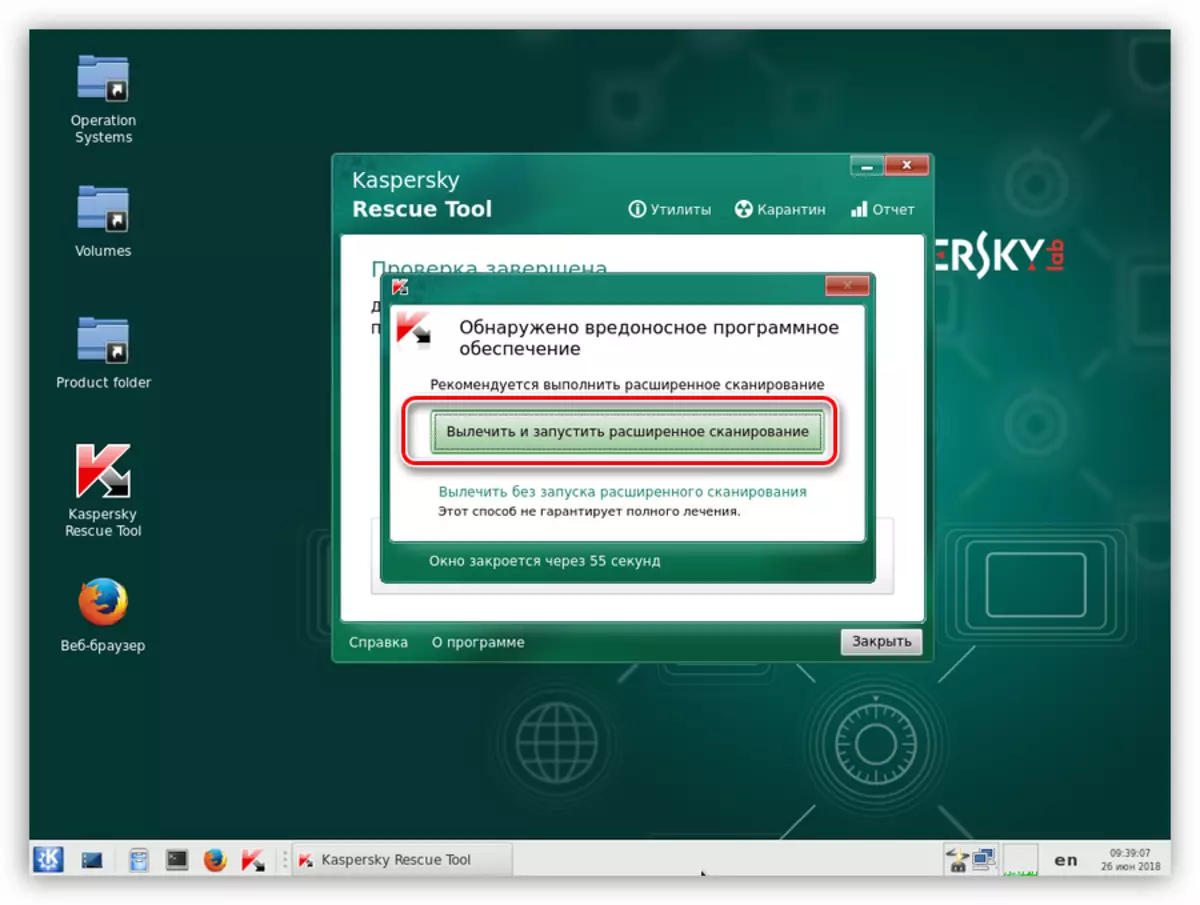
- Next, a dialog box appears in which you press the button to "cure and run extended scanning".
- After the next check cycle, if required, repeat the procedure for deleting objects.
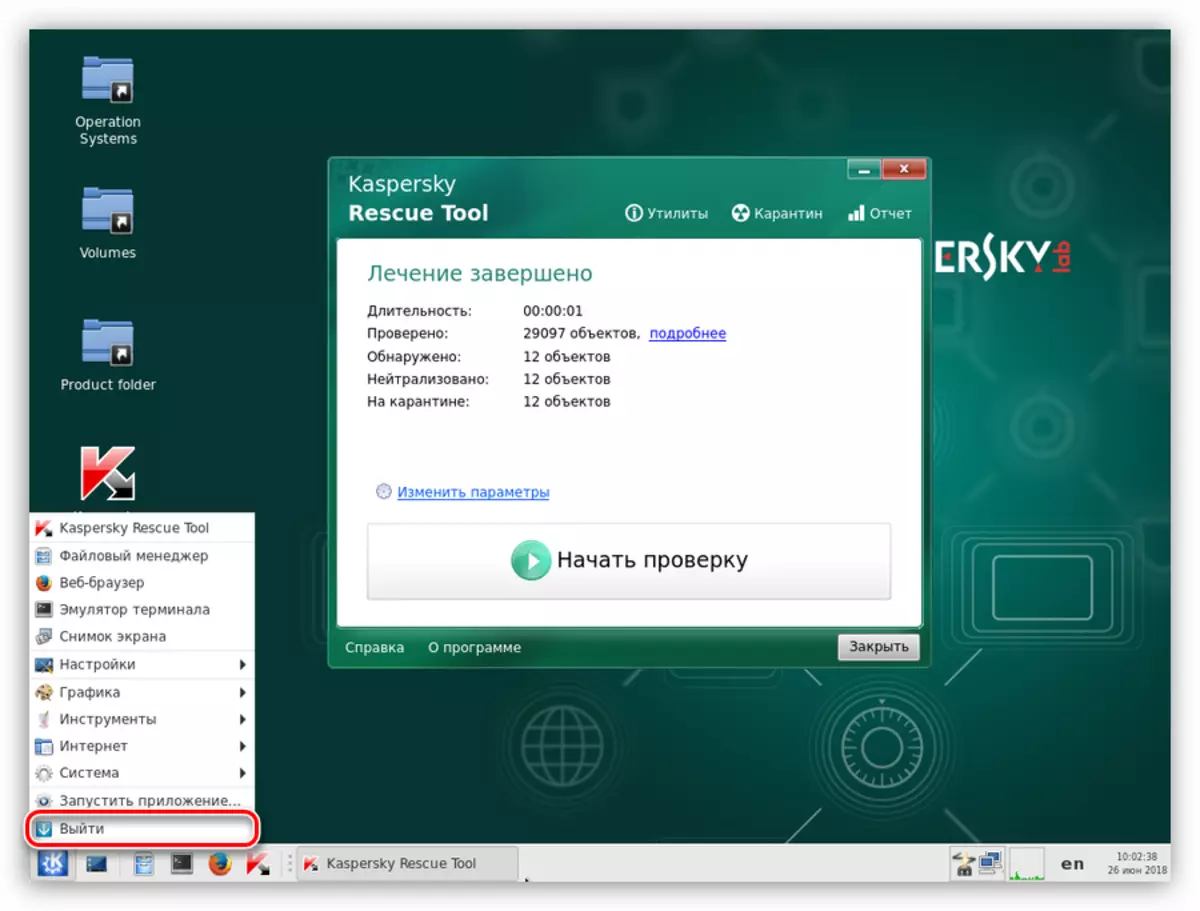
- Open the start menu and select "Exit".
- Click the "Turn off" button.

- We configure the boot to the BIOS from the hard disk and try to start the system. Perhaps the disk check will start. In this case, waiting for its end.
Windows Unlocker utility
If standard scanning and treatment has not led to the desired result, you can use the Windows Unlocker utility, which is part of the Kaspersky Rescue Disk distribution.
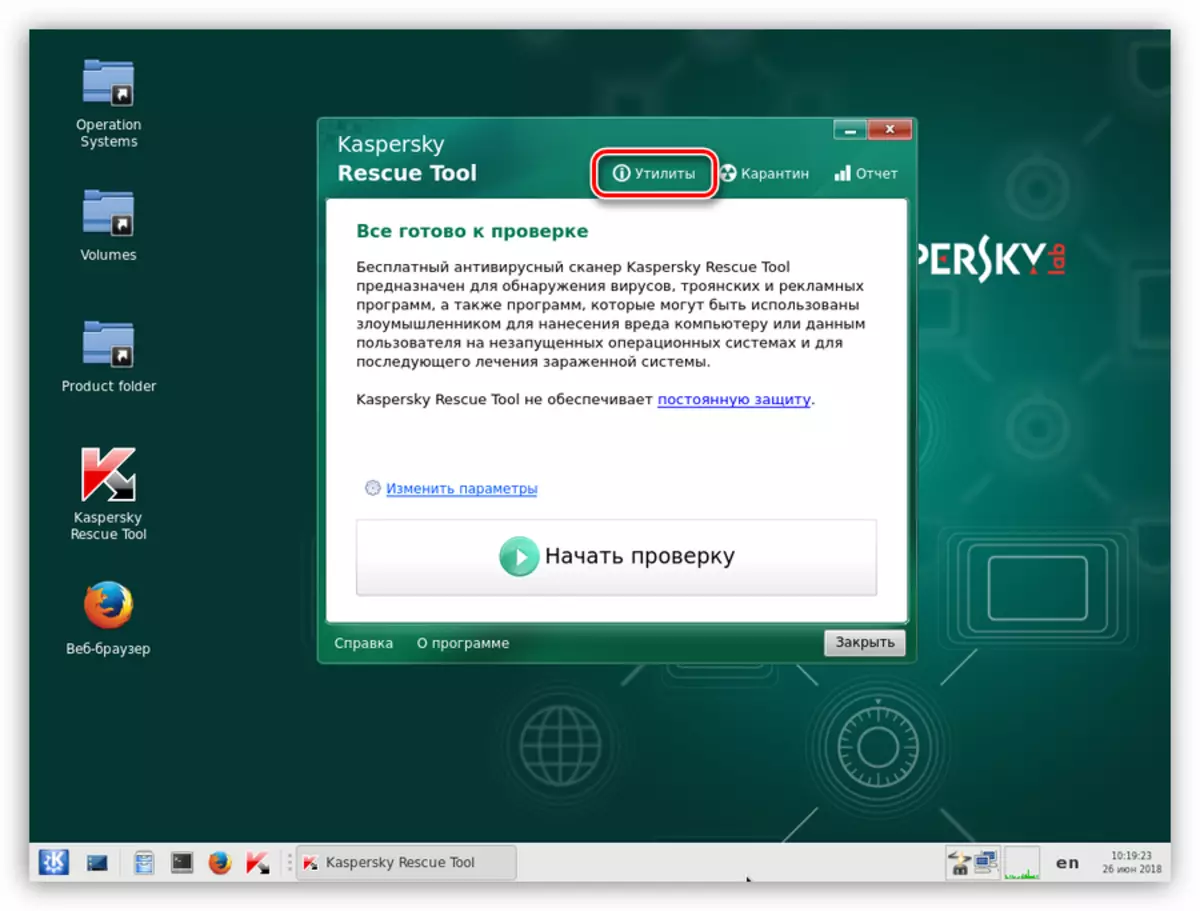
- After passing the procedure for downloading and initialization, click on the Utility link in the program window.
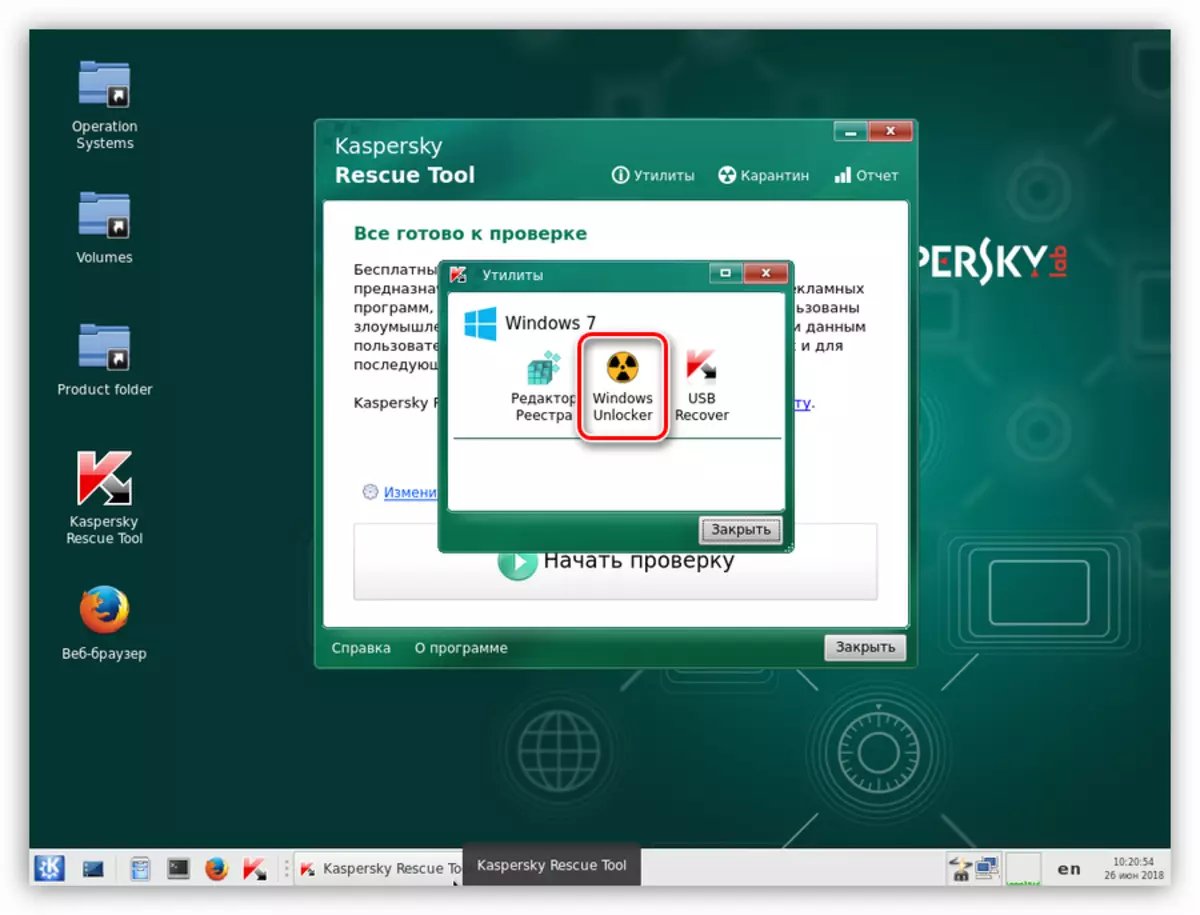
- Double click running Windows Unlocker.
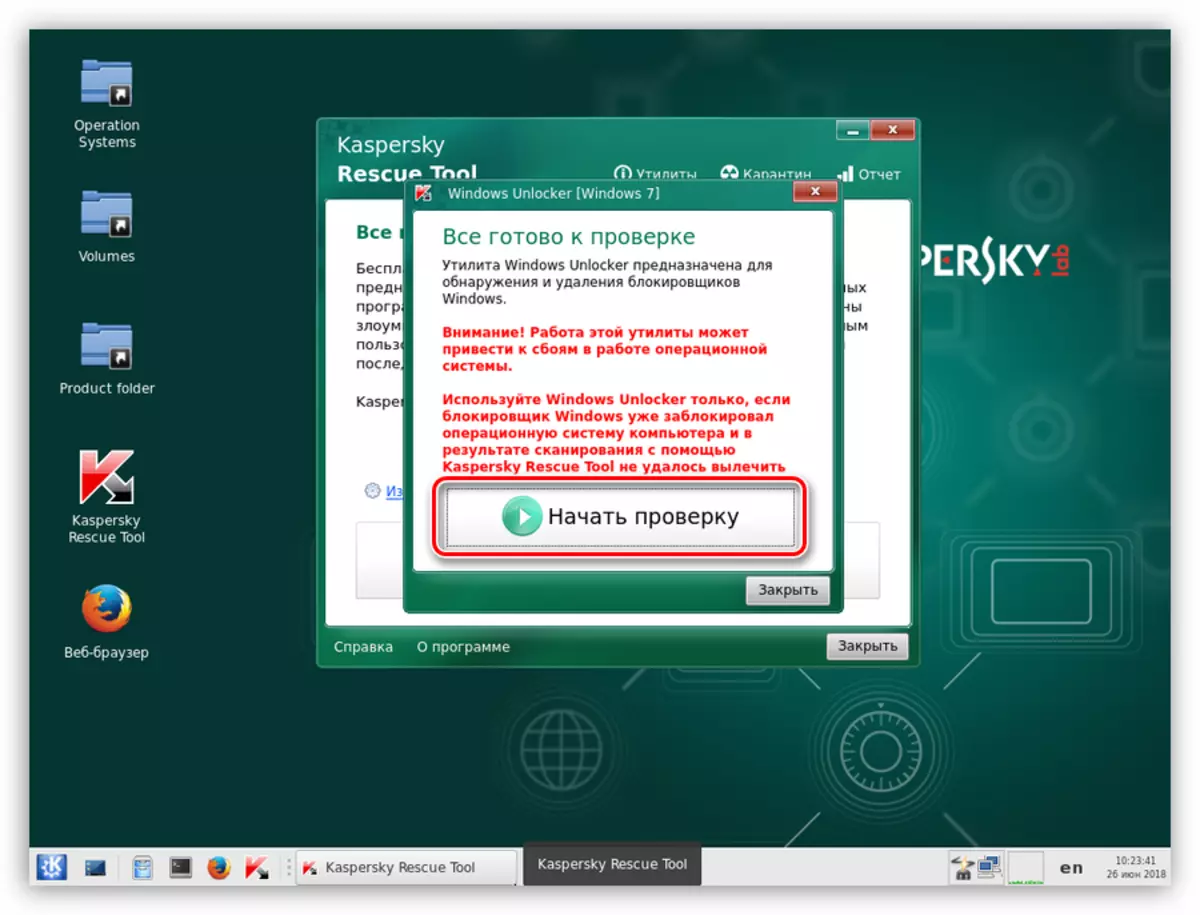
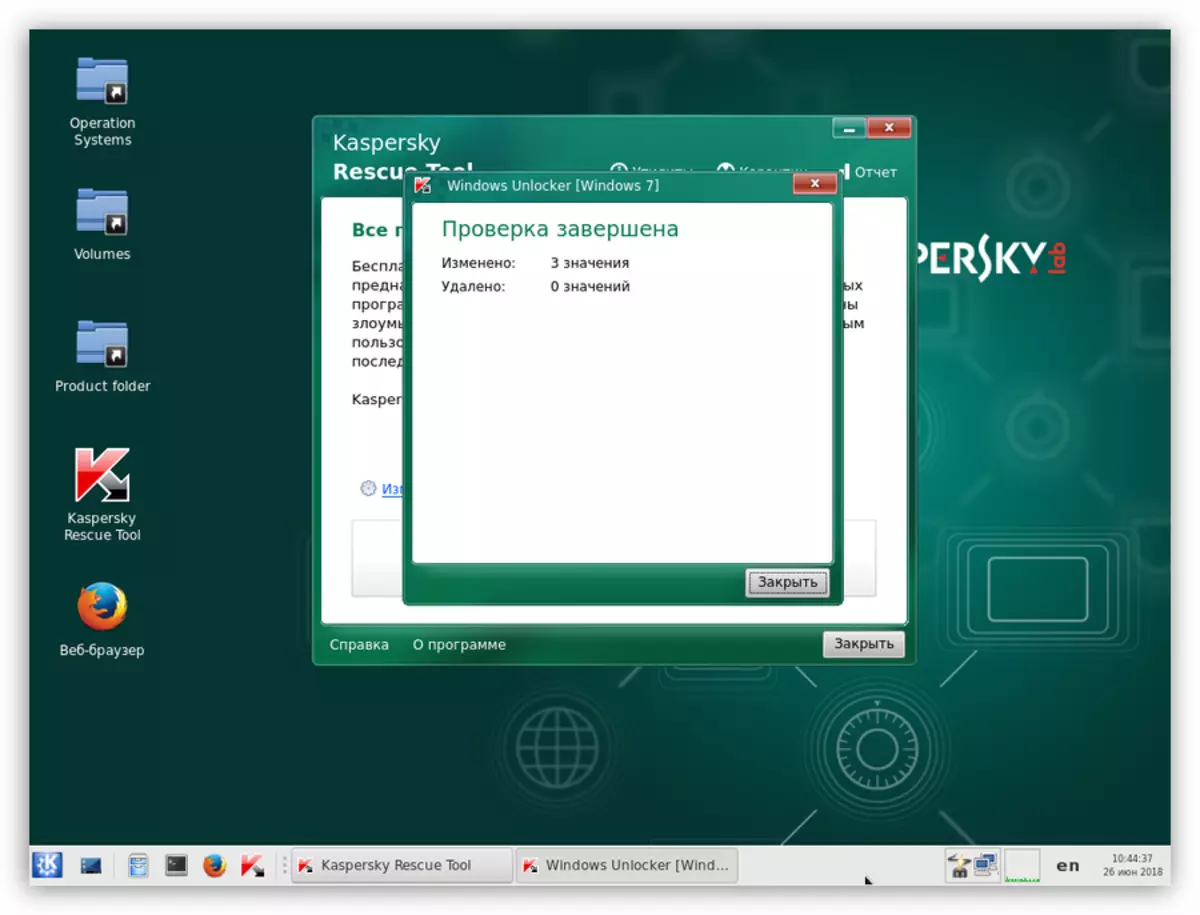
- Carefully read the warnings allocated in red, after which we click "start checking".
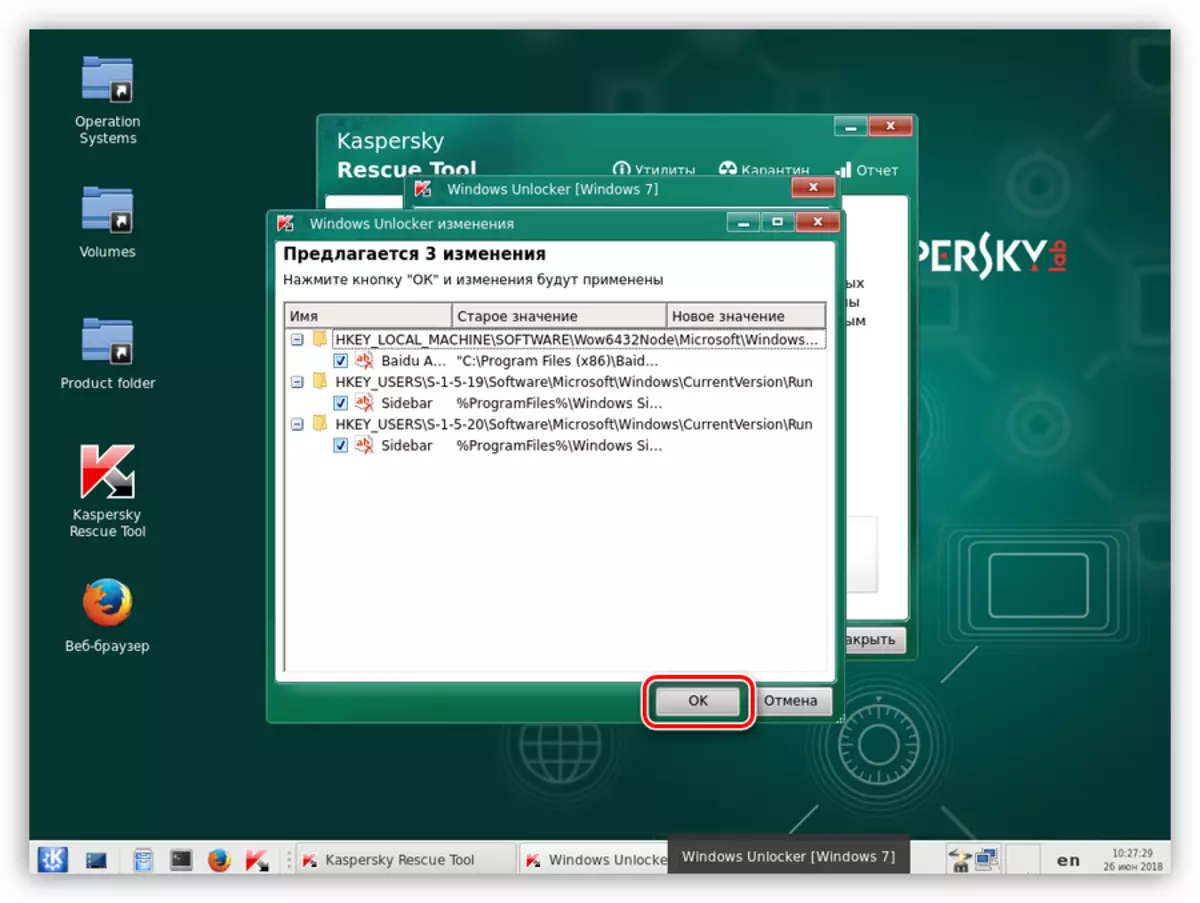
- After the utility is completed, the utility will display a list of recommendations for changes in the file system and the registry. Click OK.
- Next, the system will propose to save the backup of the registry. Path leave by default (do not change anything), let the name of the file and click "Open".
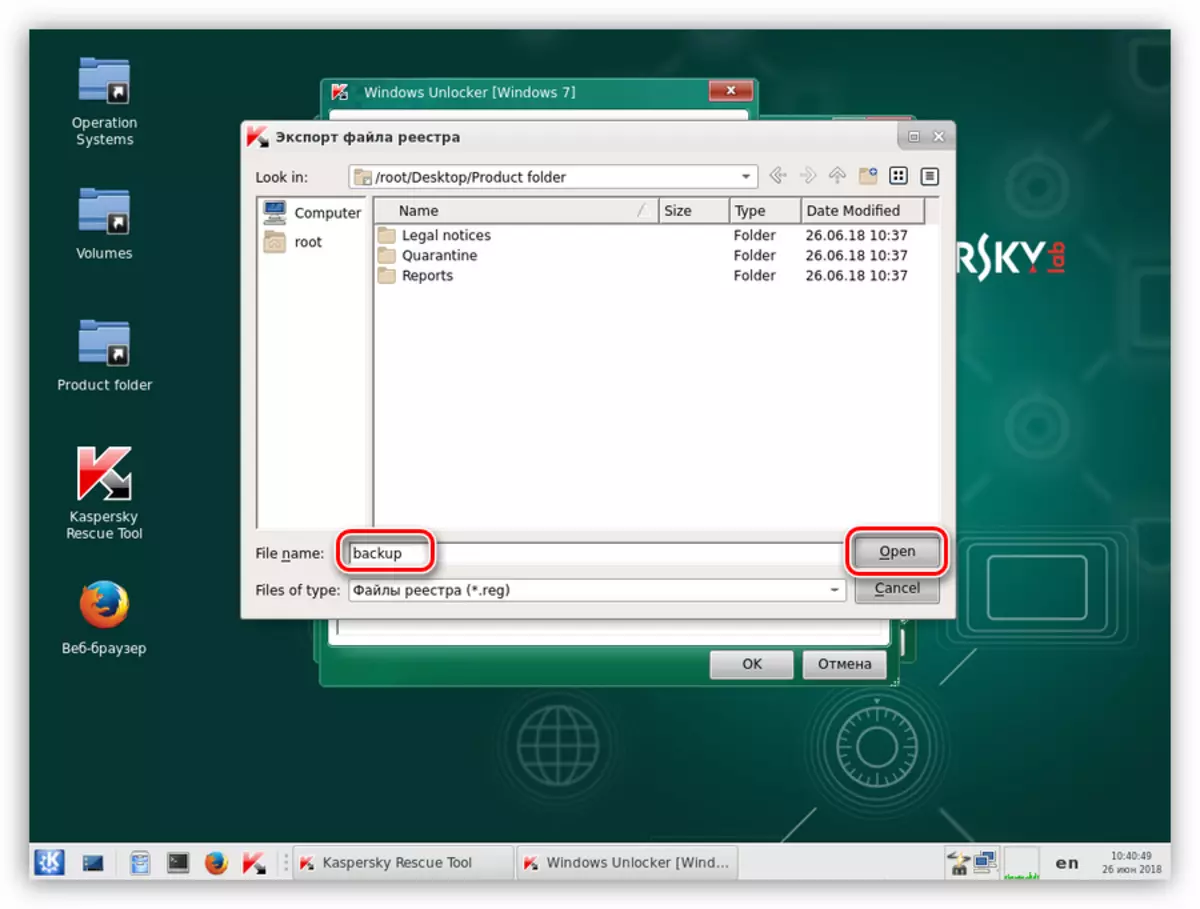
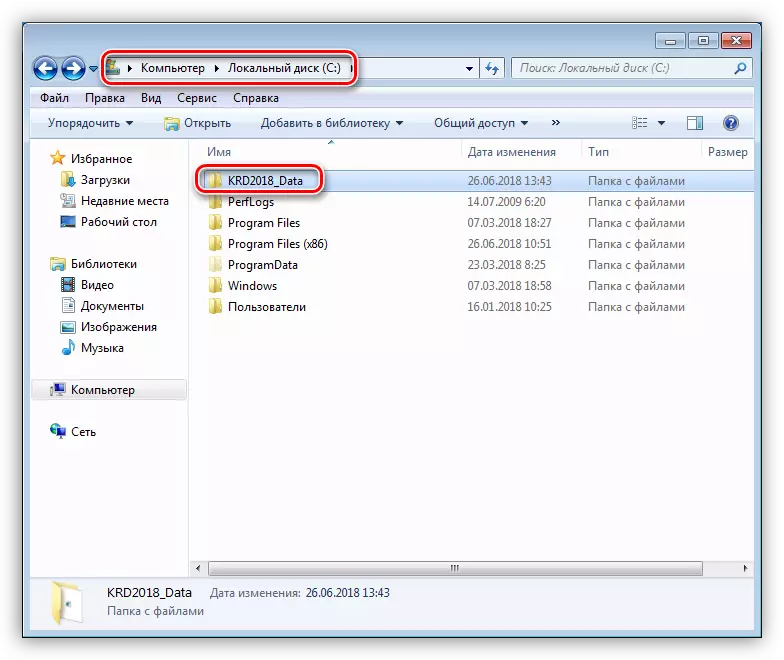
This file can be found on the system disk in the KRD2018_DATA folder.
- The utility will perform the necessary actions, then turn off the machine and boot from the hard disk (see above).
Method 2: Removing the blocking from the browser
These recommendations are designed to unlock the browser in the event of an attack by the MIA virus. Treatment Under such circumstances, it is necessary to produce in two stages - setting up system parameters and cleaning from malicious files.
Step 1: Settings
- First of all, we completely turn off the Internet. If required, then disconnect the network cable.
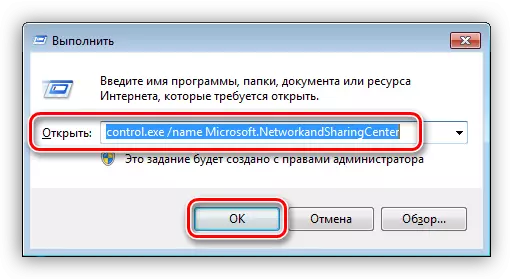
- Now we need to open network management and shared access. In all versions of Windows, the scenario will be similar. Press Win + R and in the window that opens, write a team
Control.EXE / Name Microsoft.networkandsharingCenter
Click OK.
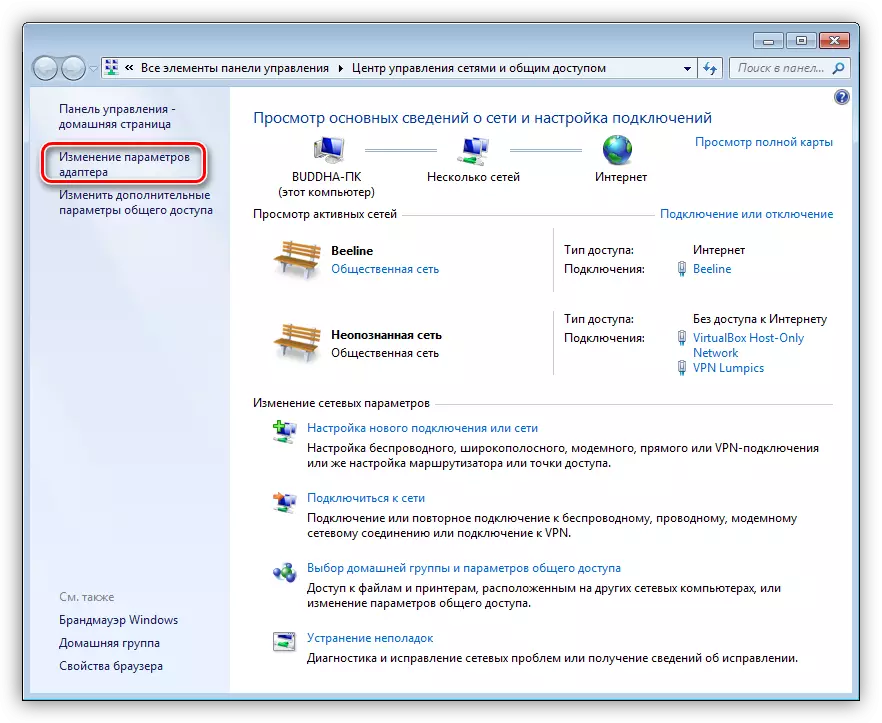
- We follow the "Change Adapter Settings" link.
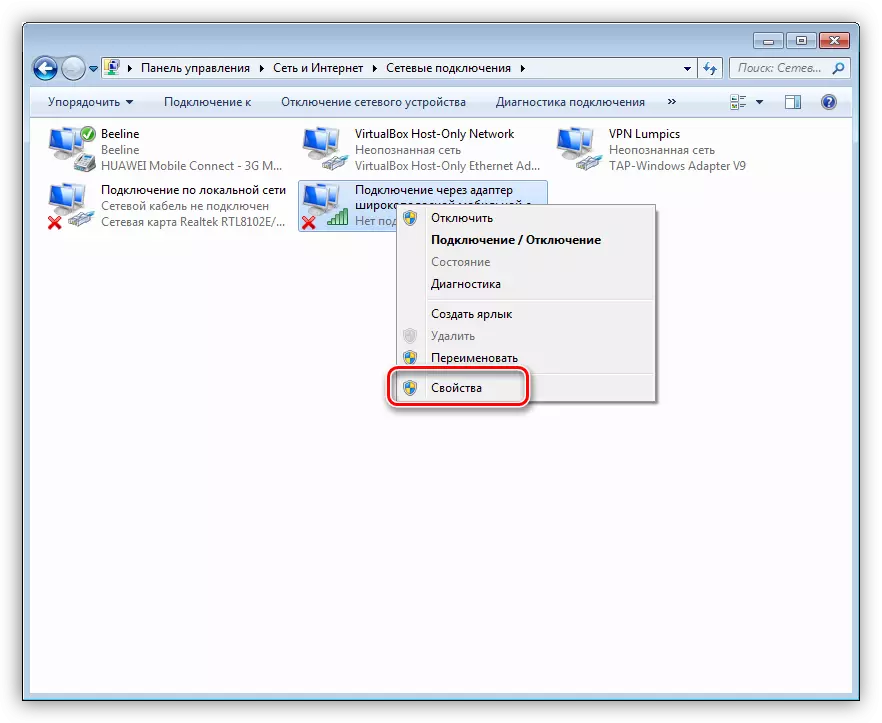
- We find a connection with which the Internet is exercised, click on it by PCM and go to the properties.
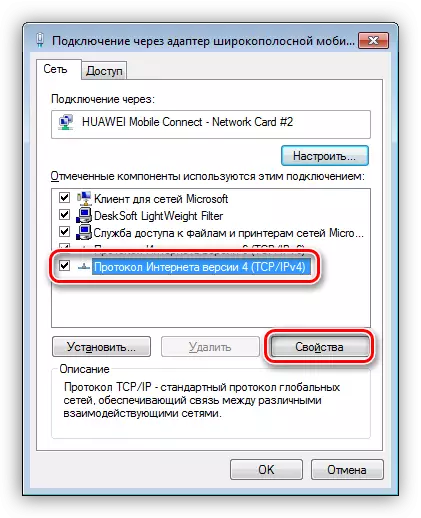
- On the "Network" tab, select the component, in the title of which appears "TCP / IPv4", and again go to the "Properties".
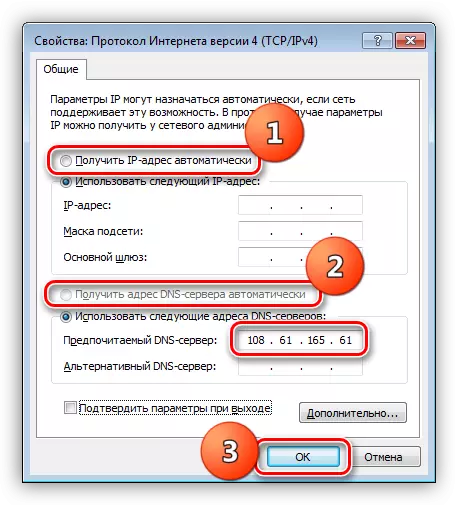
- If some value is written in the "Preferred DNS server" field, then I remember (write) it and switch to the automatic receipt of the IP address and DNS. Click OK.
- Next, open the HOSTS file, which is located at
C: \ Windows \ System32 \ DRIVERS \ ETC
Read more: Change Hosts File in Windows 10
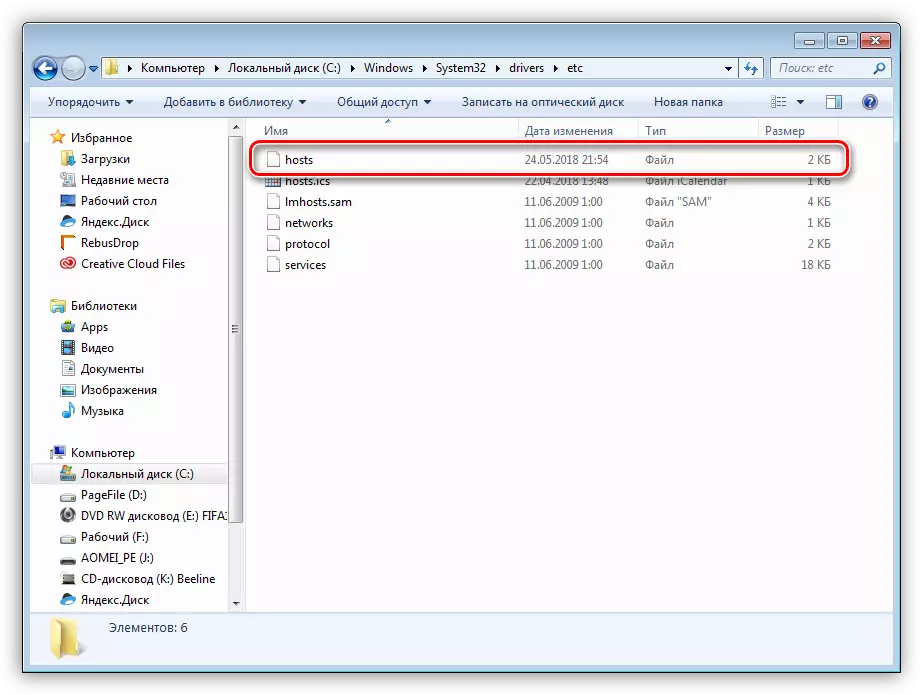
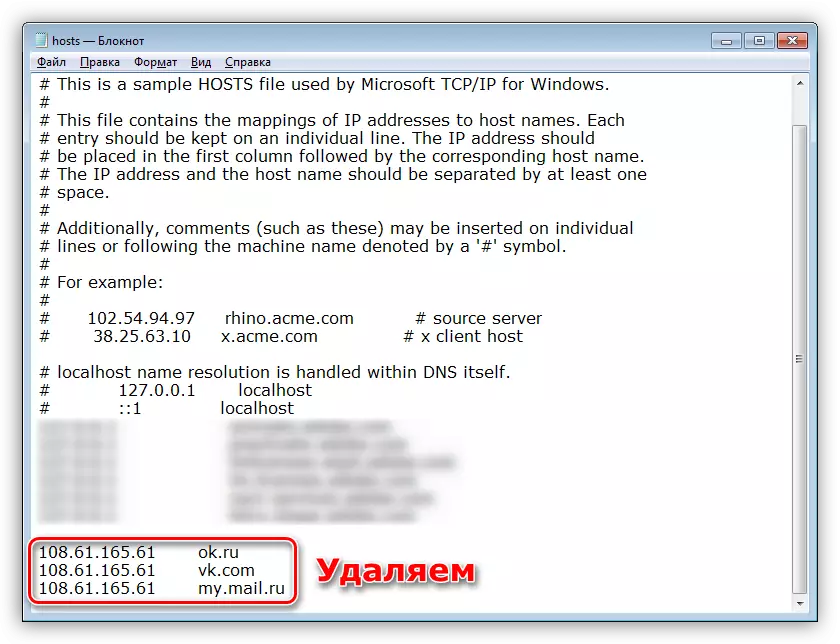
- We are looking for and delete the strings in which the IP address recorded by us is previously present.
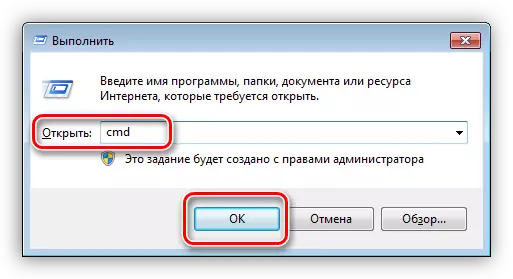
- Run the "command line" using the RUN window (Win + R) and the command entered into it
cmd.
Here we prescribe a string
Ipconfig / Flushdns.
Click Enter.
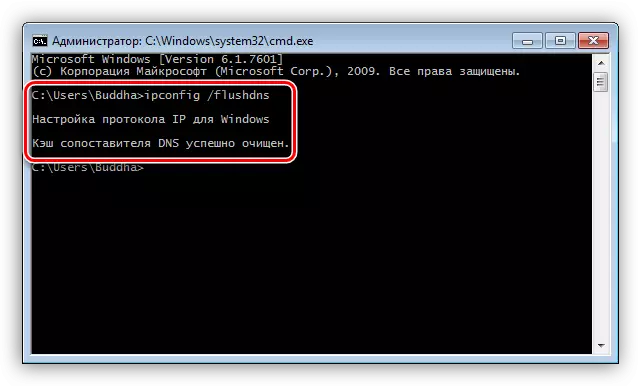
With this action, we cleaned the DNS cache.
- Next, clean cookies and browser cache. For this procedure, it is better to use the CCleaner program.
Read more: How to use CCleaner
- Now you need to change the start page of the browser.
Read more: How to change the start page in Google Chrome, Firefox, Opera, IE
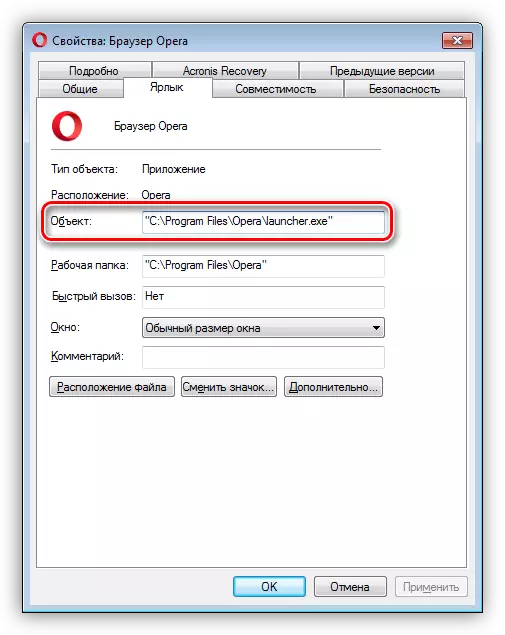
- Final stage - setting the properties of a shortcut.
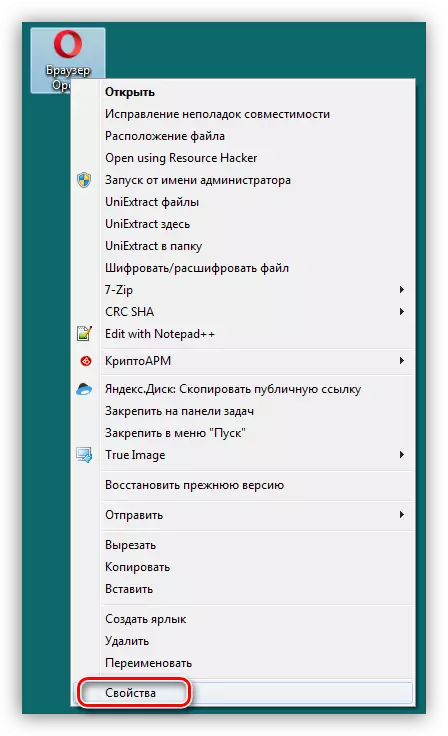
Here you need to pay attention to the "Object" field. It should not have anything except the path to the executable browser file. Everything is excessfully erased. Do not forget that the way should stay prisoners in quotes.
After performing all actions, you can move to the next step.
Step 2: Removing Malicious Programs
To remove viruses that block the browser, you can use the special utility or perform all actions manually.
Read more: Fighting advertising viruses
We will not produce scanning and possible treatment of system utilities intended to combat malicious programs. You can also repeat the actions described in the first method.
Read more: Fighting computer viruses
In order to less frequent in such situations, also to minimize damage caused by attacks, read the article on the link below.
See also: How to protect your computer from viruses
Conclusion
As you can see, the treatment of a computer from the MIA virus cannot be called simple. Even with the necessary tools and knowledge, there is always a risk of losing data or deprive your performance system. That is why you should be as attentive as possible when visiting unverified resources, and especially when downloading files from them. The installed antivirus will help to avoid many troubles, but the main weapon of the user is discipline and caution.