

Quite often, work with documents in MS Word is not limited to the text only. So, if you print an essay, a methods, a brochure, some report, exchange rate, scientific, or thesis, you may be needed to insert into a one or another image.
Lesson: How to make a booklet in the Word
You can insert a drawing or photo into a Word document in two ways - simple (not the most correct) and a bit more complicated, but correct and more convenient for work. The first method is a banal copy / insert or dragging a graphic file to a document, the second - to use the built-in program tools from Microsoft. In this article we will tell about how to insert a picture or photo in the Word.
Lesson: How to make a diagram in word
1. Open the text document to which you want to add an image and click in the place of the page where it should be.

2. Go to the tab "Insert" and click on the button "Pictures" which is located in the group "Illustrations".

3. Windows Explorer window opens and standard folder "Images" . Open this window folder containing the desired graphic file, and click on it.
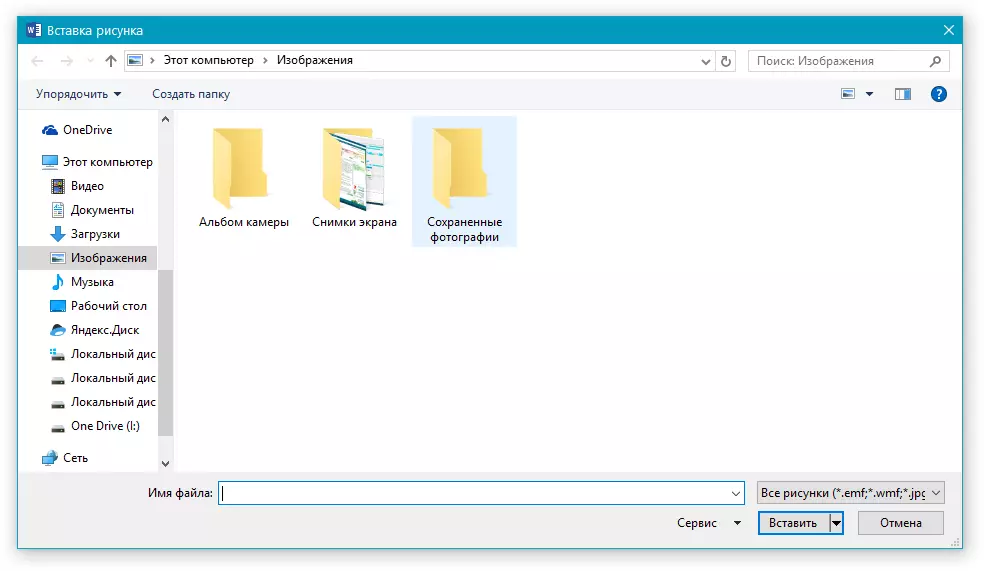
4. Selecting the file (image or photo), click "Insert".

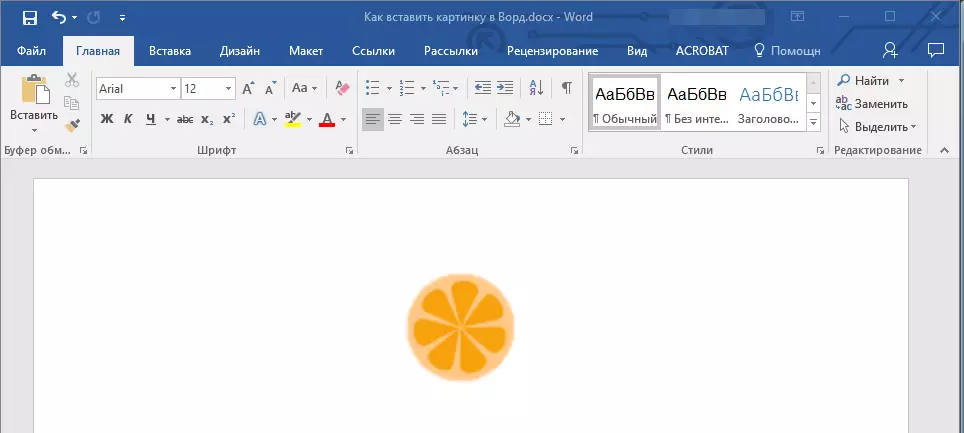
5. The file will be added to the document, after which the tab will immediately open "Format" containing images to work with images.
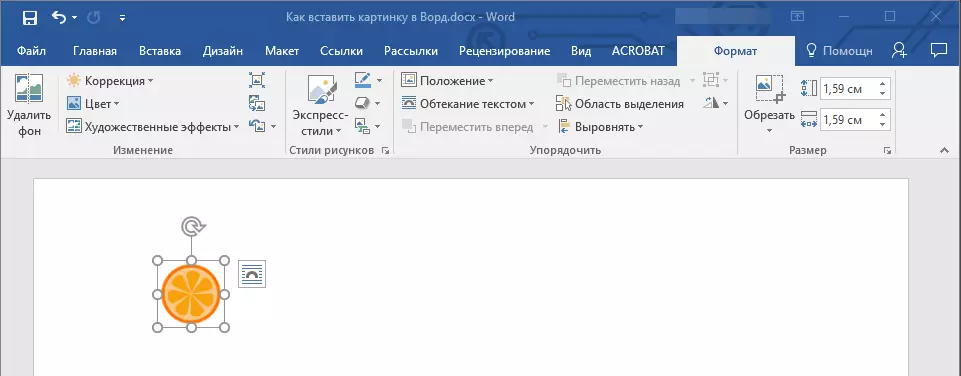
Basic tools for working with graphic files
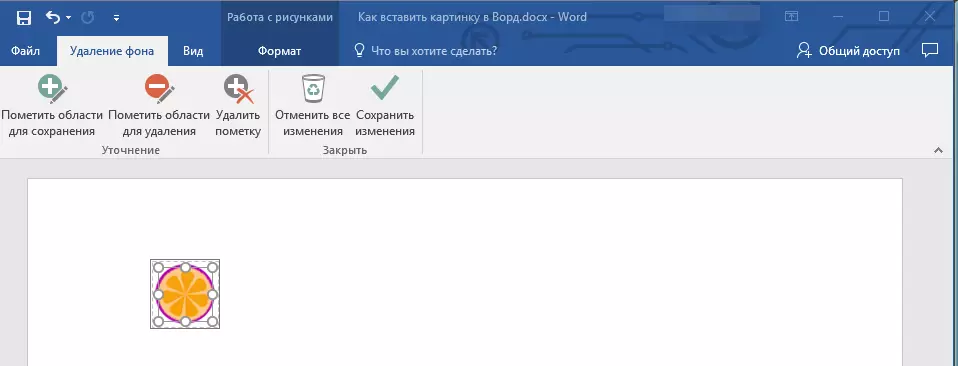
Background removal: If necessary, you can remove the background of the pictures, more precisely, remove unwanted items.
Correction, color change, art effects: Using these tools, you can change the color range of images. The parameters that can be changed, includes brightness, contrast, saturation, tint, other color options and much more.

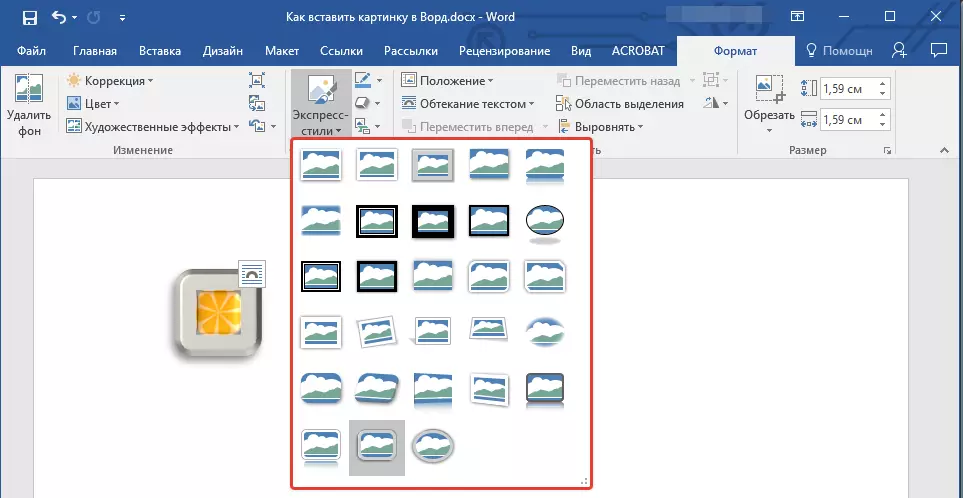
Styles of drawings: Using express styles tools, you can change the appearance of the image added to the document, including the display form of a graphical object.
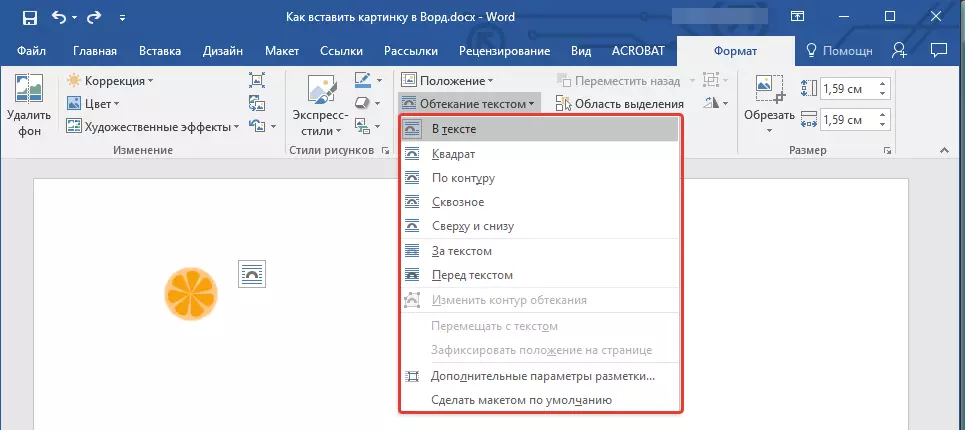
Position: This tool allows you to change the position of the image on the page, "in" it into text content.
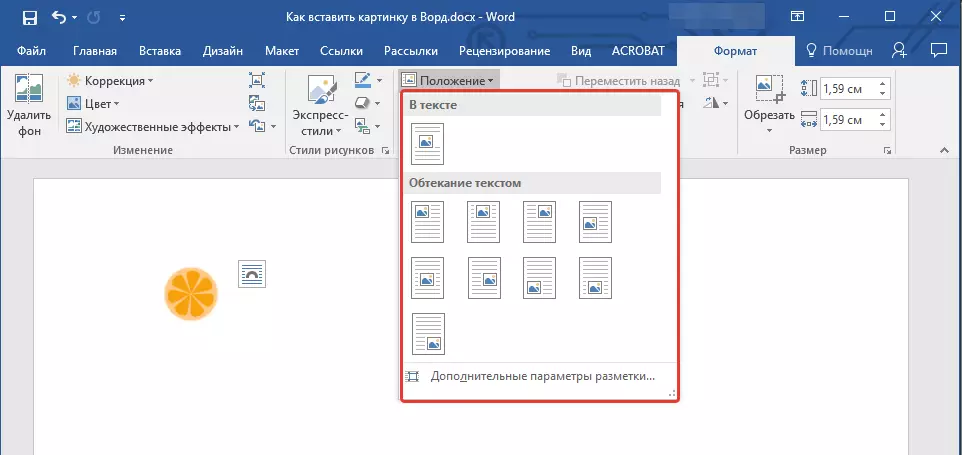
Flowing text: This tool allows not only to correctly arrange the picture on the sheet, but also enter it directly into the text.
The size: This is a group of tools in which you can trim the image, as well as set the exact parameters for the field within which the picture or photo is located.
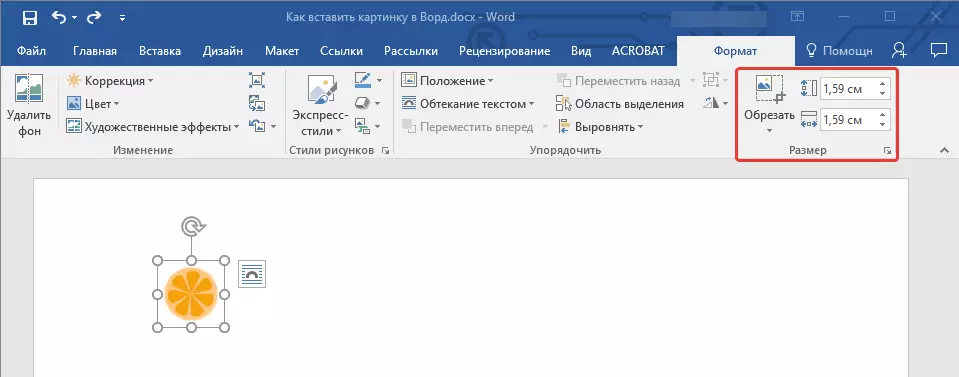
Note: The area within which the image is located is always rectangular, even if the object itself has a different form.
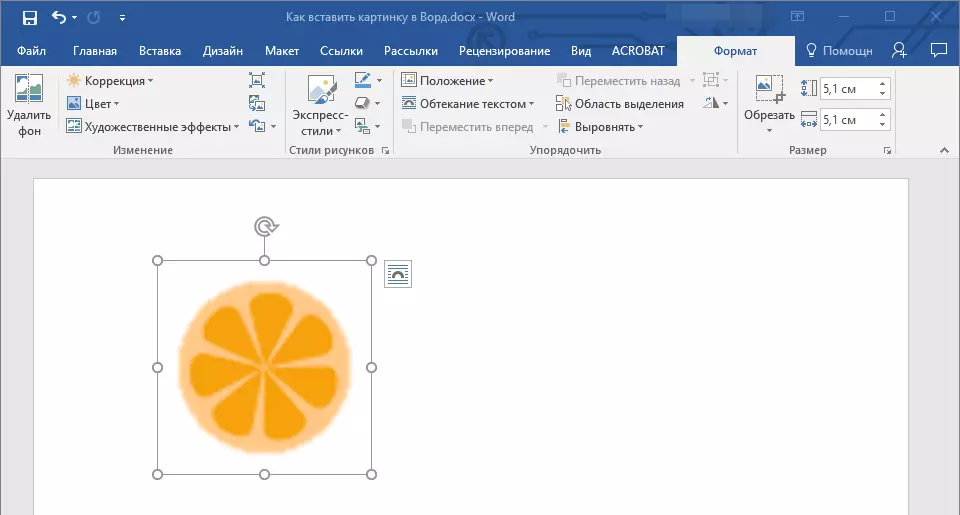
Change of size: If you want to ask an accurate size for a picture or photo, use the tool "The size ". If your task is to stretch the picture arbitrarily, just take for one of the circles framing the image, and pull it for it.
Movement: In order to move the added image, click on it with the left mouse button and drag into the required place of the document. To copy / cut / insert, use hot key combinations - Ctrl + C / Ctrl + X / Ctrl + V , respectively.
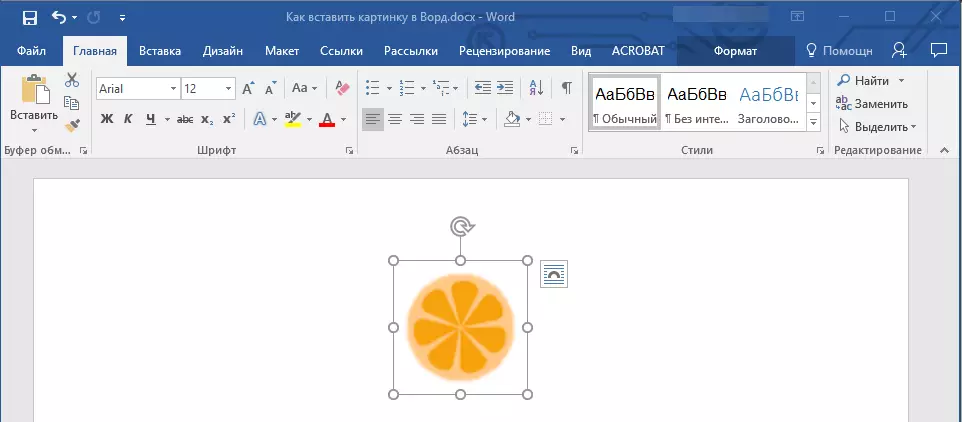
Turn: To rotate the image, click on the arrow located at the top of the area in which the graphic file is located and turn it in the desired direction.
- Advice: To exit the work mode with the image, simply click the left mouse button outside the framework framing.
Lesson: How to draw a line in MS Word
Actually, this is all, now you know how to insert a photo or picture in the Word, as well as you know how it can be changed. And yet, it is worth understanding that this program is not a graphical, but as a text editor. We wish you success in its further development.