
To manage new equipment with a PC, you need to install suitable drivers. For the CANON MF4550D printer, it is also relevant.
Install Drivers for Canon MF4550D
There are many options for how to get the desired software. The most efficient and affordable will be discussed below.Method 1: device manufacturer site
Originally, official sources are always considered. In the case of the printer, this is the resource of its manufacturer.
- Go to the CANON website.
- In the header, move the cursor to the "Support" section. In the list that opens, you must select "Downloads and Help".
- The search box will be present on the new page into which the Canon MF4550D device model is entered. After that, click on the "Search" button.
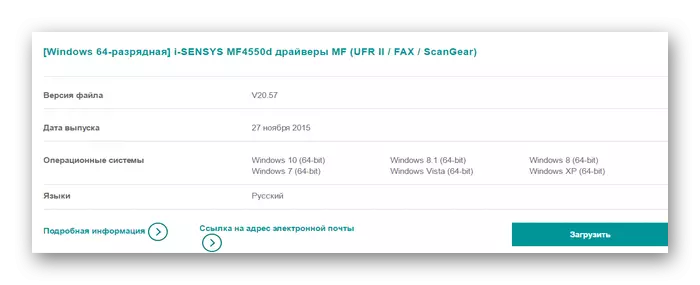
- As a result, the page will open with information and accessible printer software. Scroll down the page down to the "Driver" section. To download the desired software, press the corresponding button.
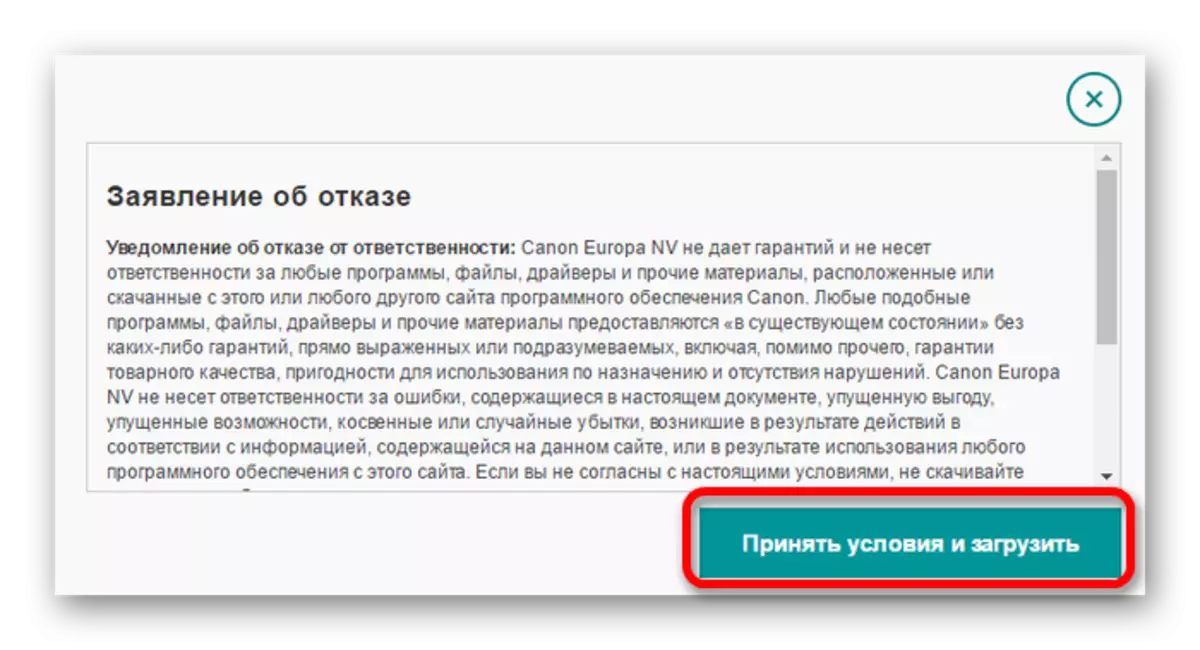
- After the window opens with the terms of use. To continue, click "Accept and download".
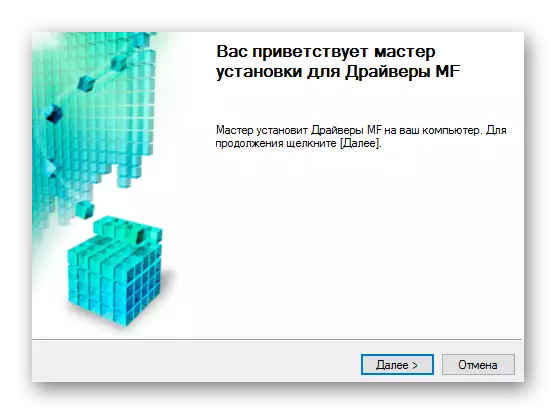
- As soon as the file is downloaded, run it and in the welcome window, click on the "Next" button.
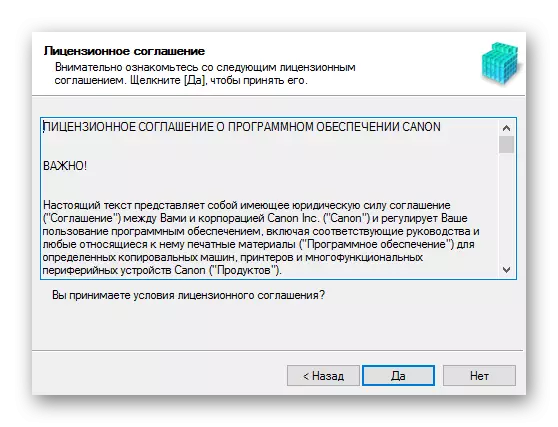
- It will take to take the terms of the license agreement by clicking "Yes." Previously does not prevent them.
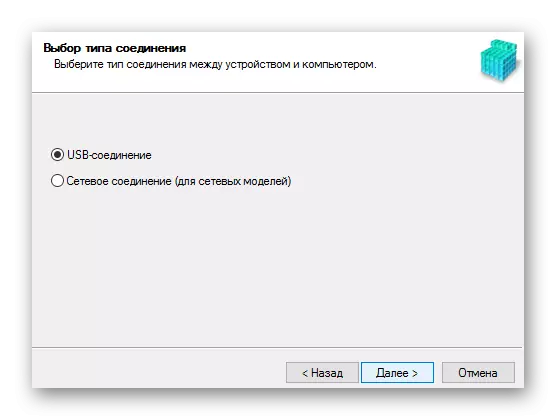
- Select how the printer is connected to the PC, and check the box next to the appropriate item.
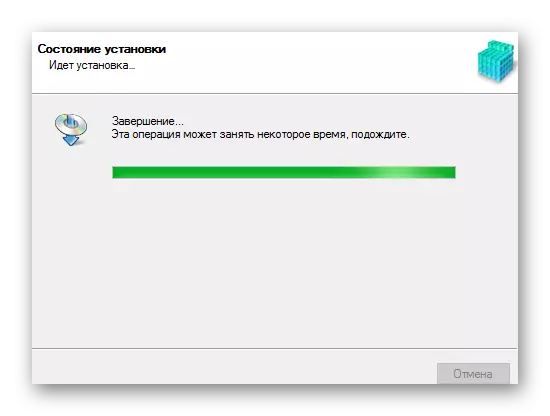
- Wait until the installation is completed. After that, you can use the device.

Method 2: Specialized
The second option to install the desired software is the use of third-party software. In contrast to the first method, intended solely for the same brand devices, this software except the printer will help update the available drivers or set the missing. A detailed description of the most well-known programs of this type is given in a separate article:
Read more: Select the program to install the drivers

Among the programs presented in the article above, you can select Driverpack Solution. This software is convenient for inexperienced users and does not require special knowledge to start work. The program features, in addition to installing drivers, includes the creation of recovery points that will help to return the computer to the previous state. This is relevant in case of troubleshooting after installing a driver.
Lesson: How to Use Driverpack Solution
Method 3: Printer ID
One of the possible ways to search and download drivers implies the use of device identifier. At the same time, the user does not need to download any additional software, because you can get the ID in the Task Manager. Next, enter the resulting value in the search box on one of the sites specializing in a similar search. This option will be useful to users who have not found the necessary software due to the version of OS or other nuances. In the case of Canon MF4550D, you need to use these values:
USBPRINT \ CANONMF4500_SERIESD8F9.

Lesson: how to find out the device ID and find drivers with it
Method 4: System Programs
At the end, one of the permissible, but not the most effective options for installing drivers should be mentioned. To use it, you will not need to resort to third-party utilities or downloading the driver from third-party sources, since Windows has already contains the necessary tools.
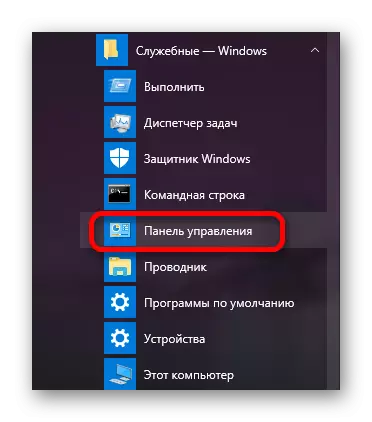
- Open the Start menu in which you want to find and run the Taskbar.
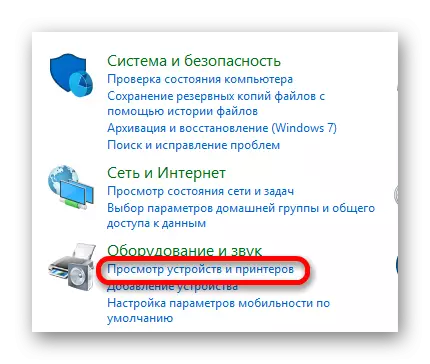
- Find the "Equipment and Sound" section. It will require you to open the "View device and printer" item.
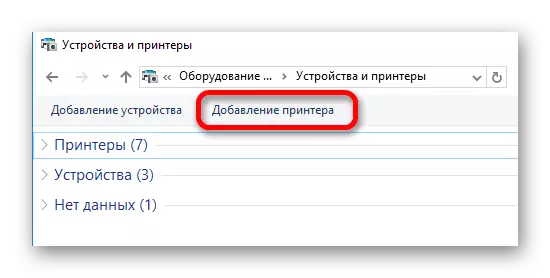
- To add a printer to the list of connected devices, click the "Adding Printer" button.
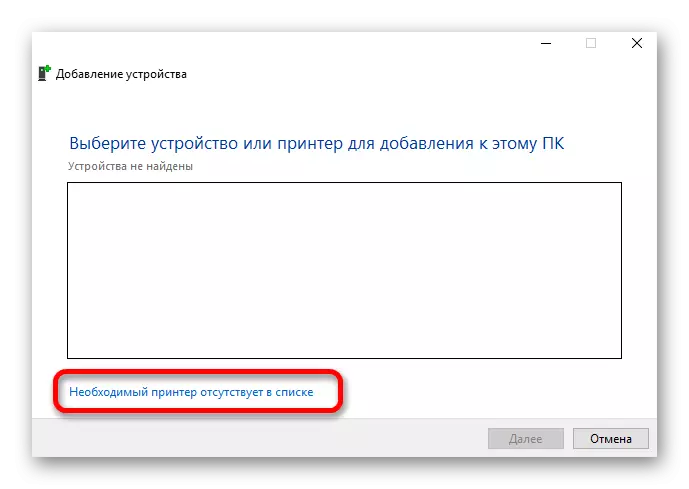
- The system scans PC to the presence of new equipment. In case the printer is detected, click on it and click "Set". If the device was not found, select and click on the "The required printer is missing" button.
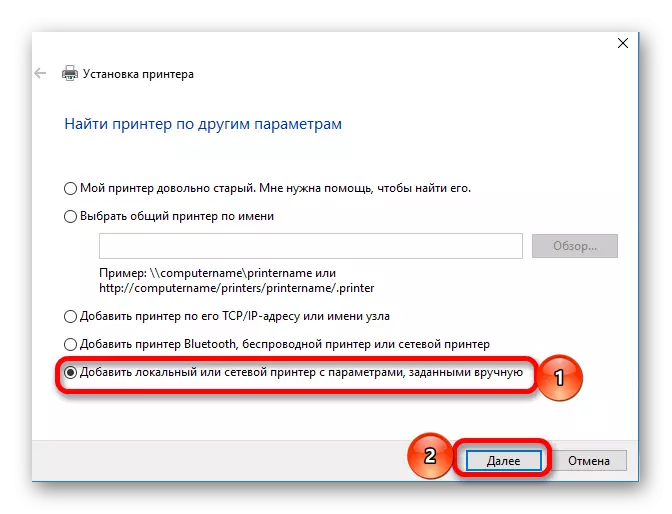
- The new window has several options for adding a printer. You should click on the Lower - "Add Local Printer".
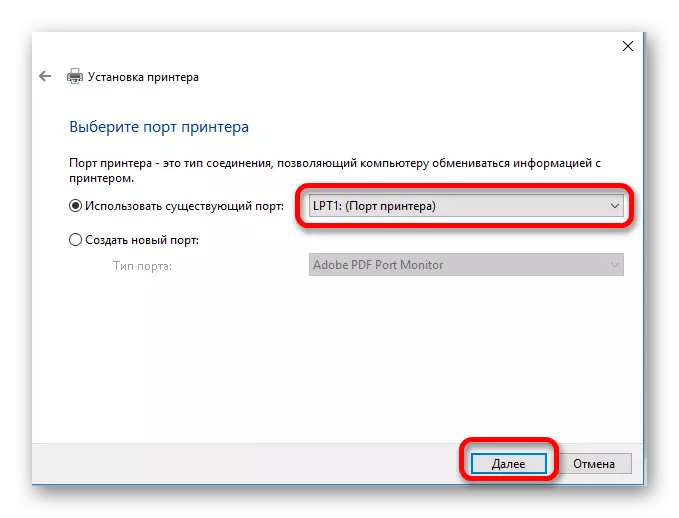
- Then select the connection port. Optionally, you can change the set automatically value, then go to the next item by clicking on the "Next" button.
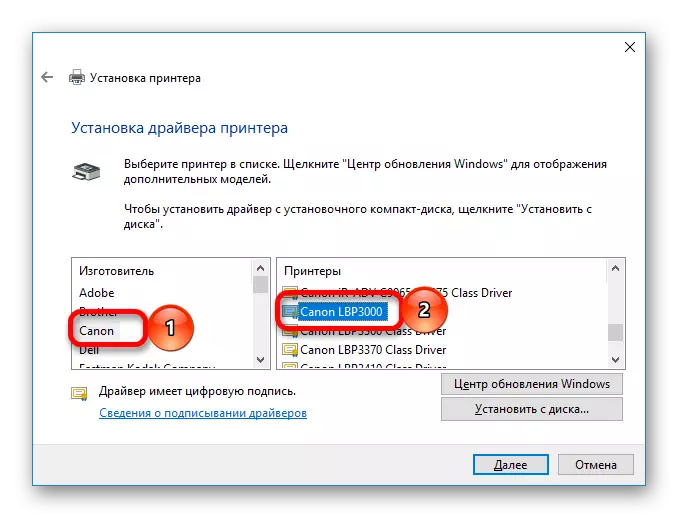
- In the existing lists, you first need to select the manufacturer of the printer - Canon. After - its name, Canon MF4550D.
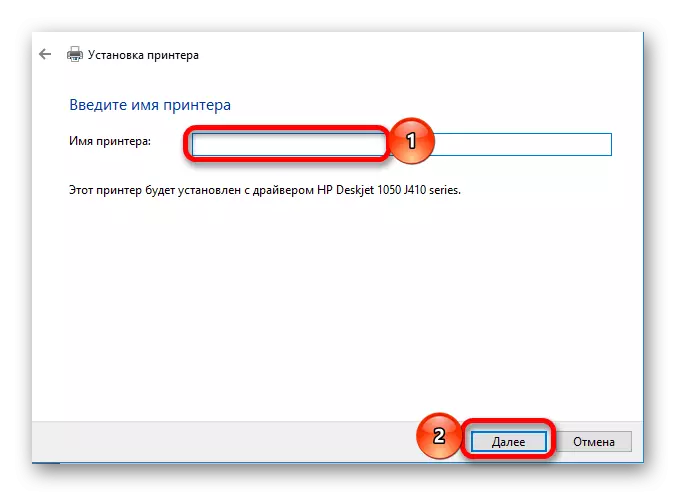
- Enter a name for the printer added, while changing the already entered value is not necessary.
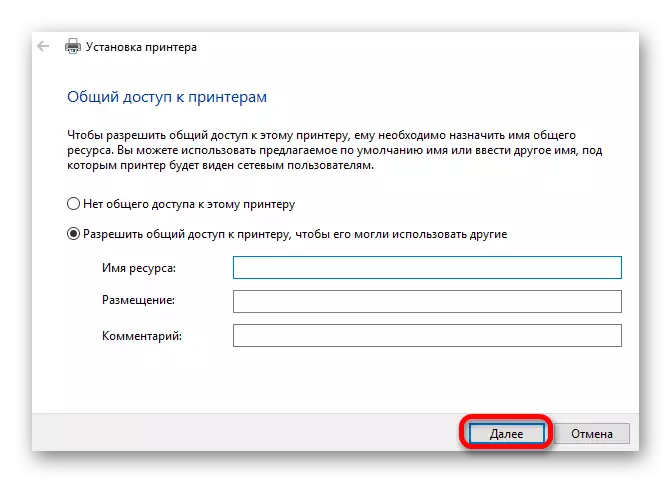
- At the end, decide on the shared access settings: you can provide it with a device or limit. After that, you can move directly to the installation, simply by clicking on the "Next" button.
The entire installation process does not take much time. Before choosing one of the presented methods, consider in detail each of them.