
Wrinkles on the face and other parts of the body - the inevitable evil that will overtake everyone, be it a man or woman.
With this trouble you can fight in different ways, but today we will talk about how to remove (at least minimize) wrinkles with photos in Photoshop.
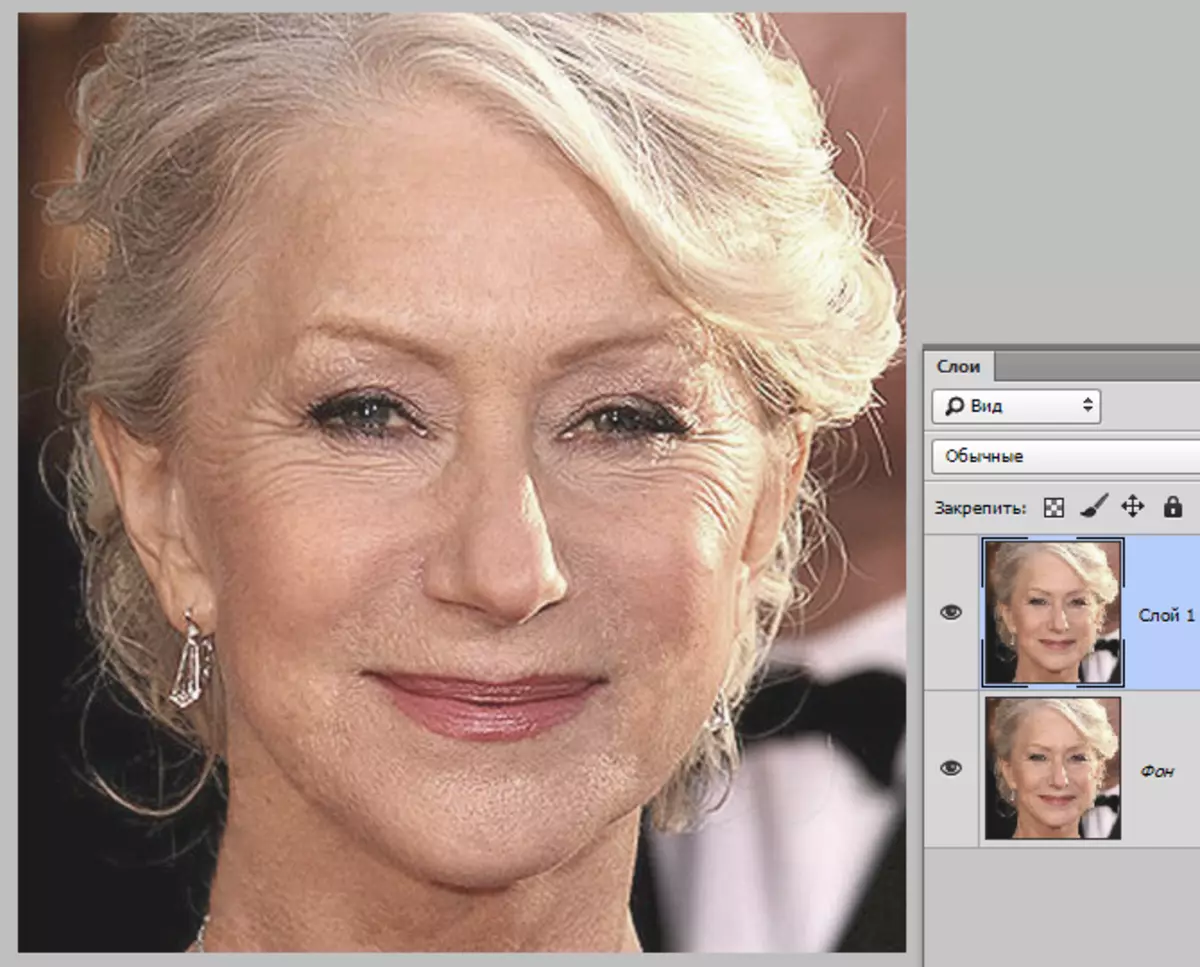
Open photos in the program and analyze it.
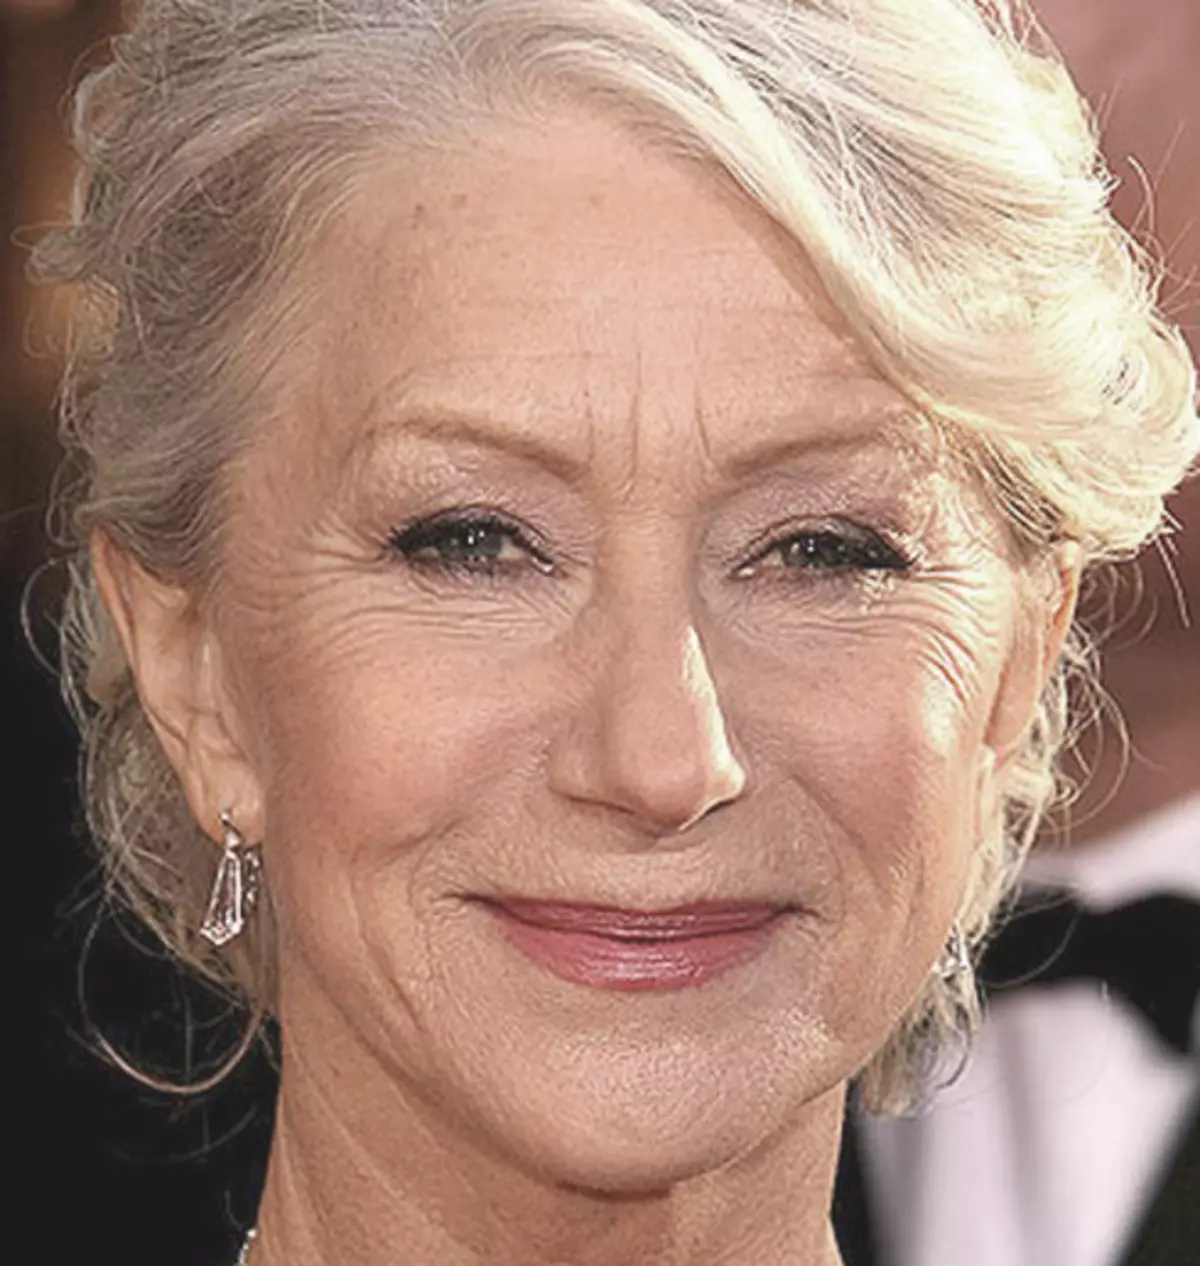
We see that on the forehead, chin and neck there are large, as if separately arranged wrinkles, and near the eyes - a solid carpet from small wrinkles.
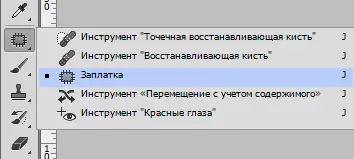
Large wrinkles We will remove the tool "Restoring brush" , and small - "PRICE".
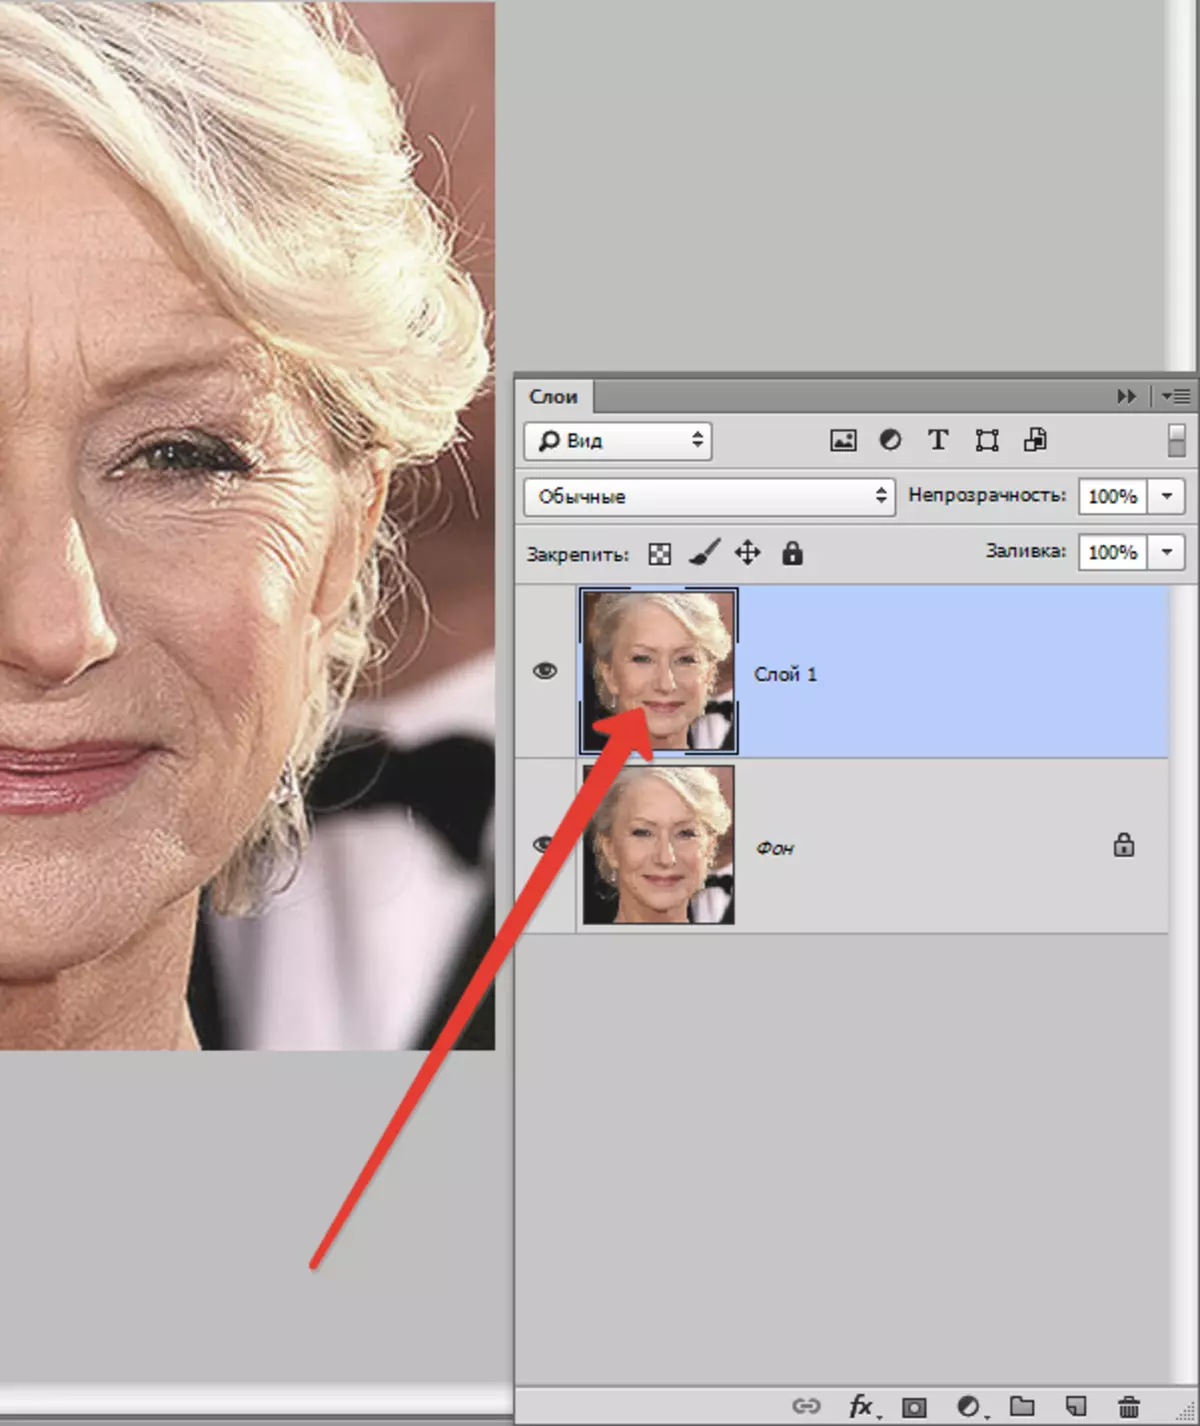
So, create a copy of the source layer by a combination of keys Ctrl + J. And choose the first tool.

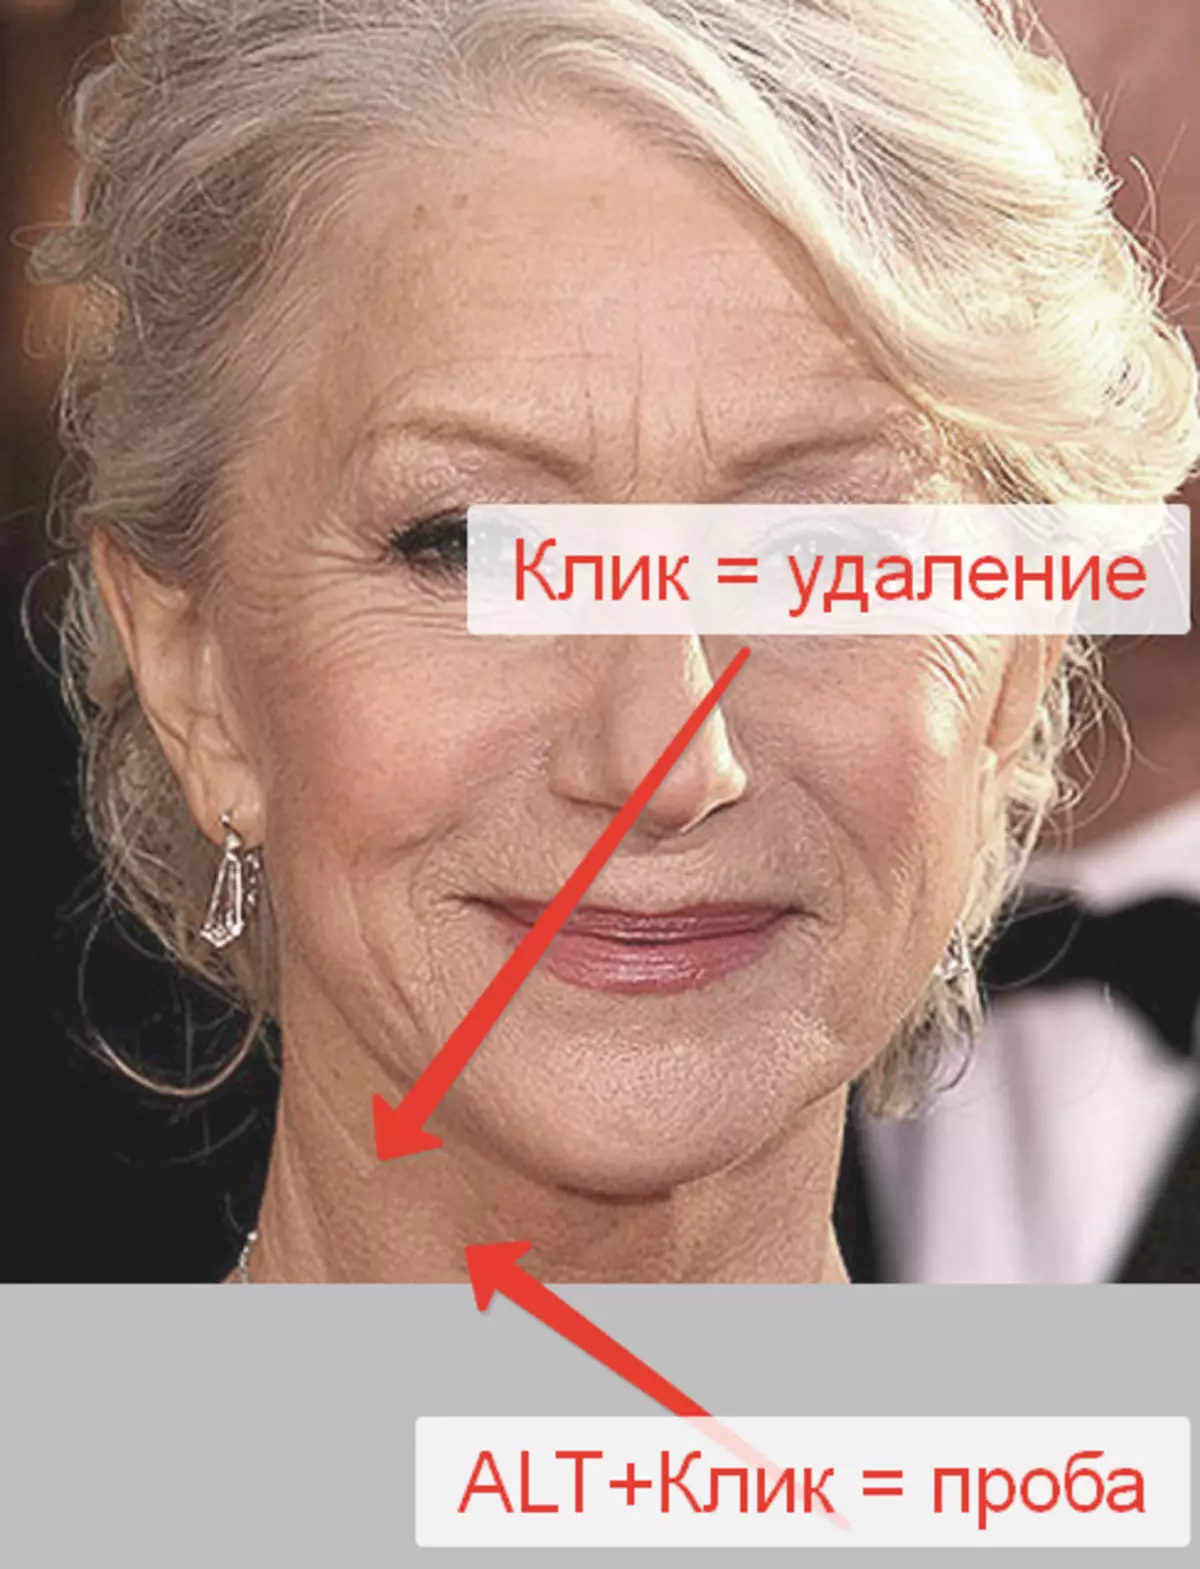
We work on copies. Click key Alt. And we take the sample of clean skin with one click, then transfer the cursor to the area with wrinkle and click another time. The size of the brush should not be much larger than the editable defect.
By this way and tool, we remove all large wrinkles from the neck, forehead and chin.
Now go to the removal of small wrinkles near the eyes. Choose tool "Patch".
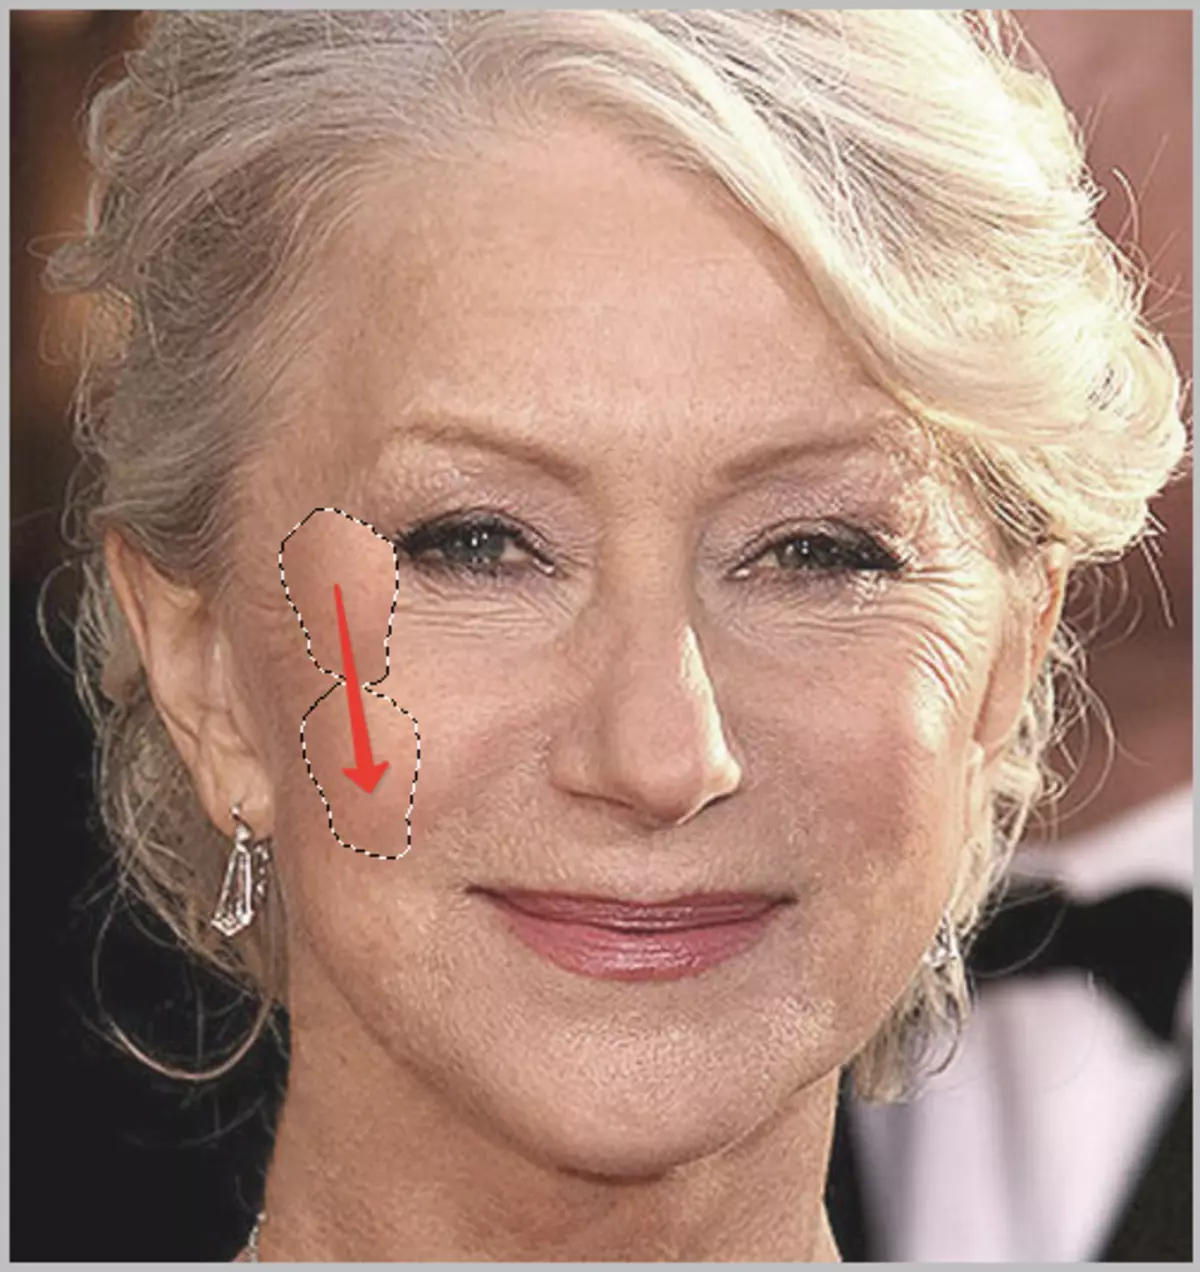
We supply the tool with wrinkles and drag the resulting selection to a clean area of the skin.
We seek approximately the following result:
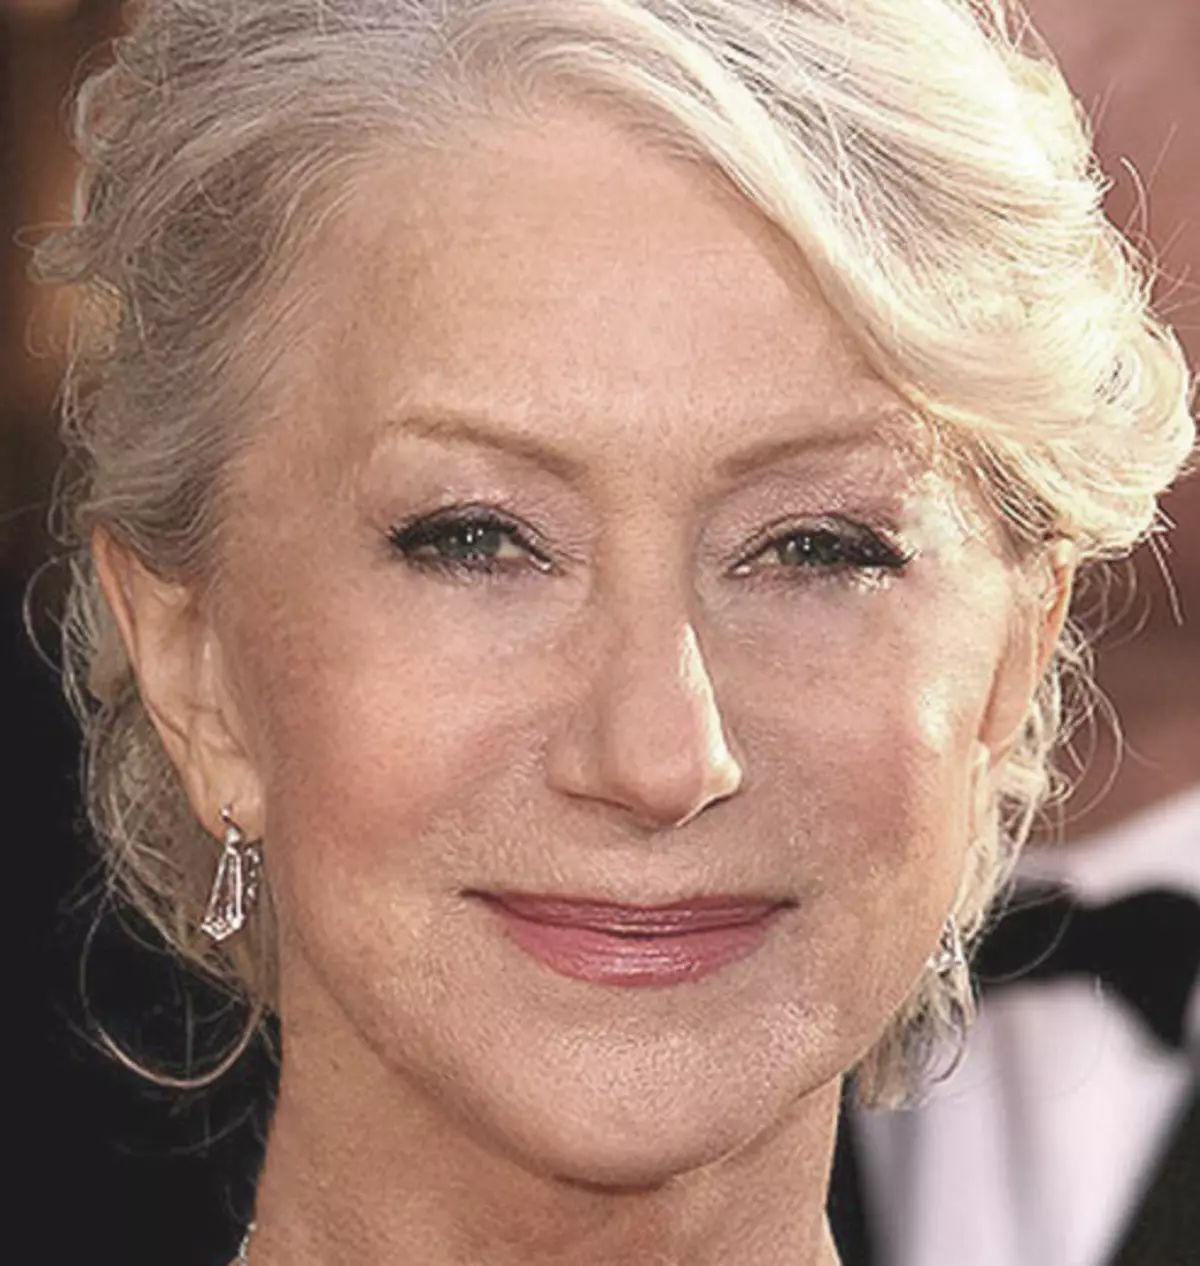
The next step is a small leveling of skin tone and removing very small wrinkles. Please note that since the lady is pretty elderly, without radical methods (changing the shape or replacement), remove all wrinkles around the eyes will fail.
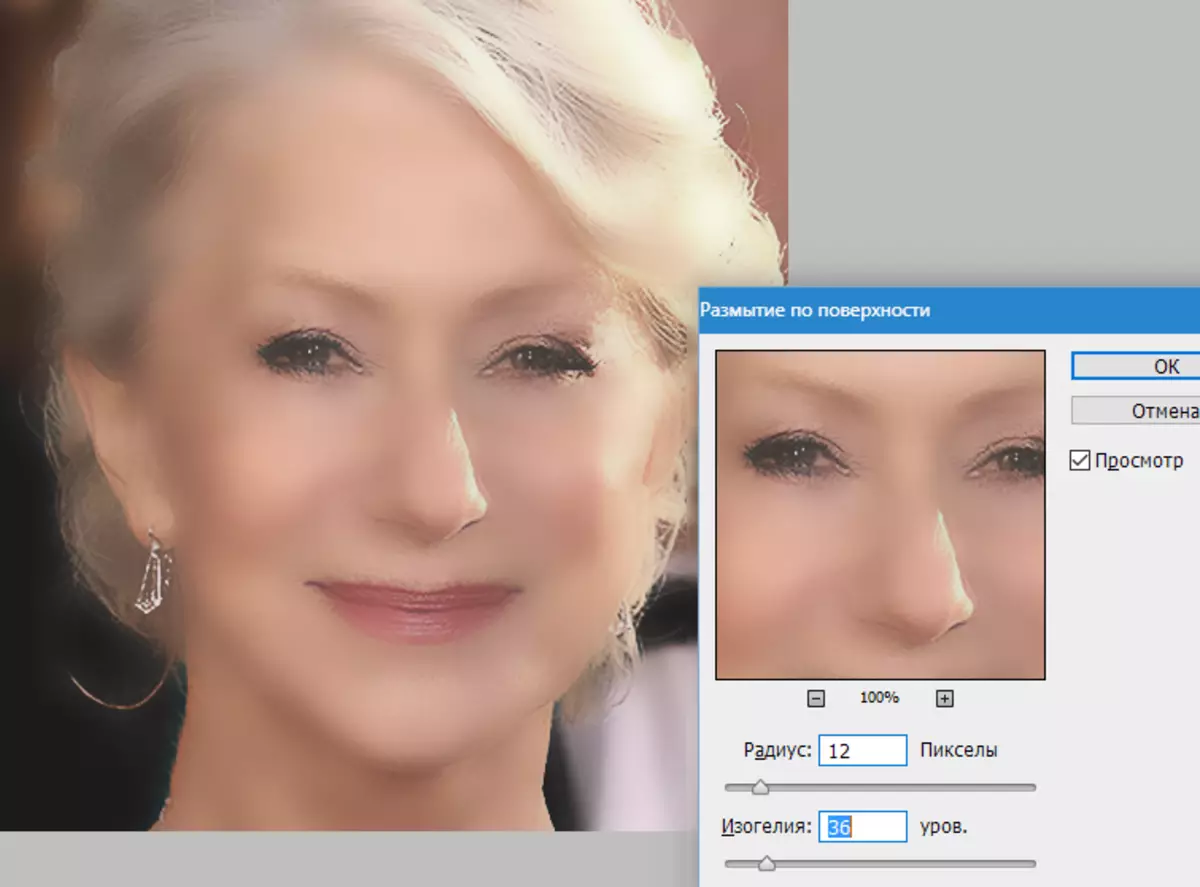
Create a copy of the layer with which we work and go to the menu "Filter - blur - blur over the surface".

Filter settings can be very different from the size of the image, its quality and tasks set. In this case, look at the screen:
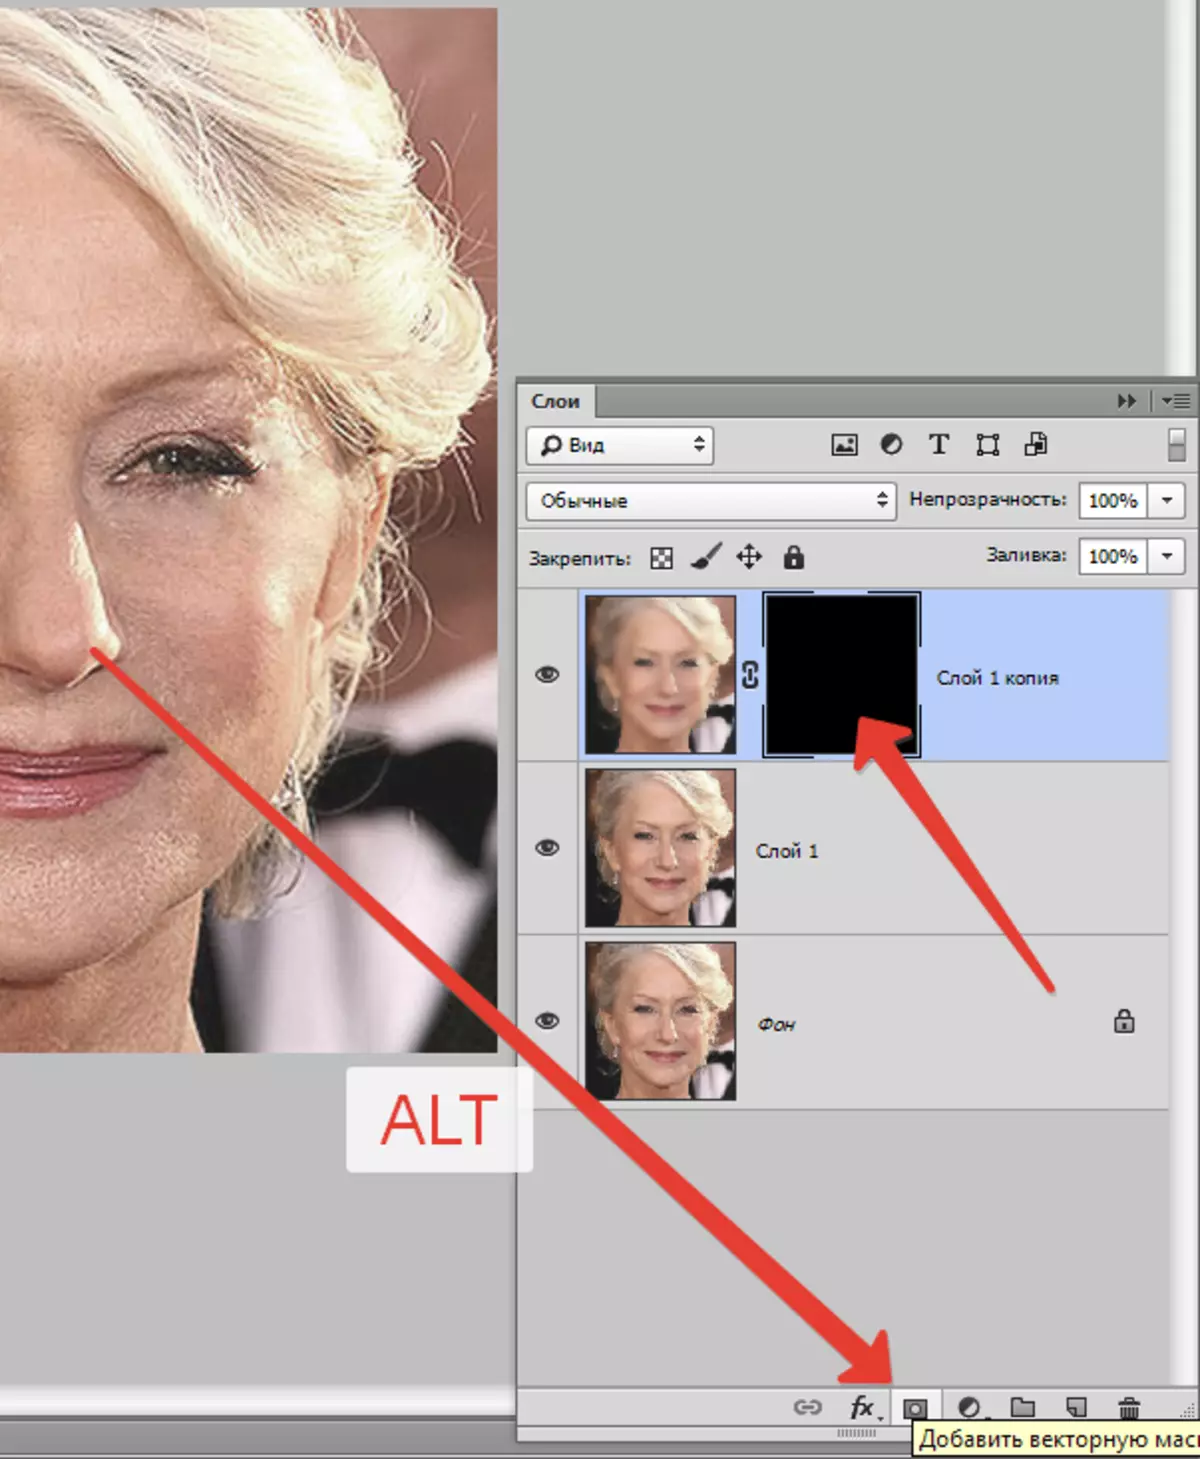
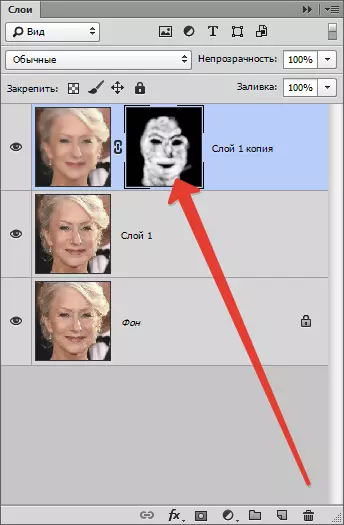
Then pushing the key Alt. And click on the icon of the mask in the palette of the layers.
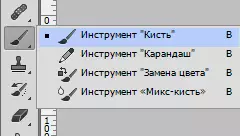
Then choose the brush with the following settings:
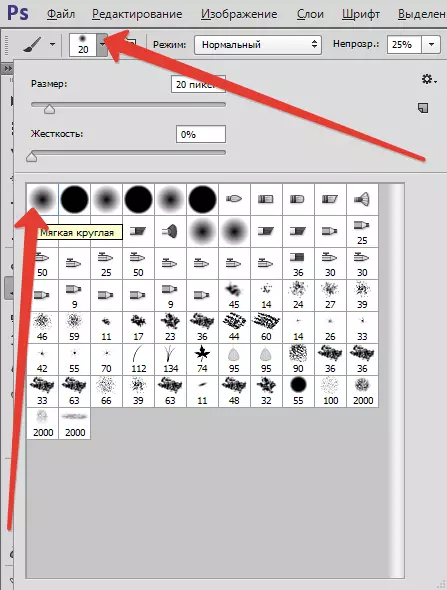
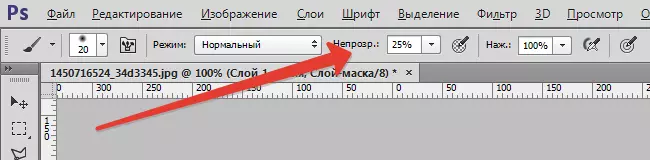
We choose the main color and paint on the mask, opening it in those places where it is necessary. Do not cease, the effect should look as natural as possible.

Palette layers after the procedure:
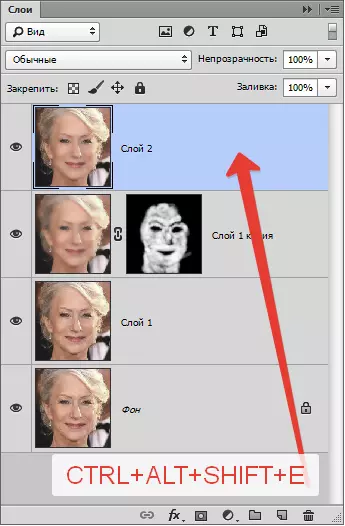
As we see, there are obvious defects. You can eliminate them from any of the tools described above, but first you need to create a fingerprint of all layers at the top of the palette by pressing the key combination Ctrl + Shift + Alt + E.
No matter how hard we tried, after all manipulations, the face in the photo will look blurry. Let's refund him (face) some part of the natural texture.
Remember, we left untouched the source layer? It's time to use them.
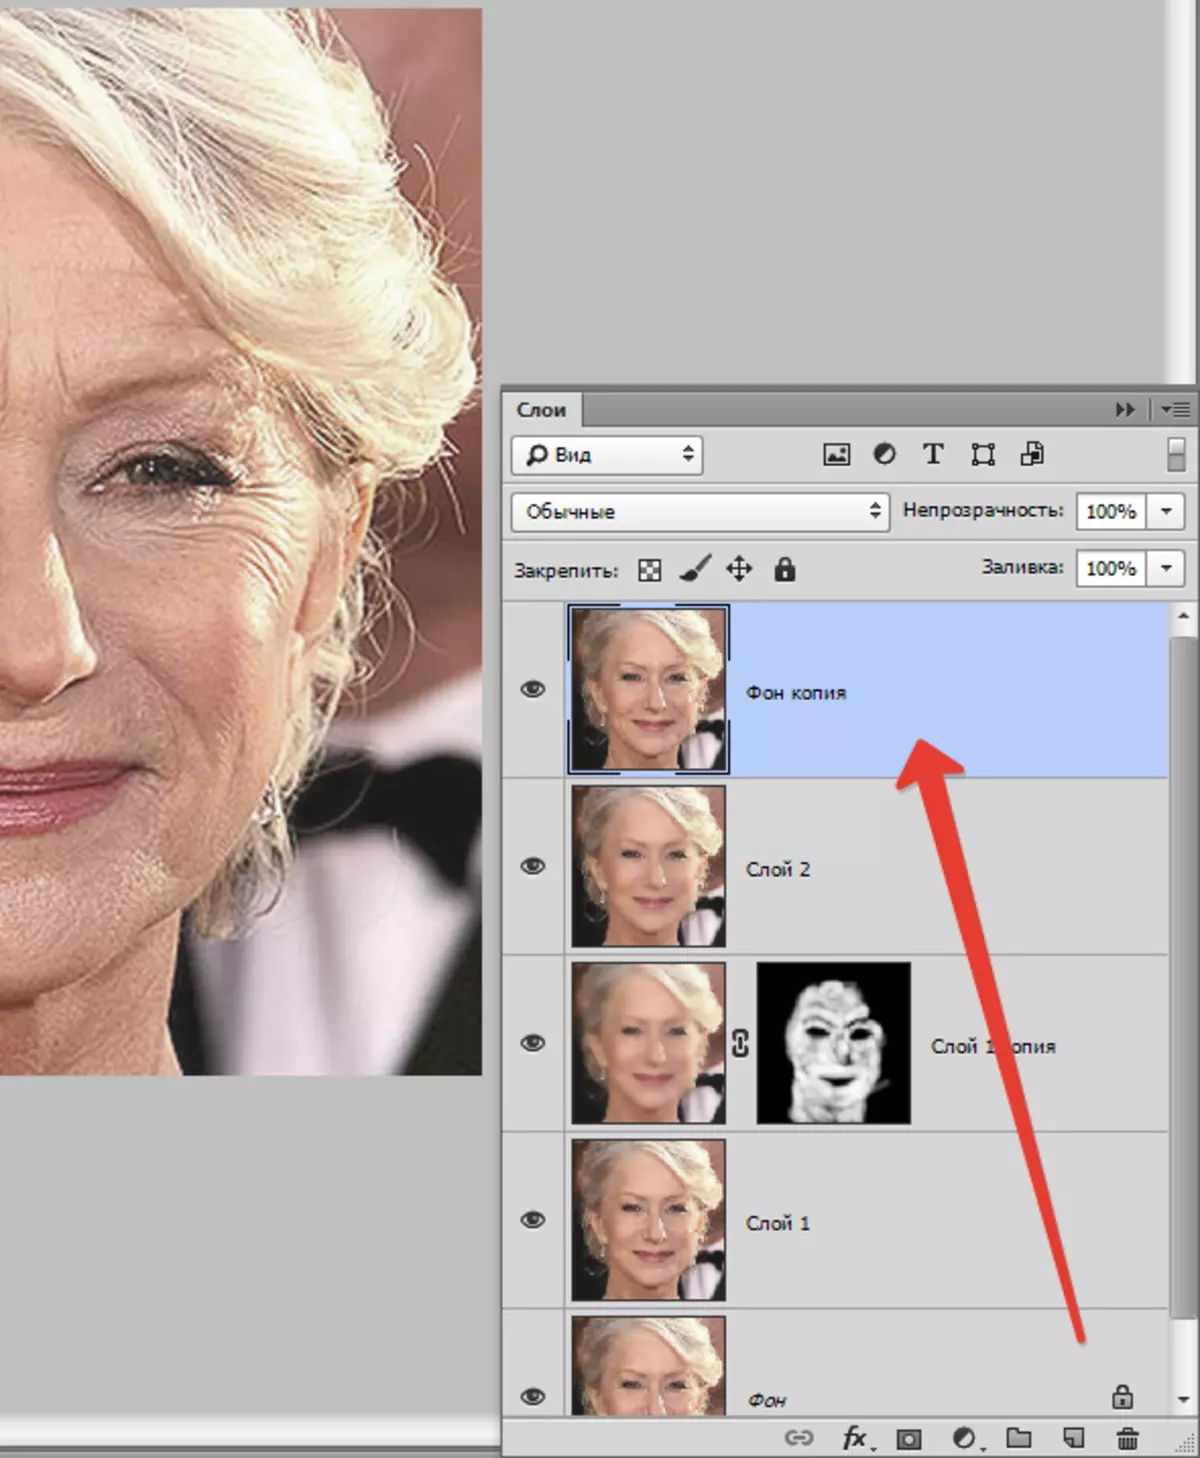
Activate it and create a copy of the key combination Ctrl + J. . Then pull the received copy to the very top of the palette.
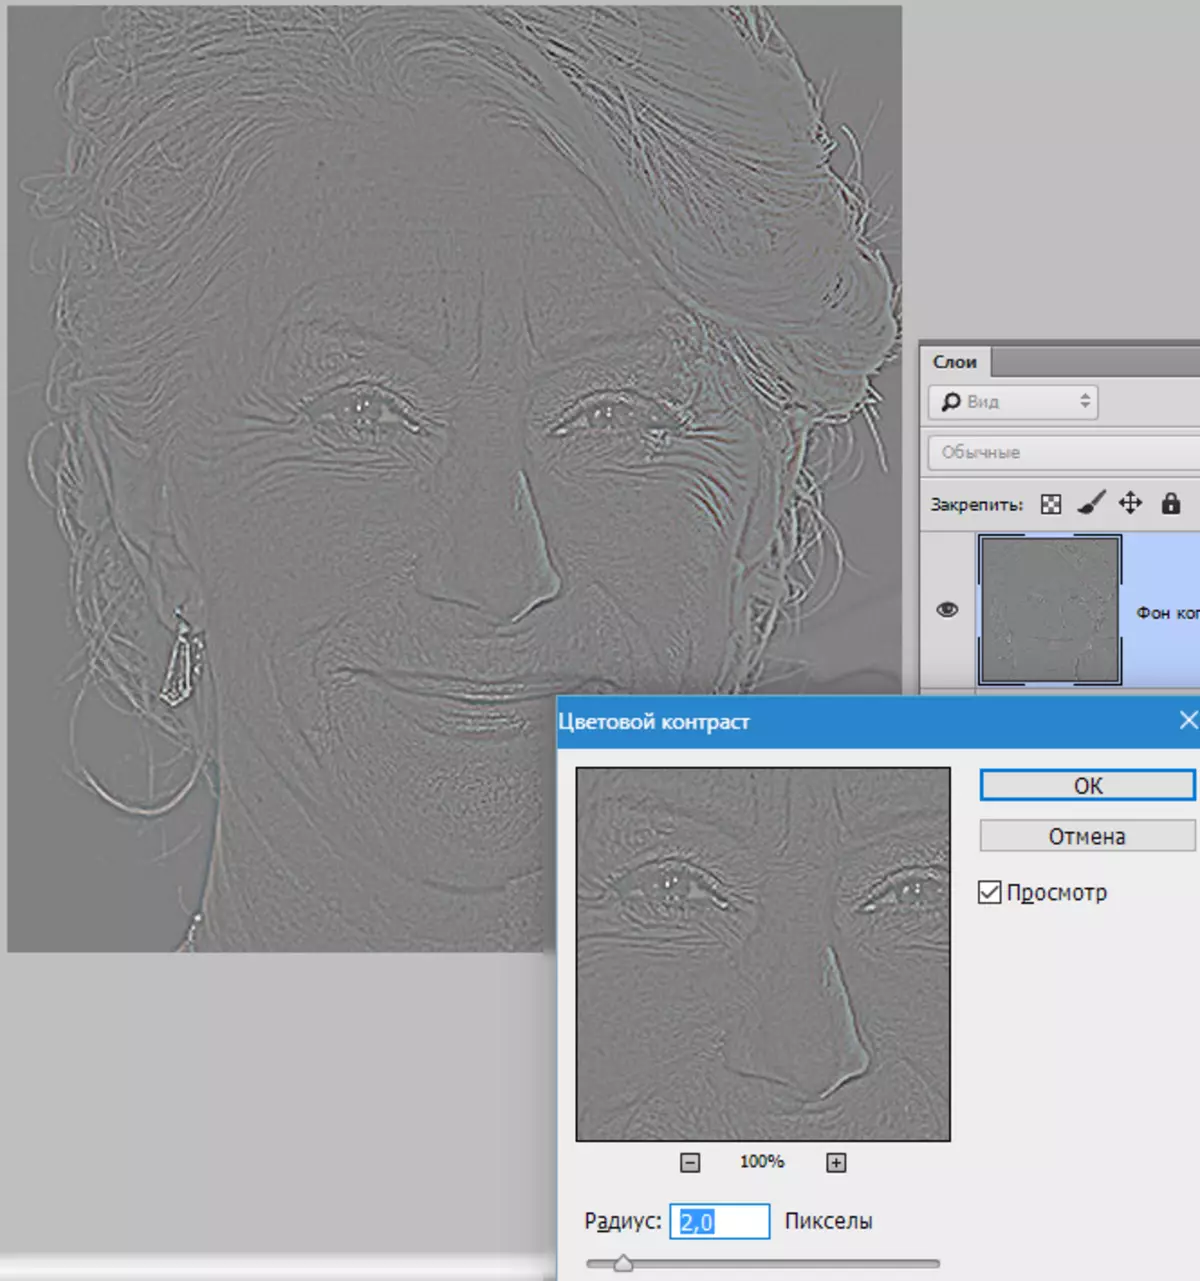
Then go to the menu "Filter - Other - Color Contrast".
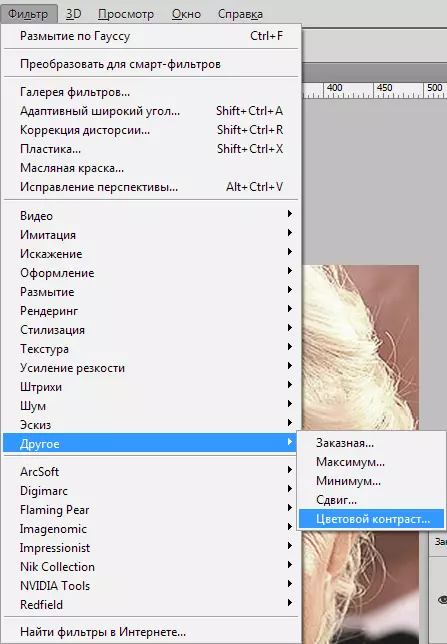
Customize the filter, guided by the result on the screen.
Next, you must change the overlay mode for this layer on "Overlapping".
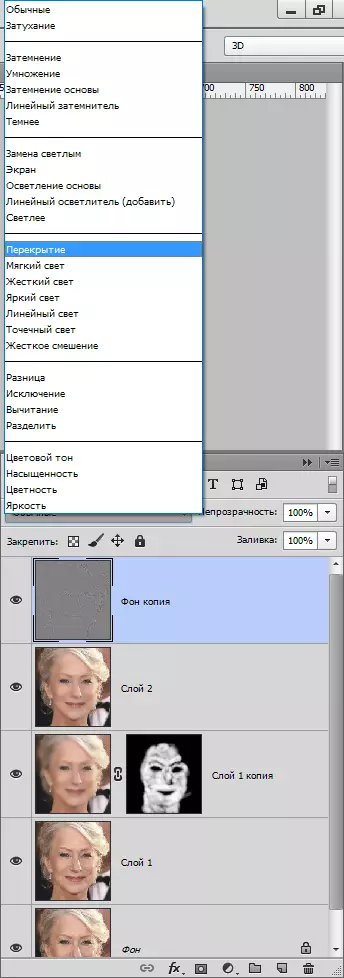
Then, by analogy with the process of skin blur, create a black mask, and, white brush, open the effect only where it is necessary.

It may seem that we have returned wrinkles in place, but let's compare the original photo with the result obtained in the lesson.

Showing enough adherence and accuracy, with the help of these techniques, you can achieve sufficiently good results in removing wrinkles.