
Image processing includes many operations - from emptying light and shadows before drawing the missing elements. With the help of the last we are trying to either argue with nature, or help her. At least, if not nature, then the makeupist, who made the sleeves made a make-up.
In this lesson, let's talk about how to make lips brighter in Photoshop, simply putting them.
Krasim Guba
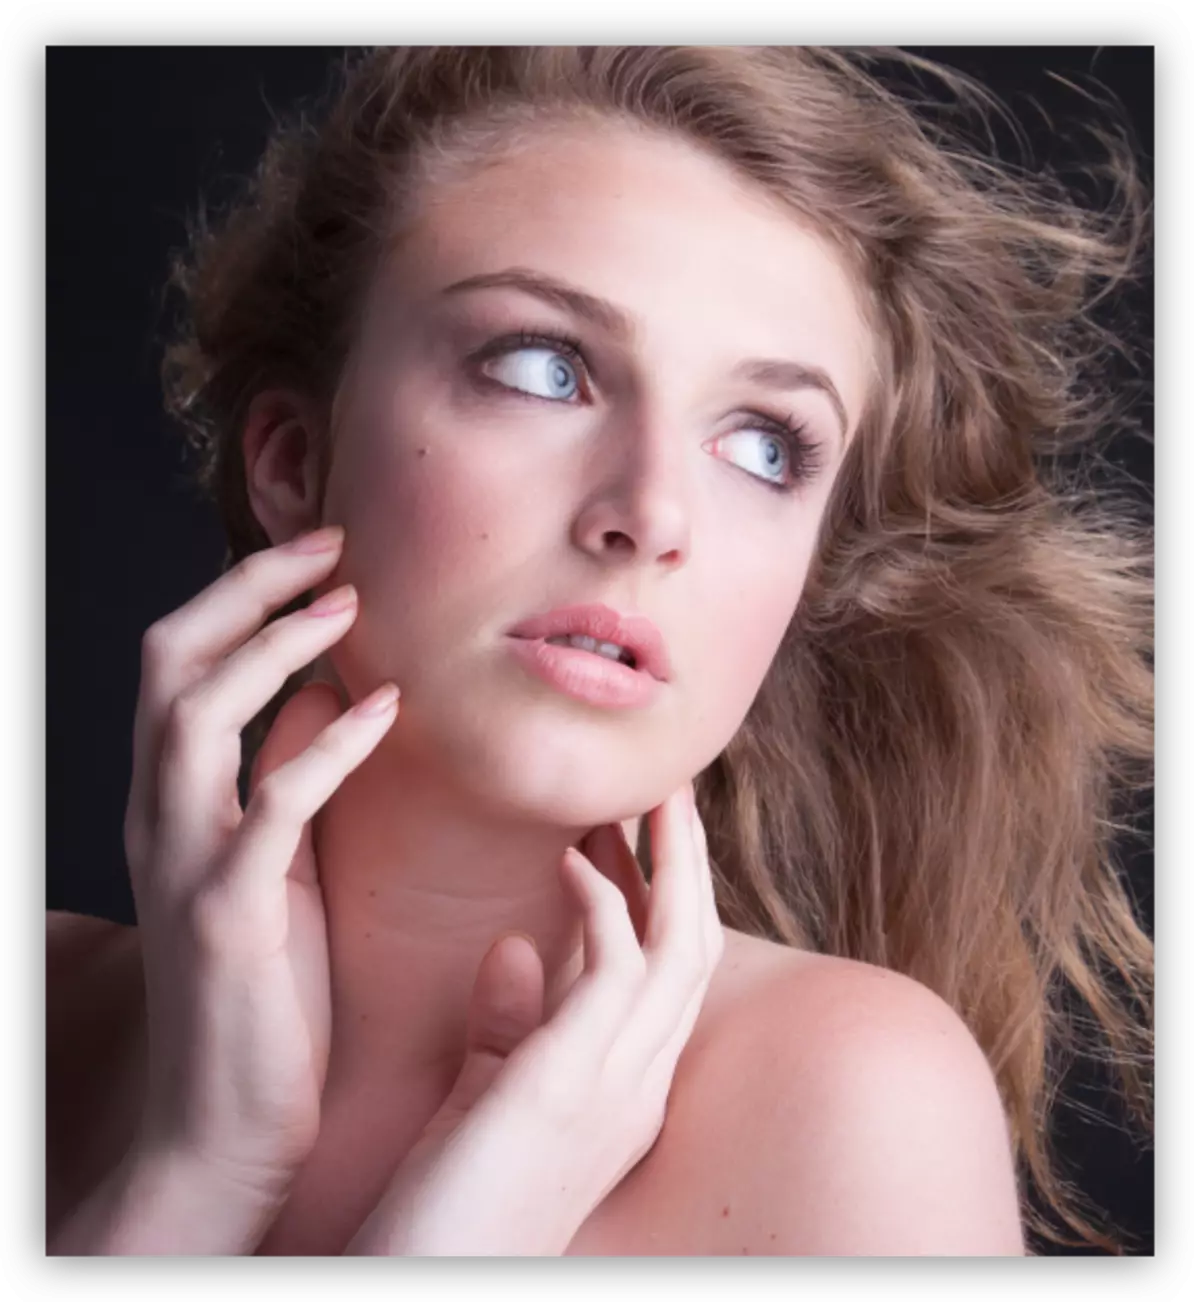
Collect lips We will be this pretty model:
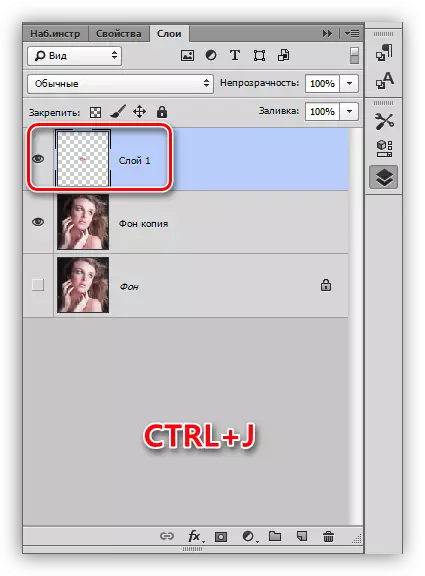
Lip moving on a new layer
For a start, we need, no matter how strange it sounds, separating the lips from the model and put them on a new layer. To do this, they need to be highlighted by the Pen tool. How to work "pen", read in the lesson, the link to which is slightly lower.
Lesson: Pen tool in Photoshop - Theory and Practice
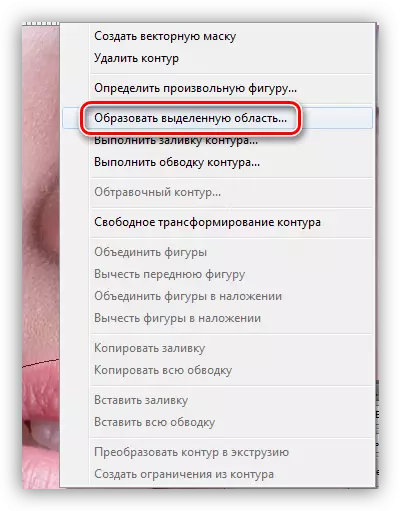
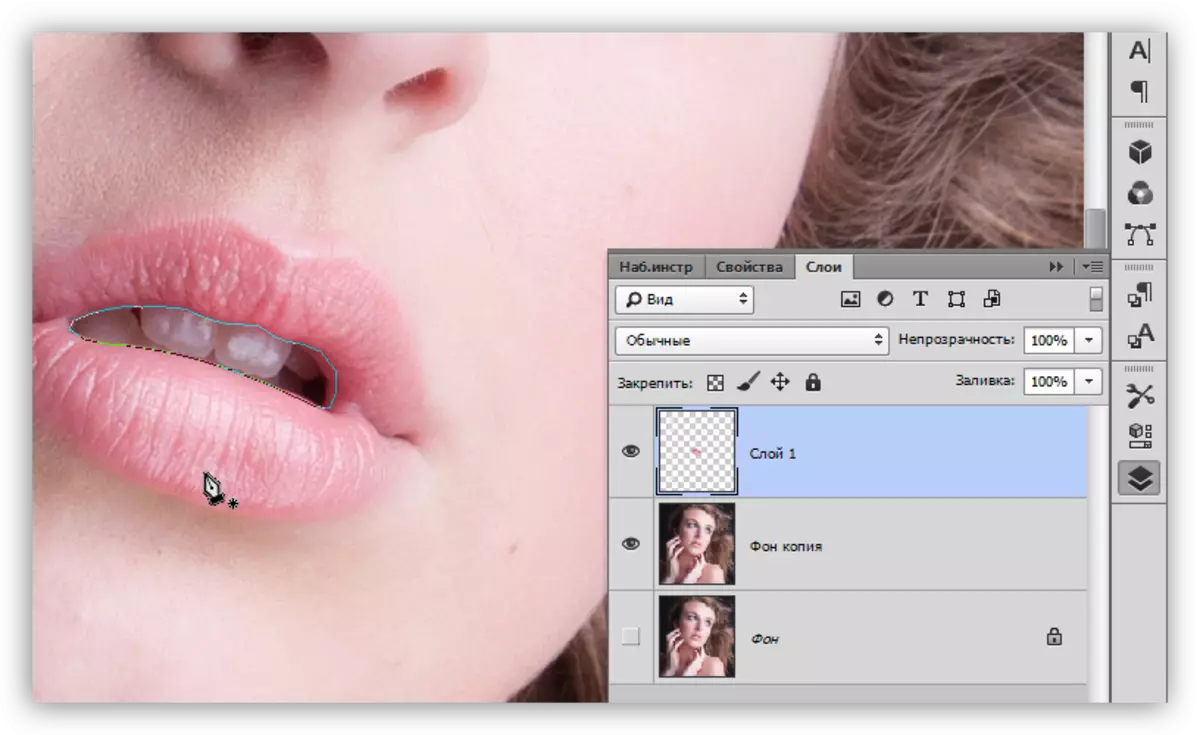
- Select the outer contour of the lip of the pen.

- Click the right mouse button and click on the "Education Dedicated Area" item.
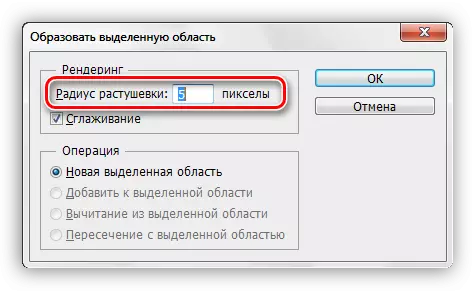
- Decision value is chosen based on the image size. In this case, the value of 5 pixels is suitable. The decisive will help to avoid the appearance of a sharp boundary between the tones.
- When the selection is ready, press Ctrl + J, copying it to a new layer.
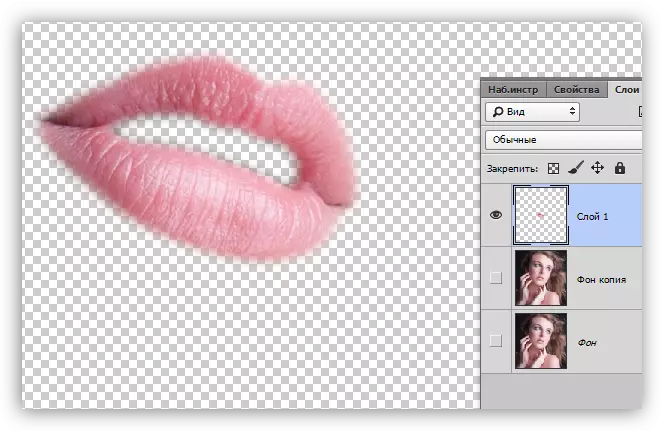
- Staying on a layer with a copied allocation, we again take the "feather" and highlight the inner part of the lips - we will not work with this part.
- Create a selected area with cutting 5 pixels, and then press DEL. This action will remove the unnecessary area.
Toning
Now your lips can be added to any color. This is done like this:
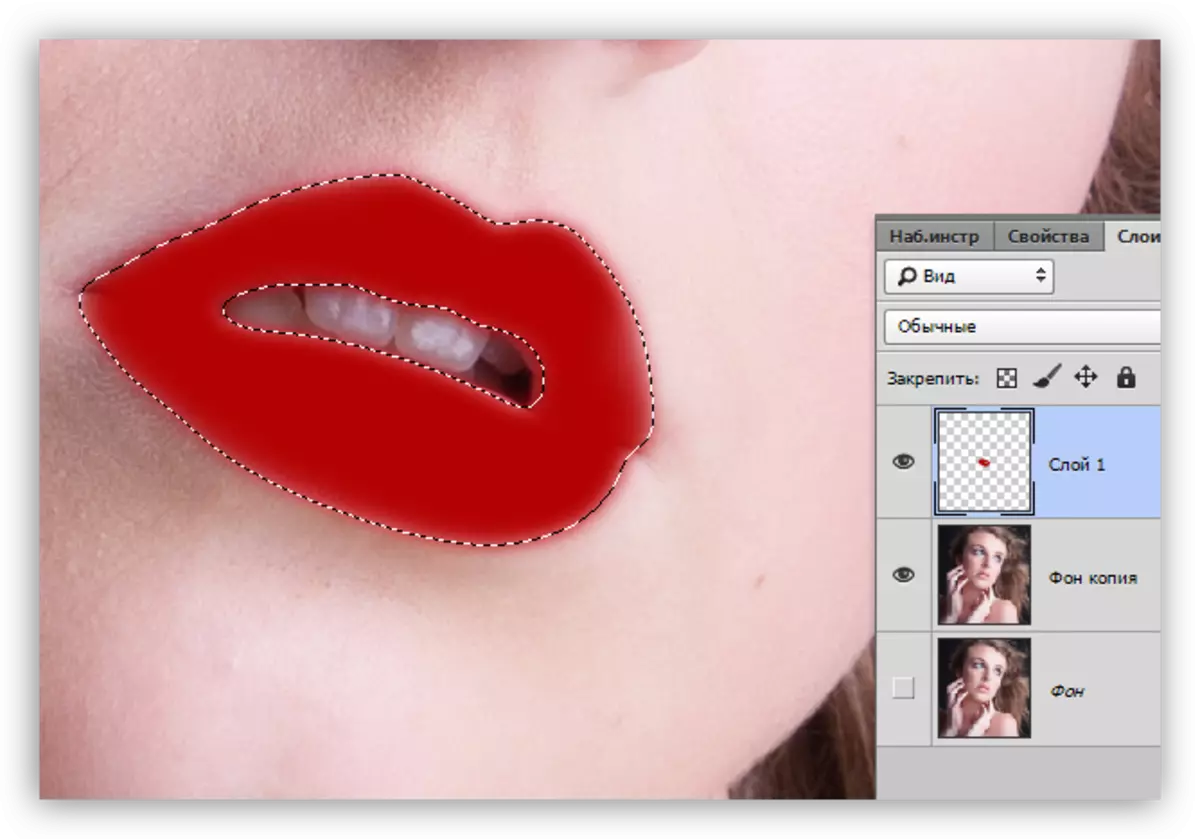
- Click Ctrl and click on a miniature layer with carved lips by loading the selection.
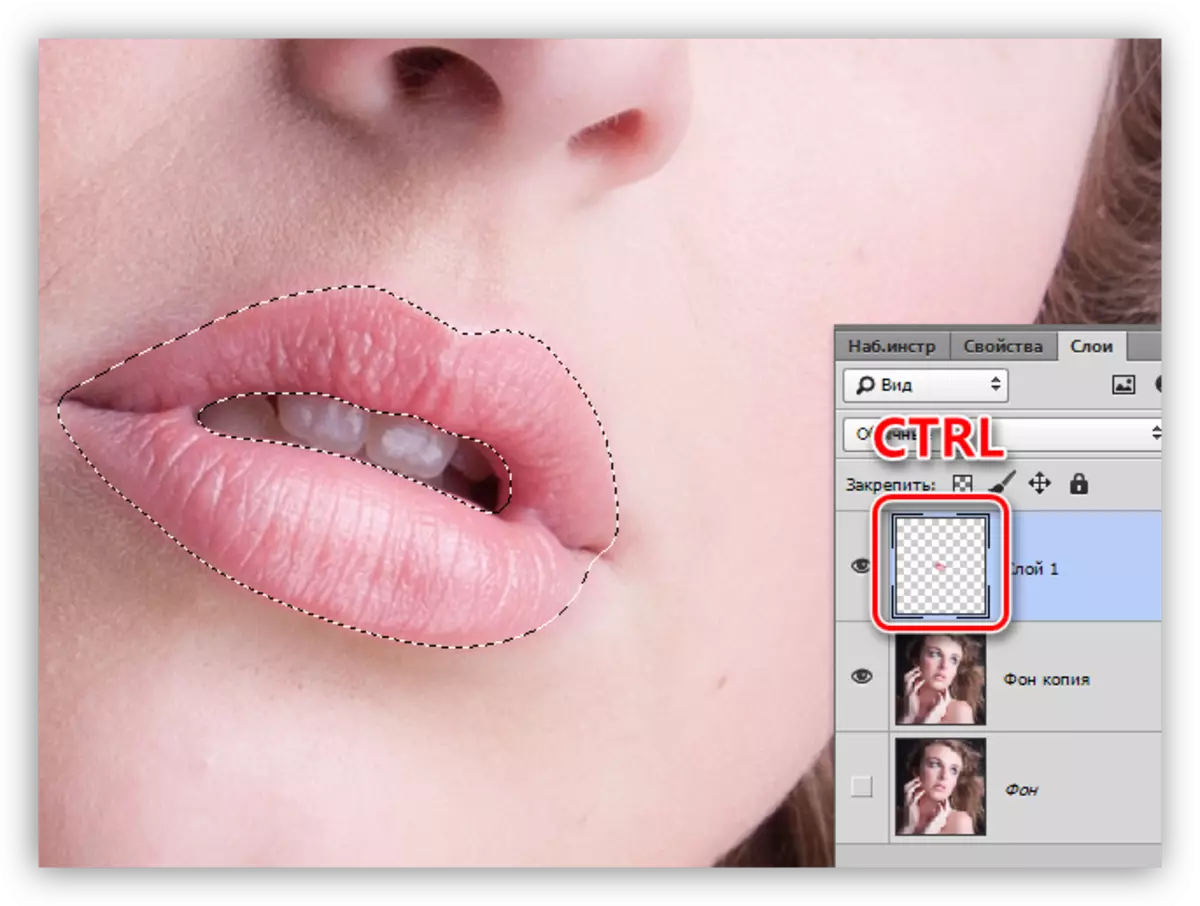
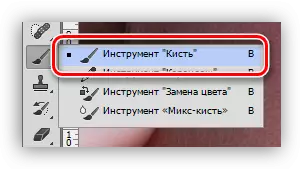
- Take a brush,
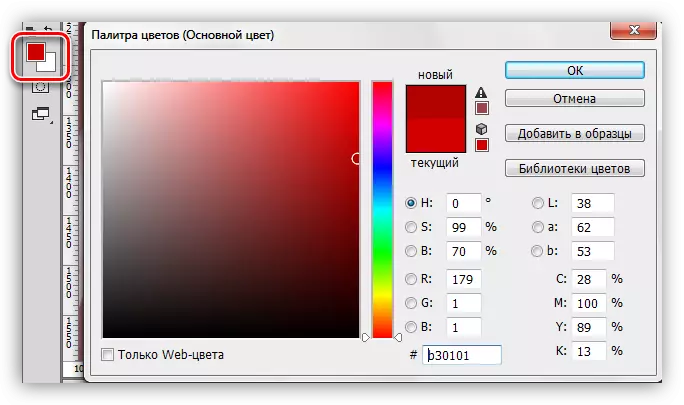
Choose color.
- Pain the selected area.
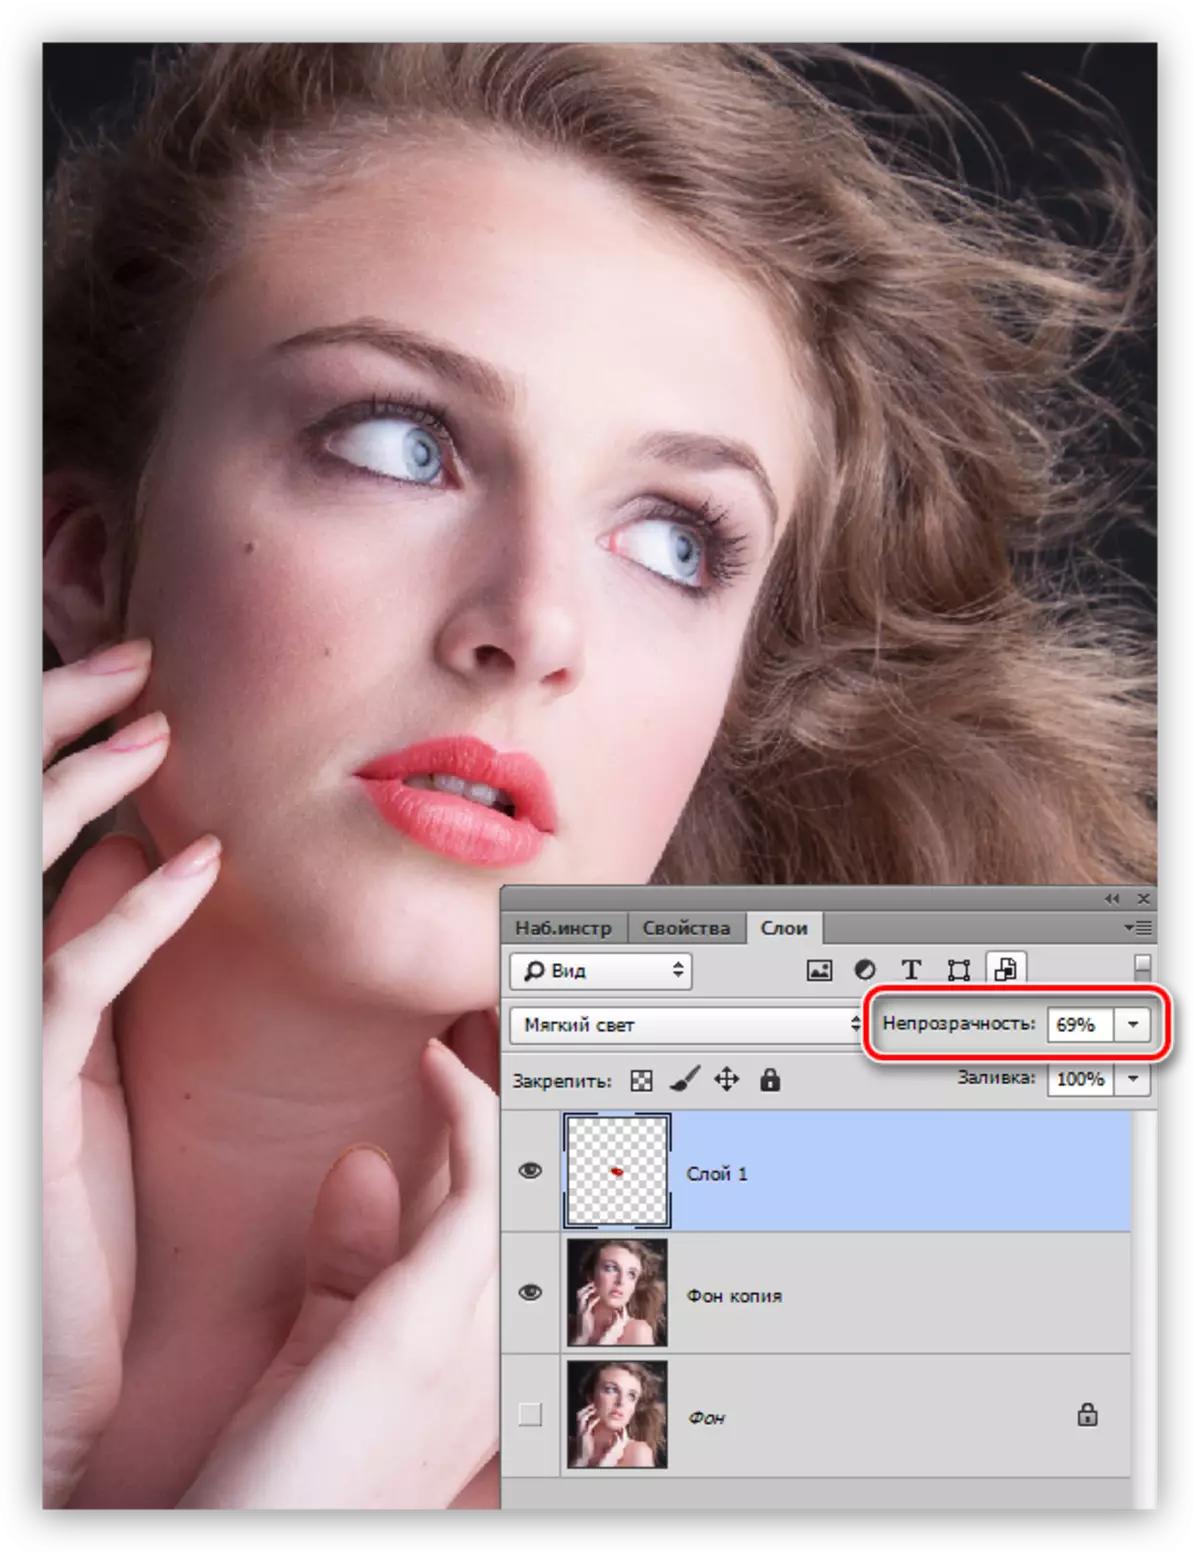
- We remove the selection with the Ctrl + D keys and change the overlay mode for the layer with lips to the "soft light".
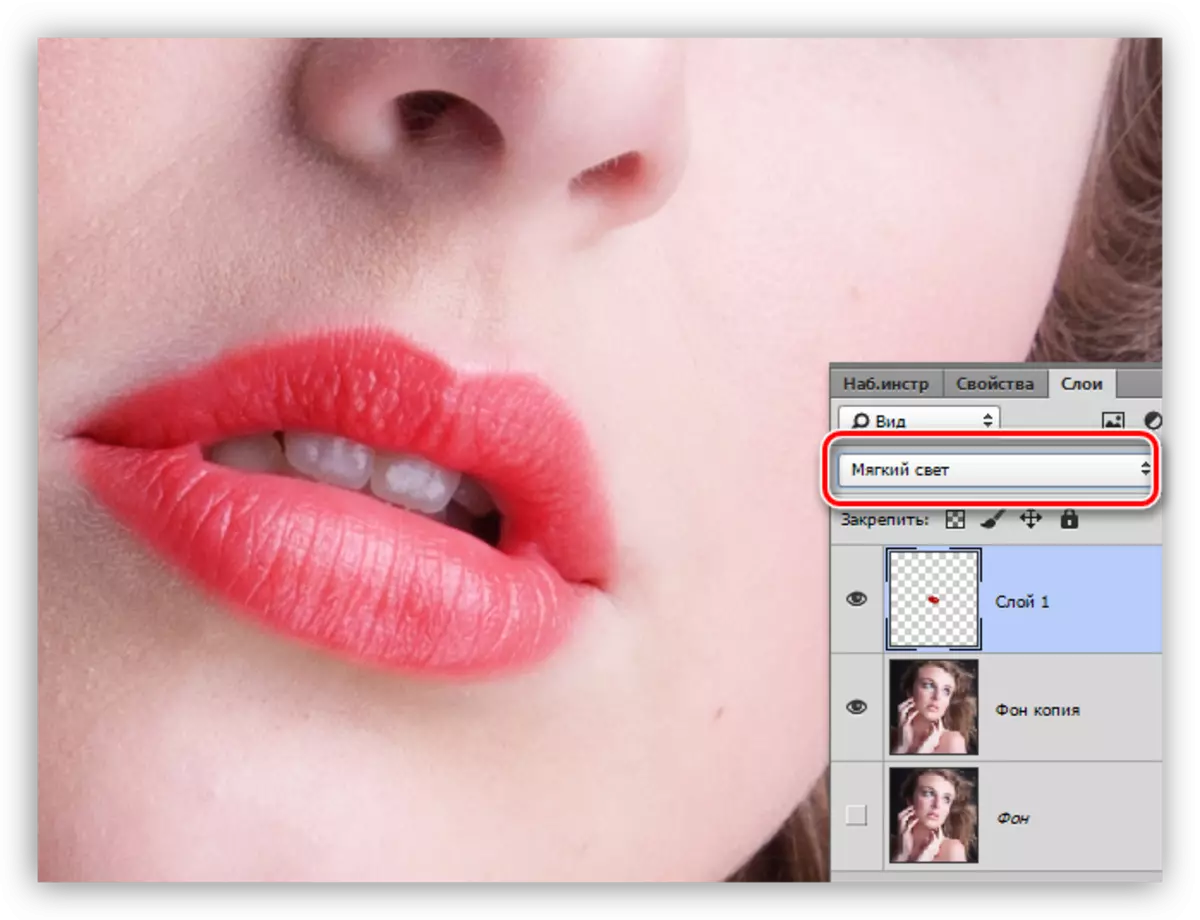
The lips have been successfully filmed. If the color seems too bright, you can slightly lower the layer opacity.
On this lesson on sticking lips in Photoshop is over. This method can not only paint your lips, but also to apply any "combat coloring", that is, makeup.