
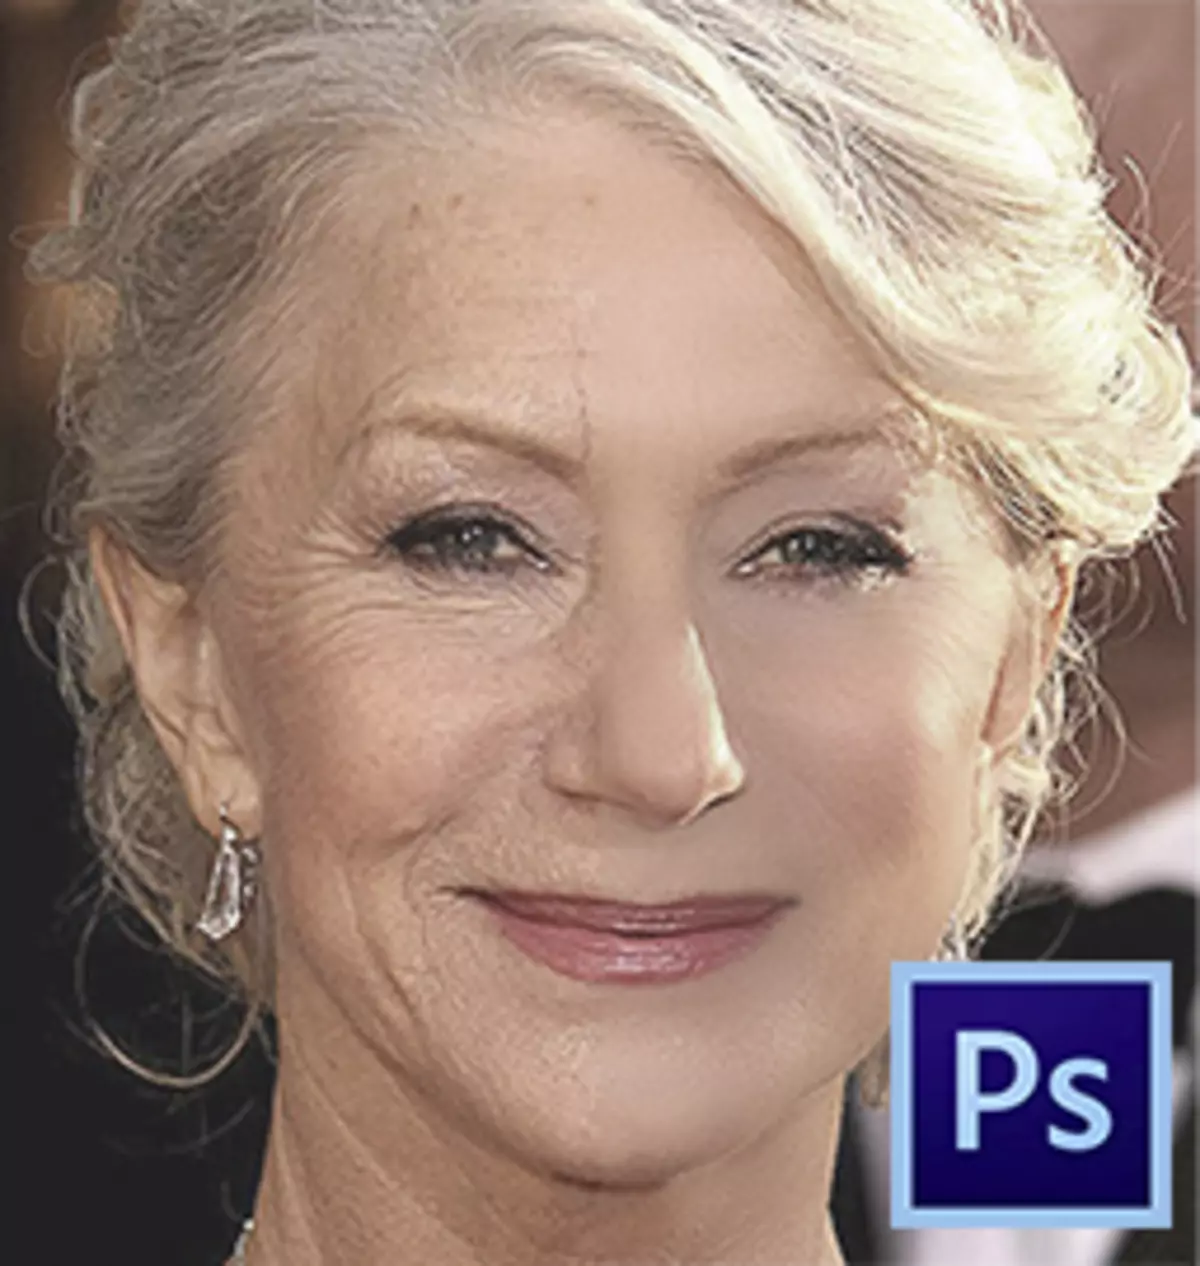
臉上的皺紋和身體的其他部位 - 將超越每個人的不可避免的邪惡,成為一個男人或女人。
有了這個麻煩,你可以以不同的方式戰鬥,但今天我們將討論如何在Photoshop中刪除(至少最小化)皺紋。
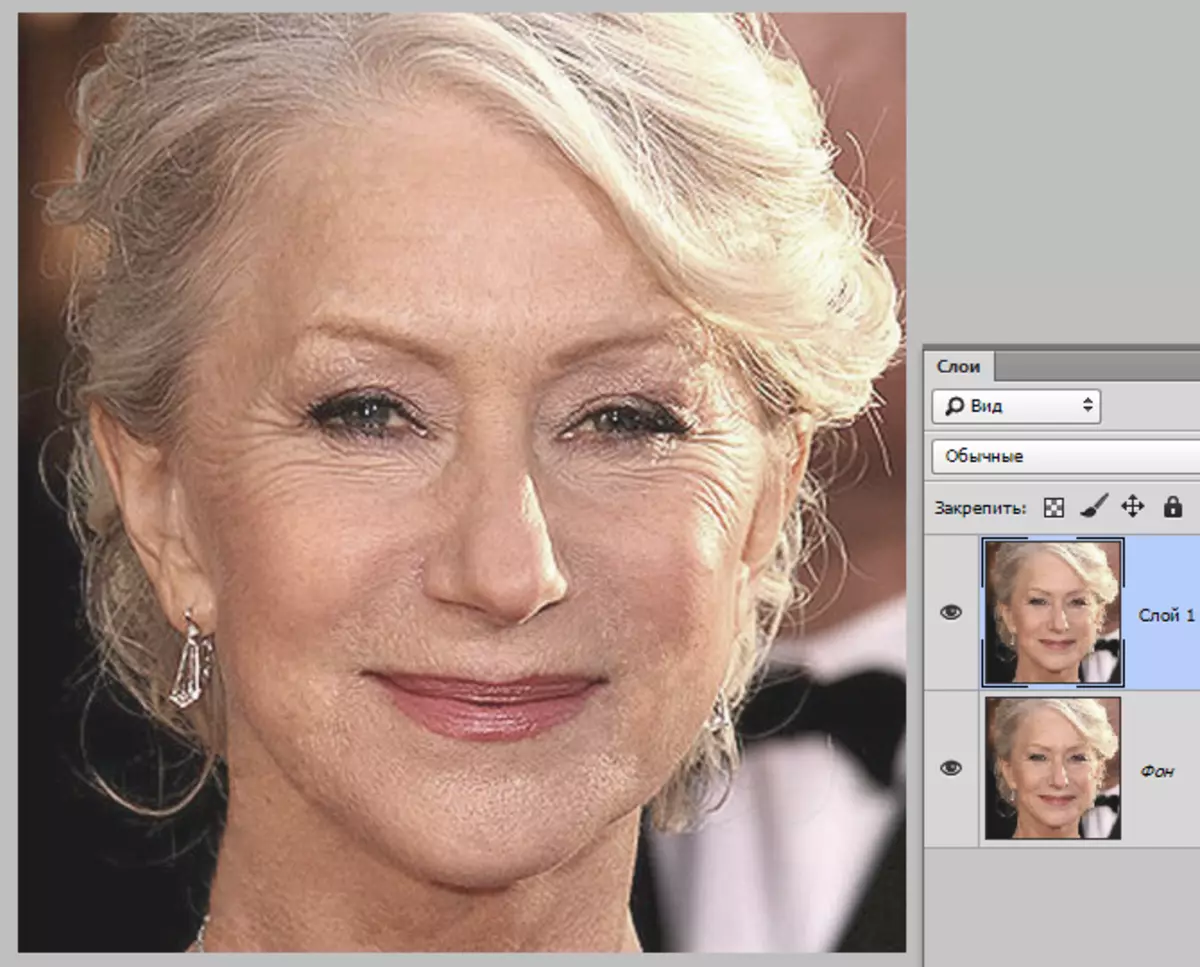
在程序中打開照片並分析它。
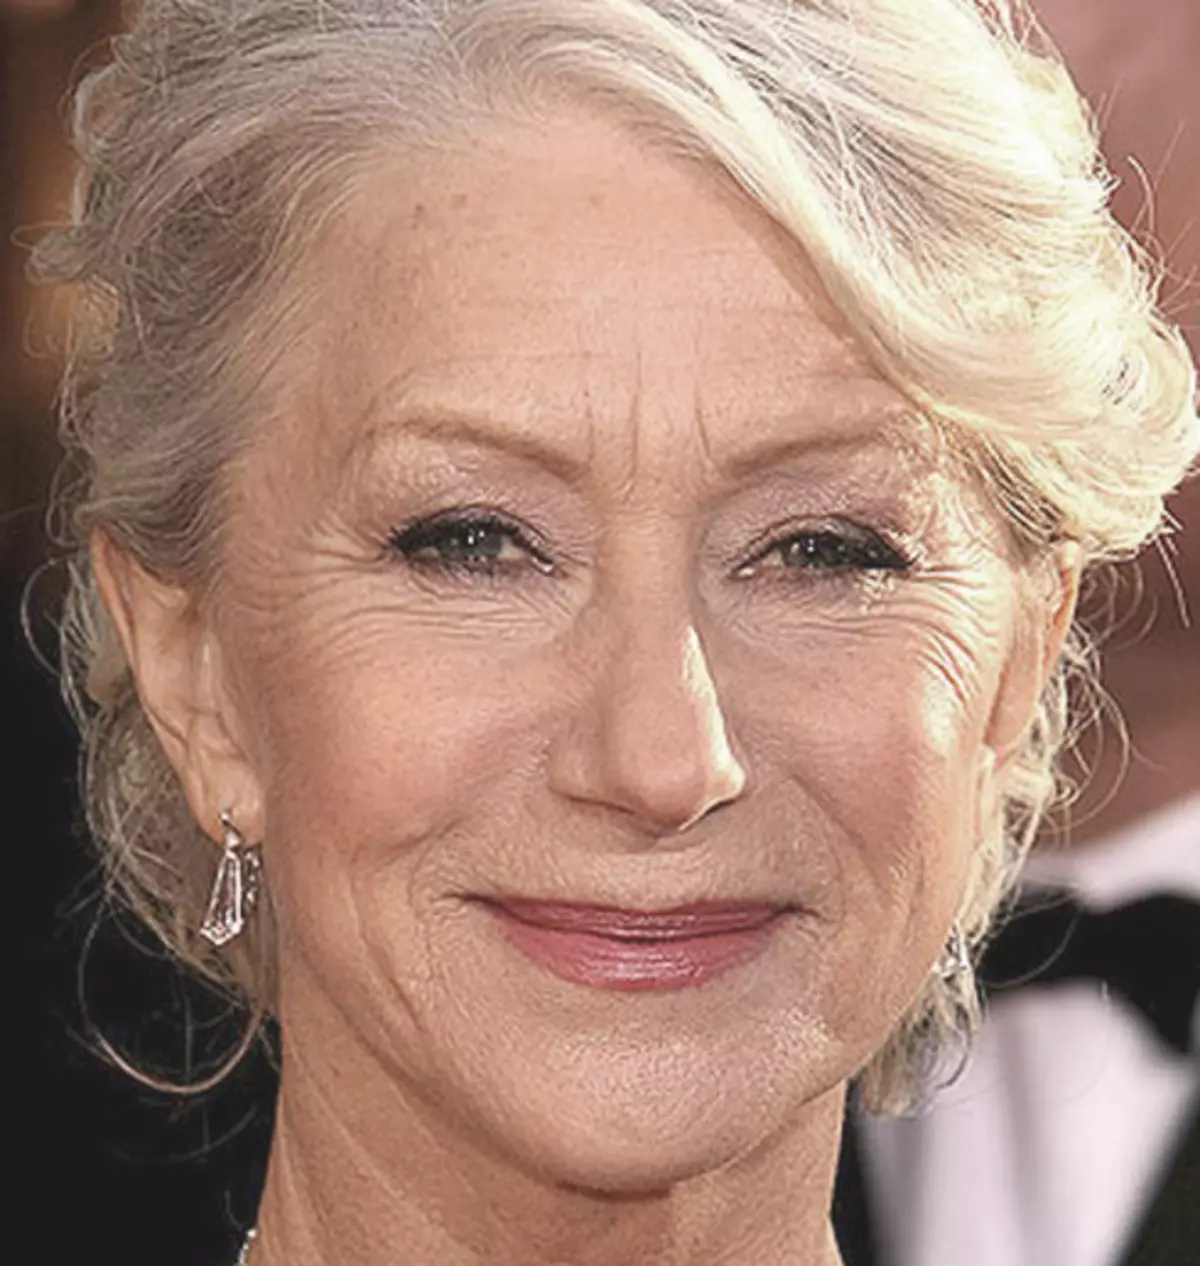
我們看到,在額頭,下巴和頸部有很大,彷彿單獨安排皺紋,靠近眼睛 - 來自小皺紋的固體地毯。
大皺紋我們將刪除該工具“恢復刷子”小 - “價錢”.
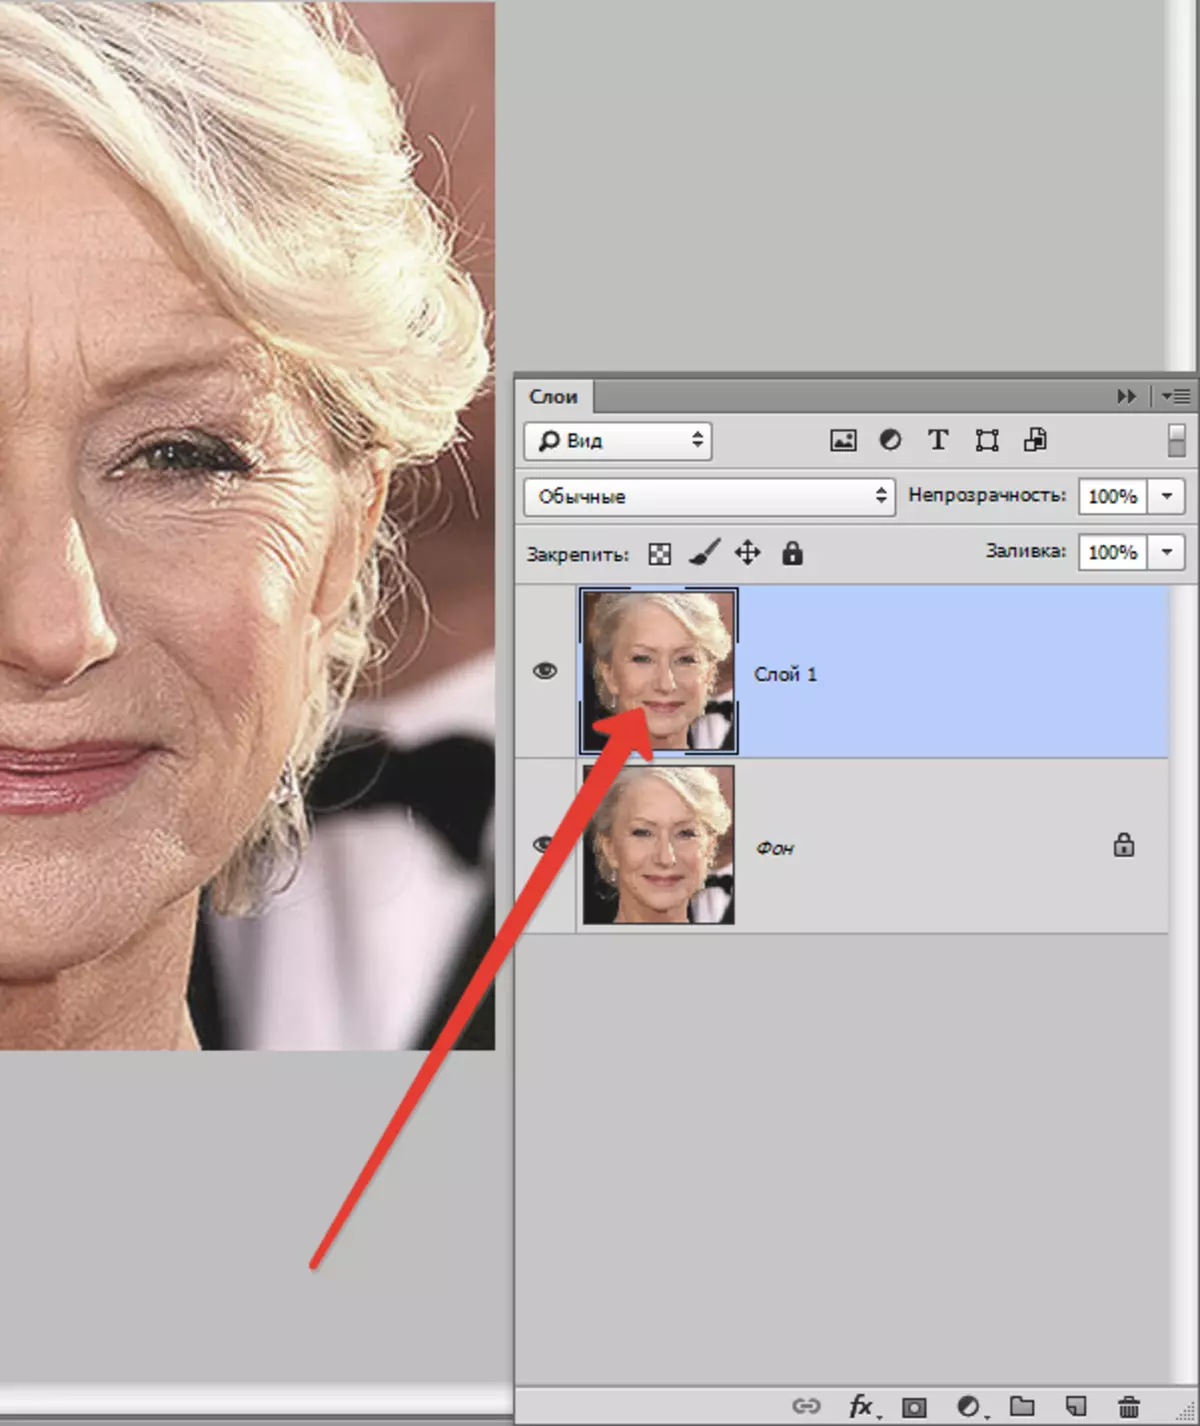
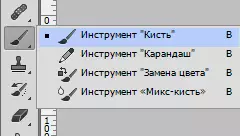
因此,通過鍵組合創建源層的副本Ctrl + J.並選擇第一個工具。

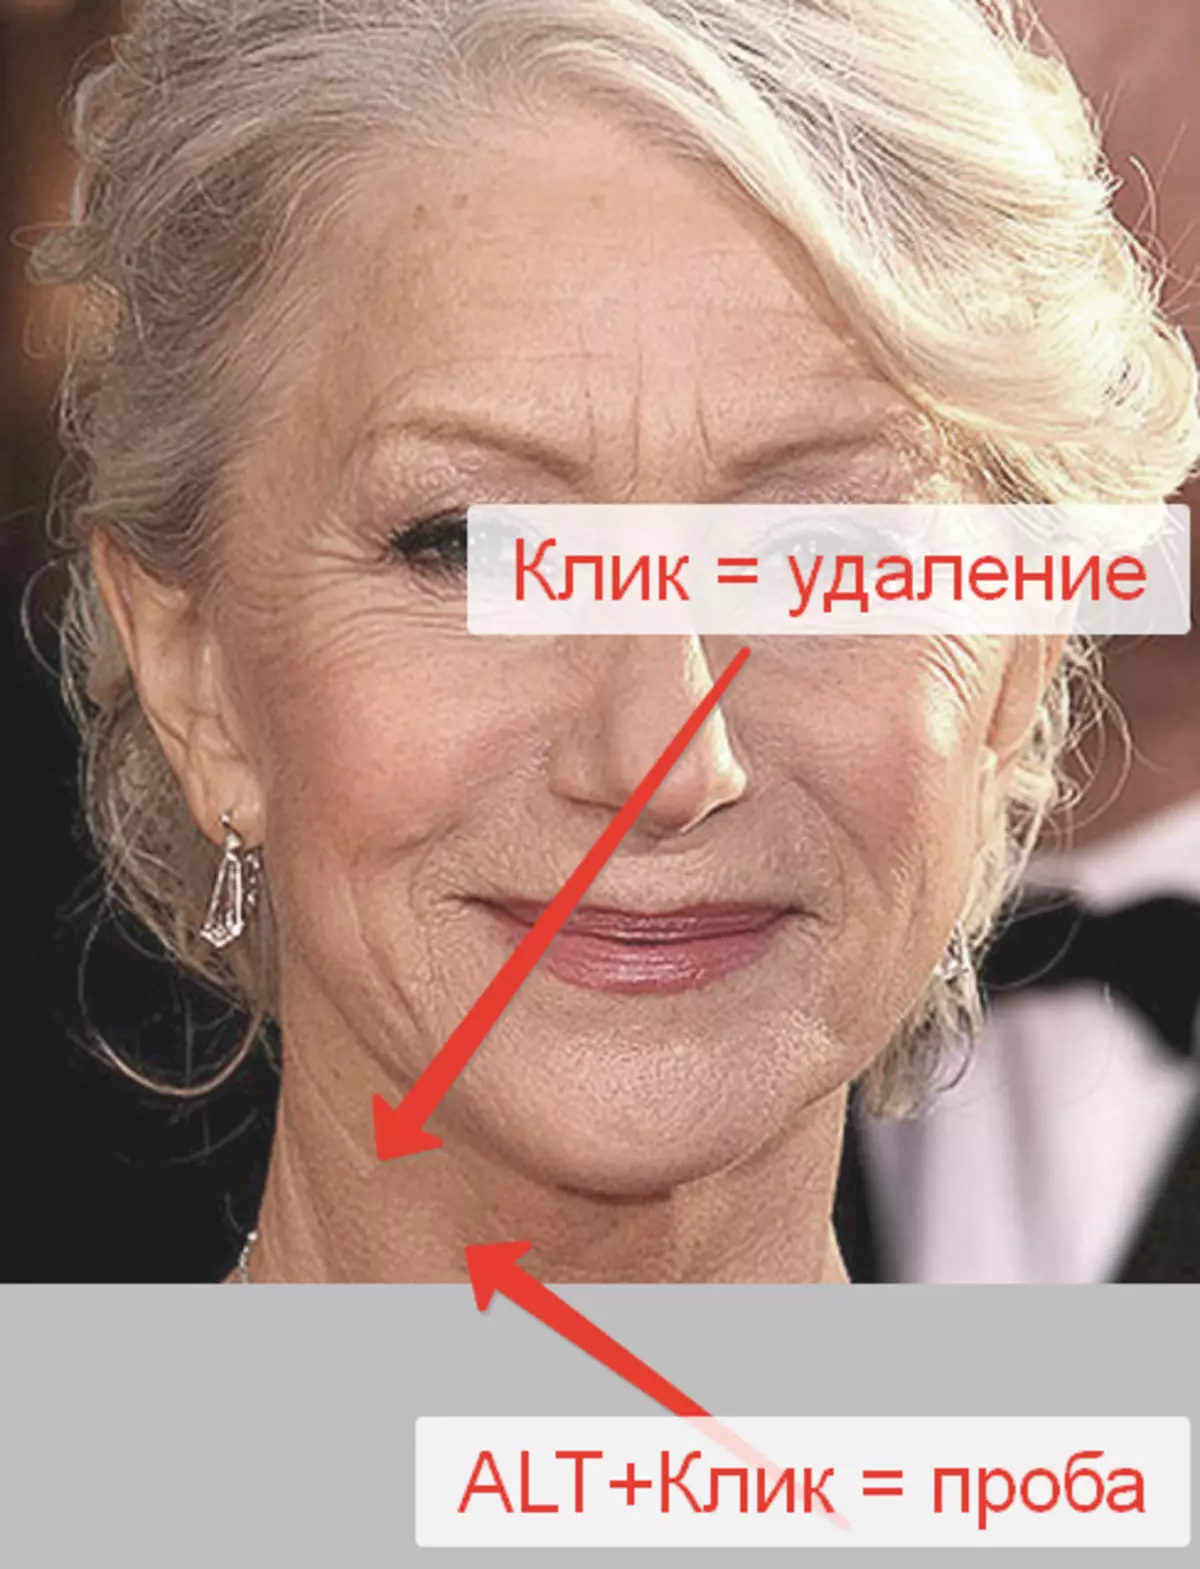
我們在副本上工作。單擊鍵alt。我們用一點擊拍攝清潔皮膚樣品,然後用皺紋將光標傳輸到區域,然後單擊另一個時間。刷子的大小不應大於可編輯缺陷。
通過這種方式和工具,我們從頸部,前額和下巴中取出所有大皺紋。
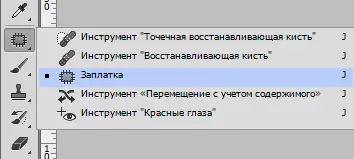
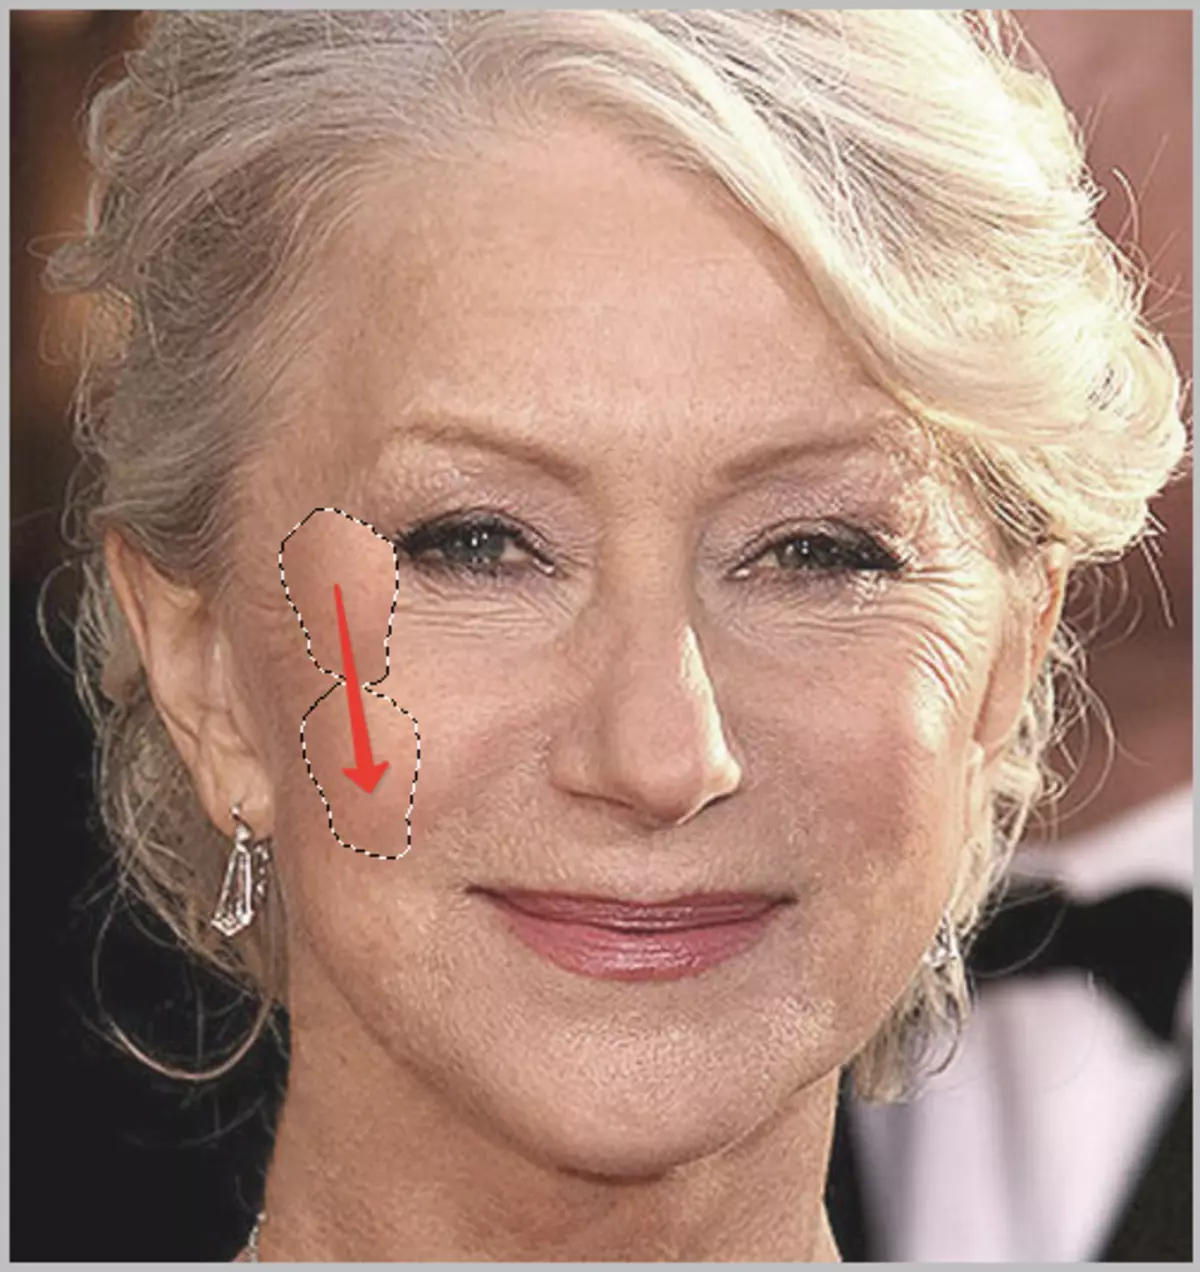
現在去除眼睛附近的小皺紋。選擇工具“修補”.
我們提供皺紋的工具,並將所產生的選擇拖動到皮膚的干淨區域。
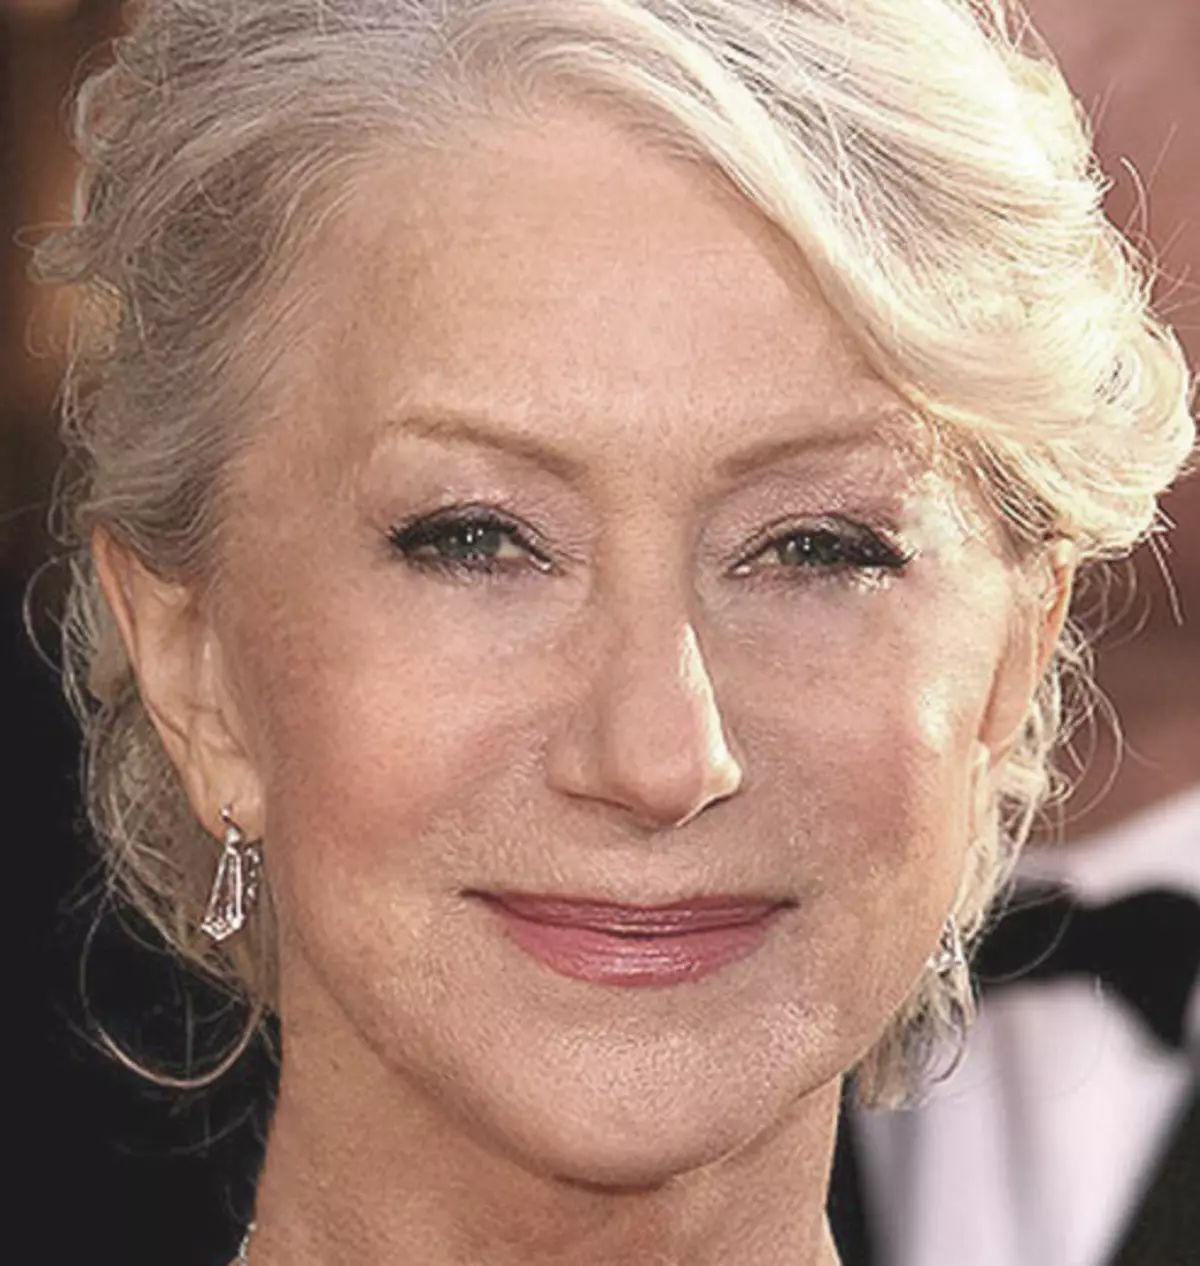
我們尋求大約以下結果:
下一步是膚色的小平整,並去除非常小的皺紋。請注意,由於女士是老人,沒有激進的方法(改變形狀或更換),取消眼睛周圍的所有皺紋將失敗。
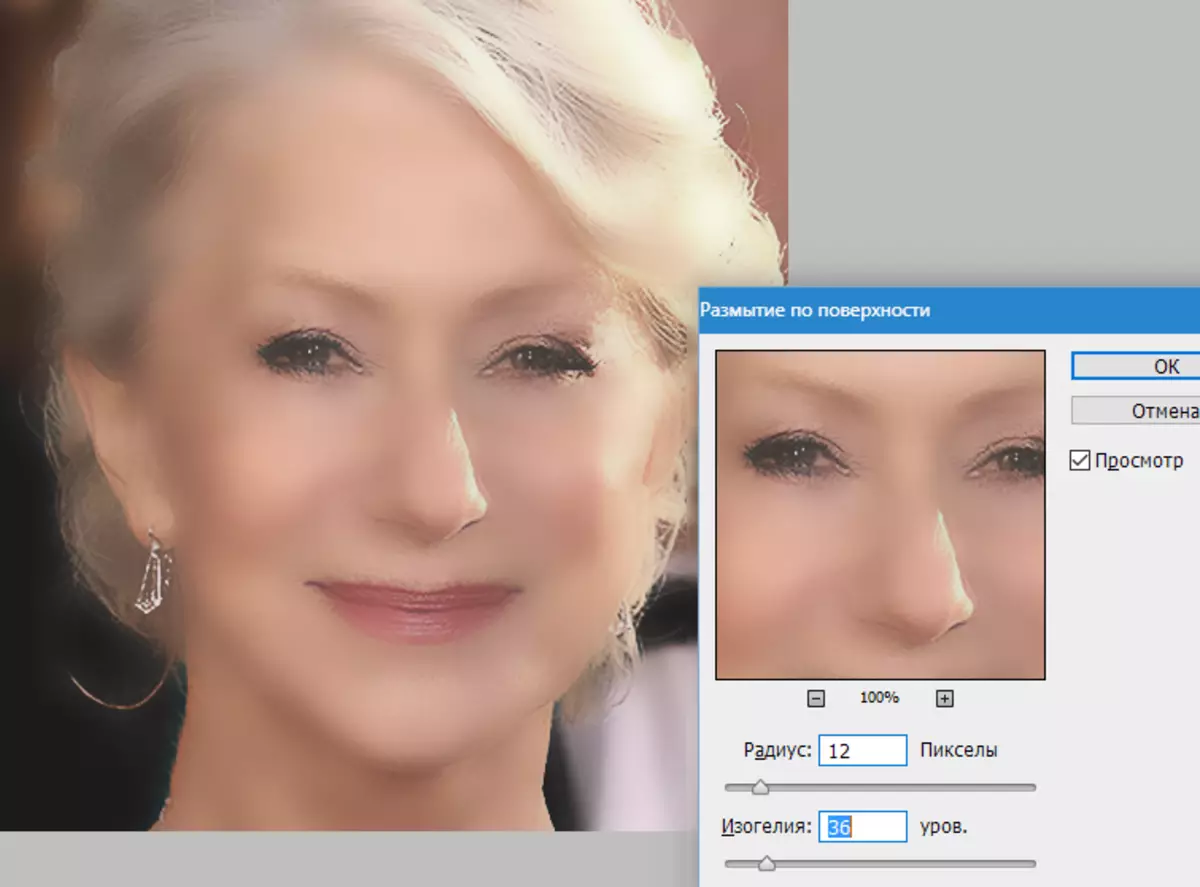
創建與我們工作的圖層的副本並轉到菜單“過濾 - 模糊 - 表面上模糊”.

過濾器設置可能與圖像大小相比,其質量和任務集。在這種情況下,請查看屏幕:
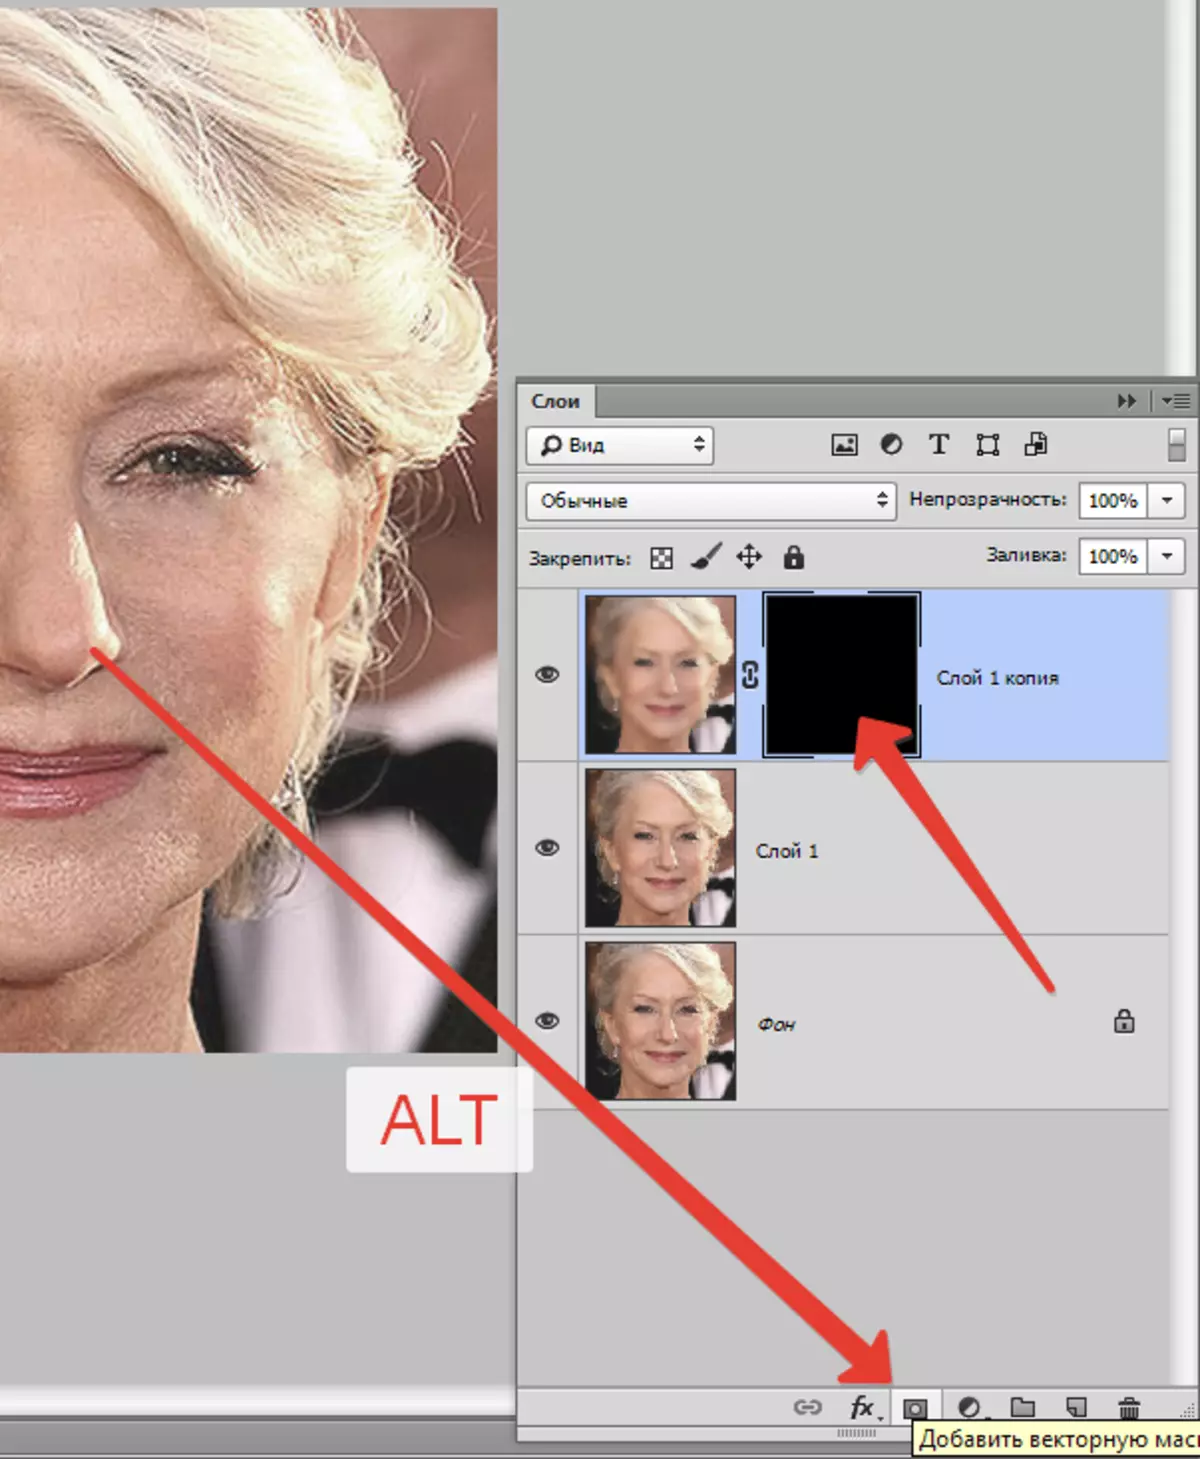
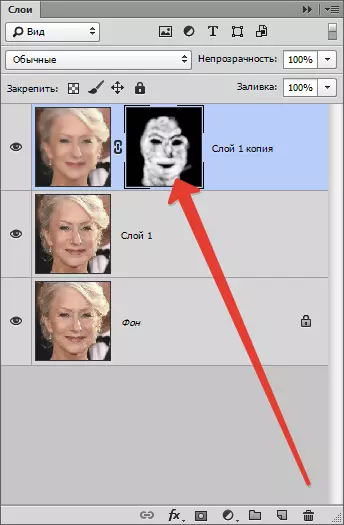
然後推鑰匙alt。然後單擊圖層的調色板中掩碼的圖標。
然後用以下設置選擇刷子:
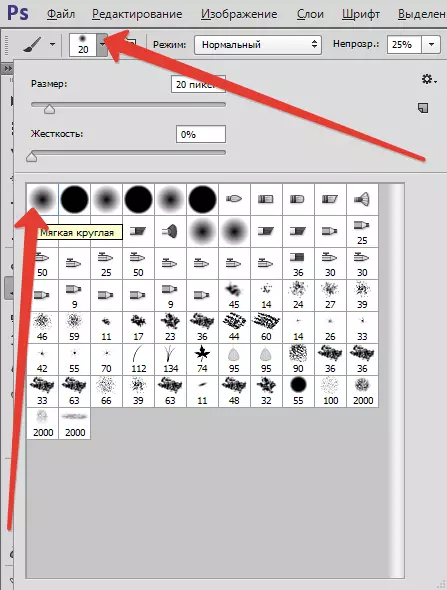
我們選擇面具上的主要顏色和油漆,在必要的地方打開它。不要停止,效果應盡可能自然。

手術層後的過程:
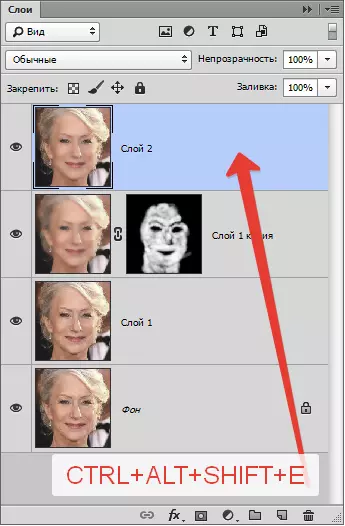
正如我們所看到的,有明顯的缺陷。您可以從上面描述的任何工具中消除它們,但首先需要通過按鍵組合來創建調色板頂部的所有圖層的指紋Ctrl + Shift + Alt + E.
無論我們如何努力嘗試,畢竟是操縱,照片中的臉部會看起來模糊。讓我們退還他(面部)自然質地的某些部分。
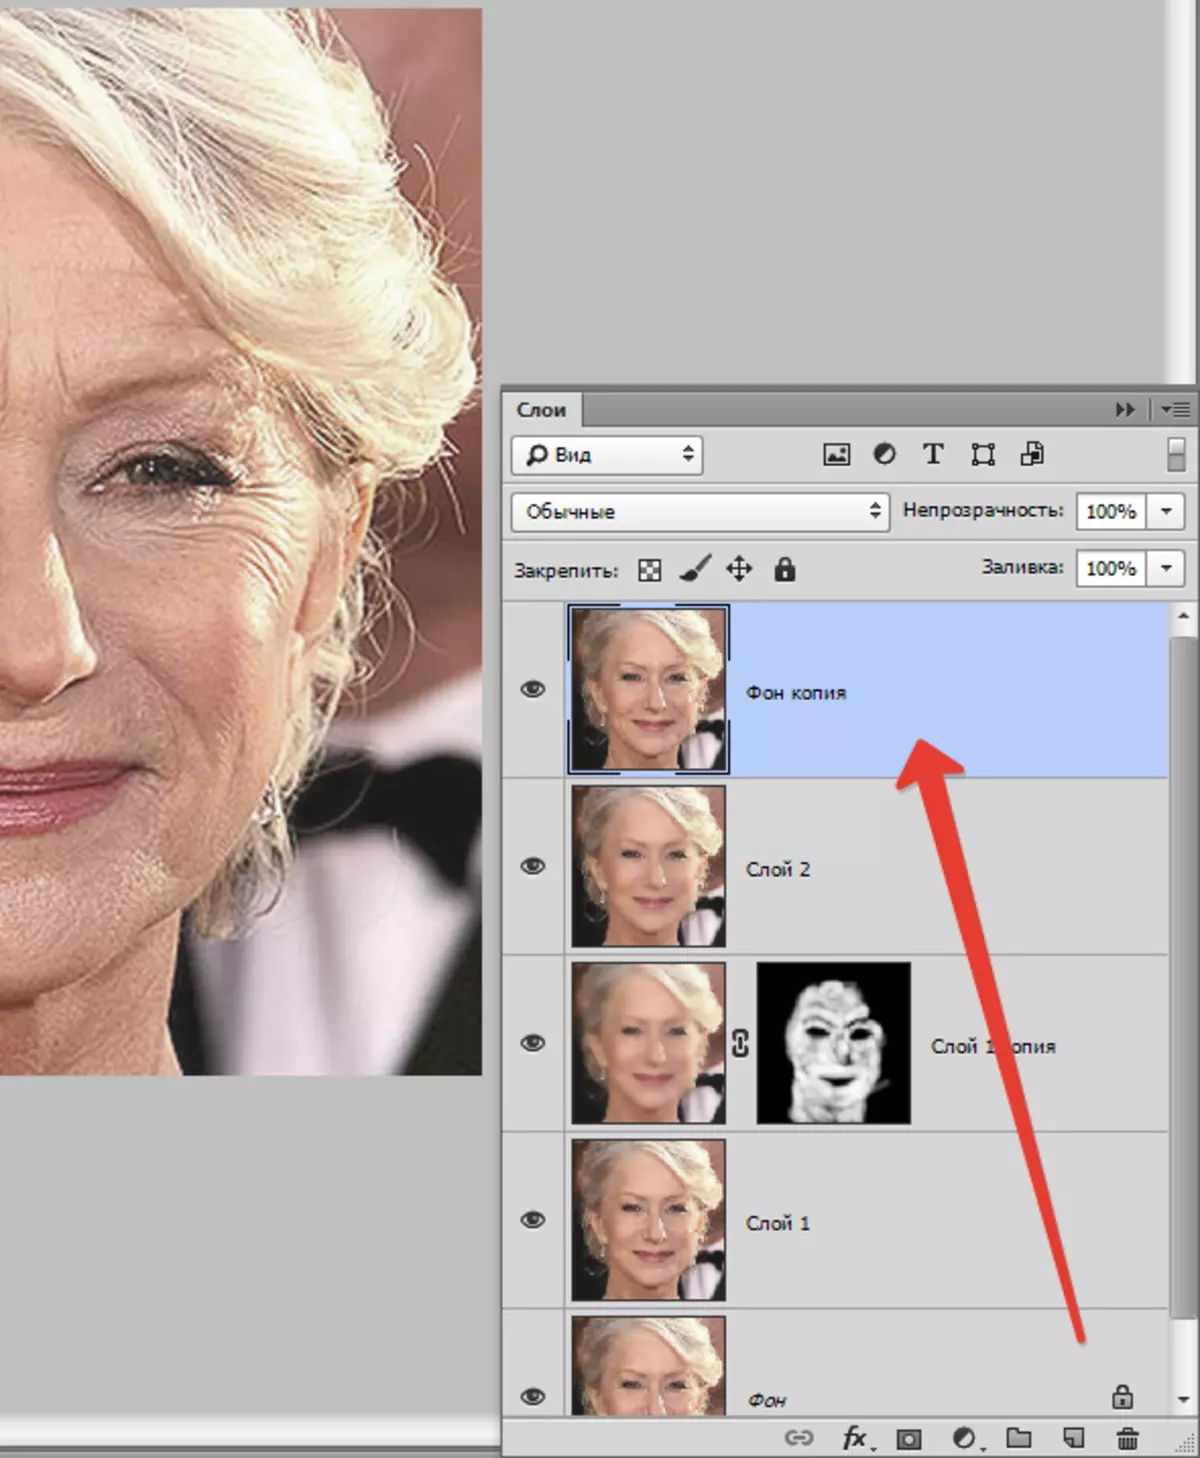
請記住,我們留下了不受影響的源層?是時候使用它們了。
激活它並創建關鍵組合的副本Ctrl + J.。然後將收到的副本拉到調色板的頂部。
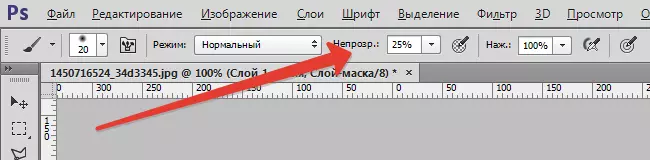
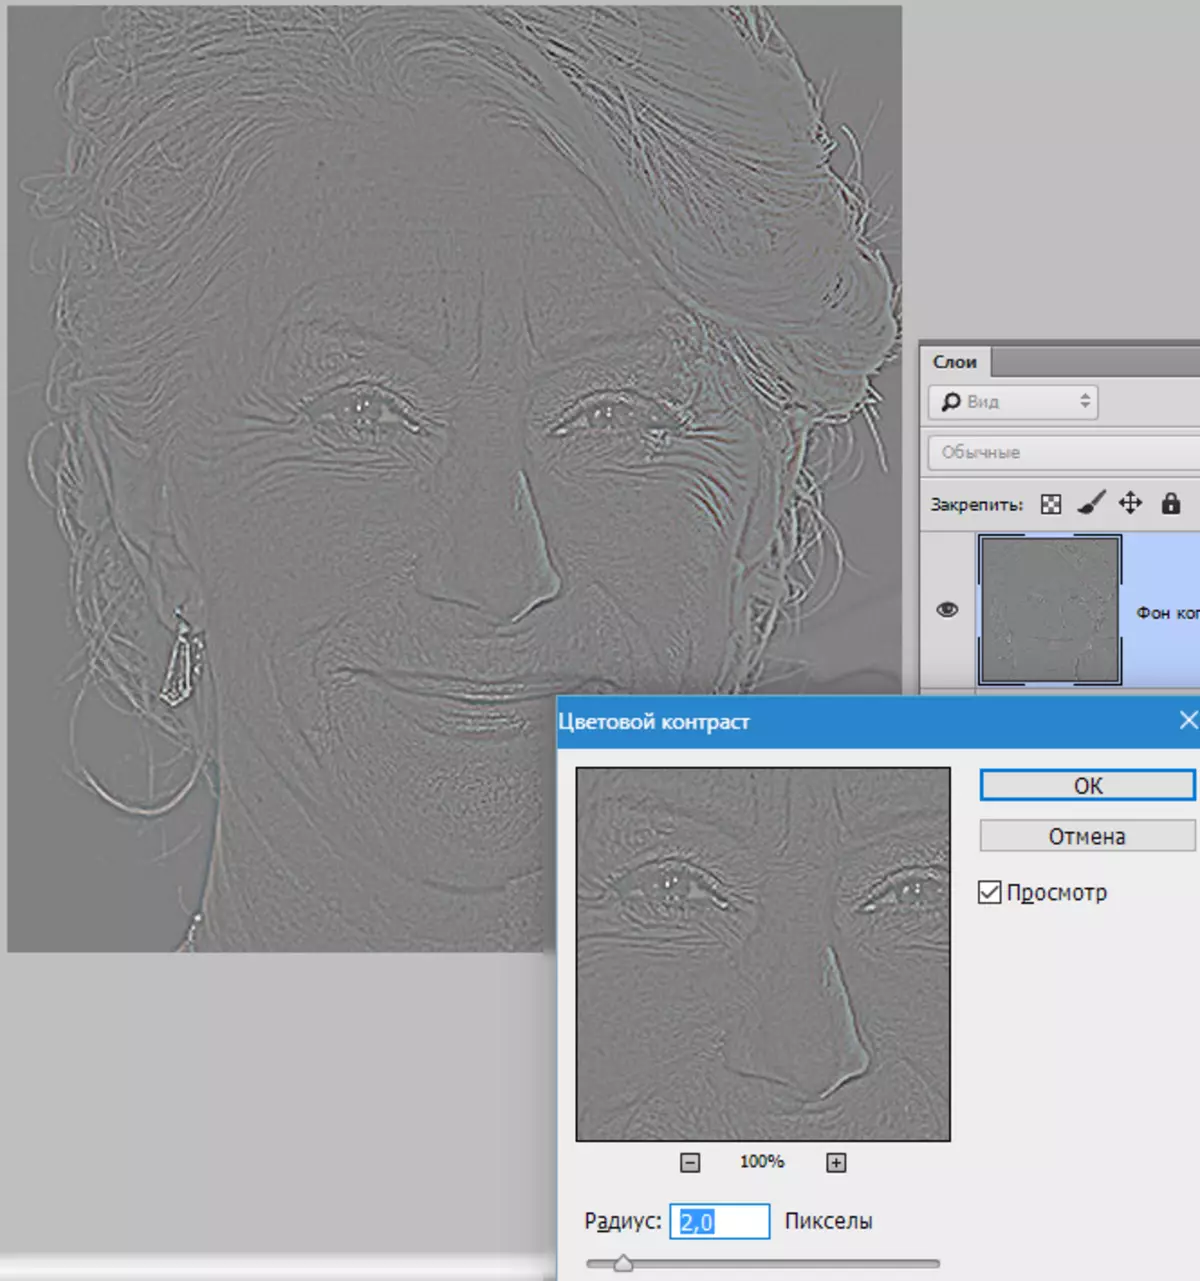
然後去菜單“過濾 - 其他 - 顏色對比度”.
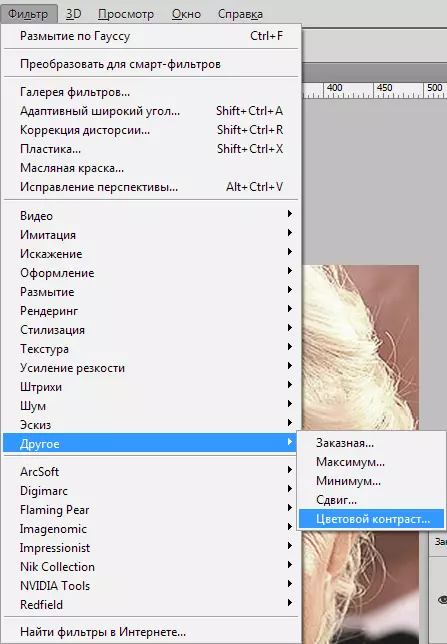
自定義過濾器,由屏幕上的結果引導。
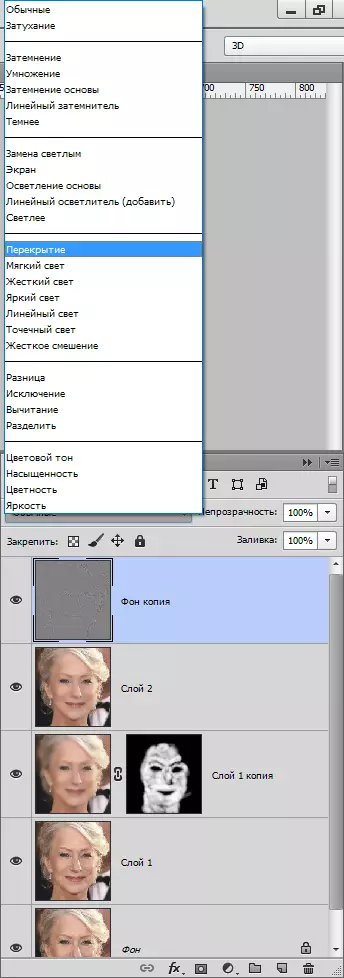
接下來,您必須更改此圖層的疊加模式“重疊”.
然後,通過對皮膚模糊的過程進行類比,創建一個黑色面膜,並且白色刷,僅打開效果,只能在必要的地方。

似乎我們已經返回了皺紋,但讓我們將原始照片與在課上獲得的結果進行比較。

借助這些技術,表現出足夠的遵守和準確性,您可以在去除皺紋方面獲得足夠好的結果。