
When the hard disk is outdated, started working badly, or the current volume becomes not enough, the user decides to change it to a new HDD or SSD. Replacing the old drive is a simple - simple procedure that even unprepared user can perform. It is equally simple and in the usual stationary computer, and in a laptop.
Preparation for replacing hard disk
If you decide to replace the old hard drive, it is not necessary to install a clean drive at all, and re-put the operating system there and download the other files. It is possible to transfer OS to another HDD or SSD.Read more:
How to transfer SSD system
How to transfer the HDD system
You can also clone the entire disk.
Read more:
Cloning SSD.
HDD cloning
Next, we will analyze how to replace the disk in the system unit, and then in the laptop.
Replacing the hard disk in the system unit
To pre-move the system or the entire disk to the new one, you do not need to get the old hard drive. It is enough to do steps 1-3, connect the second HDD as well as the first (motherboard and the power supply has 2-4 ports for connecting the disks), download the PC as usual and perform the transfer of the OS. Links to transfer guides you will find at the beginning of this article.
- Make a computer and remove the housing cover. Most system blocks have a side cover that is fastened with screws. It is enough to unscrew them and move the lid of the Block.
- Find boxing where HDD is installed.
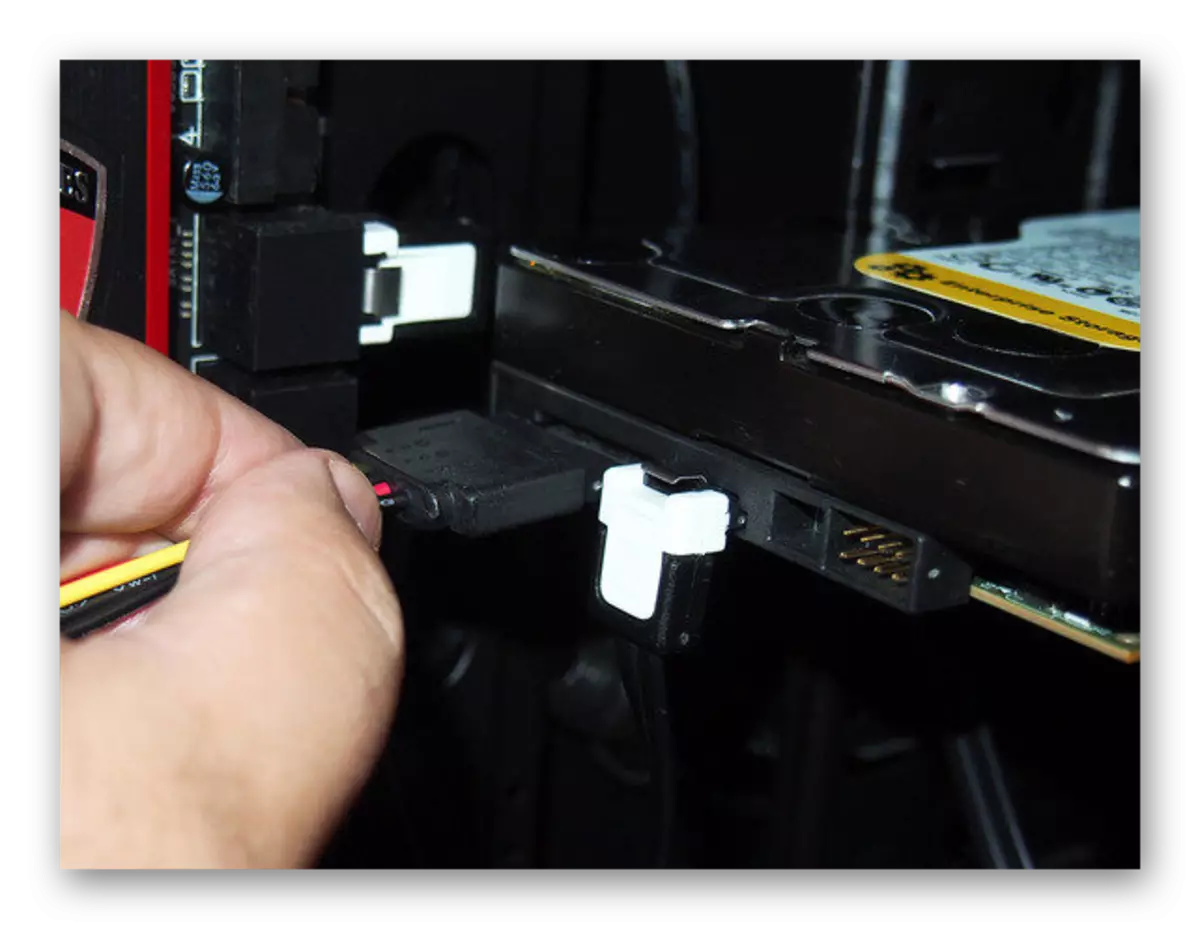
- Each hard disk is connected to the motherboard and to the power supply. Find the wires that depart from the hard drive, and disconnect them from the devices to which they are connected.
- Most likely, your HDD is screwed with screws to boxing. This is done so that the drive is not subjected to shaking, which can easily withdraw it. Unscrew each of them and get the disc.
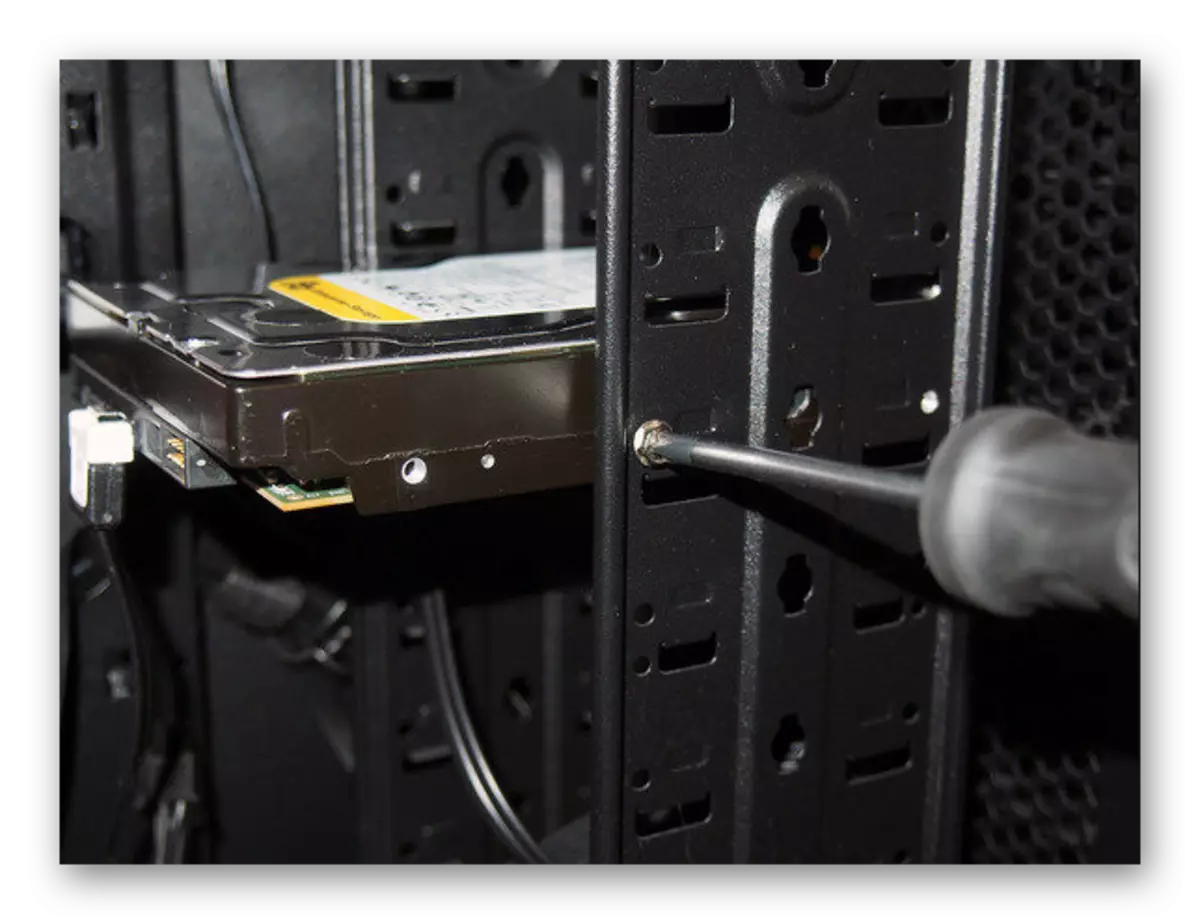
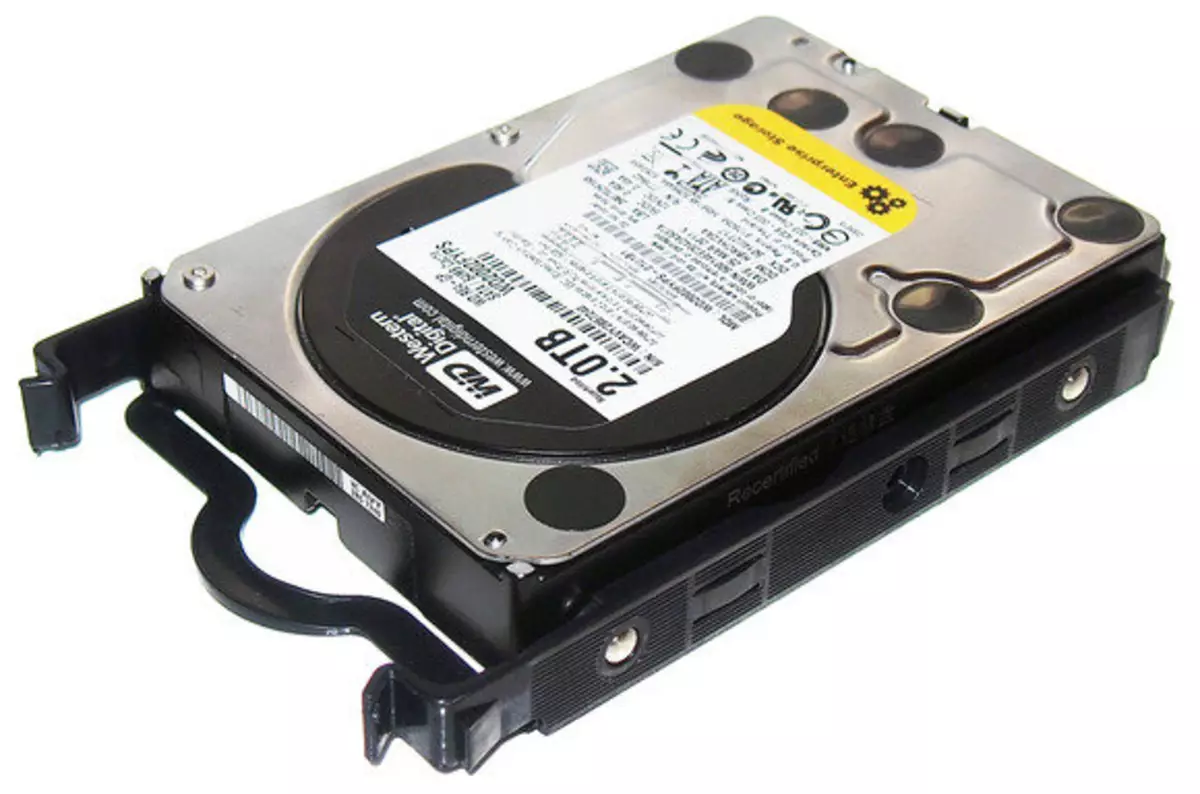
- Now install a new disk just like the old one. Many new discs are equipped with special linings (they are also called frames guides), which can also be used for convenient installation of the device.
Screw it with screws to panels, connect the wires to the motherboard and the power unit in the same way as they have been connected from the previous HDD.
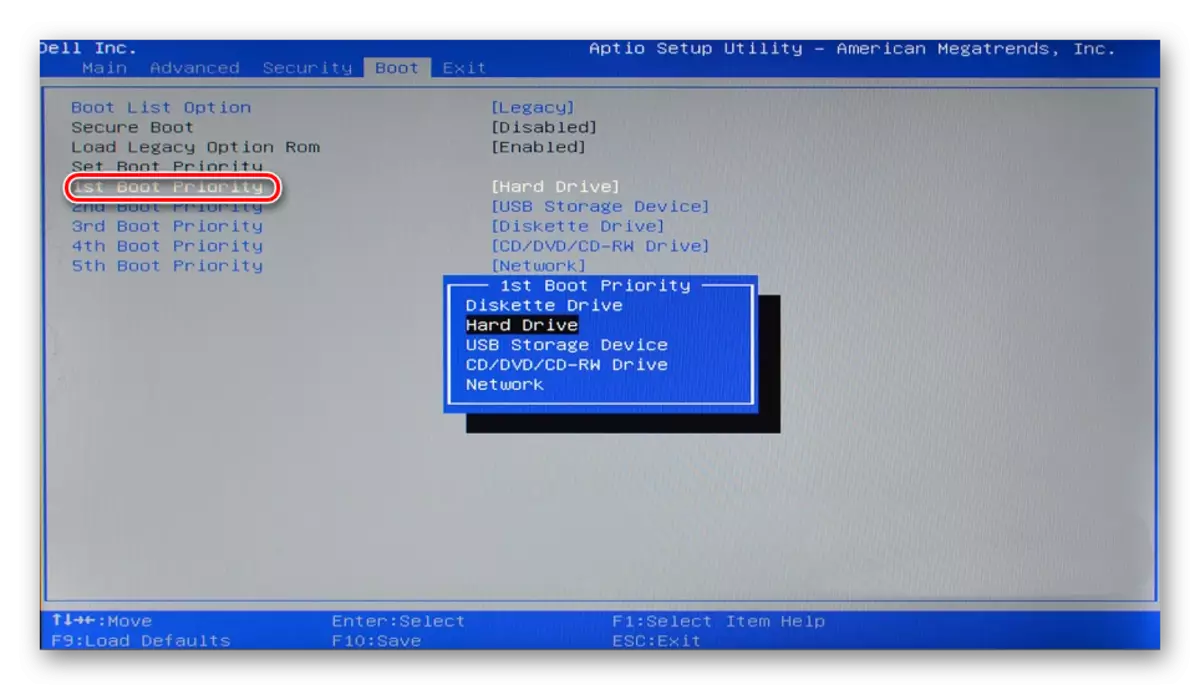
- Without closing the lid, try to turn on the PC and check if the BIOS disc sees. If necessary, set this drive in the BIOS settings as the main bootload (if the operating system is installed).
Old Bios: Advanced Bios Features> First Boot Device

NEW BIOS: BOOT> First Boot Priority
- If the download went successfully, you can close the lid and secure it with screws.
Replacing hard disk in a laptop
Connect the second hard drive to the laptop is problematic (for example, for pre-cloning OS or the entire disk). You will need to use the SATA-TO-USB adapter, and the Winchester itself is connected as an external one. After the system is transferred, you can replace the disk from the old to the new one.
Refinement: To replace the disk in a laptop, you may need to remove the bottom cover from the device completely. The exact instruction on the analysis of your laptop model can be found on the Internet. Pick up minor screwdrivers that fit to small screws holding the laptop cover.
However, it is very often not necessary to remove the cover, since the hard disk can be in a separate compartment. In this case, it will be necessary to remove the screws only in the place where HDD is located.
- De-in the laptop, remove the battery and unscrew the screws around the perimeter of the bottom cover or from a separate area where the drive is located.
- Carefully open the cover, going on a special screwdriver. It can hold the loops or the coins that you missed.
- Find the compartment with the disk.
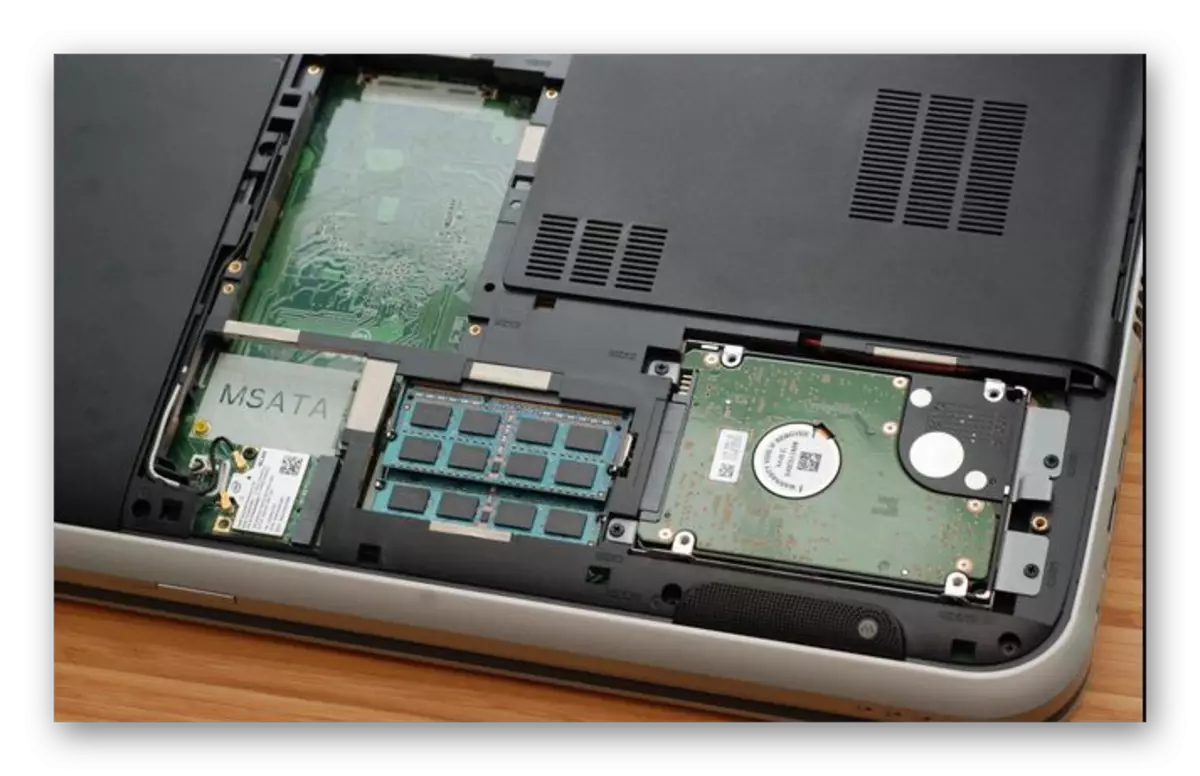
- The drive must be screwed with screws so that it does not shake during transportation. Unscrew them. The device may be in a special frame, so if there is such a HDD, you need to get it together with it.
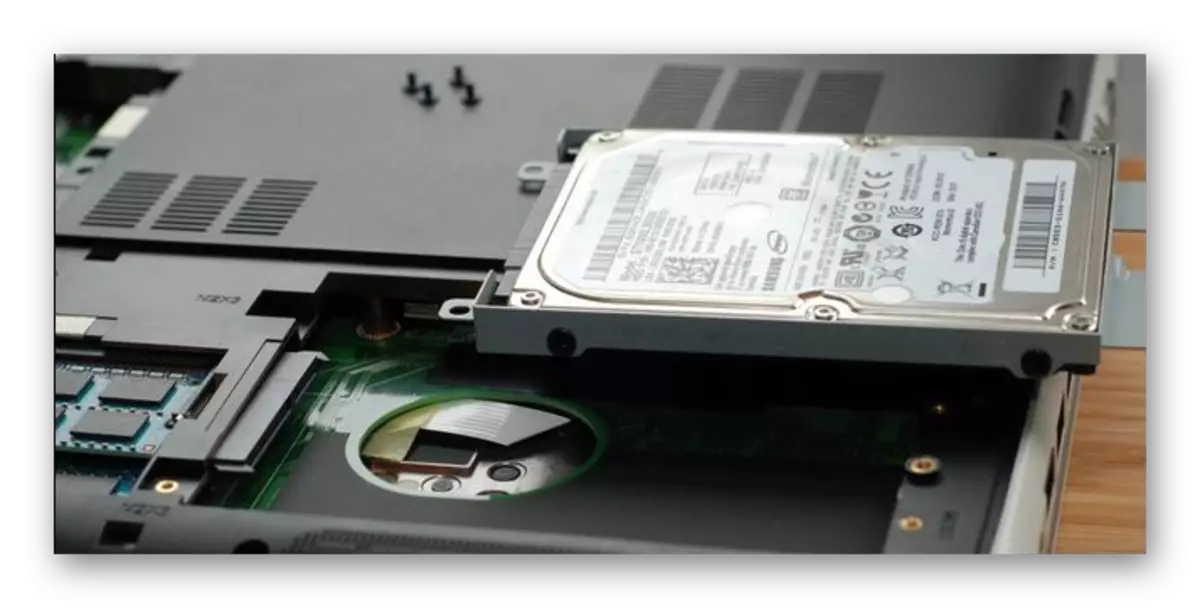
If there are no frames, you will need to see the ribbon on the hard drive, which makes it easier to pull out the device. Pull the HDD parallel for it and disconnect it from the contacts. It must pass without any problems, provided that you will pull the tape in parallel. If you pull it up or left-right, then you can damage the contacts on the drive itself or at the laptop.
Please note: depending on the location of components and elements of the laptop, access to the drive can be covered with something else, for example, USB ports. In this case, they will also need to unscrew.
- Put a new HDD in an empty boxing or frame.

Be sure to tighten it with screws.

If necessary, install back items that prevent the disk replacement.
- Do not closing the lid, try to turn on the laptop. If the download goes without problems, you can close the lid and tighten it with screws. To find out if a clean drive was determined, go to the BIOS and in the list of connected devices, check the presence of the model just installed. BIOS screenshots showing how to view the correct disk connected and how to turn on the boot from it, you will find higher.
Now you know how easy it is to replace the hard disk in the computer. It is enough to show caution in your actions and follow the proper replacement manual. Even if you did not manage to replace the disk from the first time, do not be discouraged, and try analyzing every step that you have completed. After connecting the clean disk, you will need a boot flash drive with the operating system to install Windows (or other OS) and use the computer / laptop.
On our site you can find detailed instructions on how to create a bootable USB flash drive with Windows 7, Windows 8, Windows 10, Ubuntu.