
Bruises and bags under the eyes - a consequence of either a rapid weekend, or the characteristics of the body, in all differently. But the photo simply needs to look at least "normal". In this lesson, let's talk about how to remove the bags under the eyes in Photoshop.
Elimination of bags and bruises under the eyes
We will show you the fastest way that is great for retouching photos of small size, such as documents. If the photo is large, you will have to do the procedure in stages, but we will also mention this below.
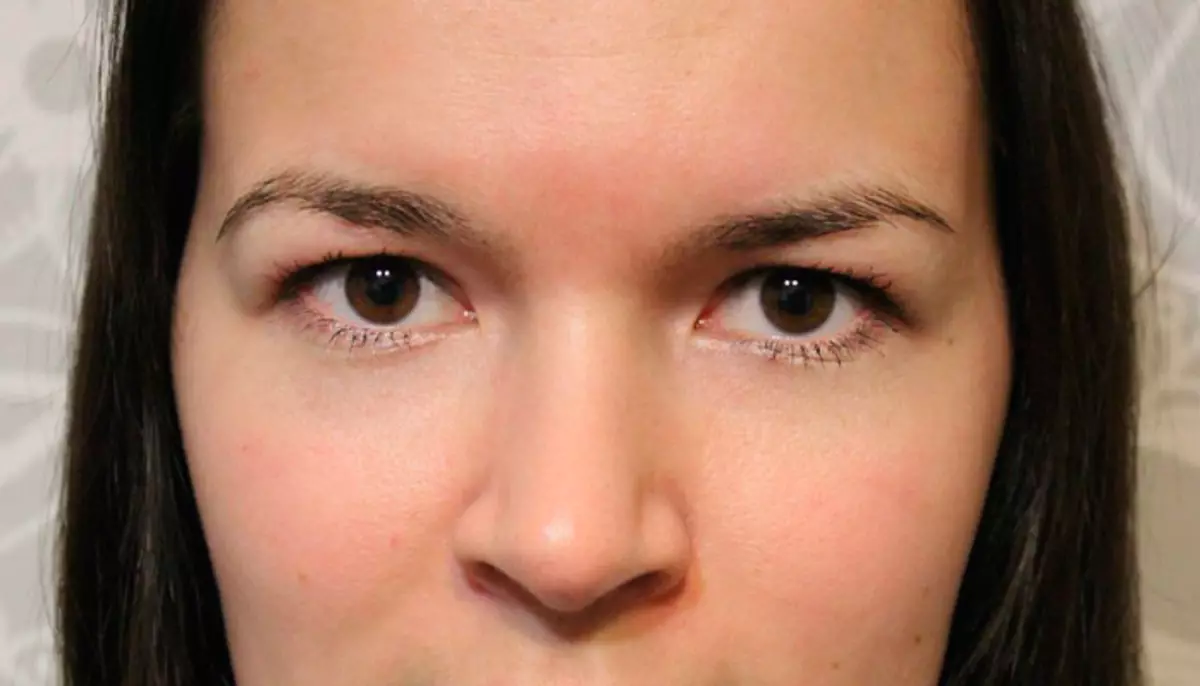
Source photo for lesson:
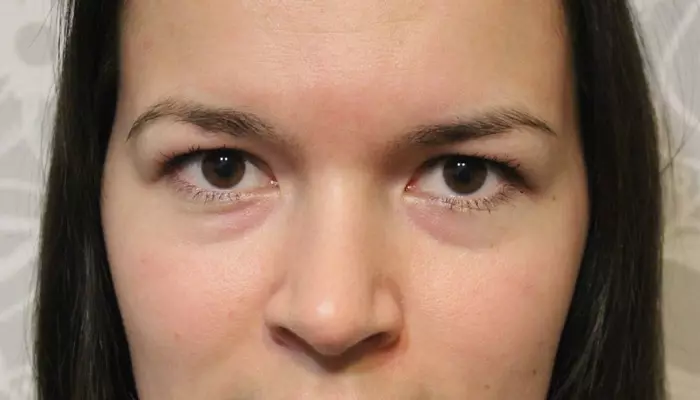
As you can see, our model has small bags, and the color changes under the lower eyelid. We will proceed to processing.
Stage 1: Elimination of defects
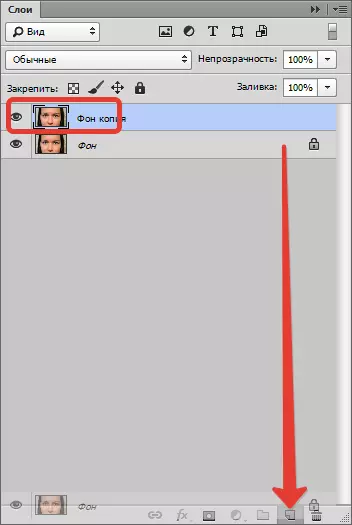
- To begin with, we create a copy of the original photo, having dragging it on the icon of the new layer.
- Then choose the instrument "Restoring brush".
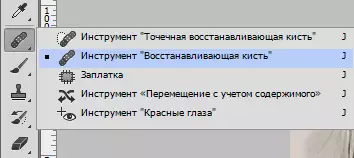
Customize it, as shown in the screenshot. The size is chosen such that the brush overlap the "groove" between the bruise and cheek.

- Click key Alt. And click on the cheek of the model as close to the bruise as possible, thereby taking a sample of skin tone. Next, we pass through the brush on the problem area, trying not to touch too dark areas, including eyelashes. If you do not follow this advice, "Dirt will appear in the photo.
Stage 2: Finishing
It must be remembered that any person under the eyes there are some wrinkles, folds and other irregularities (if, of course, a person is not 0-12 years old). Therefore, these features need to trim, otherwise the photo will look unnatural.
- We make a copy of the original image (layer "background") and drag it to the very top of the palette.

- Then go to the menu "Filter - Other - Color Contrast".
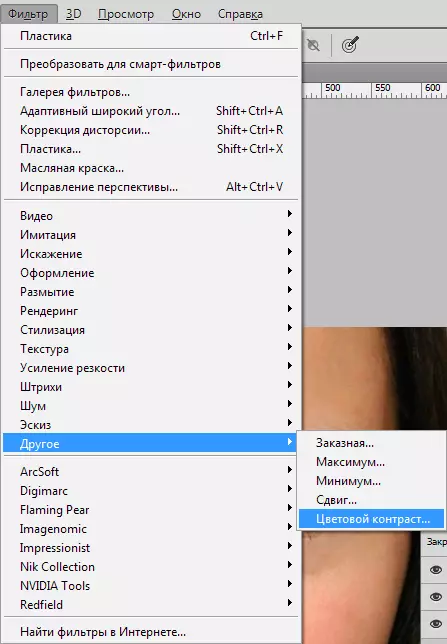
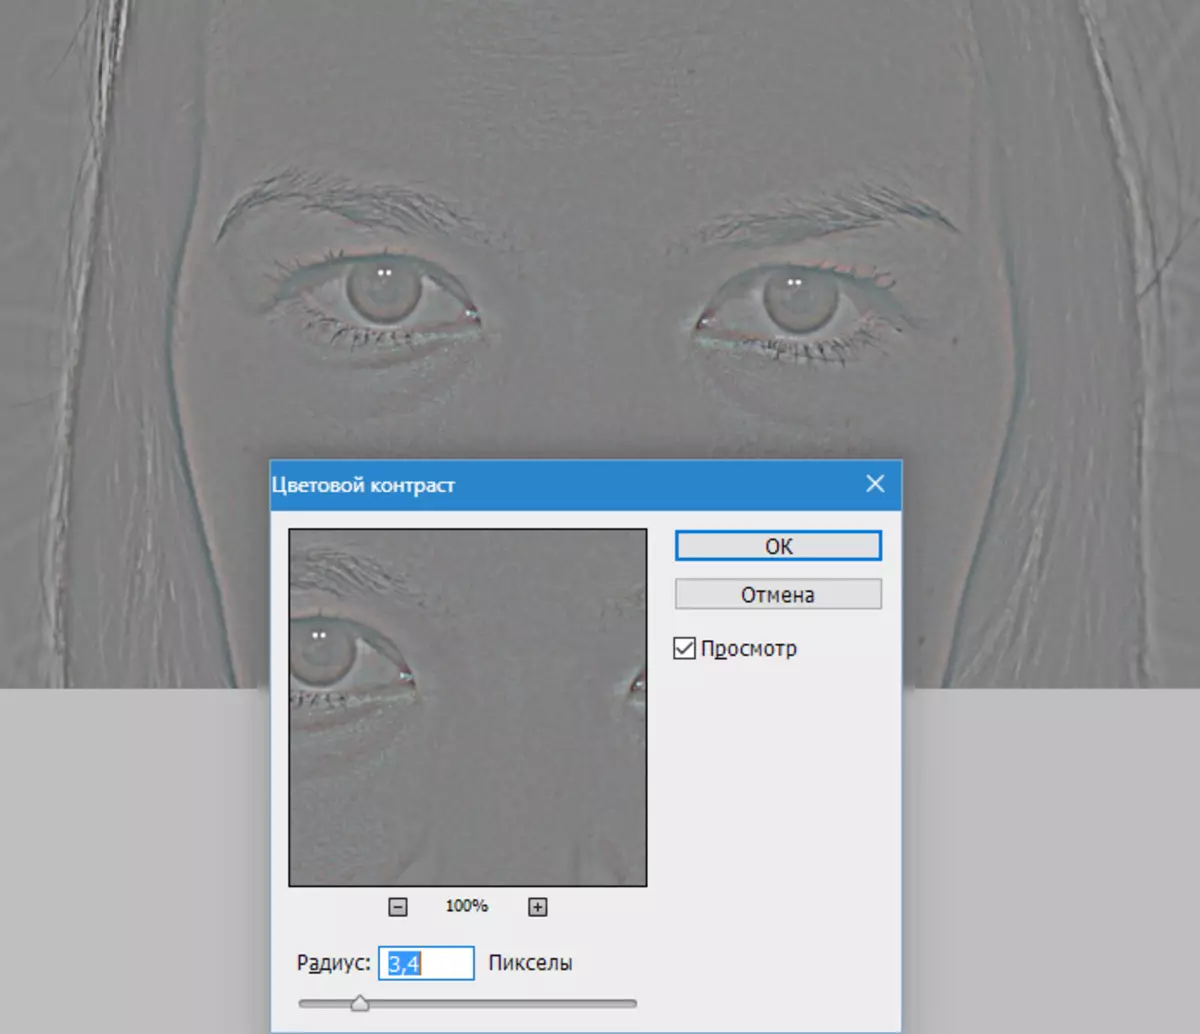
Customize the filter so that our old bags become visible, but the color did not buy.
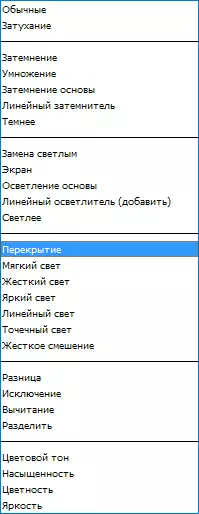
- Change the overlay mode for this layer on "Overlapping" . Go to the list of modes.
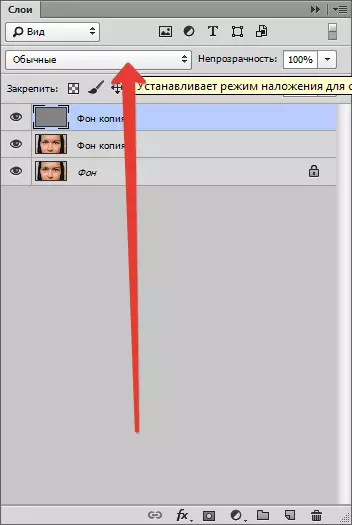
Choose the desired item.
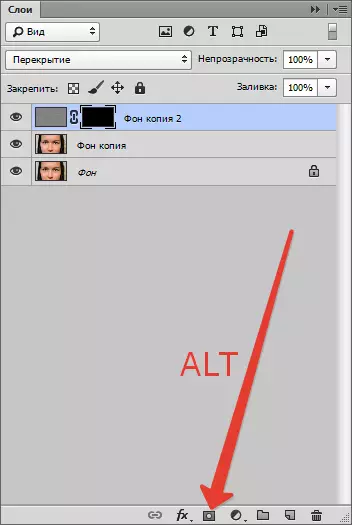
- Now clamp the key Alt. And click on the icon of the mask in the palette of the layers. According to this action, we created a black mask, which completely hidden a layer with a color contrast.
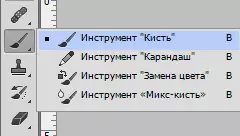
- Choose tool "Brush" With the following settings:
Form "Soft Round".
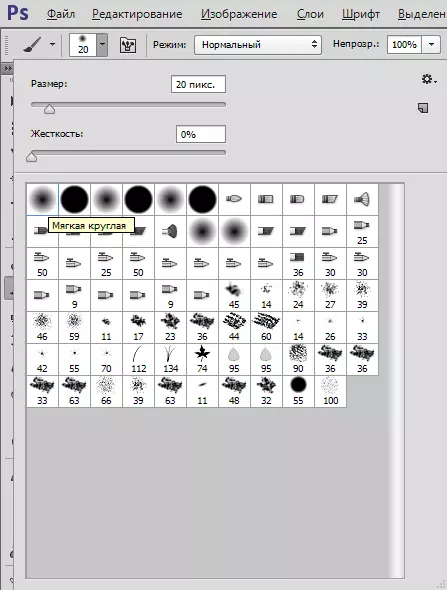
"Press" and "opacity" by 40-50 percent. White color.

- Krasiye area under the eyes of this brush, seeking the effect we need.
Before and after:

As you can see, we have achieved quite acceptable results. You can continue retouching the snapshot if necessary.
Now, as promised, let's talk about how to be, if a snapshot of a large size. There are much more small details on such photos, such as pores, various tubercles and wrinkles. If we just paint bruises "Restoring brush" , I get the so-called "repeat texture". Therefore, retouching a large photo is necessary in stages, that is, one sample fence is one click on a defect. The samples should be taken from different places, as close as possible to the problem area. This processing is described in the article on the link below.
Read more: Align the complexion in Photoshop
Now everything is exactly. Train and apply the skills in practice. Good luck in your work!
- We make a copy of the original image (layer "background") and drag it to the very top of the palette.