To work correctly, Windows uses not only physical computer resources, but also virtual. One of these is the paging file, it is a virtual memory. This is a special area on the hard disk to which the OS appeals to record and read debug information. If necessary, this function can be disabled. It is about how to correctly perform this action in Windows 10, we will tell in this article.
Deactivating paging file in windows 10
As a rule, the paging file is called "Page File.sys". However, in the latest version of the operating system, there is another additional document - "swapfile.sys". This is also a virtual memory item, only for "local" subway applications Windows 10. Next, we will describe in detail how to disable all or individuals from the specified items.Method 1: System Settings
Using this method, you can disable both paging file at once. For this, there will be no third-party software, since all actions will be executed using embedded system settings. To disable virtual memory, follow these steps:
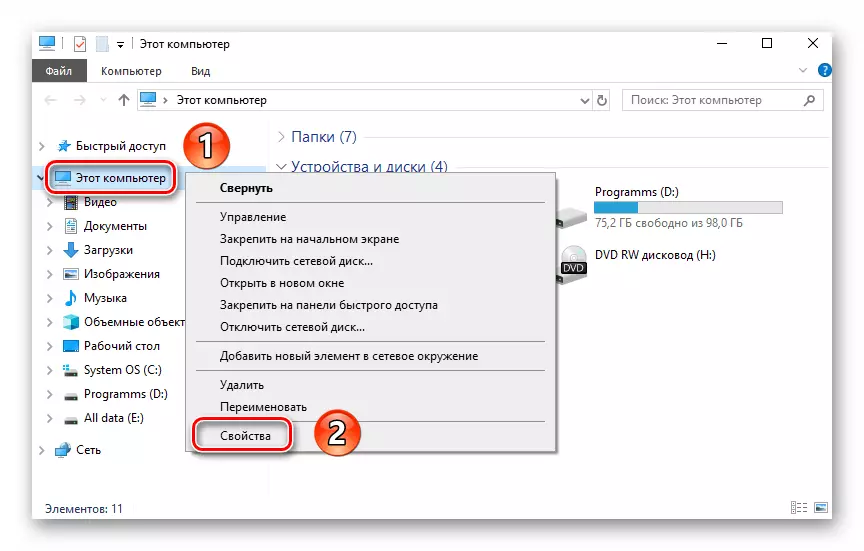
- Open the root directory of the system. In the left area of the window, click on the "Computer" line with the right mouse button, and then select the "Properties" string from the menu. If you have a "desktop" icon, you can use it. Please note that the label is not suitable for this purpose.
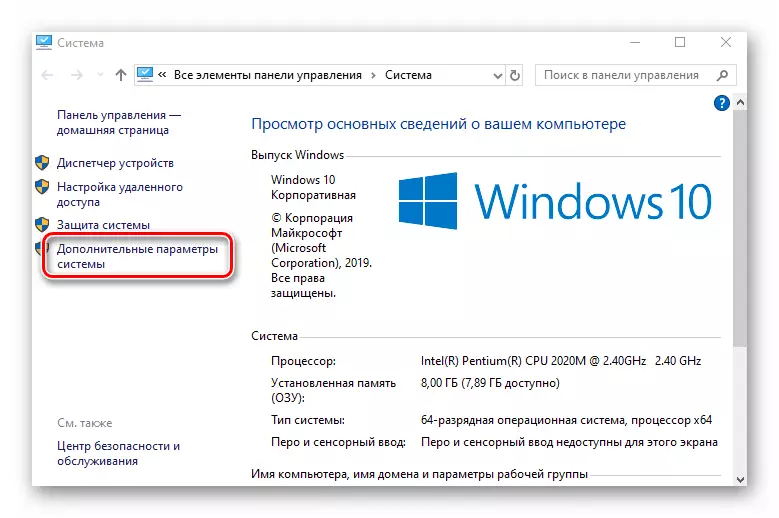
- In the next window, press the line "Advanced system parameters".
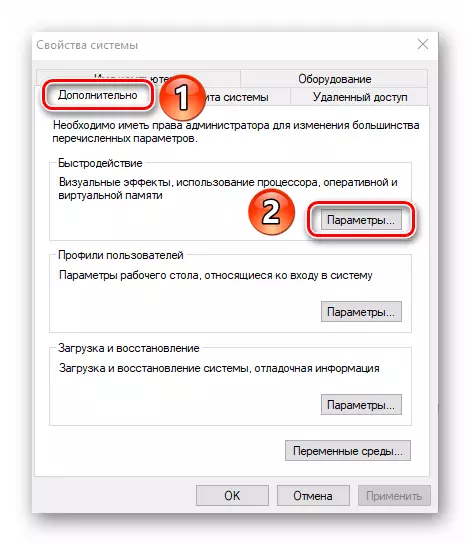
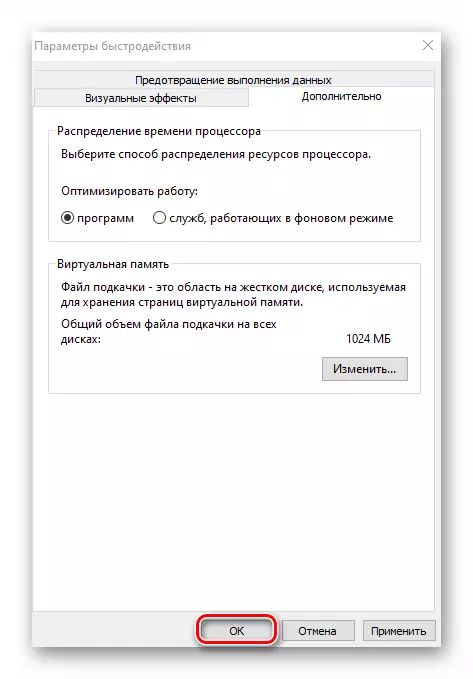
- Then the window will appear with different settings. Go to the "Advanced" tab and click on the "Parameters" button, which is in the "Speed" block.
- In a new window with three tabs, you need to go to the "Advanced" section and click there to "change".
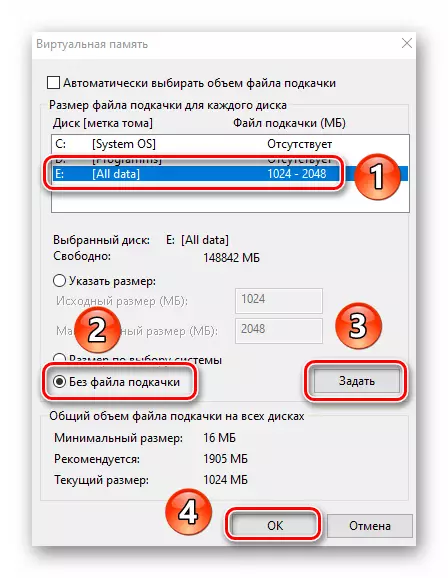
- As a result, a window with virtual memory parameters will open. Pay attention to the upper area - all partitions of hard drives will be displayed in it, and on the contrary, the allowable volume is specified for the paging file. It can be different for each HDD / SSD section. If there is no inscription "missing", it means that the paging file is disabled for it. Click the LKM by the partition that uses virtual memory, then set the mark near the string "without paging file" just below. Next, click "Set" and finally click on the "OK" button to apply changes.
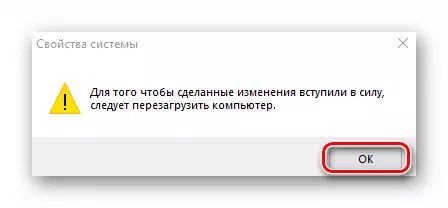
- A message appears on the screen with notification that for the final result you need to restart the system. Click it "OK".
- In all windows that you opened earlier, also press the "Apply" and "OK" buttons.
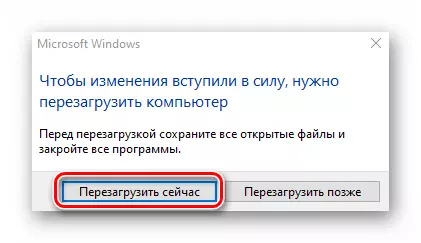
- After all actions, you will see a message with a proposal to restart the system, which is necessary to do, and therefore click the Restart Now button.
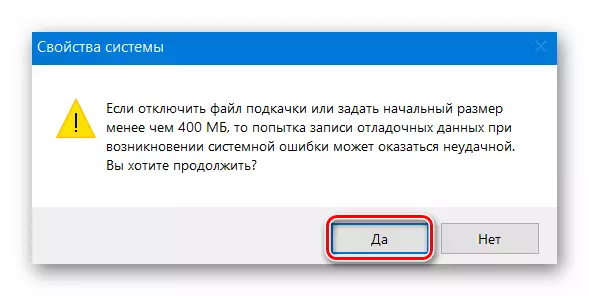
- After re-starting Windows 10, the paging file will be disconnected. We draw your attention to the fact that the system itself does not recommend setting the virtual memory value below 400 MB. Therefore, if you have failures in the operation of the OS, set the recommended amount of memory.
Method 2: "Command Line"
This method works on the same principle as the previous one. The only difference is that all actions are stacked in one command, which is performed using the system utility. This is how everything looks in practice:
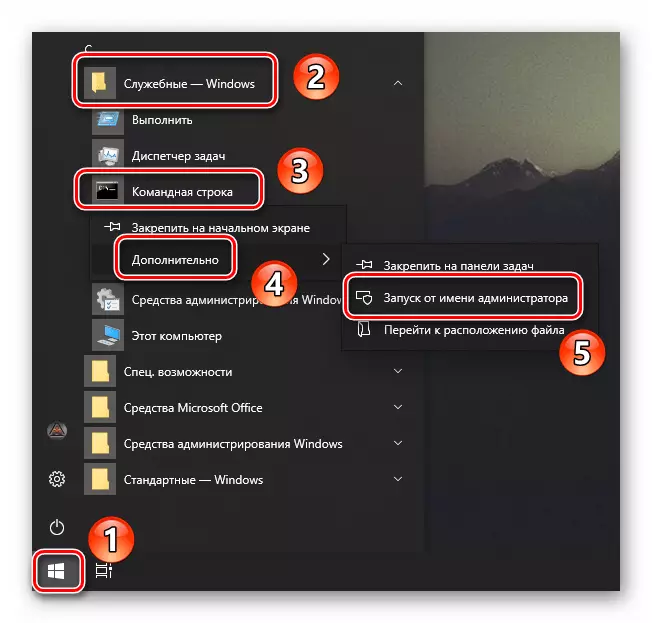
- Click on the LKM on the "Start" button on the "taskbar". At the very bottom of the left half of the menu, find the "OBJECT-Windows" folder and open it. Then right-click on the "Command Line" utility. In the first menu that appears, use the option "Advanced", and in the second - "Startup on behalf of the administrator".
Method 3: "Registry Editor"
This method, unlike the two previous ones, allows you to disable the swapfile.sys swap file. Recall that it is used only by applications from the built-in store Windows 10. To implement it, do the following:
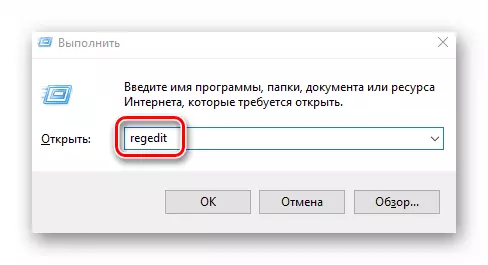
- Open the "Run" snap window using the "Windows + R" key combination. Enter the REGEDIT command, and then press "ENTER" on the keyboard.
After completing one of the methods we considered, you can easily disable the paging file on the device running Windows 10. If you are using SSD and you are asked about the need for virtual memory on such a drive, we recommend reading our separate article.
Read more: Do you need a paging file on SSD
- Open the "Run" snap window using the "Windows + R" key combination. Enter the REGEDIT command, and then press "ENTER" on the keyboard.
- Click on the LKM on the "Start" button on the "taskbar". At the very bottom of the left half of the menu, find the "OBJECT-Windows" folder and open it. Then right-click on the "Command Line" utility. In the first menu that appears, use the option "Advanced", and in the second - "Startup on behalf of the administrator".