

On the screens of those computers that use the non-activated version of Windows 7 or the activation flew after the update, the inscription "Your copy of Windows is not genuine" is displayed or similar to the sense of the message. Let's figure out how to remove the annoying alert from the screen, that is, disable authentication.
Method 2: Deleting Files
The task set in this article can also be solved by deleting some system files responsible for the verification procedure. But before this, it is necessary to temporarily disable the regular antivirus, "Windows Firewall", remove one of the updates and deactivate a specific service, as in the opposite case, when you delete the specified OS objects, problems are possible.
Lesson:
Disable antivirus
Deactivation of Windows Firewall in Winds 7
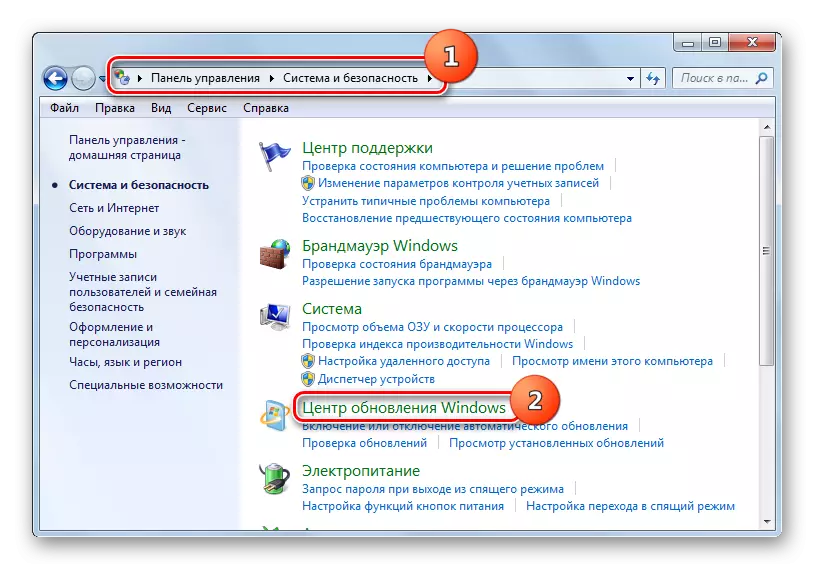
- After you have deactivated the antivirus and "Windows Firewall", go to the "System and Security" section of the "Control Panel" already familiar to the previous way. This time, open the "Update Center" section.
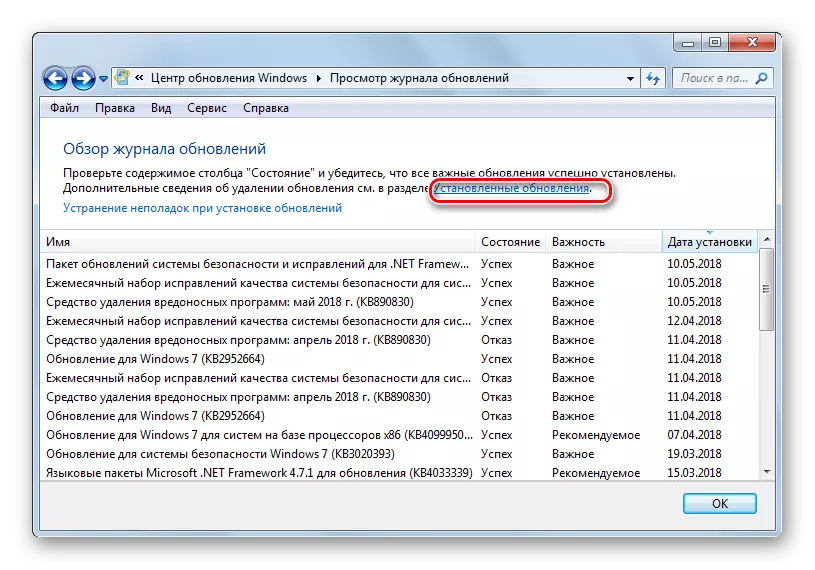
- The "update center" window opens. Click in its left side of the inscription "View the magazine ...".
- In the window that opens, click on the "Installed Updates" commands to go to the update.
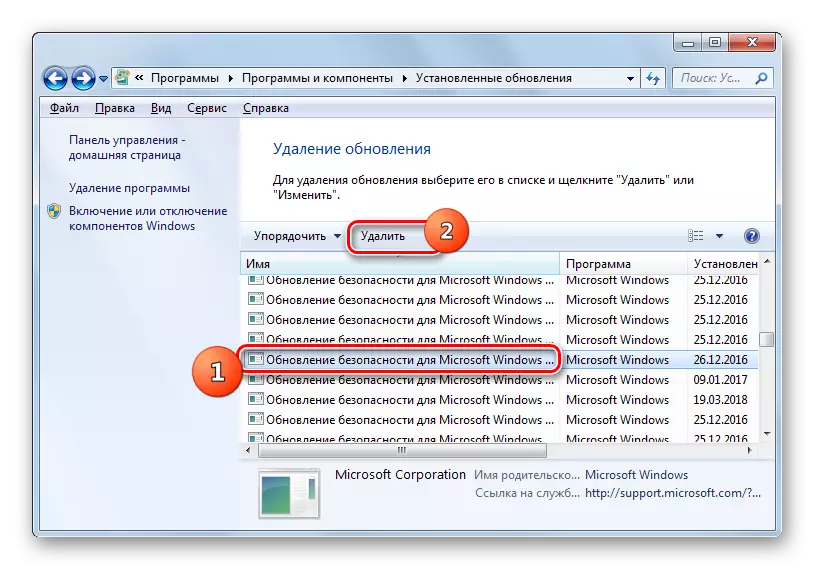
- A list of all updates installed on the computer will appear. It needs to find the KB971033 element. In order to facilitate the search, click the name "Name" column. This will allow you to build all the updates in alphabetical order. Search. Manage in the Microsoft Windows group.
- Having found the desired update, highlight it and click on the inscription "Delete".
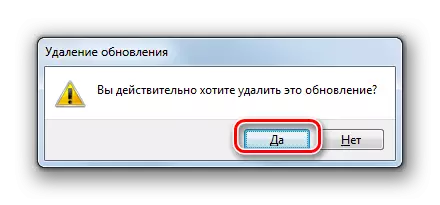
- A dialog box opens where you want to confirm the deletion of the update by clicking on the "Yes" button.
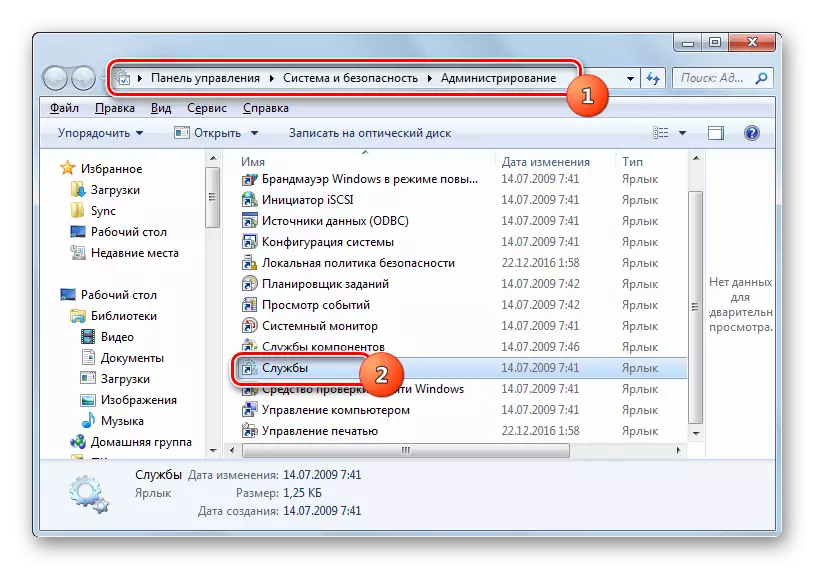
- After the deposit is removed, it is necessary to shut down the "software protection" service. To do this, move to the "Administration" section in the "Control Panel" section, which has already been discussed when considering the method 1. Open the "service" element.
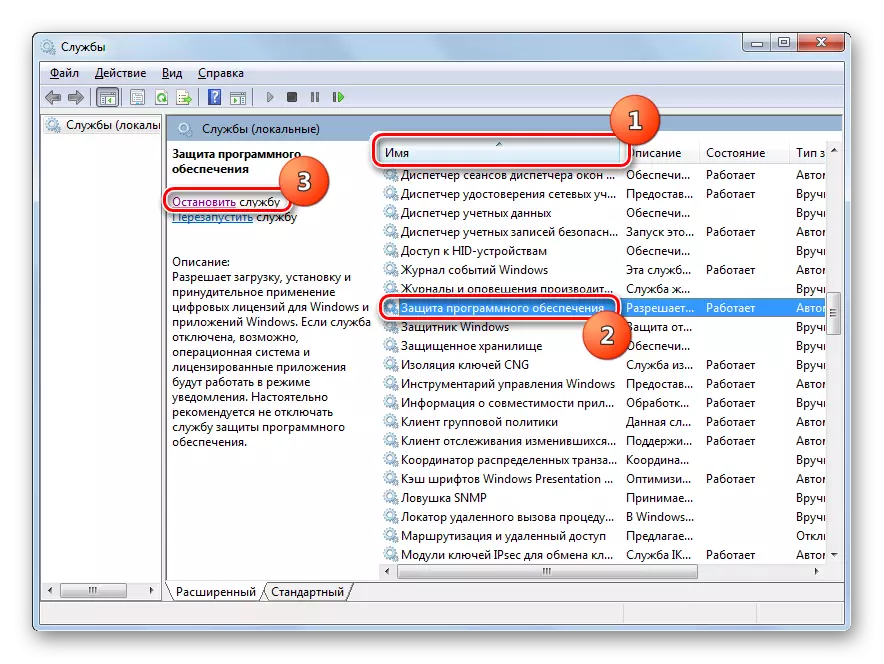
- The "Service Manager" is launched. Here, as well as when deleting updates, you can build the elements of the list in alphabetical order for convenience of finding the desired object by clicking the name of the "Name" column. Finding the name "Software Protection", select it and click "Stop" in the left side of the window.
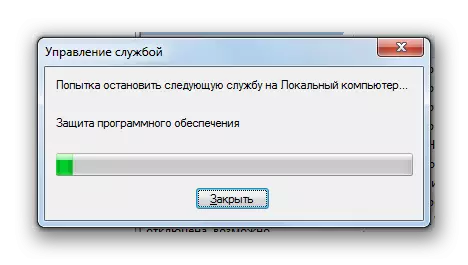
- A service will be stopped responsible for protection of software.
- Now you can go directly to deleting files. Open the "Explorer" and go to the following address:
C: \ Windows \ System32
If the display of hidden and system files is disabled, then it must be turned on, otherwise you simply do not find the necessary objects.

Lesson: Enabling the display of hidden objects on Windows 7
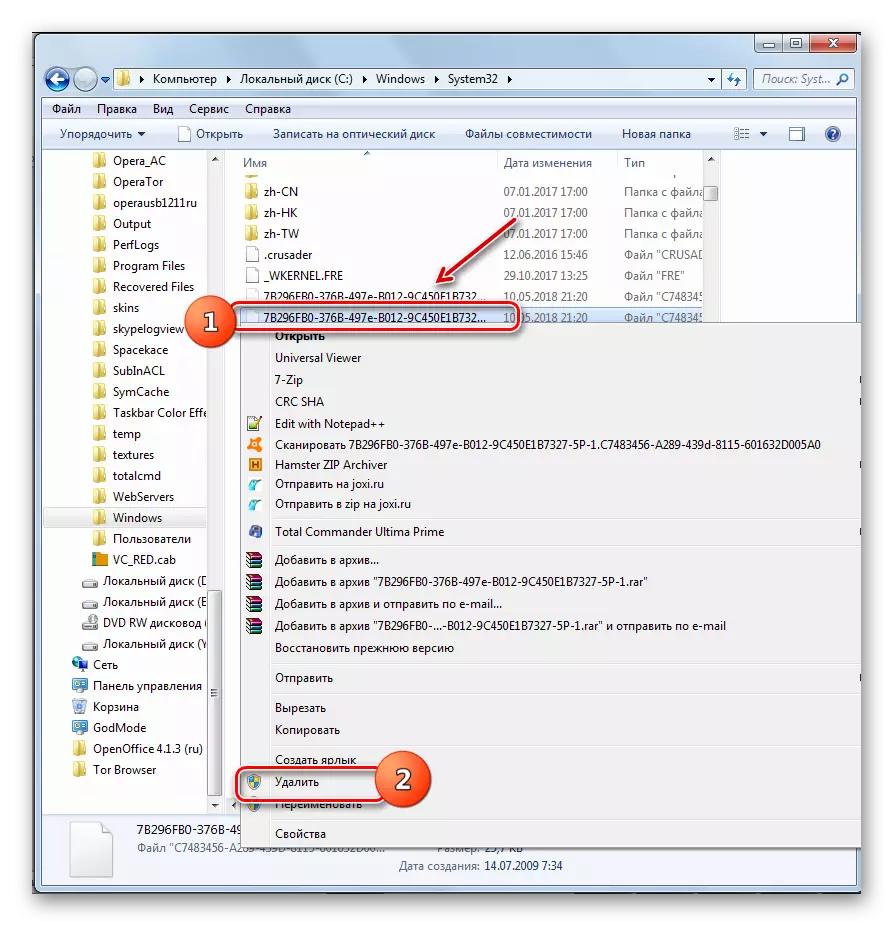
- In the opened directory, find two files with a very long name. Their names begin at "7B296FB0". More such objects will not be, so do not make wrong. Click one PCM on one of them and select "Delete".
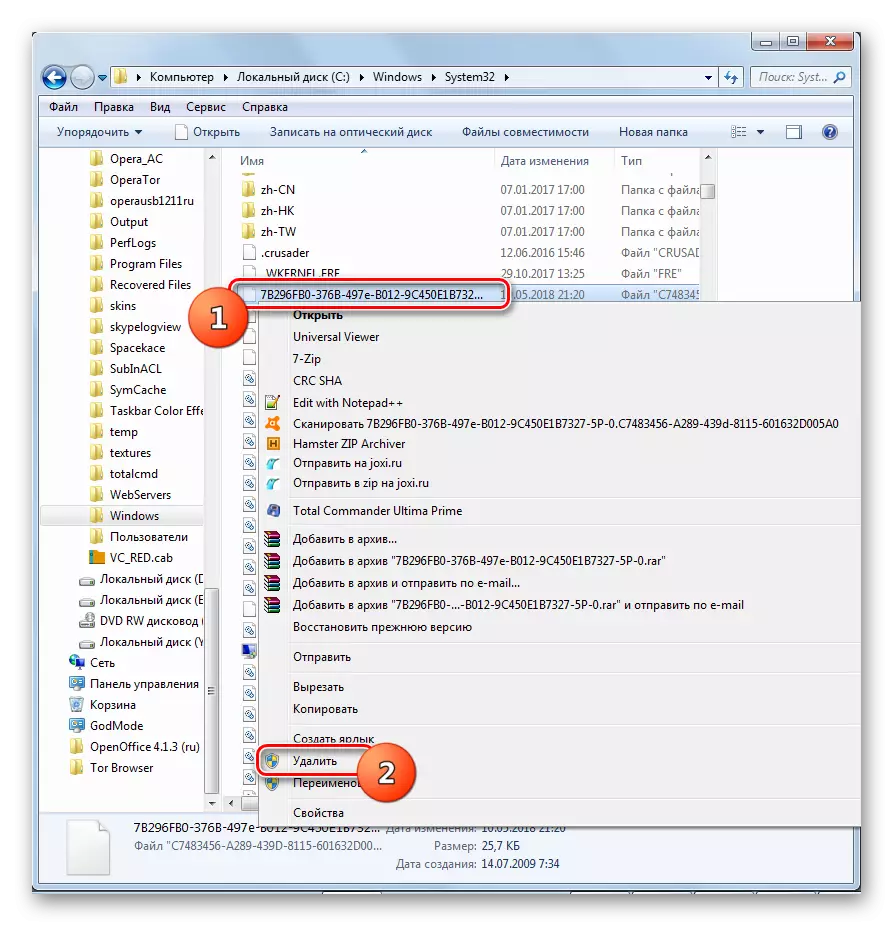
- After the file is deleted, do the same procedure with the second object.
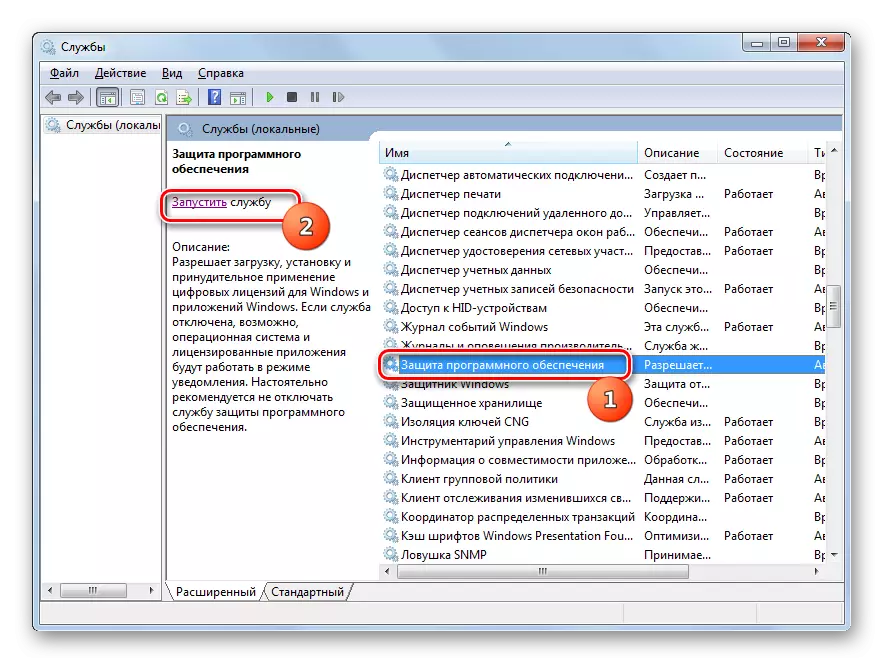
- Then go back to the Services Manager, select the Software Protection object and click "Run" on the left side of the window.
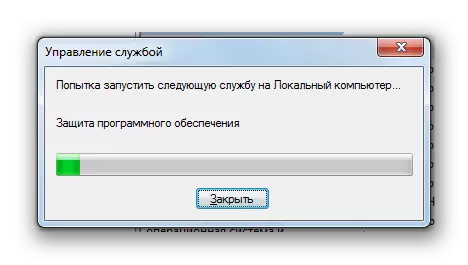
- The service will be activated.
- Next, do not forget to turn on previously deactivated antivirus and "Windows Firewall".
Lesson: Enabling "Windows Firewall" in Windows 7


As you can see, if you flew the activation of the system, then there is a possibility to disable the unceasing Windows message by deactivating authentication. This can be done through the security policy setting or deleting some system files. If necessary, everyone can choose the most convenient option for itself.