
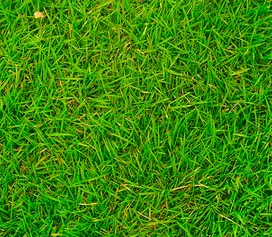
Everyone must have come across a similar situation in Photoshop: decided to make a fill from the original image - they received a poor-quality result (then the pictures are repeated, then it is too contrasting each other). Of course, it looks at least ugly, but there are no problems that would not have solutions. With the help of the PHOTOSHOP CS6 and this manual, you can not just get rid of all these flaws, but also to realize a beautiful seamless pattern.
Creating a seamless texture in Photoshop
We have to get rid of sharp drops of tone on the existing picture so that there are no sudden boundaries during combination.
- First we have to highlight the site using the Photoshop tool "Frame".
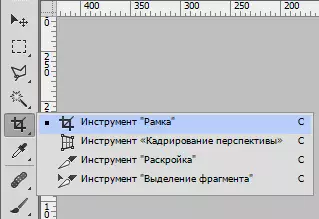
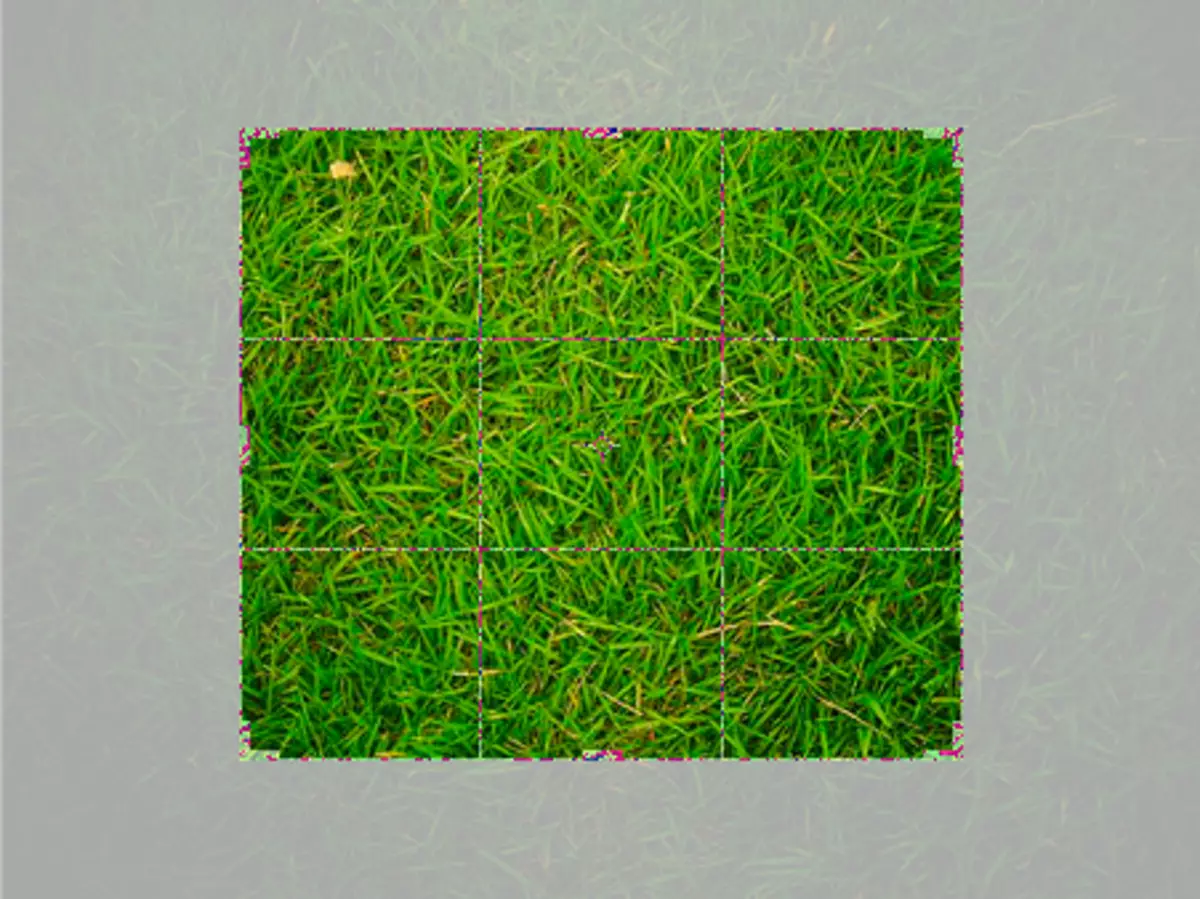
Take, for example, the center of the canvas. Note that the choice should fall into a fragment with a brighter and at the same time uniform lighting (it is necessary that there are no dark sections on it).
- But no matter how you try, the edges of the picture will differ, so they will have to lighten them. To do this go to the tool "Lighter" And choose a soft brush of large size.
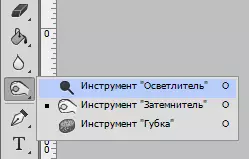
We process dark edges, making areas more clarified than before.
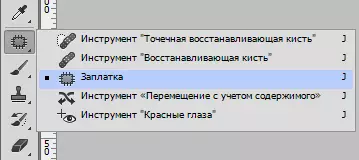
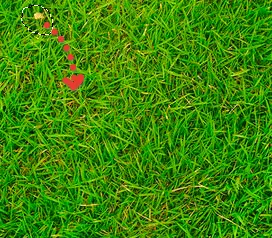
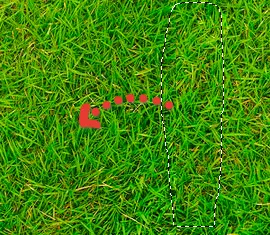
- However, as you could see, a sheet is present in the upper left corner that can be duplicated. To get rid of this bad luck, hill it with texture. To do this, choose the tool "Patch" And we supply the site around the sheet.
Allocation is transferred to the grass site you like.
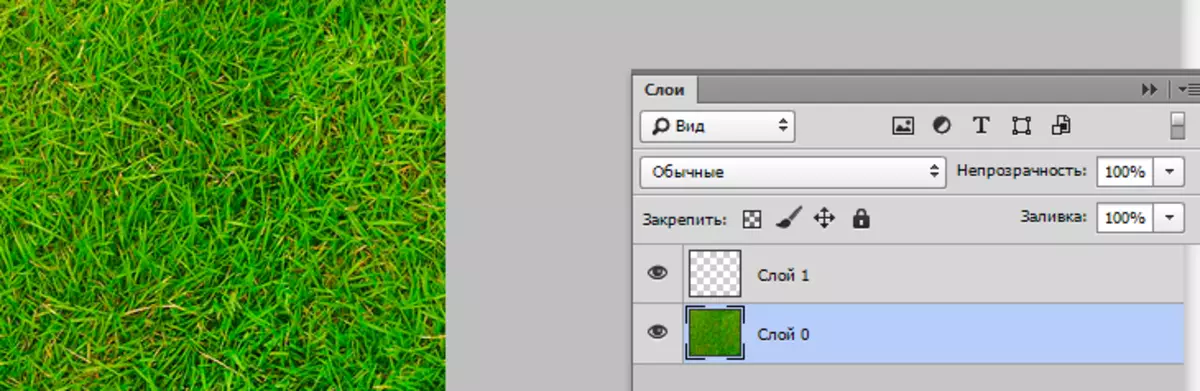
- Now we will work with docks and edges. We make a copy of the layer with grass and transfer it to the left. To do this, use the tool "Movement".
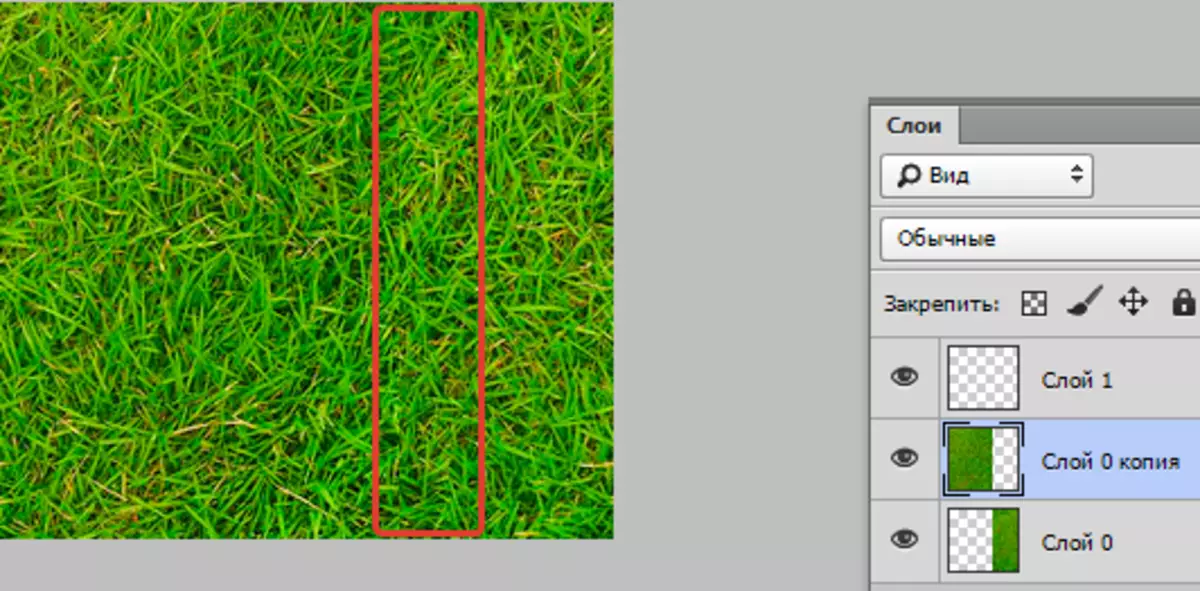
- We get 2 fragments that are brought in place of dusting. Now we need to combine them in such a way that there are no trace left from light sections. Merge them into a single whole ( Ctrl + E.).
- Here we again apply the tool "Patch" . We allocate the site you need (the area in which the bumps of two layers will move) and move the dedicated fragment to the adjacent one.
With tool "Patch" Our task becomes much easier. Especially this tool is convenient to use the grass - the background from the discharge is far from the easiest.
- We now turn to the vertical line. Everybody do the same: duplicate the layer and drag it upstairs, we have a different copy below; Dinet two layers in such a way that there are no white sites between them. Drain the layer and using the tool "Patch" We act in the same way as it did before.
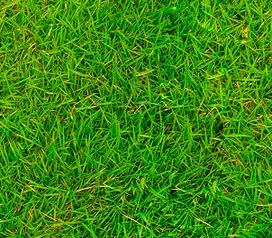
So we made our texture.
Make sure that there are no darkened areas in your picture. Upon this issue, use the tool "Stamp".
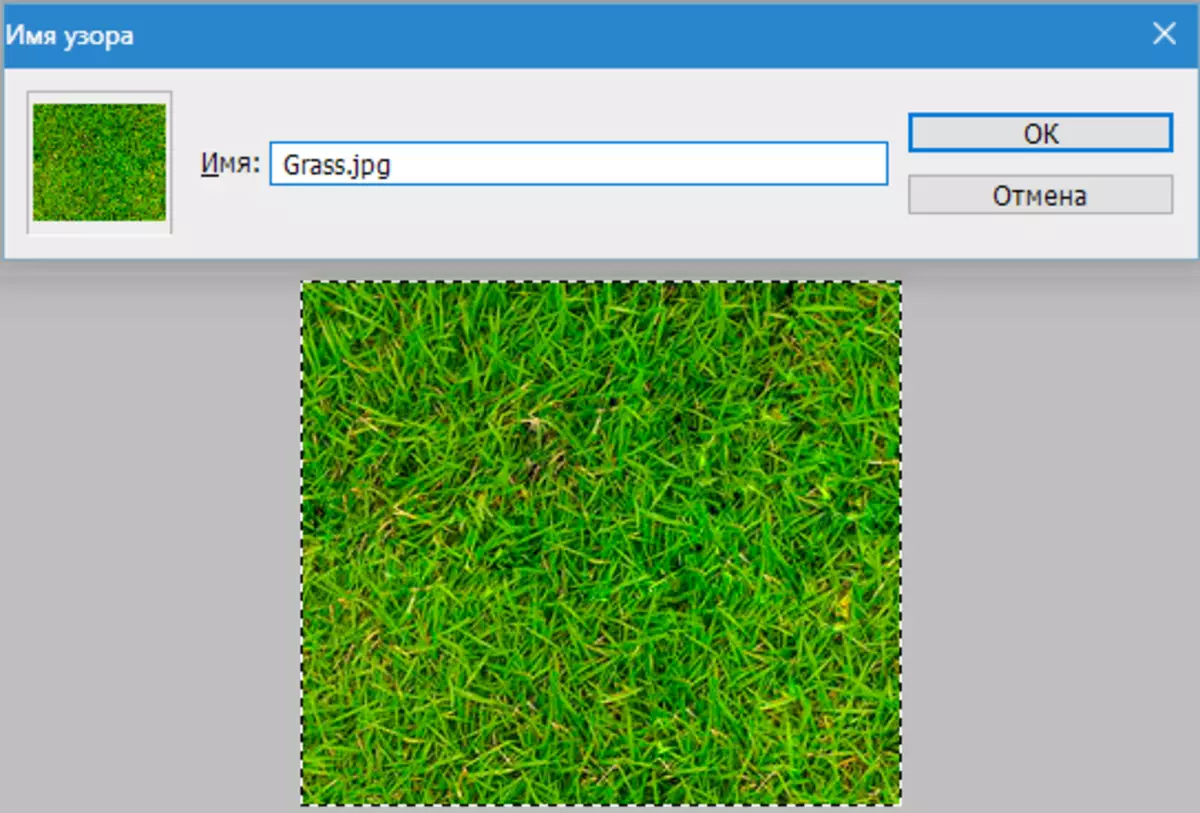
It remains to save our edited image. To do this, highlight the entire image ( Ctrl + A. ), then go to the menu "Editing / Define Pattern".
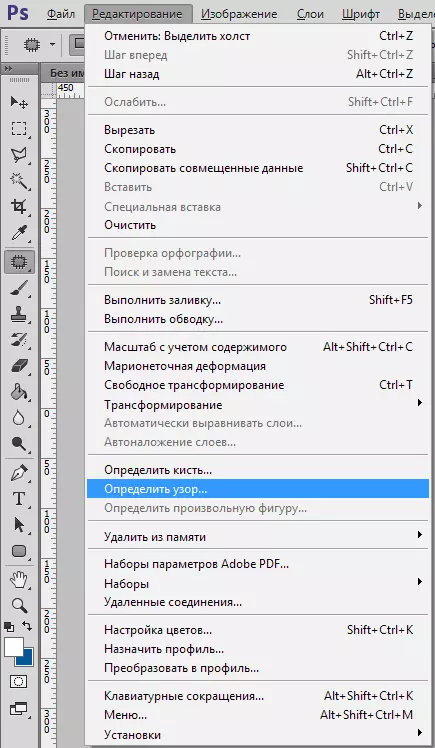
We assign the name to this creation and save it. Now it can be used as a pleasant background in your subsequent works.
We received an original green picture that has a lot of applications. For example, you can use it as a background on a website or use as one of the textures in Photoshop.