

INITRAMFS - RAM file system, which is used to start operating systems based on Linux kernel. When installing OS, all libraries, utilities and configuration files are compressed to the archive, after which the specified file system is transmitted to the bootloader, where the start of the system continues. Sometimes Ubuntu distribution users face that when you turn on the computer, they fall into the control console of this FS without the possibility of further loading the system. This is due to the damage to the starting stream and is restored fairly simple method.
Correct the error with downloading to Initramfs when you start Ubuntu
In most cases, the problem under consideration is associated with a failure in one of the superblocks, and when you try to exit Initramfs through the Exit command, the inscription appears as follows:
Exit / Dev / Mapper / Ubuntu - VG-Root Contains a File System with Errors, Check Forced. INODES THAT WERE PART OF A CORRUPTED ORPHAN LINKED LIST FOUND. / dev / mapper / ubuntu-vg-root: unexpected inconsistency; Run FSCK MANUALLY. (IE, without -a or -p options) FSCK Exited with Status Code 4. The root File System on / Dev / Mapper / Ubuntu - VG-Root Requires Manual FSck.
If such a situation occurs, the best correction method will restore the operation of the superblock, and this can be done as follows:
- Load the ISO image with the same version of Ubuntu, as installed on a computer, from the official site and create a bootable flash drive. You can learn more about this procedure in another article on the following link.
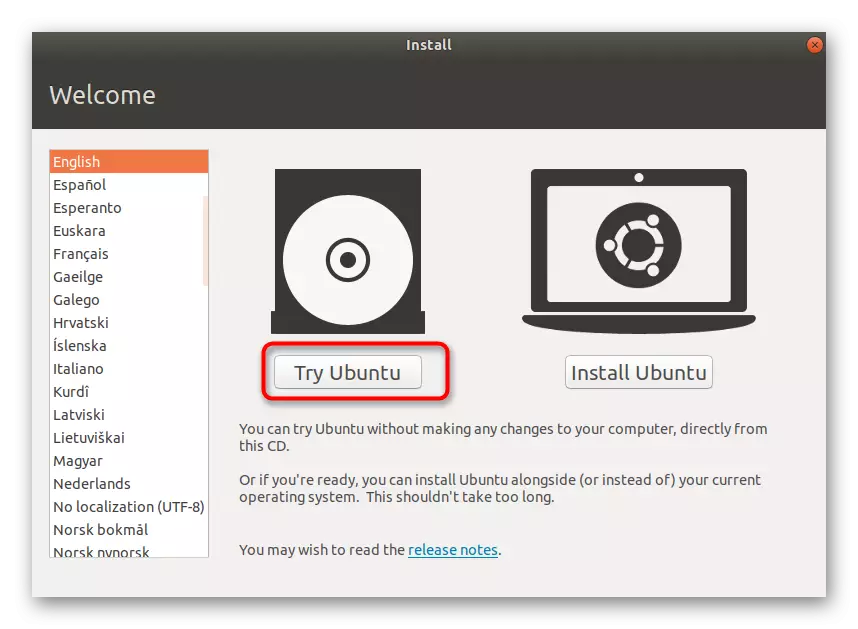
- When you start the OS, select the download from the flash drive, and when the installation window is displayed, go to "Try Ubuntu" mode.
- The standard graphical interface is displayed here. Open the menu and double click on the Run the Terminal application icon. It is also done by the clamping of the Ctrl + Alt + T. key combination.
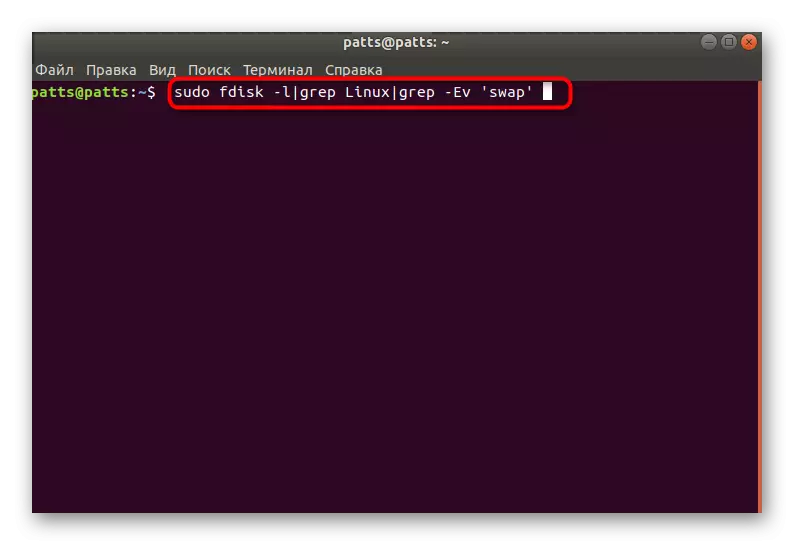
- Find out the system partition number of the hard disk with the installed system by entering the Sudo Fdisk -l | Grep Linux | grep -ev 'swap'.
- In the new line you will see the designation, such as / dev / sda1. Remember it, because in the future it will be required to correct the error.
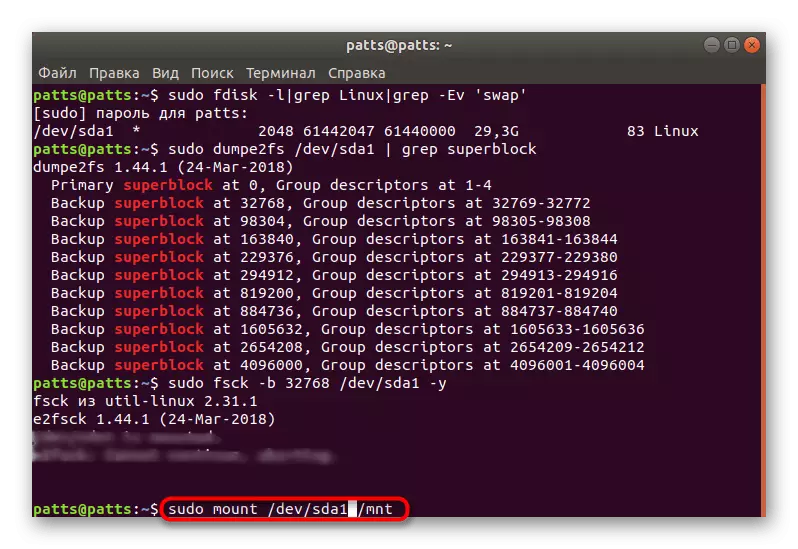
- Run the transfer procedure for all existing superblocks by specifying Sudo Dumpe2FS / DEV / SDA1 | Grep Superblock. In each superblock, a certain amount of file system metadata is stored, so fails to work and provoke the OS load failure.
- In the new rows, after activating the command, a list of all those present in the Superblock section will appear.
- Take for an example any block, for example, the first. With it, the FS is restored. The launch of this operation is carried out after entering the Sudo FSCK -B 32768 / DEV / SDA1 -Y, where 32768 is the number of the superblock, A / DEV / SDA1 is the desired partition of the hard disk.

With the option -y all changes will be automatically accepted, and when the process is successful, the following notification will be displayed on the screen:
FSCK 1.40.2 (12-Jul-2007) E2FSCK 1.40.2 (12-Jul-2007) / Dev / SDA1 WAS NOT CLEANLY UNMOUNED, CHECK FORCED. Pass 1: Checking Inodes, Blocks, And Sizes Pass 3: Checking Directory Structure Pass 3: Checking Directory Connectivity Pass 4: Checking Reference Counts Pass 5: Checking Group Summary Information Free Blocks Count Wrong for Group # 241 (32254, Counted = 32253) . Fix? Yes Free Blocks Count Wrong for Group # 362 (32254, Counted = 32248). Fix? YES Free Blocks Count Wrong for Group # 368 (32254, Counted = 27774). Fix? yes ......... / dev / sda1: ***** File System WAS Modified ***** / Dev / SDA1: 59586/30539776 Files (0.6% non-Contiguous), 3604682/61059048 Blocks.
- It remains to mount the Sudo Mount / Dev / SDA1 / MNT system section.
- Next, go to it via CD / MNT so that all commands are performed directly from the directory itself.
- View the contents of the FS via Sudo Mkdir Test LS -L. Successful execution of this operation suggests that restoration has passed successfully and can be restarted.
Read more: Instructions for creating a bootable flash drive with Ubuntu


Sometimes even after the successful correction of the considered problem, the merges faces errors when running the operating system. Most often they are associated with a breakdown of the standard GRUB loader. Therefore, it will be necessary to further restore this standard component. The deployed guide on how the task is performed through the boot-repair, look for the material further.
READ ALSO: GRUB bootload recovery via Boot-Repair in Ubuntu
Upon completion of all procedures, the flash drive from LiveCD Ubuntu will no longer need you. If you have a desire to format it and use further for its purposes, we advise you to get acquainted with the individual article to carry out this operation.
READ ALSO: Formatting flash drive in Linux
Today we talked about the most popular problem solving in Initramfs, but this does not mean that the method is universal. In the event of an error of another character, describe it in the comments, and we will try to provide the right solution to this situation.