

Sooner or later, each user android devices faces the situation when the internal memory of the device is about to end. When you try to update already existing or install new applications, the Play Market store pops up a notification that is not enough free space, you need to remove media files or some applications to complete the operation.
Transfer Android applications to a memory card
Most default applications are installed in the internal memory. But it all depends on what place for the installation is prescribed the program developer. It also defines and whether it will be possible to transfer application data to an external memory card or not.Not all applications can be transferred to the memory card. Those that were pre-installed and are systemic applications, it is impossible to move, at least, in the absence of root rights. But most of the downloaded applications are well tolerated "relocation".
Before you start transfer, make sure that there is enough free space on the memory card. If you remove the memory card, then applications that have been transferred to it will not work. You should not count that applications will work in another device, even if you insert the same memory card into it.
It is worth remembering that programs are not transferred to the memory card completely, some part of them remain in internal memory. But the bulk is moving, freeing the necessary megabytes. The size of the portable part of the application in each case is different.
Method 1: AppMGR III
The free AppMGR III application (App 2 SD) has proven itself as the best tool for moving and deleting programs. The application itself can also be moved to the card. Master it is very simple. Only three tabs are displayed on the screen: "Movered", "on the SD card", "on the phone".
Download APPMGR III on Google Play
After downloading, do the following:
- Run the program. It will automatically prepare a list of applications.
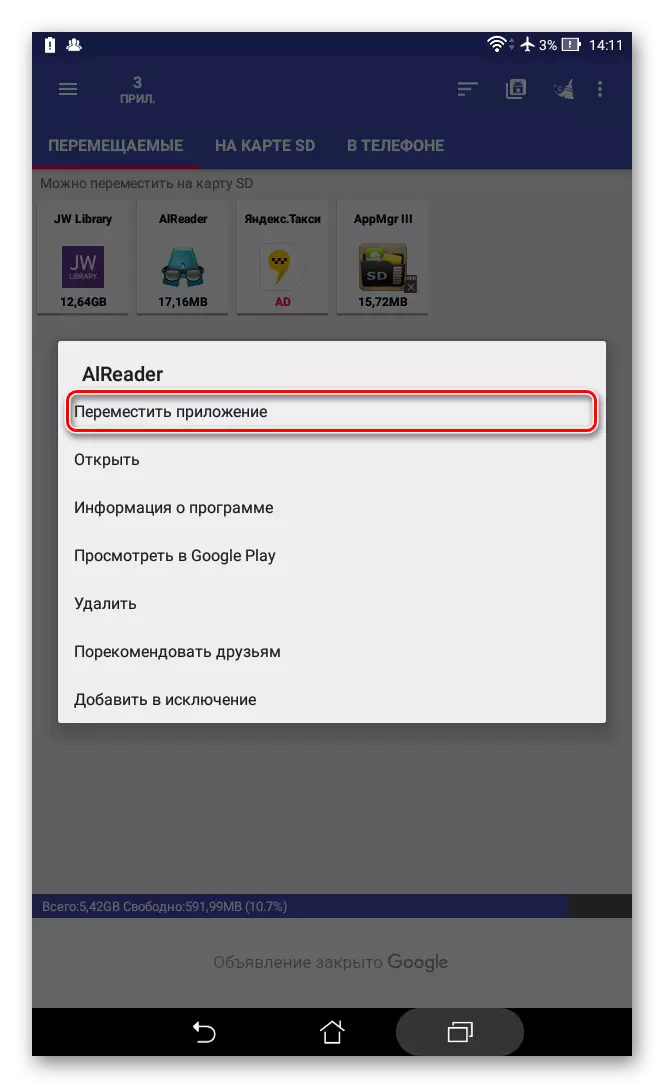
- In the "Moveable" tab, select the transfer application.
- In the menu, select "Move Appendix".
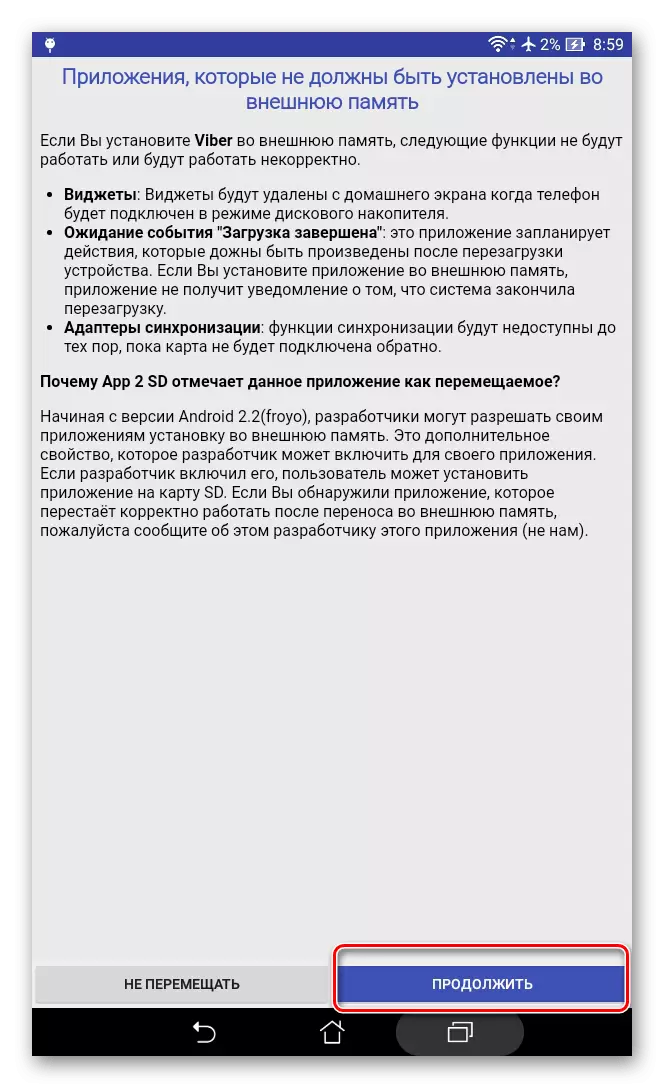
- The screen on which is described which functions may not work after the operation. If you want to continue, click the appropriate button. Next, select "Move to the SD card".
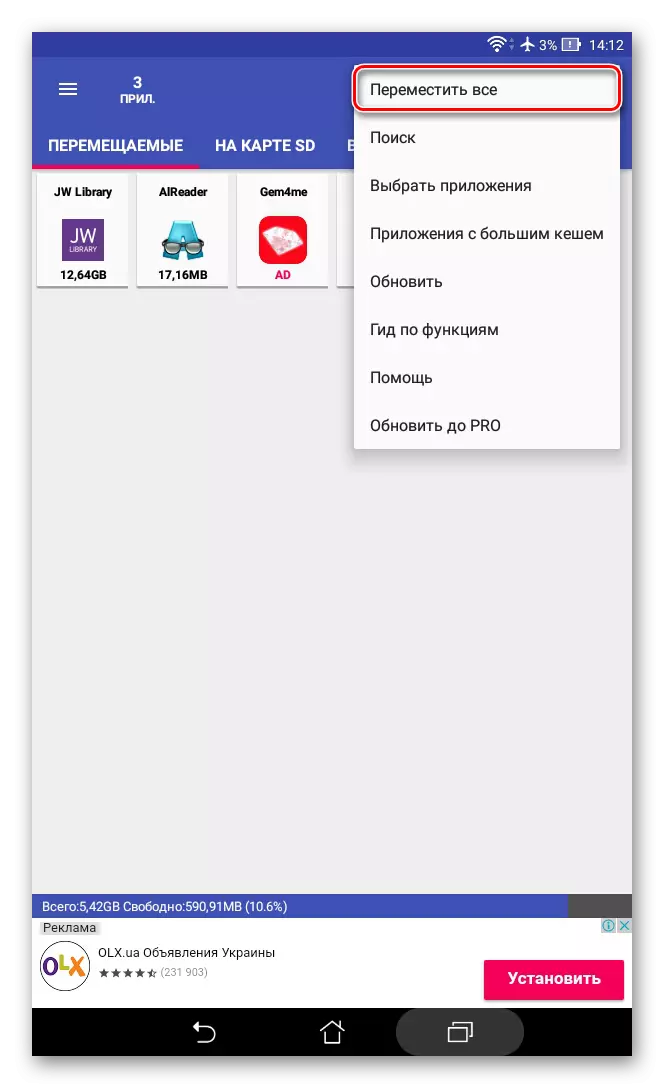
- In order to move all applications at once, you must select the item under the same name by clicking on the icon in the upper right corner of the screen.
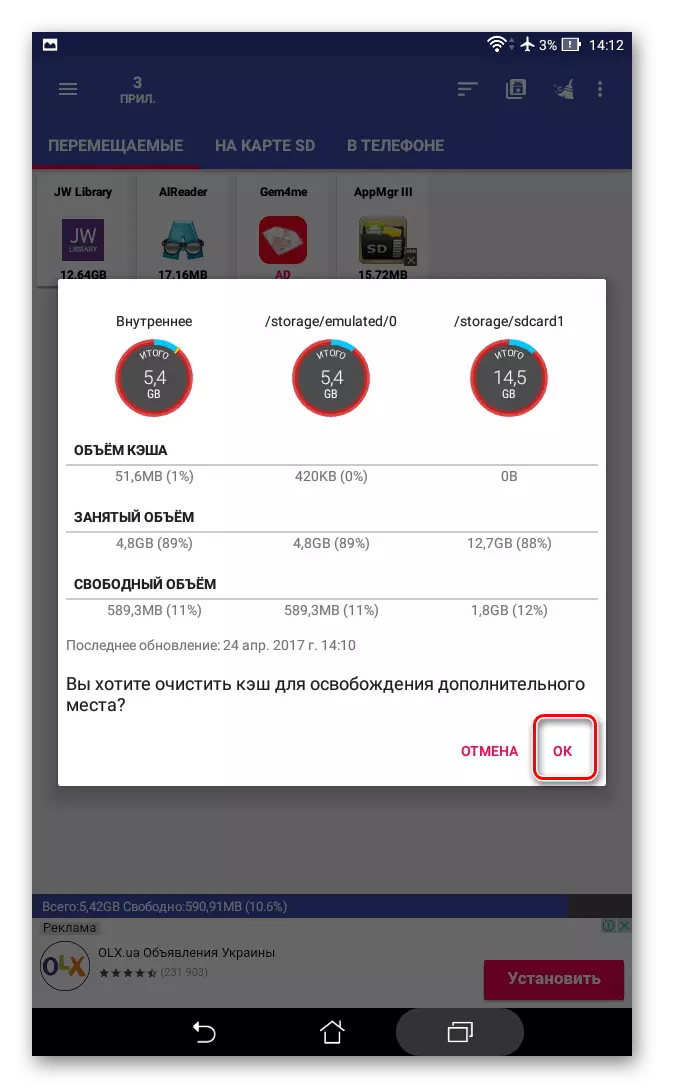
Another useful feature is automatic cleaning application cache. This technique also helps to free the place.
Method 2: FOLDERMOUNT
Foldermount is a program created for the complete transfer of applications along with the cache. To work with it you will need root rights. If there are any, you can work even with system applications, so you need to choose folders very carefully.
Download Foldermount on Google Play
And to use the application, follow these instructions:
- After launch, the program will first check the presence of root rights.
- Click on the "+" icon in the upper corner of the screen.
- In the "Name" field, give the name of the application to be transferred.
- In the "Source" line, enter the address of the folder with the application cache. As a rule, it is located at:
SD / Android / OBB /
- "Assignment" - a folder where you need to transfer the cache. Set this value.
- After all the parameters are shown, click Tick at the top of the screen.

Method 3: Move to SDCard
The easiest way is to use the program to move to SDCARD. It is very simple to use and takes only 2.68 MB. The application icon on the phone may be called "Delete".
Download Move to SDCard on Google Play
The use of the program is as follows:
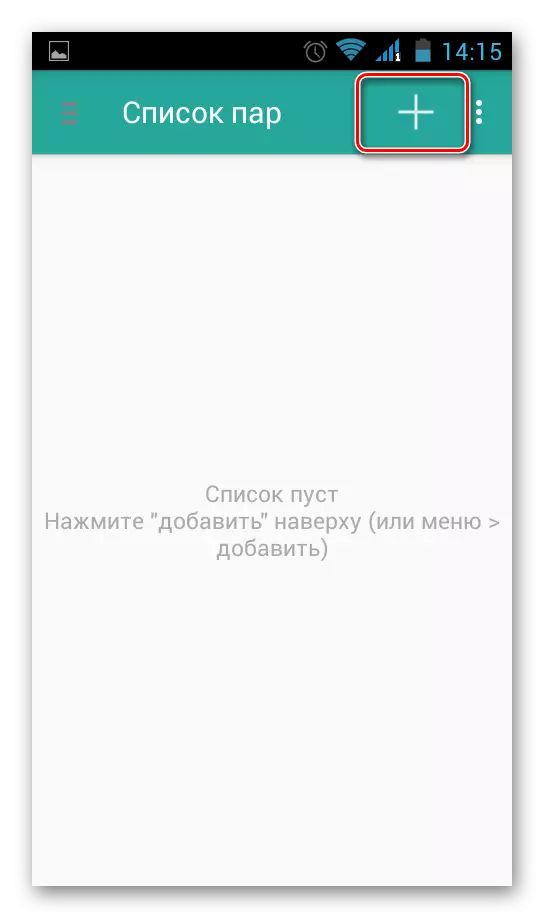
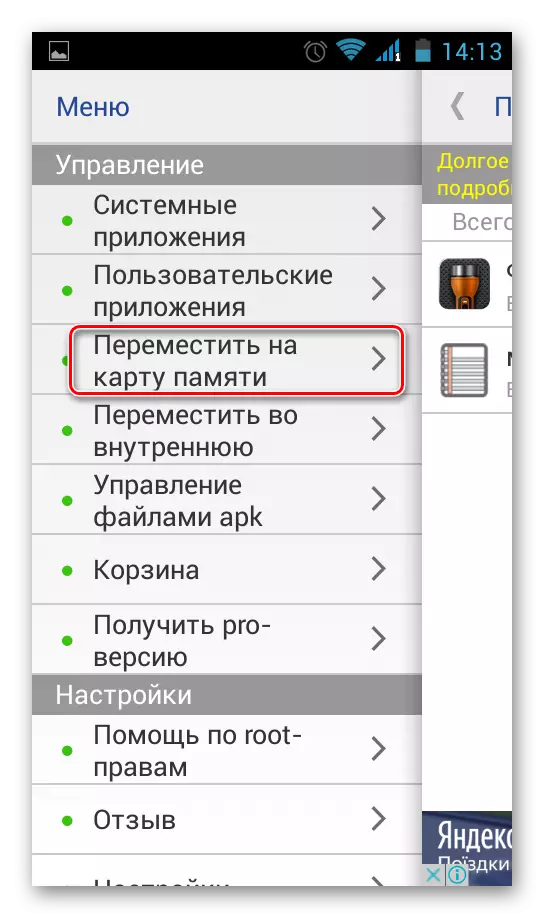
- Open the menu on the left and select "Move to map".
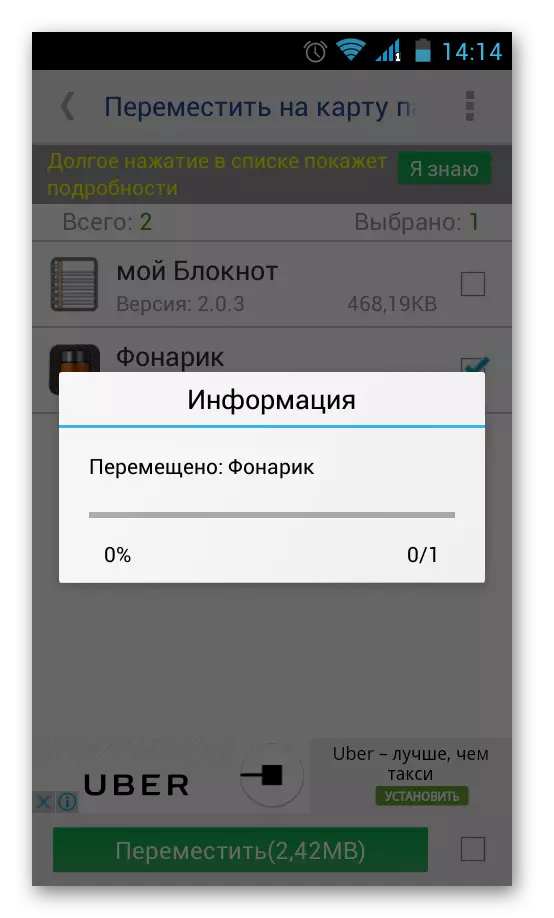
- Check the box opposite the application and run the process by clicking "Move" at the bottom of the screen.
- The information window will open, showing the process of moving.
- You can spend the reverse procedure by selecting "Move to Internal Memory" item.

Method 4: full-time
In addition to all of the above, try moving by built-in tools of the operating system. This feature is provided only for devices on which the version of Android 2.2 and above is installed. In this case, you need to do the following:
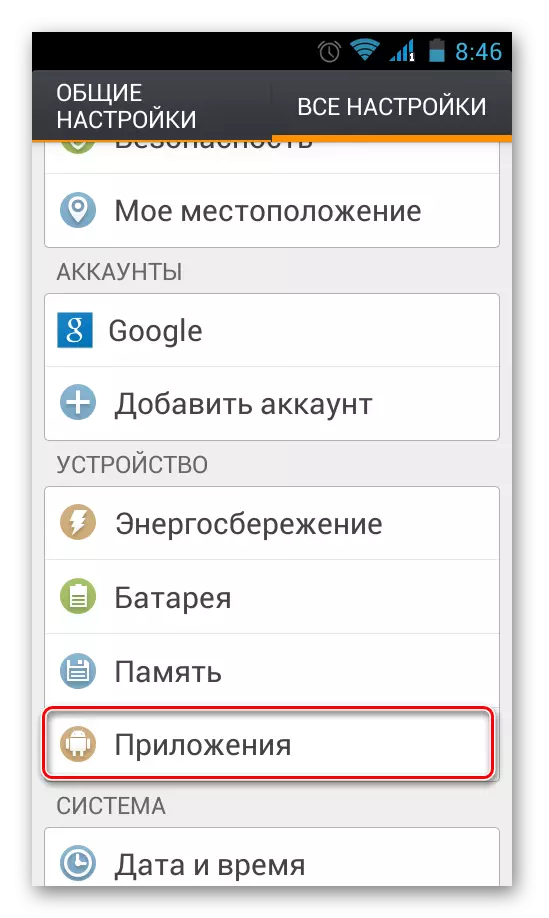
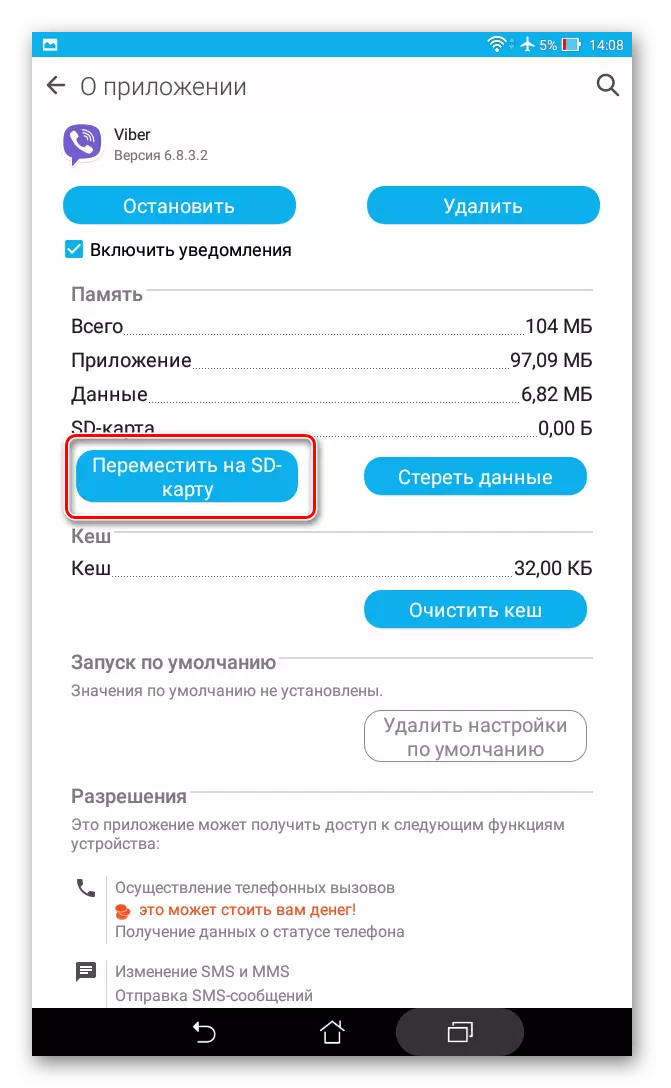
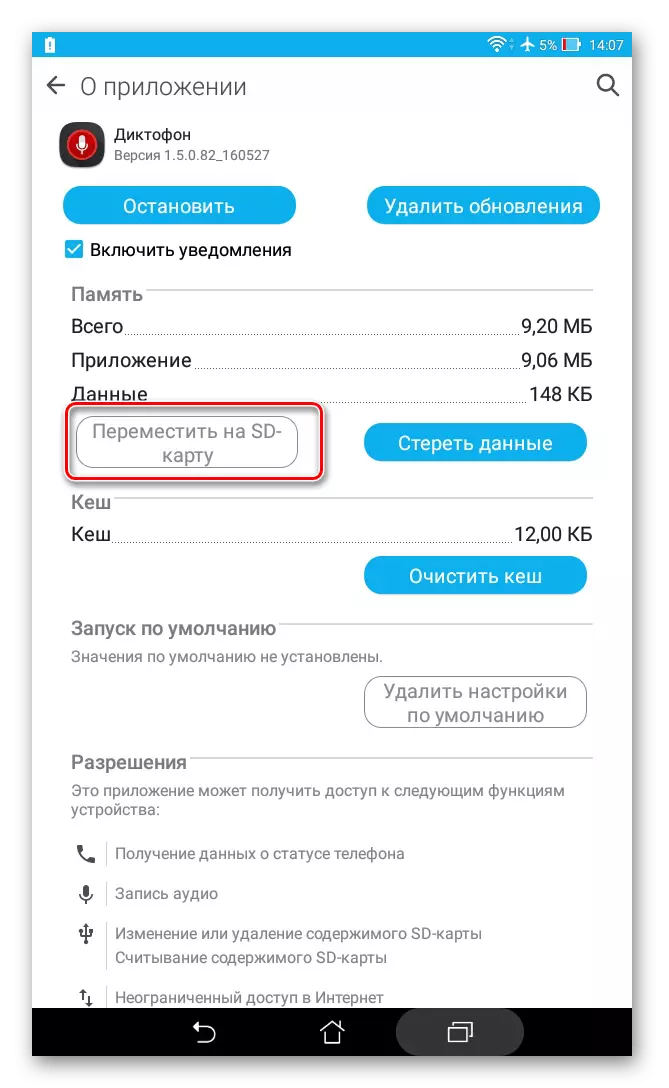
- Go to "Settings", select the section "Applications" or "Application Manager".
- By clicking on the appropriate application, you can see whether the "Transfer to the SD card" button is active.
- After pressing it begins the process of moving. If the button is not active, it means that this feature is not available for this application.
But what if the Android version is lower than 2.2 or the developer did not provide for the possibility of moving? In such cases, third-party software can help, about which we have said earlier.
Using instructions from this article, you can easily move the applications to the memory card and back. And the presence of root rights provides even more opportunities.
READ ALSO: Instructions for switching a smartphone memory to a memory card