

Without access to the microphone in the social network, classmates will not be able to talk to other users or write a broadcast with sound, so many are interested in providing appropriate permits. There are different methods to solve this task that are available both in the full version of the site and in a mobile application. Let's deal with them in order.
Full version of the site
The full version of the site classmates opens through a browser on a computer or laptop, so the principle of providing access to the microphone will depend on the web browser itself, but in most cases the actions algorithm is the same. You can allocate two different ways to change the settings, and each of them is suitable in different situations.Method 1: Pop-up Warning
The essence of the first option is to use the pop-up warning to change the necessary settings. However, this requires provoking the appearance of such a message. We propose to produce this by committing a trial call to any of your friends.
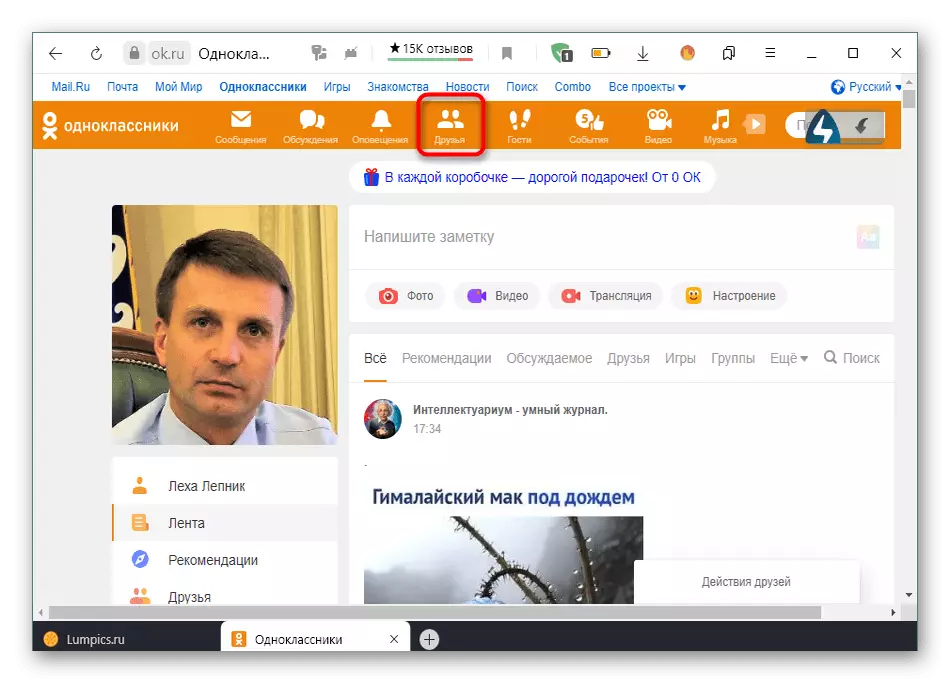
- Navigate to the list added as a friend accounts in any way.
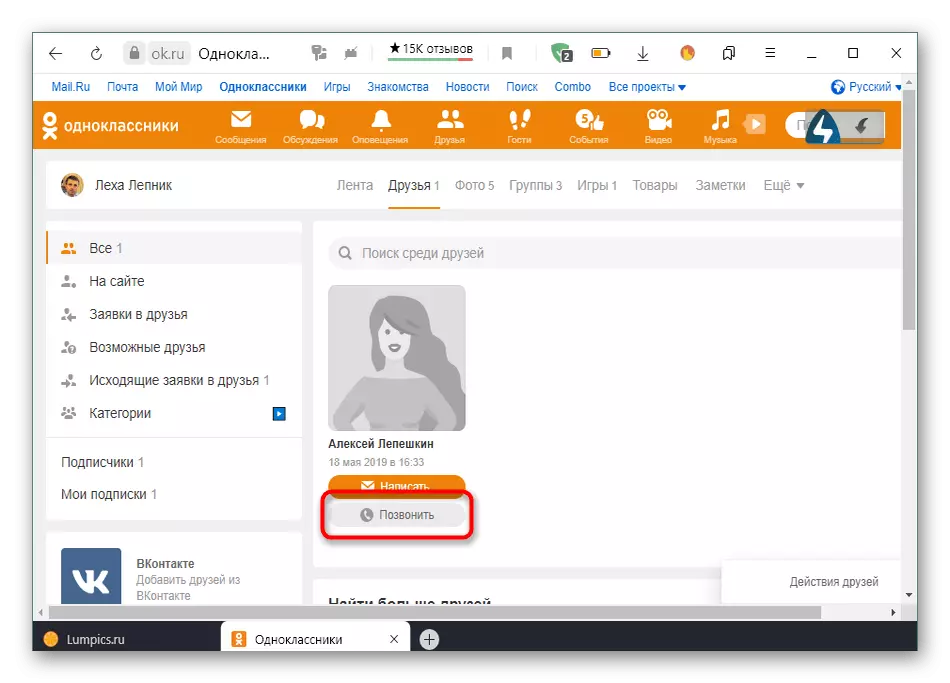
- Select the desired profile and click "Call" to start calling.
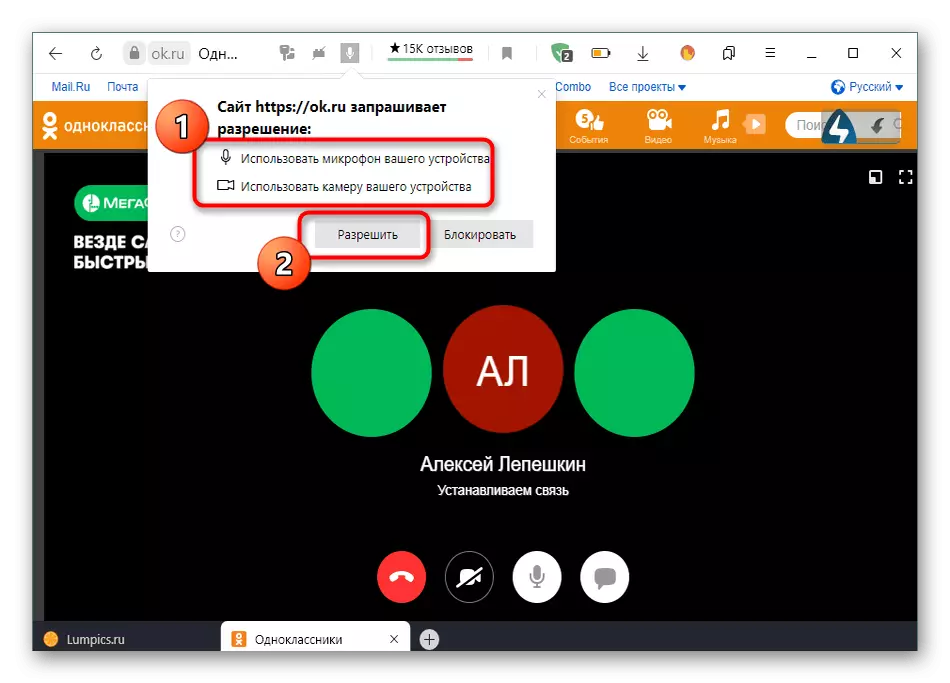
- When you initiate a call, a message appears on the screen that the site classmates requests permission to use the microphone and the camera. These two devices will now interact at the same time, so access is provided for them immediately. Just click on the Allow button.
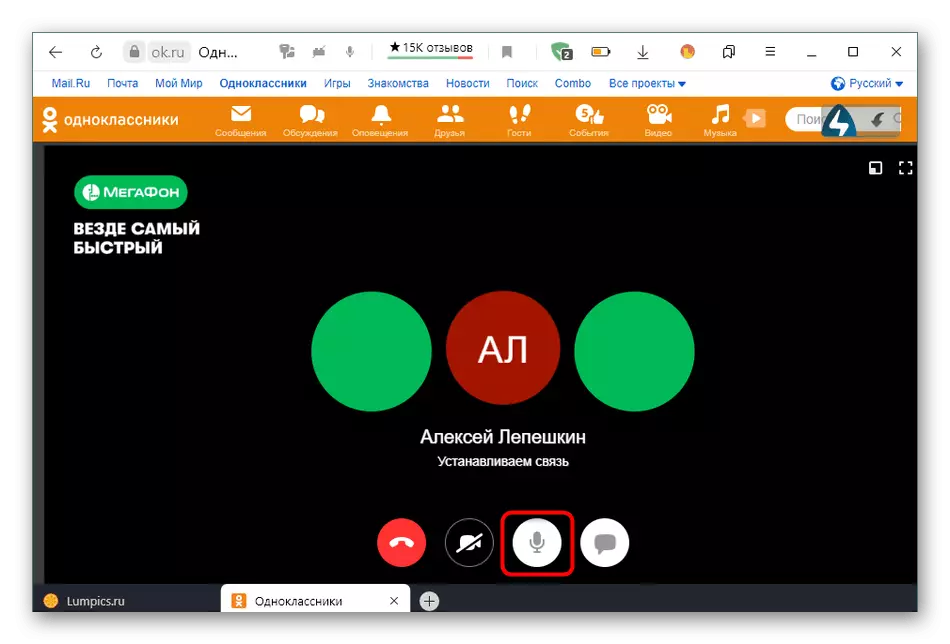
- Now sound control is performed using a specially designated button on the panel at the bottom. Thanks to her, you can turn off or include a microphone.
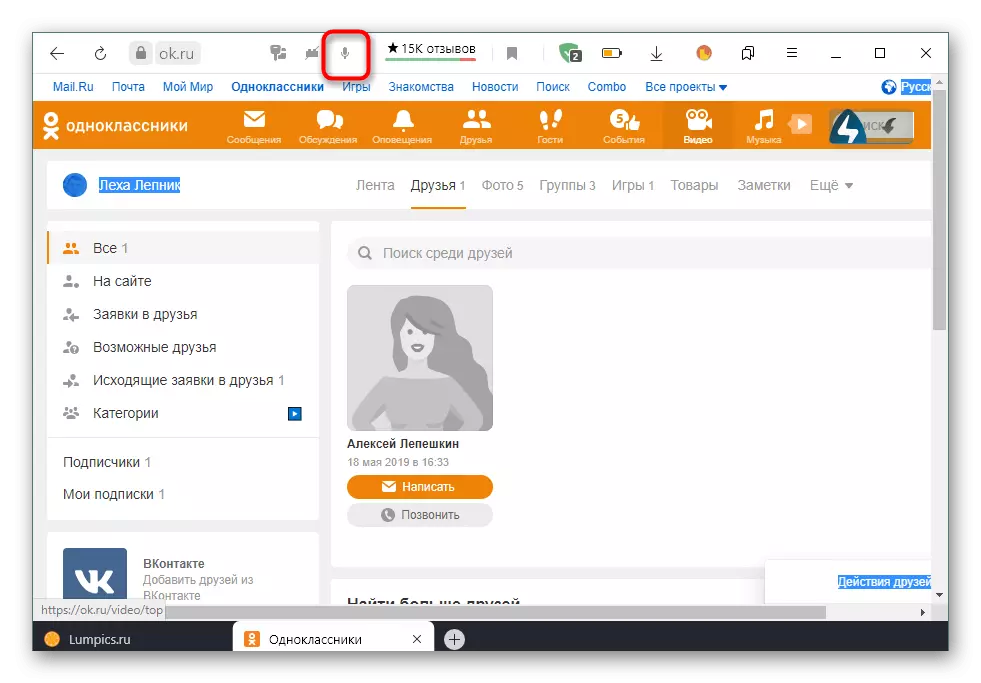
- If the notification does not appear independently, click the microphone icon, which was to be displayed in the address bar immediately when you make a call.
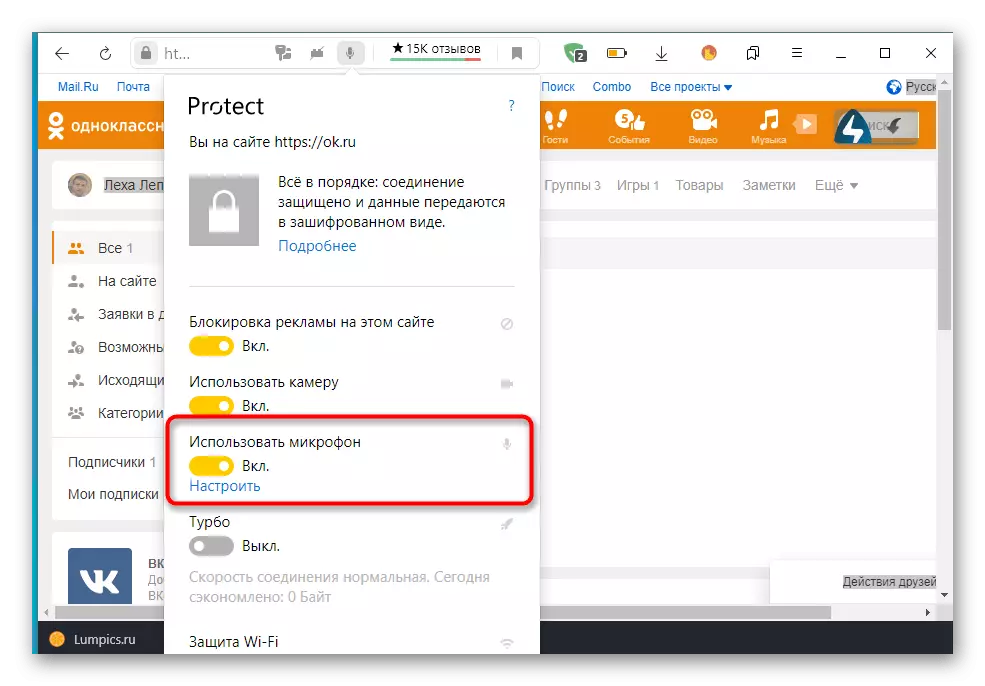
- There, move the "Use microphone" point slider to active condition.
Method 2: web browser settings
Pay attention to this method follows to users who did not work out to provide the corresponding permissions for the microphone by performing the steps described earlier. In such a situation, you will need to go to the global settings of the browser used. Fortunately, now, almost everywhere, they have a similar look and even identical names of the menu items, however, we will clarify that the screenshots below are made at the last time of writing the article version of Yandex.Bauser.
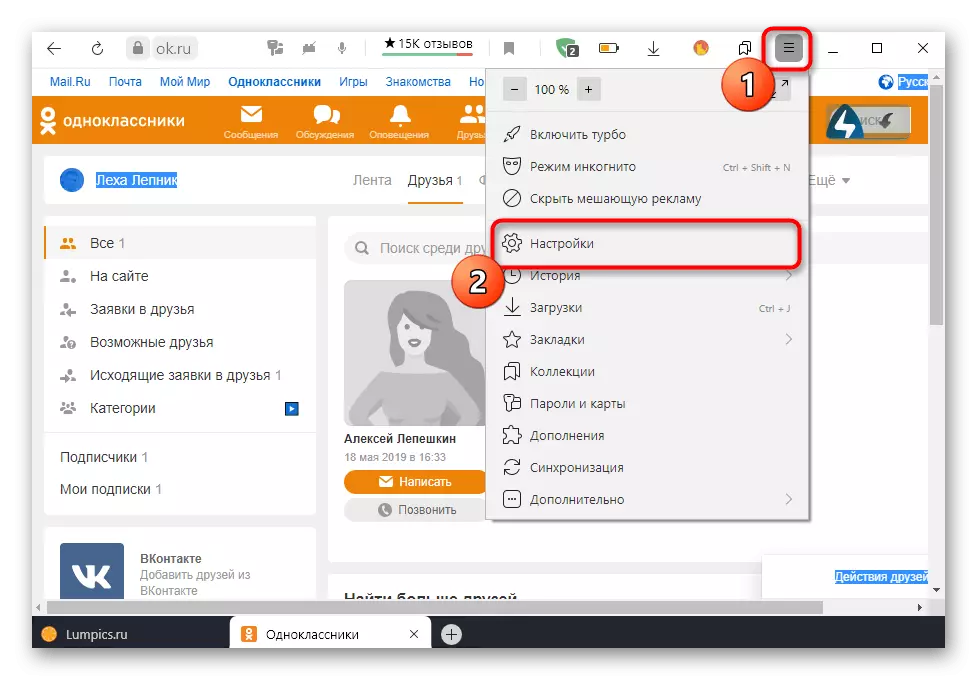
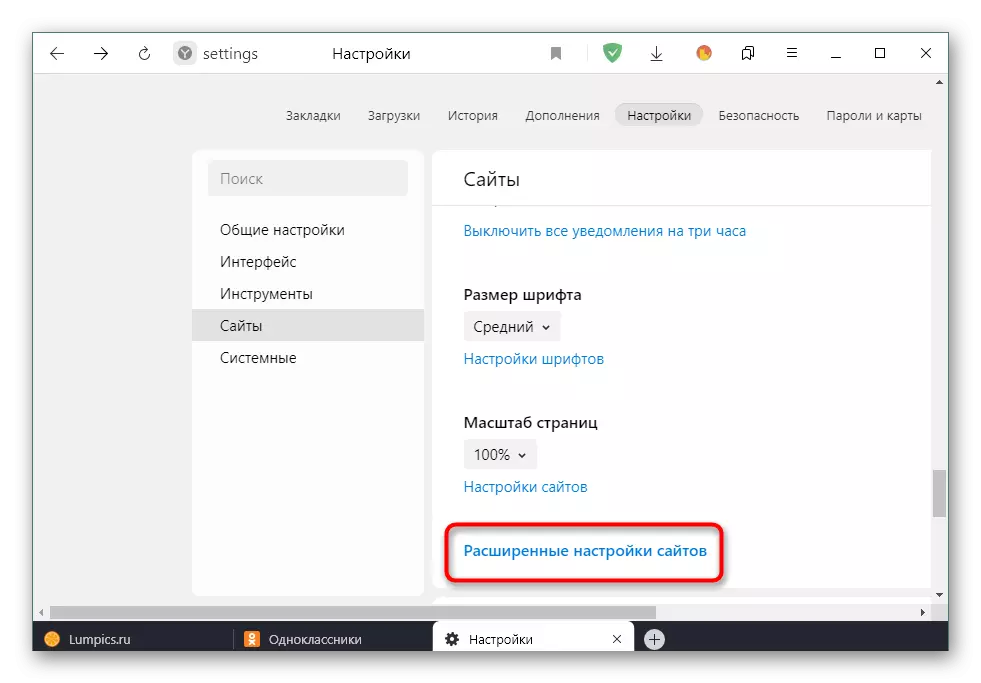
- Open the main menu of the web browser through which you move to the "Settings" section.
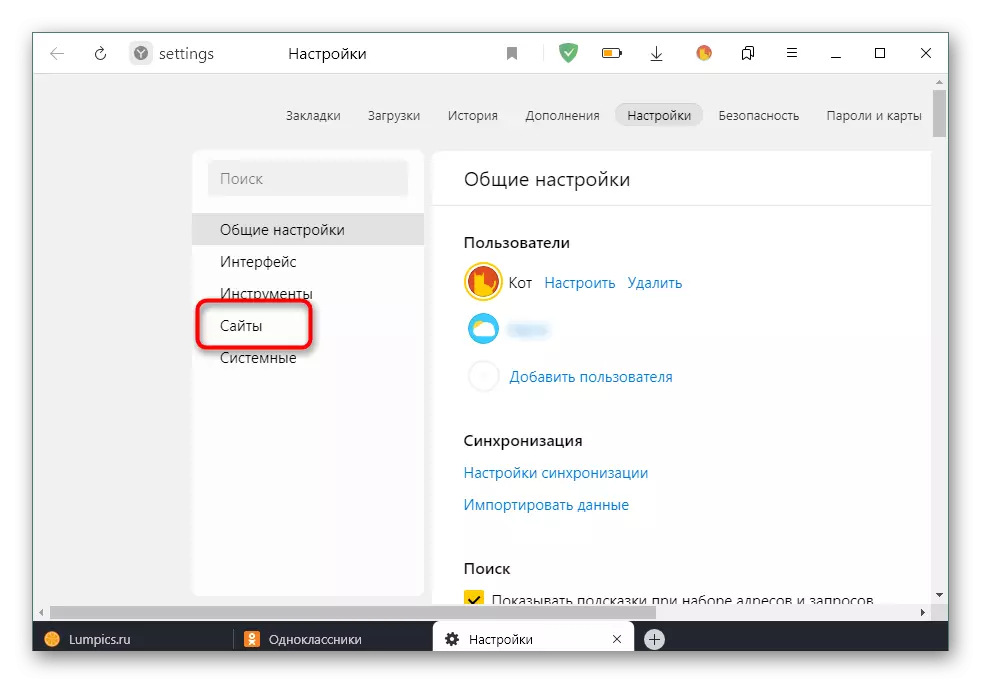
- Through the left panel, find the category "Sites" or "Site Settings" category.
- Expand all the parameters to find the microphone among them.
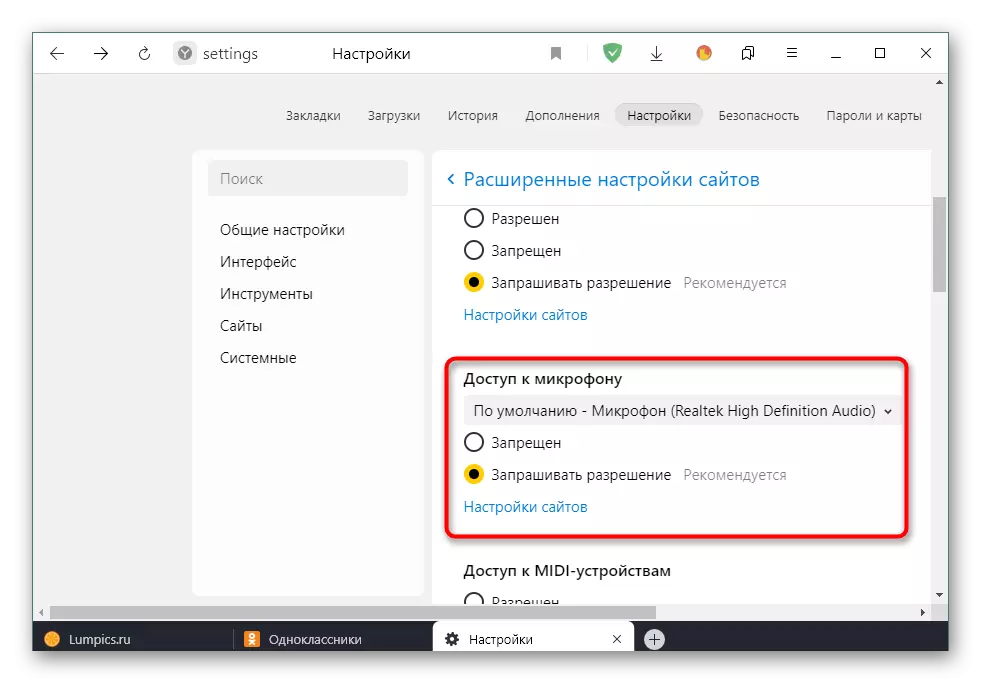
- Set the "Access to Microphone" setting to the "allowed" state or "request permission". If necessary, you can select the target device from the list and even go to the extended parameters to add classmates to the exception list and never receive notifications about access to equipment.
In complete, we note that after performing the described actions, permissions for the microphone should be accurately obtained. If the sound is still absent, it will be necessary to solve the problems with the help of other methods. Read more about it in the material further.
Read more: Elimination of the problem of the microphone inoperability in Windows
Mobile app
The principle of providing permissions for a microphone in a mobile application classmates is something similar to the previously discussed, but still there are some features related to the implementation of the interface and the mobile operating system.Method 1: Pop-up Warning
As in the case of the full version of the site, when you try to access the microphone in a mobile application, a corresponding notification will appear that you need to confirm. To do this, you must first make a call or run live broadcast.
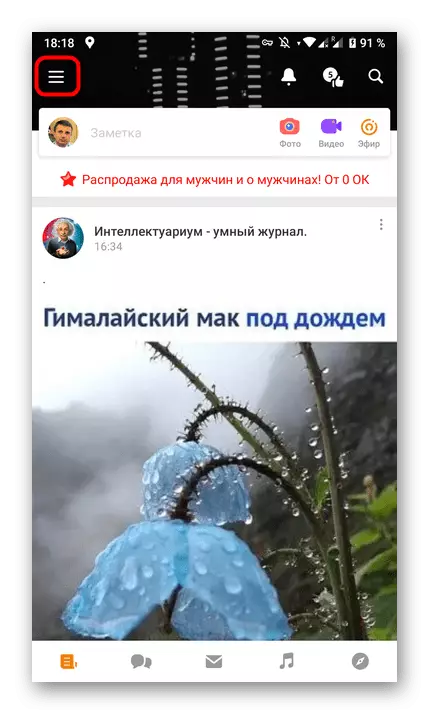
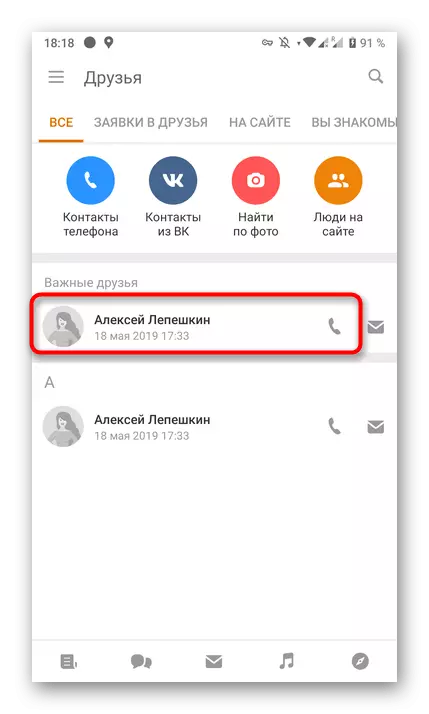
- Open the menu to view a list of users to call.
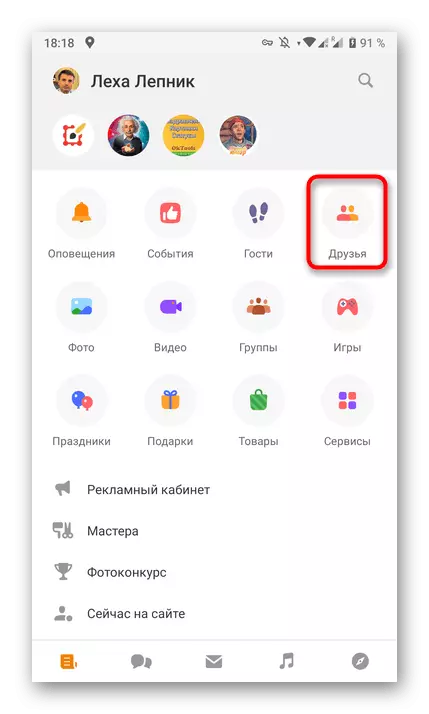
- Go to the "Friends" section.
- Here, find the account of interest and click on a specially designated icon to start a call.
- Immediately when opening the call window, the first resolution will appear on the screen, which implies the provision of access to photo and video shooting. You can resolve it or reject if it is not required.
- Following the message "Allow the" OK "application to record audio. Here you need to choose the option "Allow".


After making all the necessary permits, you can safely move back to the beginning of a conversation or a broadcast recording, if it is for this and needed access to the component under consideration.
Method 2: Application Settings
There are situations where previously described warnings for some reason do not appear on the screen. This may be due to the fact that they default dismissed or was done by the user earlier. Then you will have to personally go to the settings of the classmates itself and check these parameters there.
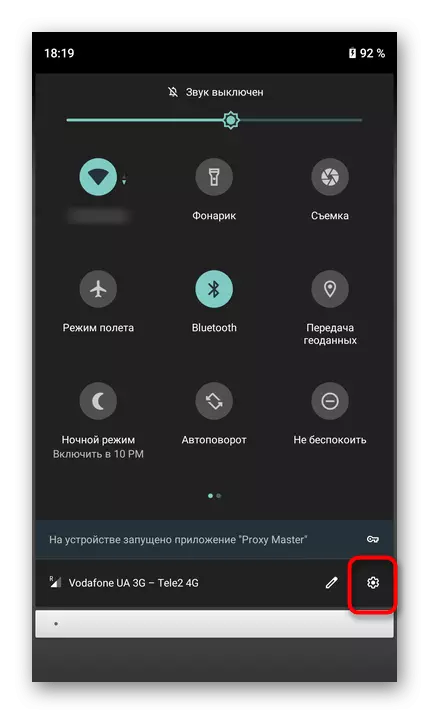
- To do this, open the panel with notifications on your smartphone or tablet, and then go to the global settings.
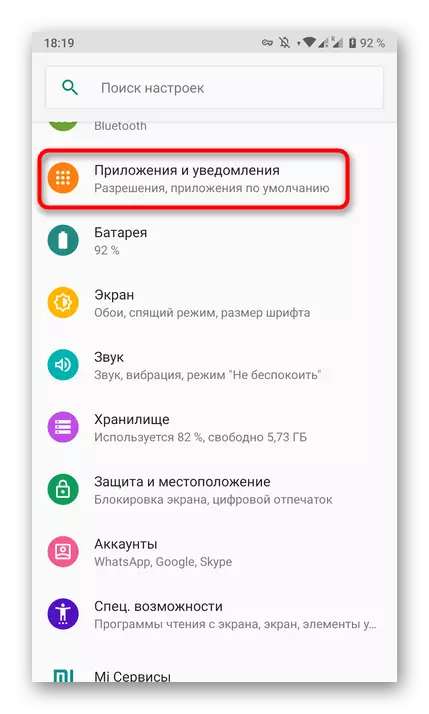
- In the menu that appears, open a section with applications.
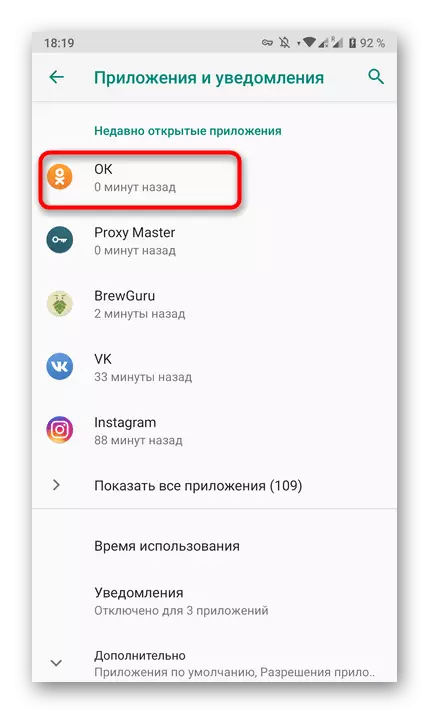
- Lay in the "OK" list.
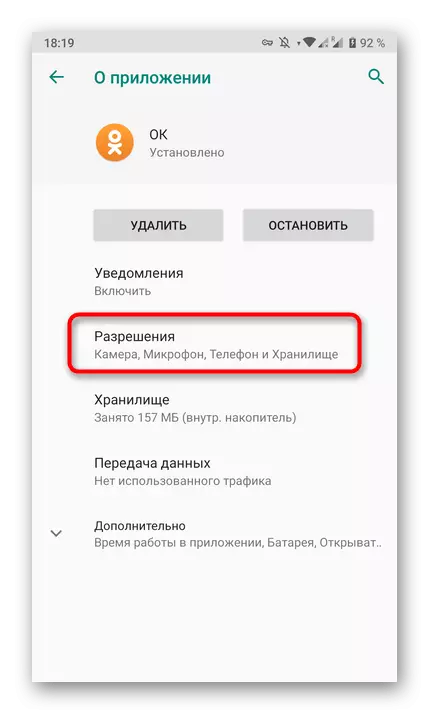
- Open the "Permissions" category, tapping on it.
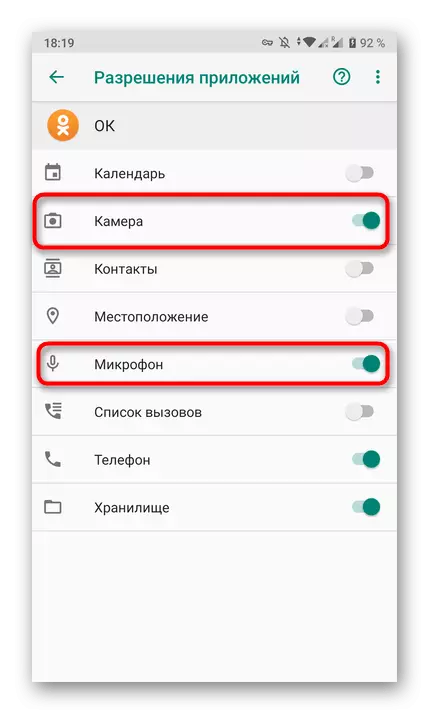
- Here set access to the microphone and immediately do other parameters if required. For example, you can activate the chamber so that in the future I did not have to do it again.
Now you know the principle of management of permissions for devices both in the full browser version of the social network and in a mobile application.