
Every programmer needs to have a user-friendly application, in which it will recruit and edit the source code. Visual Studio Code - one of the best decisions, it applies to both Windows, and operating systems to the Linux kernel. Installing referred editor can be done in different ways, each of which will be most appropriate for a particular class of users. Let's now focus on the procedure and examine all possible actions in detail.
Unfortunately, the integrated development environment called Visual Studio is only available for PCs running Windows. It should immediately be noted that in this article we show how to download the source code editor Visual Studio Code - one of the solutions in the line VS.
Install Visual Studio Code in Linux
Of course, distributions, written on the Linux kernel, a lot. Now, however, it is very popular operating system, which departs from Debian or Ubuntu. It was on such a platform, and we want to draw attention, taking for clarity Ubuntu 18.04. Holders of other distributions, we also show you how best to install, but let's start from the beginning.Method 1: Using the console repositories
Microsoft is actively monitoring its official repositories. The latest versions of software to quickly lay out and users can immediately download them without any problem installed on your computer. As for Visual Studio Code, there should consider the option of using two different repositories. Interaction with the first as follows:
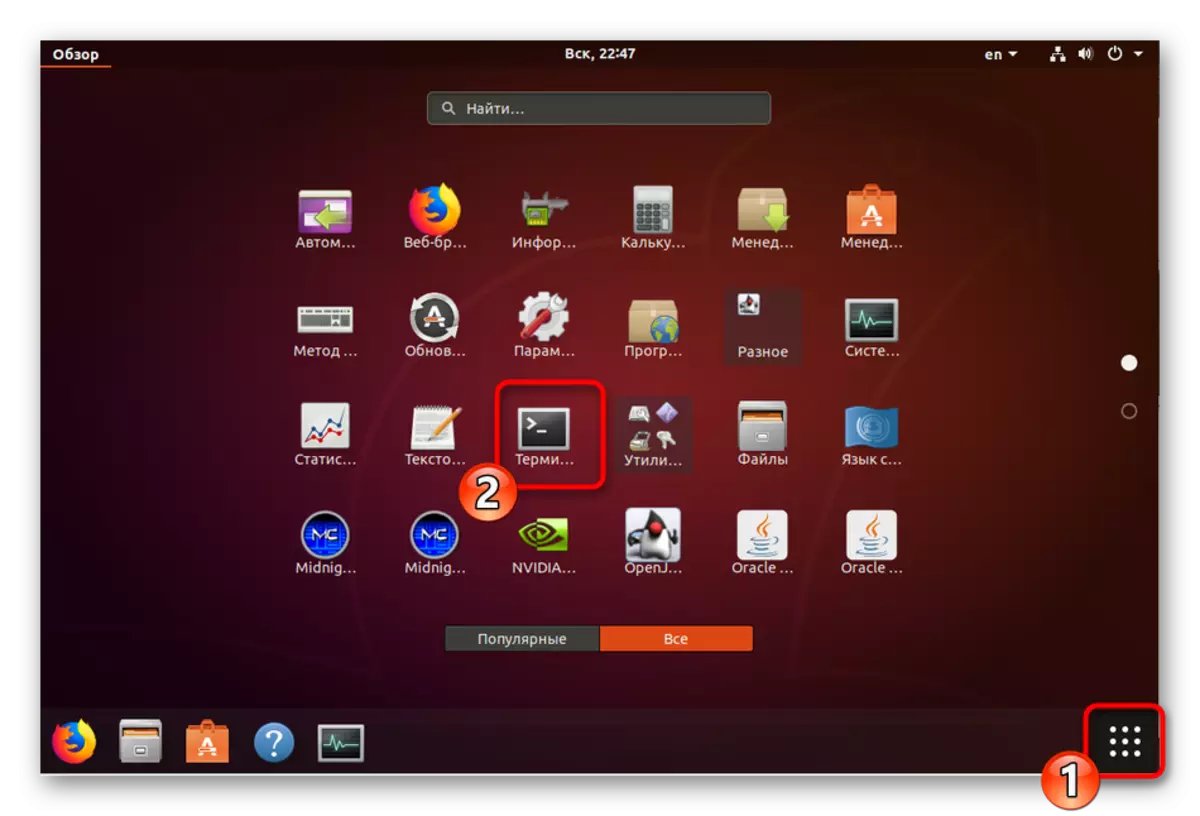
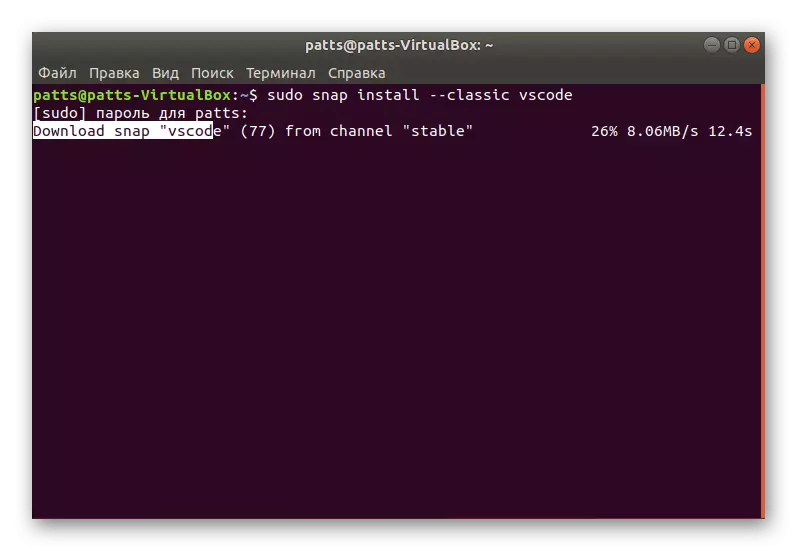
- Run the "Terminal" by Ctrl + Alt + T or use the corresponding icon in the menu.
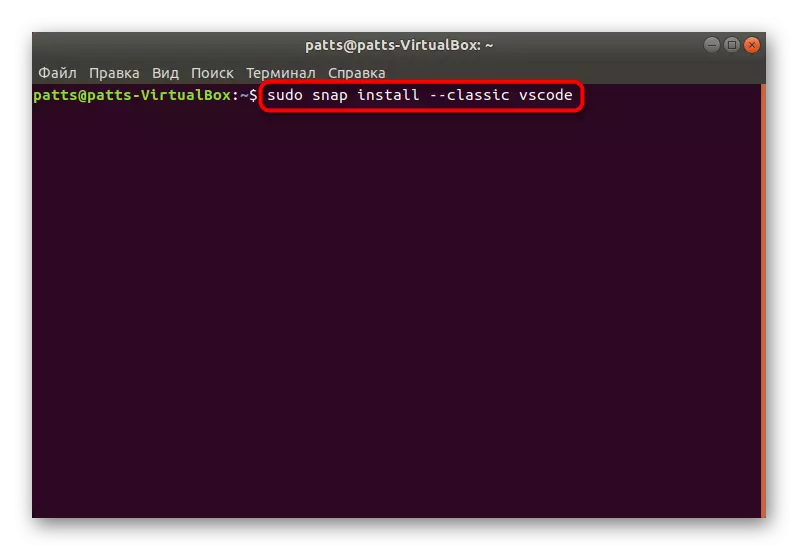
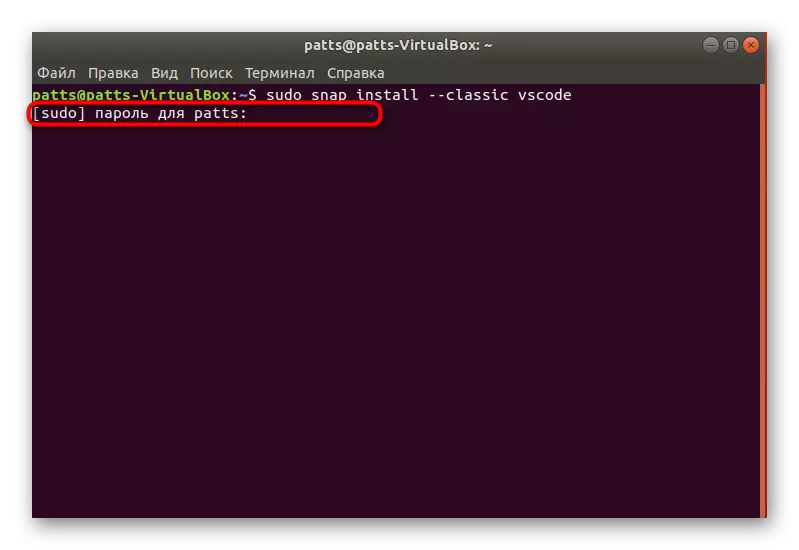
- Prescribe command sudo snap install --classic vscode to download and install VS from the official store.
- Confirm the authenticity of the account, enter your password for the Root access.
- Downloading files from the channel may take some time, during execution of the process do not turn off the console.
- When installation is complete you will receive a notification and can immediately start the program by typing vscode.
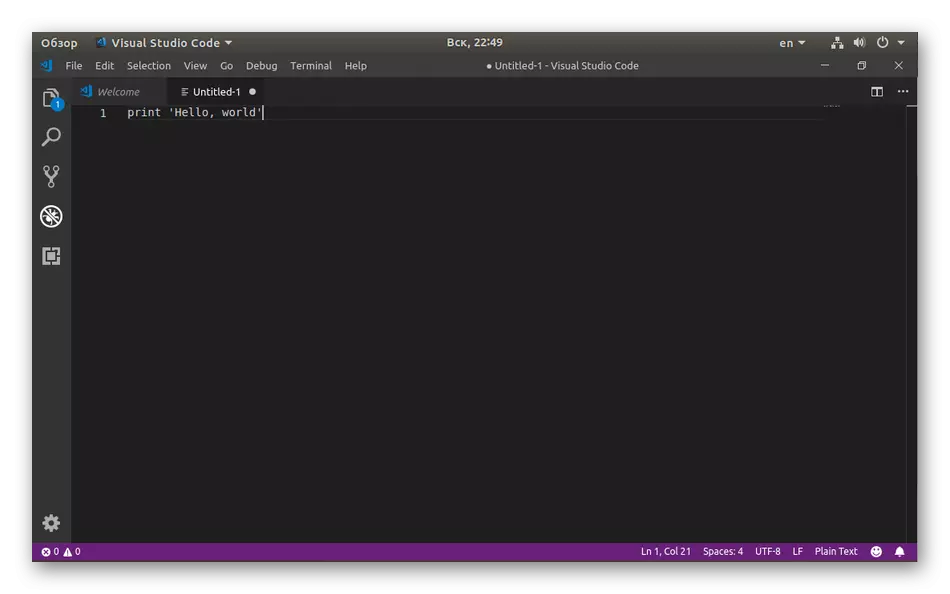
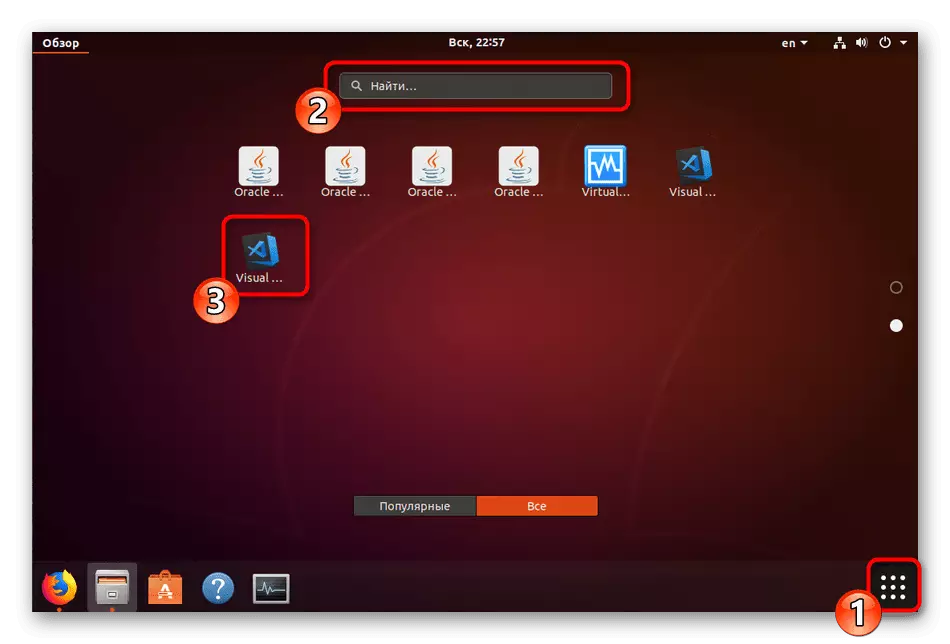
- Now you the interaction with the graphical user interface of interest editor. icon has been created in the menu, which also runs through VS.

However, not everyone is suited to the user through the installation method presented repository, therefore it is advisable to get acquainted with the alternative, which is not considered difficult.
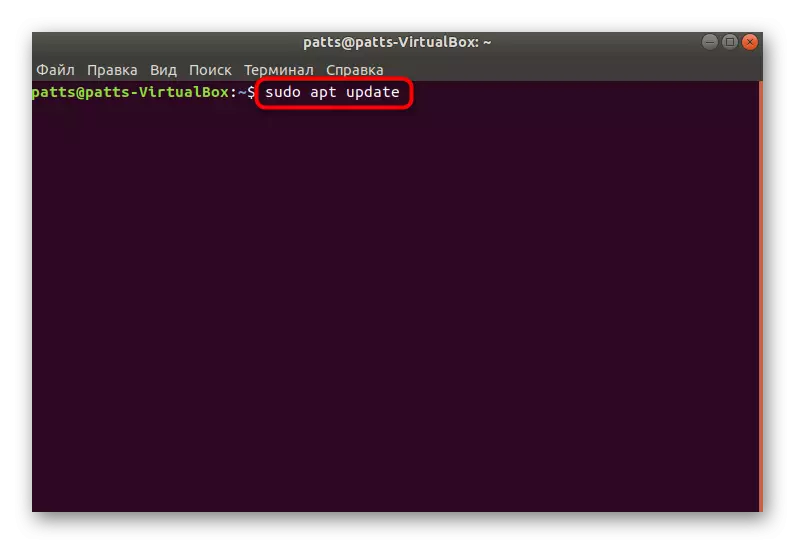
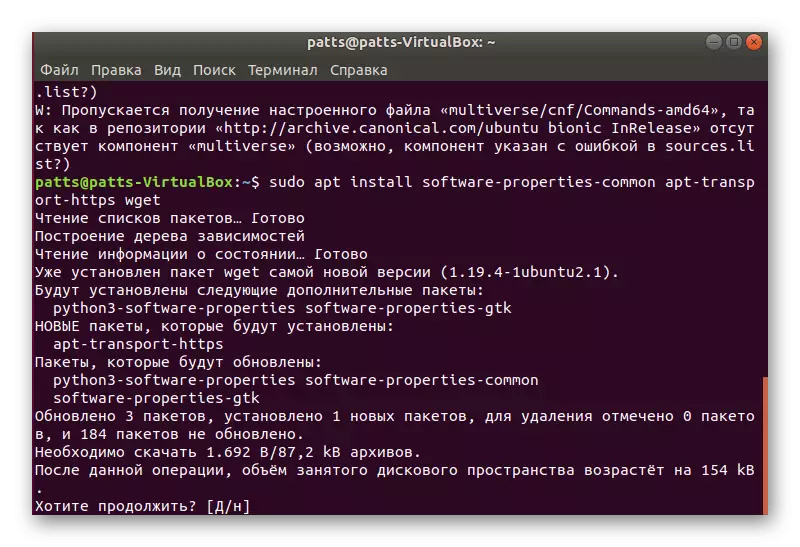
- Open the "Terminal" and first update the system libraries by entering the sudo APT UPDATE.
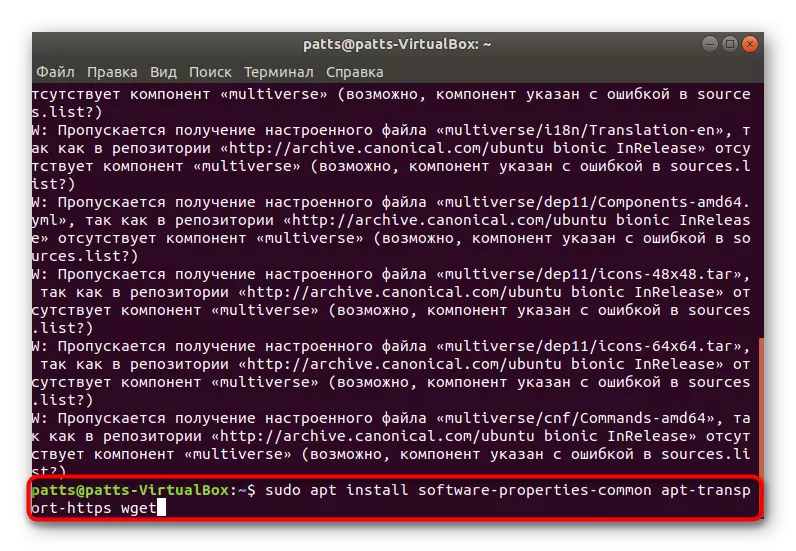
- Next, you should set the dependencies using the Sudo APT Install Software-Properties-Common Apt-Transport-HTTPS WGET.
- Confirm Adding new files by selecting the correct option.
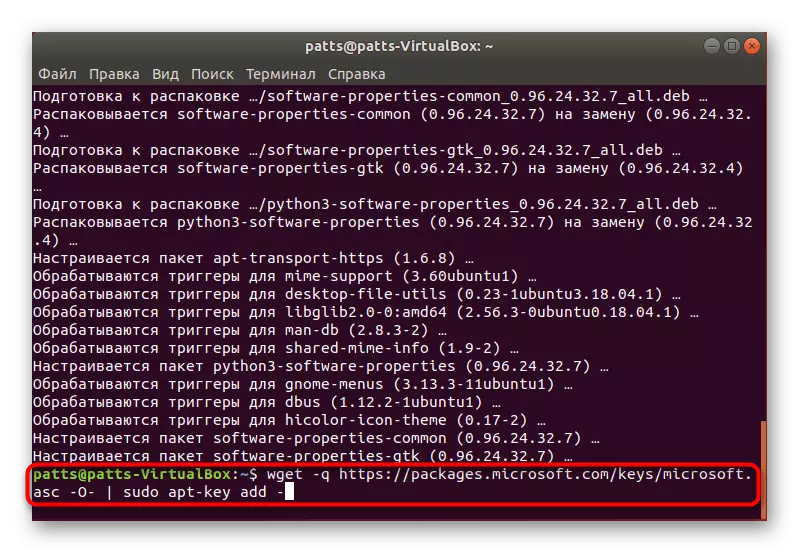
- Install the Microsoft GPG key, which plays the role of encryption of electronic signatures via WGET -Q https://packages.microsoft.com/keys/microsoft.asc -o- | Sudo APT-KEY Add -.
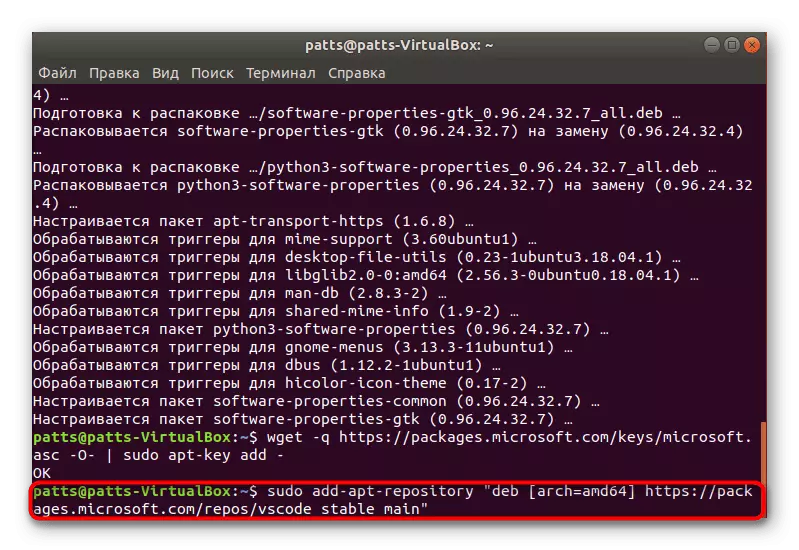
- Then complete the addition, inserting the Sudo Add-APT-Repository string. "DEB [Arch = AMD64] https://packages.microsoft.com/repos/vscode Stable Main."
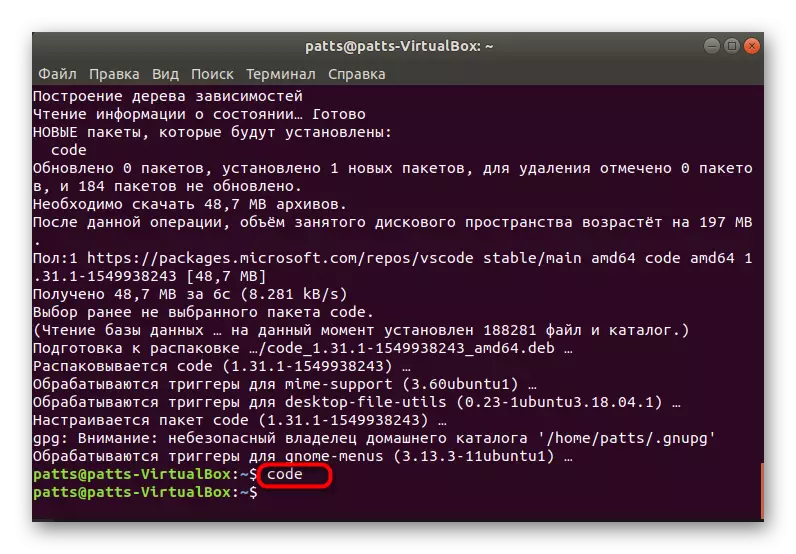
- It remains only to install the program itself by writing Sudo Apt Install Code.
- The launch of the Visual Studio Code, which is added in this way, runs through the Code command.

Method 2: Downloading the official debt
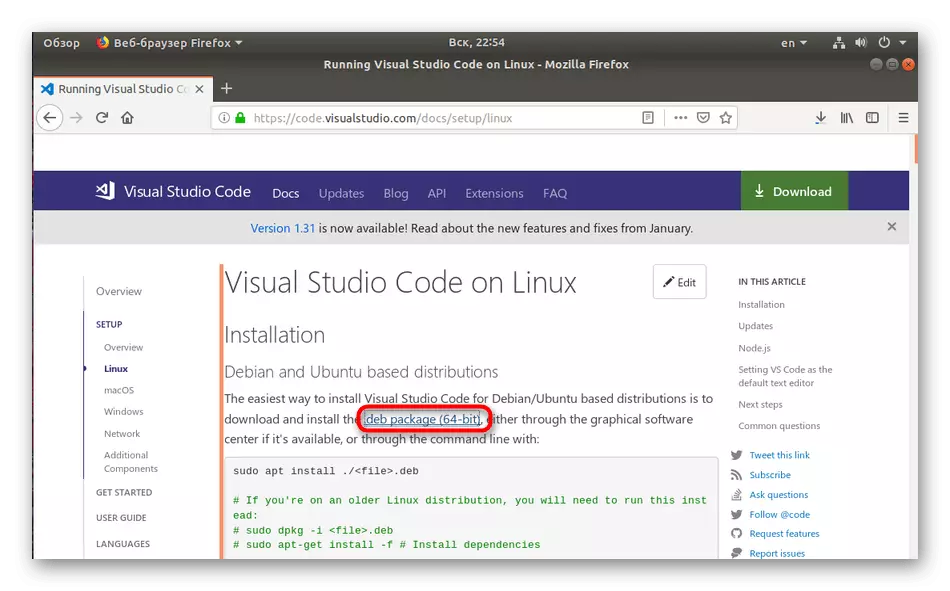
Not all users sometimes it is convenient to work through the console or some difficulties with teams may arise. In addition, sometimes there is no connection to the Internet. In these cases, an official debt package comes to the rescue, which you can preload to the media and already install VS CODE on your PC.
Download Deb Package Visual Studio Code
- Go to the above link and download the Deb package you need programs.
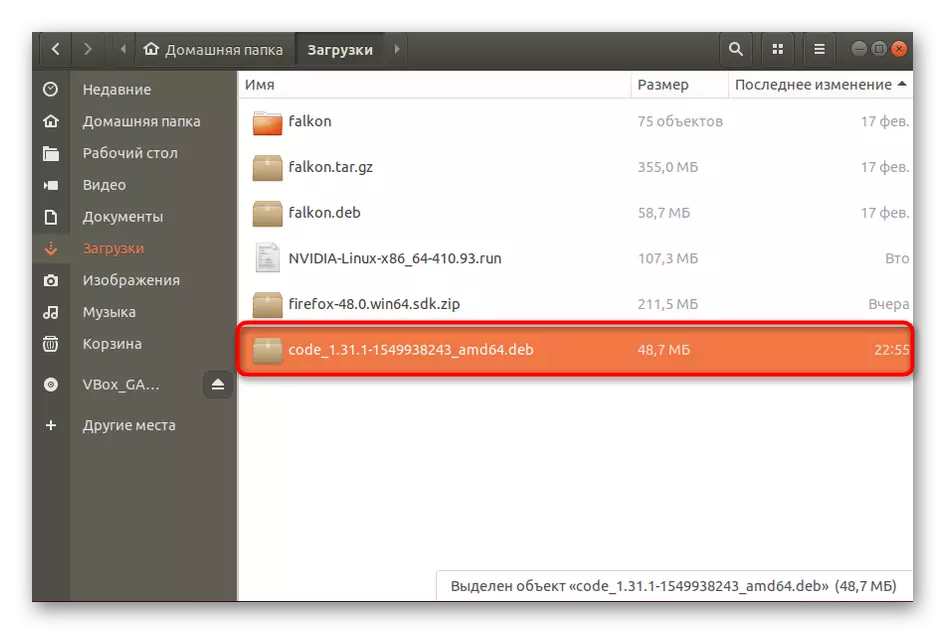
- Open the folder where the download was made, and start it.
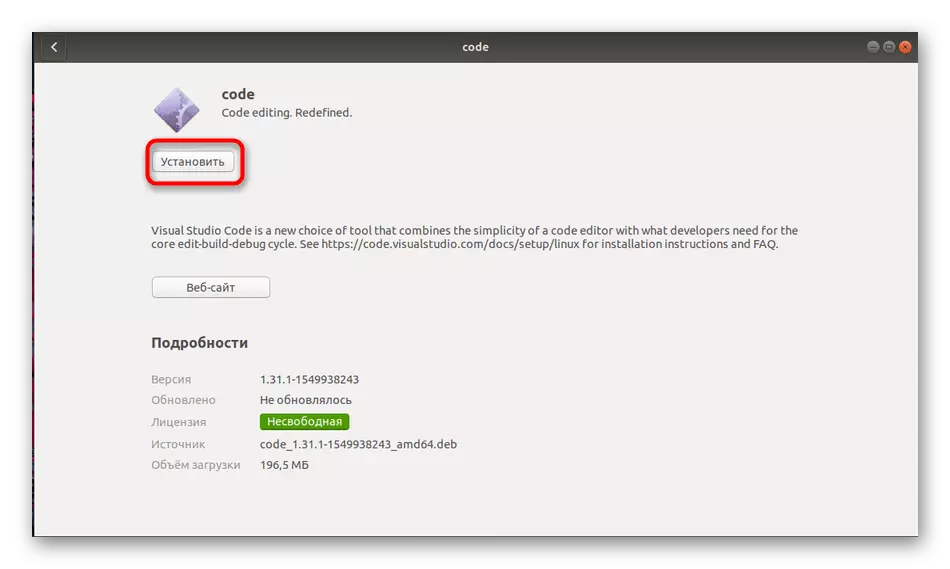
- Start the installation through the Application Manager.
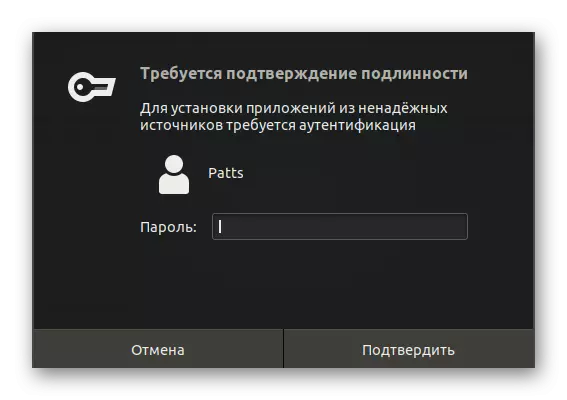
- Confirm your password entry account.
- Upon completion of the installation, you can find the program start icon through the menu using the search.
If there was no need to add updates to the software under consideration, open the console and alternately enter the following commands:
Sudo Apt-Get Install Apt-Transport-HTTPS
Sudo Apt-Get Update
Sudo Apt-Get Install Code
As for users using distributions developed based on Rhel, Fedora or CentOS, you should use the lines below to install the program.
sudo rpm --import https://packages.microsoft.com/keys/microsoft.asc
Sudo SH -C 'ECHO -E "[Code] \ Nname = Visual Studio Code \ NBaseURL = https: //packages.microsoft.com/yumrepos/vscode \ Nenabled = 1 \ ngpgcheck = 1 \ ngpgkey = https: // packages .microsoft.com / Keys / Microsoft.asc "> /etc/yum.repos.d/vscode.Repo '
Package updates are carried out by specifying DNF Check-Update, and then Sudo DNF Install Code.
There are owners and OS on OpenSUSE and SLE. Here the code changes slightly:
sudo rpm --import https://packages.microsoft.com/keys/microsoft.asc
Sudo SH -C 'ECHO -E "[Code] \ Nname = Visual Studio Code \ NbaseURL = https: //packages.microsoft.com/yumrepos/vscode \ Nenabled = 1 \ NType = rpm-md \ ngpgcheck = 1 \ ngpgkey = https: //packages.microsoft.com/keys/microsoft.asc "> /etc/zypp/repos.d/vscode.repo '
Update is made through the successive activation of Sudo Zypper Refresh and Sudo Zypper Install Code
Now you are familiar with the Visual Studio Code installation methods for different Linux kernel distributions. If you encountered any problems or problems, be sure to first read the text of the error, study the official documentation of the operating system, and also leave questions in the comments.