
There are many plugins in the world of photoshop to simplify the user's life. The plugin is a program-supplement that runs on the photo stamp and has a specific set of functions. Today it will be about the plugin from ImageNomic entitled Portraiture. , More precisely, on its practical use.
Using Portraiture Plugin In Photoshop
How can I understand from the name, this plugin is designed to handle portrait pictures. Many masters are disliked the portrait for excessive bleeding of the skin. It is said that after processing the plugin, the skin becomes unnatural, "plastic". Strictly speaking, they are right, but only partly. Do not require any program of complete replacement of a person. Most of the retouching actions will still have to be done manually, the plugin will only help save time on certain operations. Let's try to work with ImageNomic Portraiture. And let's see how to use its capabilities.
Before the launch of the photo plugin, you must subjected to pretreatment - remove defects, wrinkles, moles (if required). How it is done, told in the lesson on the link below.
Read more: Photo processing in Photoshop
So, pre-processing is manufactured.
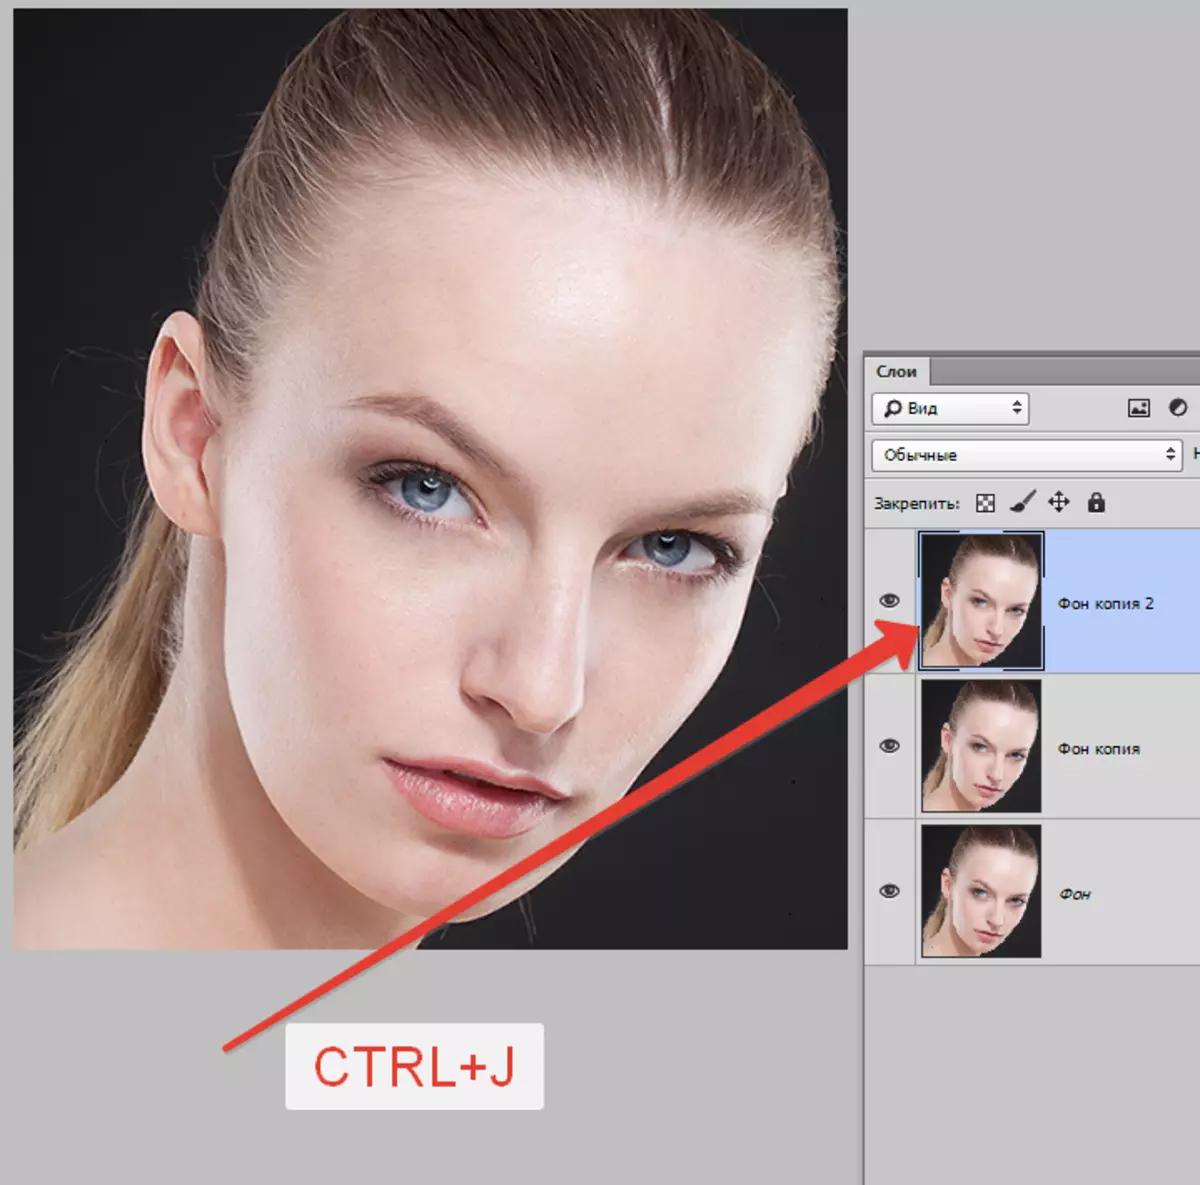
- Create a copy of the layer. Over it will work plugin.
- Then go to the menu "Filter - ImageNomic - Portraiture".

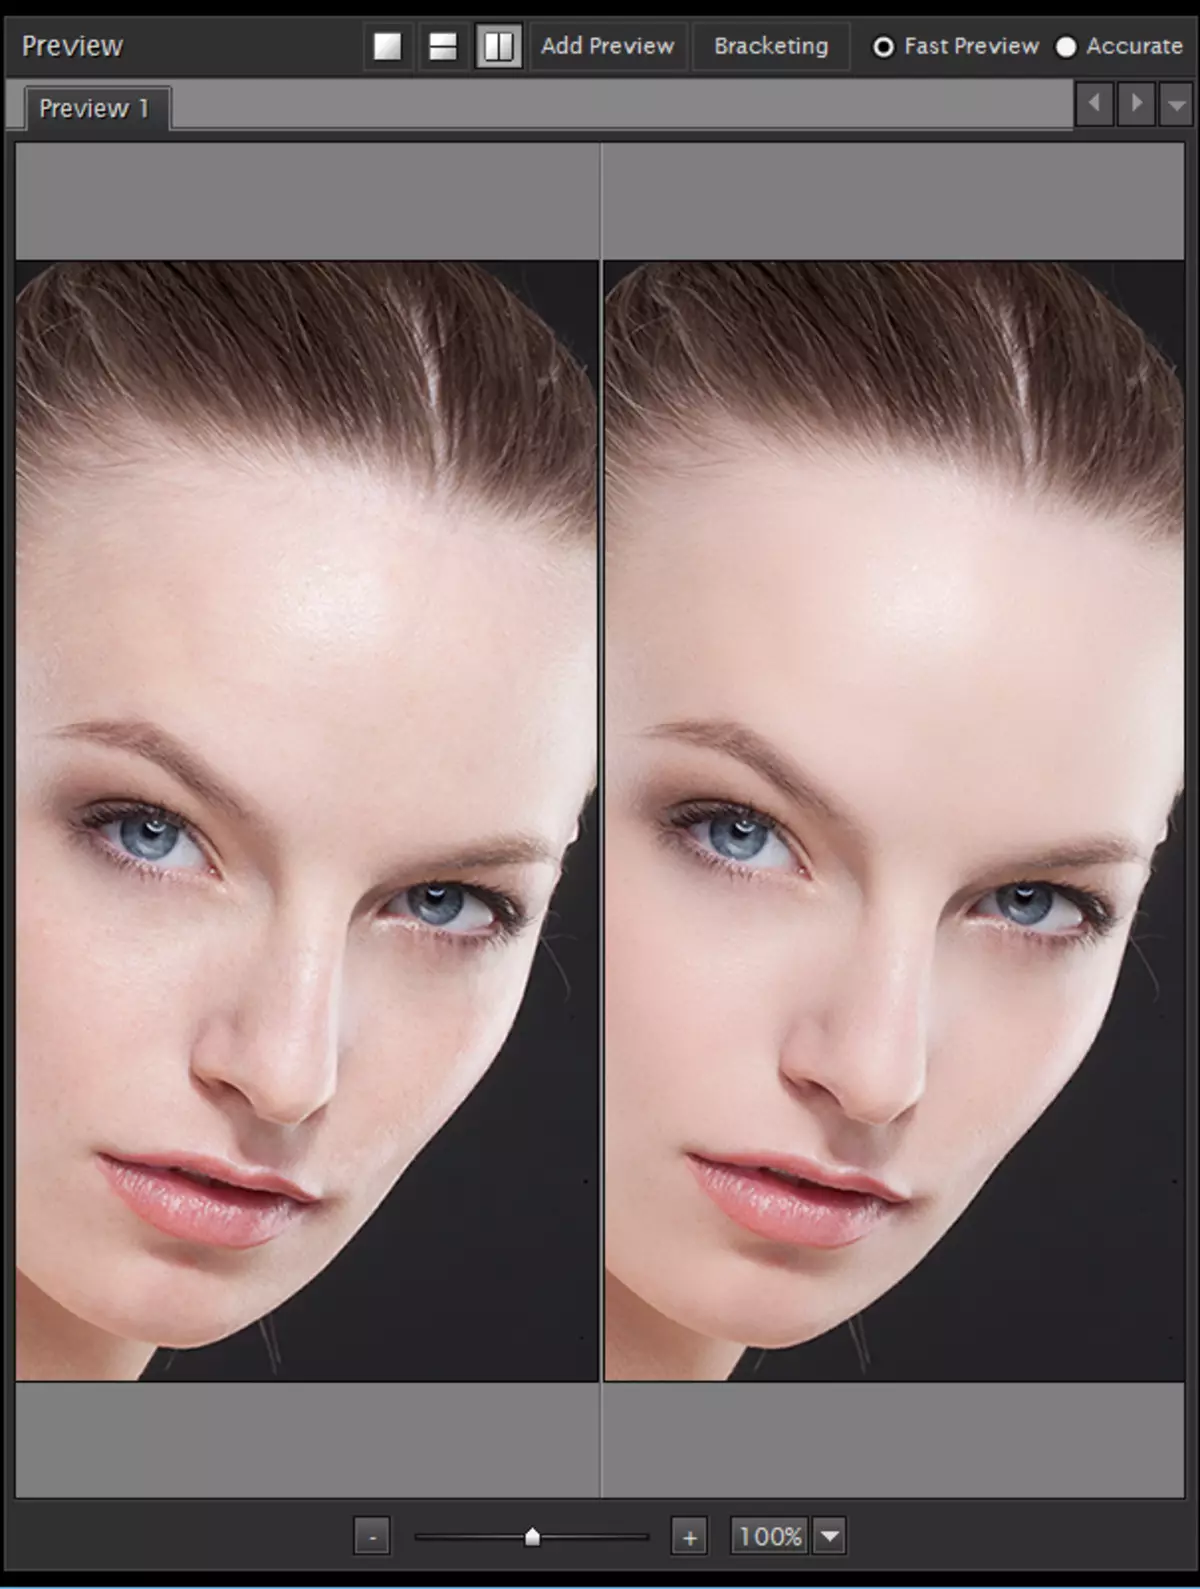
In the preview window, we see that the plugin has already worked over a snapshot, although we have not done anything yet, and all settings are exhibited in zero. Professional look courtes over an excessive blending of the skin.
Let's take a look at the settings panel. The first block is responsible for the blurring of parts (small, medium and large, top-down).

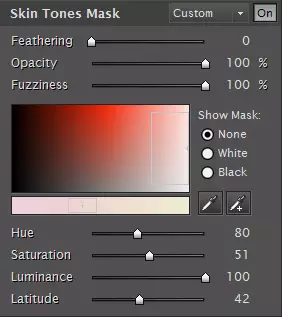
The next block contains a mask settings that defines the area of the skin. By default, the plugin does automatically. If you wish, you can manually adjust the tone to which the effect will be applied.
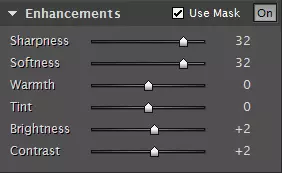
The third block is responsible for the so-called "improvements". Here you can finely adjust the sharpness, softening, heat, color, tint of the skin, glow and contrast (from top to bottom).
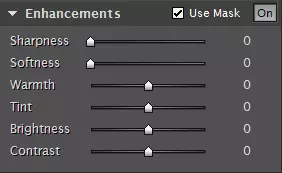
As mentioned above, when applying default settings, the skin is somewhat unnatural, so we go to the first block and work with the sliders.
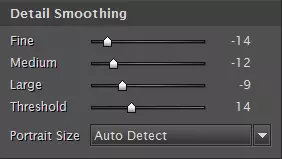
The configuration principle is to choose the parameters that are suitable for a specific snapshot. Three upper sliders are responsible for the blurring of parts of different sizes, and the slider "Threshold" Determines the effect of exposure.
It is worth paying the maximum attention to the top slider. It is he who is responsible for the blurring of small details. The plugin does not understand the difference between defects and texture of the skin, hence and excessive blur. Slider set the minimum acceptable value.
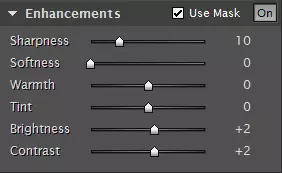
- A block with a mask does not touch, but go to improvements immediately. Here a little taiting sharpness, illumination and, for underscores large parts, contrast.
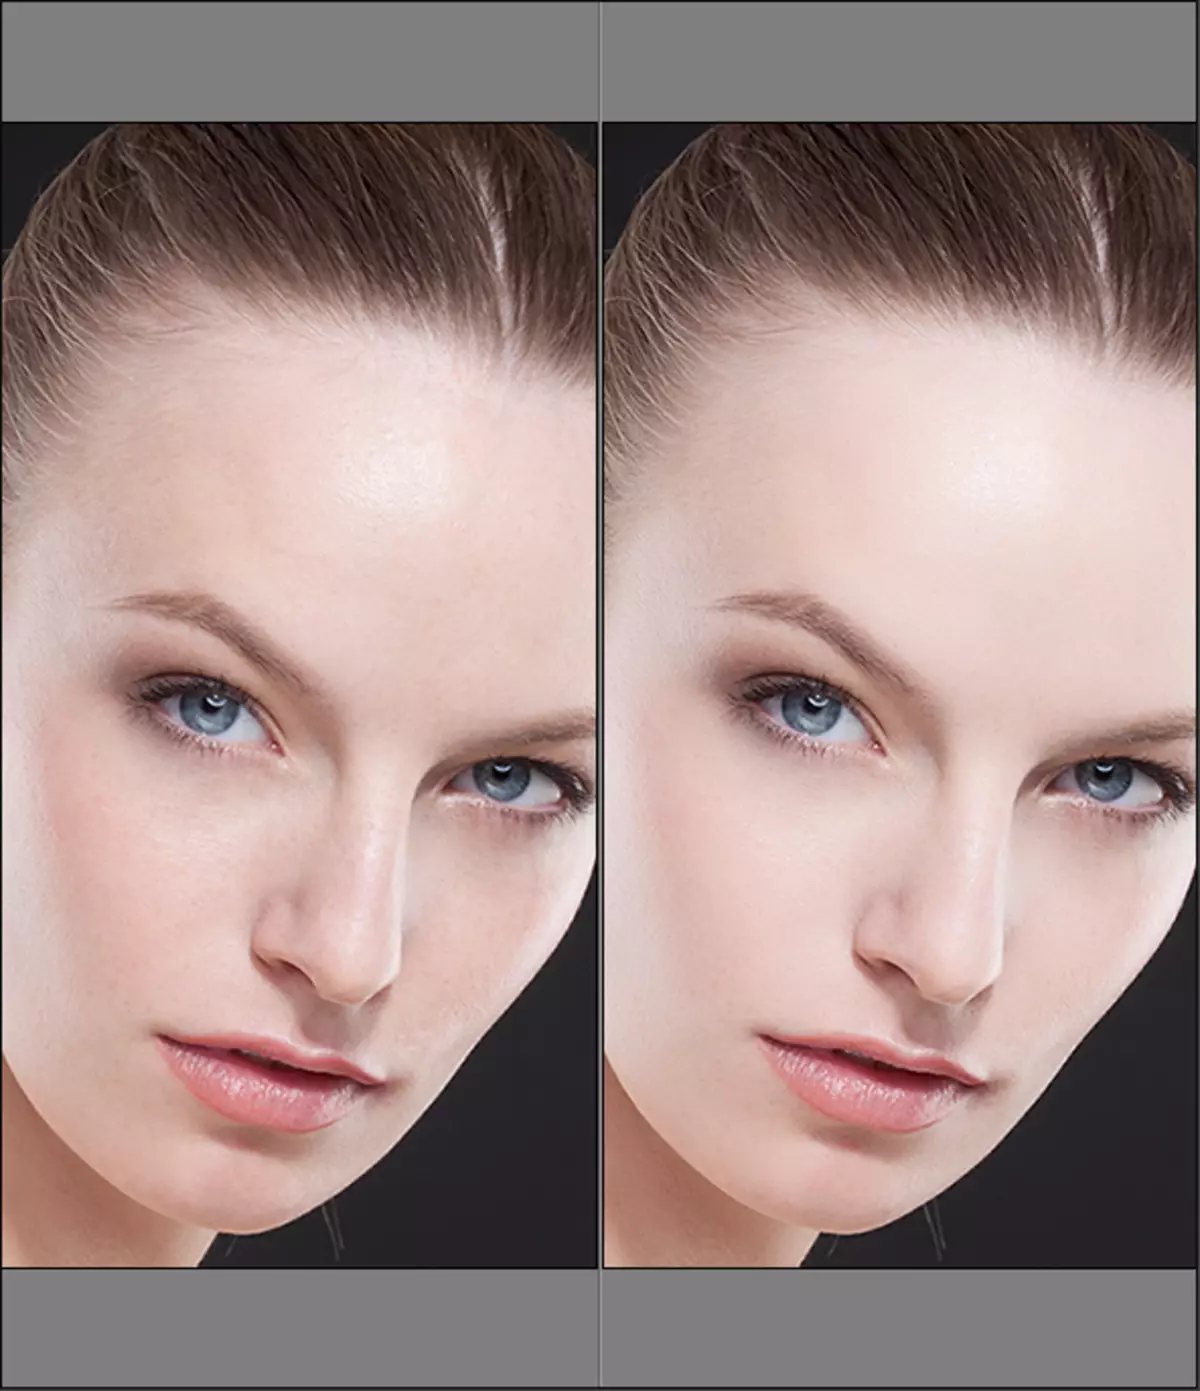
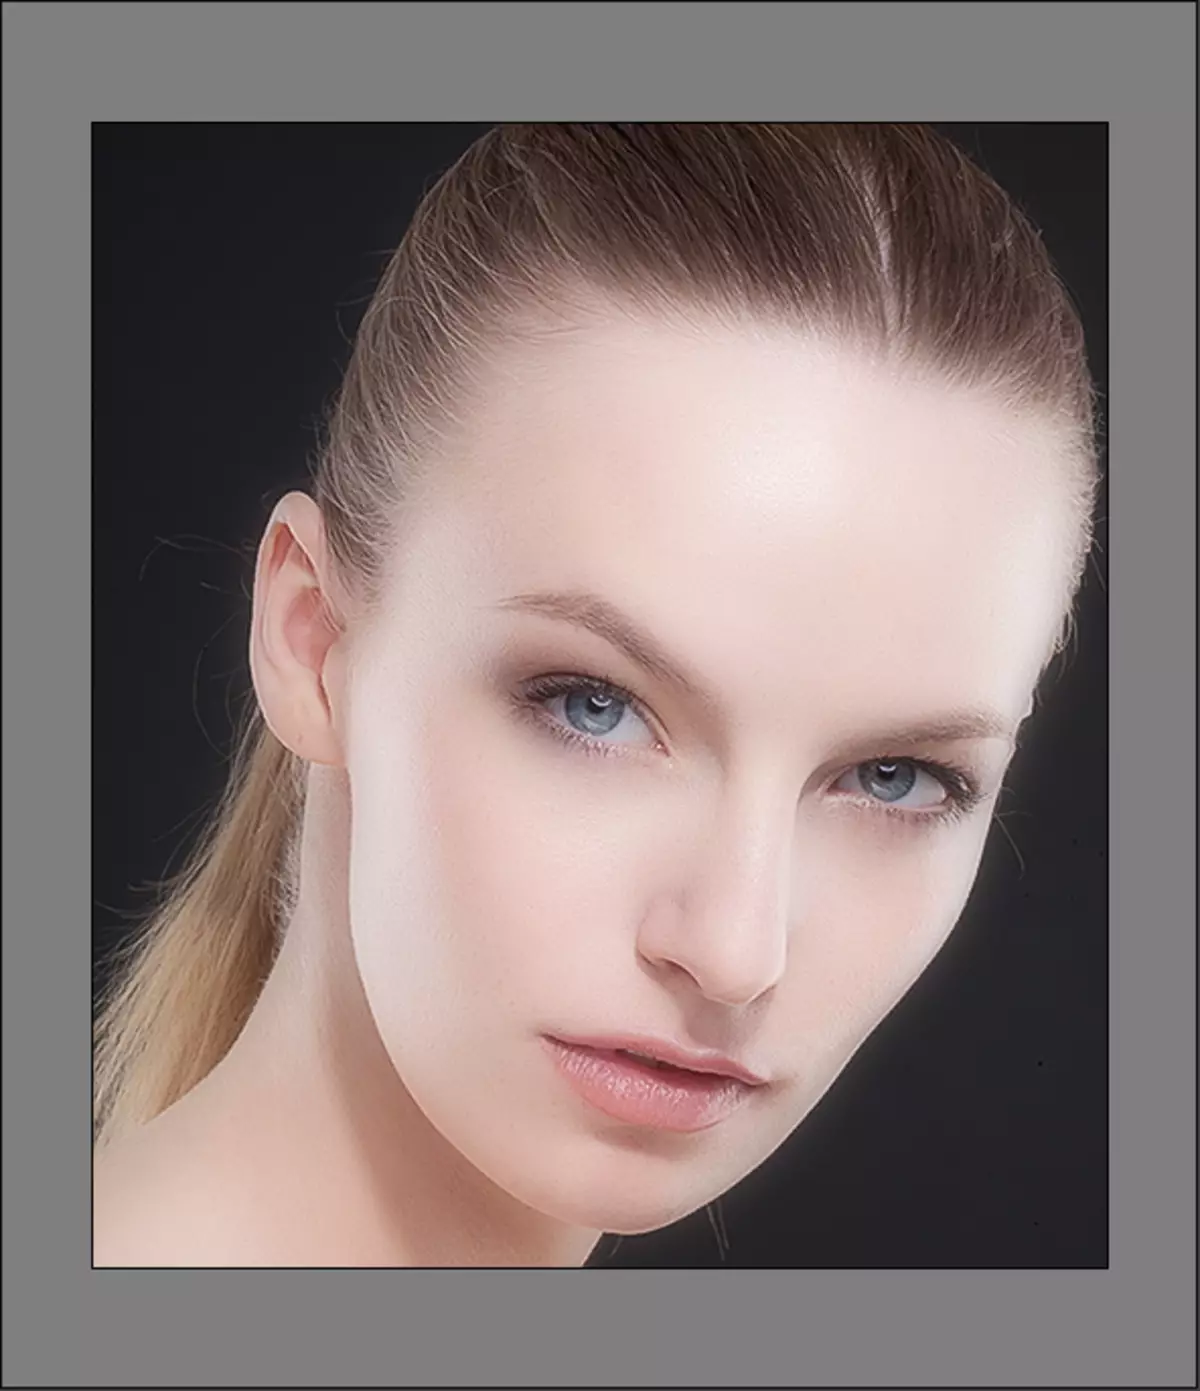
Result:
- An interesting effect can be achieved if you play with the second slider. Softening gives a romantic halo to a snapshot.
Result:
- The setting of the plugin we finished, press OK.

On this processing of the image of the plugin ImageNomic Portraiture. can be considered completed. The skin of the model is smoothed and looks quite natural.