
For the correct operation of the video card, it is necessary not only to install the drivers, but also make the appropriate settings. This is often done in special control panels, however, it happens that the latter disappear from the system. In this article, we will discuss what to do when the element of the NVIDIA control panel is disappeared from the computer or laptop running Windows 10.
The problem under consideration in the overwhelming majority occurs for two reasons - due to errors in the NVIDIA software or as a result of the system failure.
Method 1: Check Services
For the correct operation of all NVIDIA components, and control panels, including special services are needed. They must be active, however, due to system errors, sometimes disconnected. To repeat them, you need to do the following:
- Use the "Windows" + "R" key combination. A window will appear to "execute". Enter the combination of Services.msc, and then press "ENTER" on the keyboard or the "OK" button in the same window.

Method 2: Reinstall drivers
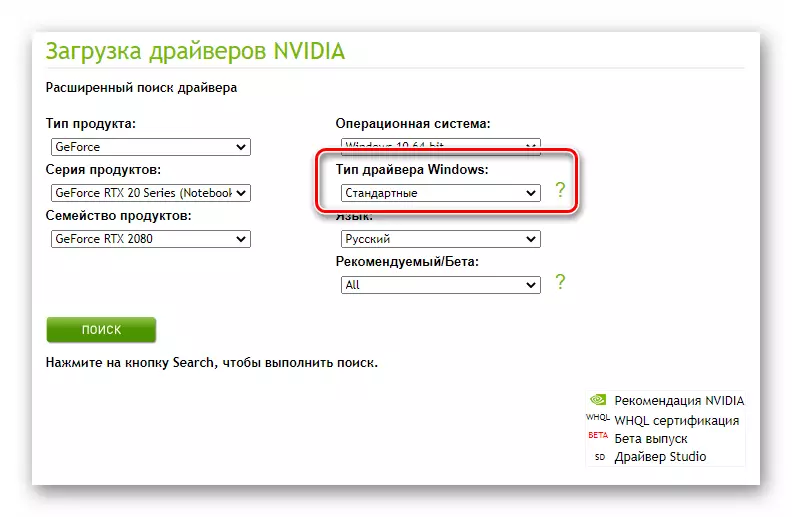
By default, access to the NVIDIA control panel appears after installing the appropriate drivers. If for some reason this panel disappeared, you should try to delete software, and then re-install it. About how to do it correctly, we wrote earlier in a separate manual. The main thing is when downloading new drivers, choose a standard software, and not DCH.
Read more: Reinstalling drivers NVIDIA video cards
Method 3: Virus Check
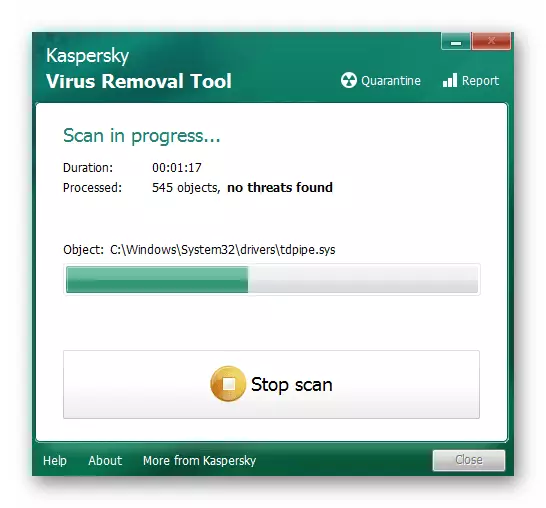
Malicious software can cause many errors and problems, including disable "NVIDIA control panel". That is why it is worthwhile to check the system for viruses in such situations, especially since it is not necessary to install full-fledged antiviruses at all, as there are portable analogs that are well coped with the tasks. We told about such solutions in one of the previously published guidelines with which you can read the link below.
Read more: Checking the system for malicious software without antivirus
Method 4: Windows Store
This method can be attributed to solutions to which it is worth resorting to the most extreme situations. If none of the above methods have worked, try running the NVIDIA control panel directly from the built-in Microsoft Store application, from where it can also be installed. To do this, do the following:
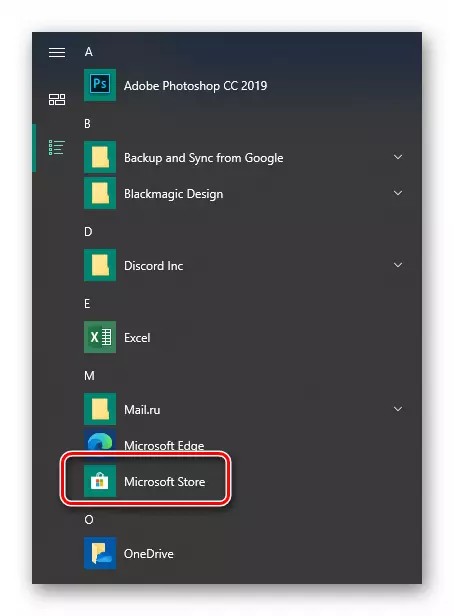
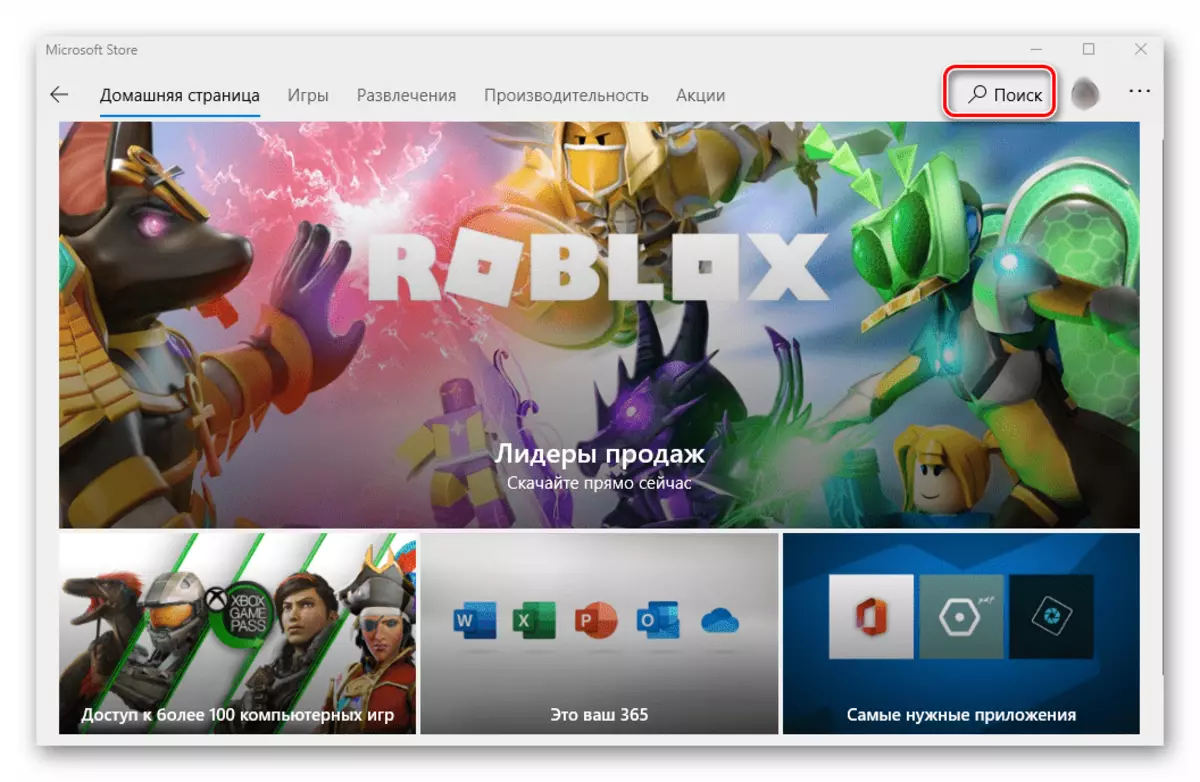
- Click the Start button and select the Microsoft Store program in the application list from the application list.
- Next, click on the search icon in the upper right corner and enter the NVIDIA query in the string appeared, then use "ENTER" on the keyboard.
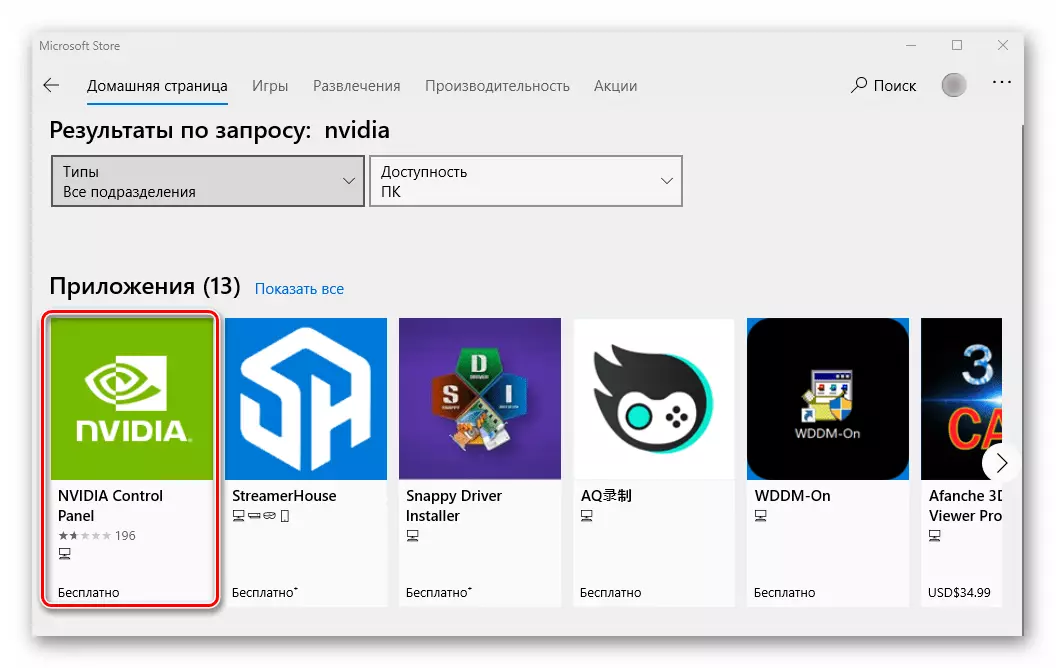
- On the very first place, among all the search results you will see the desired application. Click on it once the LKM.
- If in the future this application does not need, you can always delete it.
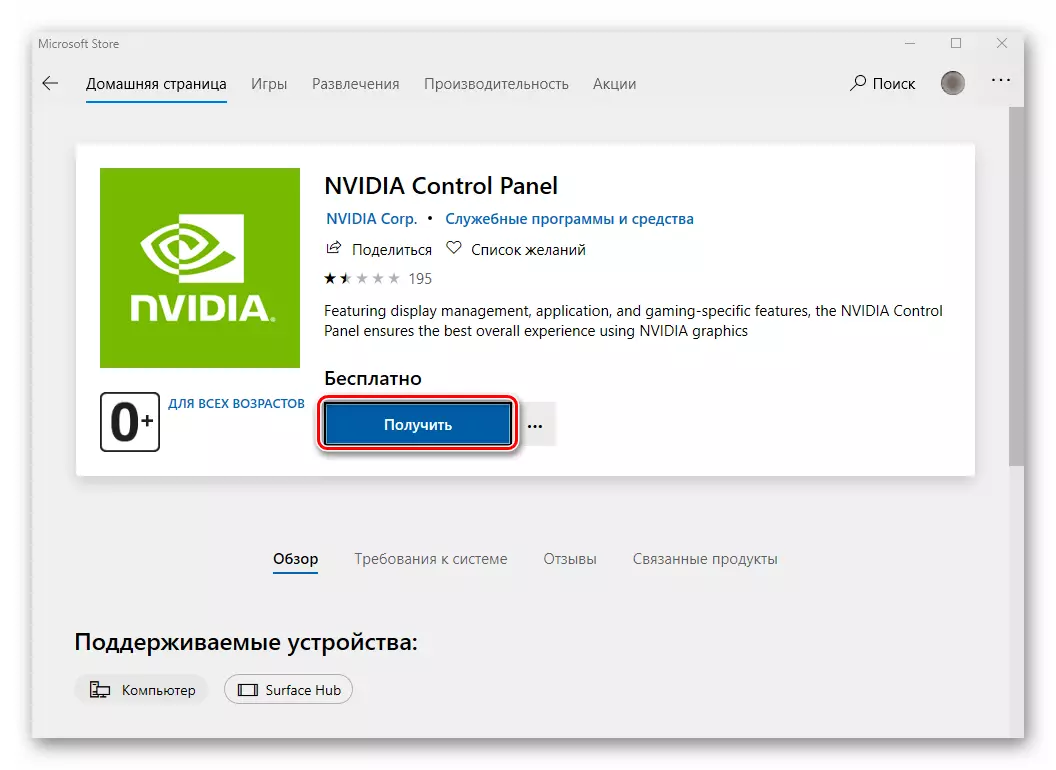
In the next window, click "Get". As a result, the program will automatically start booting to the computer. Upon completion of the operation, the "Open" button will appear instead of this inscription - click it to start the "NVIDIA control panel".
Thus, you learned about the basic methods of returning the "NVIDIA control panel" in Windows 10. As a conclusion, I would like to remind you that in some situations this element may not disappear, and simply stop opening. We described this problem in a separate manual.
Read more: NVIDIA Control Panel Problems