
Paper books are gradually moving into the background and, if a modern person reads something, then it does it, the cup of everything, from a smartphone or tablet. Home For similar purposes, you can use a computer or laptop.
There are special formats of files and program readers for convenient reading of e-books, but many of them also apply to Doc and DocX formats. Registration of such files often leaves much to be desired, so in this article we will tell you how to make a book in the Word well-readable and suitable for printing in the book format.
Creating an electronic version of the book
1. Open the Word text document containing the book.

Note: If you downloaded the Doc and DocX file from the Internet, most likely, after opening it will work in limited functionality mode. To disable it, use our instructions described in the article below.
Lesson: How to remove limited functionality mode in Word
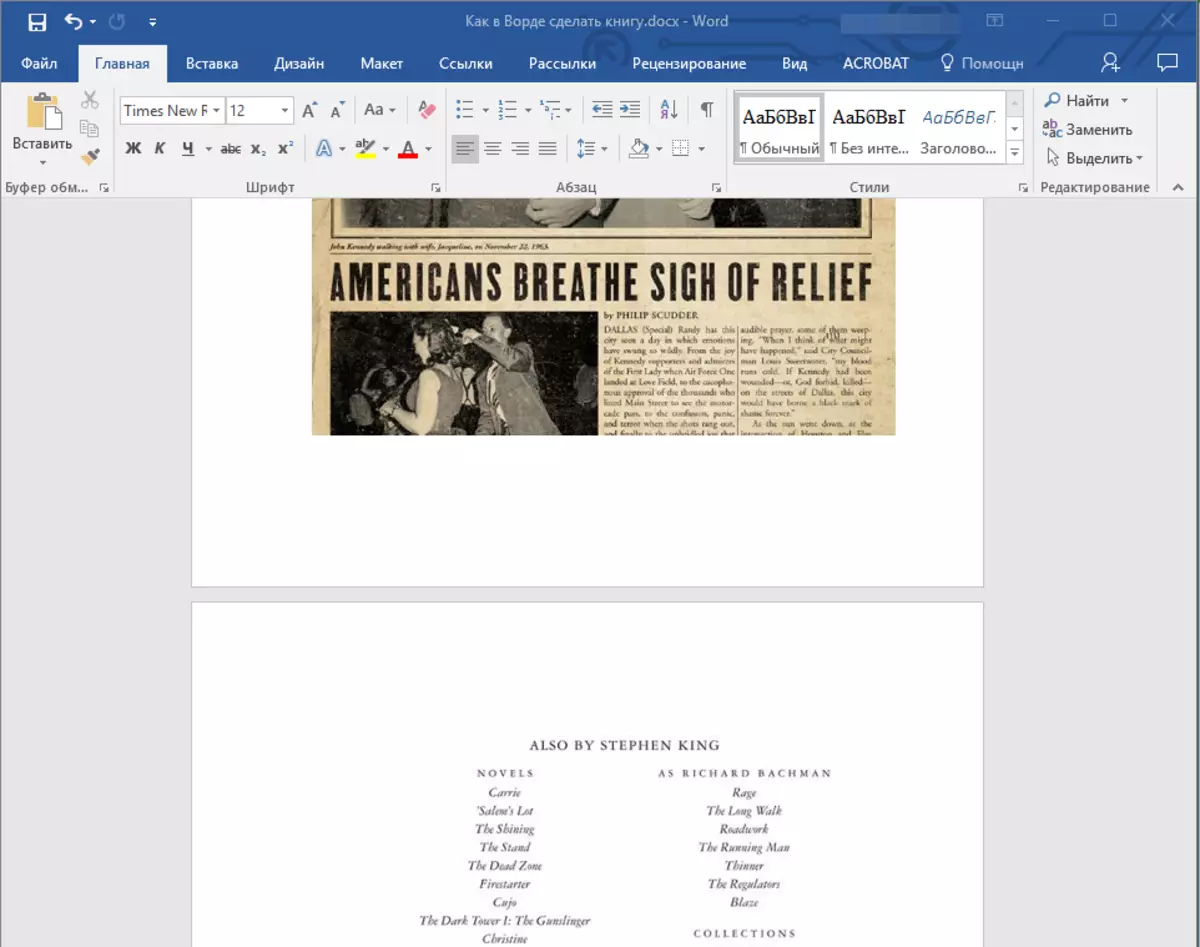
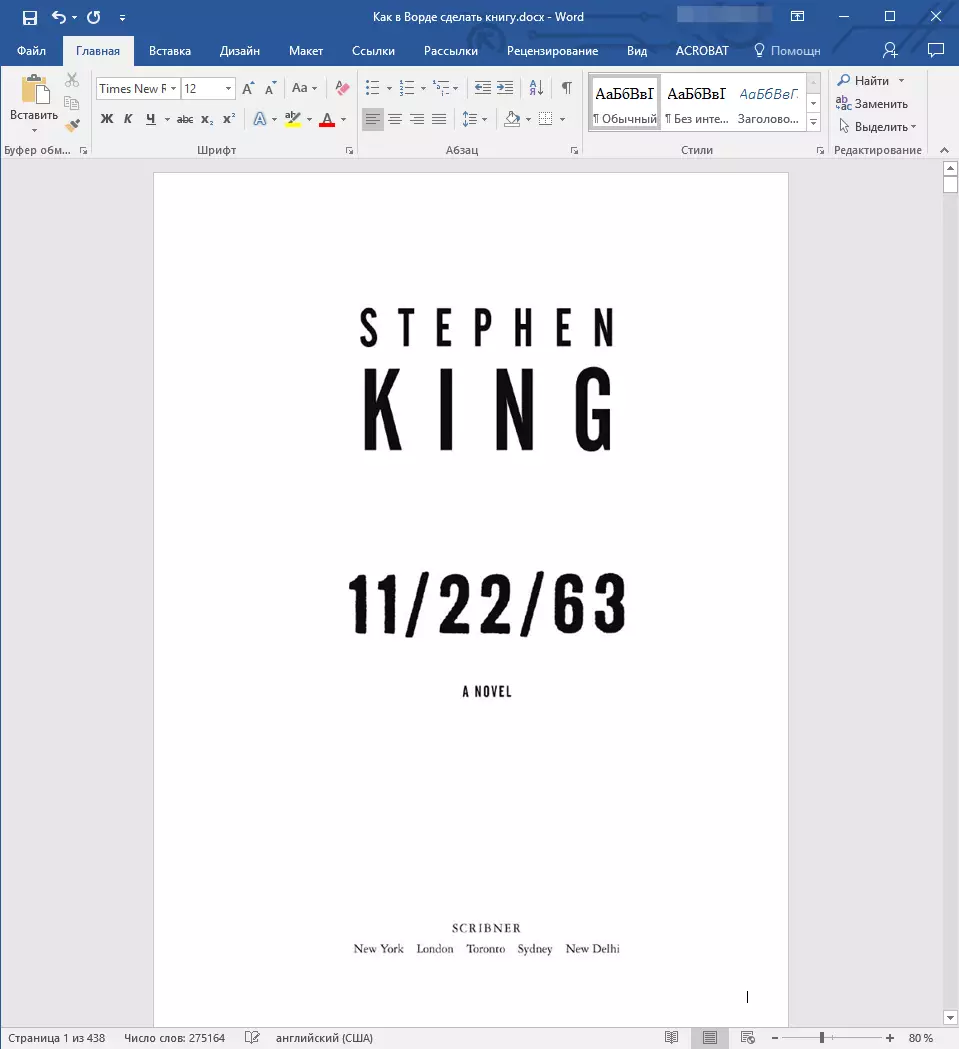
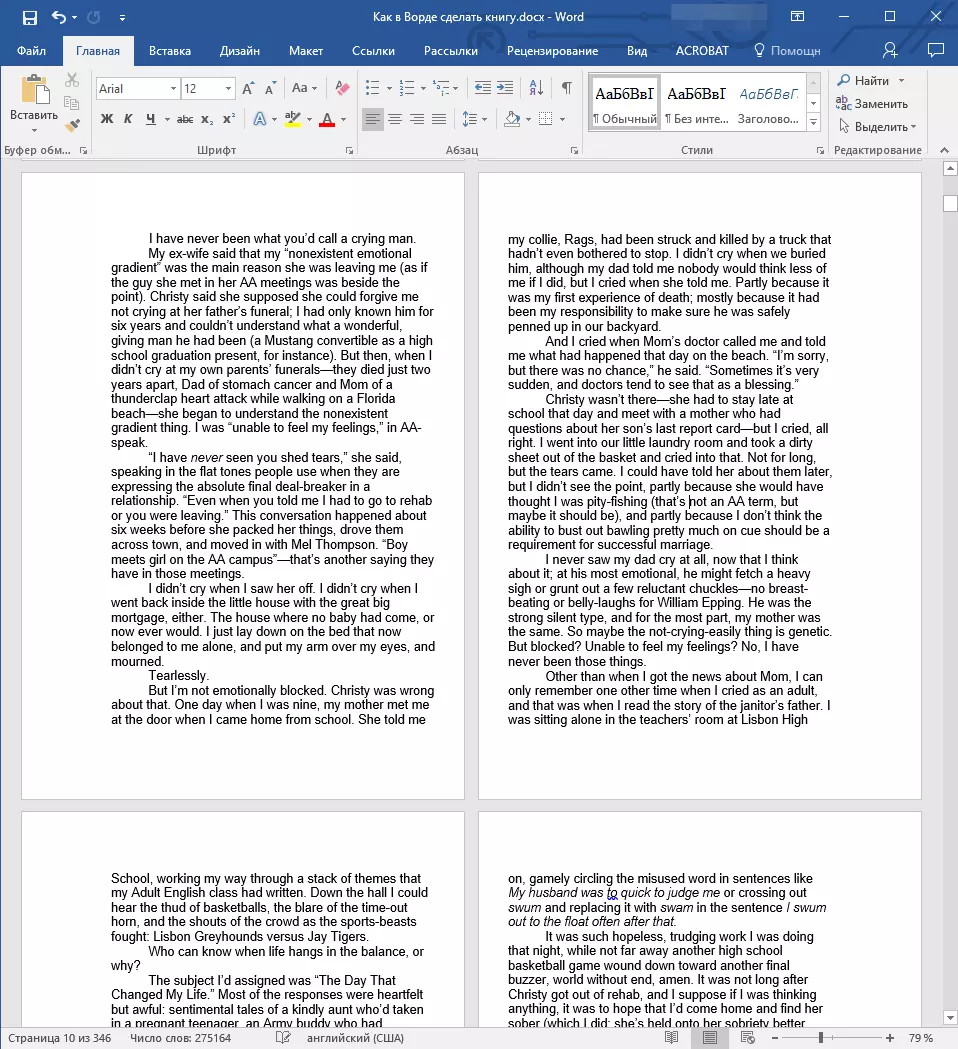
2. Come on the document, it is possible that it contains a lot of unnecessary, information and data that you do not need, empty pages, etc. So, in our example, this is a newspaper clipping at the beginning of the book and a list of what Stephen King put his hand to the moment of writing the novel "11/22/63" which is open in our file.
3. Highlight all the text by clicking "Ctrl + A".
4. Open the dialog box "Page settings" (tab "Layout" in Word 2012 - 2016, "Page layout" in versions 2007 - 2010 and "Format" in 2003).

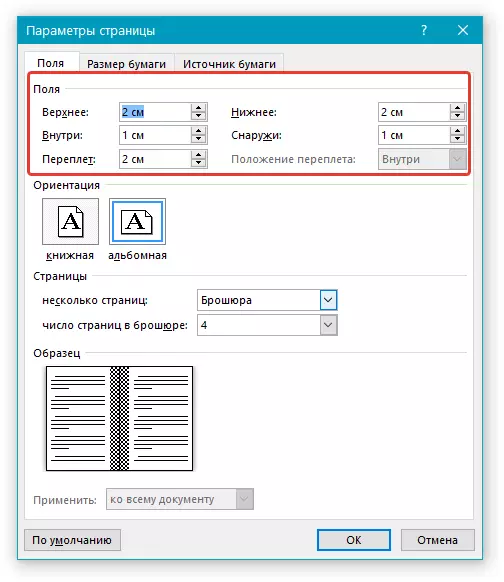
5. In the section "Pages" Expand the menu of the "Multiple Pages" item and select "Brochure" . This will automatically change the orientation to the landscape.
Lessons: How to make a booklet in the Word
How to make album sheet
6. Under the "Several Pages" item, a new item will appear. "Number of pages in brochure" . Choose 4 (two pages on each side of the sheet), in section "Sample" You can see how it will look.
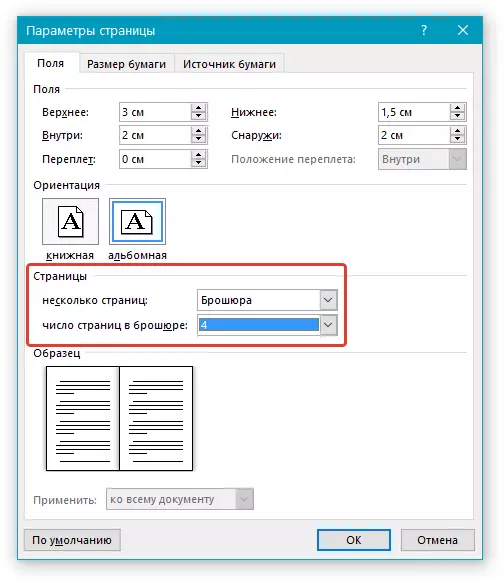
7. With the choice of item "Brochure" Field settings (their name) have changed. Now in the document there is not a left and right field, but "Inside" and "Outside" What is logical for a book format. Depending on how you fasten your future book after printing, select the appropriate field size, without forgetting the amount of binding.
- Advice: If you plan to glue the sheets of the book, the size of the binding in 2 cm will be enough if you want to sew it or bore some other way, doing holes in sheets, it is better to do "Binding" A bit more.
Note: Field "Inside" responsible for indent text from binding, "Outside" - From the outer edge of the sheet.
Lessons: How to make an indent in the Word
How to change page fields
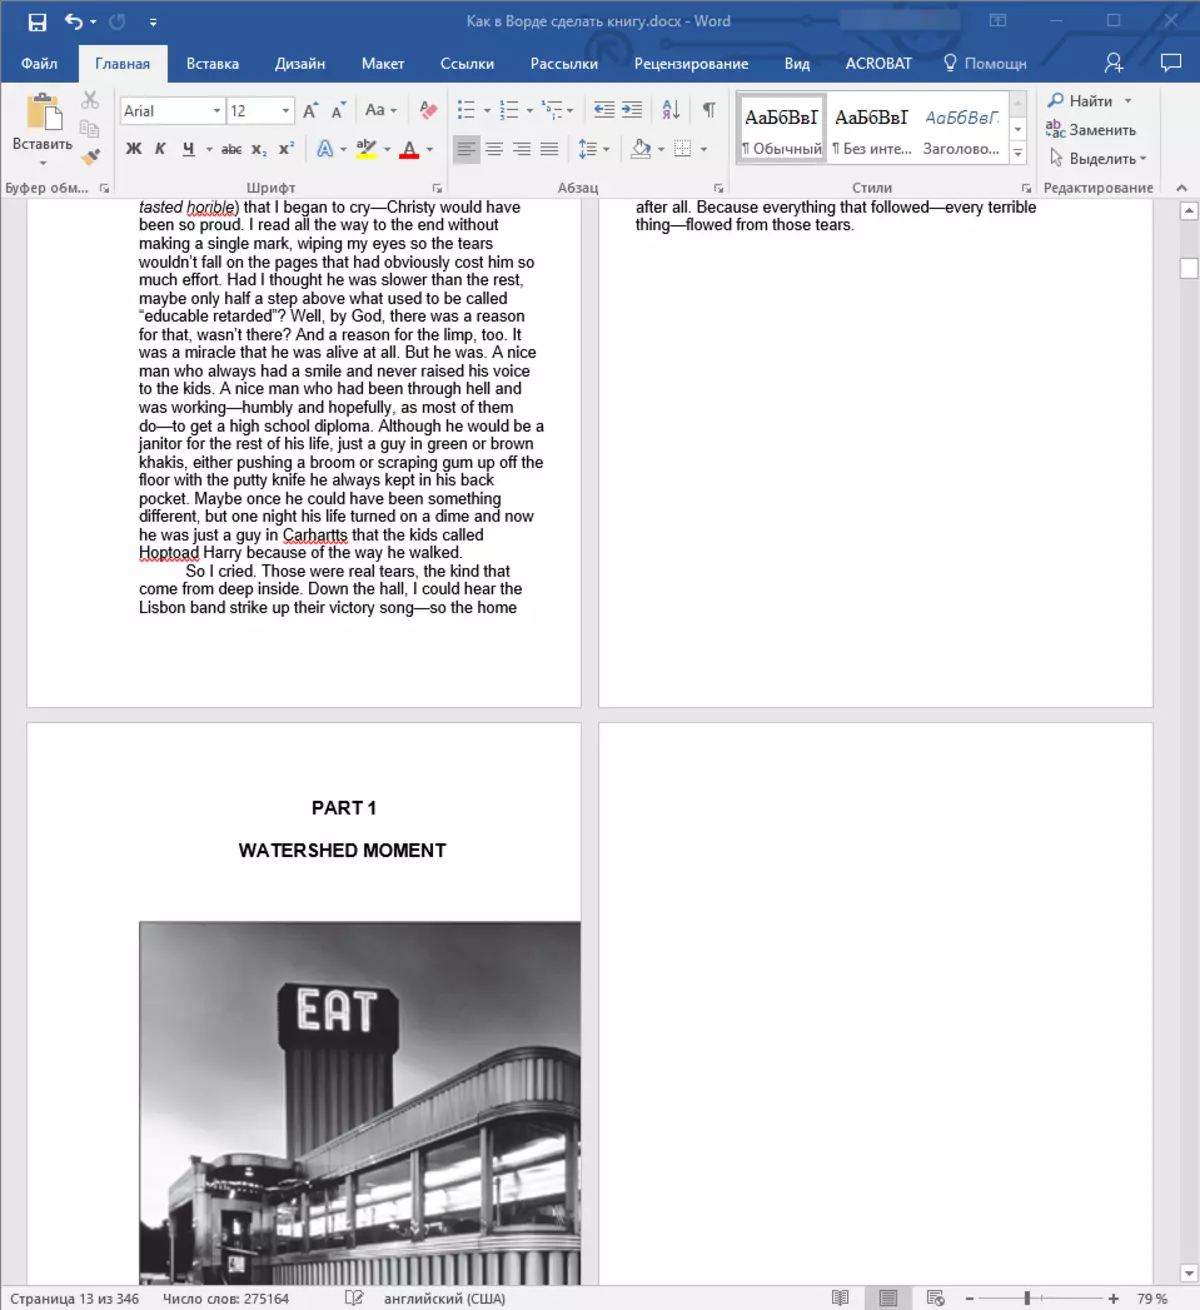
8. Check the document, whether it looks normal. If the text "okay", it is possible that the guilt of this is the footers that need to be corrected. To do this in the window "Page settings" Go to the tab "Paper Source" And specify the required footer size.

9. Review the text again. Perhaps you are not satisfied with the font size or font itself. If necessary, change it by using our instructions.
Lesson: How to change the font in Word
10. Most likely, with a change in the orientation of the page, fields, font and its size, the text has shifted on the document. For someone it does not matter, but someone clearly wishes to make every chapter, or even each section of the book began with a new page. To do this, in those places where the chapter ends (section), you need to add a page break.
Lesson: How to add a pages break in the Word
Having done all the above manipulations, you will give your book "Right", well-readable look. So you can safely go to the next stage.
Note: If in the book for some reason no numbering of pages is missing, you can make it manually using the instructions described in our article.
Lesson: How to Number Pages in Word
Printing created book
Having completed work with the electronic version of the book, it must be printed, previously making sure the capacity of the printer's ability and sufficient reserves of paper and paint.
1. Open the menu "File" (button "MS Office" In earlier versions of the program).
2. Select "Seal".
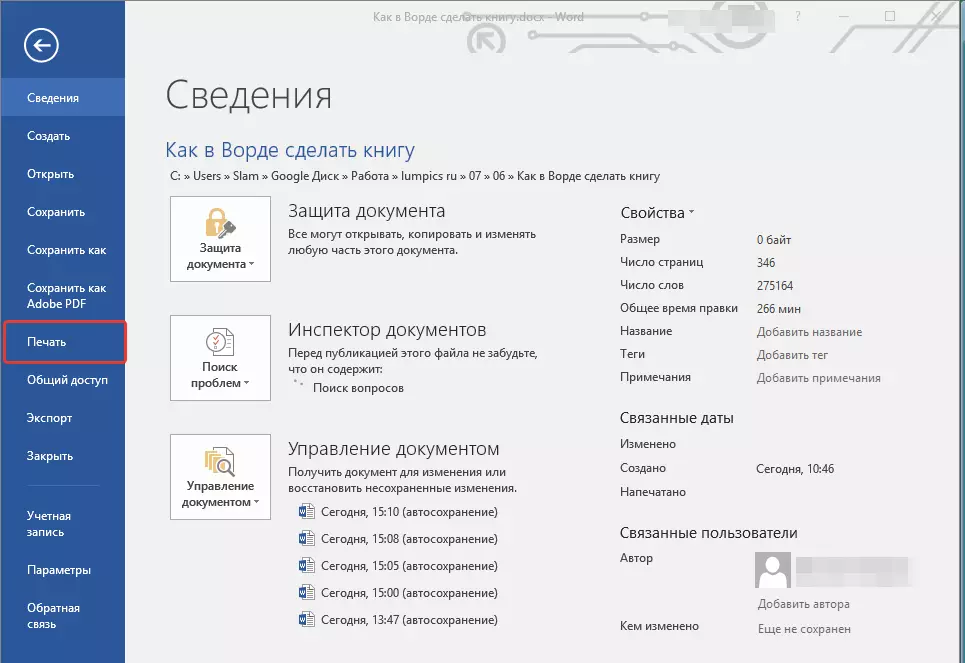
- Advice: You can open the print options and use the keys - just click on the text document "Ctrl + P".
3. Select "Printing on both sides" or "Two-sided printing" , depending on the version of the program. Place the paper in the tray and click "Seal".

After the first half of the book is printed, the Word will give the following notice:
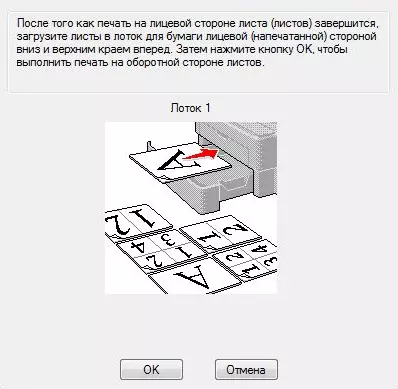
Note: The instruction that is displayed in this window is standard. Consequently, the Council submitted in it is not suitable for all printers. Your task is to understand how and on which side of the sheet prints your printer, how it gives the paper with the printed text, after which it needs to be mirroring and put it in the tray. Press the button "OK".
- Advice: If you are afraid to allow an error directly at the print stage, first try printing four book pages, that is, one sheet with text on both sides.
After printing is completed, you can bore, sew or glue your book. The sheets need to be folded not as in the notebook, but to bend each of them in the middle (place for binding), and then fold on each other, according to the numbering of pages.
We will finish this, from this article you learned how to make a book format of the page in MS Word, to make an electronic version of the book, and then print it on the printer by creating a physical copy. Read only good books, master the right and useful programs, and the text editor from the Microsoft Office package is.