

Some documents require special design, and for this in the MS Word arsenal contains quite a lot of money and tools. There are various fonts, writing and formatting styles, tools for alignment and much more.
Lesson: How to align text in the Word
Whatever it was, but almost any text document cannot be submitted without a header, the style of which, of course, should differ from the main text. The solution for the lazy is to highlight the header fat, to increase the font for one or two sizes and will stop. However, there is a more effective solution that allows you to make headlines in Word not just noticeable, but properly decorated, and just beautiful.
Lesson: How to change the font in the Word
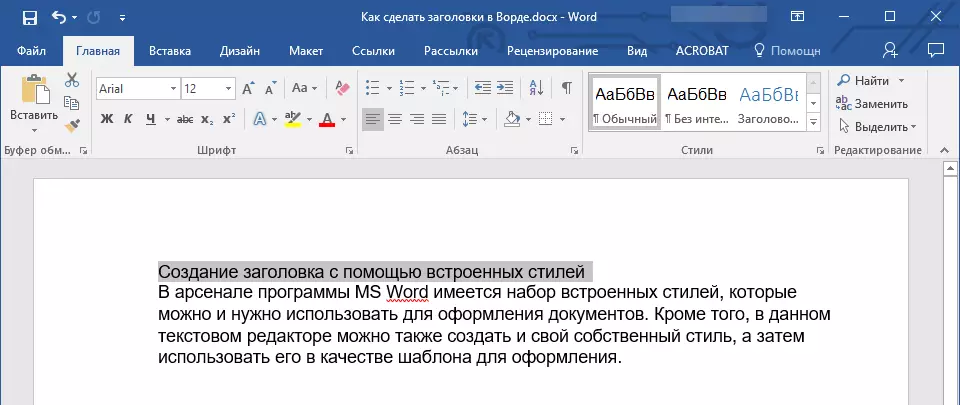
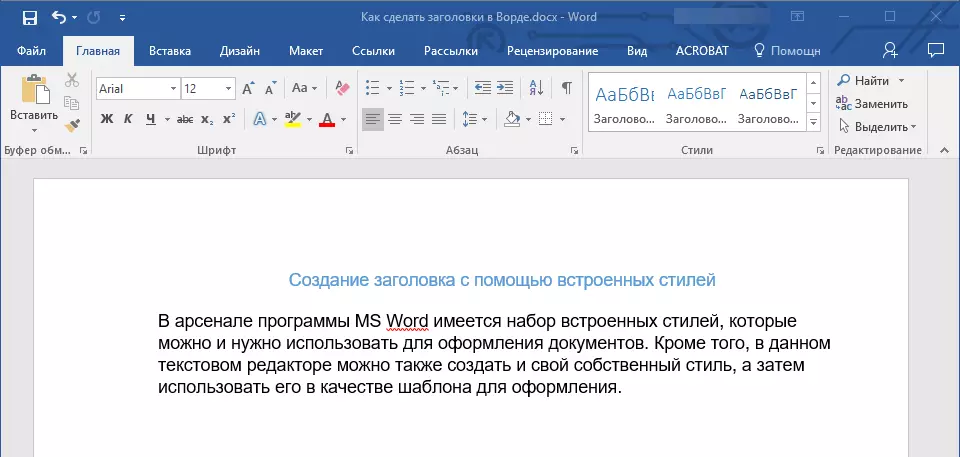
Creating a title using embedded styles
The Arsenal MS Word program has a large set of built-in styles that can be used to make documents. In addition, this text editor can also create your own style, and then use it as a template for design. So, to make the header in the Word, follow these steps.
Lesson: How to make a red string in word
1. Highlight the title that must be issued properly.
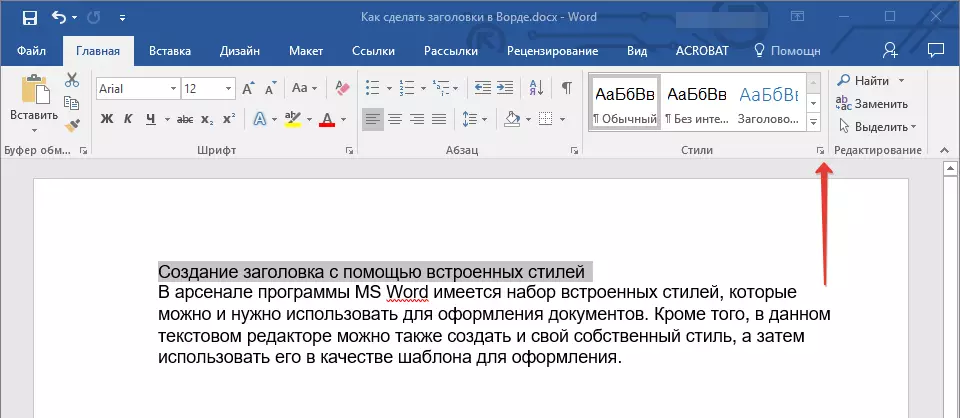
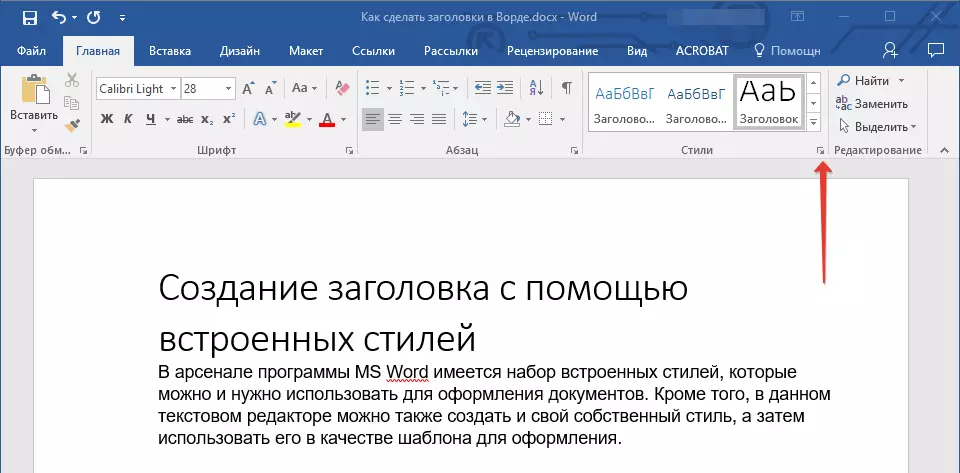
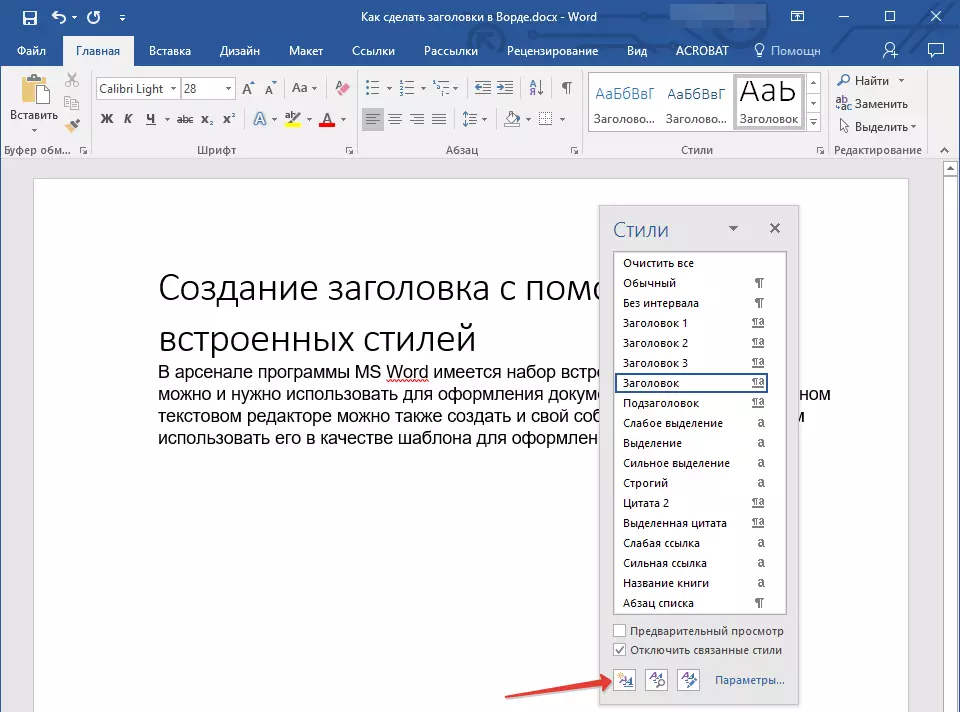
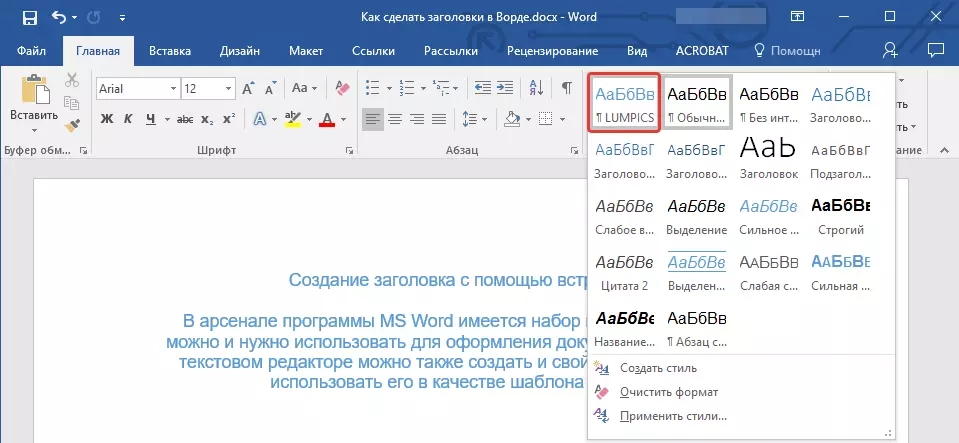
2. In the tab "Home" Expand the Group menu "Styles" By clicking on a small arrow located in its right lower corner.
3. In the window that opens in front of you, select the desired title type. Close the window "Styles".
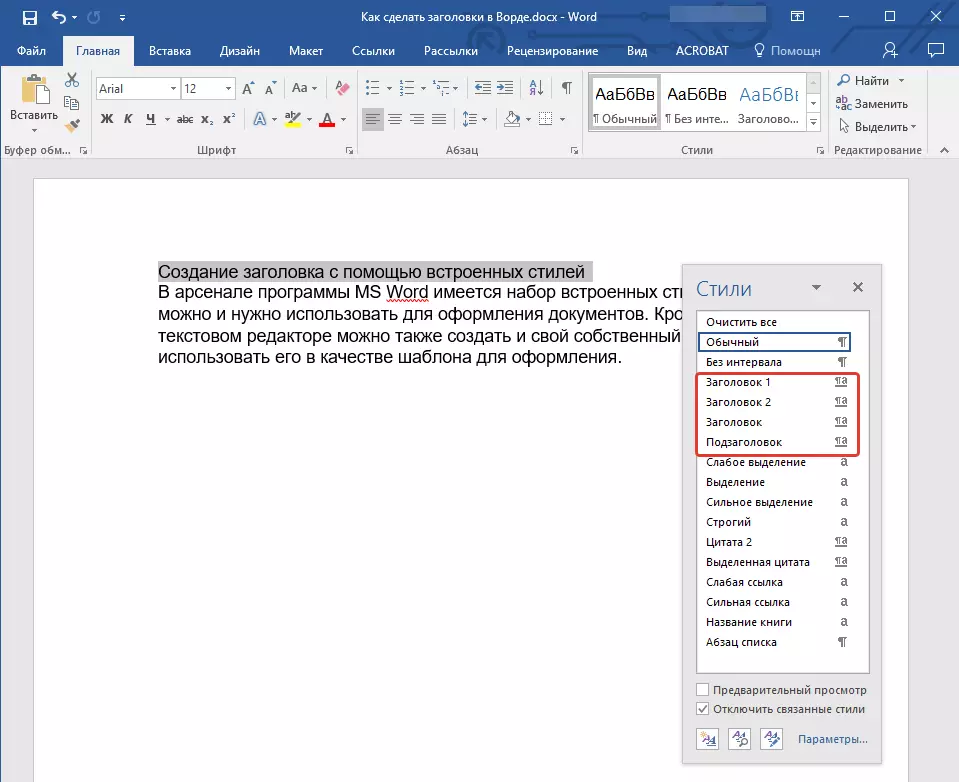
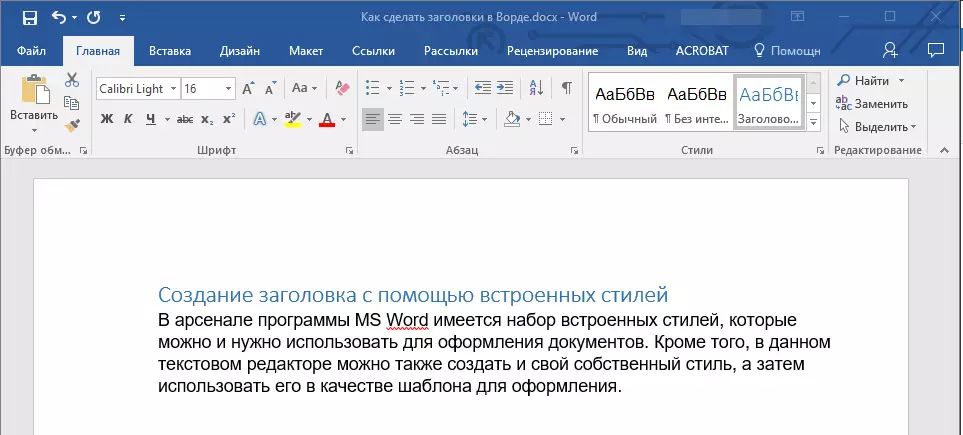
This is the main title, which is at the very beginning of the article, text;
Title 1.
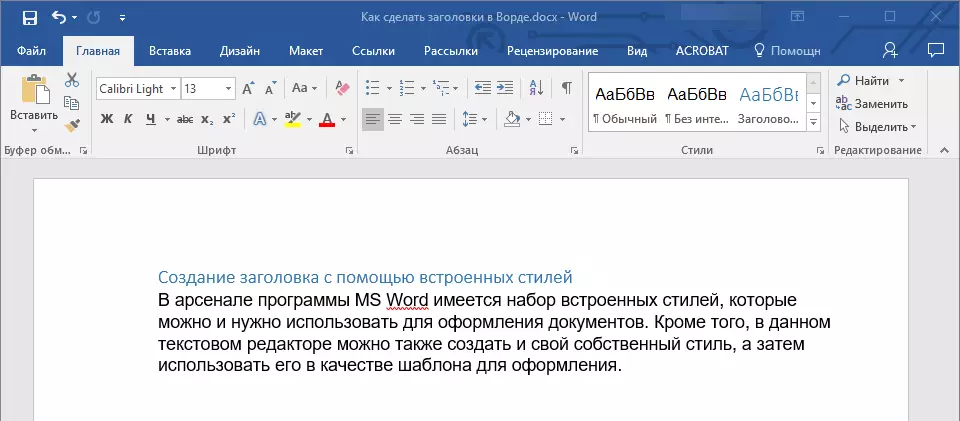
Lesse header;
Title 2.
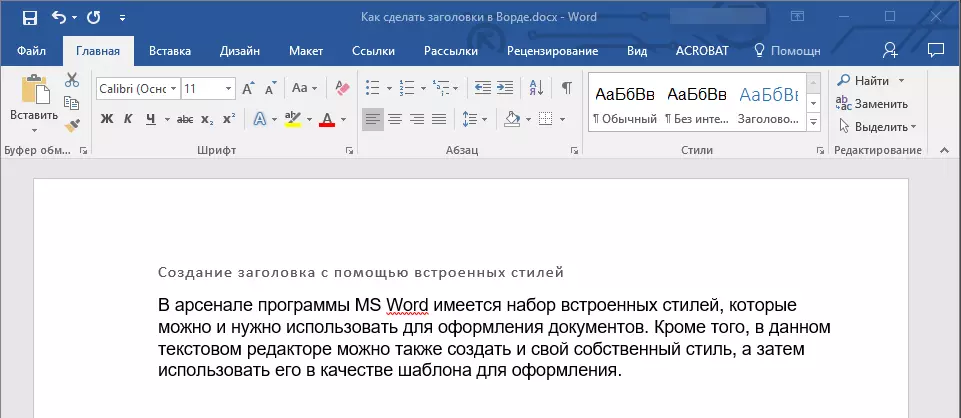
even less;
Subtitle
Actually, this is a subtitle.
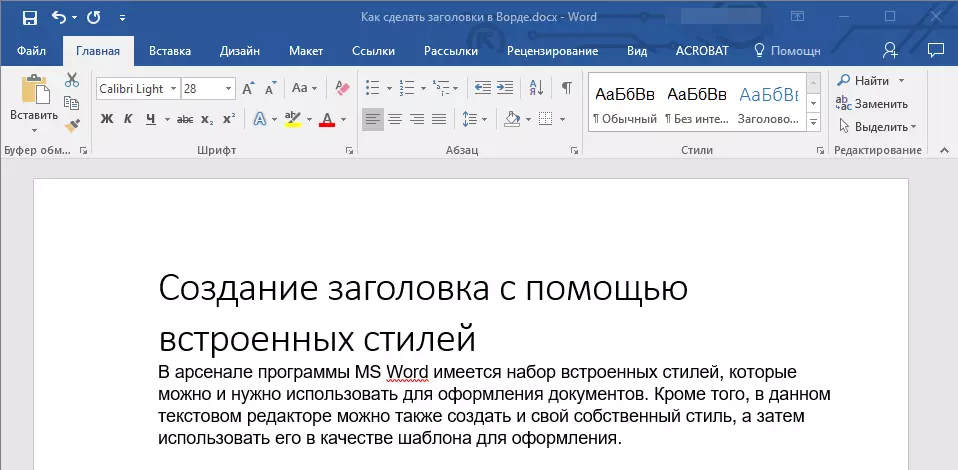
Note: As you can see from screenshots, the header style in addition to changing the font and its size also changes and the firmist interval between the heading and the main text.
Lesson: How to change the firmist interval in the Word
It is important to understand that the styles of headlines and subtitles in MS Word are template, they are based on the font Calibri. , And the font size depends on the header level. At the same time, if your text is written by another font, other size, it may well be that the template header of a smaller (first or second) level, like the subtitle, will be smaller than the main text.
Actually, it was that it happened in our examples with styles. "Title 2" and "Subtitle" since we are written the main text in font Arial , the size - 12.
- Advice: Depending on what you can afford to design a document, change the font size of the header font or text to a smaller one in order to be visually separated from the other.
Creating your own style and maintain it as a template
As mentioned above, in addition to template styles, you can also create your own style of registration of titles and the main text. This allows you to switch between them if necessary, as well as use any of them as a default style.
1. Open the group dialog box "Styles" Located in the tab "Home".
2. At the bottom of the window, click on the first button on the left "Create Style".
3. In the window that appears in front of you, set the necessary parameters.
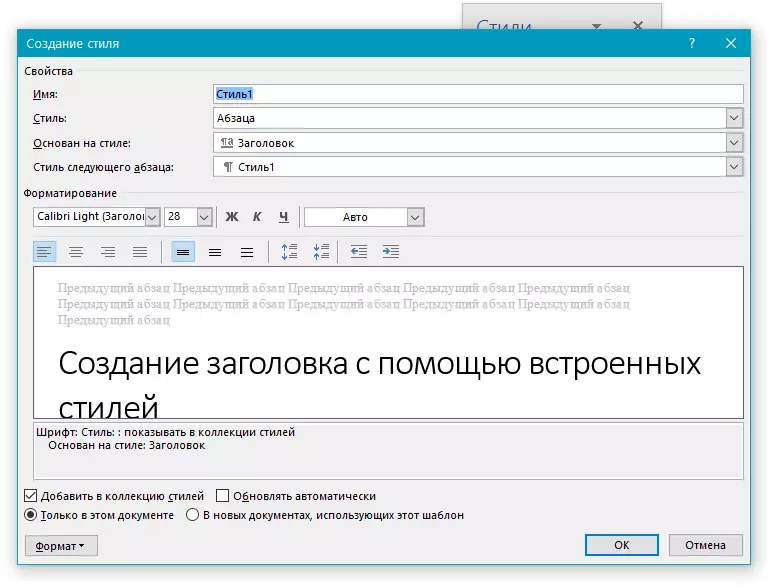
In chapter "Properties" Enter the style name, select the part of the text for which it will be used, select the style on which it is based, and also specify the style for the next paragraph of the text.
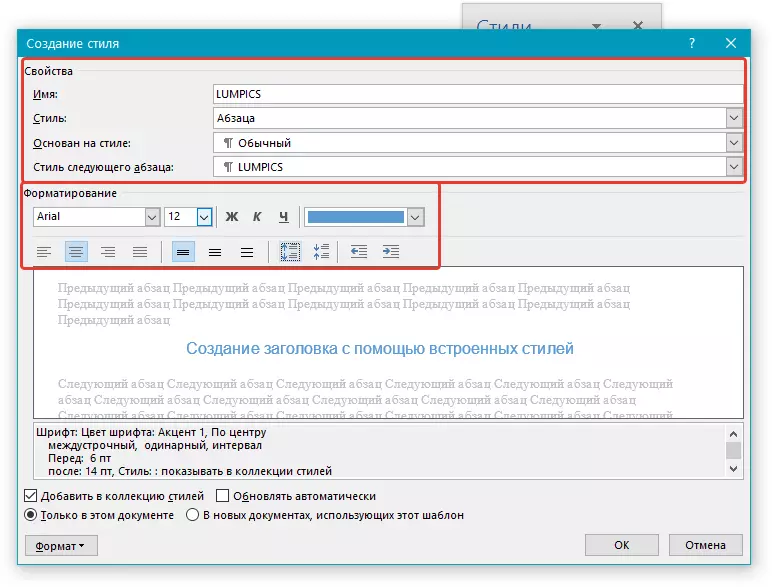
In chapter "Format" Select the font to be used for style, specify its size, type and color, position on page, alignment type, set indents and firmware.
- Advice: Under the section "Formatting" There is a window "Sample" where you can see what your style in the text looks like.
At the bottom of the window "Style Creating" Select the desired item:
- "Only in this document" - the style will be applied and saved only for the current document;
- "In new documents using this template" - The style you created will be saved and will be available for use in the future in other documents.
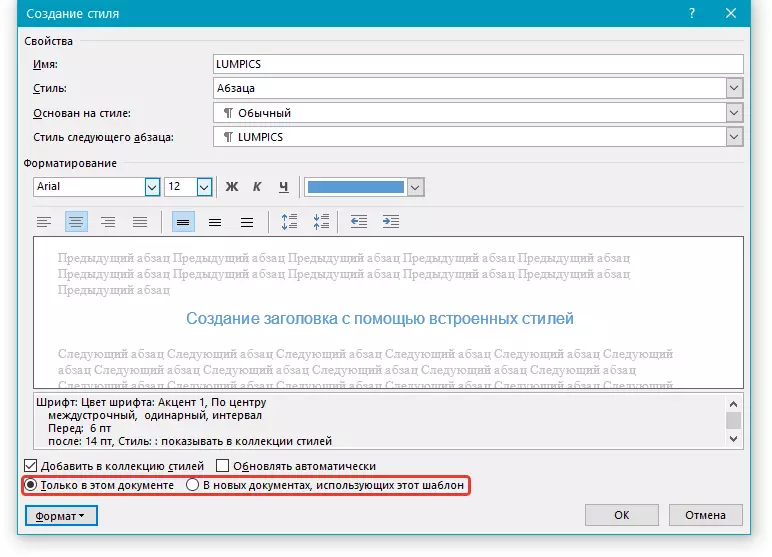
After performing the necessary style settings, saving it, click "OK" to close the window "Style Creating".
Here is a simple example of the title style (although, rather, the subtitle) created by us:
Note: After you create and save your own style, it will be in the group "Styles" which is located in the deposit "Home" . If it is not displayed directly on the program control panel, expand the dialog box "Styles" And find it there by the name you came up with.
Lesson: How to make automatic content in the Word
That's all, now you know how to make a header in MS Word correctly using a template style available in the program. Also now you know how to create your own text design style. We wish you success in further studying the capabilities of this text editor.