
In this article, we will tell you how to install Windows XP as a virtual operating system using the VirtualBox program.
On creating a virtual HDD, this step ends, and you can go to the VM setting.
Setting up a virtual machine for Windows XP
Before installing Windows, you can perform several more settings to increase productivity. This is an optional procedure, so you can skip it.
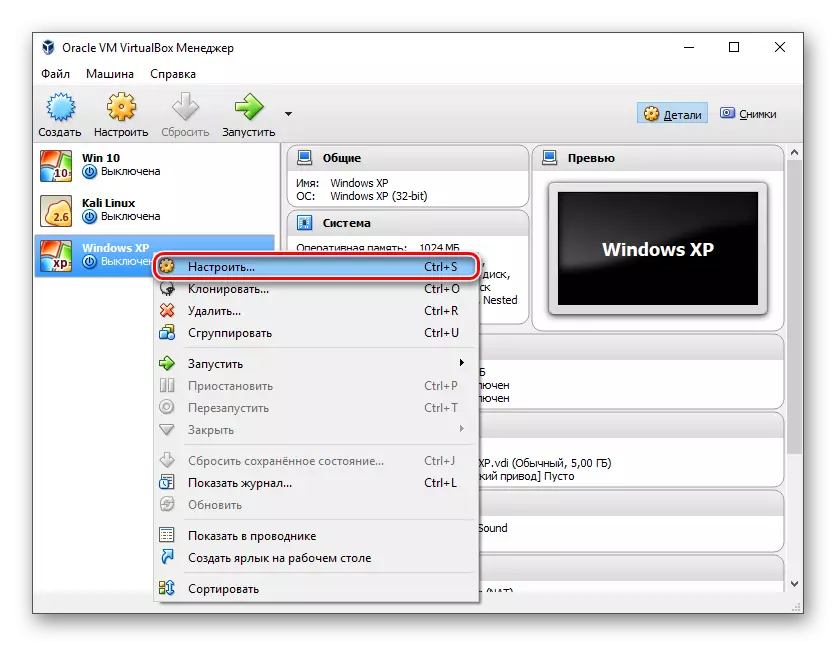
- In the left part of the VirtualBox Manager you will see the created virtual machine for Windows XP. Click on it right-click and go to "Configure".
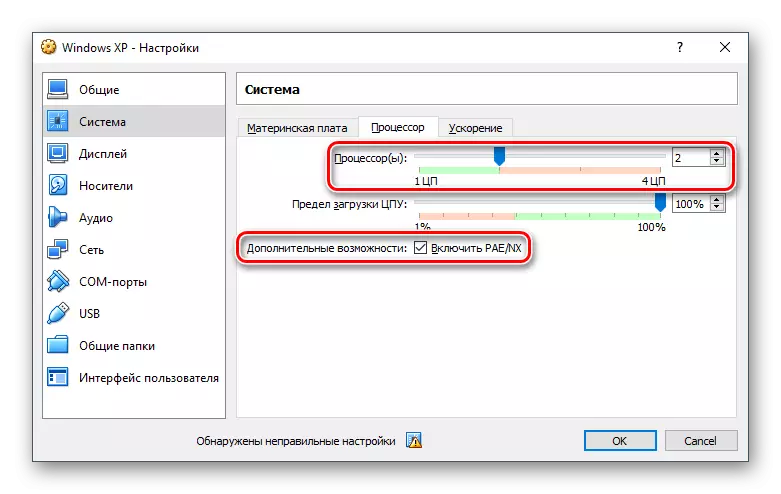
- Switch to the "System" tab and increase the "Processor (s)" parameter from 1 to 2. For improved operation, use the operation of the PAE / NX operation, check the checkbox opposite it.
- In the "Display tab" you can slightly increase the number of video memory, but do not overdo it - for obsolete Windows XP there will be quite a small increase.
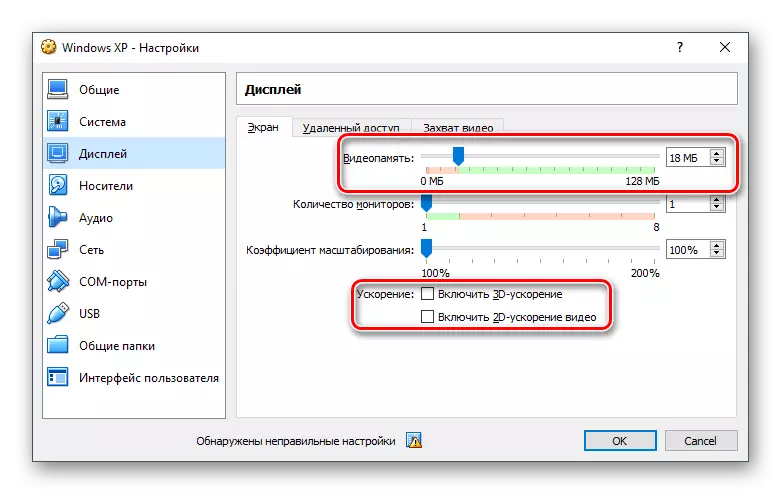
You can also put the ticks opposite the "Acceleration" parameter by turning on 3D and 2D.
- If you wish, you can configure other parameters.
After setting up VM, you can start setting the OS.
Installing Windows XP on VirtualBox
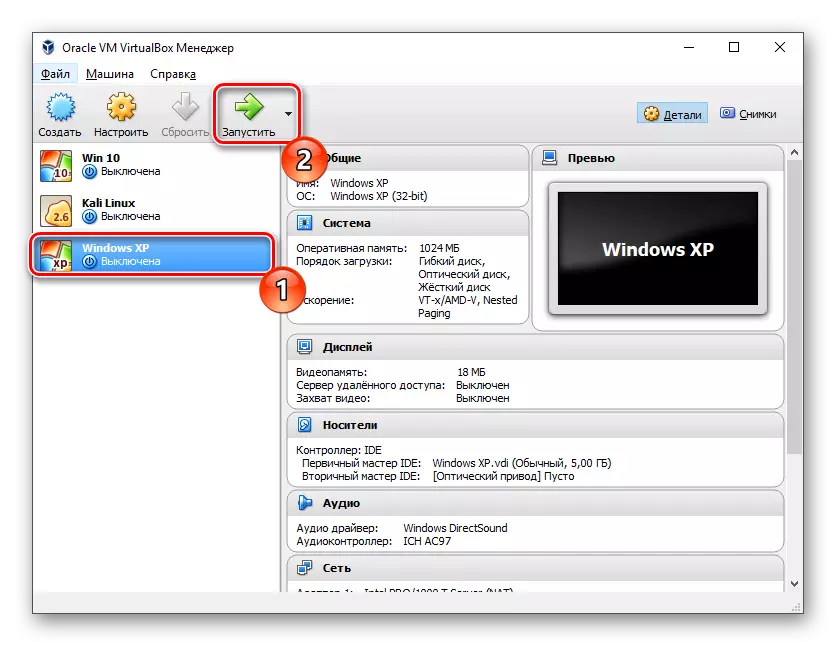
- In the left part of the VirtualBox Manager, select the created virtual machine and click on the Run button.
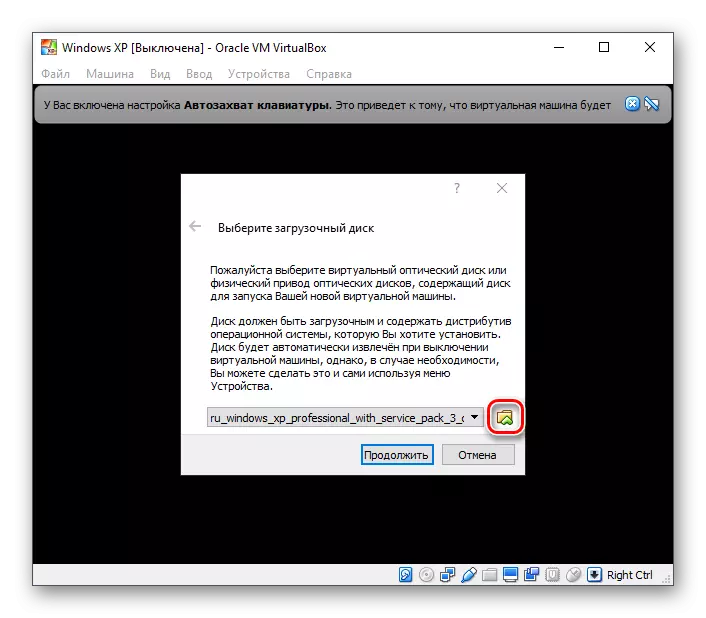
- You will be prompted to select a boot disk for running. Press the folder button and specify the location where the file with the operating system is located.
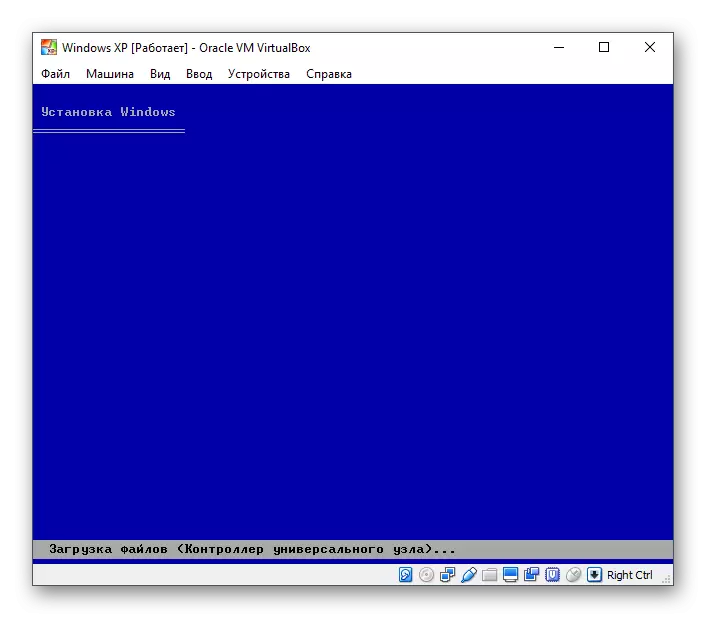
- Windows XP installation utility will start. It will automatically perform their first actions, and you will need to wait a bit.
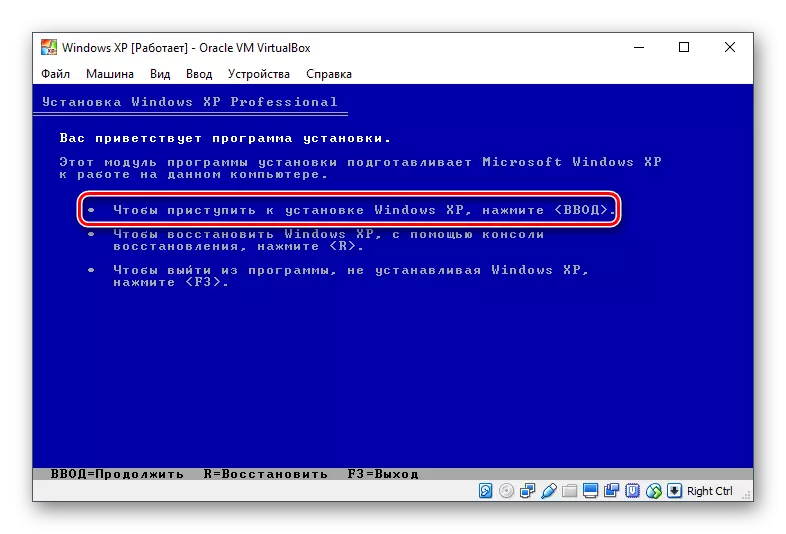
- You will welcome the installation program and will offer to start the installation by pressing the "Enter" key. Here and then under this key will be implied the Enter key.
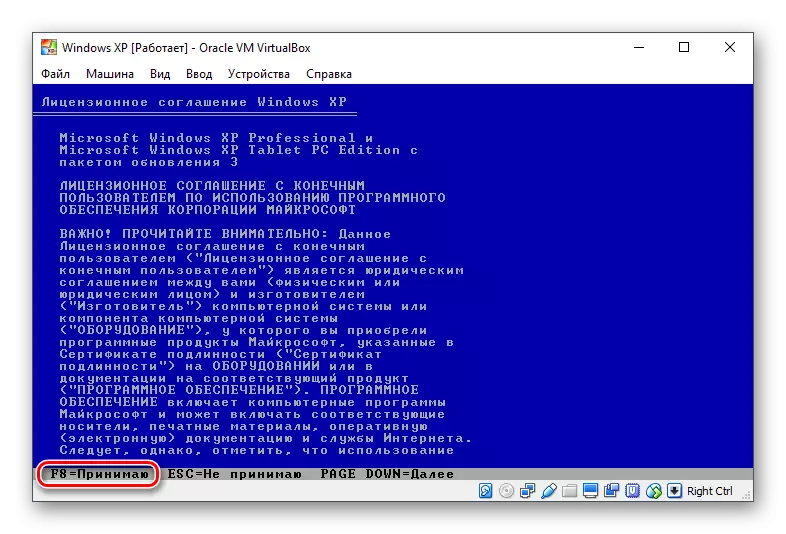
- A license agreement will appear, and if you agree with it, then press the F8 key to accept its conditions.
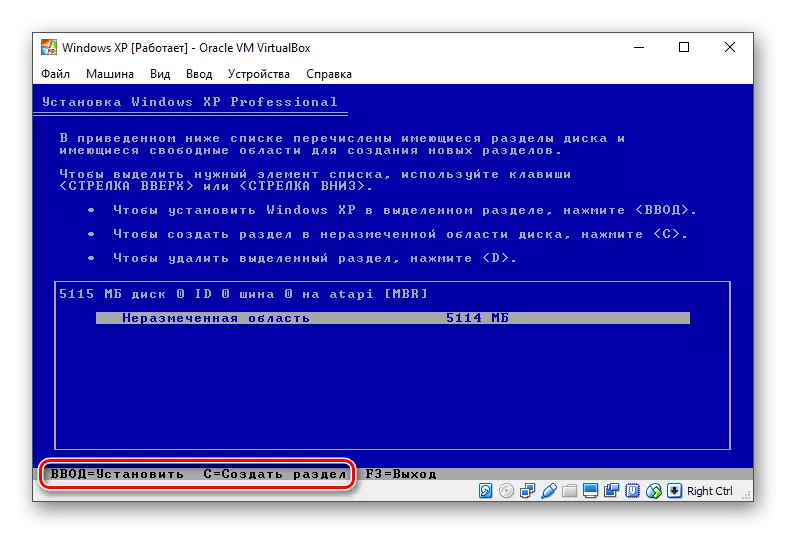
- The installer will ask you to select the disk where the system will be installed. VirtualBox has already created a virtual hard disk with the volume you have chosen in step 7 when creating a virtual machine. Therefore, press ENTER.
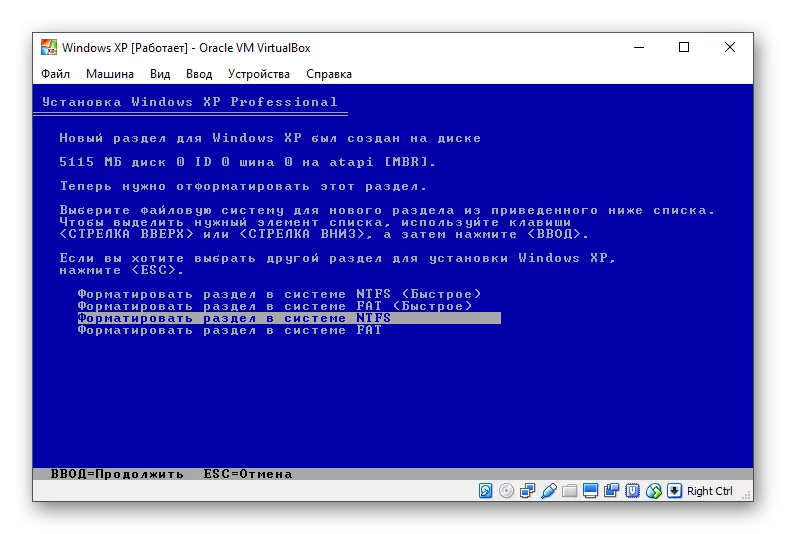
- This area is not yet marked, so the installer will propose to format it. Select one of the four available options. We recommend using the "Format section section in the NTFS system" parameter.
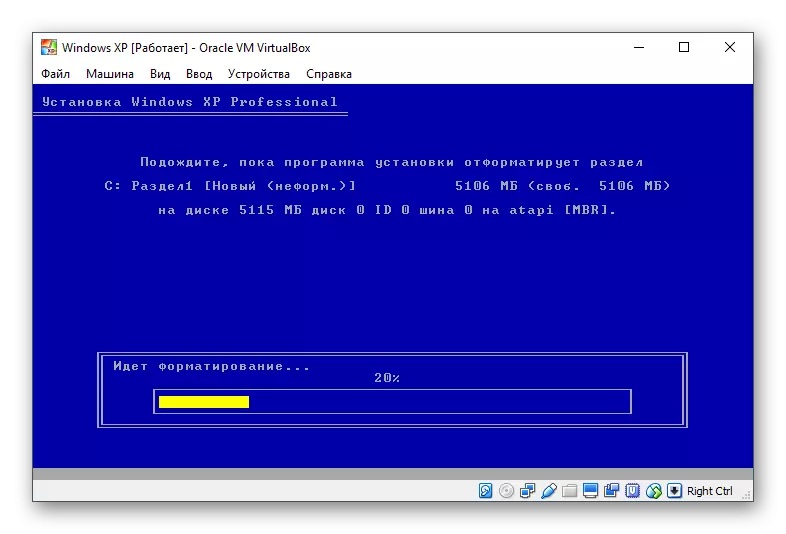
- Wait until the section is formatted.
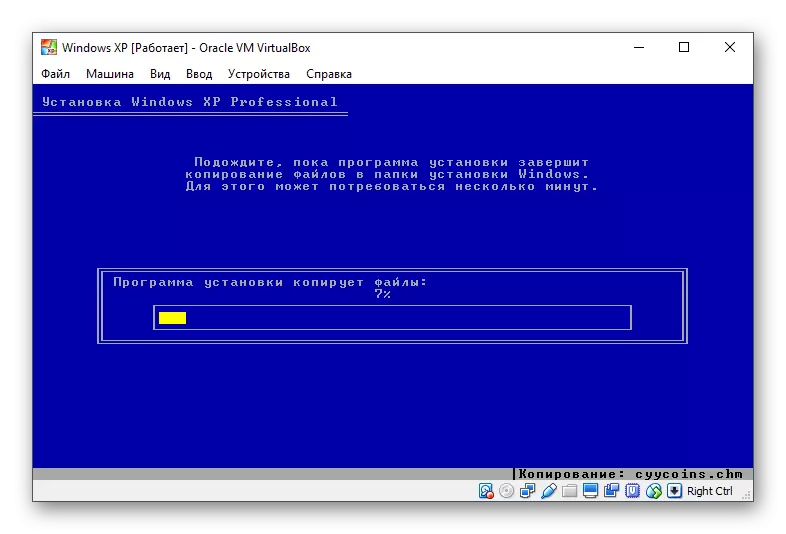
- The installation program in automatic mode will copy some files.
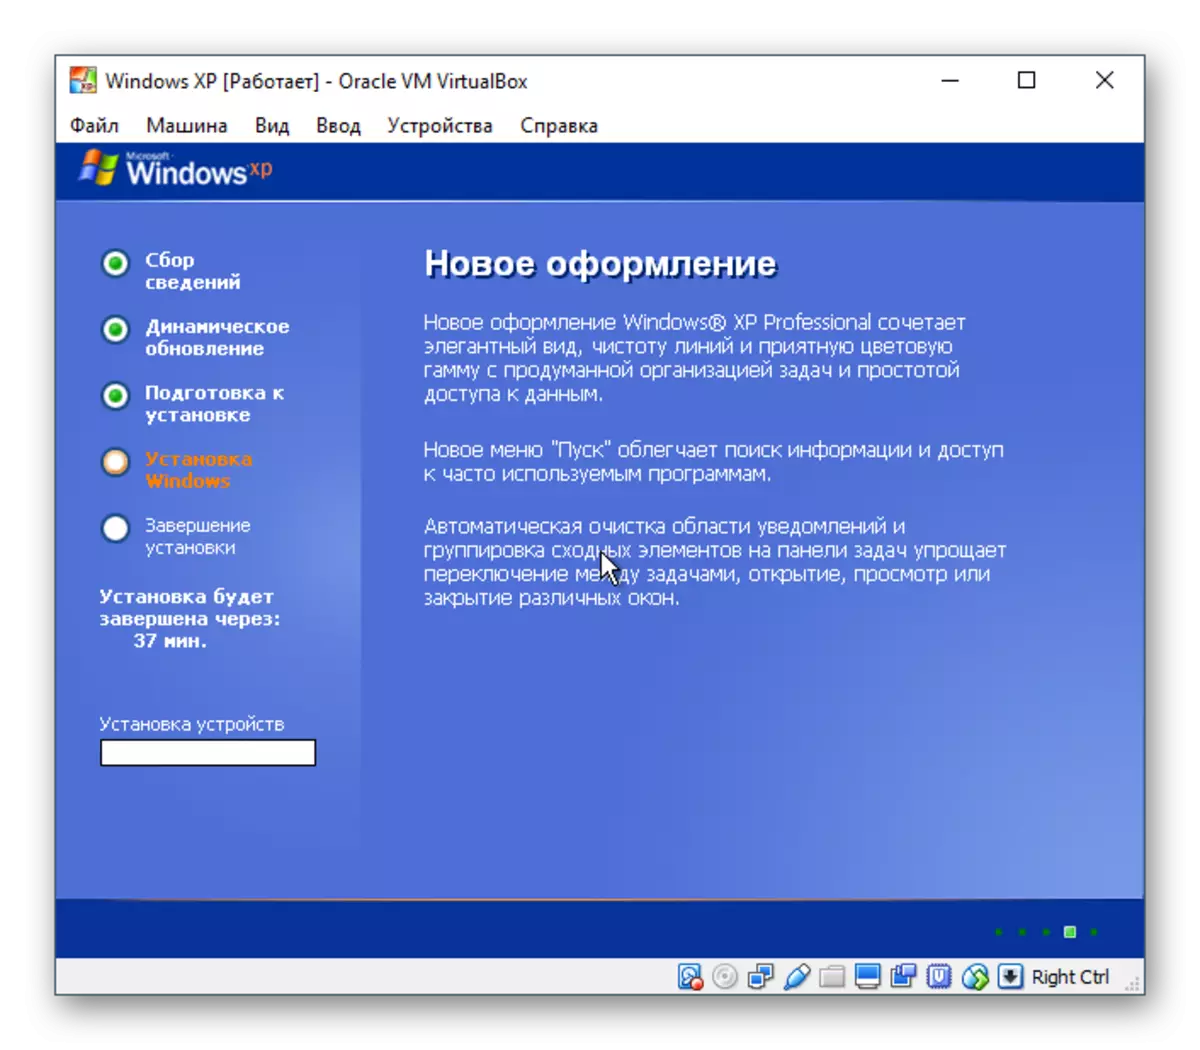
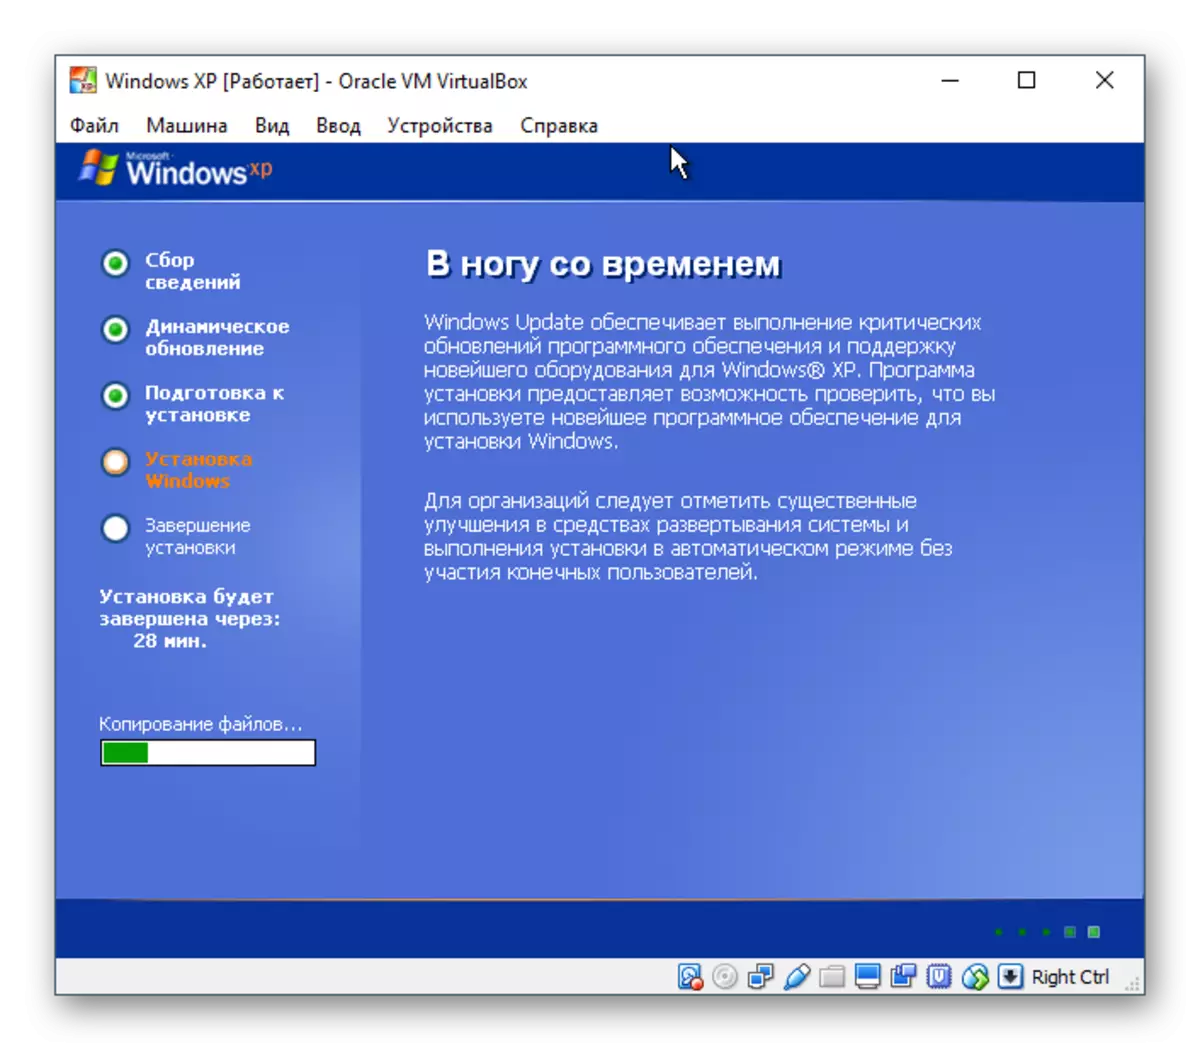
- A window will open with the direct installation of Windows, and the device installation will immediately begin, wait.
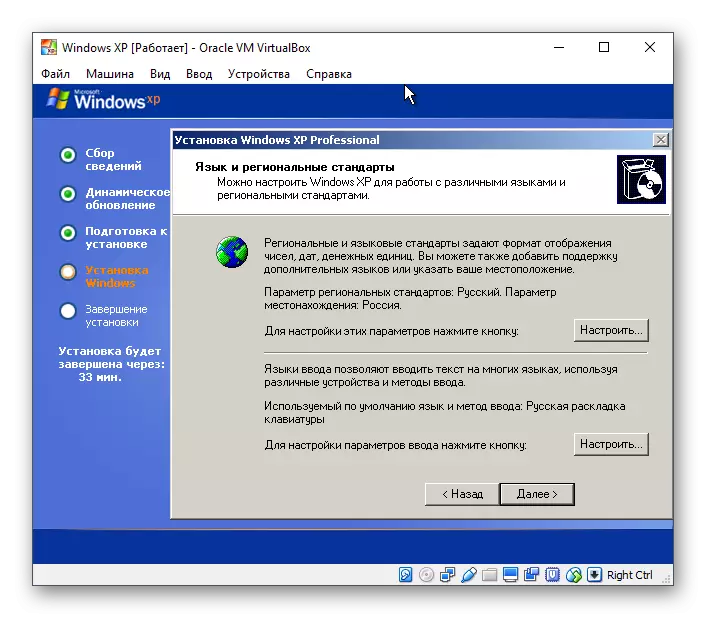
- Check the correctness of the system and keyboard layout selected by the installer.
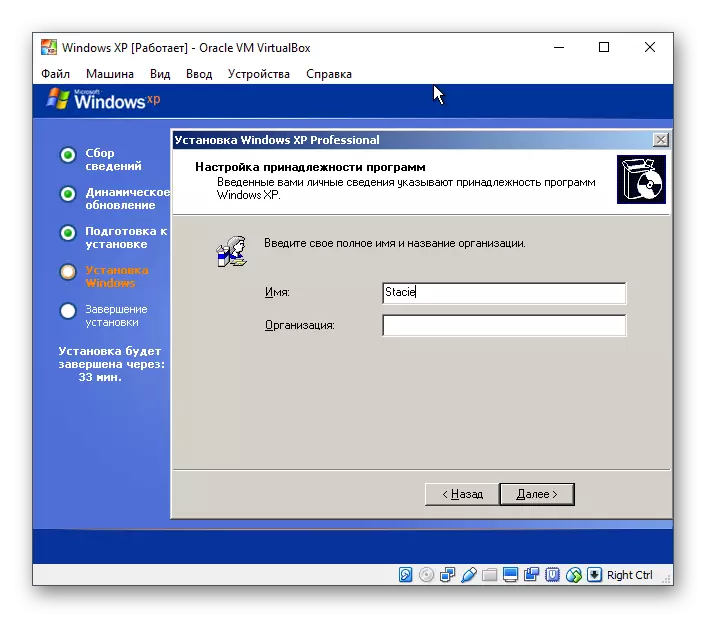
- Enter the username, you do not need to enter the name of the organization.
- Enter the activation key if it is. You can activate Windows later.
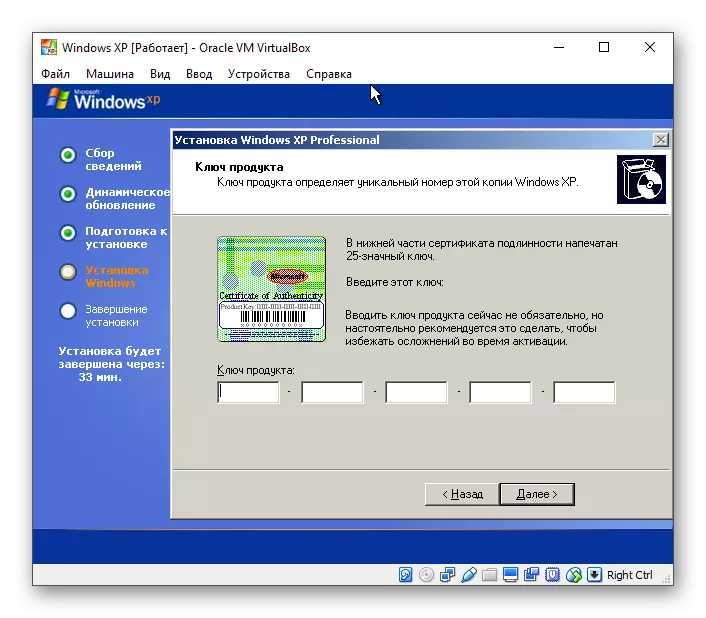
- If you want to postpone the activation, then in the confirmation window, select "No".

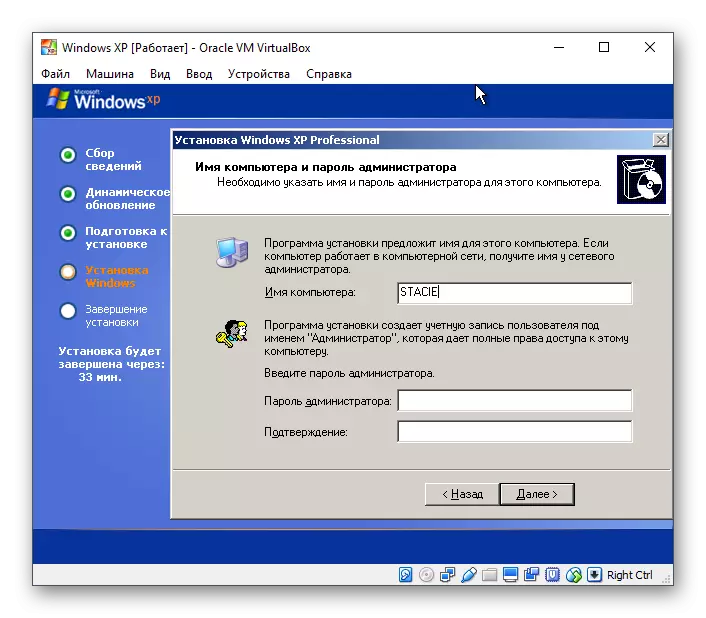
- Specify the name of the computer. You can set the password for the Administrator account. If this is not necessary - skip the password input.
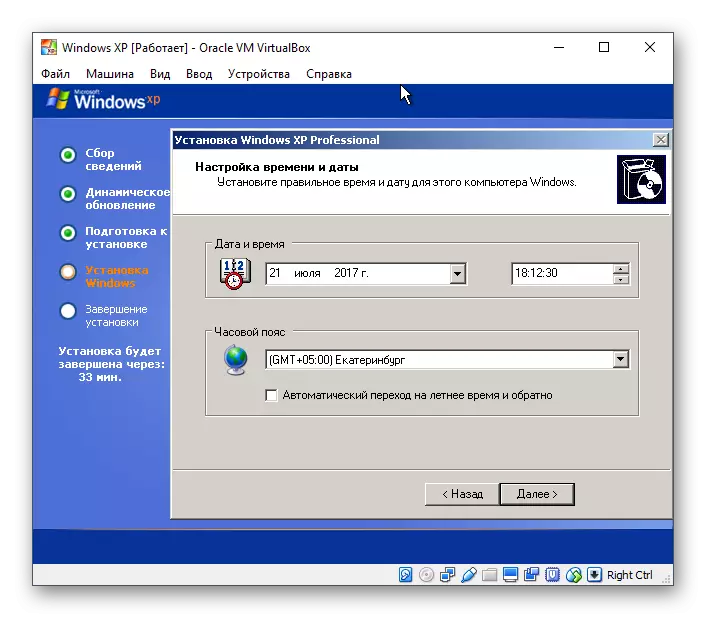
- Check the date and time, if necessary, change this information. Specify your time zone, finding a city in the list. Residents of Russia can remove a tick from the "Automatic Summer Time Emergency Time" item.
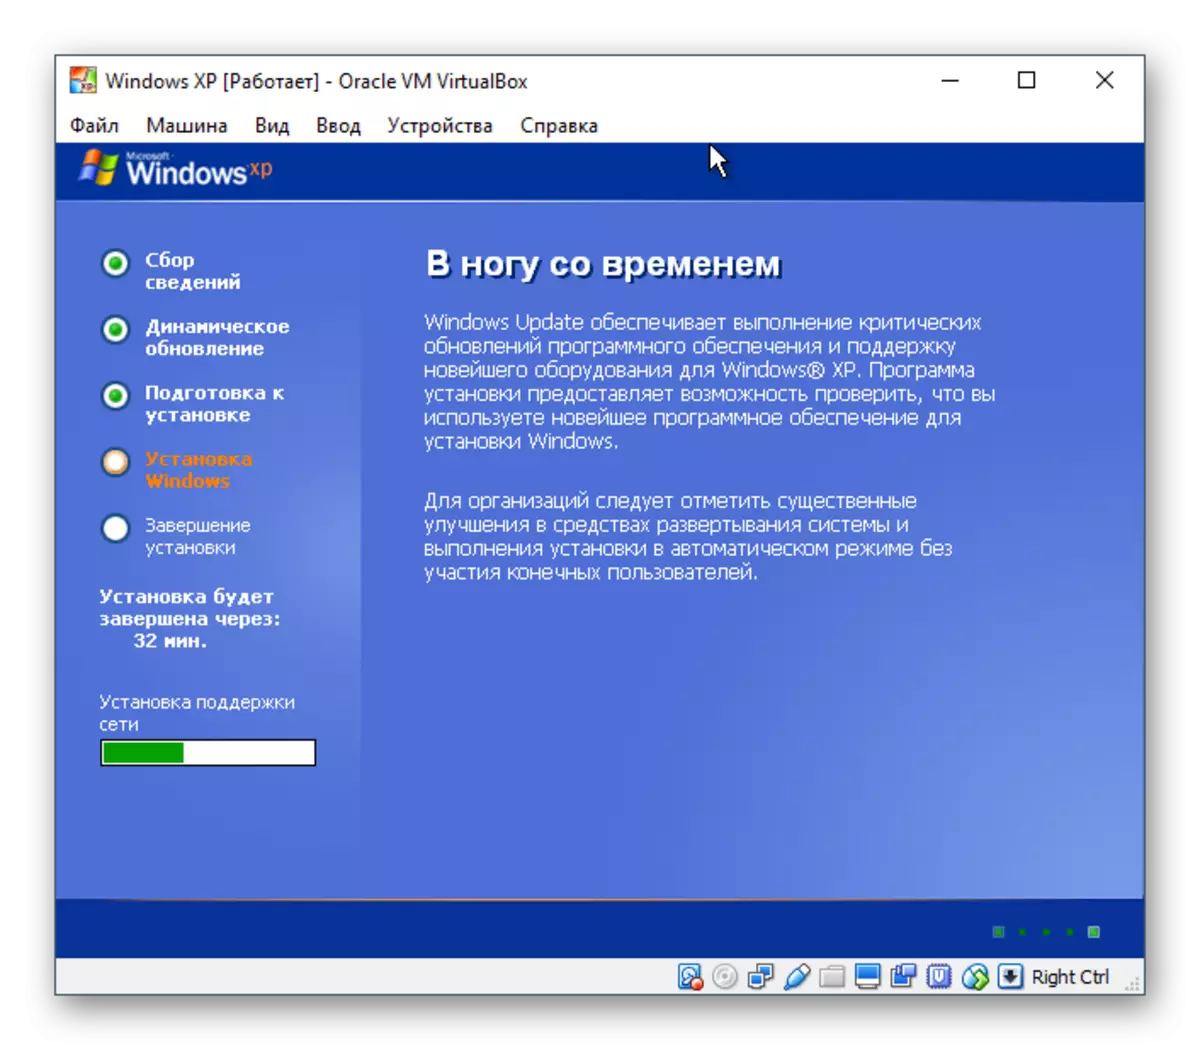
- The automatic installation of the OS will continue.
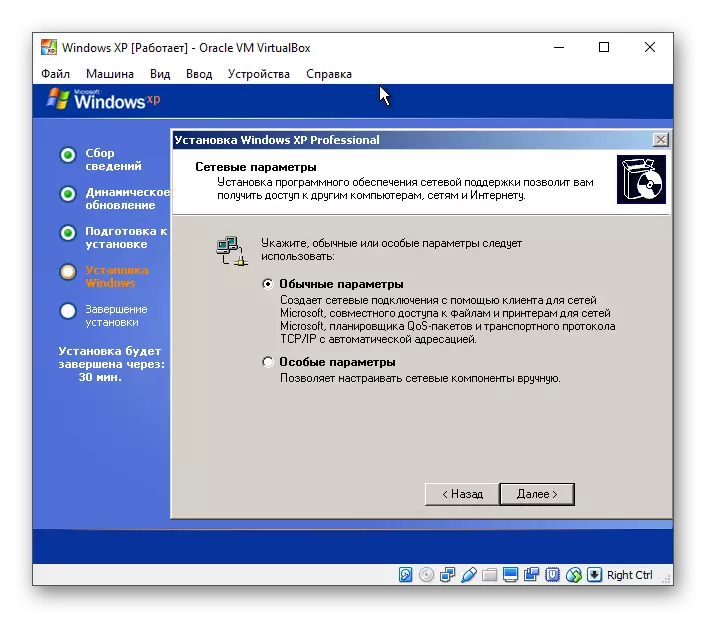
- The installer will offer to configure network settings. For normal Internet access, select "Normal Parameters".
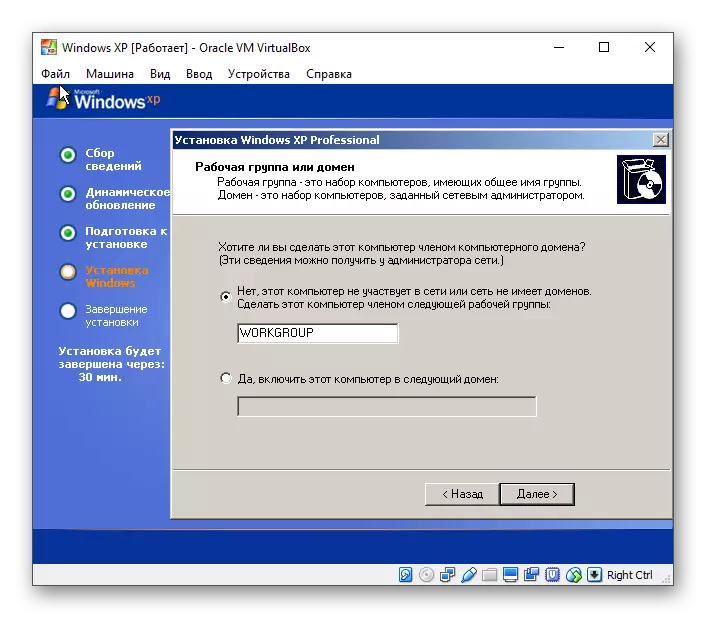
- Step with setting up a working group or domain can be skipped.
- Wait until the system finishes automatic installation.
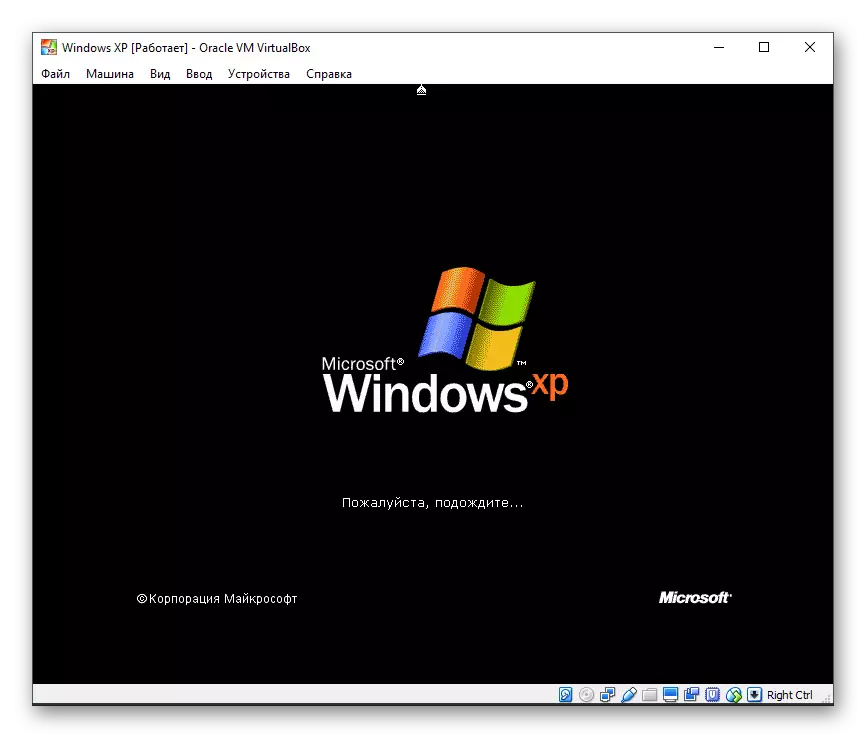
- The virtual machine will be rebooted.

- After rebooting, you must perform a few more settings.
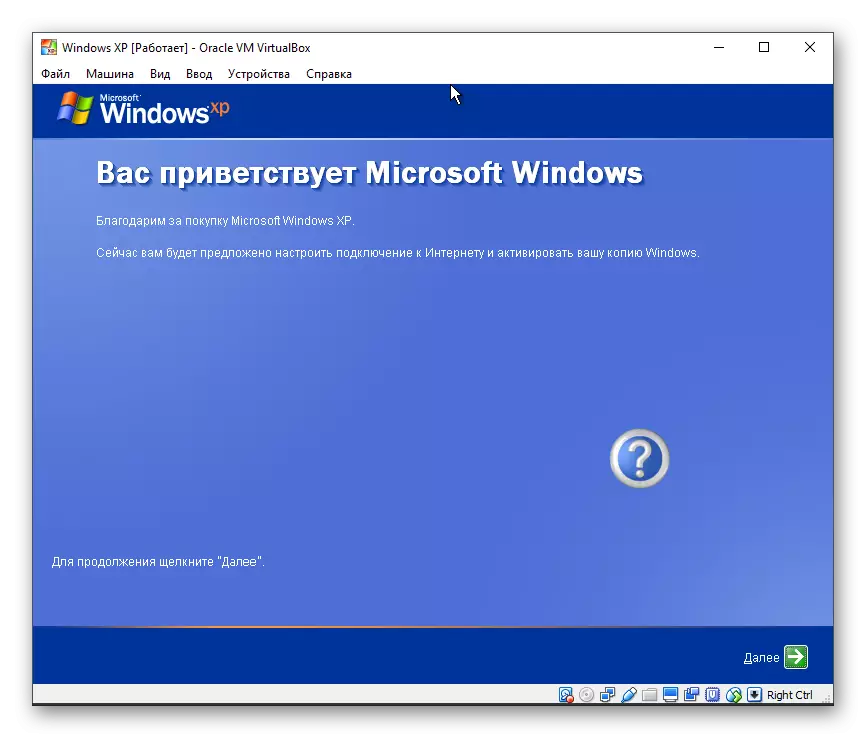
- A welcome window will open in which click Next.
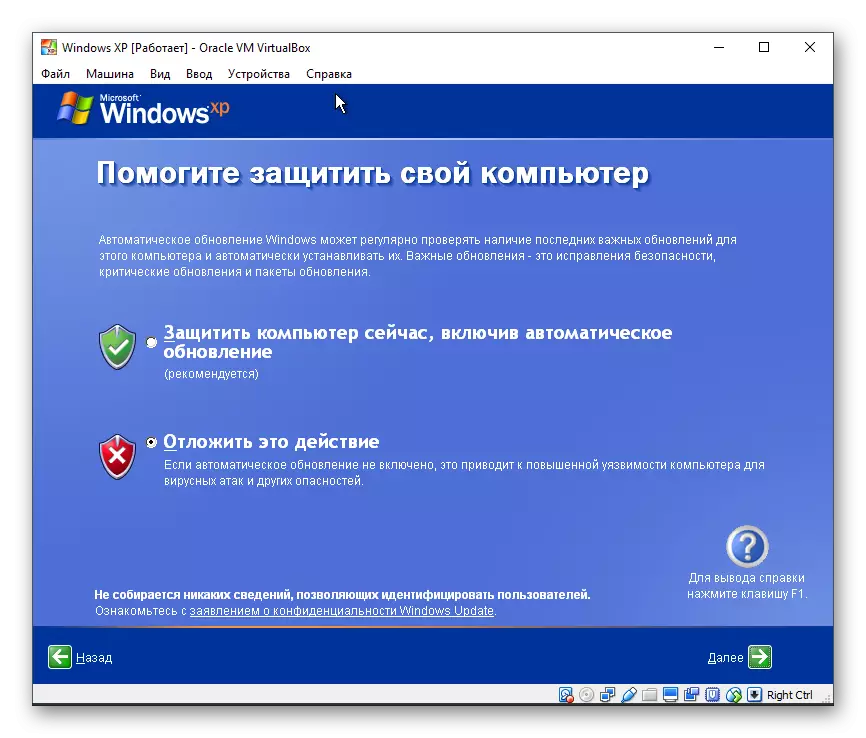
- The installer will propose to enable or disable automatic update. Set the parameter depending on personal preferences.
- Wait until the Internet connection is checked.
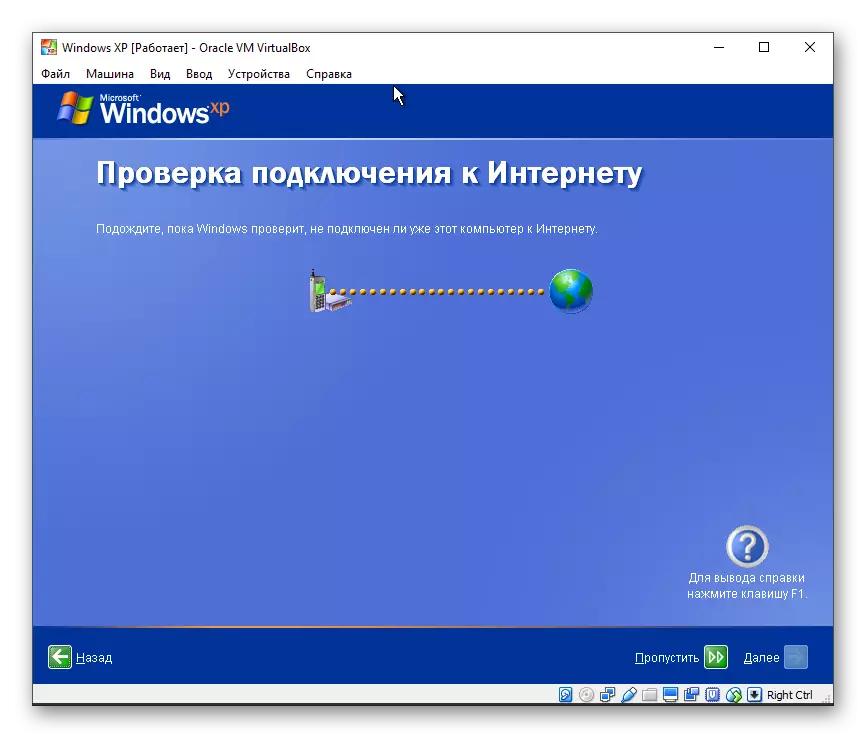
- Select whether the computer will be connected to the Internet directly.

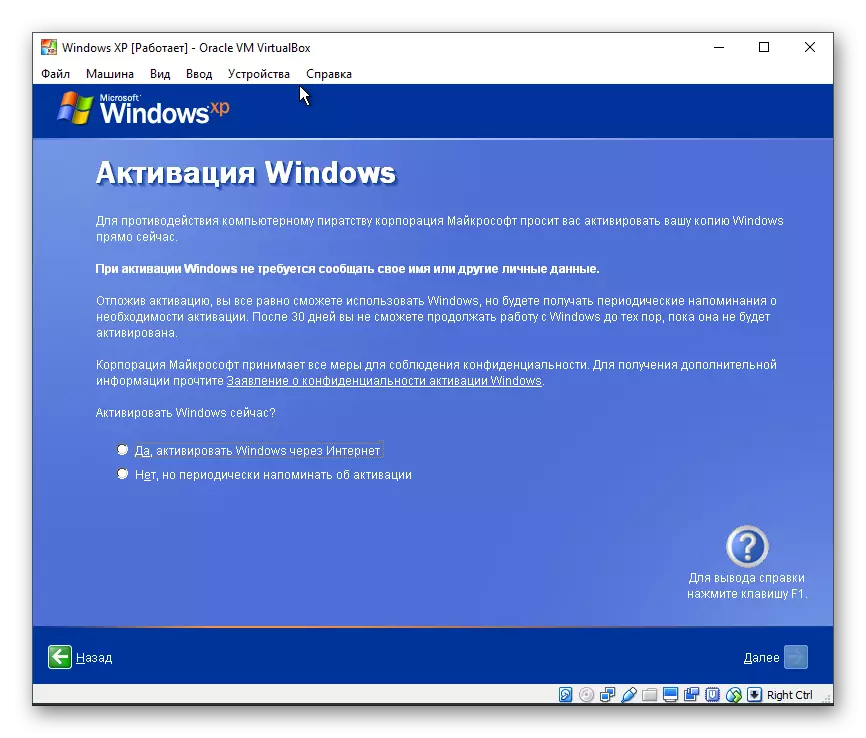
- You will be re-prompted to activate the system if you have not yet done. If you do not activate Windows now, it can be done within 30 days.
- Come up with the account name. It is not necessary to invent 5 names, just enter one.

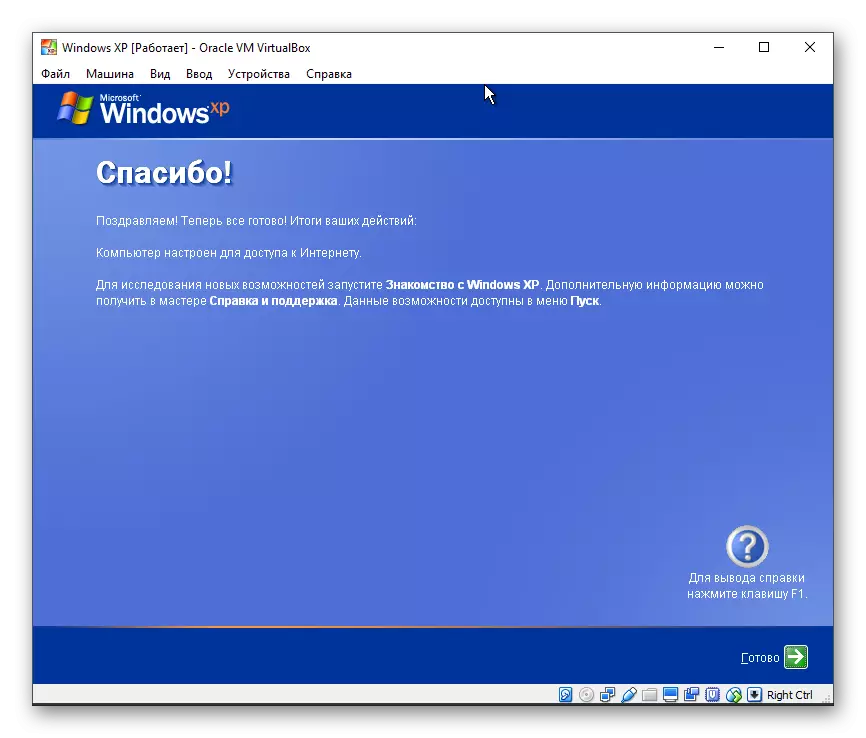
- At this step, the setup will be completed.
- Windows XP boot will begin.
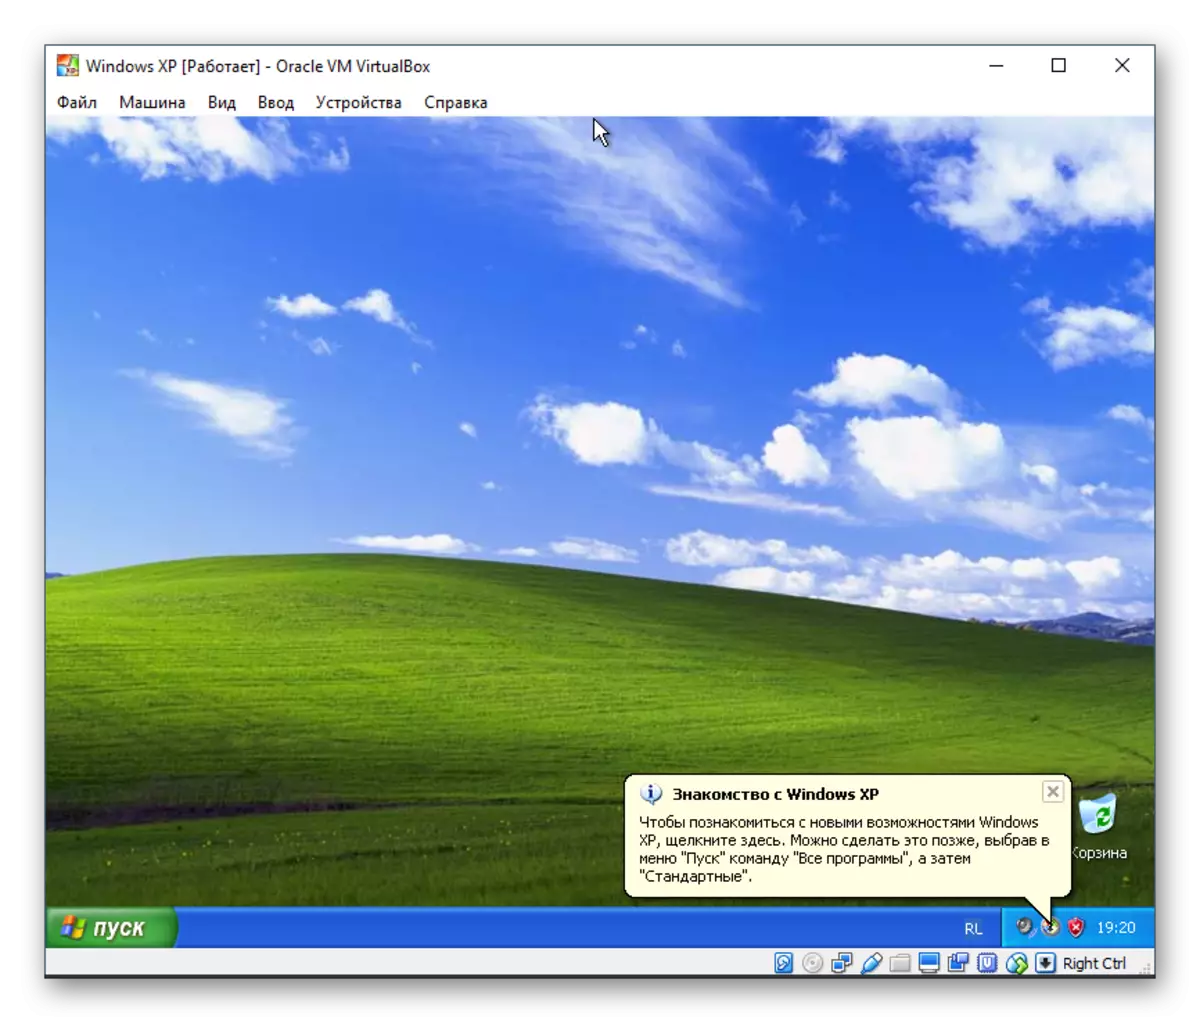
After downloading, you will get to the desktop and you can start using the operating system.
Installing Windows XP on VirtualBox is very simple and does not take much time. At the same time, the user does not need to search for drivers compatible with the PC components, as it would be necessary to do with the usual installation of Windows XP.