
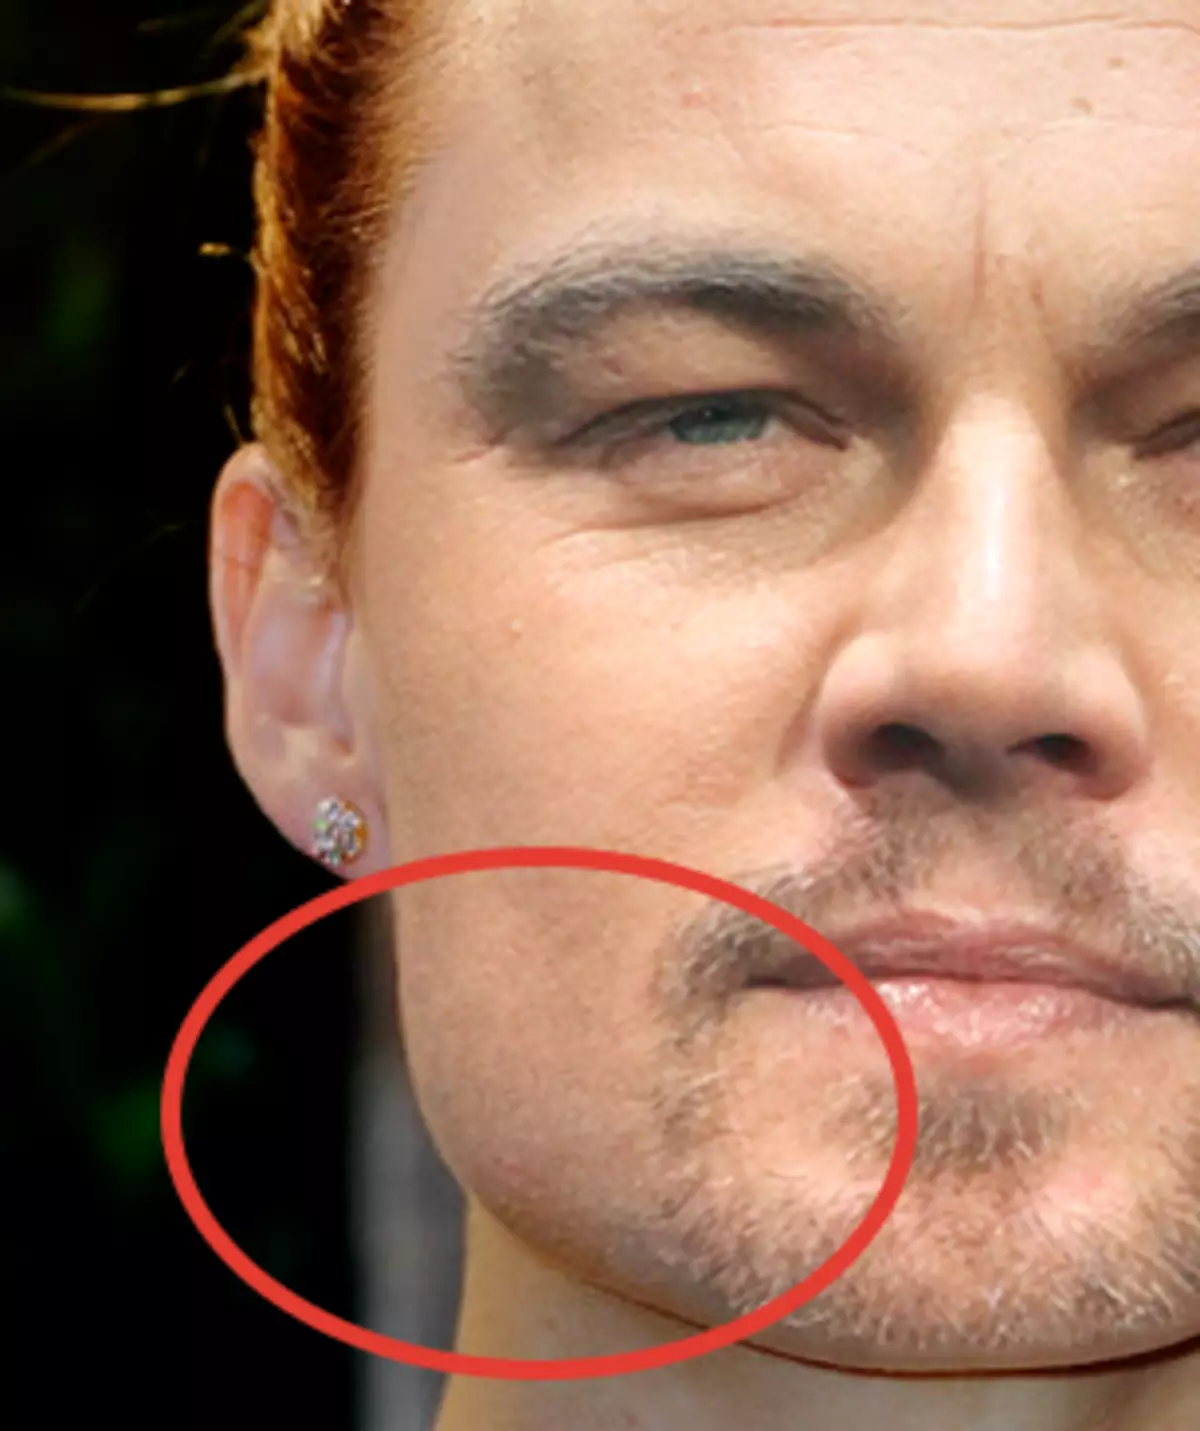
Replacing the face in Photoshop is either a joke or necessity. What goals are you personally pursuing you, I do not know, and I owe you to this.
This lesson will be fully dedicated to how to change the face in photoshop CS6.
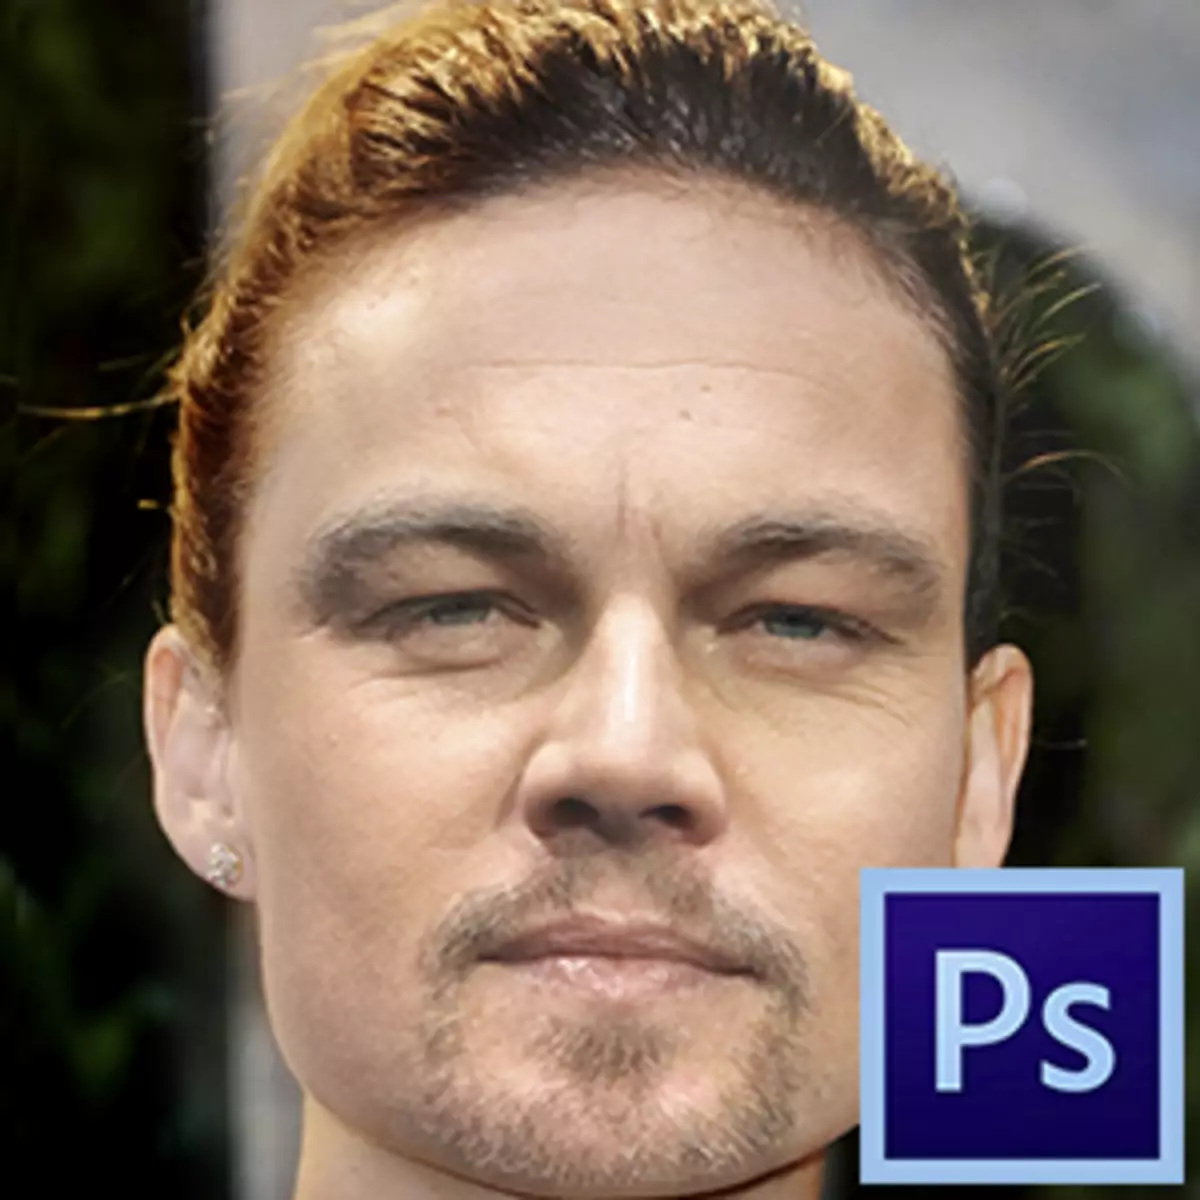
We will change the standard - female face on male.
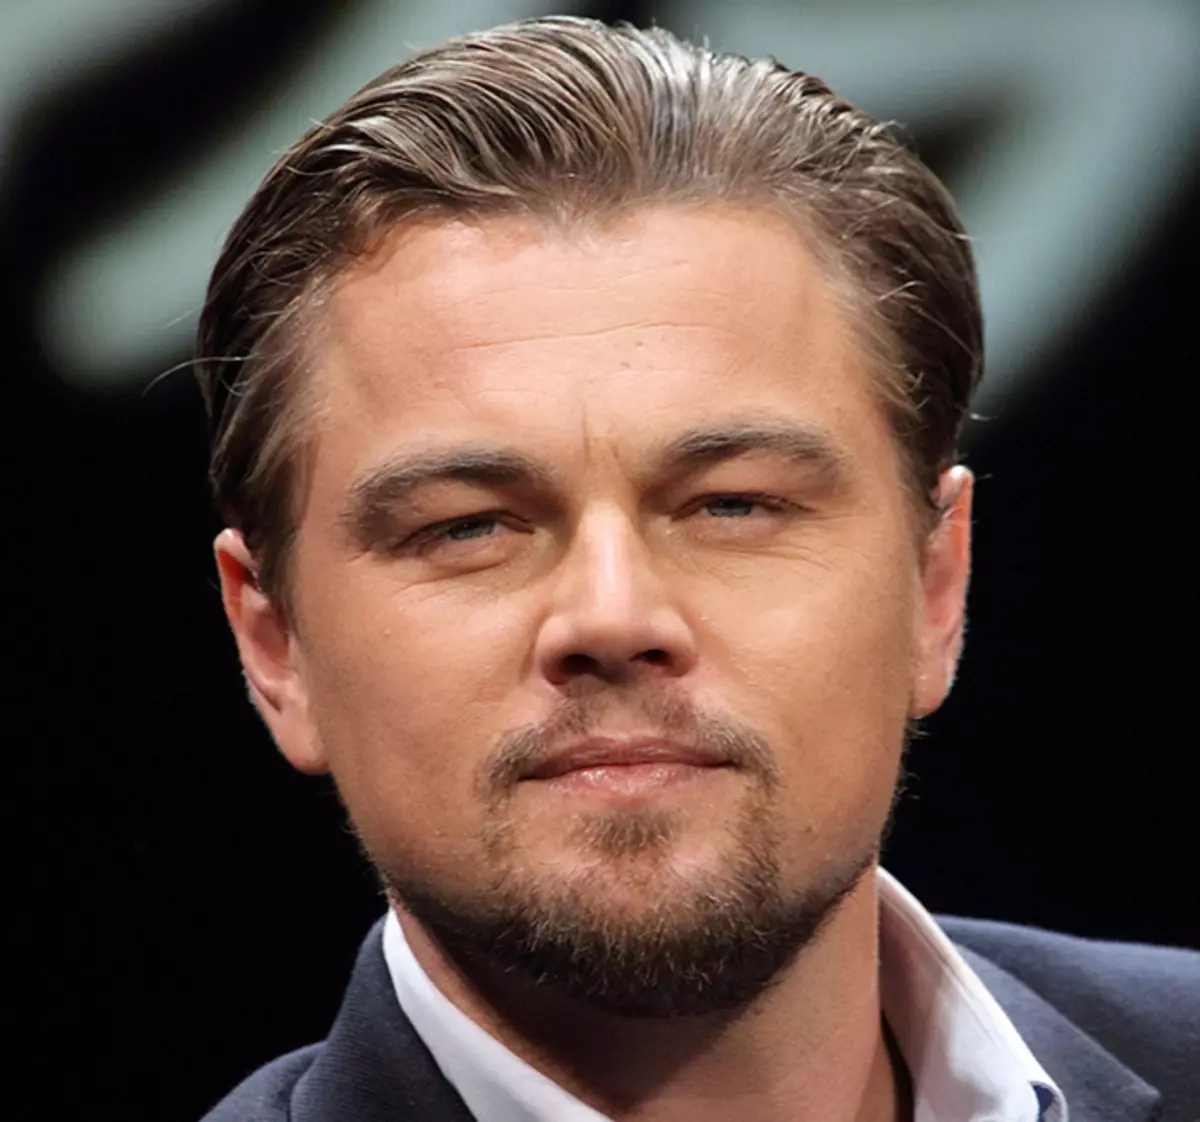
The source images are:

Before substituting the face in Photoshop, you need to understand a couple of rules.
The first - shooting view should be the same as possible. The ideal option is when both models are sf cells.
The second, optional - the size and resolution of photos should be the same, since when scaling (especially with increasing) of the cut fragment may suffer quality. Permissible if the photo from which the face is taken will be more original.
I do not really have an angle, but what we have, we have. Sometimes you do not have to choose.
So, let's start changing the face.
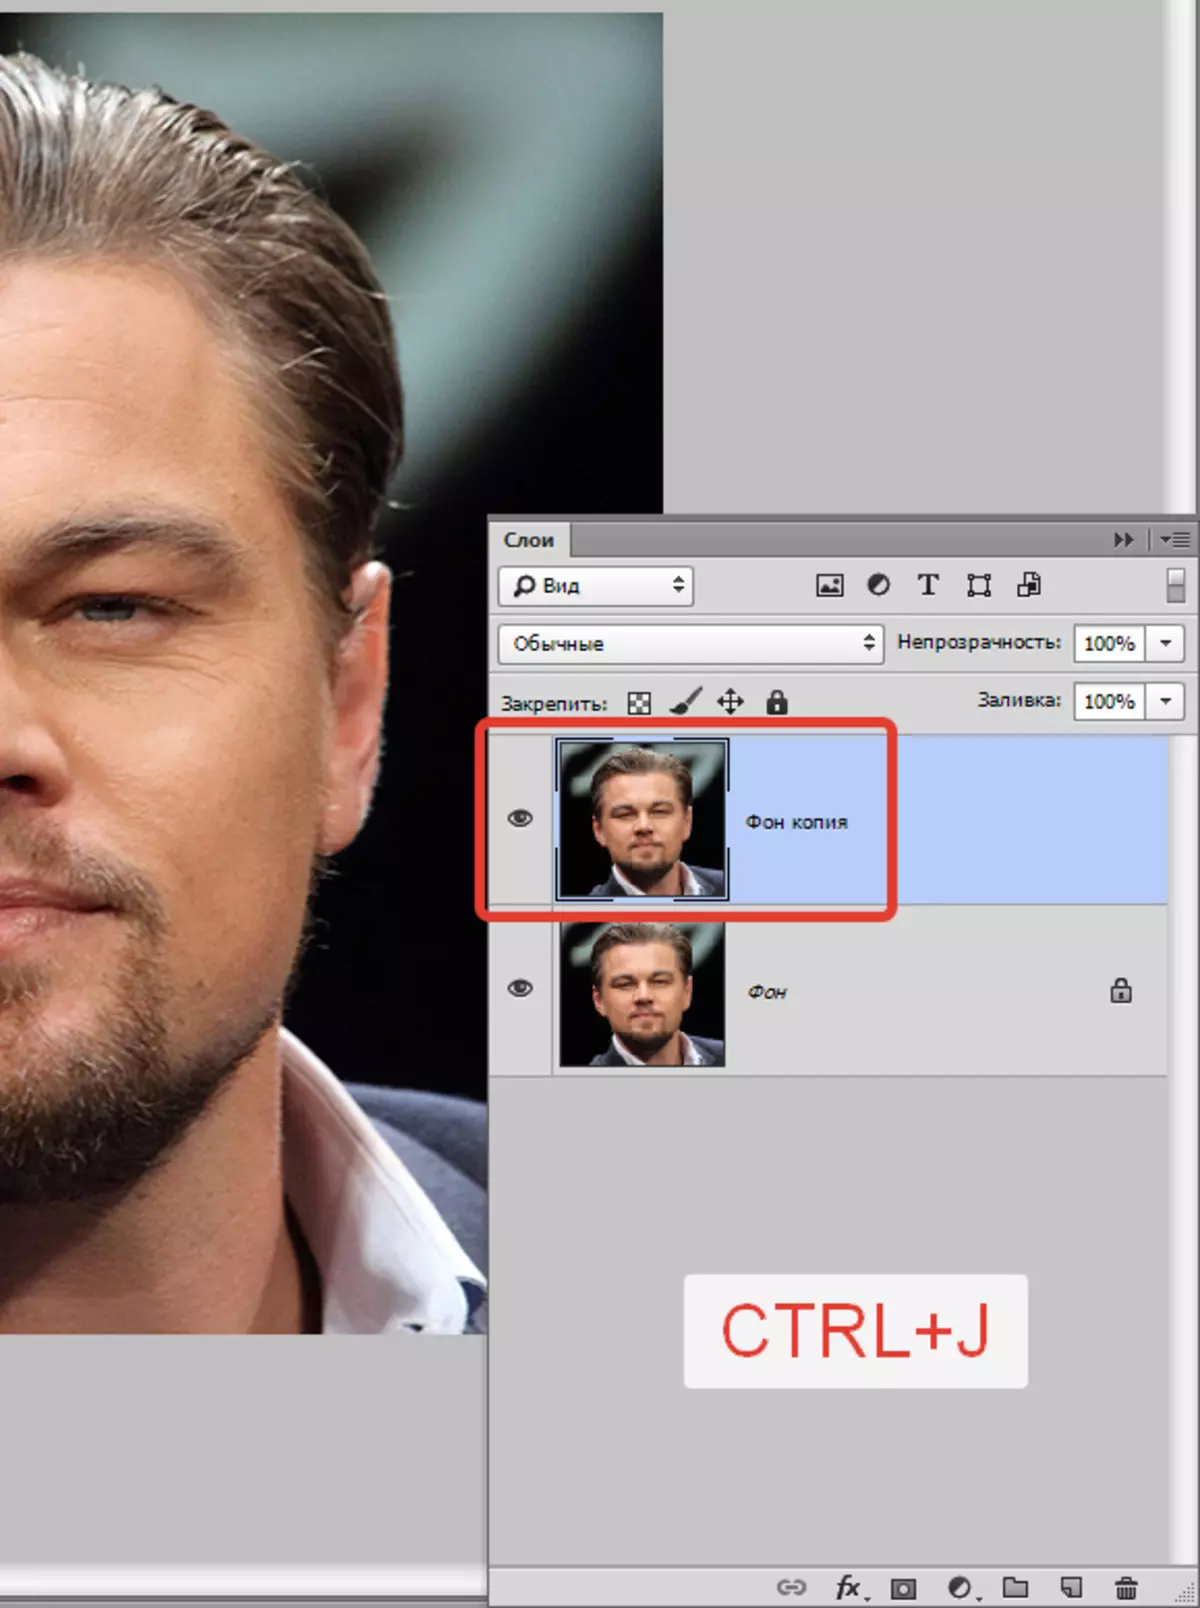
Open both photos in the editor in different tabs (documents). Go to the patient cut and create a copy of the background layer ( Ctrl + J.).
We take any selection tool ( Lasso, rectangular lasso or pen ) And we supply Leo's face. I use Feather.
Read "How to Cut an Object in Photoshop."
It is important to capture as much open and not darkened skin sections.

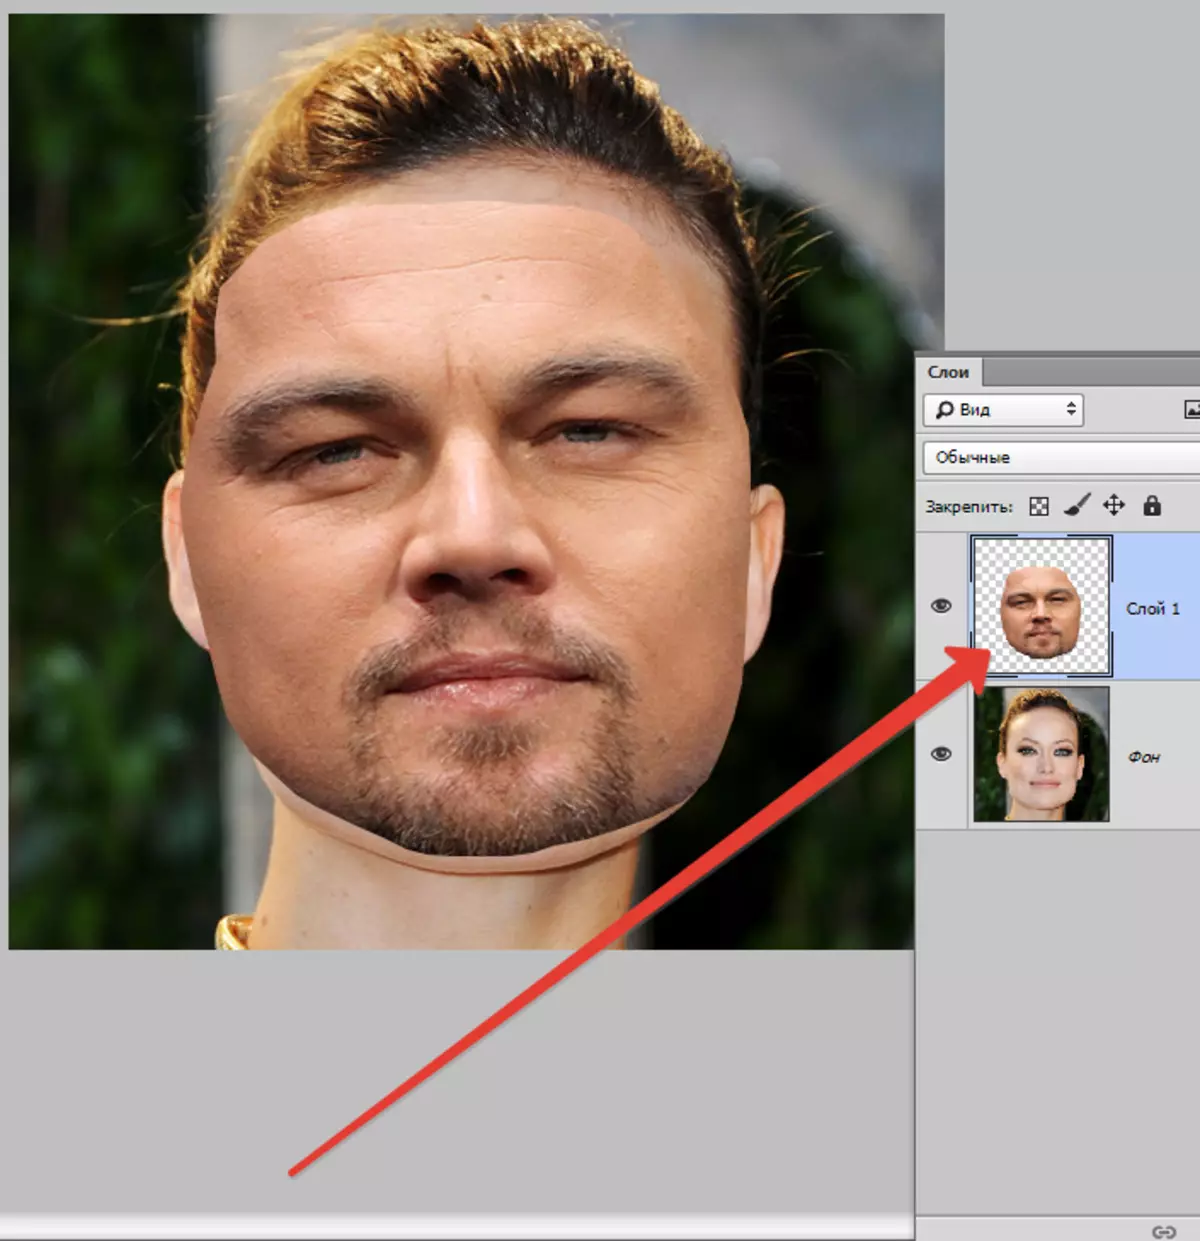
Next, take the tool "Movement" and drag out the allocation to the tab with the second open photo.

What we are as a result:
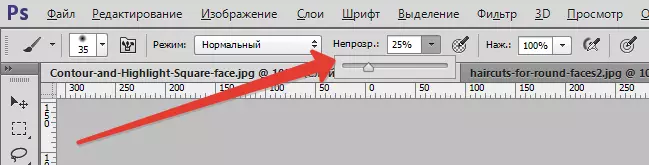
The next step will be the maximum combination of images. To do this, change the opacity of the layer with a carved face about 65% And call "Free Transformation" (Ctrl + T.).
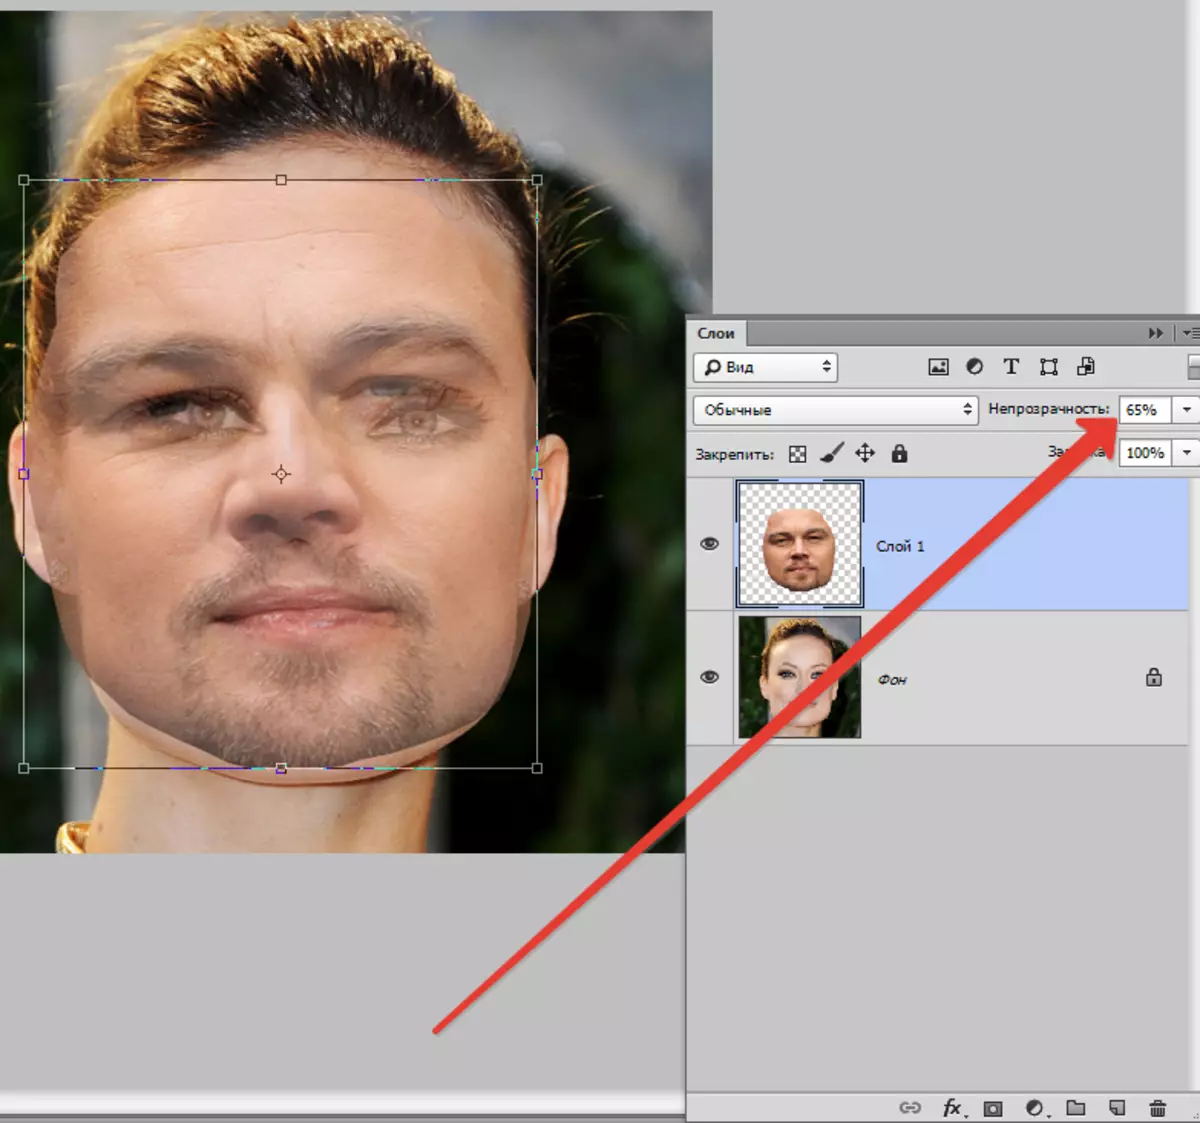
With the help of the frame "Free transformation" You can rotate and scaling the carved face. To preserve proportions you need to hold Shift..
Maximum combine need (required) eyes in photos. The rest of the features are not necessary, but you can slightly squeeze or stretch the image in any plane. But only a little, otherwise the character may turn out unrecognizable.
After the end of the process is pressed ENTER.
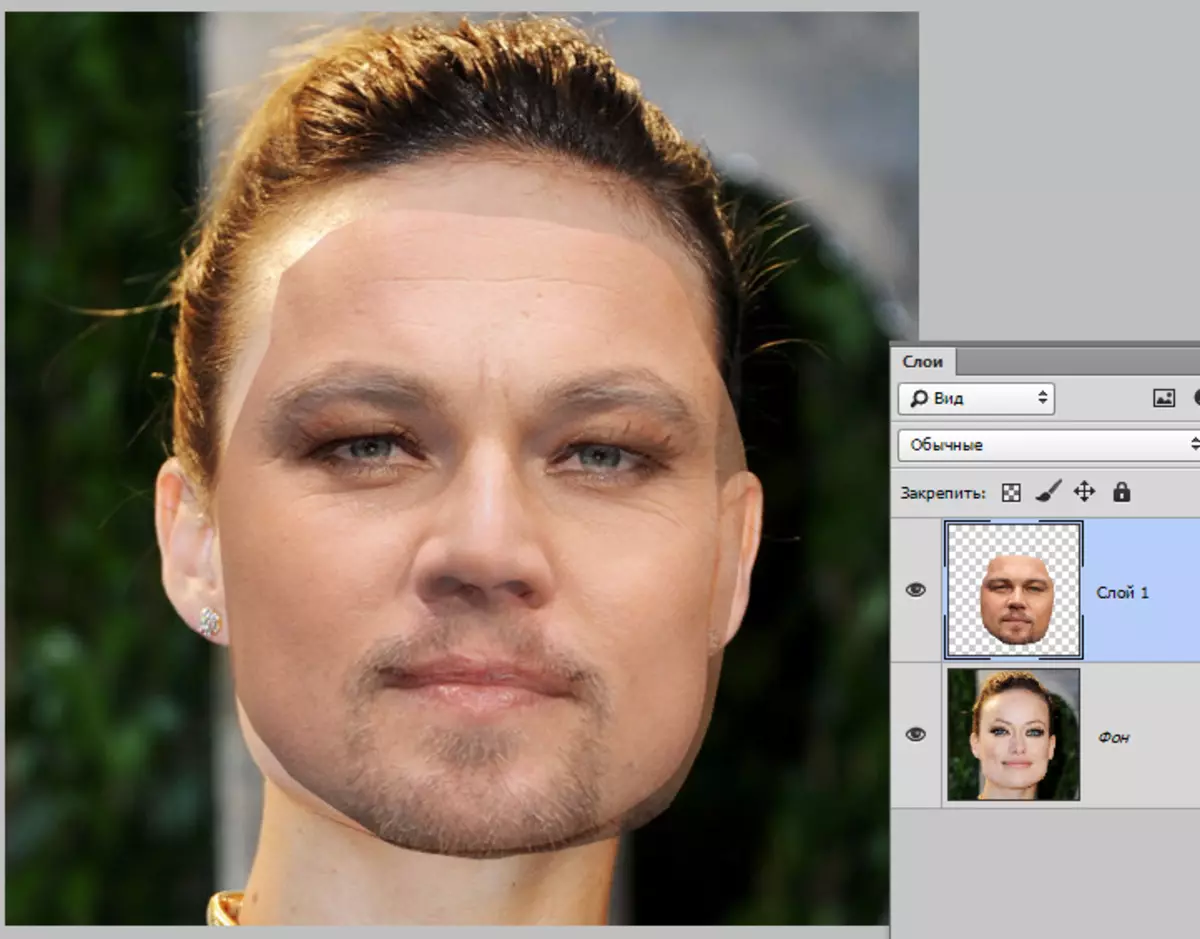
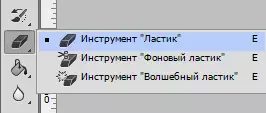
We delete the usual eraser excess, and then return the opacity of the layer 100%.

We continue.
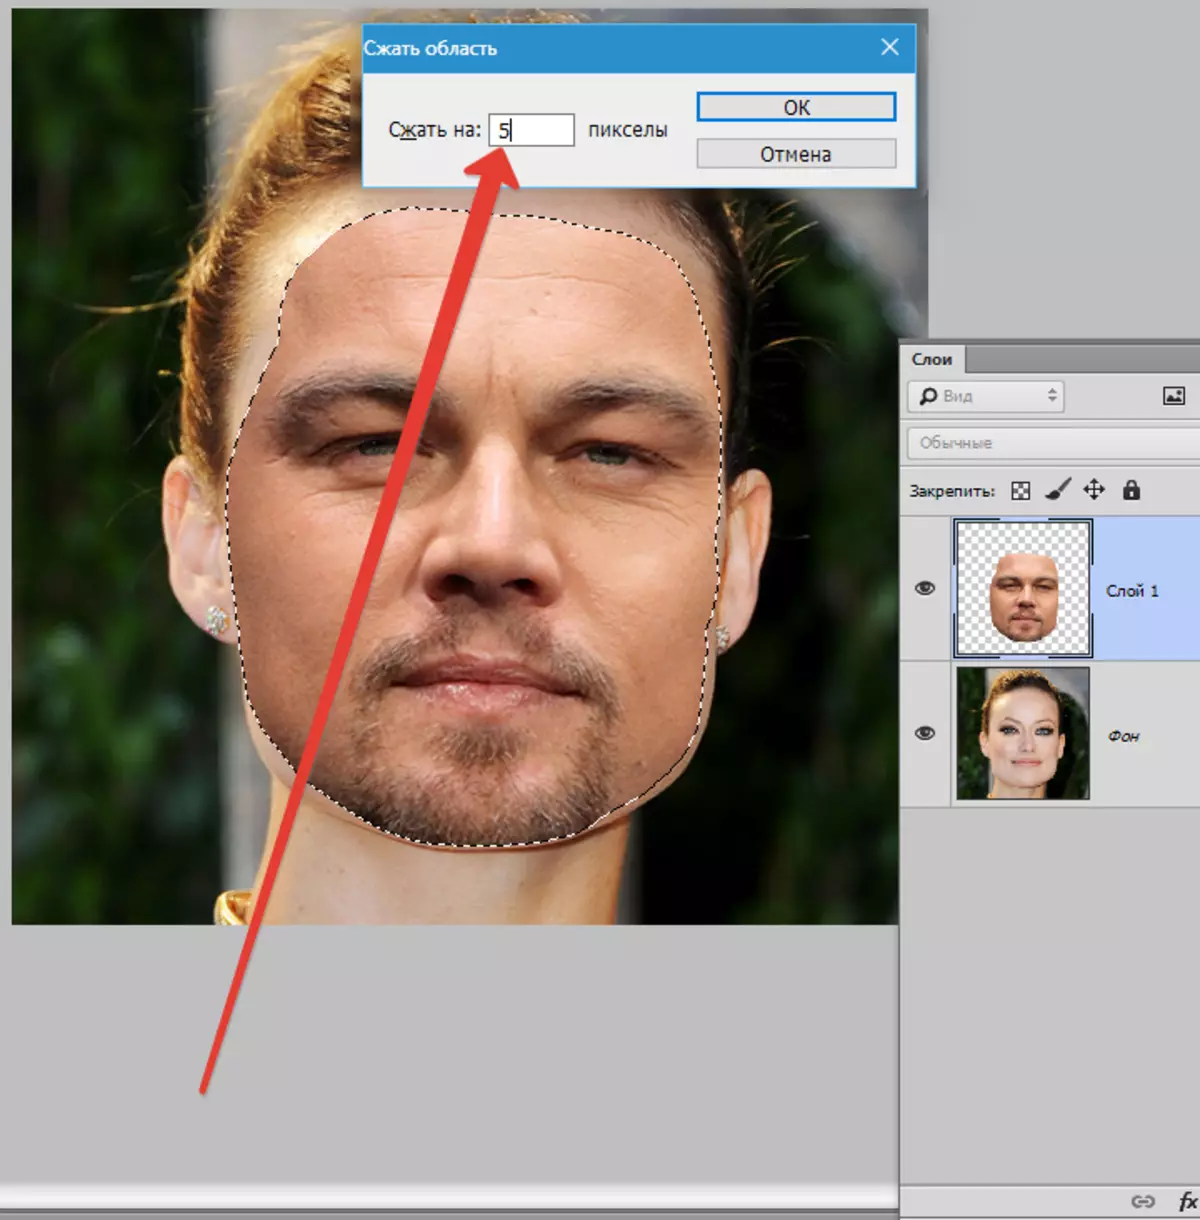
Click key Ctrl And we make a click on a miniature layer with a carved face. Selection appears.
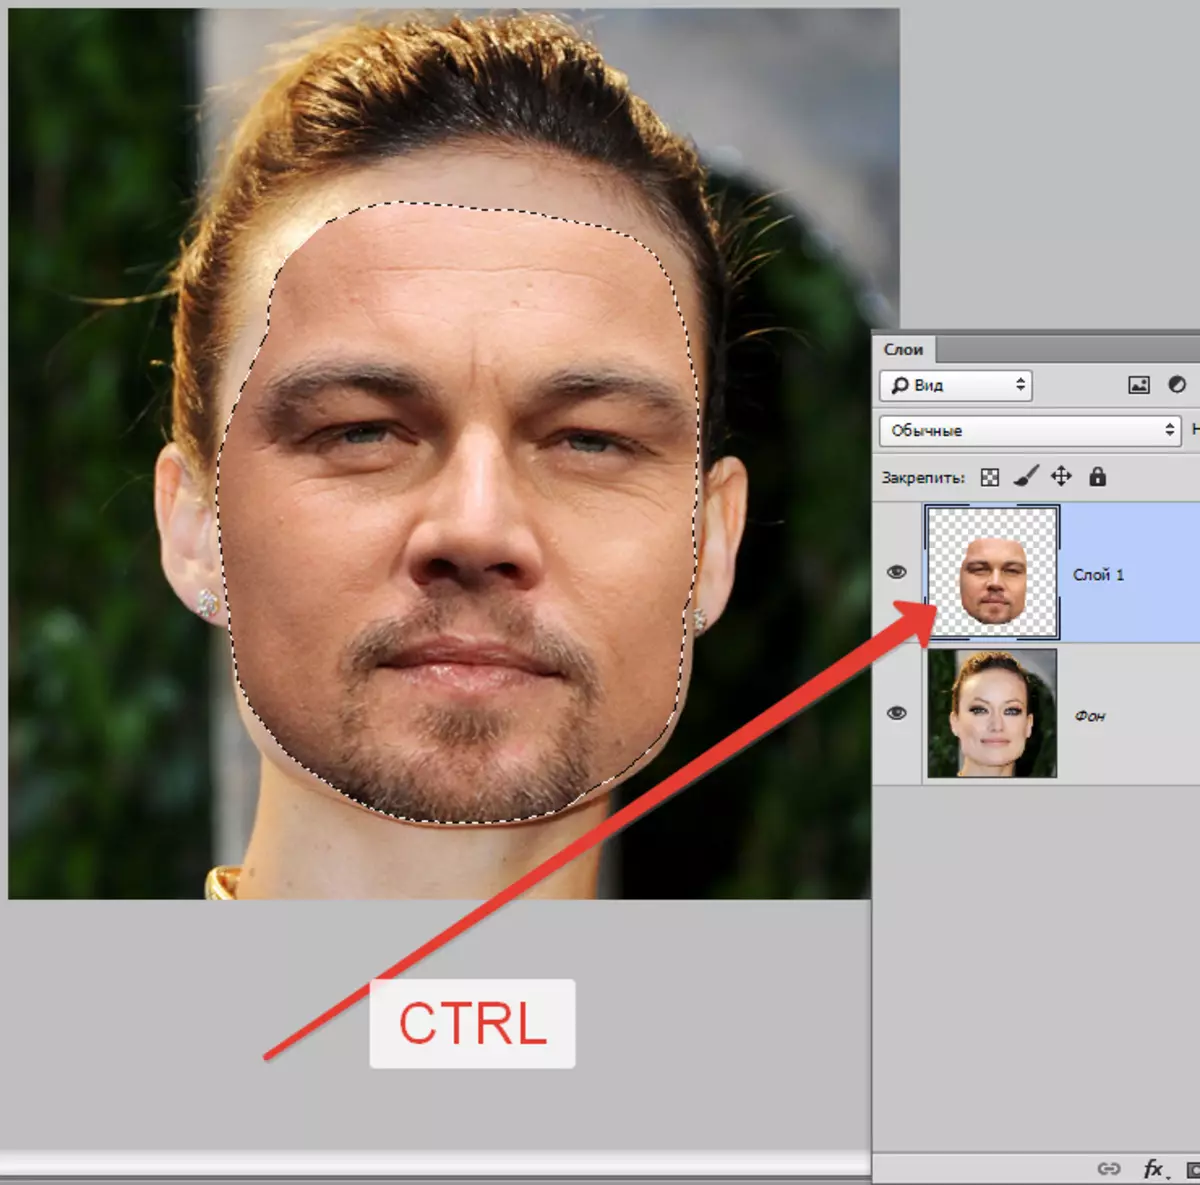
Go to the menu "Allocation - modification - compress" . The compression size depends on the size of the image. I have enough 5-7 pixels.

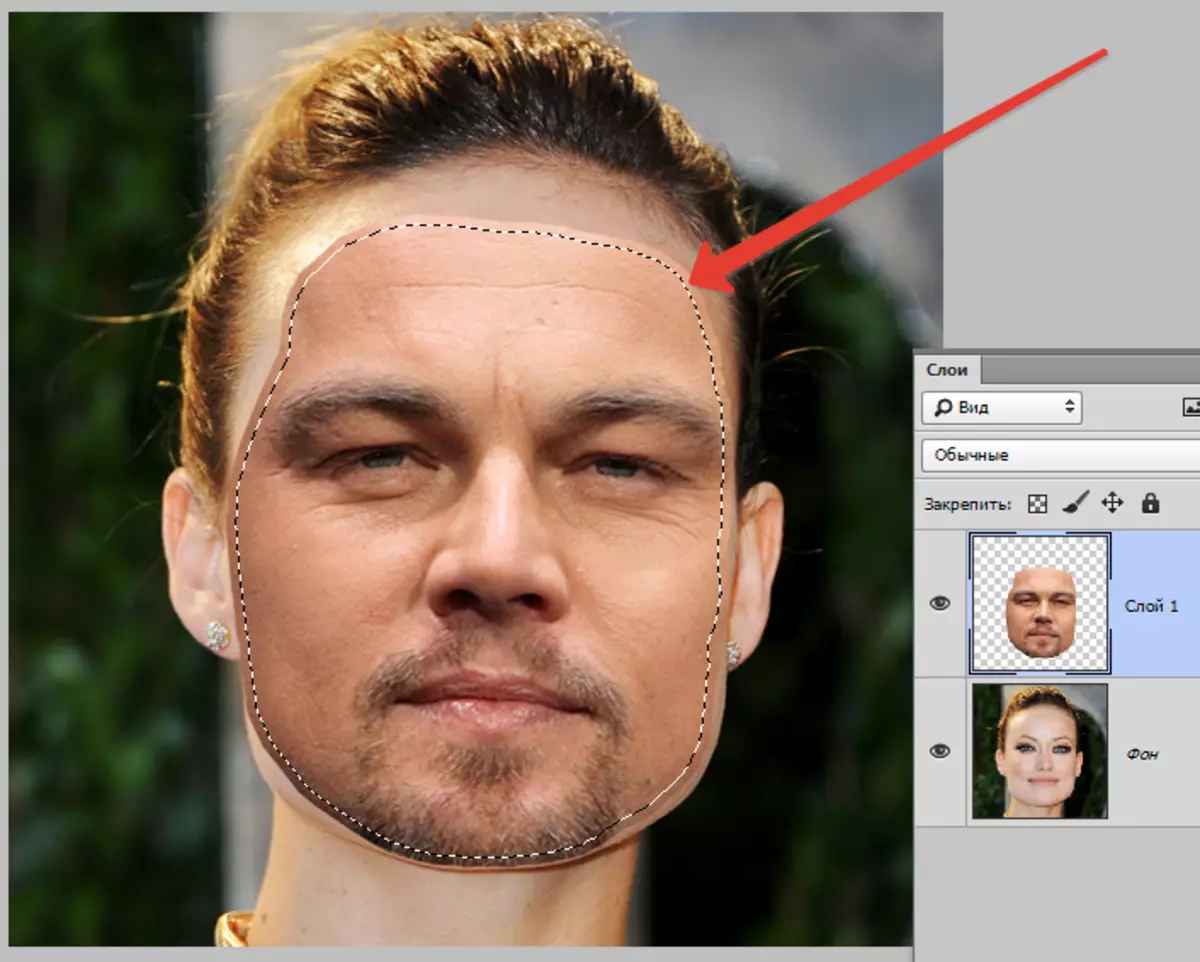
Isolation is modified.
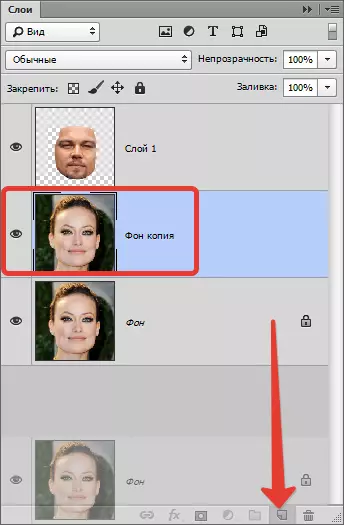
Another mandatory step - creating a copy of the source layer ( "Background" ). In this case, drag the layer on the icon at the bottom of the palette.
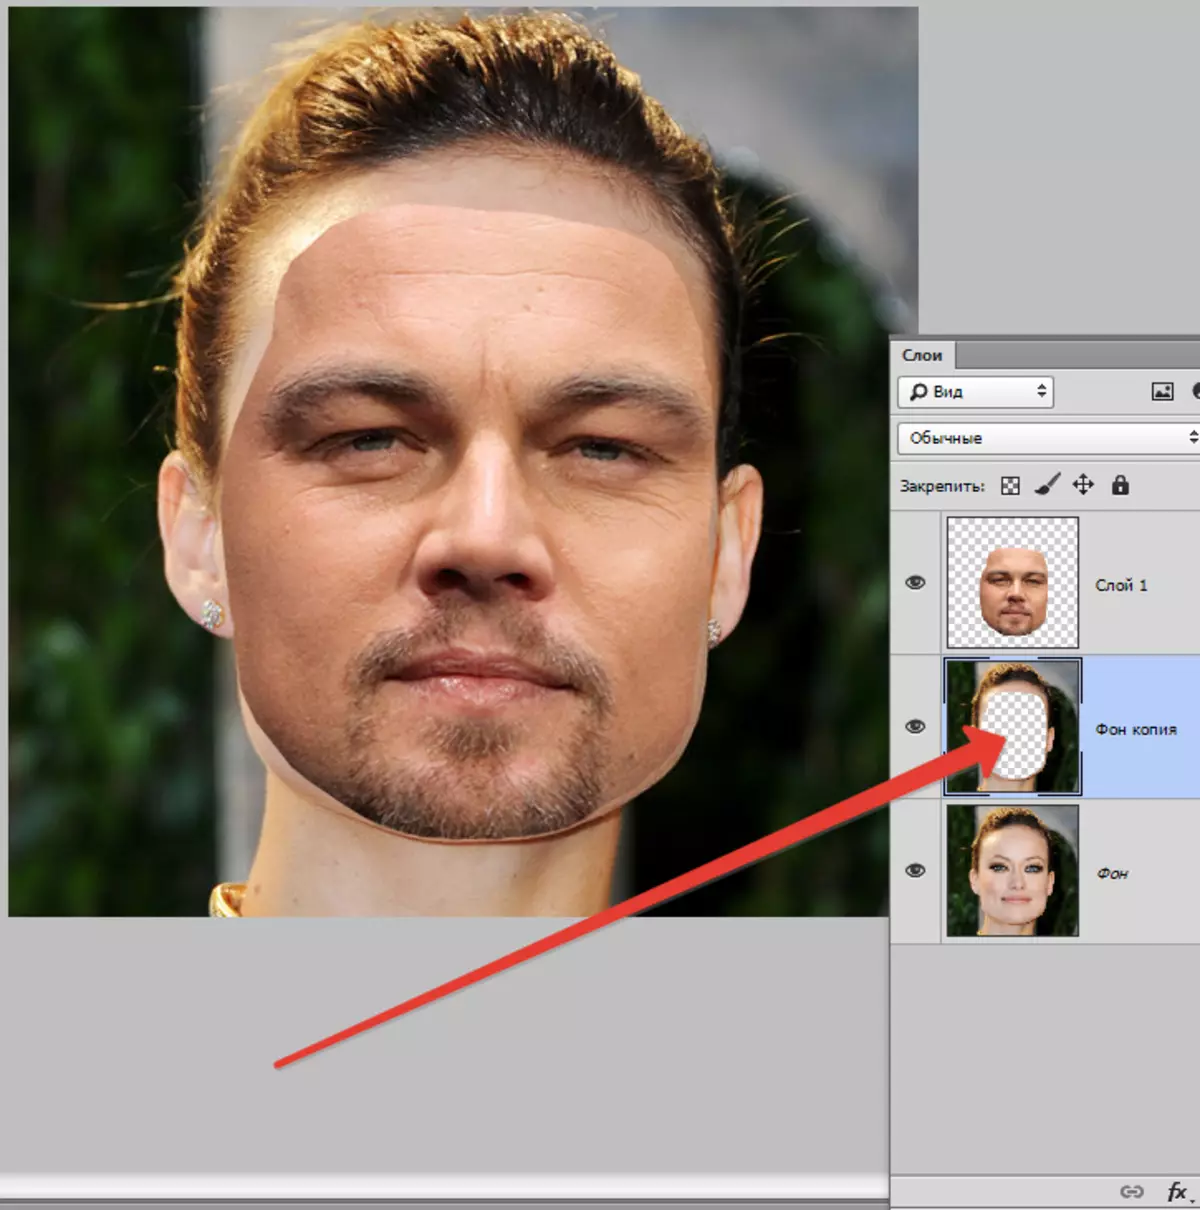
Being on the created just copies, press the key Del. Thereby removing the original face. Then remove the selection ( Ctrl + D.).
Then most interesting. Let's make our favorite photoshop work a bit alone. Apply one of the "smart" functions - "Autonomy of the layers".
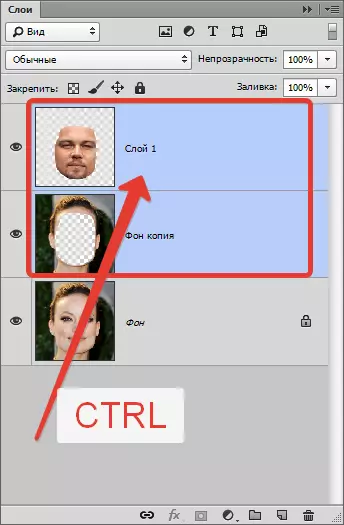
Being on copies of the background layer, clamp Ctrl and click on a layer with a face, thereby highlighting it.
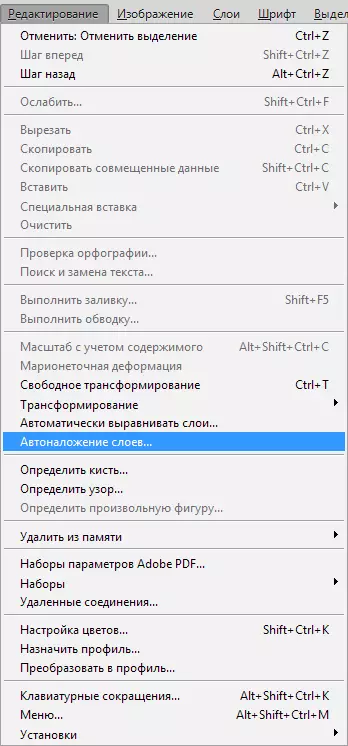
Now go to the menu "Editing" And we are looking for our "smart" function.
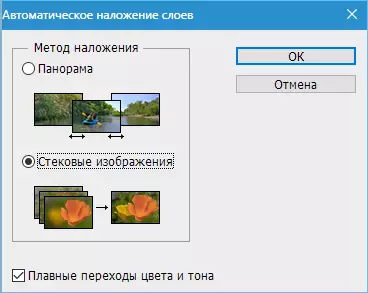
In the window that opens, choose "Streck Images" and click OK.
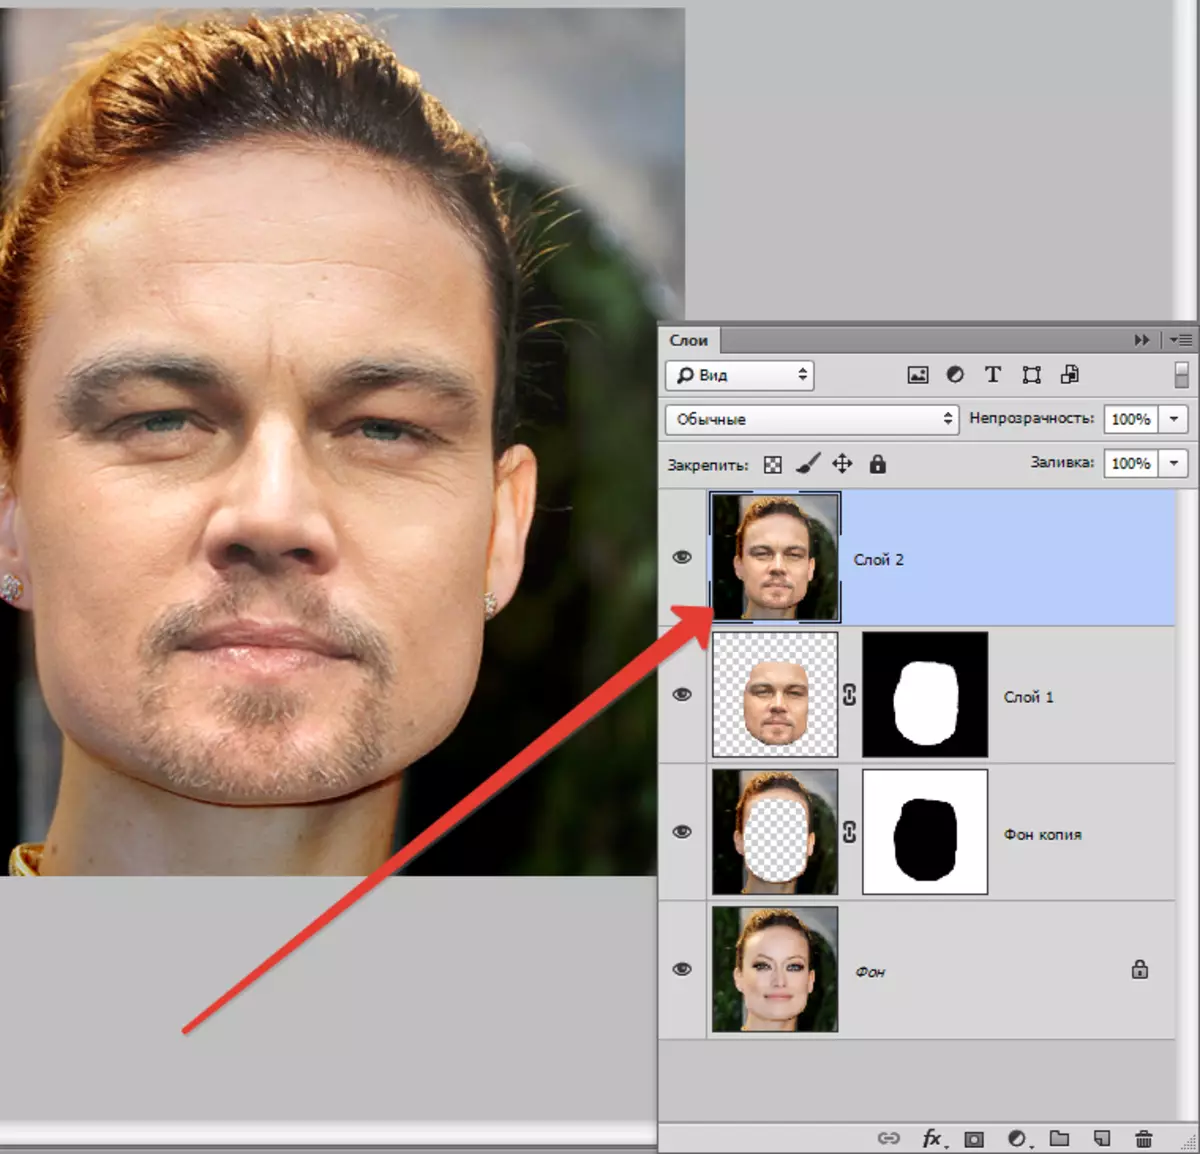
Learn a little ...

As you can see, individuals are aligned almost perfect, but it is rare, therefore, we continue.
Create a combined copy of all layers ( Ctrl + Shift + Alt + E).
On the left, the chin does not have enough skin texture. Let's add.
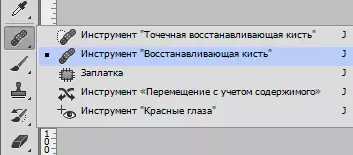
Choose tool "Restoring brush".
Clamp Alt. And we take a sample skin with the inserted face. Then let go Alt. And click on the site where the texture lacks. We produce a procedure as many times as needed.
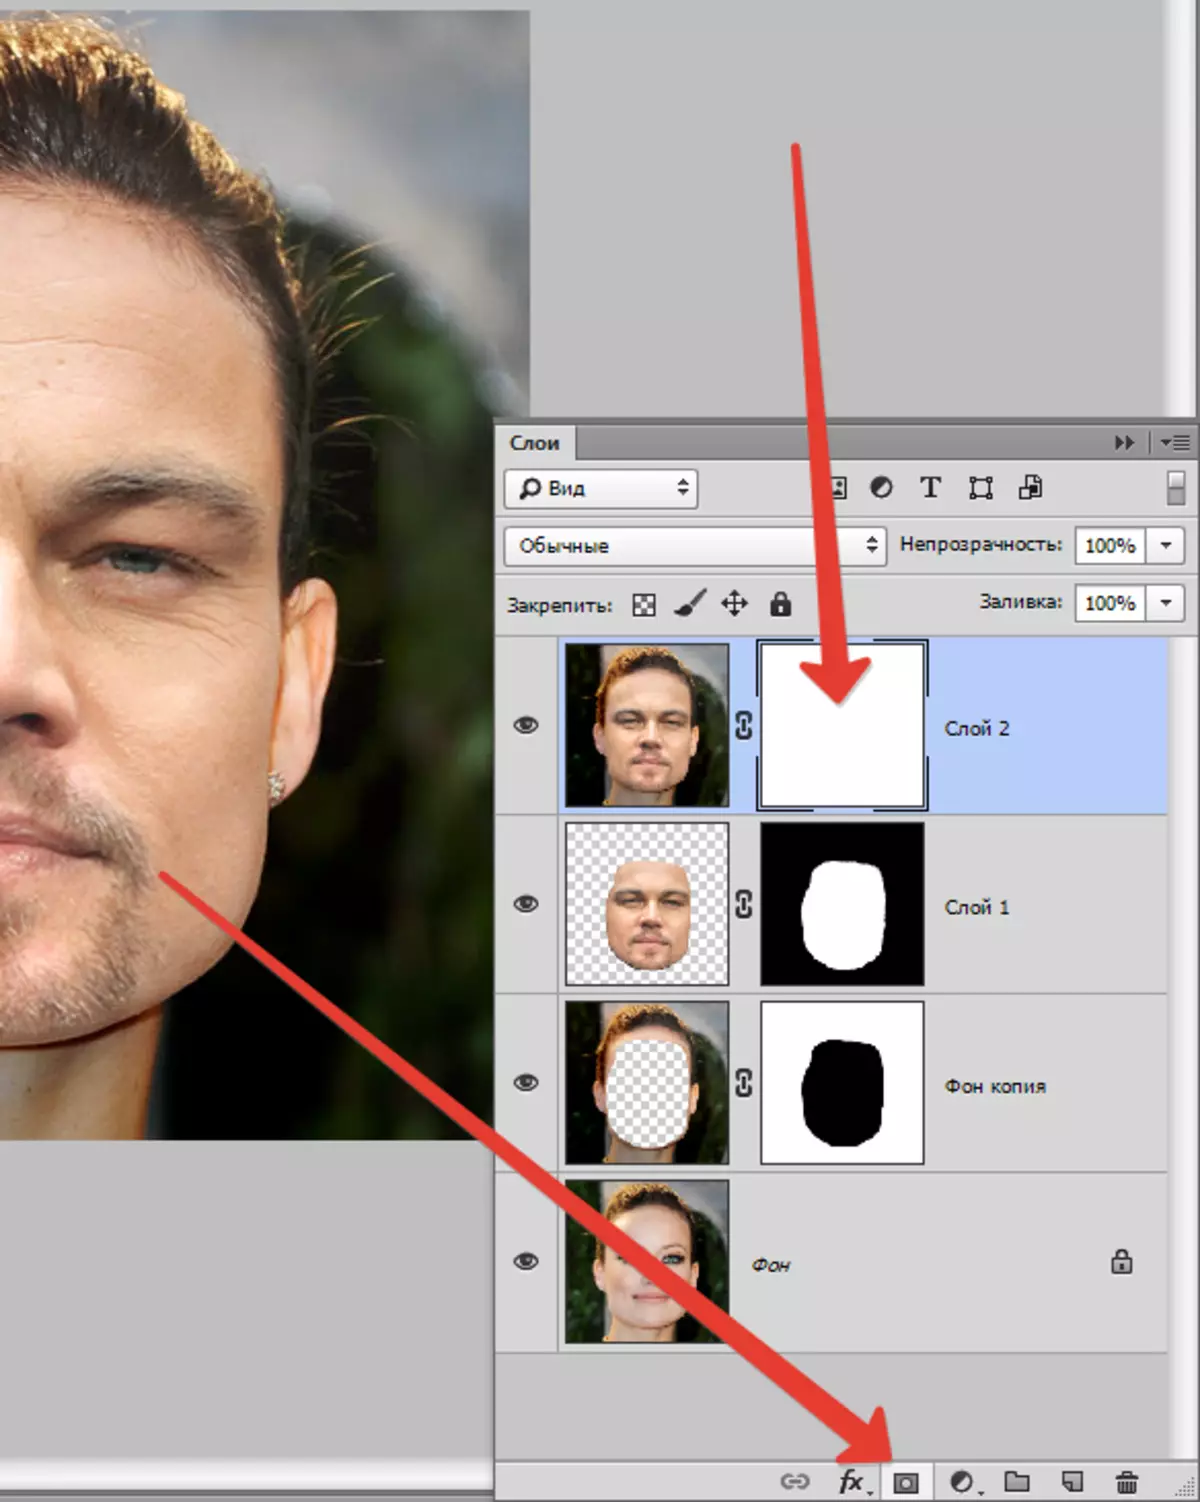
Next, create a mask for this layer.
Take a brush with the following settings:
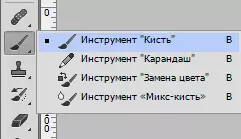
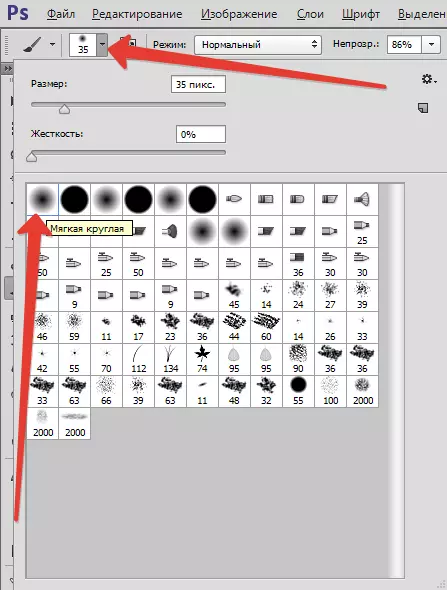
Color choose black.
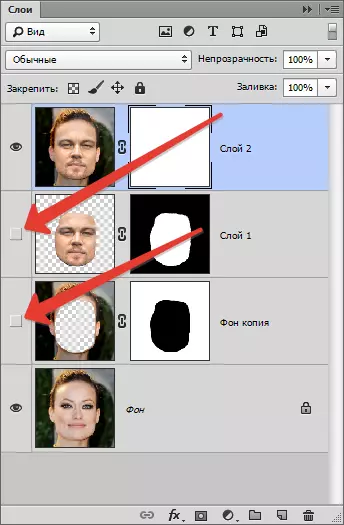
Then we turn off visibility from all layers, except for the upper and lower.
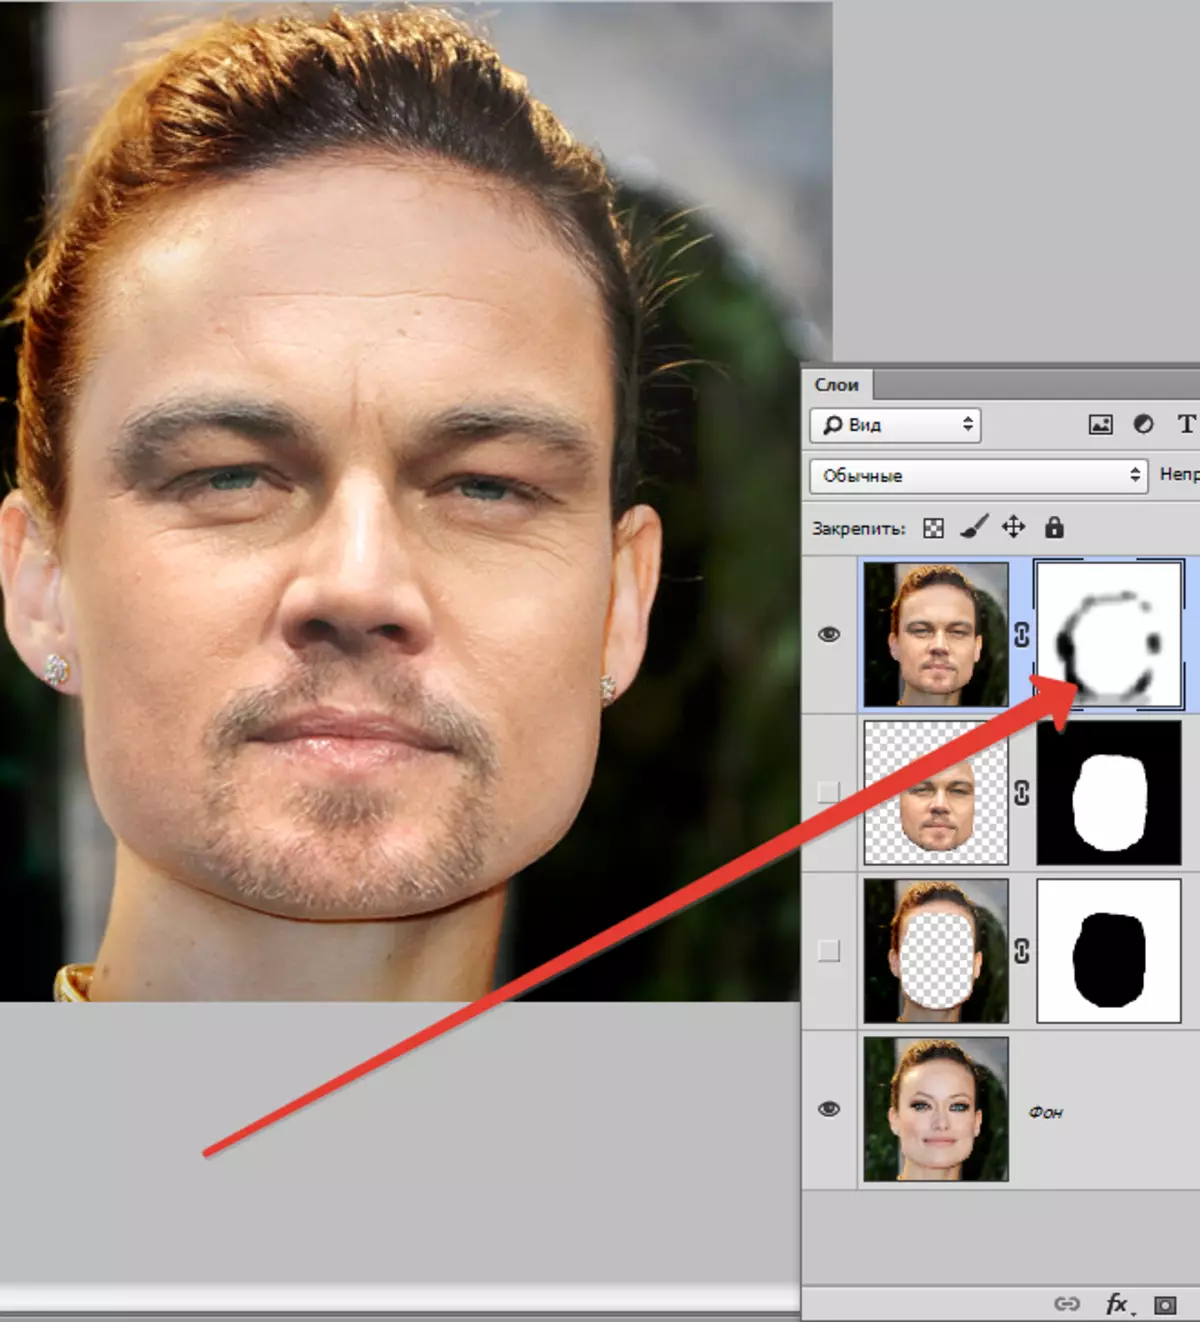
Brush gently take place along the boundary of the alignment, slightly smoothing it.
The final step will be the alignment of the tone of the skin on the inserted face and on the original.
Create a new empty layer and change the imposition mode on "Color".
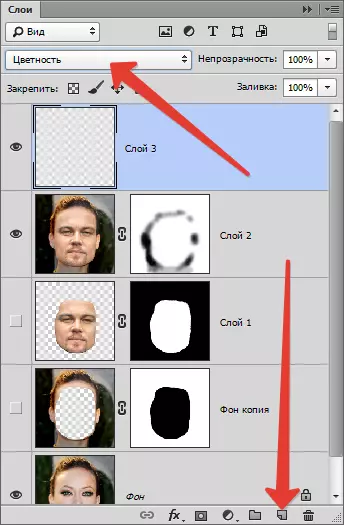
Turn off visibility for the subject to the layer, thereby opening the original.
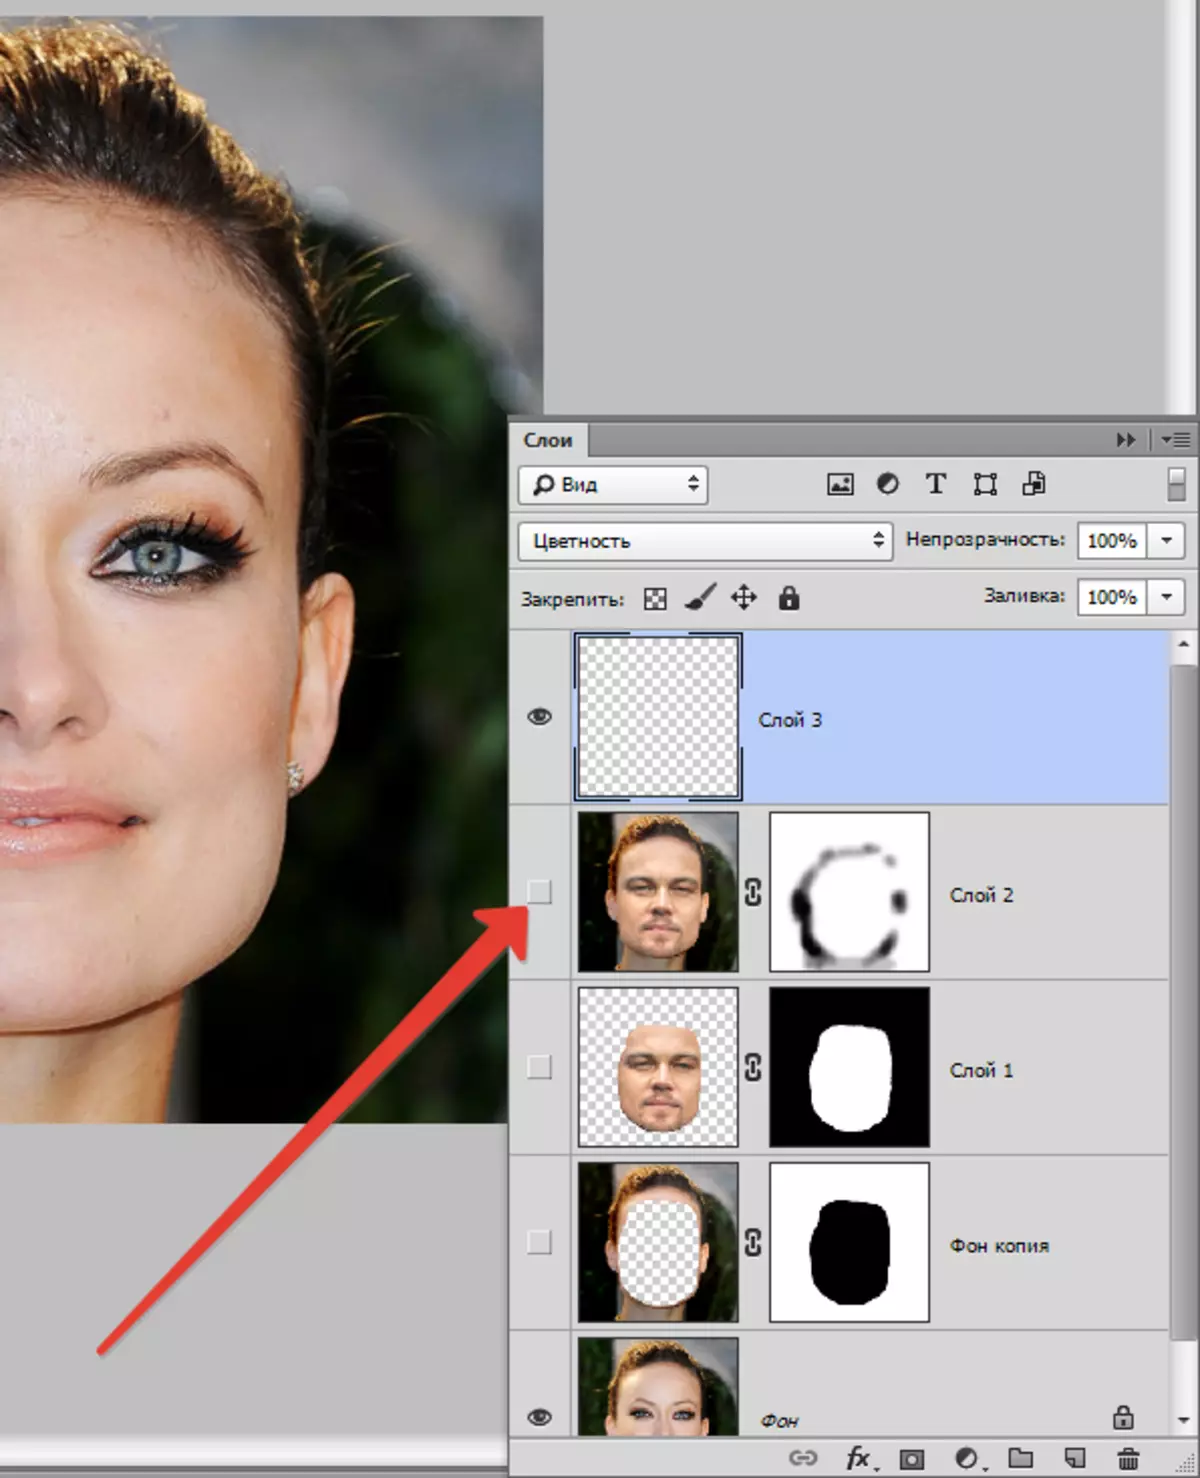
Then we take a brush with the same settings that before and take a sample of the skin tone from the original, clinging Alt..
We include visibility for a layer with a finished image and pass through the face with a brush.
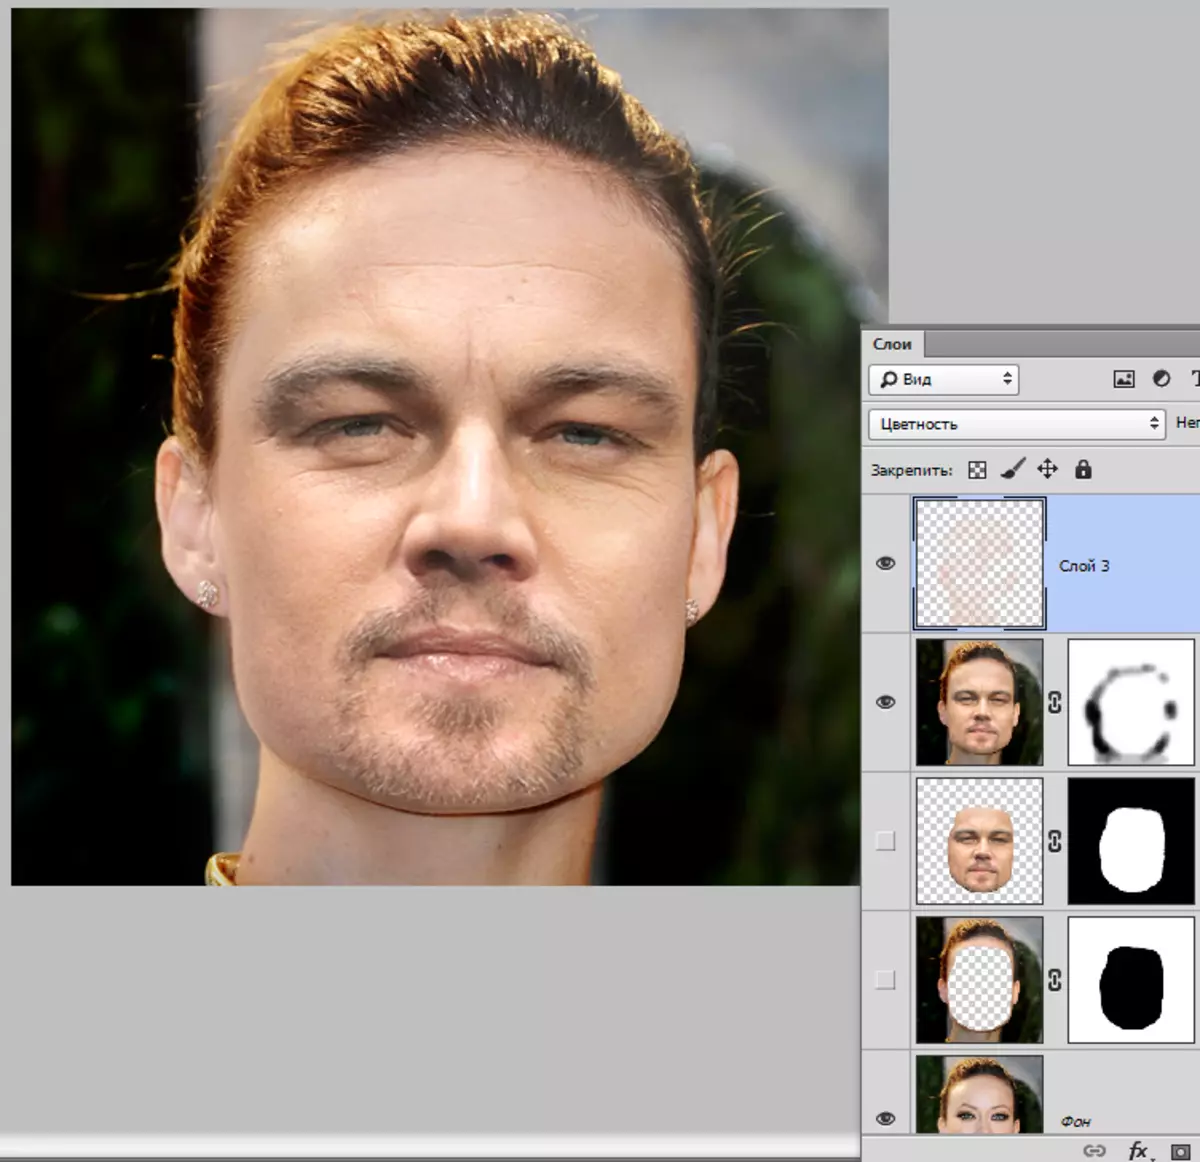
Ready.
Thus, we have learned to an interesting reception of the change of the face. If you observe all the rules, then you can achieve an excellent result. Good luck in your work!