
Photoshop is a truly wonderful tool in the hands of a knowledgeable person. With it, it is possible to change the original image so much that it will turn into an independent product.
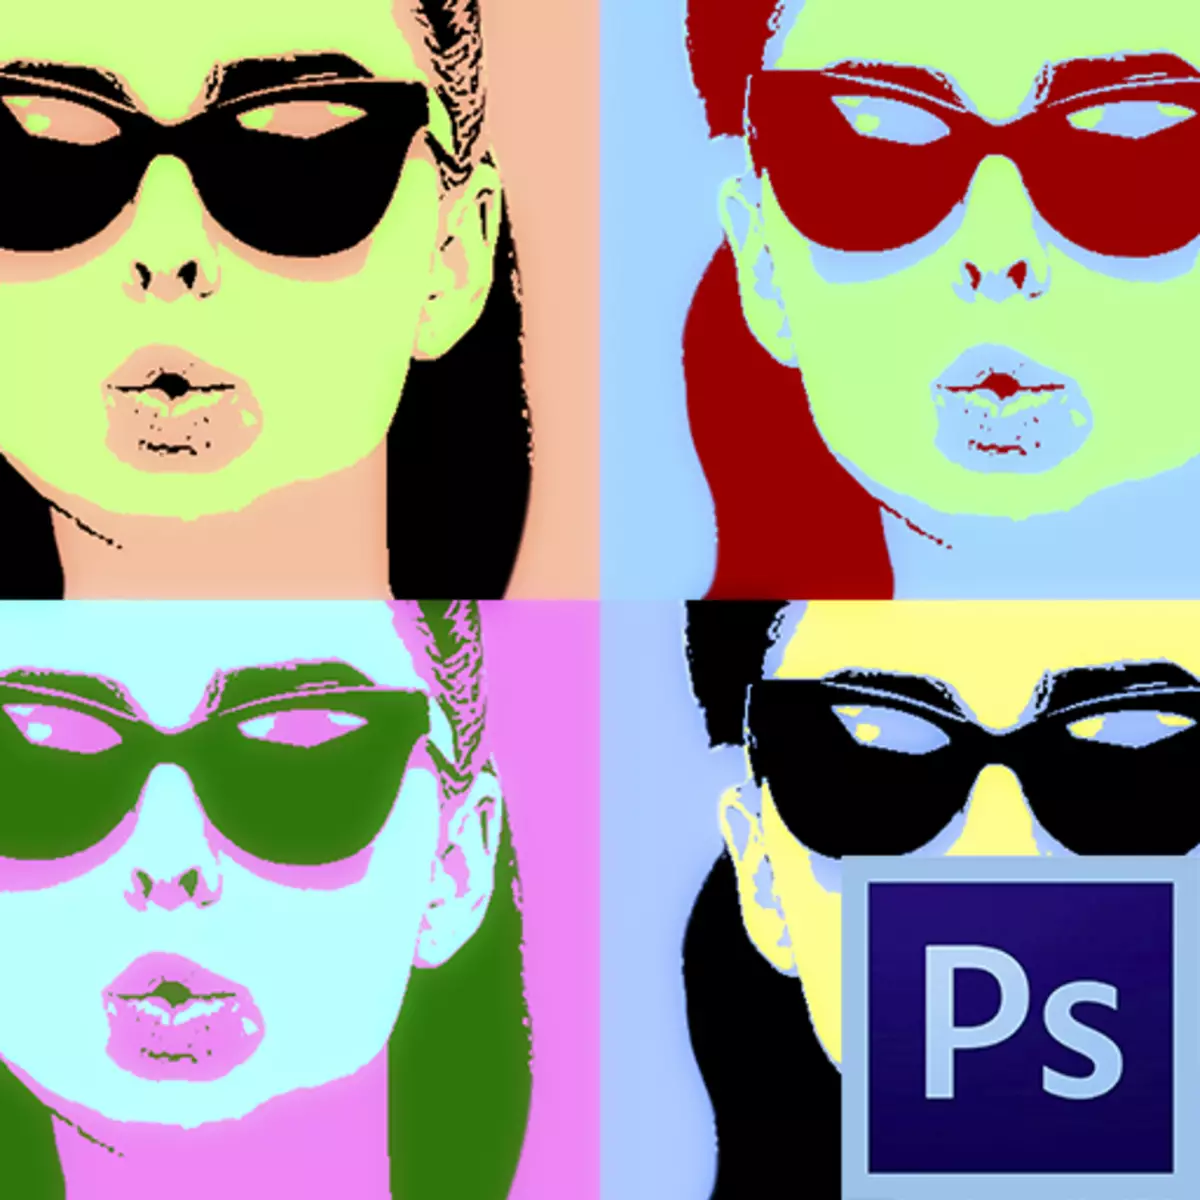
If you do not give rest of the glory Andy Warhol, then this lesson is for you. Today, we will make a portrait in the style of pop art from the usual photo using filters and corrective layers.
Pop Art Portrait
For processing, almost any pictures will be suitable for us. It is difficult to present in advance how the filters will work, so the selection of a suitable photo can take a fairly long time.
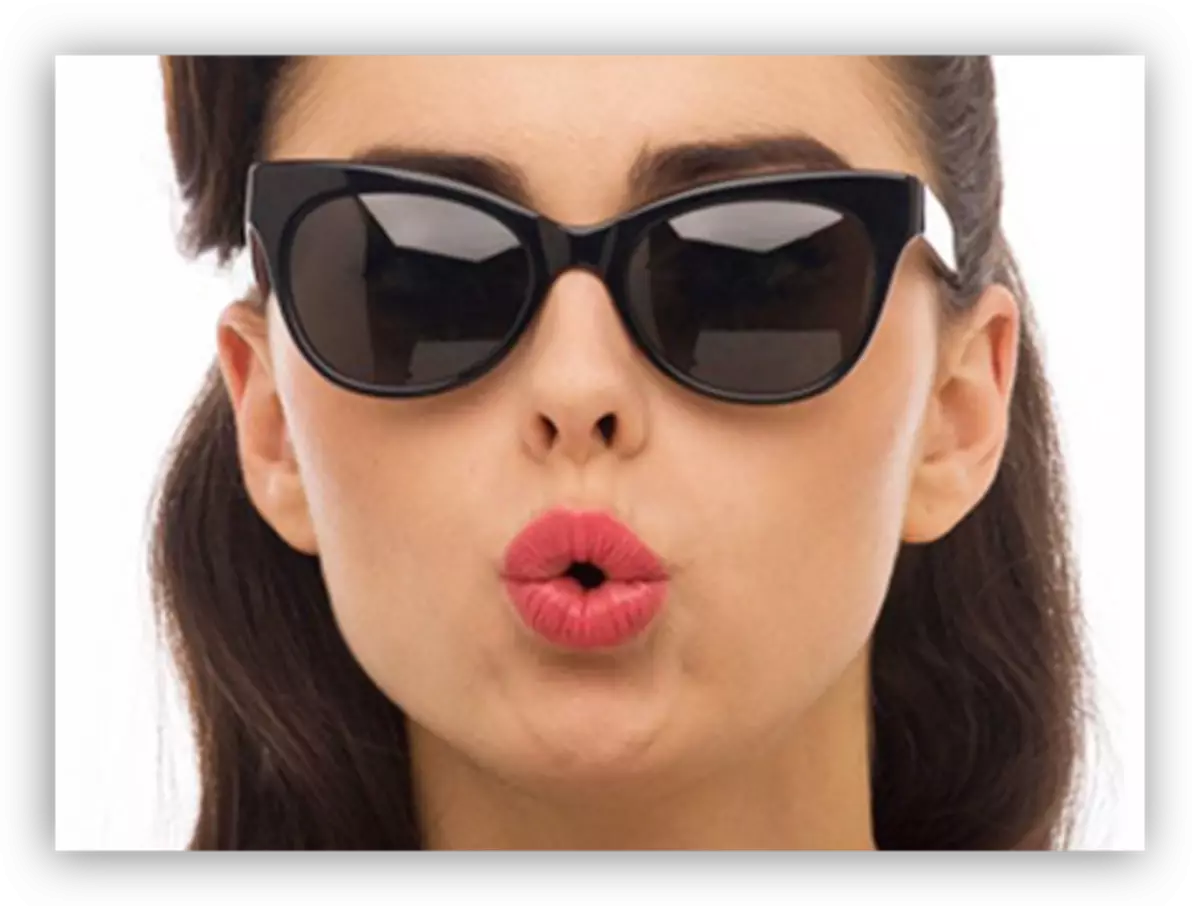
The first step (preparatory) will be the separation of the model from the white background. How to do this, read the article on the link below.
Lesson: How to cut an object in photoshop
Postering
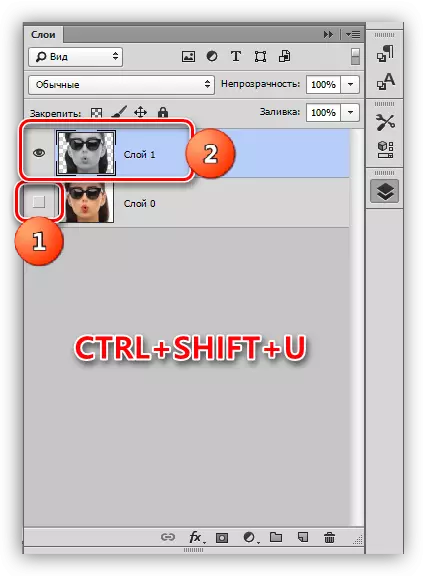
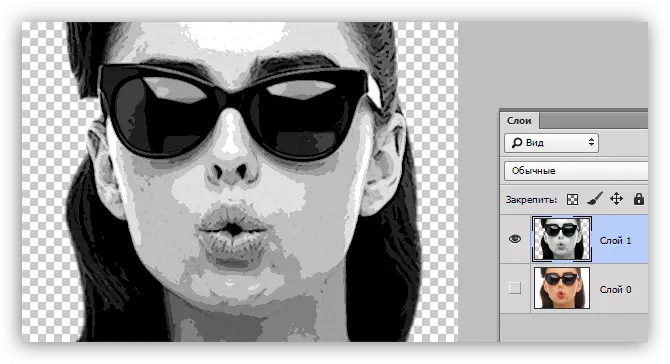
- We remove the visibility from the background layer and discolor the cut-out model with the CTRL + SHIFT + U keys. Do not forget to go to the corresponding layer.
- In our case, the shadows and light are not very well expressed in the image, so we press the Ctrl + L key combination, causing "levels". We move the extreme sliders to the center, amplifying the contrast, and click OK.

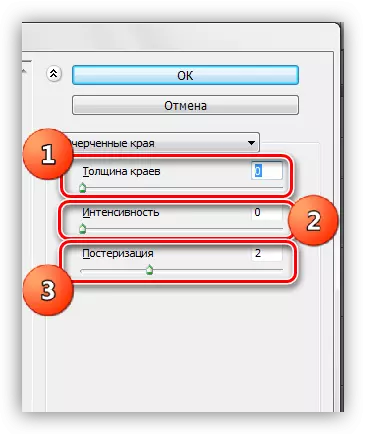
- Go to the "Filter - Imitation - defined edges" menu.

- "The thickness of the edges" and "intensity" is removed in zero, and "posting" give a value of 2.
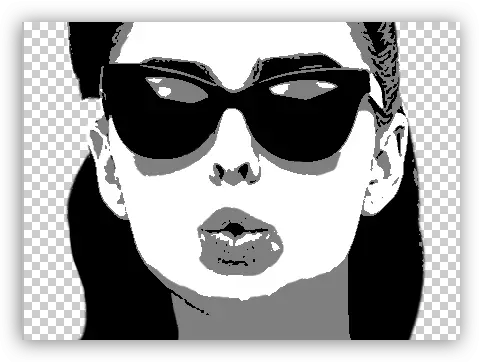
The result should be approximately the same as in the example:
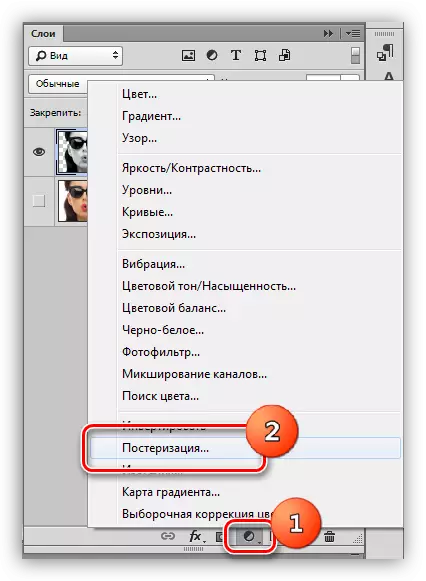
- The next step is the presolution. Create an appropriate correction layer.
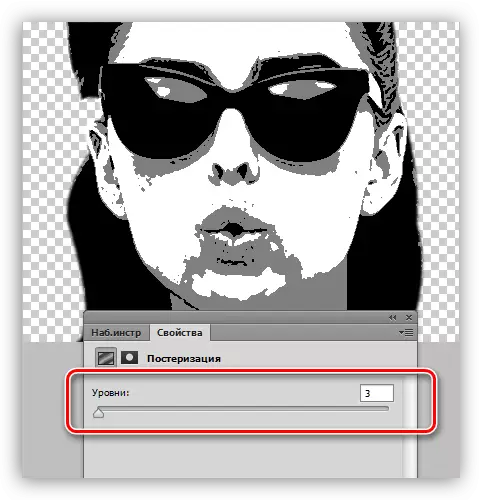
- The slider is dragging to the value 3. This setting can be individual for each image, but in most cases it is like a tripler. Look at the result.
- Create a combined copy of the layers with a combination of hot keys Ctrl + Alt + Shift + E.

- Next, take the "brush" tool.

- We need to paint extra sections in the image. The algorithm is as follows: if we want to remove black or gray dots from white sections, then clamp Alt, taking a color sample (white) and paints; If we want to clean the gray color, do the same on the gray area; With black sites, all the same.
- Create a new layer in the palette and drag it under a layer with a portrait.
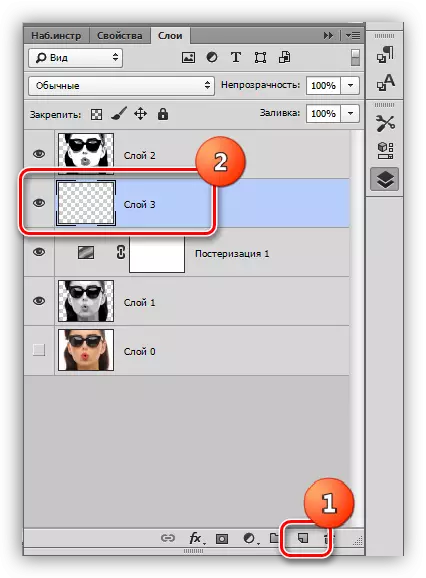
- Fill the layer as gray as in the portrait.
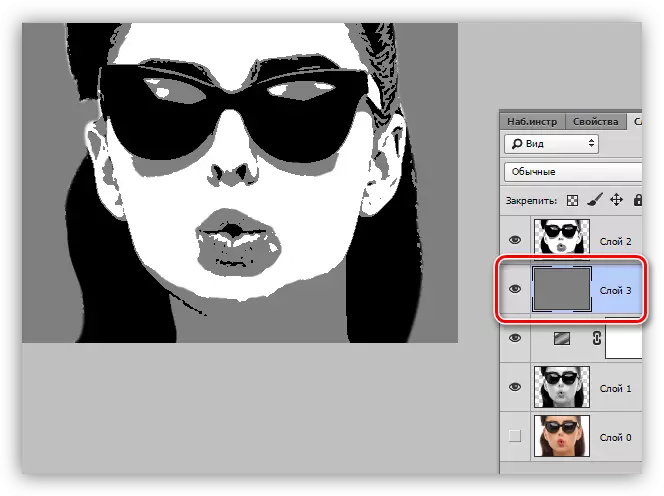
Postering is completed, go to toning.
Toning
To give the color, we will use the correction layer "Card Gradient". Do not forget that the correction layer should be at the very top of the palette.

To color portrait, we will need a three-color gradient.

After selecting the gradient, click on the window with the sample.

The edit window opens. This is further important to understand what a checkpoint for what is responsible. In fact, everything is simple: the extreme left tones black sections, the average is gray, the extreme right is white.
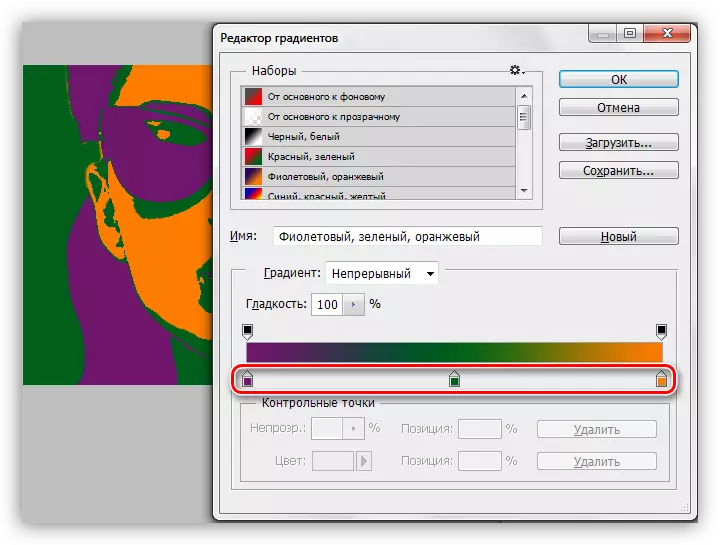
Color is configured as follows: Click twice on the point and choose color.

Thus, configuring colors for checkpoints, we achieve the desired result.
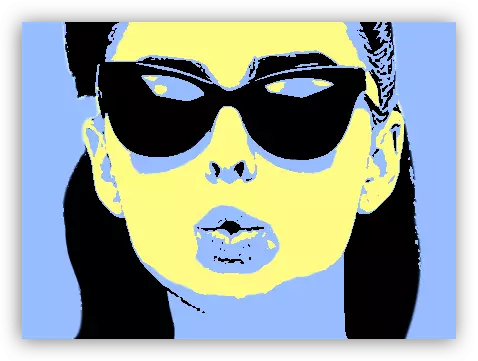
At this end, the lesson to create a portrait in the style of pop art in Photoshop. This method you can create a huge number of color options and place them on the poster.