
If you have long ceased to use a DVD drive in your laptop, then it's time to replace it with a new SSD. You did not know what it was possible? Then today we will tell you in detail how to do it and that it will be necessary for this.
How to install SSD instead of a DVD drive in a laptop
So, weighing everything "for" and "Against" we came to the conclusion that the optical disk drive is an excess device and it would be nice to put SSD instead. To do this, we will need a drive itself and a special adapter (or adapter), which is perfectly suitable in size instead of a DVD drive. Thus, we will not only easier to connect the disk, but also the laptop housing itself will look more aesthetic.Preparatory stage
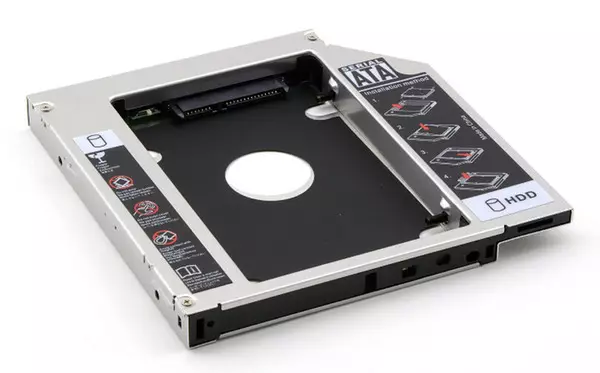
Before purchasing a similar adapter, it is worth paying attention to the size of your drive. An ordinary drive has a height of 12.7 mm, there are also ultra-thin drives, which in height are 9.5 mm.
Now that we have a suitable adapter and SSD, you can start installation.
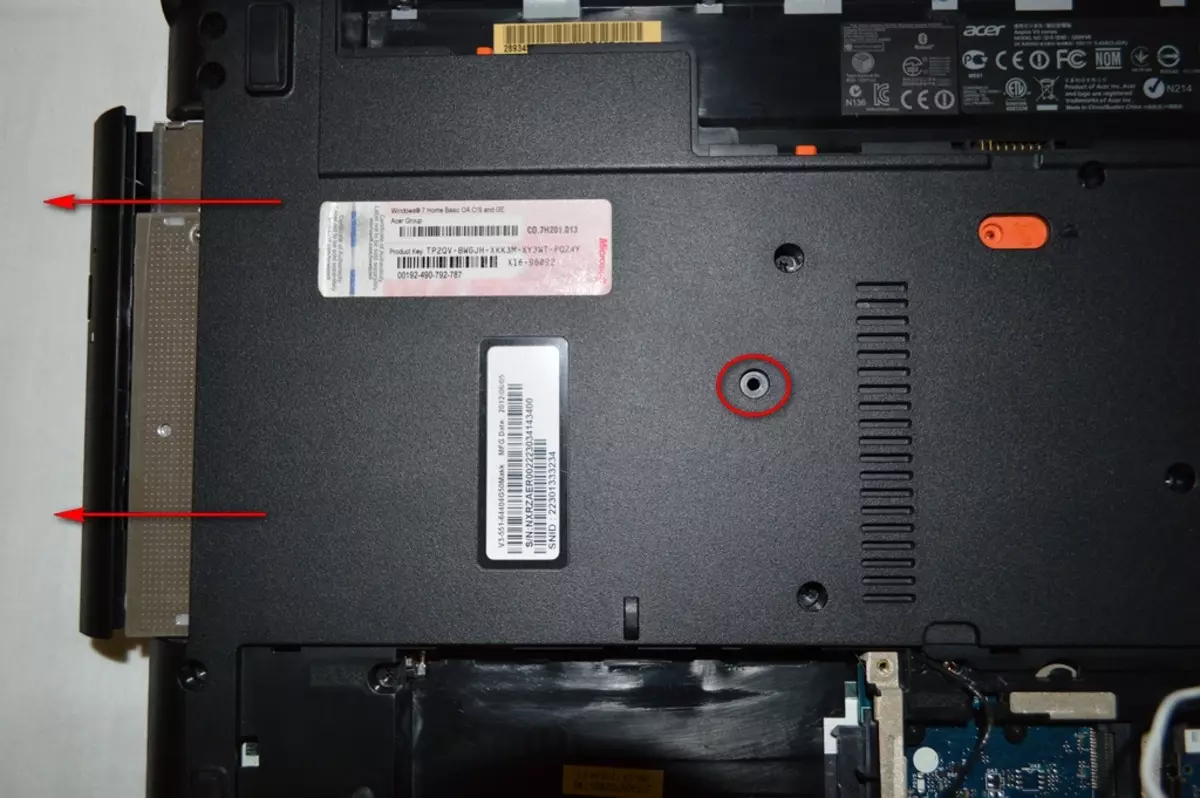
Disconnect the DVD drive
First of all, you need to disconnect the battery. In cases where the battery is not removable, you will have to remove the laptop cover and disconnect the battery connector from the motherboard.
In most cases, in order to remove the drive no need to disassemble the laptop completely. It is enough to unscrew several screws and the optical drive is easy to remove. If you are not quite confident in your abilities, it is better to look for a video instruction directly for your model or contact a specialist.
Install SSD.
Next, prepare CZD for installation. There are no special difficulties here, it is enough to perform three simple steps.
- Install the disk in the socket.
- Fix.
- Transfer additional mount.
The adapter has a special socket, has connectors for powering and data transfer. It is in it that we insert our drive.
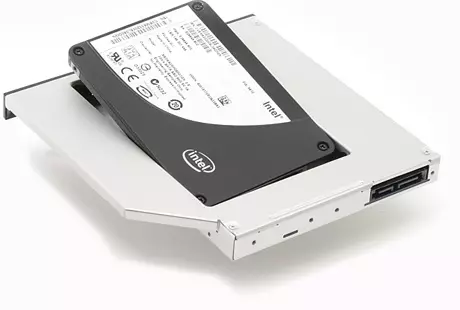
As a rule, the disk is fixed with a special strut, as well as several bolts on the sides. Insert the strut and tighten the bolts so that our device is firmly fixed in place.
Then remove a special fastening from the drive (if any) and rearrange it to the adapter.
That's all, our drive is ready for installation.
Now it remains to insert an adapter with an SSD in a laptop, spin bolts and connect the battery. Turn on the laptop, format a new disk, and then you can transfer the operating system from the magnetic drive, and the last to use for data storage.
See also: How to transfer the operating system and programs with HHD on SSD
Conclusion
The entire process of replacing a DVD-ROM on a solid-state drive takes a few minutes. As a result, we get an additional disk and new opportunities for your laptop.