

Printing manufacturers from HP are sometimes faced with the fact that the "Print Error" is notified on the screen. The causes of this problem may be somewhat and each of them is solved in different ways. Today we have prepared for you the analysis of the basic ways to correct the problem under consideration.
Correct the print error on the HP printer
Each method below has different efficiency and will be most suitable in a certain situation. We, in order, consider all the options, starting from the simplest and effective, and you following the instructions, decide the task. However, first we recommend paying attention to these tips:- Restart the computer and reconnect the printing device. It is desirable that before the next connection printer is in a disabled state of at least one minute.
- Check the cartridge. Sometimes the error appears in cases where the paint ended in the inkwell. About how to replace the cartridge you can read in the article below.
- Inspect the wires for physical damage. The cable performs data transmission between the computer and the printer, so it is important that it is not only connected, but also in good condition.
- In addition, we advise you to check whether the paper has not ended or did not fire it inside the equipment mechanism. Pull out the A4 sheet will help you the instruction that is included with the products.
Read more: Replacing the cartridge in the printer
If the above tips did not help, proceed to the following methods for the "Print Error" solution using the HP periphery.
Method 1: Check printer
First of all, we advise you to check the display and configuration of the equipment in the "Devices and Printers" menu. You will need to produce only a few actions:
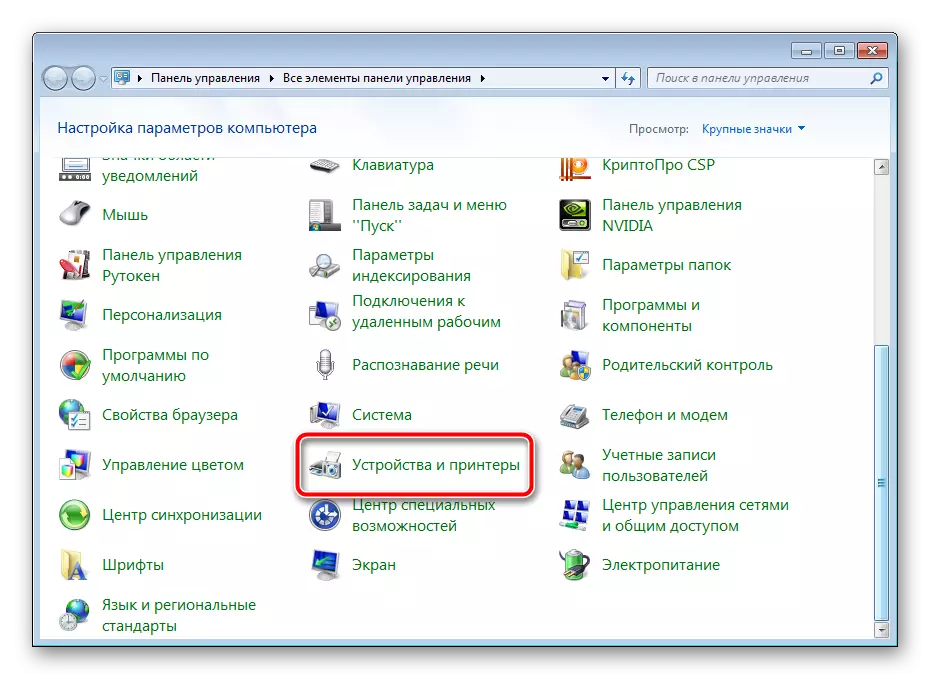
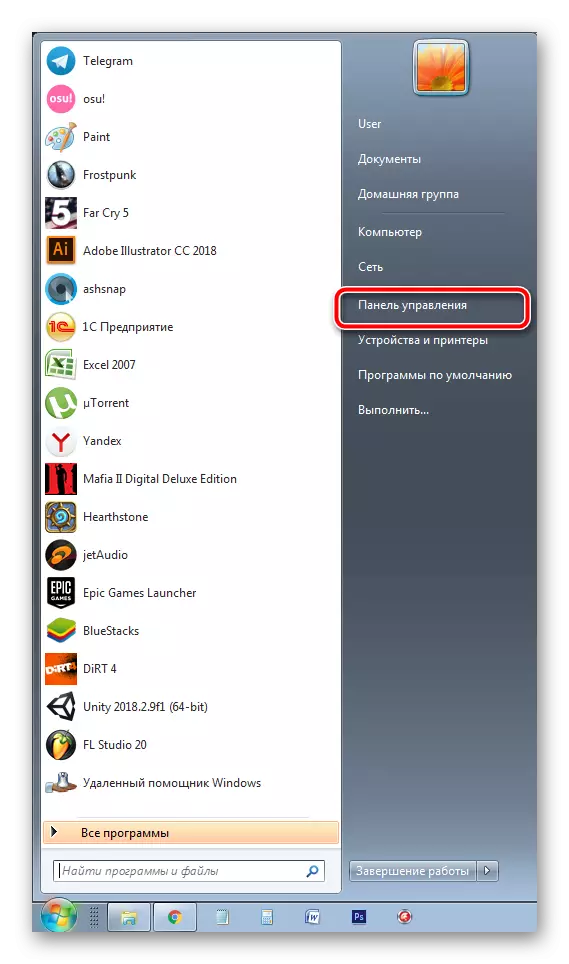
- Through the Control Panel menu and move to "Devices and Printers".
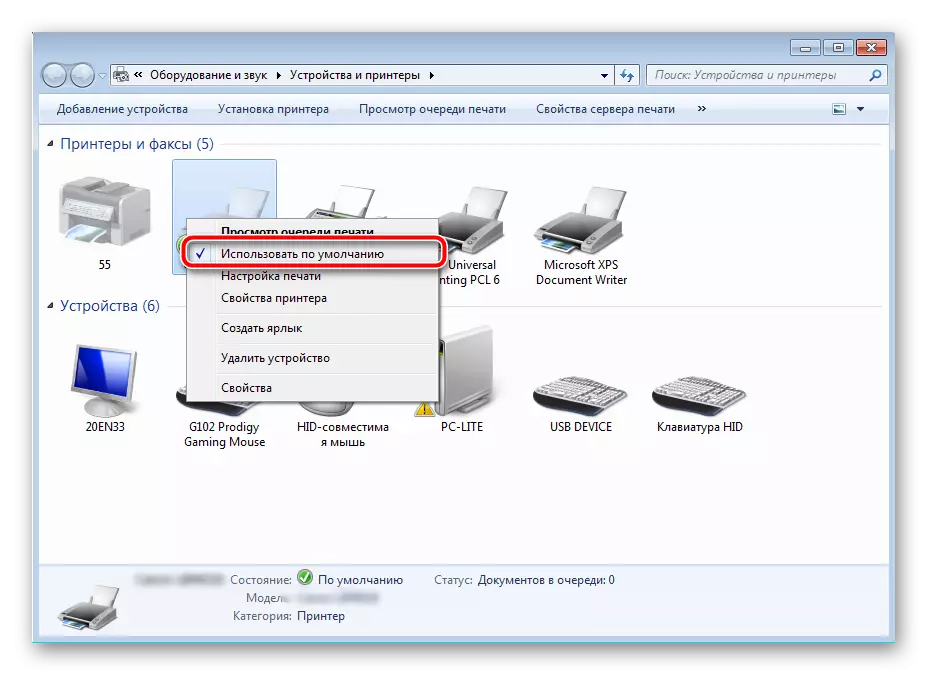
- Make sure that the device is not highlighted with gray, then click on it PCM and click on the "Use by default" item.
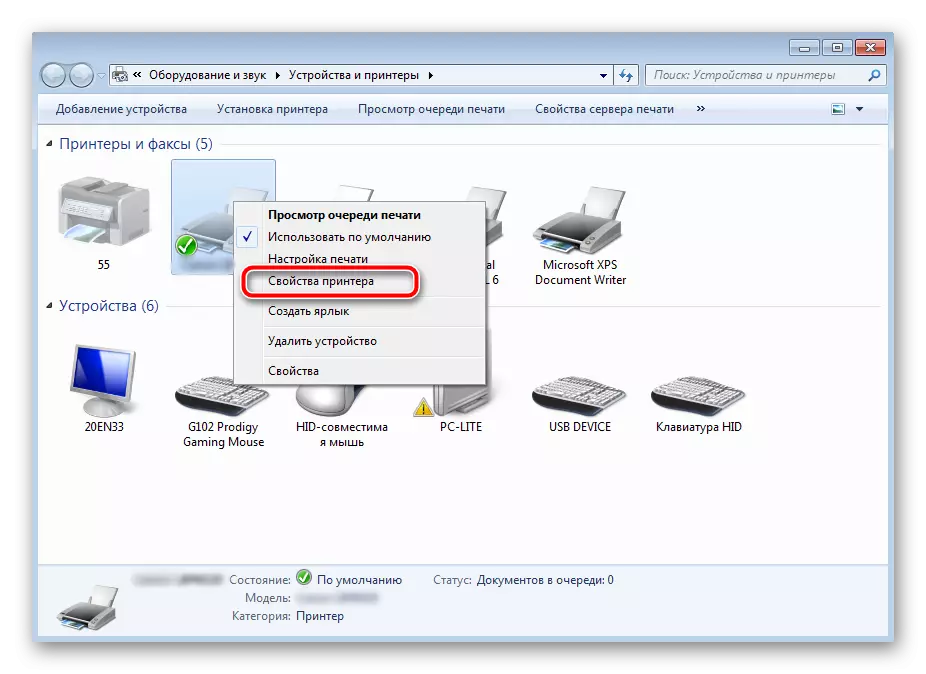
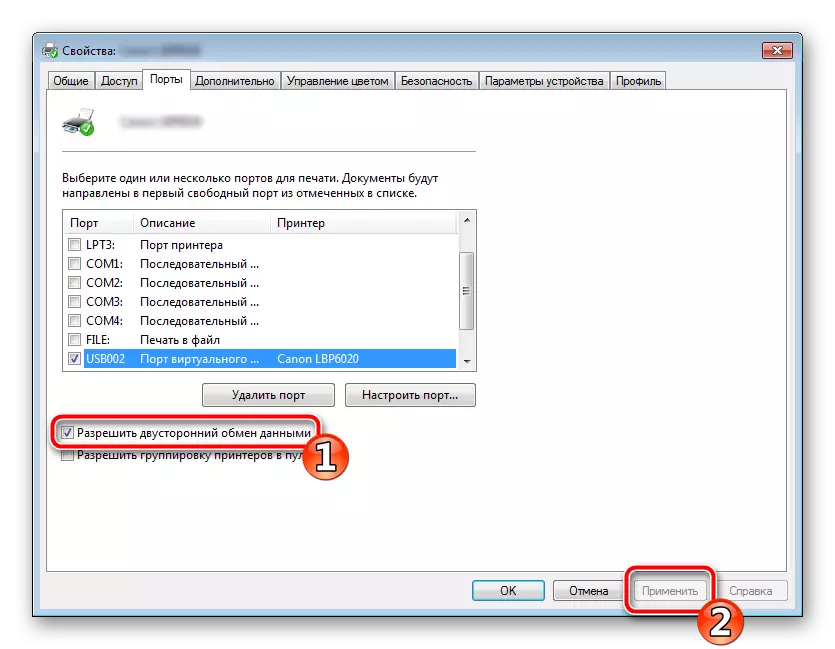
- In addition, it is recommended to check the data transfer settings. Go to the "Printer Properties" menu.
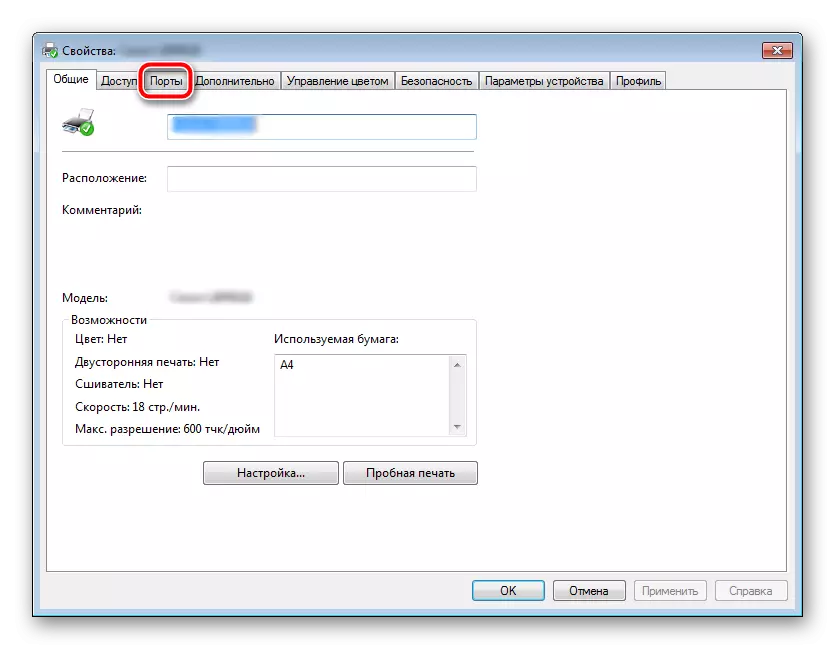
- Here you are interested in the "Ports" tab.
- Tick the checkbox "Allow Bilateral Data Exchange" and do not forget to apply the changes.
At the end of the process, it is recommended to restart the PC and reconnect the equipment so that all changes are exactly active.
Method 2: Unlocking Print Procedure
Sometimes voltage jumps or various system malfunctions occur, as a result of which the periphery and PCs cease to carry out certain functions normally. For reasons, the print error may occur. In this case, you should do the following manipulations:
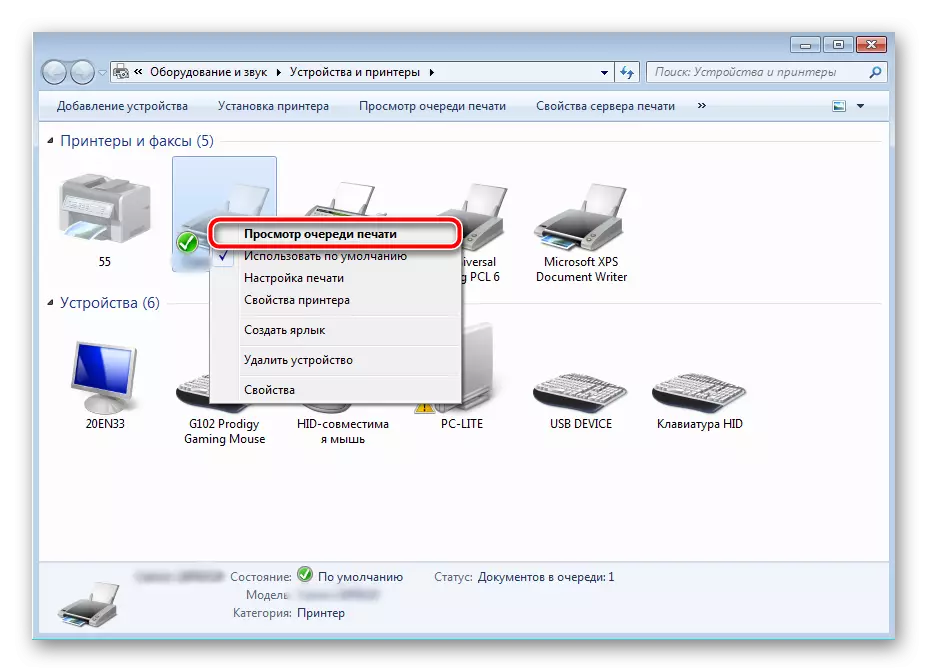
- Go back to "Devices and Printers", where the right mouse click on active equipment, select "View the print queue".
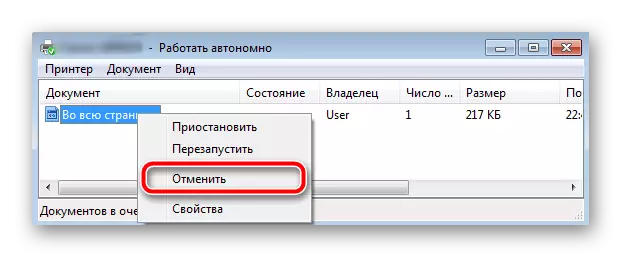
- Press the PCM to the document and specify "Cancel". Repeat it with all the files present. If the process for any reason is not canceled, we advise you to familiarize yourself with the material on the link below to implement this procedure with one of the other available methods.
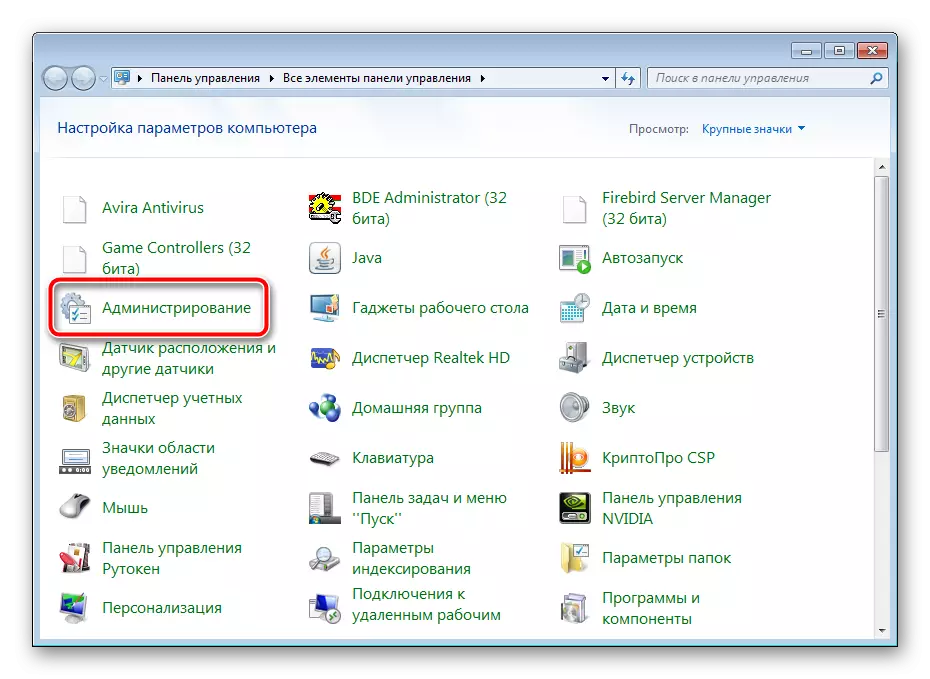
- Return to the "Control Panel".
- In it, open the "Administration" category.
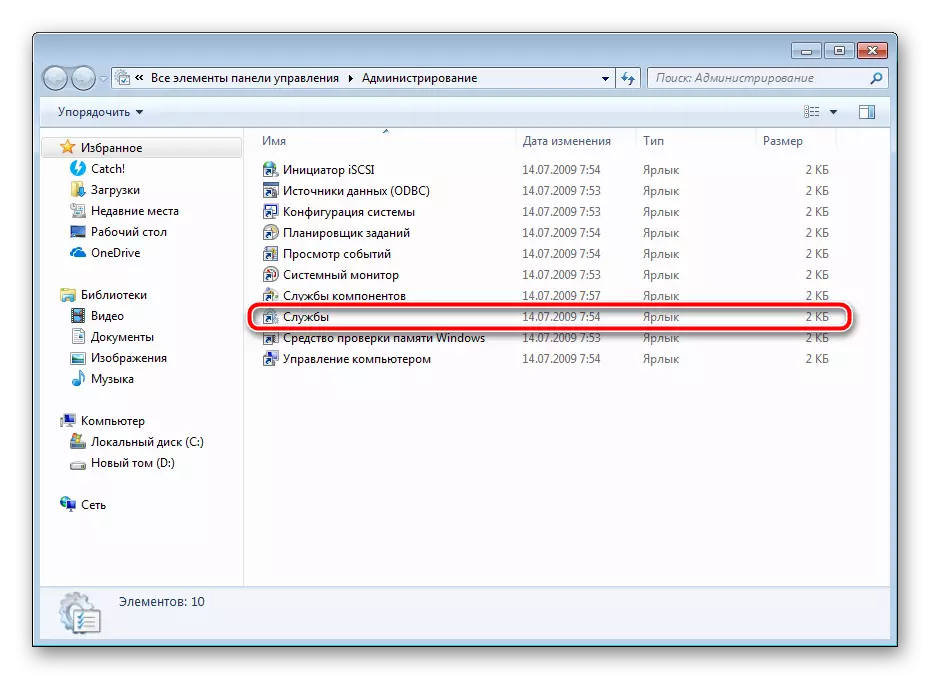
- Here you are interested in the line "Service".
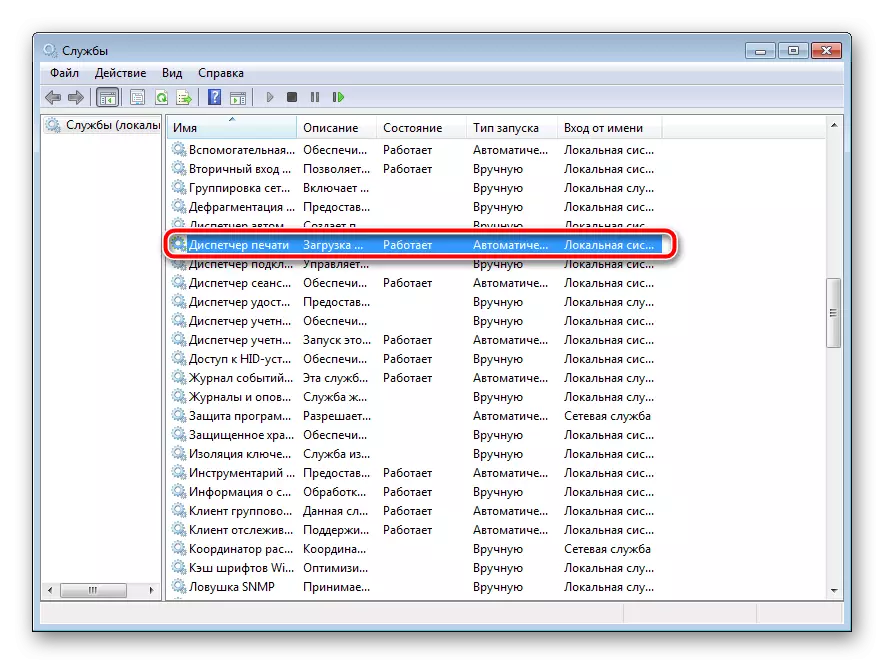
- In the list, find the "Print Manager" and double click on it with LKM.
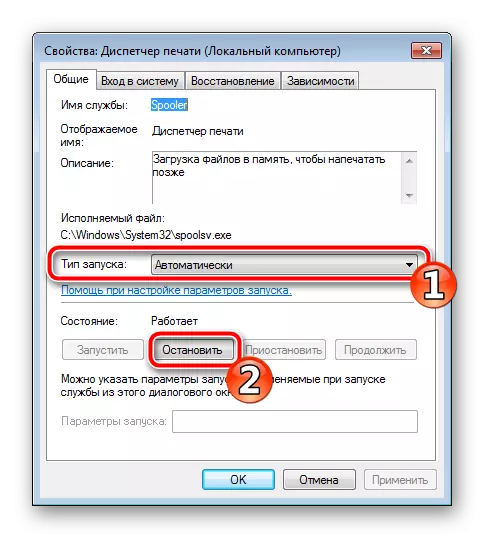
- In "Properties", pay attention to the General tab, where you make sure that the startup type is "automatic", after which you should stop the service and apply the settings.
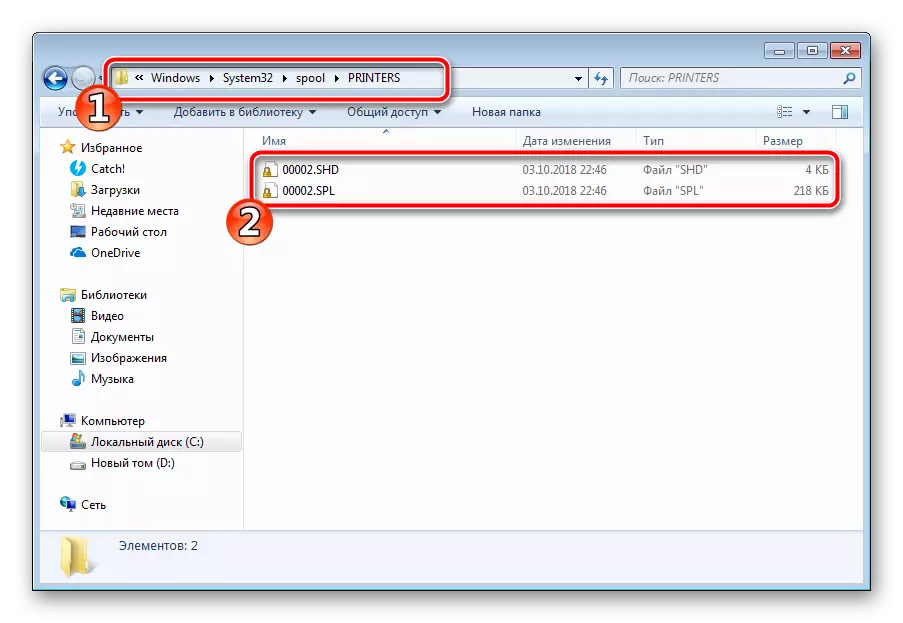
- Close the window, run "My Computer", Move at the following address:
C: \ Windows \ System32 \ Spool \ Printers
- Delete all the present files in the folder.
Read more: How to Clean the Print Queue on the HP Printer
It remains only to turn off the product of HP, disconnect it from the power, give it to stand about a minute. After that restart the PC, connect the equipment and repeat the printing process.
Method 3: Disable Windows Firewall
Sometimes Windows Defender blocks sent data from a computer to the device. This may be associated with incorrect work of firewall or various system failures. We advise on time to turn off the defender Windows and repeat the attempt to print. Read more about deactivation of this tool in another material on the following links:Read more: Disable firewall in Windows XP, Windows 7, Windows 8
Method 4: Switching User Account
The problem under consideration sometimes occurs when an attempt to send to printing is made not with the Windows user account with which the peripherals appeared. The fact is that each profile has its privileges and restrictions, which leads to the appearance of this kind of malfunction. In this case, you need to try to change the record of the user if you have them of course more than one. It is detailed about how to do this in different versions of Windows read in the articles below.
Read more: How to change the user account in Windows 7, Windows 8, Windows 10
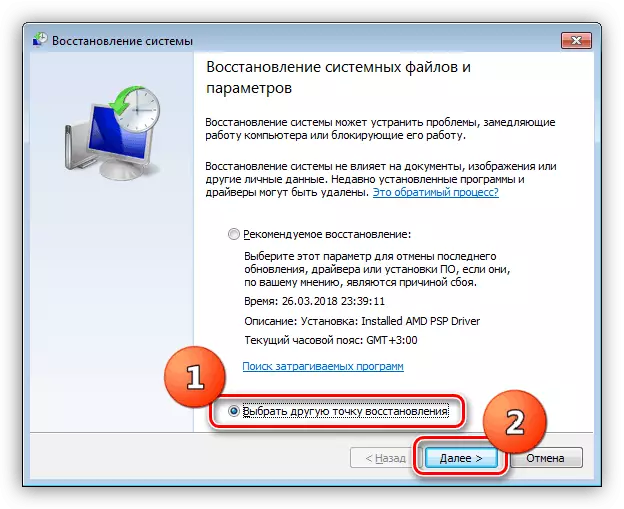
Method 5: Windows Restore
It often happens that print errors are associated with certain changes in the operating system. It is quite difficult to detect them yourself, but the state of the OS can be returned, throwing out all changes. This procedure is performed using the built-in Windows component, and the detailed guide on this topic can be found in another material from our author.
Read more: Windows restore options
Method 6: Reinstall driver
We put this way the latter because it requires the user to perform a large number of different manipulations, and is also quite difficult for beginners. If any instructions above do not help you, then it remains only to reinstall the device driver. To begin with, get rid of the old one. How to do it, read further:
See also: Remove the old printer driver
Upon completion of the removal procedure, use one of the methods of installing software for the periphery. There are five available ways. Some of them are deployed with each of them in another article.
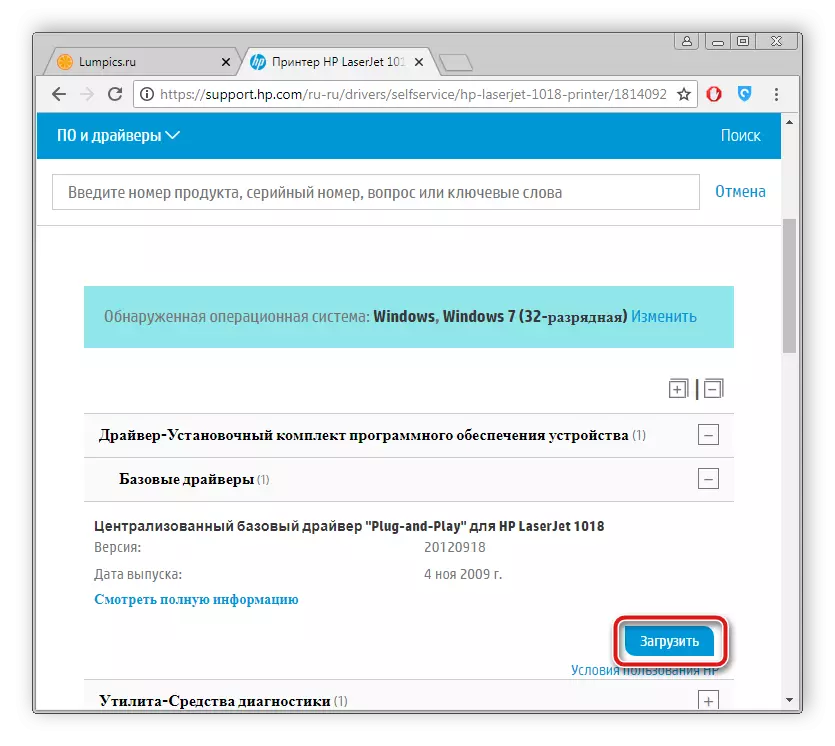
Read more: Installing drivers for printer
As you can see, the methods of correcting the Printer Printer Printer Printer There is a sufficiently large amount, and each of them will be useful in different situations. We hope the above instructions helped you can easily solve the problem, and the company's product functions correctly.