
When there is not enough free space on the hard disk, and it fails to be released, you have to consider various options for increasing the place to store new files and data. One of the most simple and accessible ways is the use of a Flash drive as a hard disk. The medium-sized flash drives are available in many, so they can be freely used as an additional drive connected to a computer or a USB laptop.
Creating a hard disk from a flash drive
The usual flash drive is perceived by the system as an external portable device. But it can be easily turned into a drive so that Windows will see another connected hard disk.In the future, you can install the operating system (optional Windows, you can choose among more "lungs" options, for example, based on Linux) and make all the same actions that you do with a regular disc.
So, we proceed to the transformation process of the USB Flash in external HDD.
In some cases, after executing all the following actions (for both Windows discharges), you may need to reconnect flash drives. First, perform safely removing the USB drive, and then connect it again so that the OS recognizes it as HDD.
For Windows X64 (64-bit)
- Download and unpack the F2DX1.RAR archive.
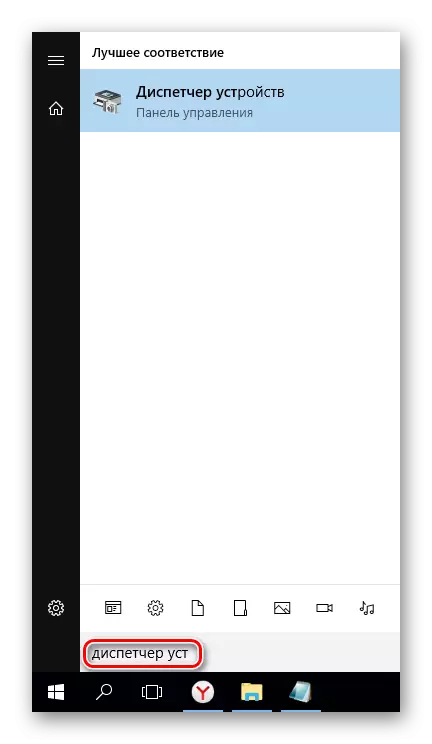
- Connect the USB flash drive and run the Device Manager. To do this, simply start typing the name of the utility in the "start".
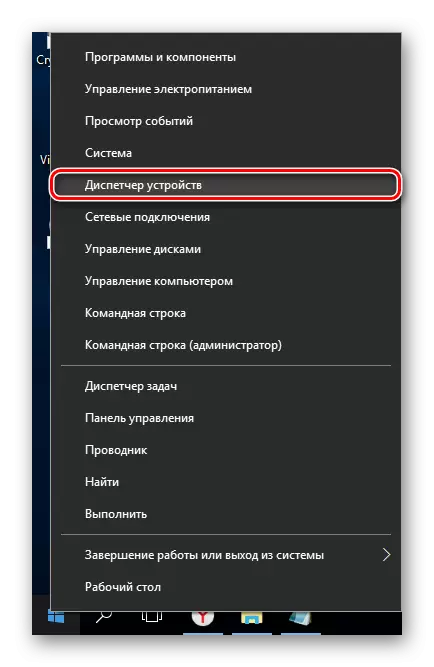
Or with the right click of the "Start" mouse, select Device Manager.
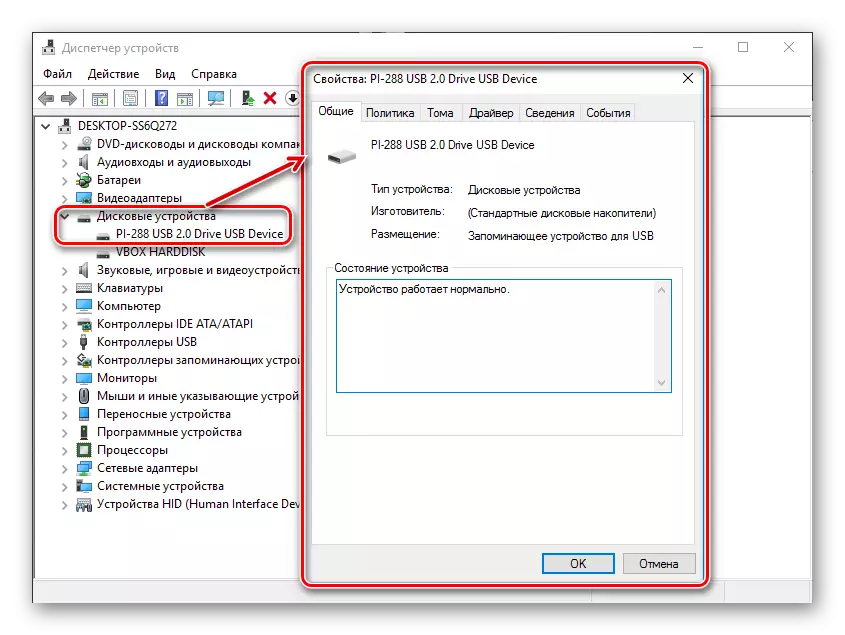
- In the "Disk Devices" branch, select the connected Flash drive, click on it twice the left mouse button - "Properties" will be launched.
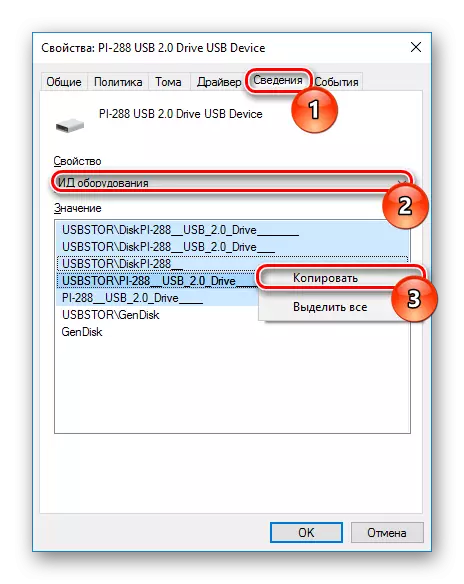
- Switch to the "Details" tab and copy the value of the "Equipment ID" properties. You need to copy not everything, but to the USBSTOR \ GENDISK string. You can select the strings by climbing the Ctrl on the keyboard and click the left mouse button on the desired rows.
Example on the screenshot below.
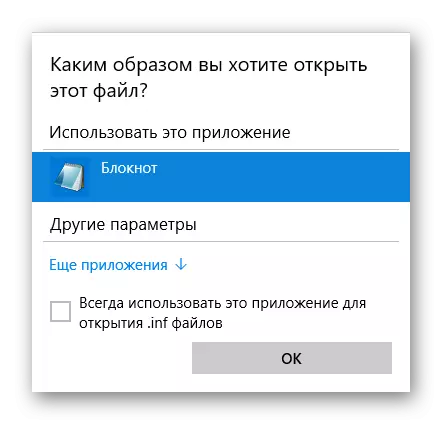
- F2DX1.INF file from the downloaded archive should be opened using a notepad. To do this, click on it right-click, select "Open with ...".

Select Notepad.
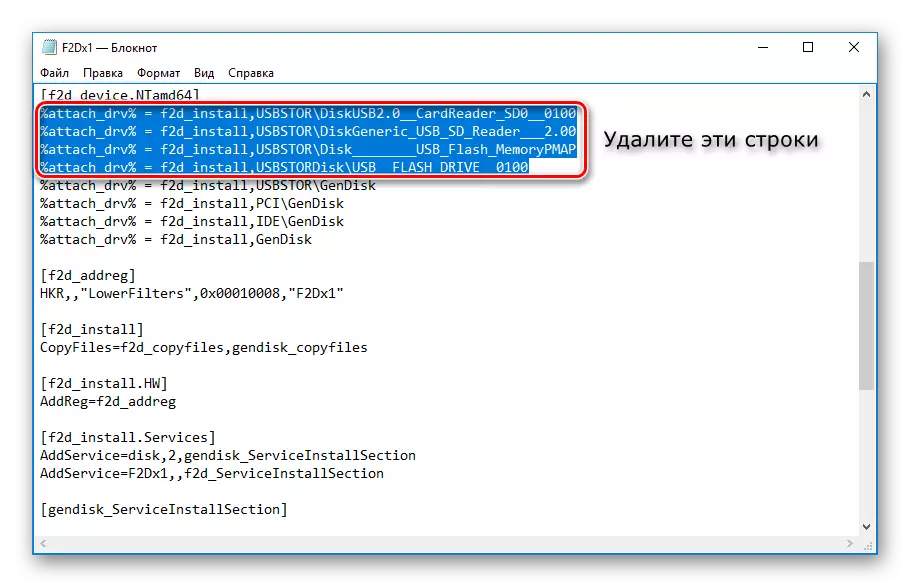
- Go to section:
[F2D_DEVICE.NTAMD64]
From it you need to delete the first 4 lines (i.e. lines up to% attach_drv% = f2d_install, USBSTOR \ GENDISK).
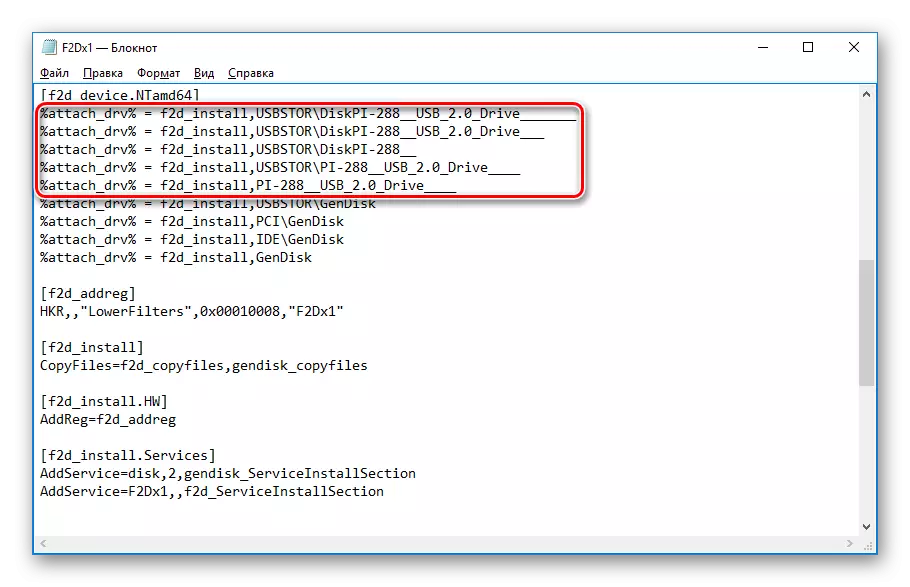
- Insert the value that was copied from the Device Manager, instead of the remote text.
- Before each inserted string, add:
% attach_drv% = f2d_install,
It should work out on the screenshot.
- Save the modified text document.
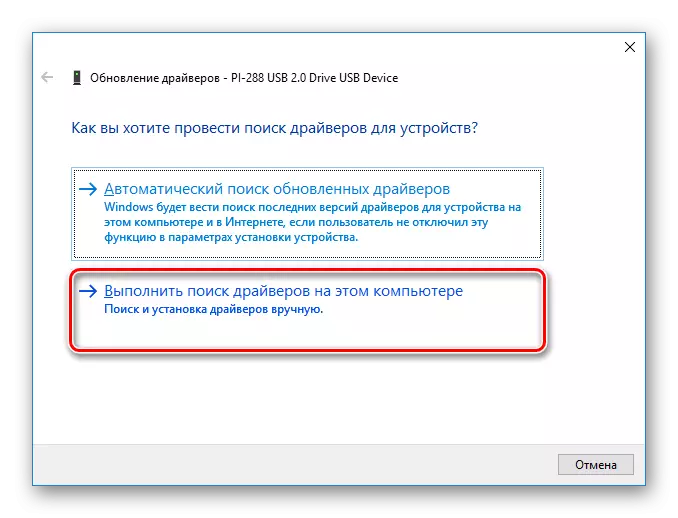
- Switch to "Device Manager", right click on the Flash drive, select "Update Drivers ...".

- Use the way to "execute the driver search on this computer".
- Click on the "Overview" and specify the location of the edited F2DX1.INF file.

- Confirm your intentions by clicking on the "Continue Installation" button.
- When the installation is completed, open the conductor where Flash is displayed as "Local disk (x :)" (instead of X there will be a letter assigned to the system).
For Windows X86 (32-bit)
- Download and unpack the Hitachi_Microdrive.rar archive.
- Perform steps 2-3 from the instruction above.
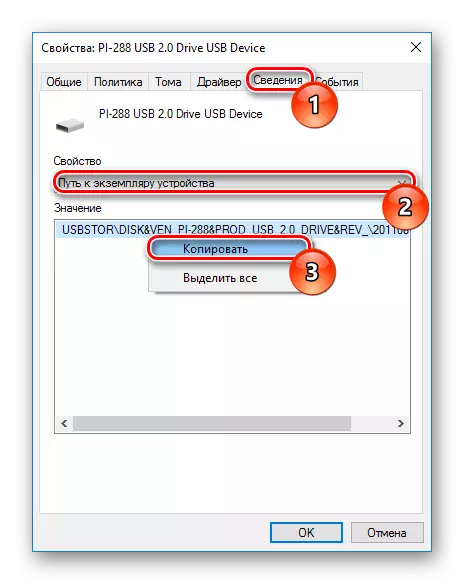
- Select the "Details" tab and select the "path to the device instance" in the Property field. In the "Value" field, copy the displayed string.
- The cfadisk.inf file from the downloaded archive must be opened in a notebook. How to do it - written in step 5 from the instruction above.
- Find a section:
[CFADISK_DEVICE]
Get to line:
% MicroDrive_Devdesc% = CFadisk_Install, USBStordisk & Ven_ & Prod_usb_disk_2.0 & Rev_P

Delete everything that comes after install, (the last must be a comma, without a space). Insert what you copied from the Device Manager.
- Remove the end of the inserted value, or rather everything that goes after REV_XXX.

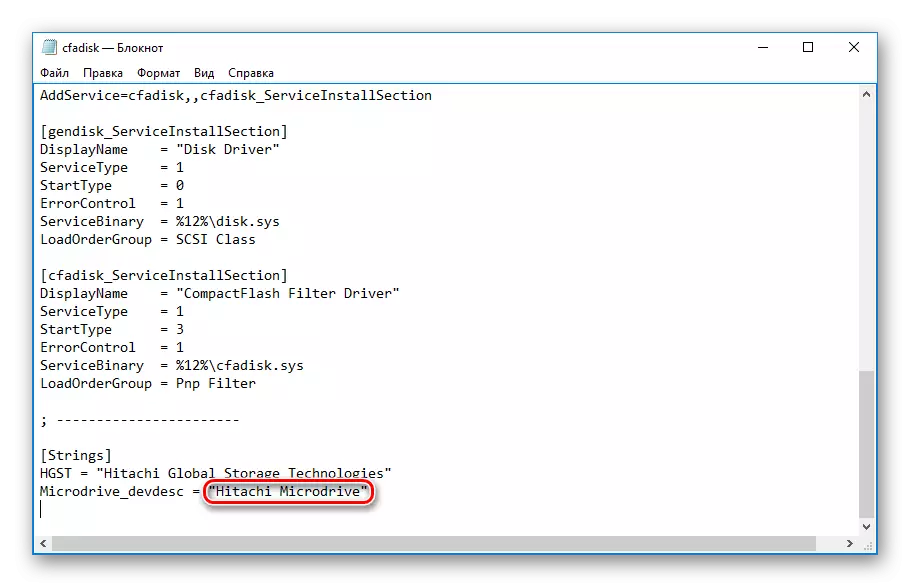
- You can also change the name of the flash drive by clicking on the section
[Strings]
And edited in quotes in the row
MicroDrive_Devdesc.
- Save the edited file and follow steps 10-14 from the instruction above.
After that, you can break Flash to the sections, install the operating system on it and boot from it, as well as do other actions as with a conventional hard drive.
Please note that it will work only with the system on which you have completed all of the above actions. This is due to the fact that the driver was replaced responsible for recognizing the connected drive.
If you want to start a flash drive as HDD and on other PCs, then you need to have an edited driver file, and then install it through the "Device Manager" in the same way that it was specified in the article.