
The TP-LINK TL-WR702N wireless router is placed in his pocket and makes good speed. Run the router to work for the Internet to work on all devices, in a few minutes.
Initial setup
The first thing to do with each router is to determine where it will stand that the Internet worked at any point of the room. At the same time there should be a socket. Having done this, the device must be connected to a computer using an Ethernet cable.
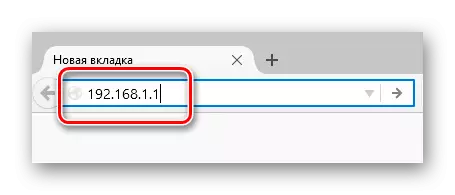
- Now open the browser and in the address bar, we enter the following address:
tplinklogin.net
If nothing happens, you can try the following:
192.168.1.1
192.168.0.1
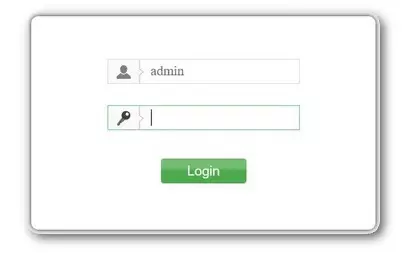
- The authorization page appears, here you will need to enter the username and password. In both cases it is admin.
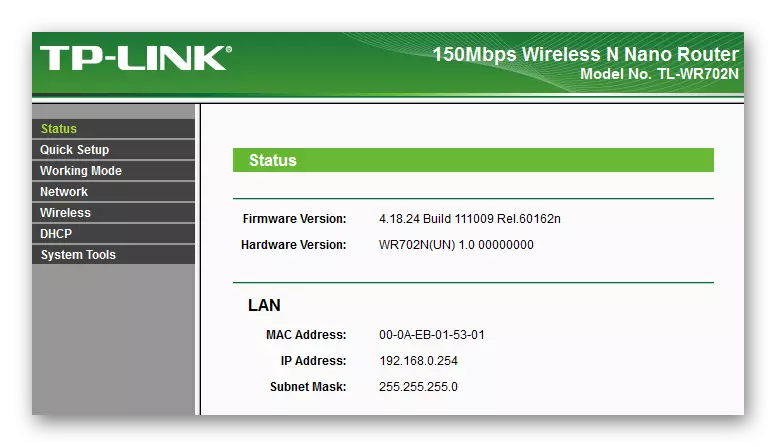
- If everything is done correctly, you can see the next page, where information about the state of the device is displayed.
Fast setting
There are many different Internet providers, some of them believe that their Internet should work "out of the box", that is, immediately, as soon as the device connected to it. For this occasion, the "Fast Setup" will be very good, where in the dialogue mode, you can make the necessary configuration of the parameters and the Internet will work.
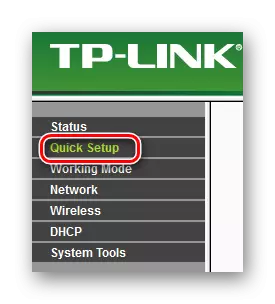
- Run the setting of the basic components is easier than simple, this is the second item on the left in the router menu.
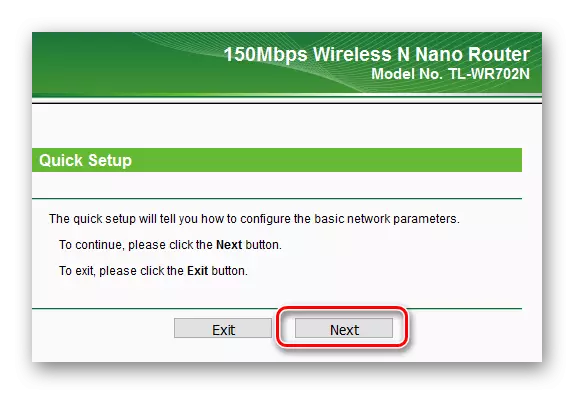
- On the first page you can immediately press the "Next" button, since it explains here that this is the menu item.
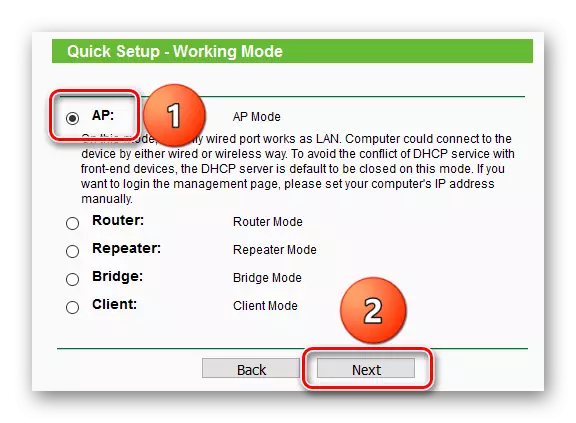
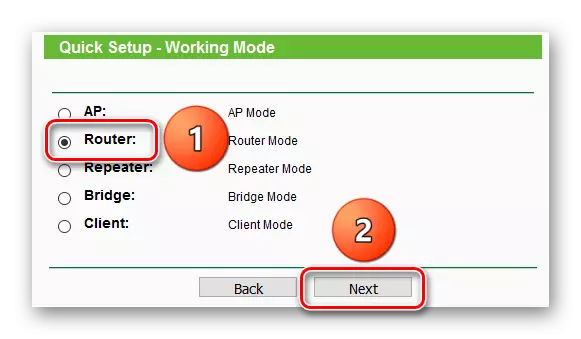
- At this stage you need to choose, in what mode the router will work:
- In the Router Access Point mode, however continues the wired network and, through it, all devices can connect to the Internet. But at the same time, if something to configure something for the Internet, you will have to do it on each device.
- In the router mode, the router works somewhat differently. Settings for the Internet are made only once, you can limit the speed and enable firewall, as well as much more. Consider each mode alternately.
Access point mode
- To operate the router in the access point mode, you need to select "AP" and click on the "Next" button.
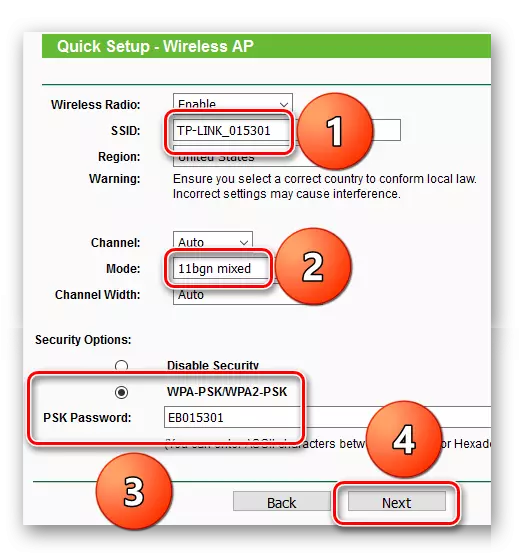
- By default, some of the parameters will already be as required, the rest must be fill. Special attention should be paid to the following fields:
- "SSID" is the name of the WiFi network, it will be displayed on all devices that will want to connect to the router.
- "Mode" - determines which protocols will work network. Most often, 11BGN is required to work on mobile devices.
- "Security Options" - here is specified if it will be possible to connect to a wireless network without a password or it will be necessary to enter it.
- The Disable Security option will allow you to connect without a password, in other words, the wireless network will be open. It is justified at the initial network configuration, when it is important to configure everything as quickly and make sure that the connection works. In most cases, the password is better to deliver. The complexity of the password is best determined depending on what the chances of the selection.
By setting the necessary parameters, you can press the "Next" button.
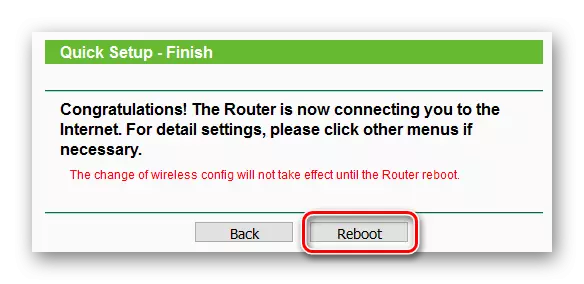
- The next step is to restart the router. You can do it immediately by clicking on the "Reboot" button, and you can go to the previous steps and change something.

Routher mode
- So that the router worked in the router mode, you need to select the "Router" item and click on the "Next" button.
- The wireless connection configuration process is exactly the same as in the access point mode.
- At this stage, it is necessary to choose the type of connection with the Internet. Usually, you can find the necessary information from the provider. Consider each type separately.
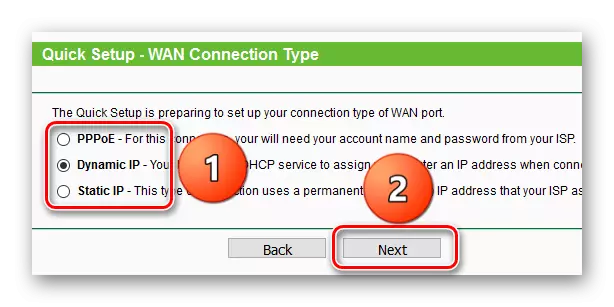
- The connection type "Dynamic IP" implies that the provider will give an IP address automatically, that is, it is not necessary to do anything yourself.
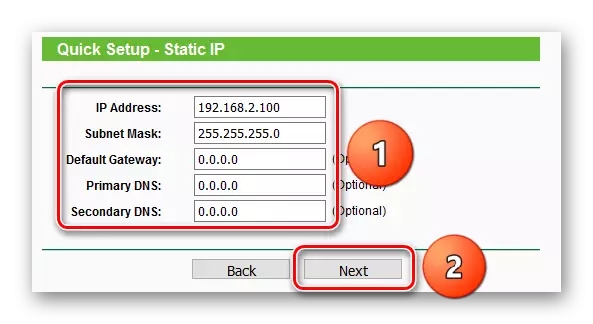
- When "Static IP" you need to enter all the parameters manually. In the "IP Address" field, you need to enter the address, "Subnet Mask" to the provider, must appear automatically, in Default Gateway, the address of the provider router is indicated through which you can connect to the network, and you can put a domain name server in Primary DNS.
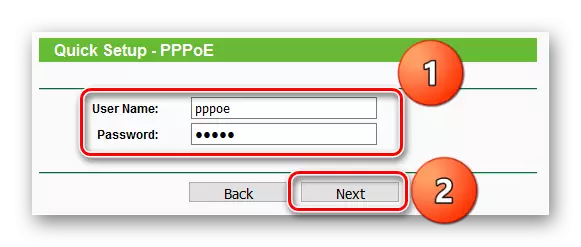
- PPPOE is configured by entering the username and password using which the router connects to the provider's gateways. Data on the PPPoE connection can most often learn from the Treaty with the Internet Provider.
- The setting ends in the same way as in the access point mode - you need to restart the router.

Manual configuration of the router
Configuring the router manually makes it possible to specify each parameter separately. It gives more opportunities, but at the same time will have to open different menus.
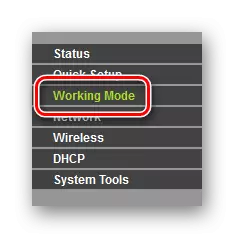
At first, you need to choose, in which router mode will work, it can be done by opening the third item in the router on the left.
Access point mode
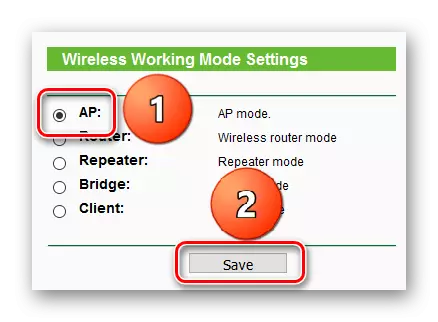
- Selecting the "AP" item, you need to click on the "Save" button and if before that the router was in another mode, it will restart and then you can move to the next step.
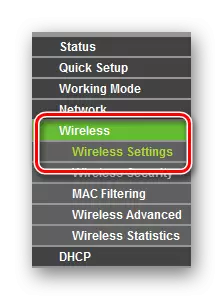
- Since the access point mode assumes the continuation of the wired network, you only need to configure the wireless connection. To do this, you need to select "Wireless" in the left menu - the first item "Wireless Settings" opens.
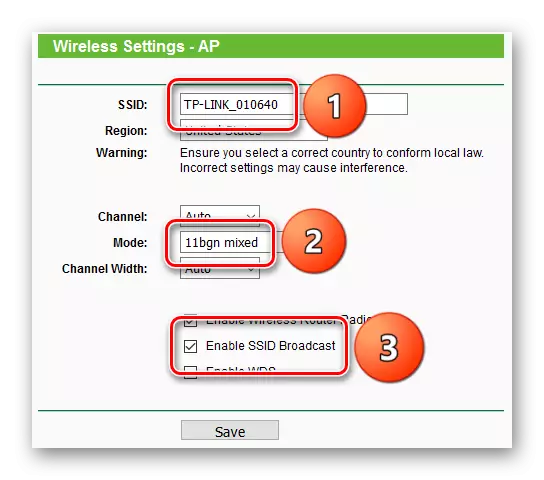
- Here, first of all, the "ssid" is specified, or the network name. Then "Mode" is a mode in which the wireless network is running, it is best to specify "11BGN Mixed" to connect all devices. You can also pay attention to the "Enable SSID Broadcast" option. If it is turned off, then this wireless network will be hidden, it will not be displayed in the list of available WiFi-networks. To connect to it, you will have to manually write the network name. On the one hand, it is uncomfortable, on the other hand, the chances of which someone will select a password to the network and connect to it.
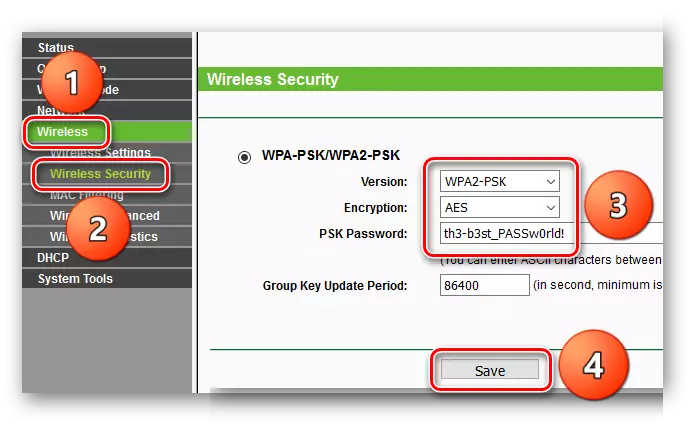
- By installing the necessary parameters, go to the password configuration to connect to the network. This is done in the next paragraph, "Wireless Security". At this point, it is important to choose the security algorithm presented by the security algorithm. It so happened that the router lists them by increasing in terms of reliability and safety. Therefore, it is best to choose WPA-PSK / WPA2-PSK. Among the presented parameters, you need to select the WPA2-PSK version, AES encryption and specify the password.
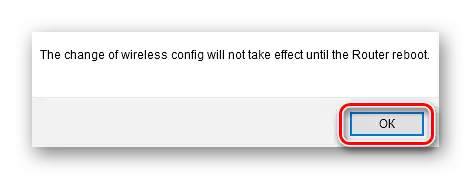
- On this setting in the access point mode is completed. By clicking on the "Save" button, you can see the message that the settings will not act until the router is rebooting.
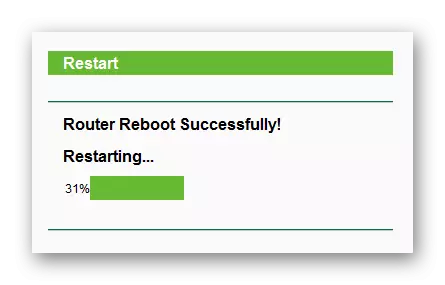
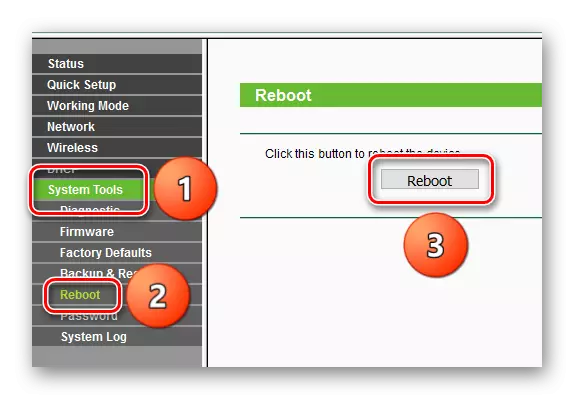
- To do this, open the "System Tools", select the "Reboot" item and press the "Reboot" button.
- At the end of the reboot, you can try to connect to the access point.


Routher mode
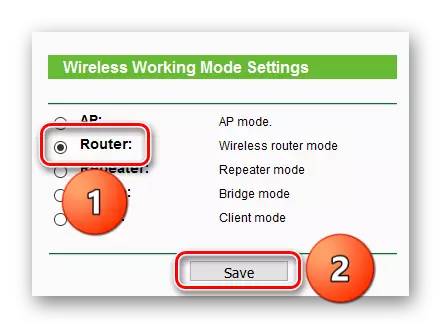
- To switch to the router mode, you need to select "Router" and click on the "Save" button.
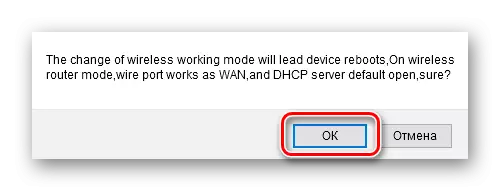
- After that, a message will appear that the device will be rebooted, and at the same time it will work a little differently.
- In the router mode, the configuration of the wireless connection occurs in the same way as in the access point mode. First you need to go to "Wireless".

Then specify all the necessary wireless network parameters.

And do not forget to configure the password to connect to the network.
A message will also appear that before the reboot will not work, but at this stage the reboot is completely optional, so you can proceed to the next step.
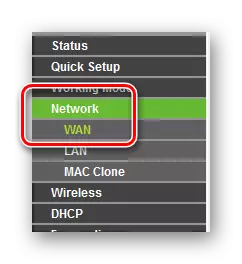
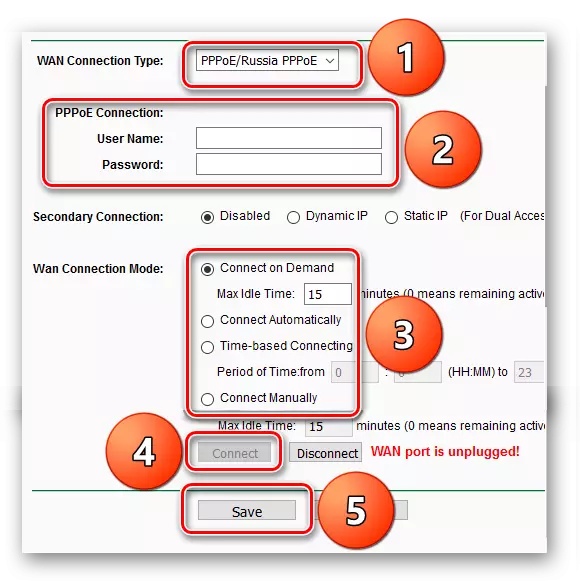
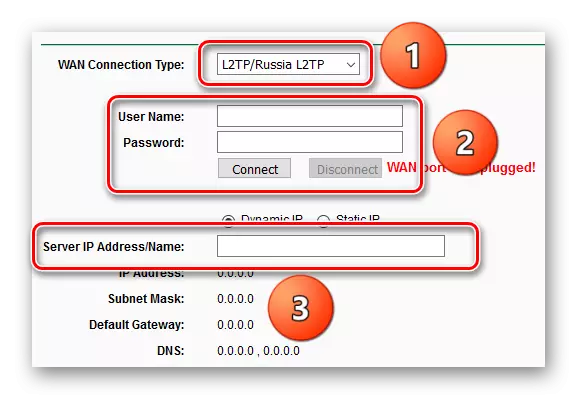
- Next, you must configure the connection to the provider's gateways. By clicking on the item "Network", "WAN" will open. The type of connection is selected in Wan Connection Type.

- Setting up "Dynamic IP" and "Static IP" occurs in the same way as when quickly adjusting.
- When configuring "PPPOE", the username and password are specified. In Wan Connection Mode, you need to specify how the connection will be installed, "Connect On Demand" means connecting on demand, "Connect Automatically" - automatically, "Time based Connecting" - for time intervals and "Connect Manually" - manually. After that, you need to click on the "Connect" button to establish the connection and "Save" to save the settings.
- The "L2TP" indicates the username and password, the server address to the Server IP Address / Name, and then you can press "Connect".
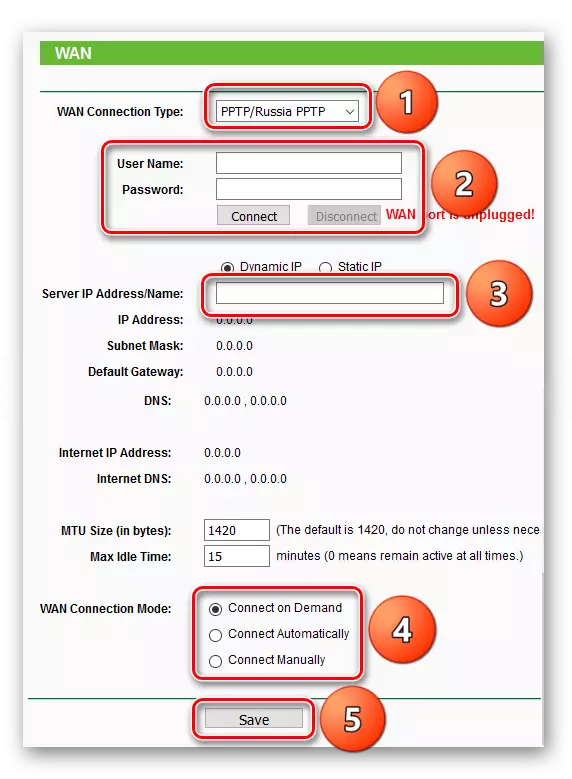
- Parameters for the operation "PPTP" are similar to previous types of connections: the username and password, the server address and the connection mode are specified.
Conclusion
On this, the TP-LINK TL-WR702N pocket router is completed. As you can see, this can be done both by using fast settings and manually. If the provider does not require something special, you can perform the setting in any way.