

Immediately after installing Windows Operating System 7, some users notice that USB ports do not work on their computer. Let's figure out what actions need to be taken to be able to connect devices to the PC on the above protocol.
USB connection activation methods
Immediately, we note that this article will tell about a specific problem after installing, reinstalling or updating Windows 7 OS, that is, about the situation when everything works fine before installing the operating system, and after performing these procedures, it stopped functioning. We will not dwell on other possible faults related to the fact that the computer does not see the USB device. A separate lesson is devoted to the specified problem.Lesson: Windows 7 does not see USB devices
We studied the problem has two main reasons:
- Lack of necessary drivers;
- Incorrect entries in the system registry (after updating the wist to Windows 7).
Next, we will talk about concrete ways to overcome it.
Method 1: USB Oblivion
This solution is suitable just if you updated to Windows 7 with an earlier operating system. At the same time, entries in the system registry of previous connections of USB devices can be saved, which in the updated OS will be incorrect, which will cause problems with further connection attempts. In this case, all records about previous connections must be deleted. The easiest way to do with the USB Oblivion utility, which is just intended for the specified purpose.
Before performing any manipulations with the system registry, we recommend creating a system recovery point for the possibility of a rollback for unforeseen the results of the procedure.
Download USB Oblivion.
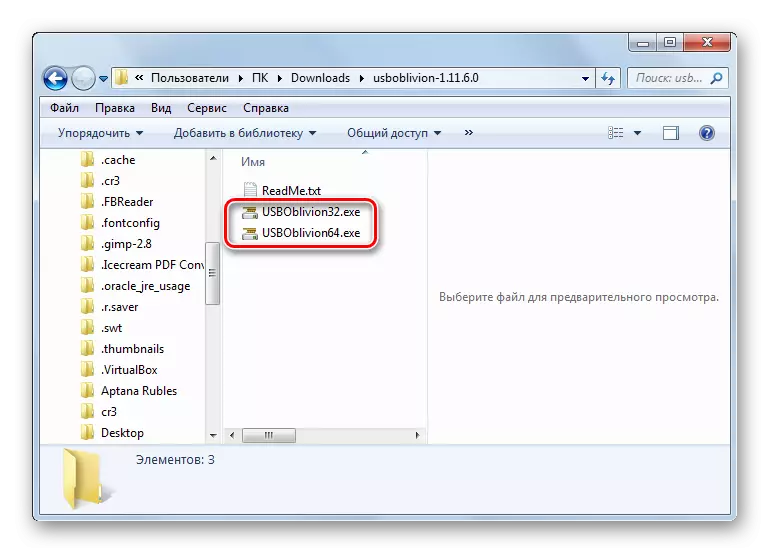
- Unpack the downloaded zip archive and run the file contained in it that corresponds to your OS bit.
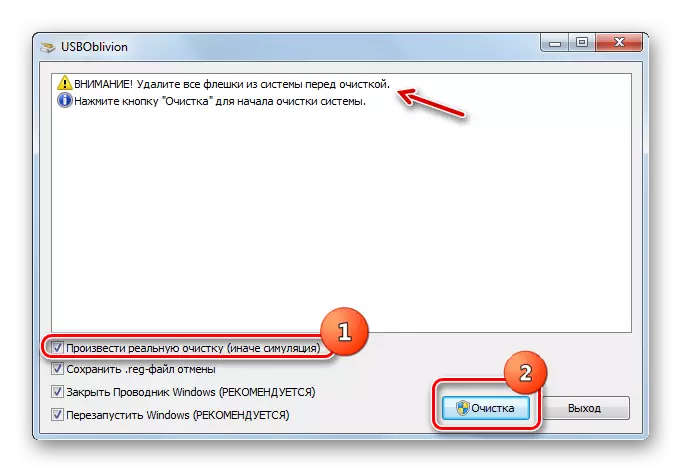
- The program window is activated. Disconnect all USB devices from the PC and exit all other programs (if they are running), prening the data. Install a tick near the inscription "Clean Real Cleaning". If you do not do this, then actual cleaning will not happen, but only a simulation will be performed. About all other points of the mark are set by default and it is not recommended to remove them. Then press "Cleaning".
- Following this, the cleaning operation will begin, after which the computer will be automatically rebooted. Now you can connect devices and check the efficiency of their interaction with the computer via the USB protocol.
Method 2: USB troubleshooting tool from Microsoft
Microsoft has its own USB troubleshooting. Unlike the previous utility, it can help not only after installing the operating system, but in many other cases.
Download troubleshooting tool
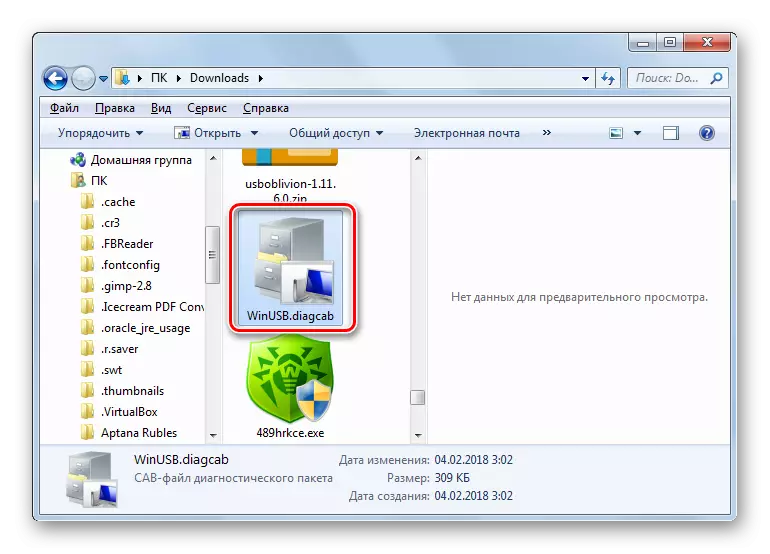
- After downloading, run the file called "winusb.diagcab".
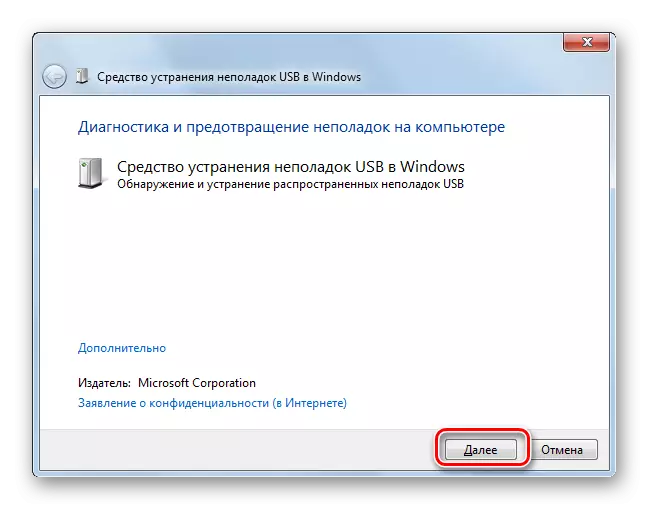
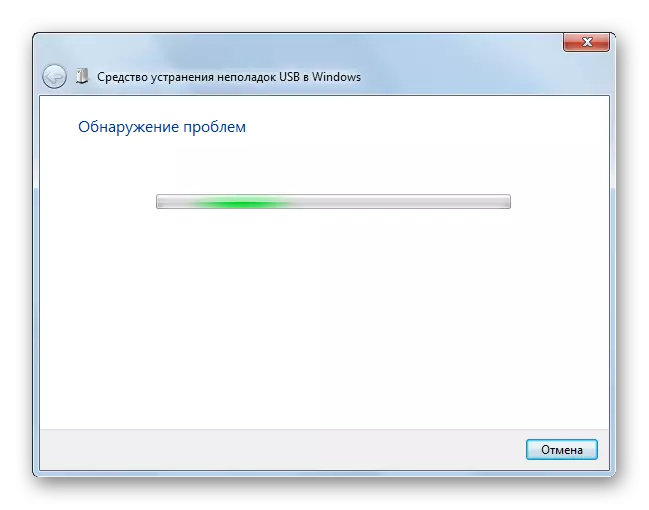
- The window of the specified tool opens. Click "Next".
- The utility will search for problems that interfere with connect via USB. In case of detection, the problem will be corrected.
Method 3: DriverPack Solution
After installing Windows 7, it is possible that your computer will not be able to receive and transmit data via USB protocol due to the lack of necessary drivers. Especially this situation is often found if USB 3.0 connectors are installed on a stationary PC or laptop. The fact is that Windows 7 was developed even before the specified standard began to implement massively. For this reason, in the basic version of the named OS directly after installation, there are no necessary drivers. In this case, they need to be installed.
It is easiest to solve the specified problem if you have a disk with the necessary drivers. In this case, it must only be inserted into the drive and unpack the content on the computer using the displayed prompts. The performance of USB ports will be restored. But what to do if the necessary disk did not turn out at hand? Actions that need to be taken in this situation, we will look at further.
The easiest task is to solve using special programs designed to search and install missing drivers to a computer. One of the best applications in this class is Driverpack Solution.
- Run the program. When activating, it simultaneously scans the system for connected devices and detects missing drivers.
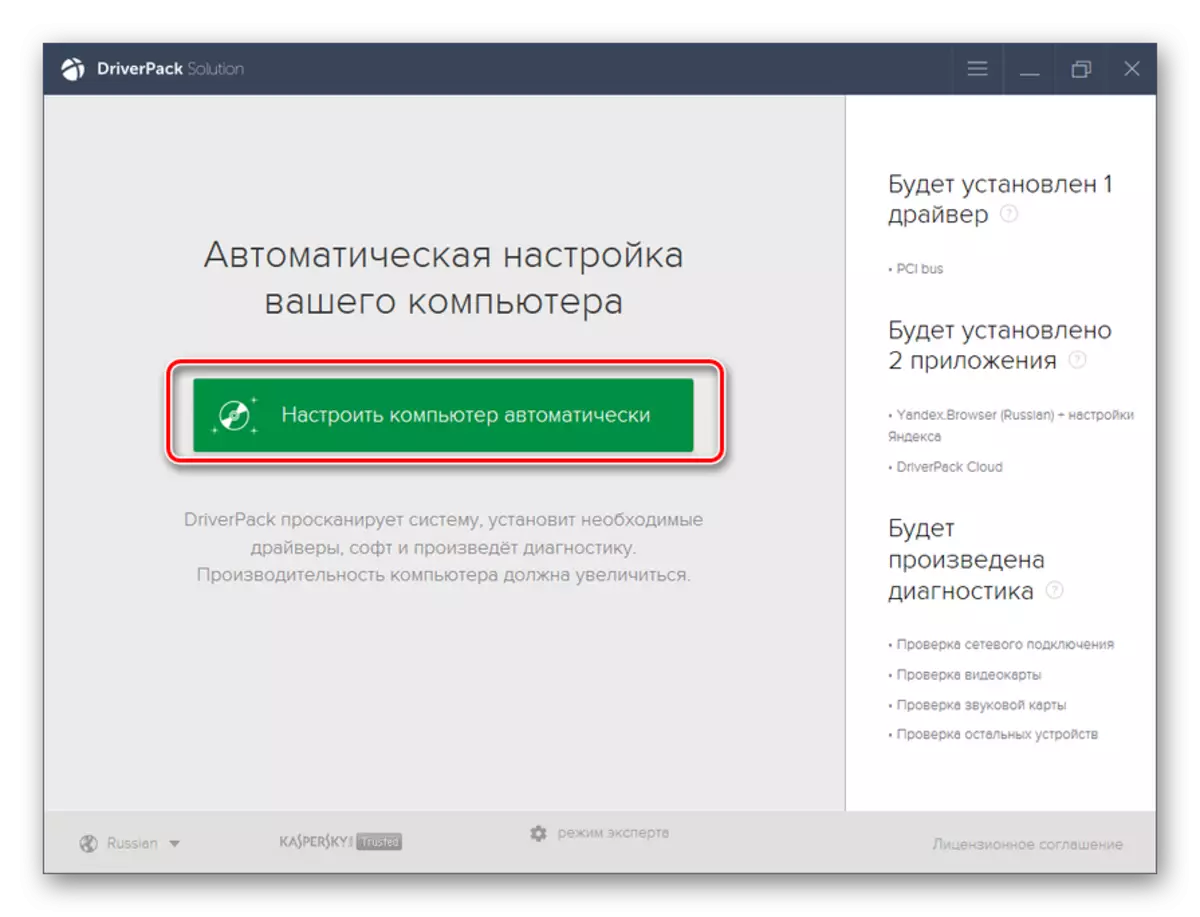
- Click on the "Configure Computer Automatically" button.
- After that, the program itself will create a recovery point in case if an error is allowed during the setup process or you just want to roll back to the old parameters in the future.
- After that, the procedure for installing drivers and setting some PC parameters will be performed.
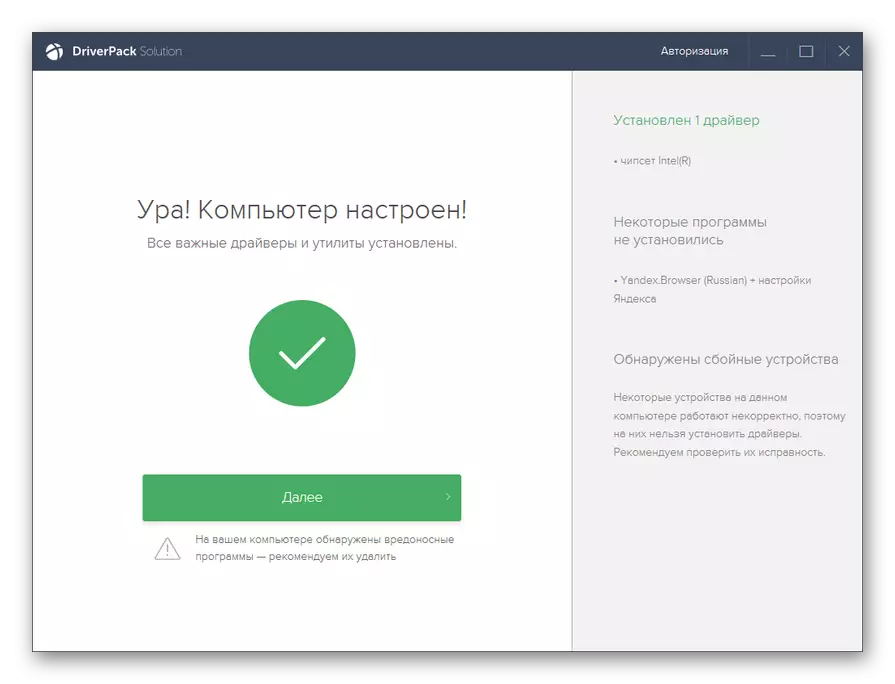
- After the procedure is completed, a message will appear that all the necessary settings are made and missing drivers are installed.
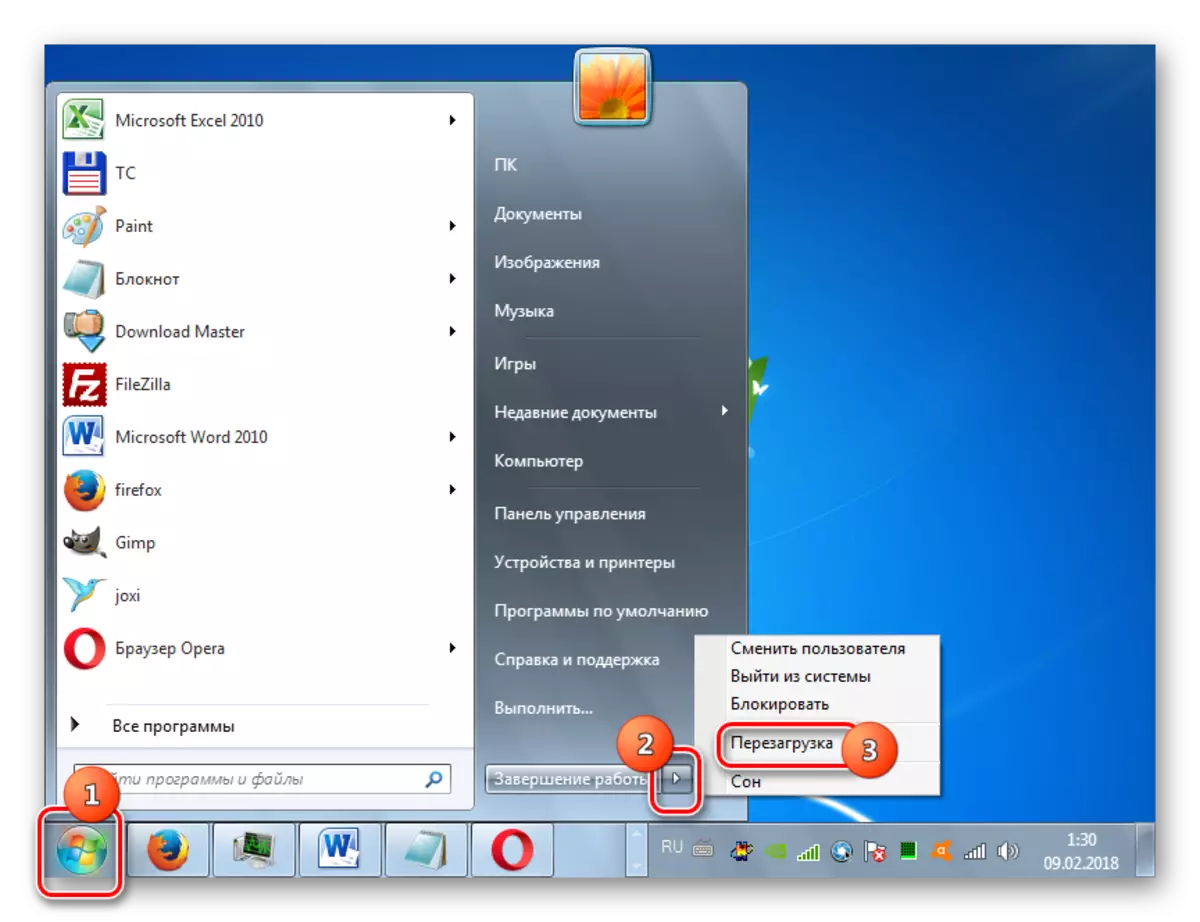
- Now you need to restart the PC. Click "Start". Next, click on the triangular icon, located on the right side of the "Finish work" button. Click "Restart".
- After restarting, you can check, earned USB ports or not.


Lesson: Installing Drivers on PC with Driverpack Solution
Method 4: Manual Driver Installation
The required drivers can also be installed without installing additional software that ensures their search. But for this you will have to tinker a little more.
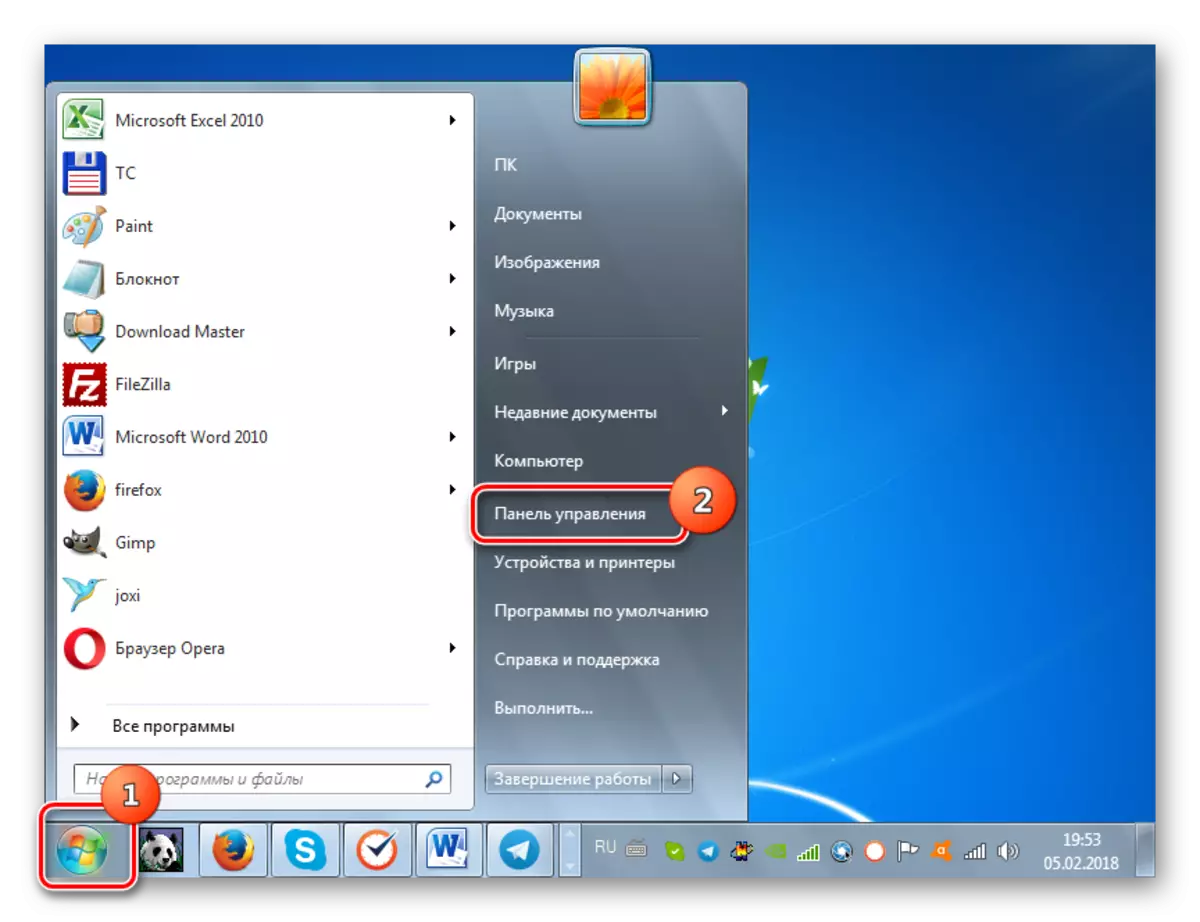
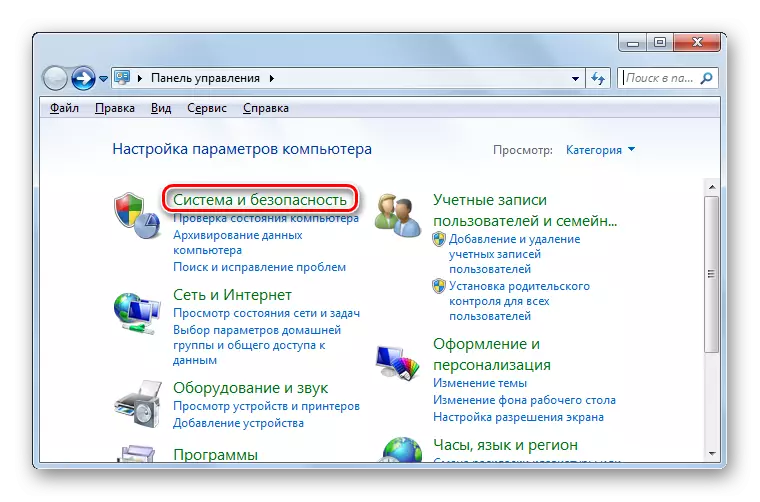
- Click "Start". Enter the control panel.
- Go to "System and Security".
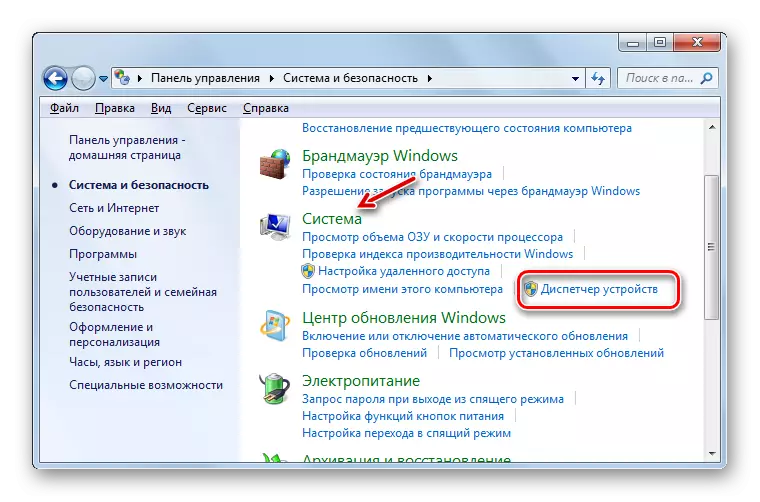
- In the list of "System" tools, click on the Device Manager item.
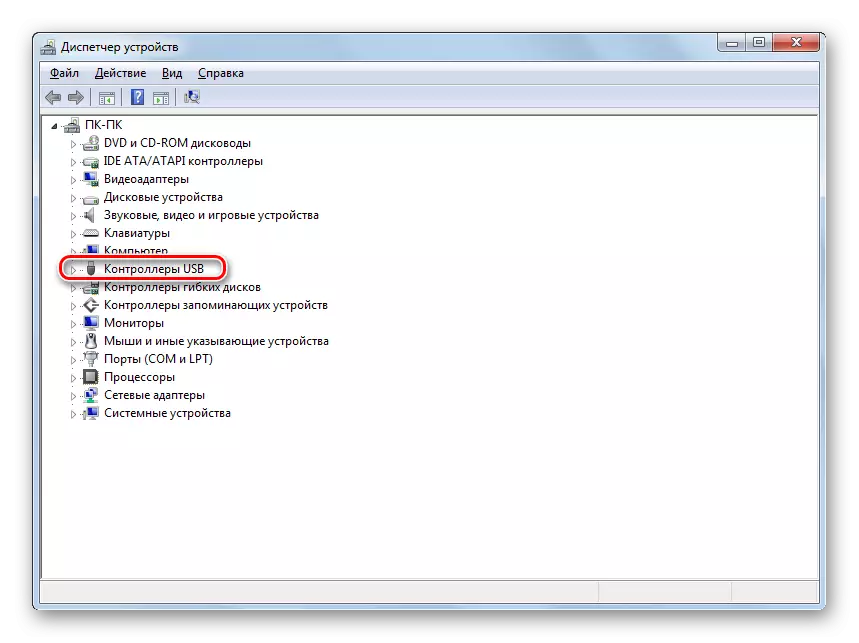
- The device manager interface appears. A list of various types of devices that are currently connected to your fixed computer or laptop will be presented in the shell. Click by name "USB Controllers".
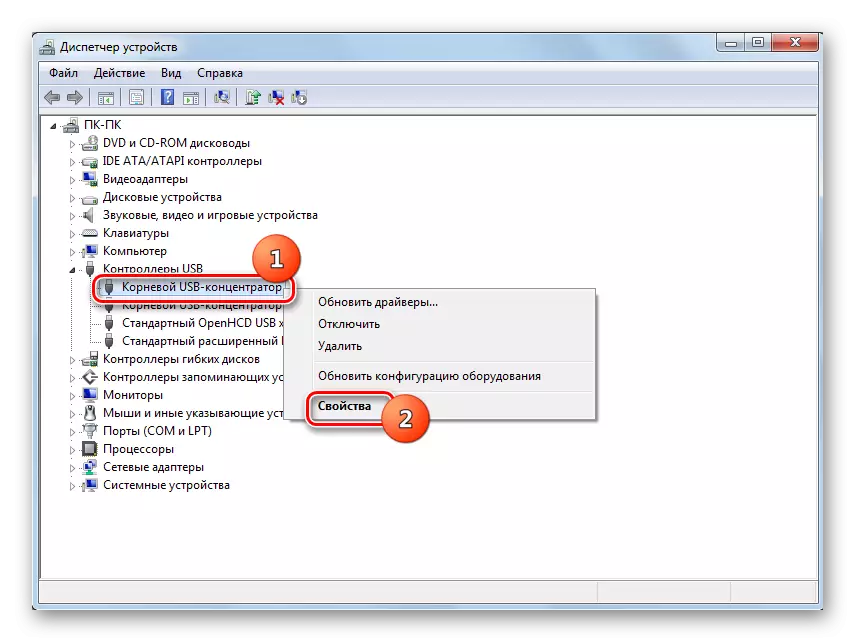
- The list of elements opens. You need to find one of the following items in the list:
- Generic USB Hub;
- Root USB concentrator;
- USB Root Controller.
These are types of ports. In the list, most likely, there will be one of these names, but it can be represented several times, depending on the number of USB outputs on your computer. Despite this, the procedure described below is enough to do with one of the identical elements, since the driver on the computer is installed for all ports of the same type. If there are several different items of elements from the above list, then for each of them will have to perform manipulations separately.
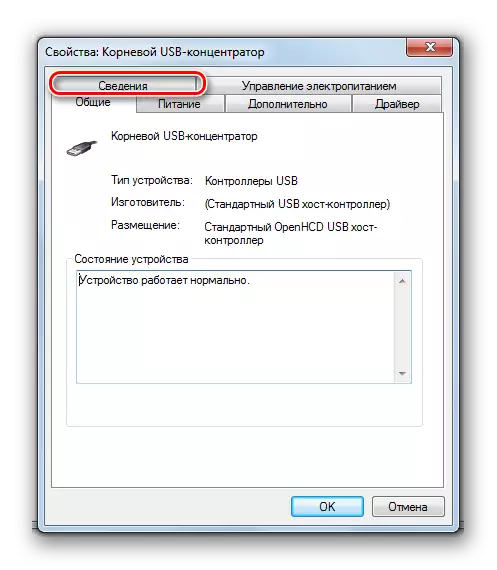
So, right-click (PCM) by the name of the item and select from the "Properties" list.
- A window will open, in which you want to click on the name of the "Details" tab.
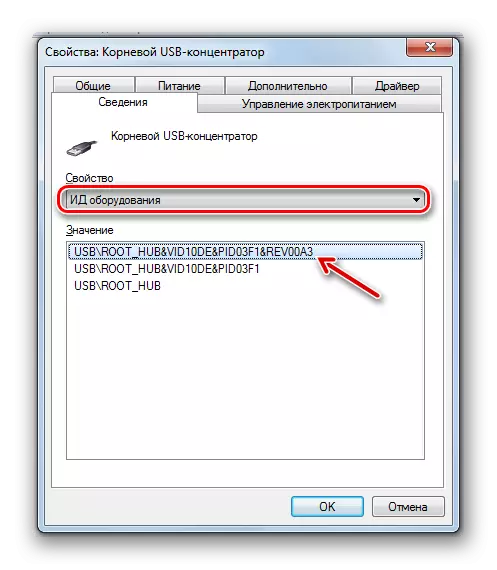
- After that, in the field of "Properties" from the list of the list, select the option "END EDUCATION". In the "Value" area, the device ID will appear, that is, in our case the USB port.
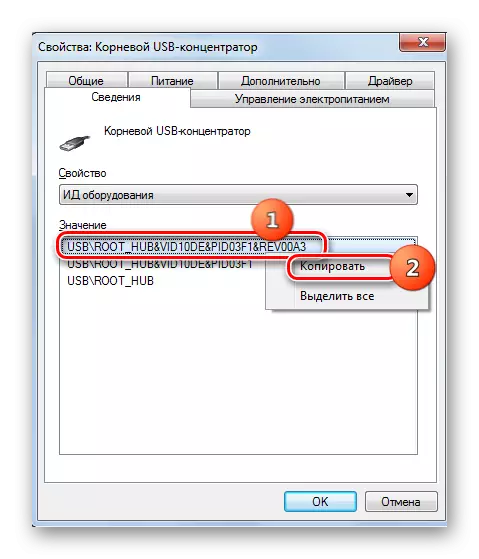
- This data must be saved. They can be recorded or copied. In order to execute the second option, simply click on the contents of the "value" area and in the menu, select "Copy".
Attention! The main thing, after that does not copy anymore no data until the operation of the search for the desired drivers is complete. Otherwise, you simply replace the information in the "Exchange buffer" on the drivers ID of new data. If you still need to copy something else during the procedure, then pre-insert the data from the equipment properties window to the "Notepad" or in any other text editor. Thus, if necessary, you can quickly copy them again.
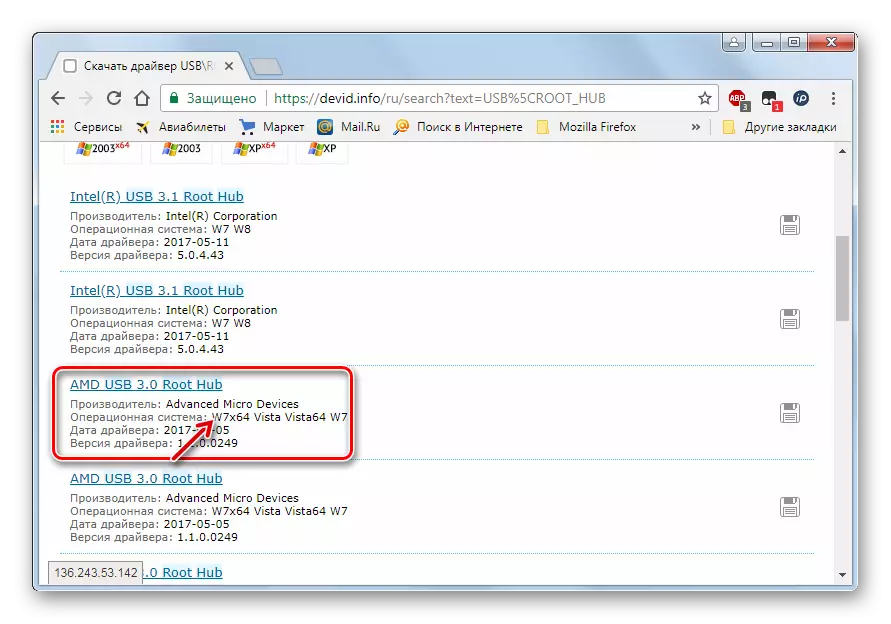
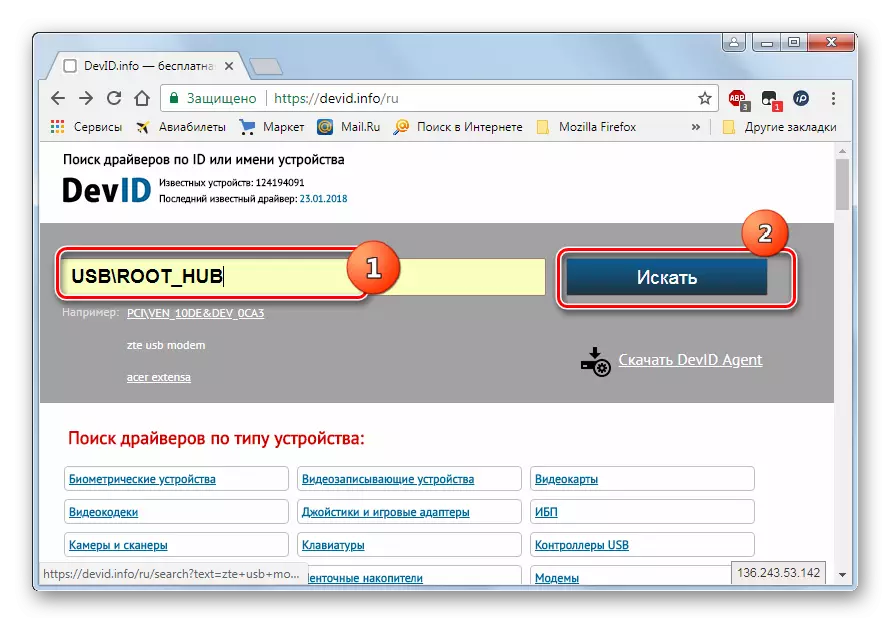
- Now you can proceed directly to the search for the necessary drivers. Open the browser and proceed to one of the popular online driver search services - Devid or Devid Driverpack. You need to drive into the search box of the site, the data that you have copied in advance, and click on the button that starts the search.
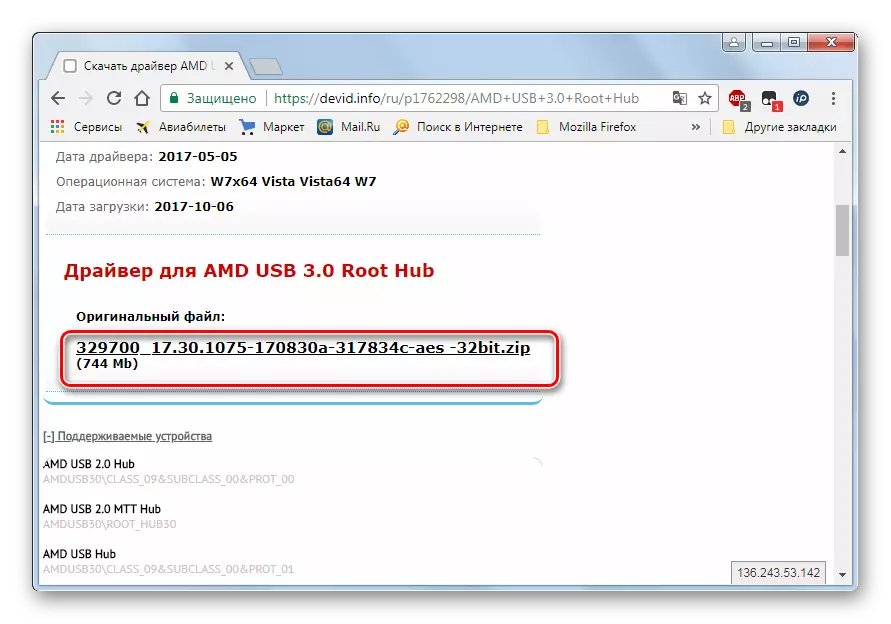
- After that, the results of the issue will open. Select the option that matches your operating system (in our case Windows 7) and its discharge (32 or 64 bits), and then click on it.
If you use the Devid DriverPack service, then it will be necessary to specify the name of the OS and the bit before you start the search.
- After you switched to the driver's page, download it, if necessary, unpack from the archive and run on the computer, following the prompts that will be displayed on the monitor. After restarting PC, problem USB ports must earn. If this happened, we are looking for the origins of the problem in incorrect registry entries, which was described above.

There is another download option of the necessary drivers - to do this from the official website of the manufacturer of USB controllers, which are installed on your PC. But in this case, you must definitely figure out the address of this Internet resource, as well as the exact name of the controller model.
There are two main reasons why the USB ports may not work after installing Windows 7, although they functioned normally before that. First, these are incorrect entries in the system registry remaining from the old OS, and secondly, the lack of necessary drivers. Each of the specified problems is solved in several ways, which we painted in detail in this article. So users, familiarizing yourself with the material, can independently choose the most convenient and acceptable option for them.