
There are quite a lot of programs for three-dimensional modeling, as it is actively used in many areas. In addition, to create 3D models can be resorted to special online services that provide no less useful tools.
3D modeling online
On the open spaces you can find quite a few sites that allow you to create 3D models online with subsequent downloading of the finished project. As part of this article, we will talk about the most convenient services in the use of services.Method 1: TinkerCAD
This online service, unlike most analogues, has the most simplified interface, during the development of which you can hardly have any questions. Moreover, you can go directly on the site completely free training basics of work in the 3D-editor.
Go to the official TinkerCAD site
Preparation
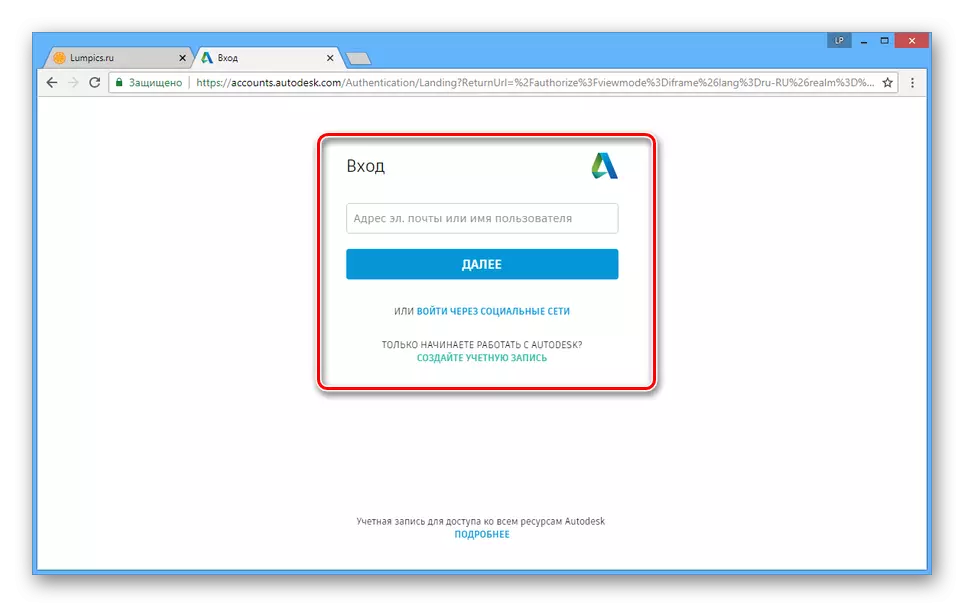
- To use the editor's capabilities, you need to register on the site. At the same time, if you already have an AUTODESK account, you can use it.
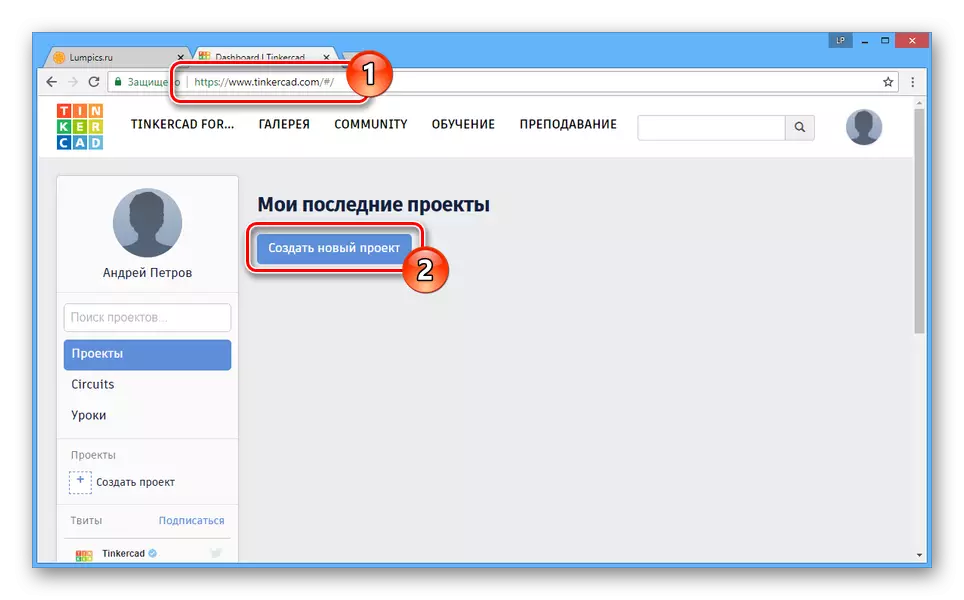
- After authorization on the main service page, click the "Create New Project" button.
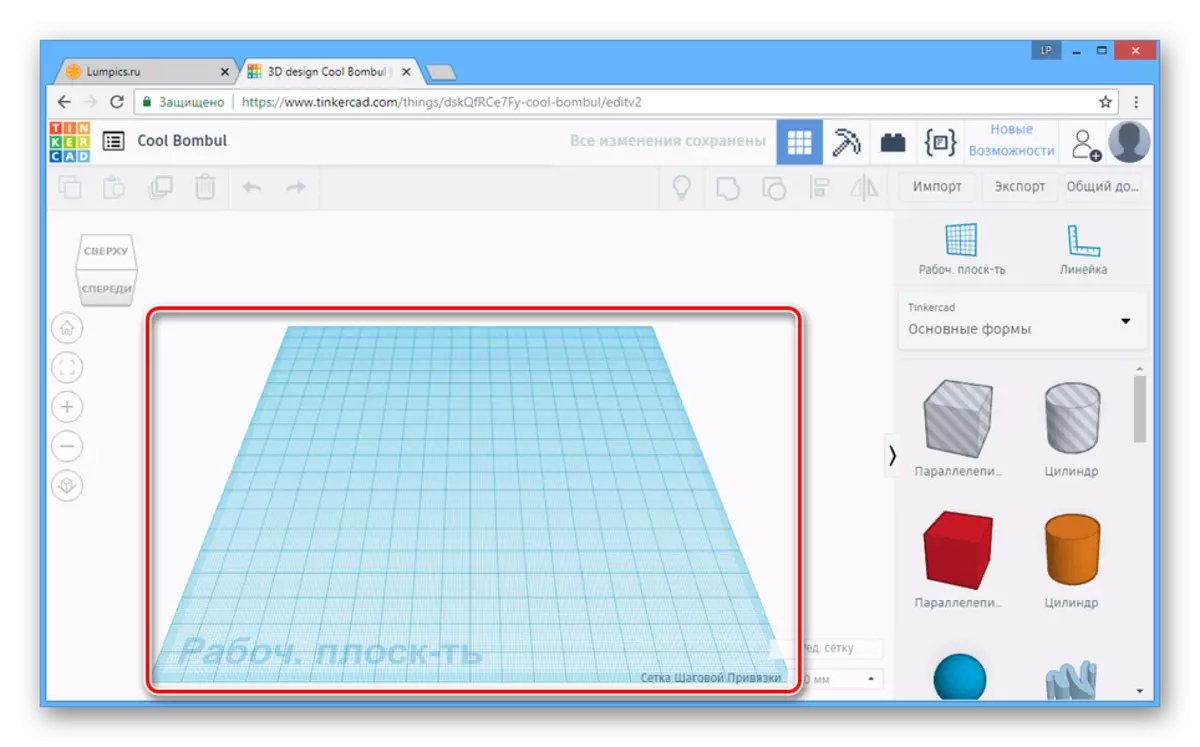
- The main zone of the editor accommodates the working plane and directly the 3D models.
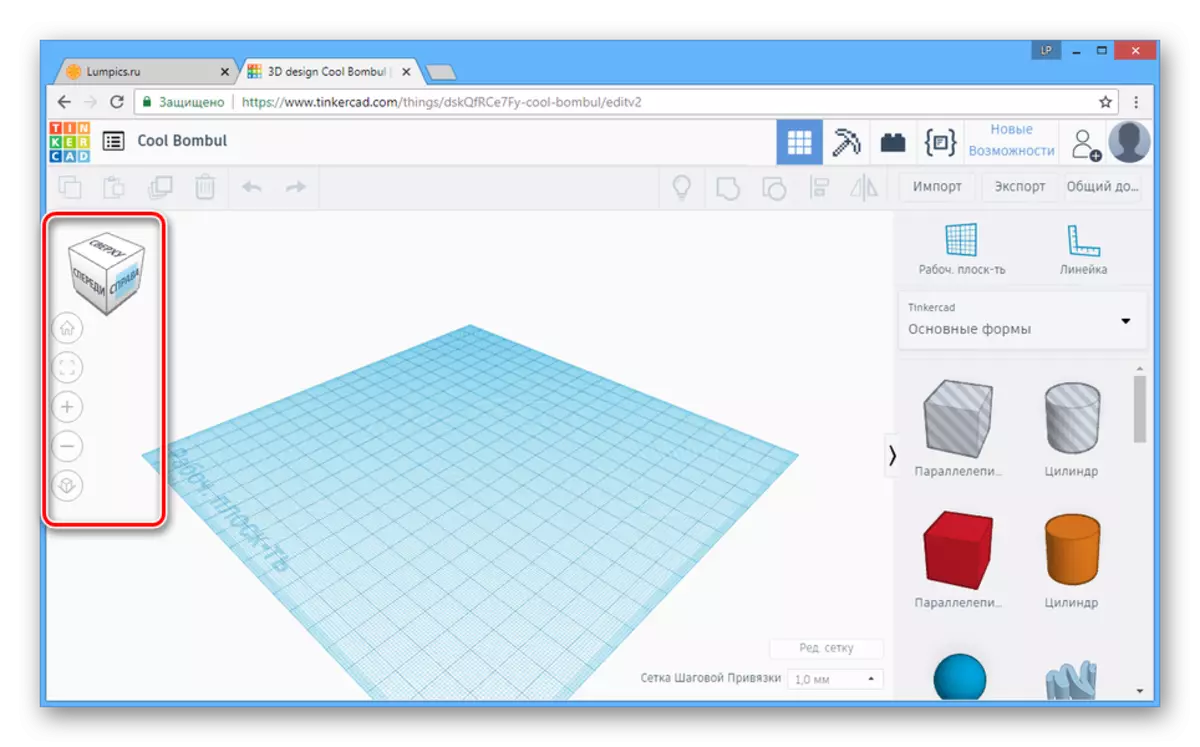
- Using the tools on the left part of the editor, you can scale and rotate the camera.
Note: Pulling the right mouse button, the camera can be moved freely.
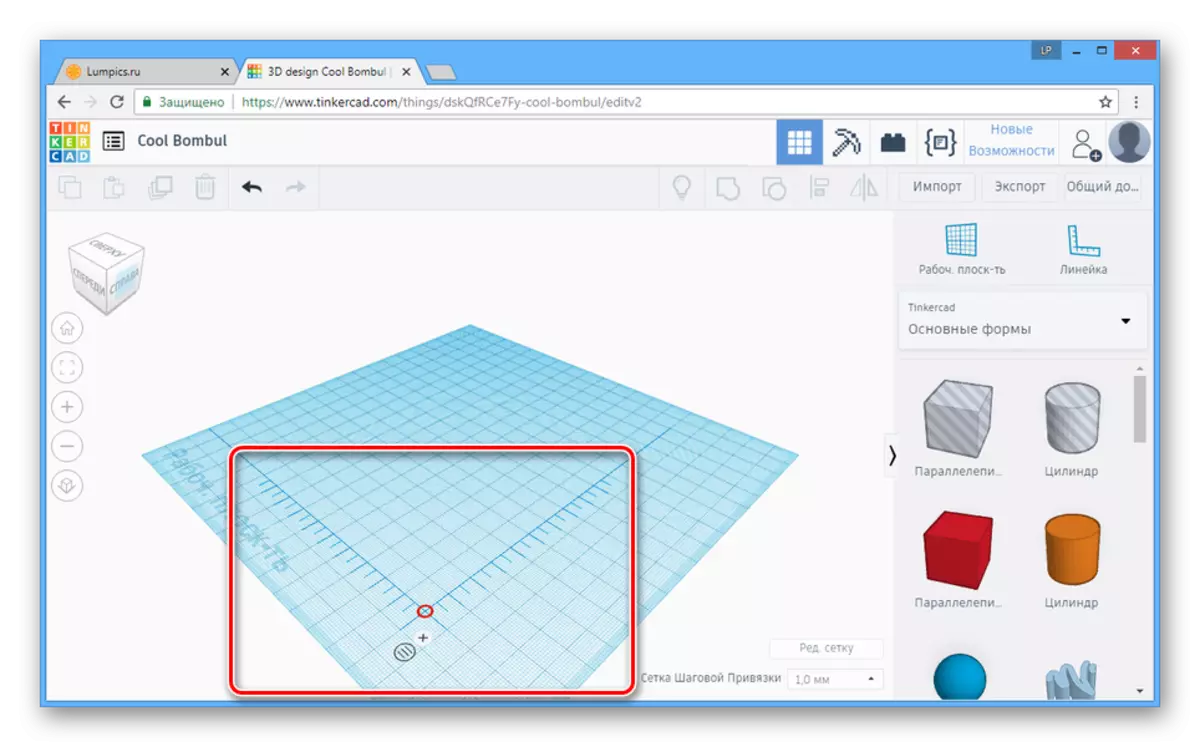
- One of the most useful tools is the "line".
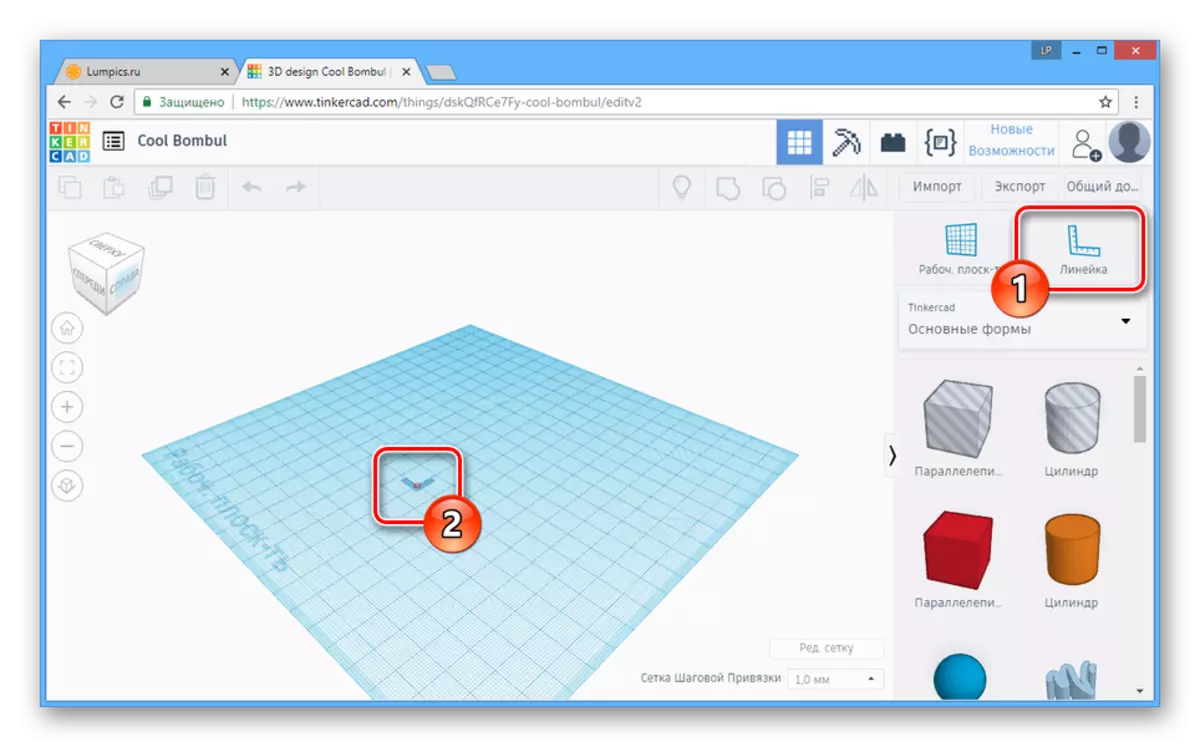
To place the line, you must select a place on the workspace and click the left mouse button. At the same time climbing the LKM, this object can be moved.
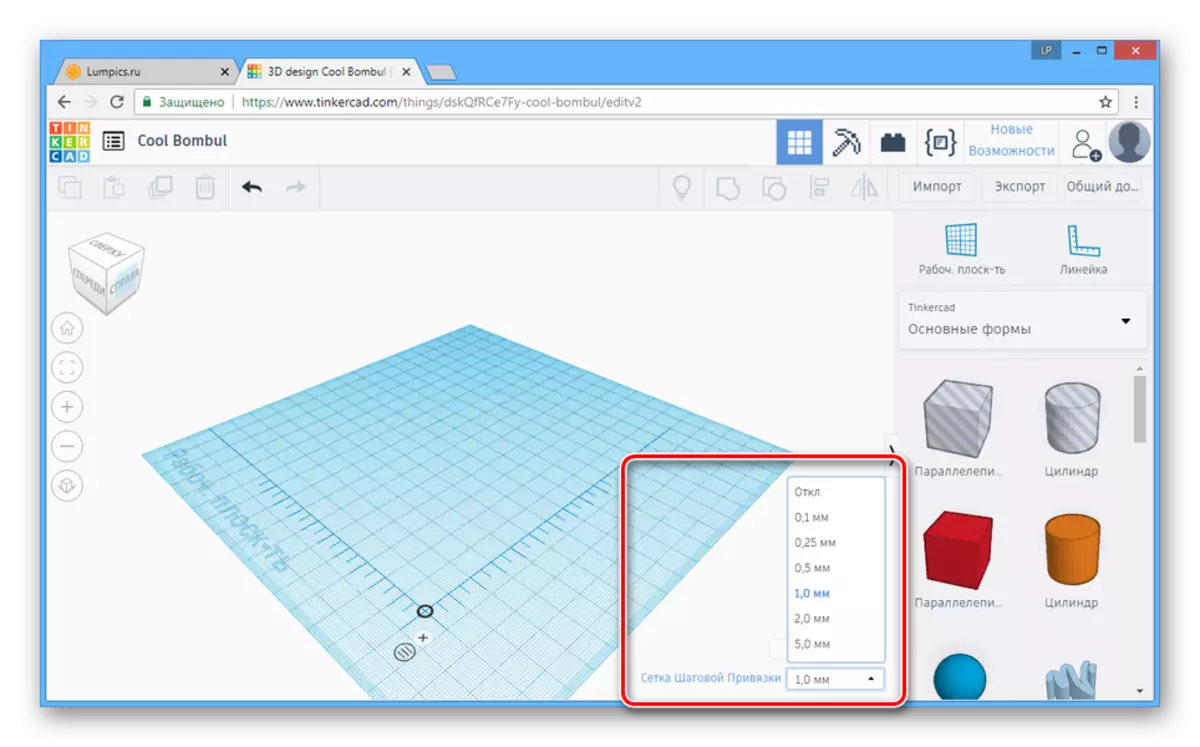
- All items will automatically stick to the grid, the size and view of which can be configured on a special panel in the bottom area of the editor.
Creating objects
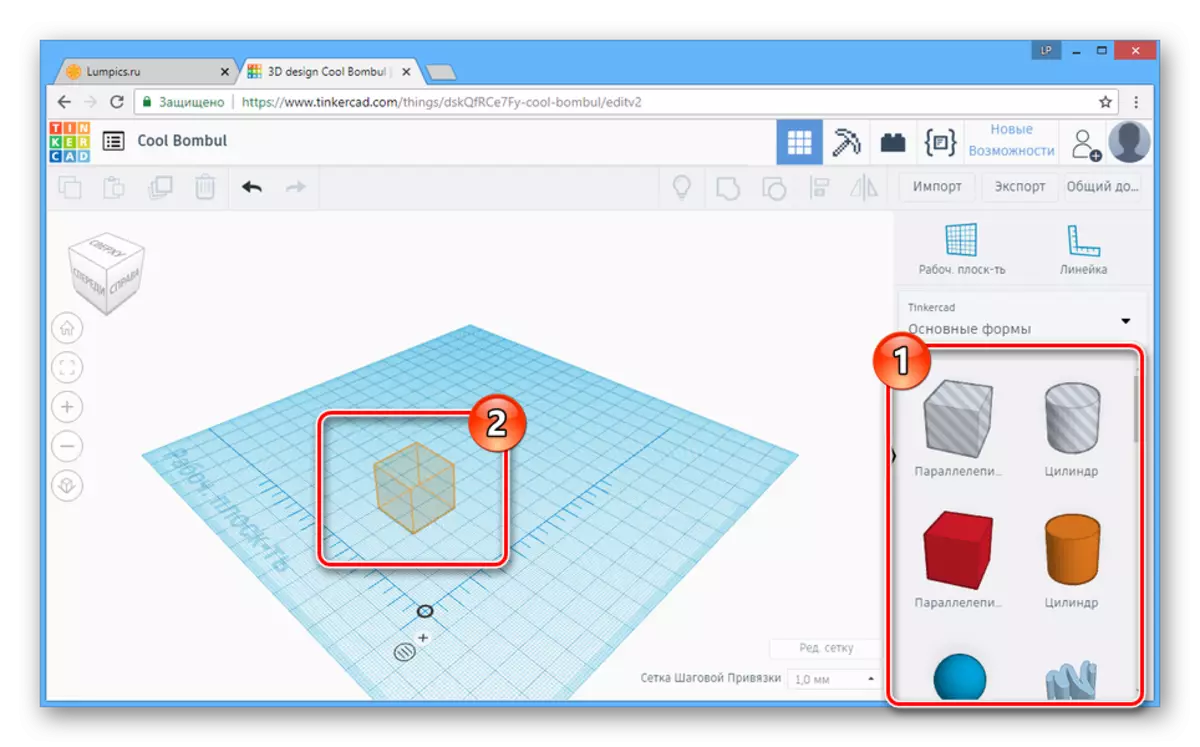
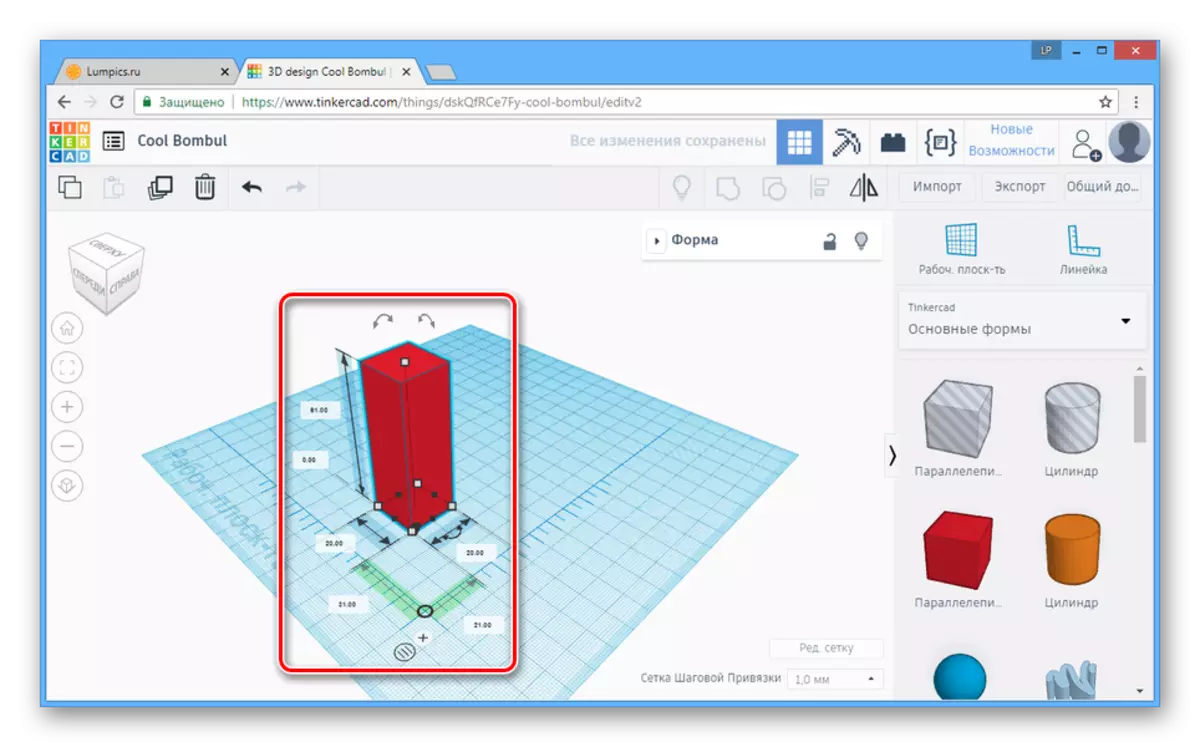
- To create any 3D-shapes, use the panel placed on the right side of the page.
- After selecting the desired object, click in the work plane suitable for placement.
- When the model appears in the main editor window, it will appear with additional tools using which the figure can be moved or modified.
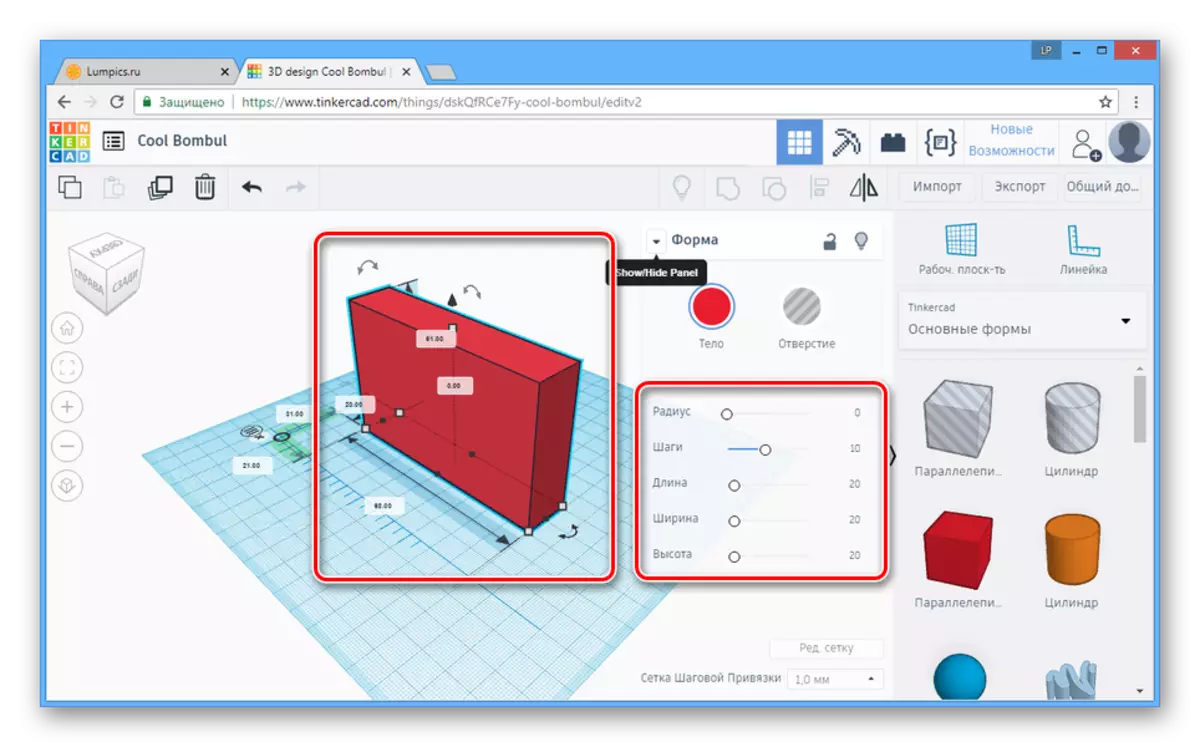
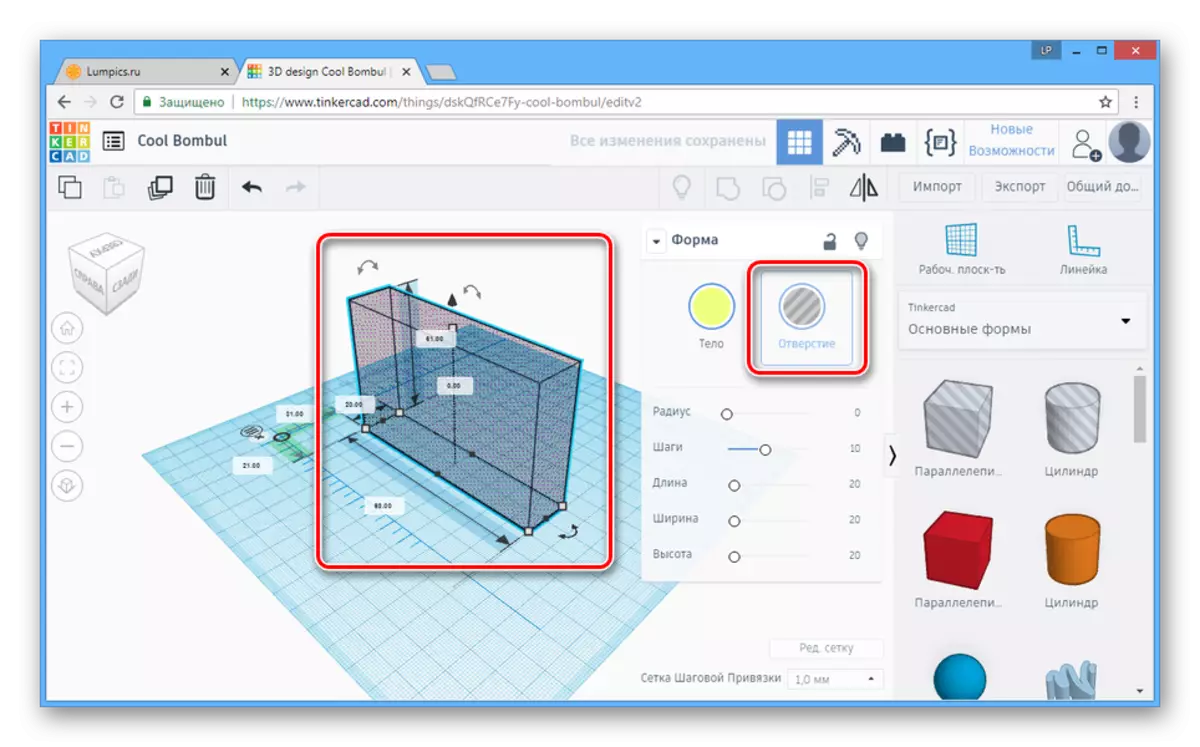
In the "Form" block, you can set the main parameters of the model, as for its color gamut. It is allowed to handmade any color from the palette, but it is impossible to use textures.
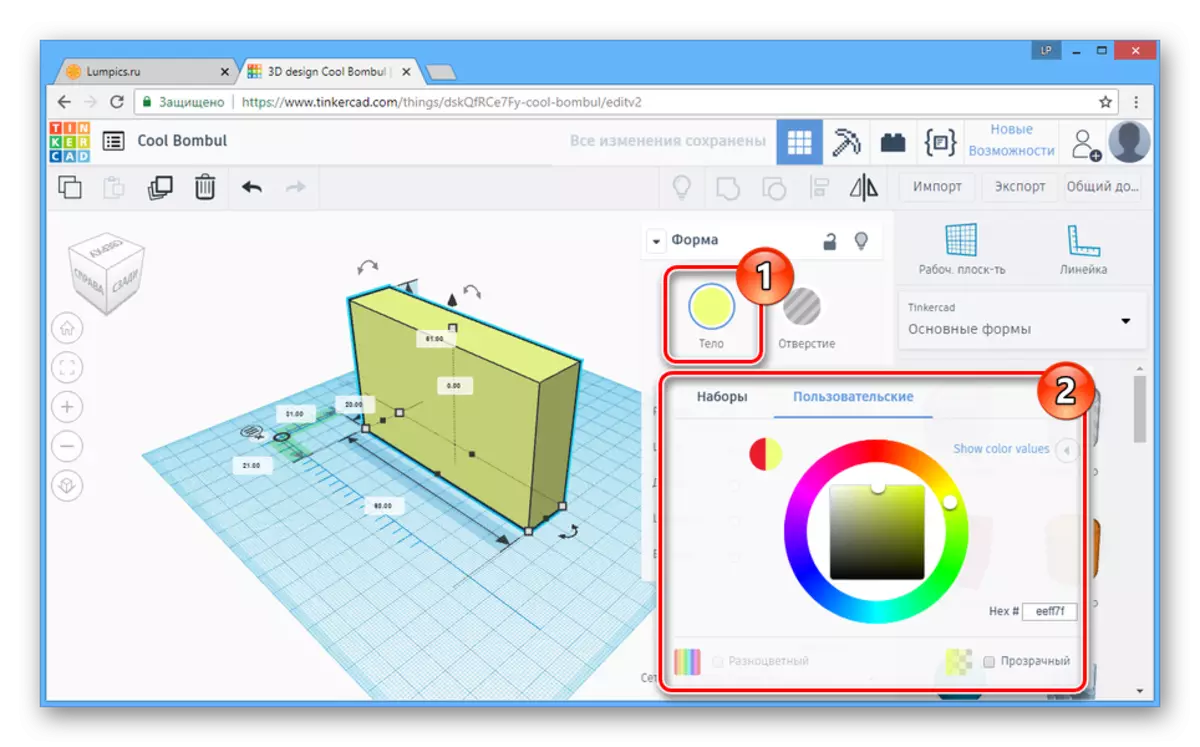
If you select the type of hole object, the model will be completely transparent.
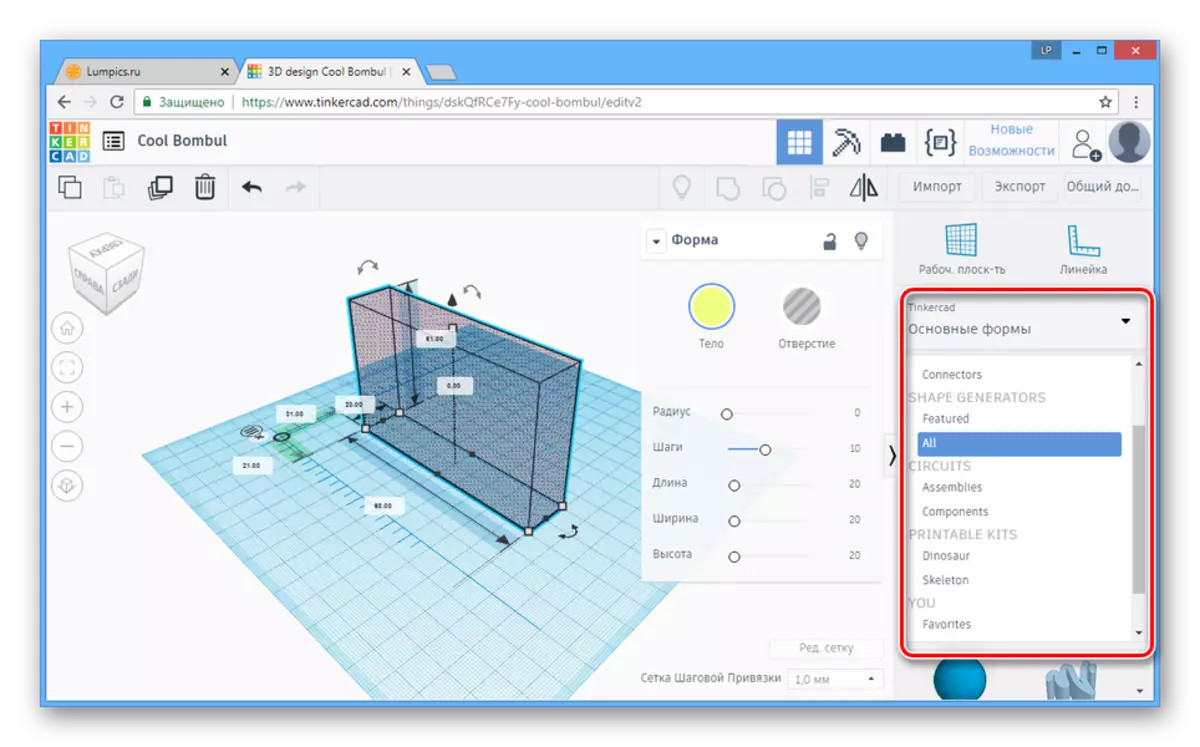
- In addition to the originally represented figures, you can resort to the use of models with special forms. To do this, open the drop-down list on the toolbar and select the desired category.
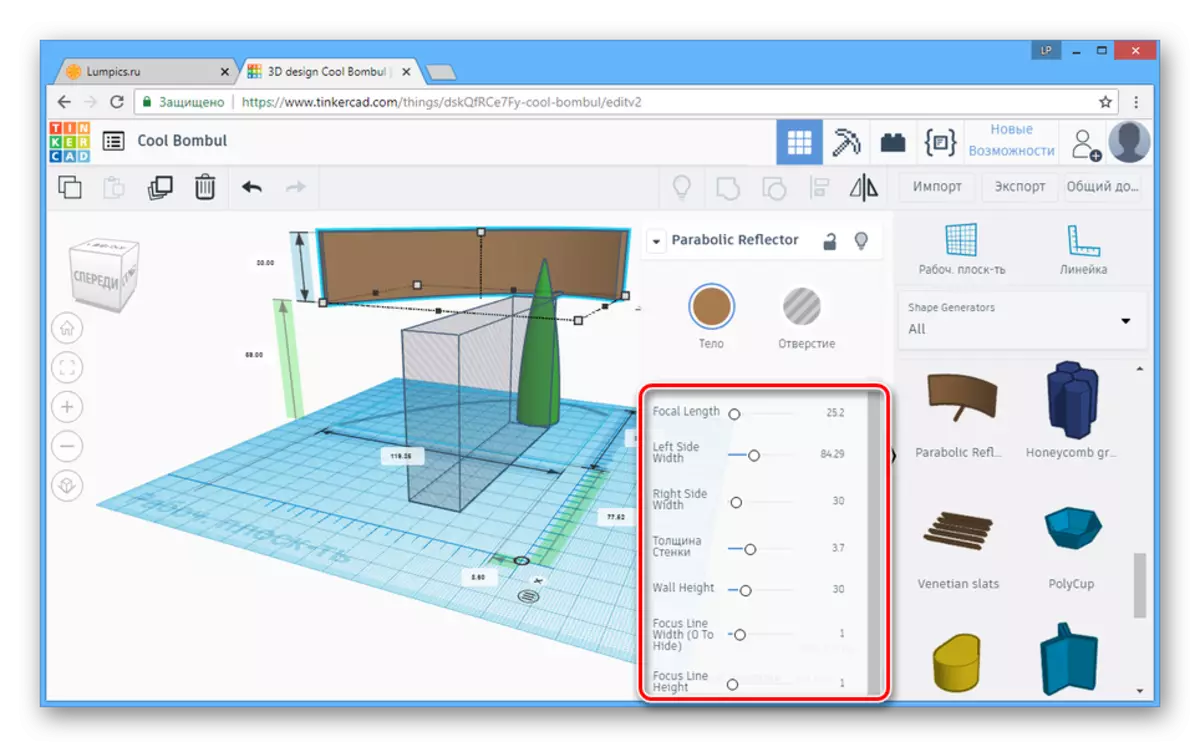
- Now select and place the model depending on your requirements.
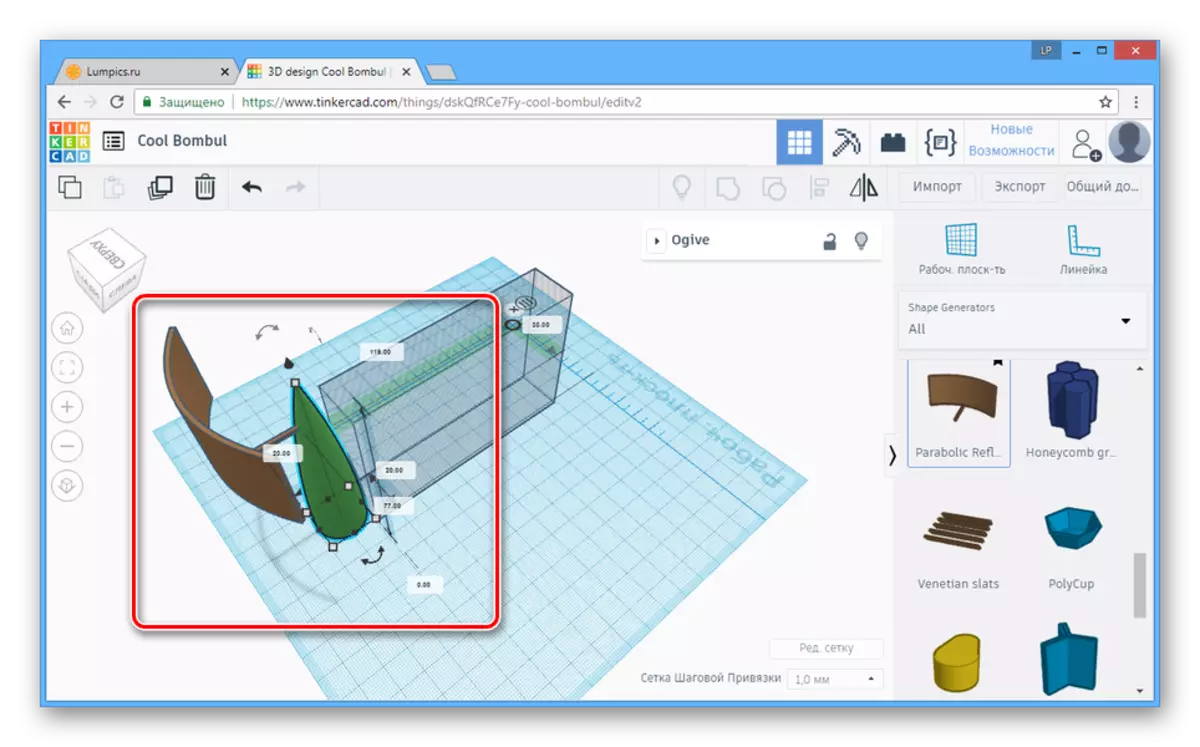
When using different shapes, you will be available to several different settings.
Note: When using a large number of complex models, the service performance may fall.
View style
After completing the modeling process, you can change the scene view by switching to one of the tabs on the top toolbar. Apart from the main 3D editor, two types of submission are available to use:
- Blocks;
- Bricks.
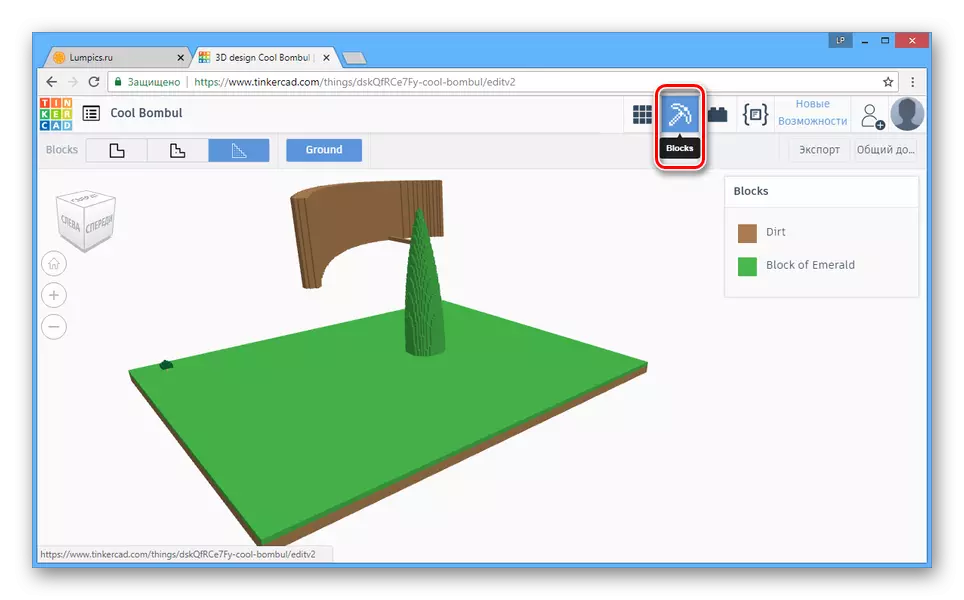
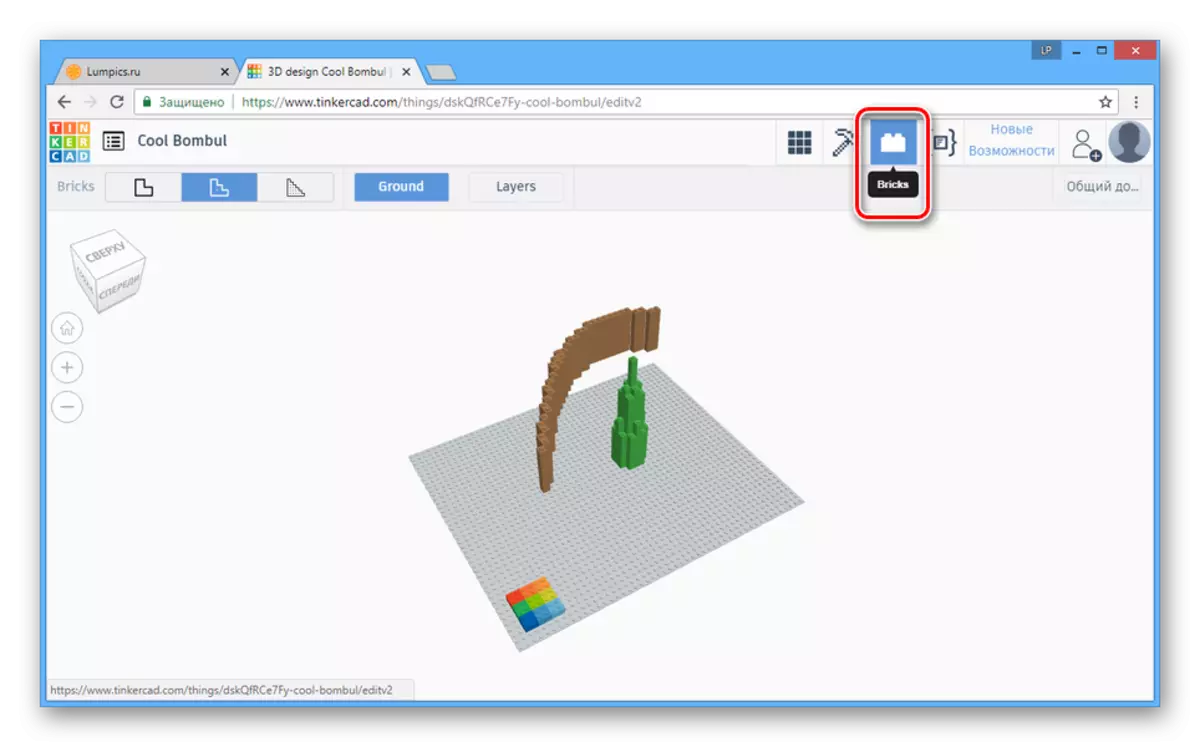
It is impossible to somehow affect 3D models in this form.
Coda Editor
If you have knowledge of scripting languages, switch to the Shape Generators tab.
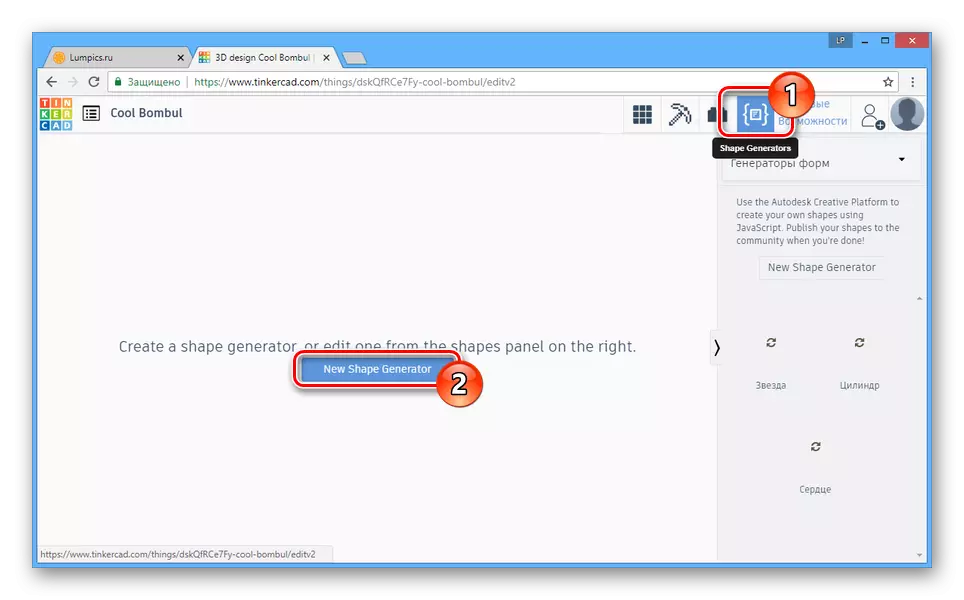
With the help of the features presented here, you can create your own figures using JavaScript.
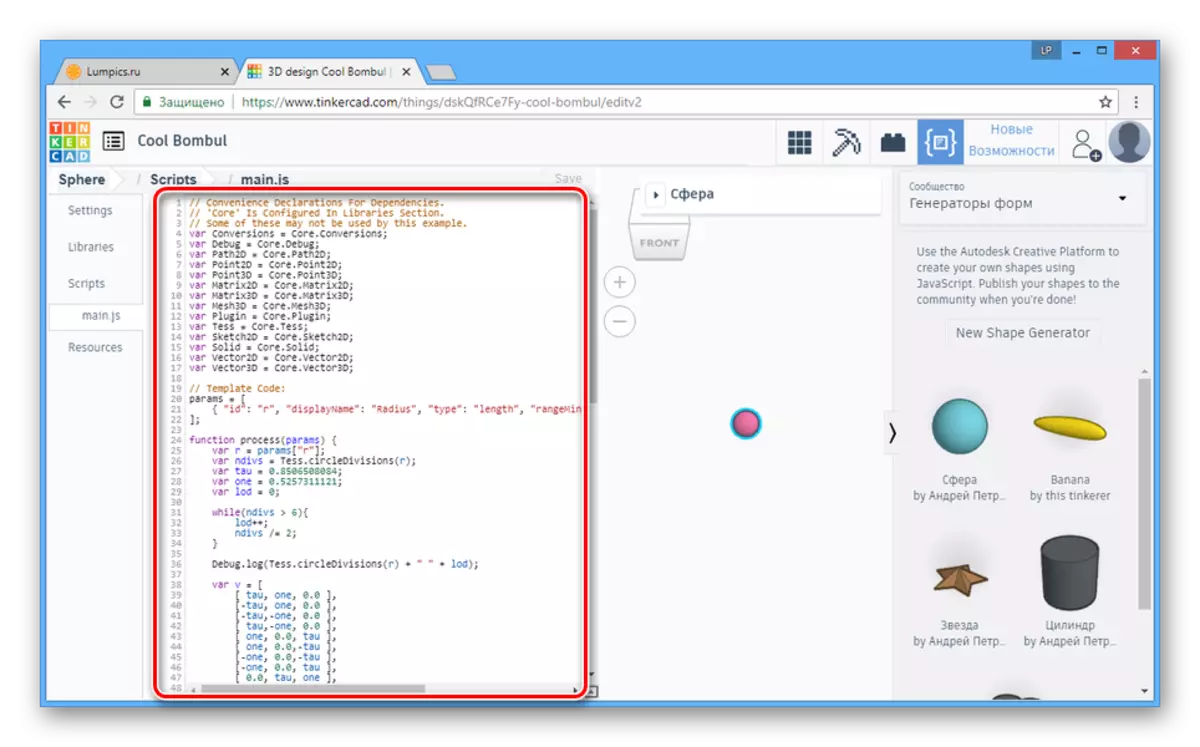
The created figures can subsequently be saved and published in the Autodesk library.
Preservation
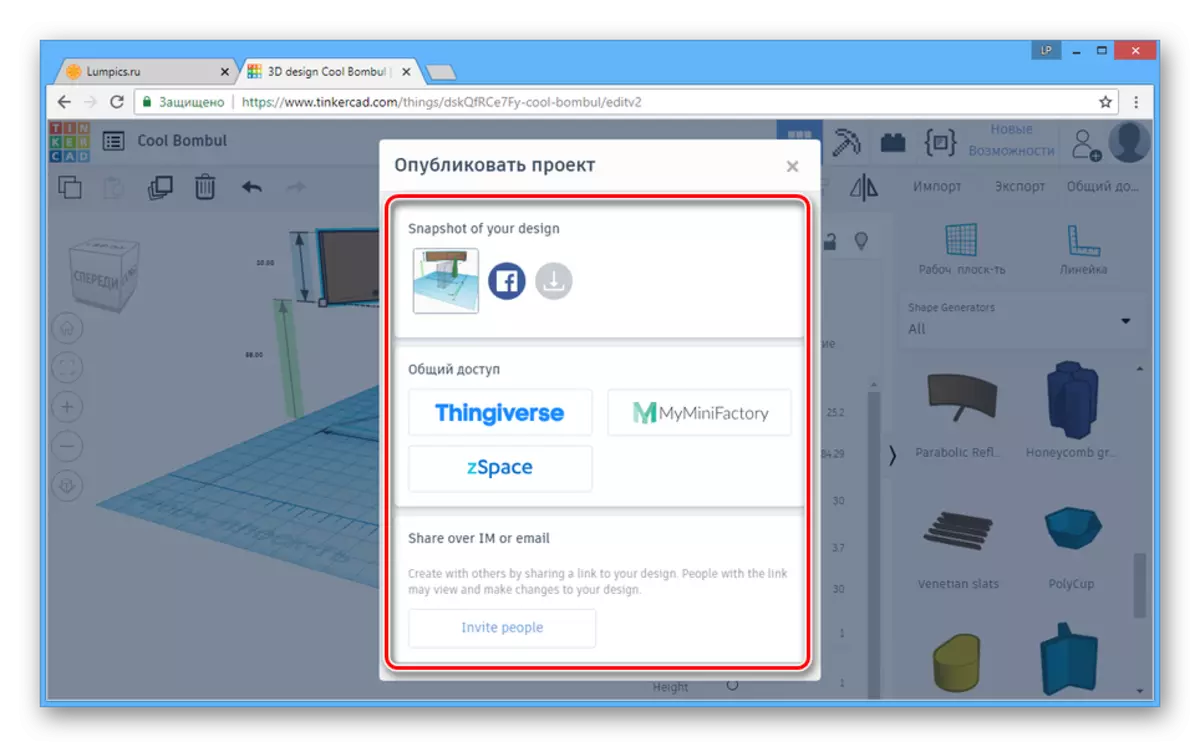
- On the "Design" tab, click the "Sharing" button.
- Click one of the presented options to save or publish a finished project snapshot.
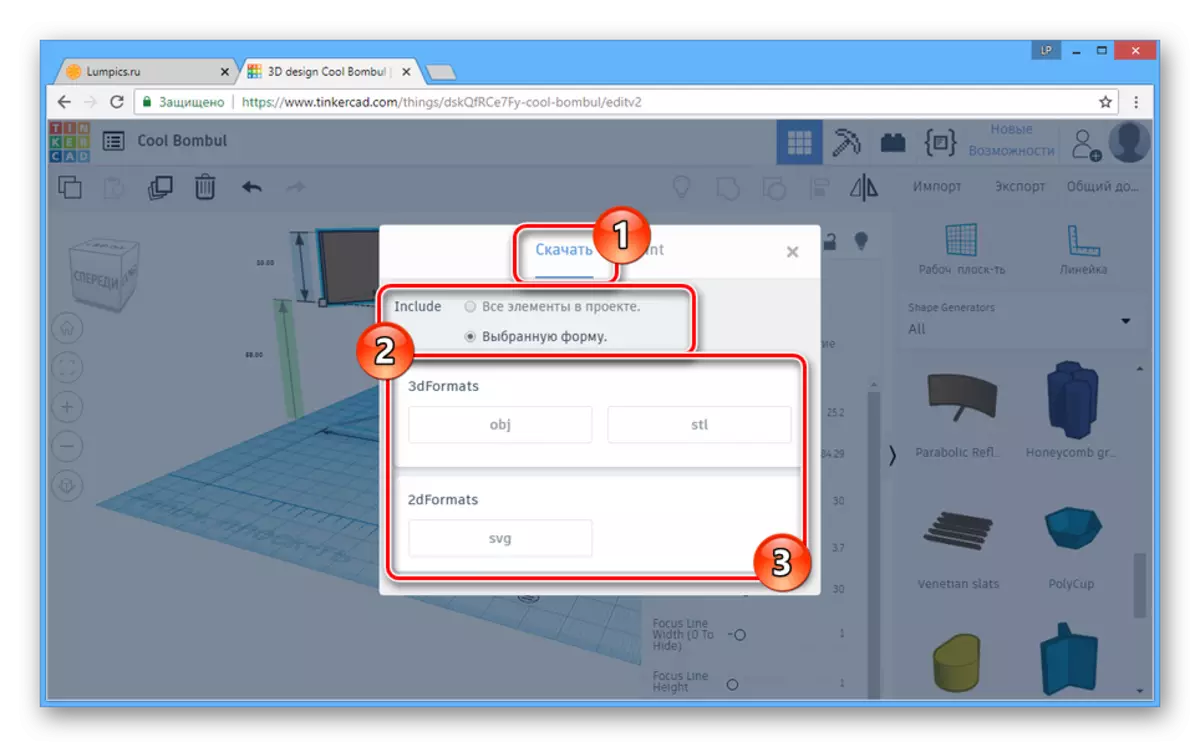
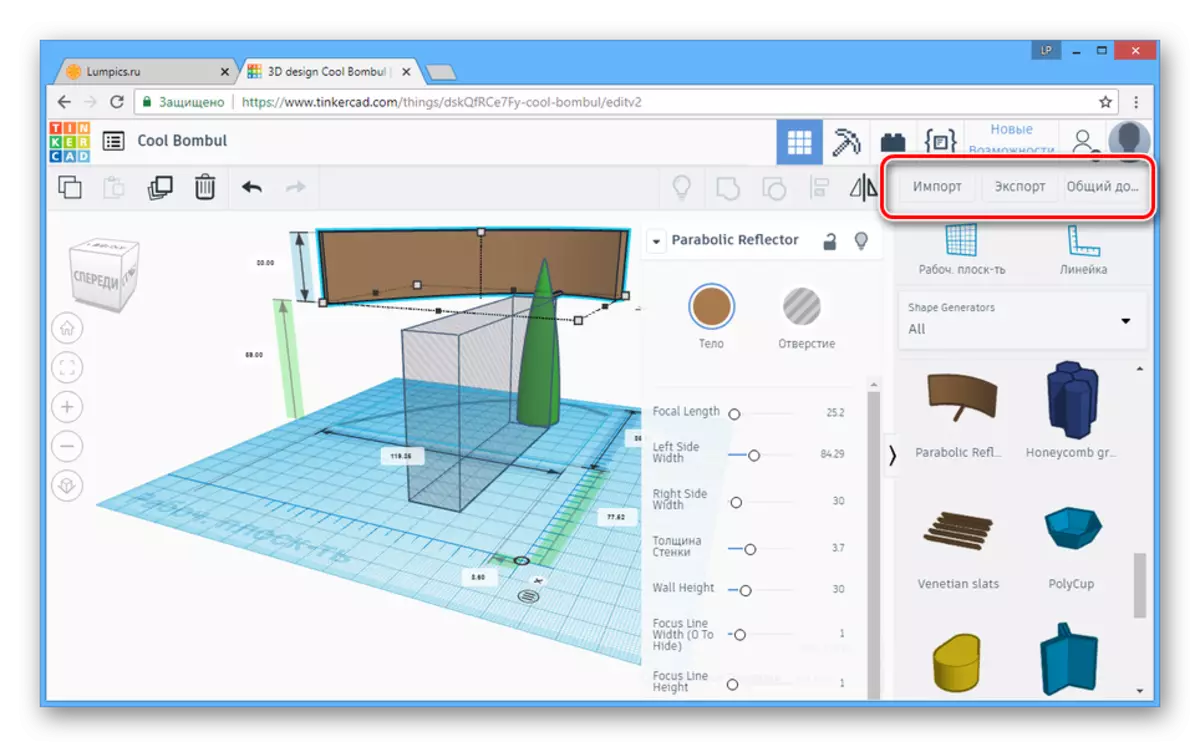
- As part of the same panel, click the Export button to open the save window. You can download all or some items both in 3D and 2D.
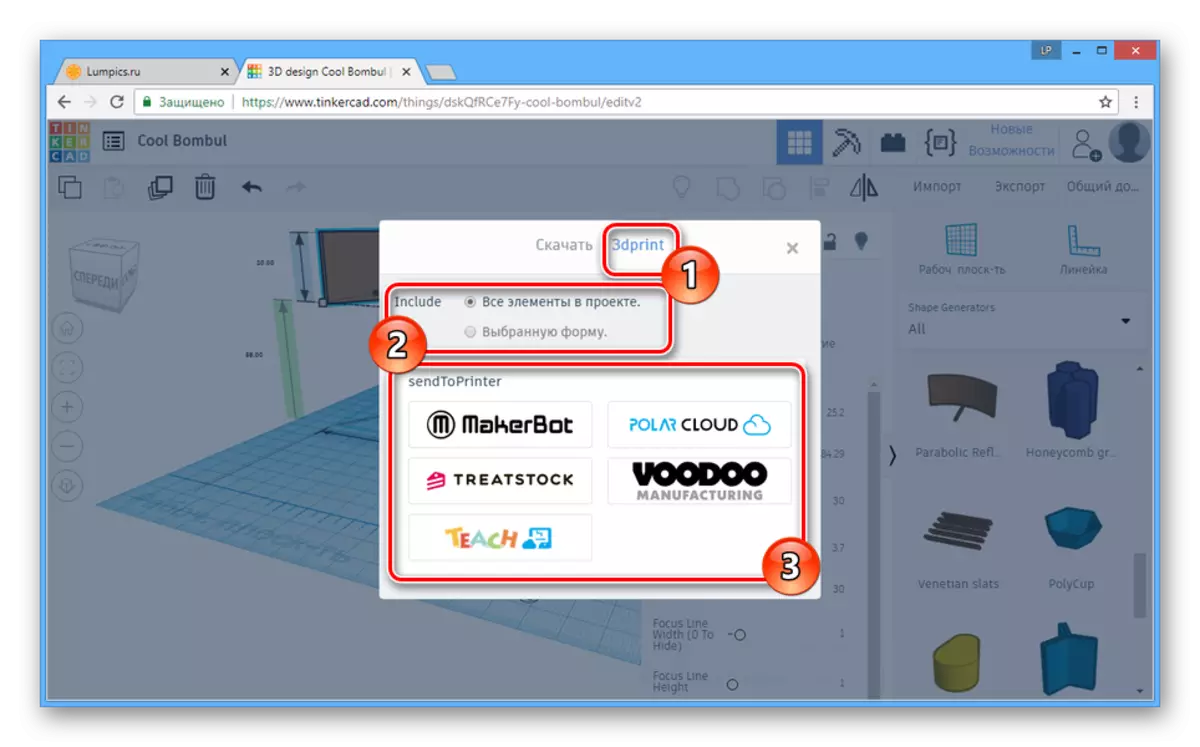
On the 3DPrint page you can resort to the help of one of the additional services to print the created project.
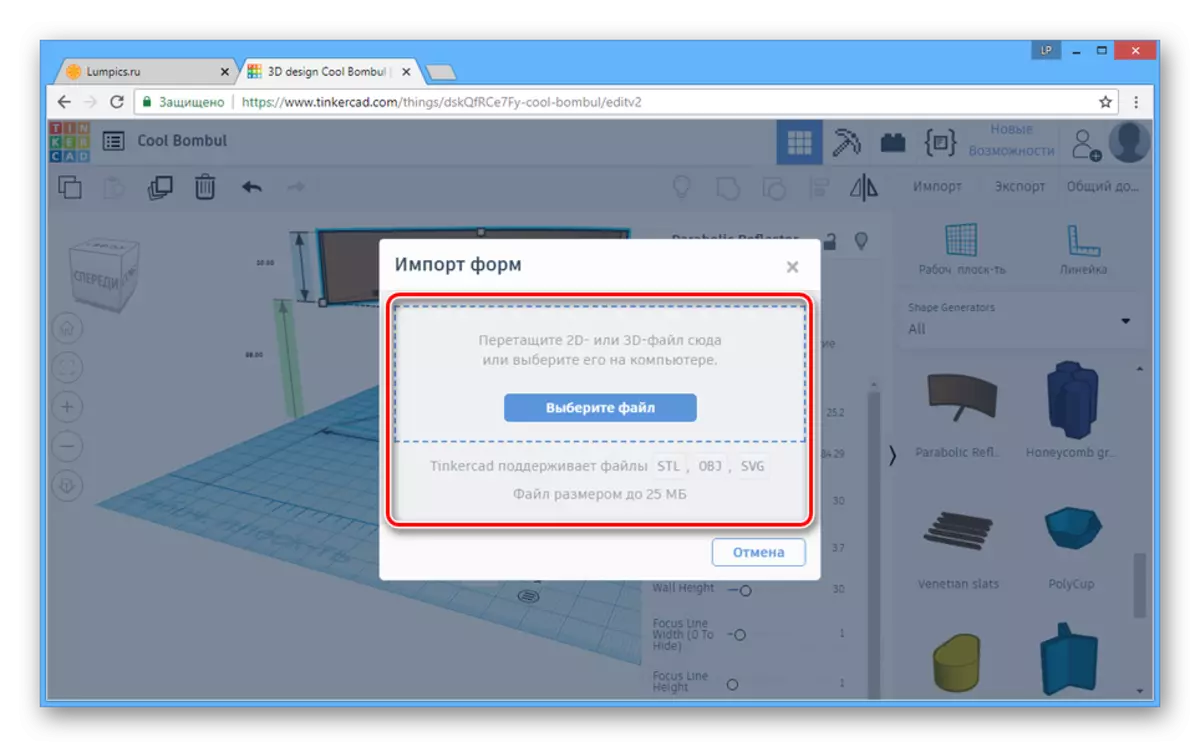
- If necessary, the service allows not only to export, but also import various models, including those previously created in TinkerCAD.
The service is perfect for the implementation of simple projects with the possibility of organizing subsequent 3D printing. If you have questions, contact the comments.
Method 2: Clara.io
The main purpose of this online service is to provide a practically full-featured editor in the Internet browser. And although this resource has no competitors, it is possible to take advantage of all the capabilities only when buying one of the tariff plans.
Go to the official site Clara.io
Preparation
- To go to 3D modeling with this site, you must go through the registration or authorization procedure.
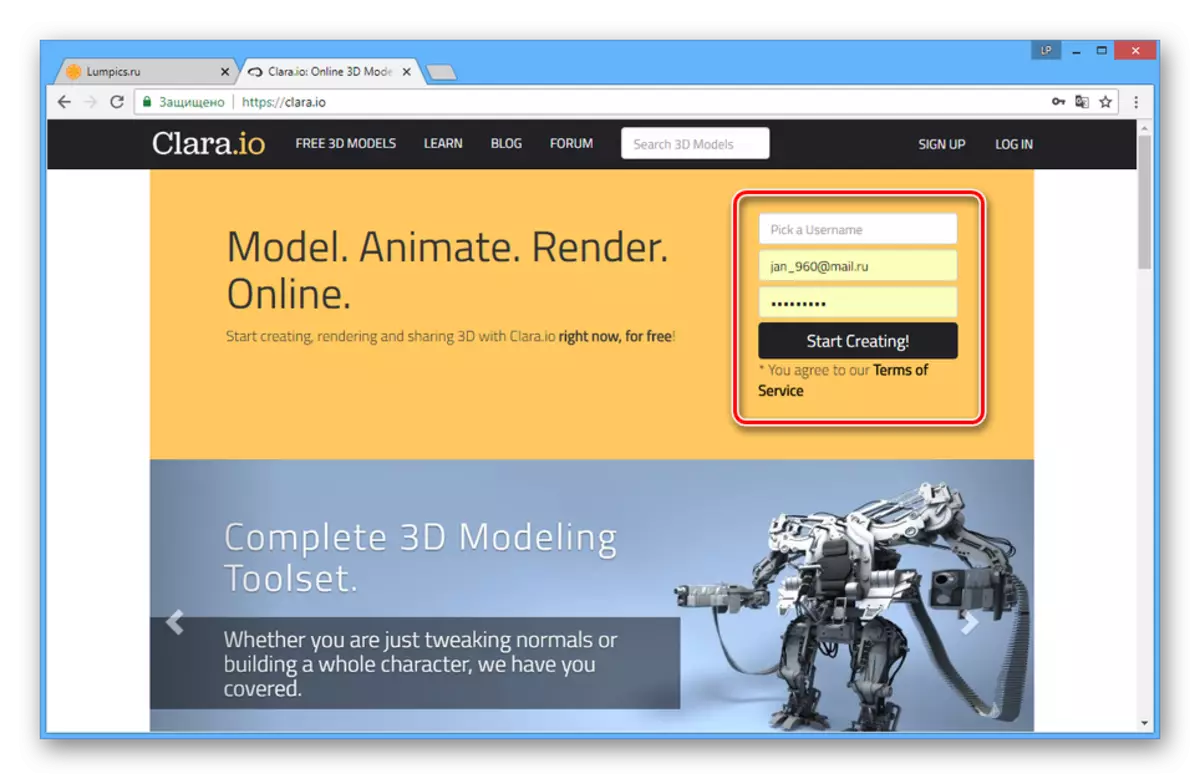
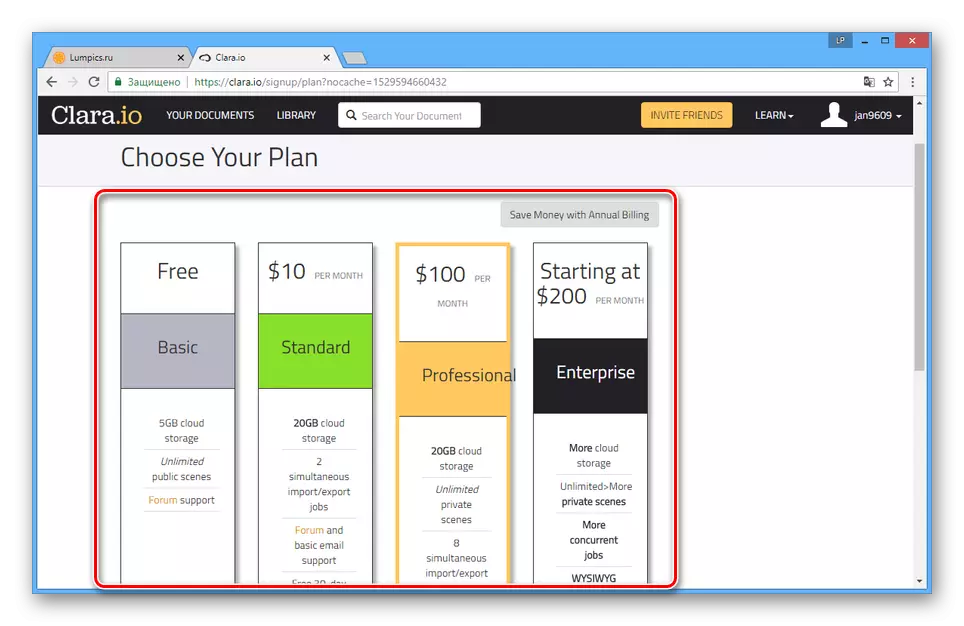
During the creation of a new account, several tariff plans are provided, including free.
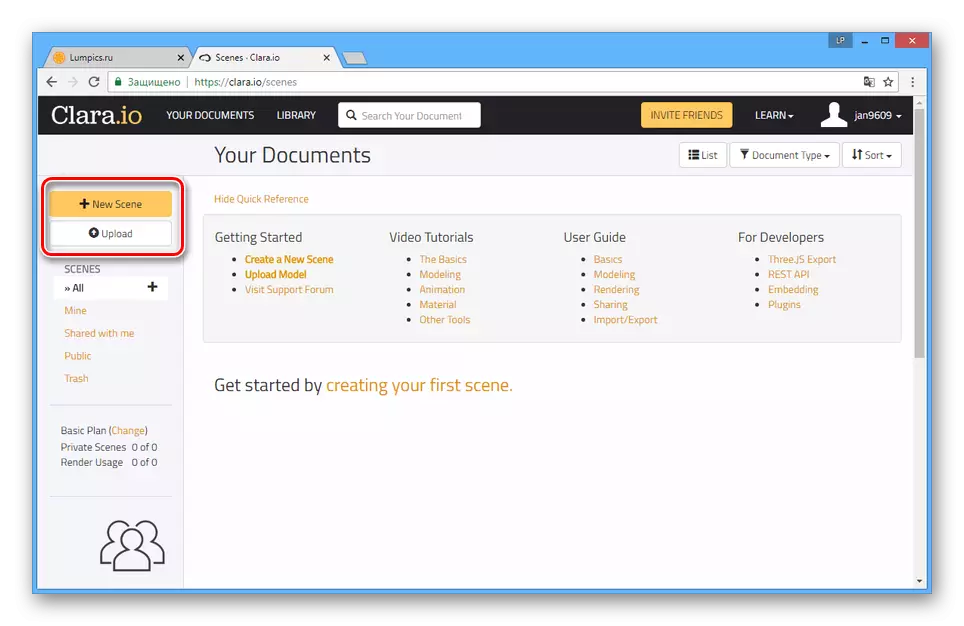
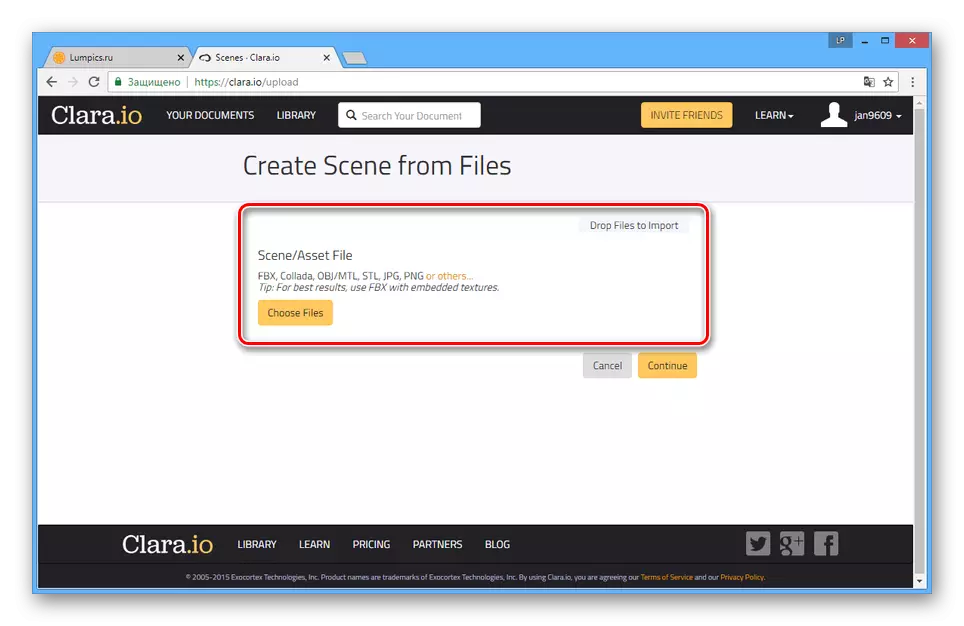
- After the registration is completed, you will be redirected to your personal account, from where you can proceed to download the model from the computer or create a new scene.
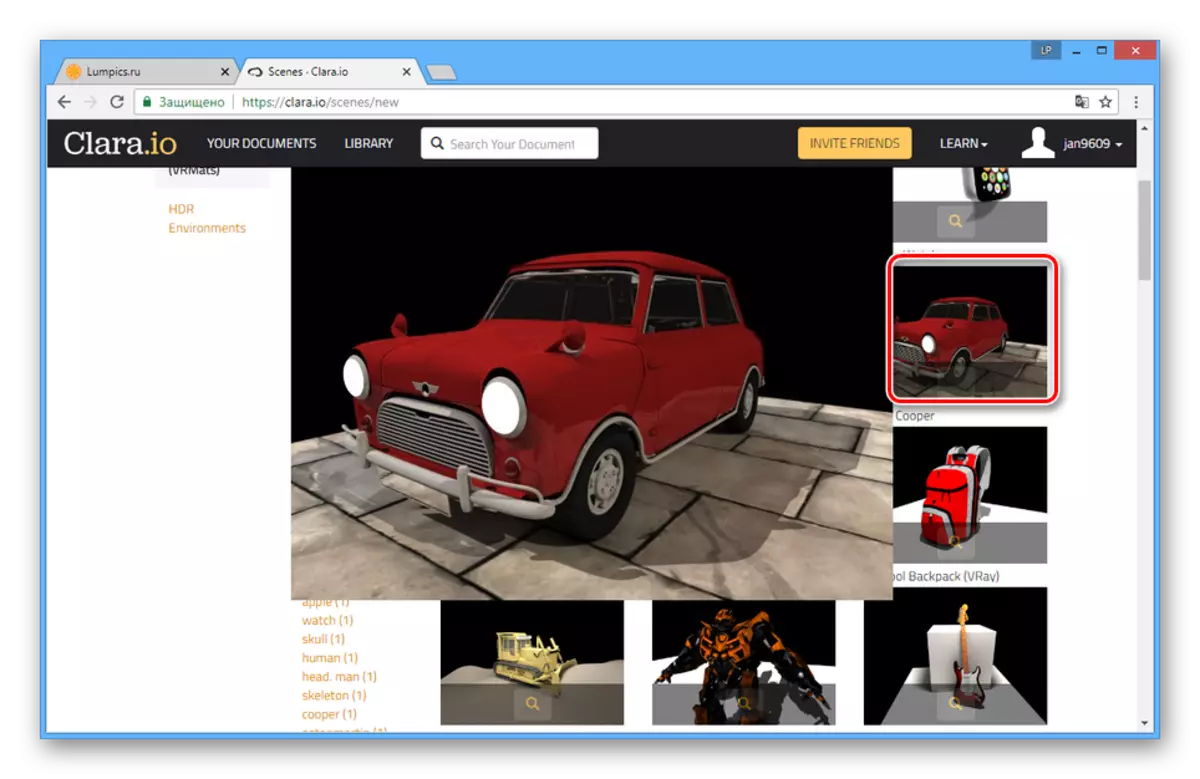
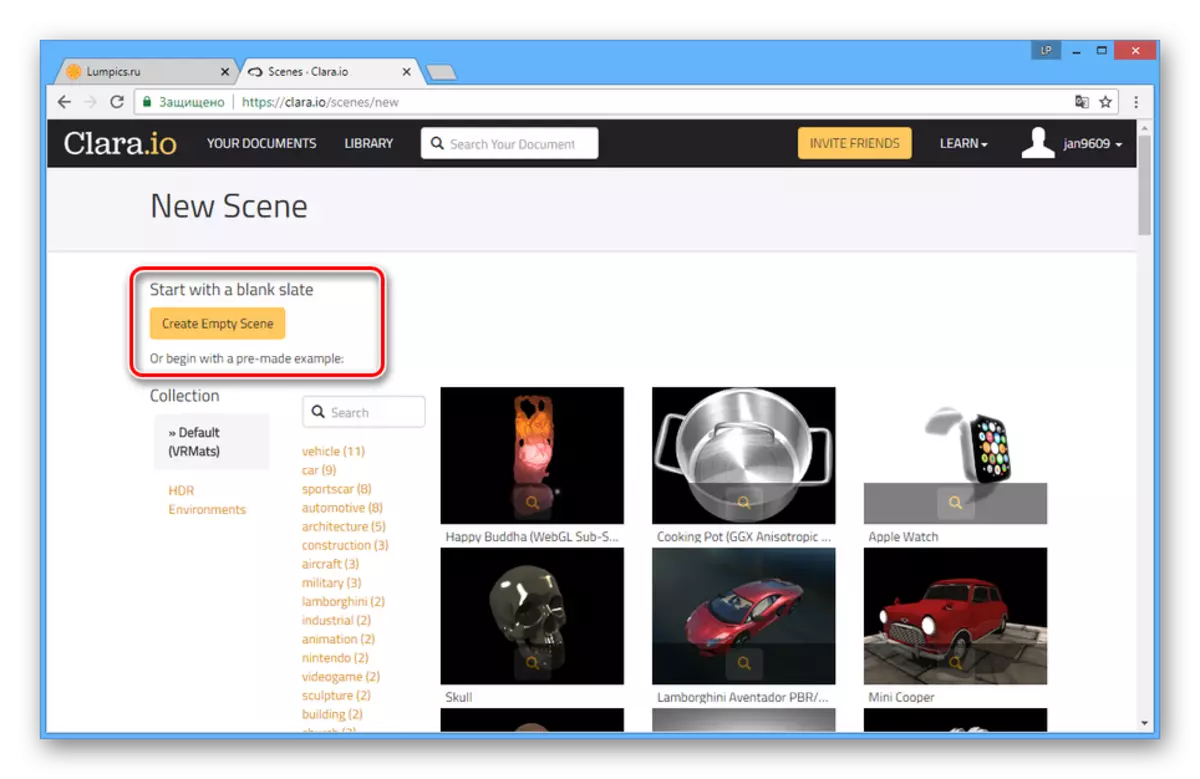
- On the next page you can use one of the works of other users.
- To create an empty project, click "CREATE EMPTY SCENE".
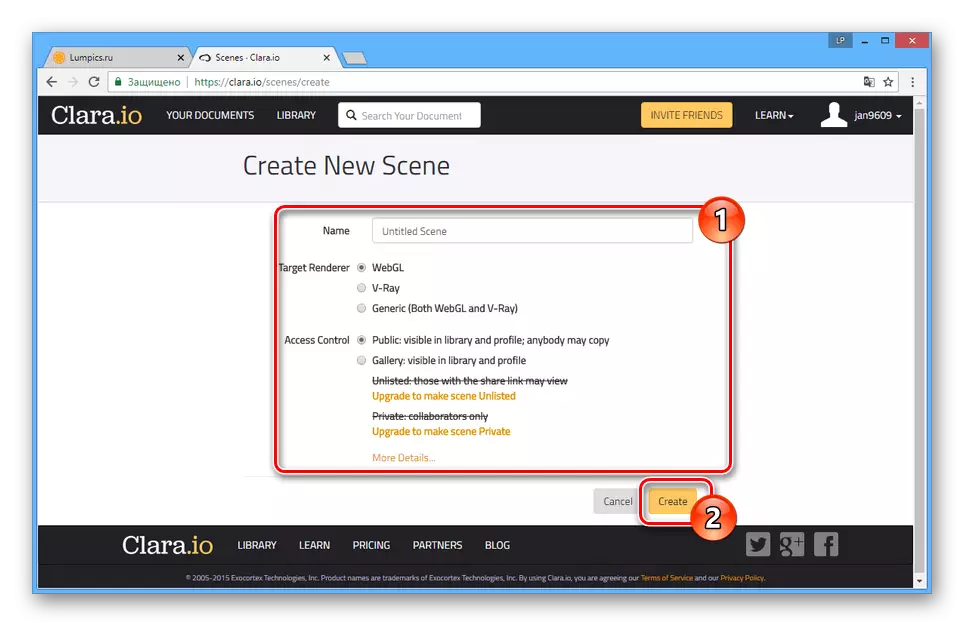
- Configure rendering and access, give your project the name and click on the "Create" button.
Models can only be open in a limited amount of formats.
Creating models
You can start working with the editor by creating one of the primitive figures on the top of the toolbar.
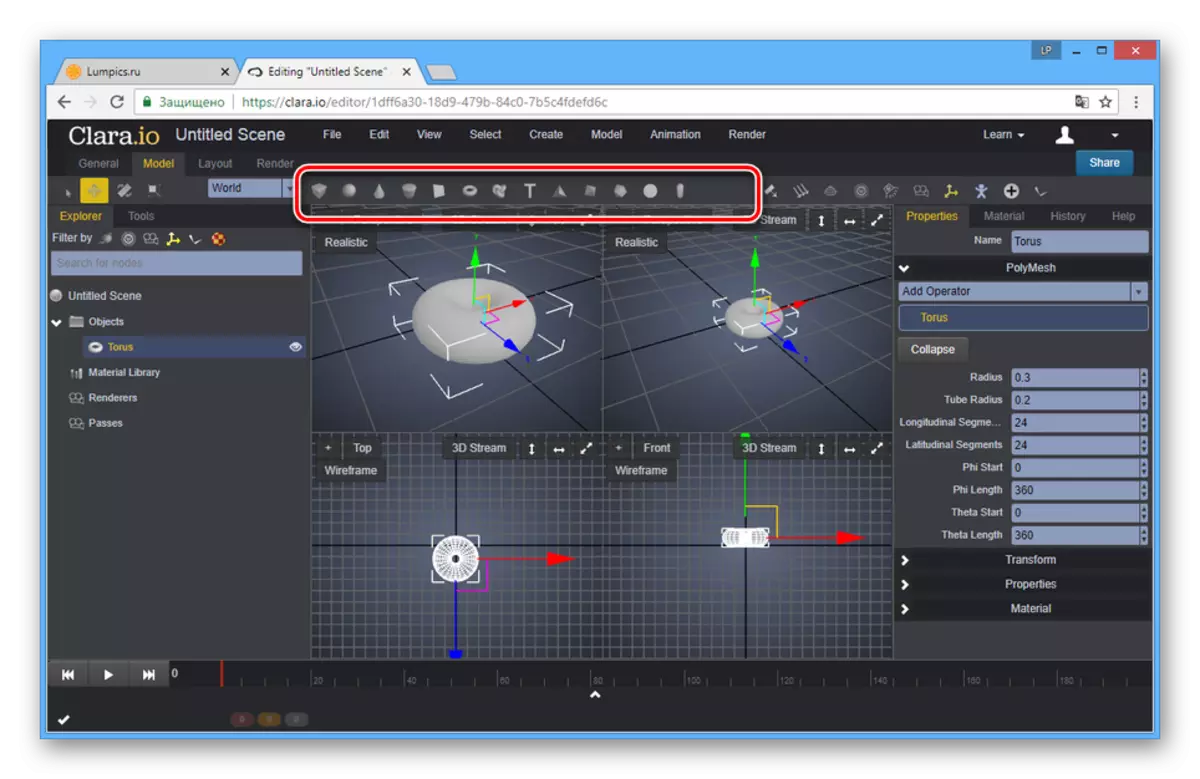
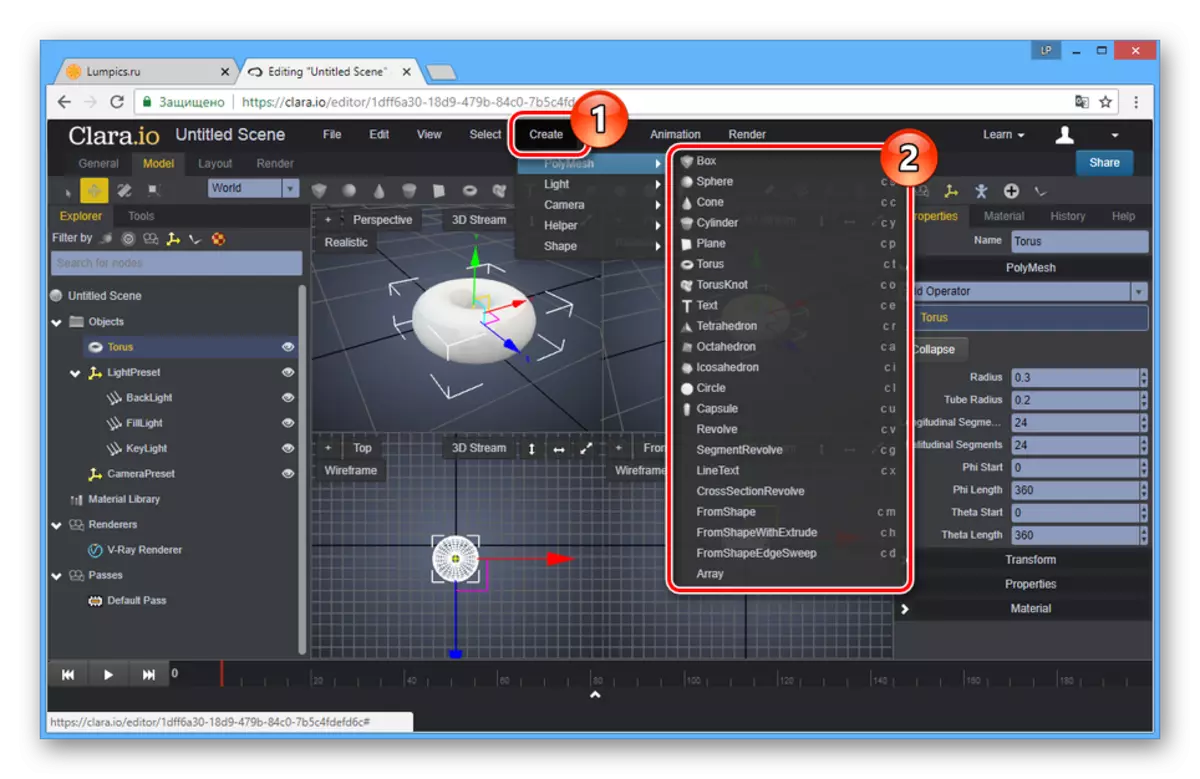
You can see a complete list of 3D models created by opening the section "Create" and selecting one of the items.
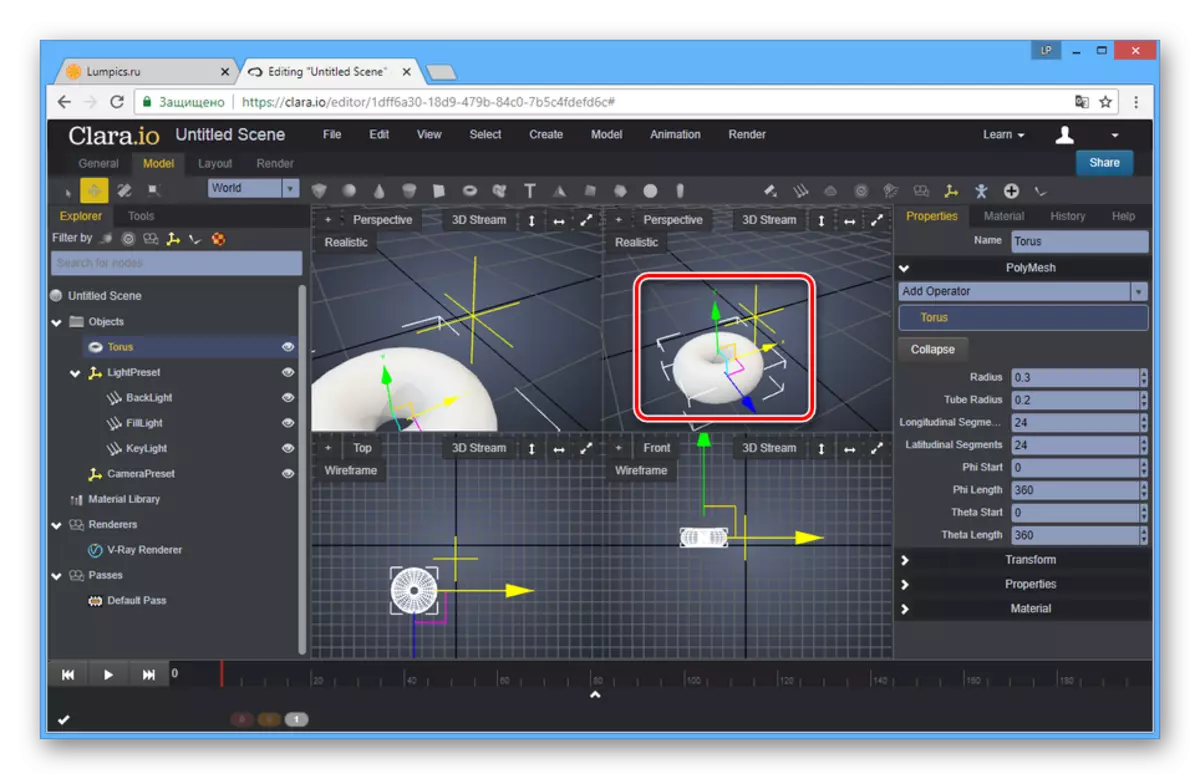
Inside the editor area, you can rotate, move and scale the model.
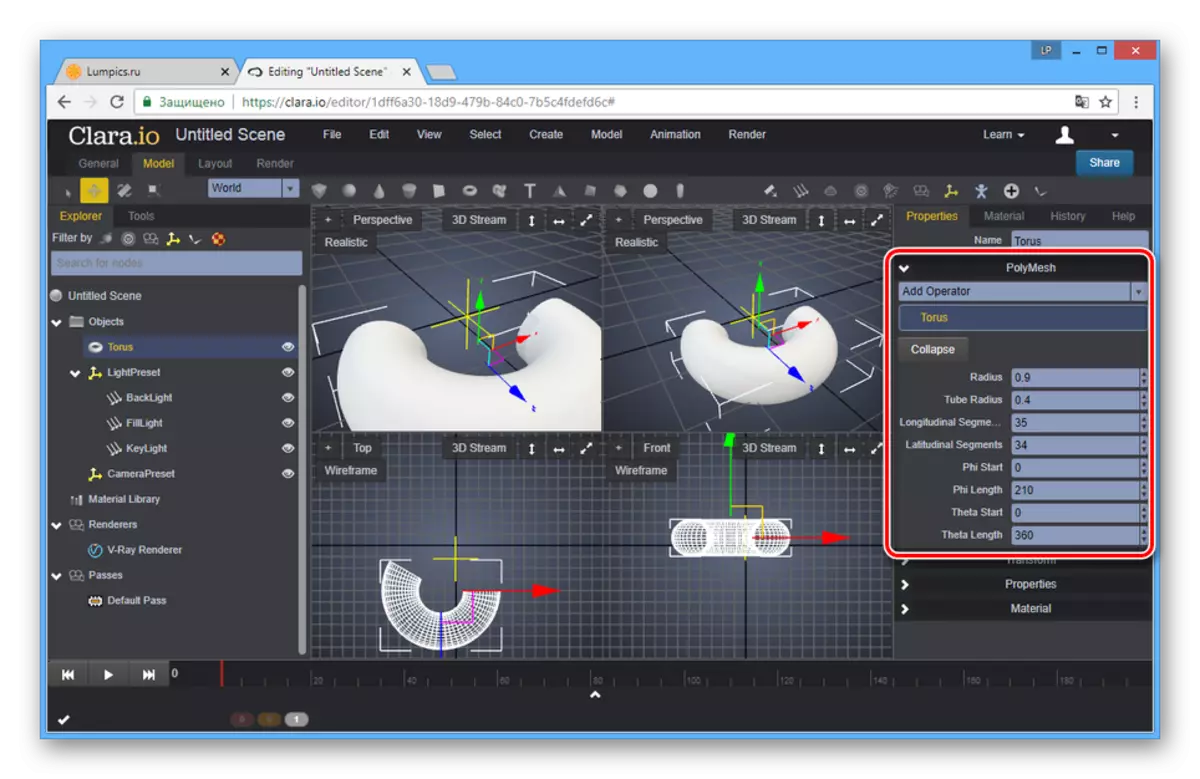
To configure objects, use the parameters placed on the right side of the window.
In the left area of the editor, switch to the "Tools" tab to open additional tools.
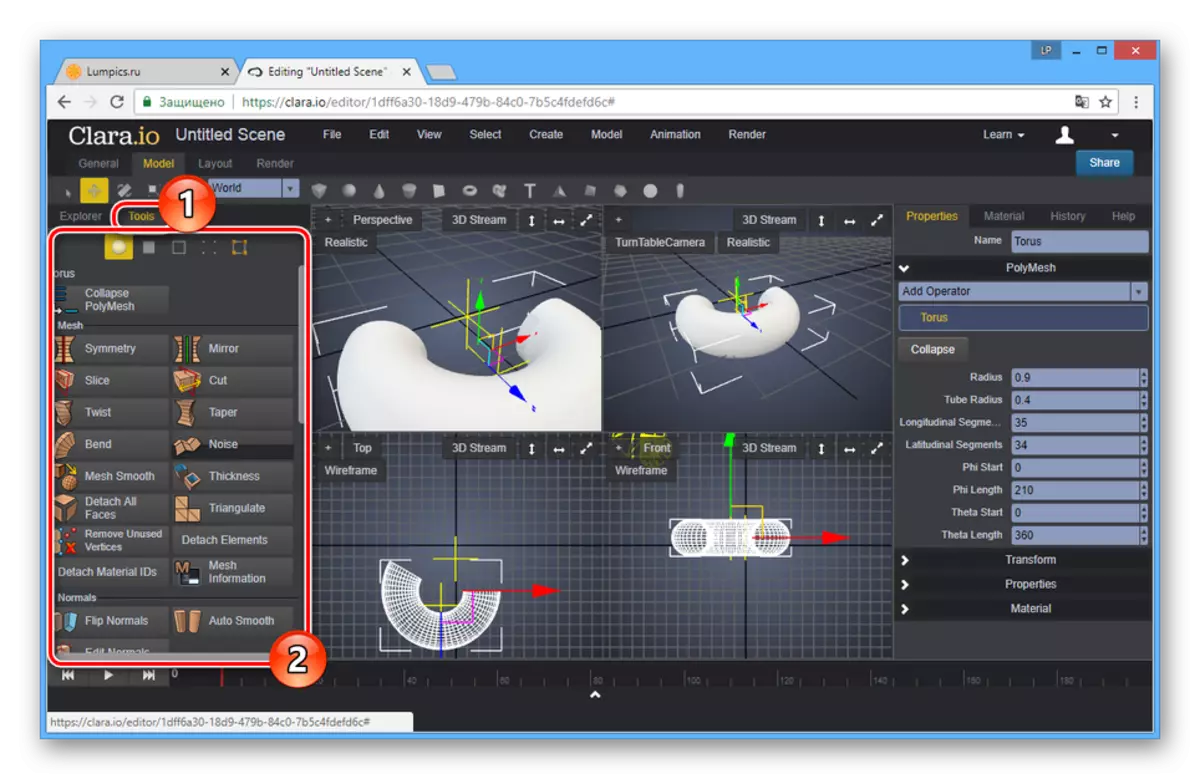
It is possible to work at once with several models by allocation.
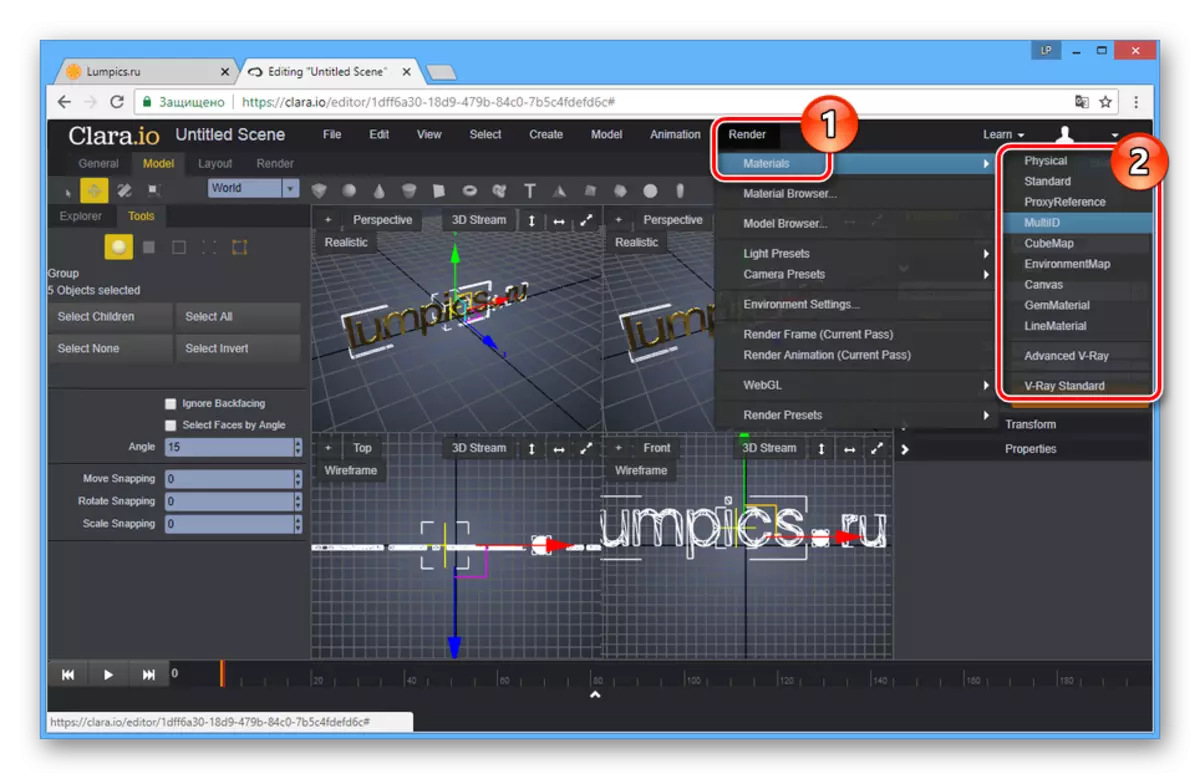
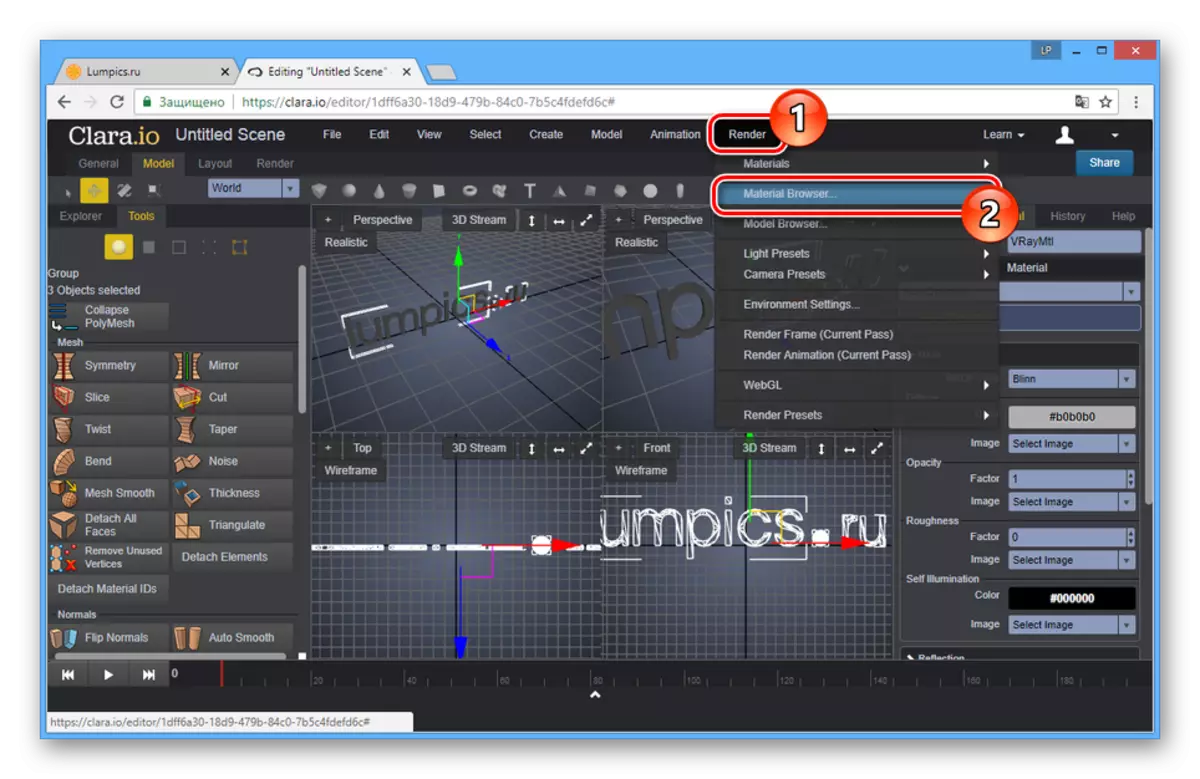
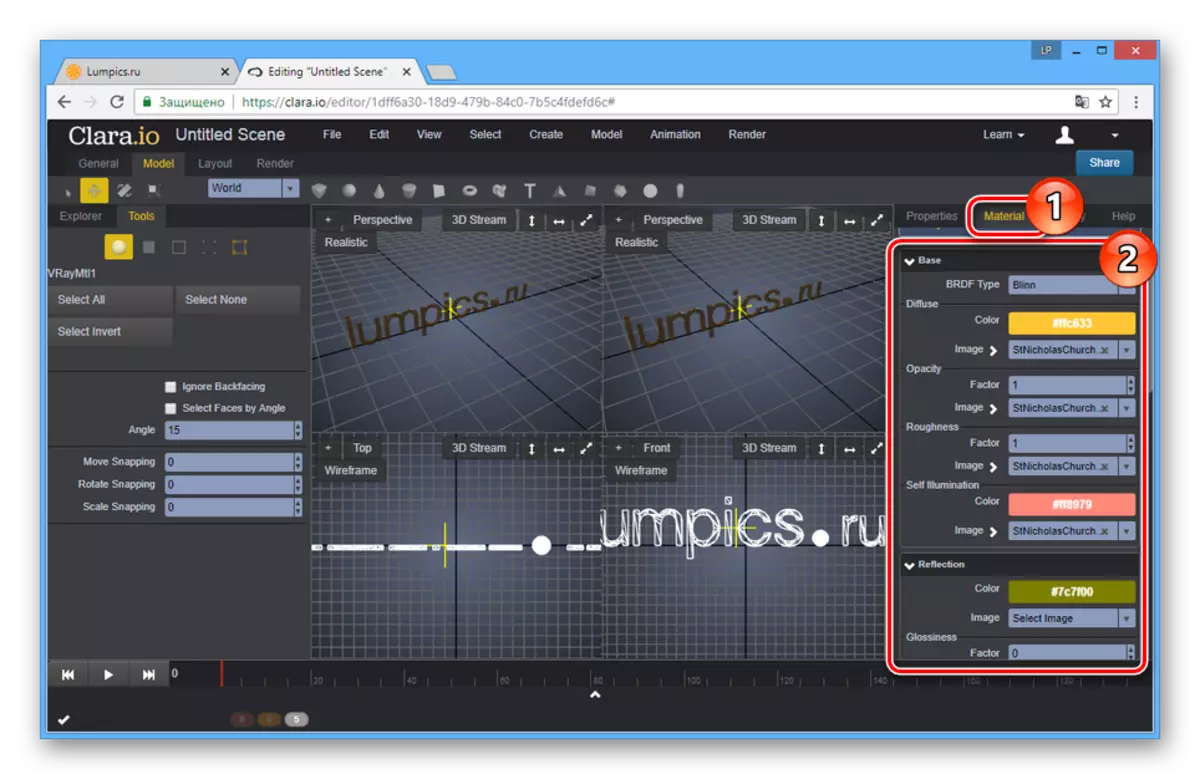
Materials
- To change the texture of the created 3D models, open the "Render" list and select "Material Browser".
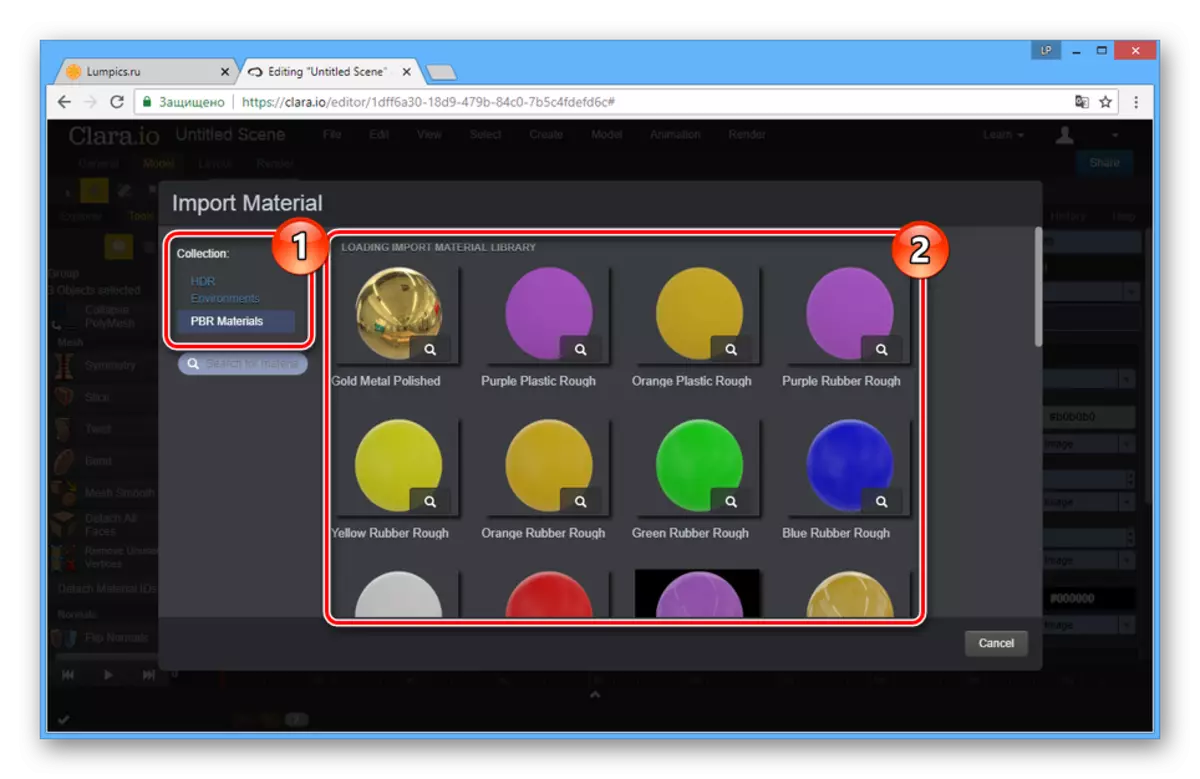
- Materials are posted on two tabs depending on the complexity of the texture.
- In addition to materials from the specified list, you can choose one of the sources in the "Materials" section.
The textures themselves can also be configured.
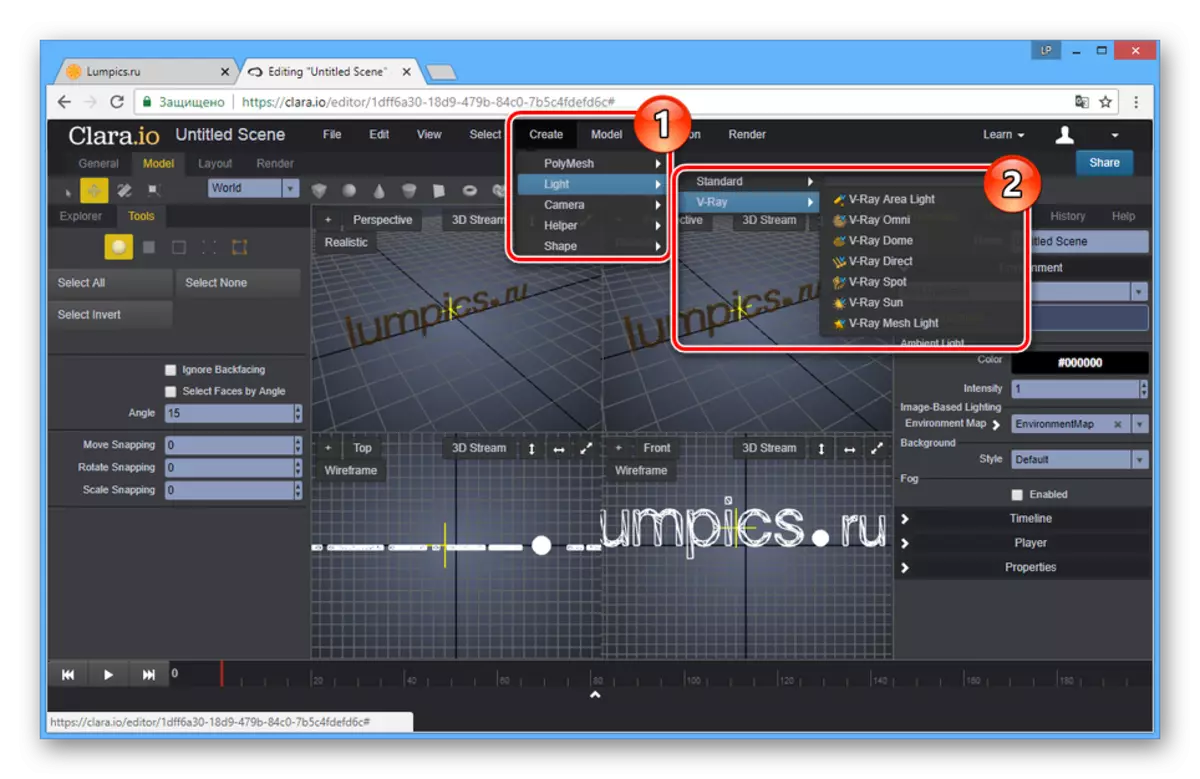
Lighting
- To achieve an acceptable type of scene, you need to add light sources. Open the "Create" tab and select the lighting type from the Light list.
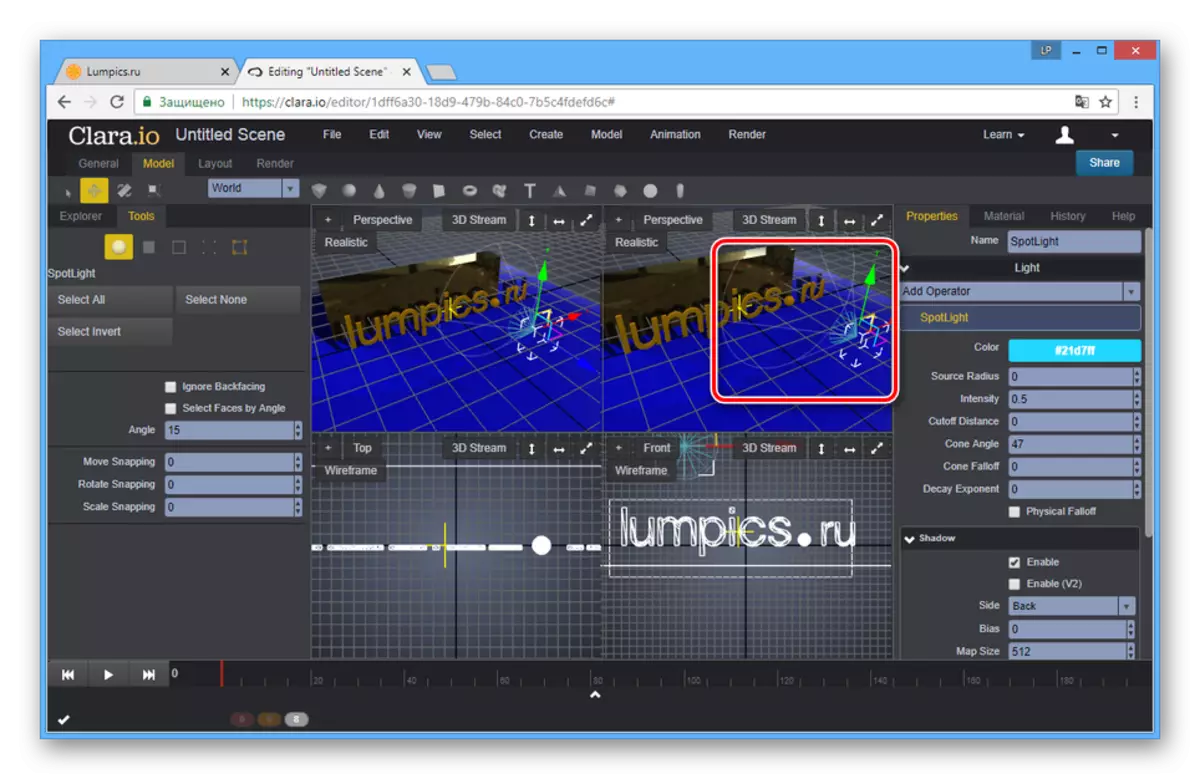
- Place and configure the light source using the appropriate panel.
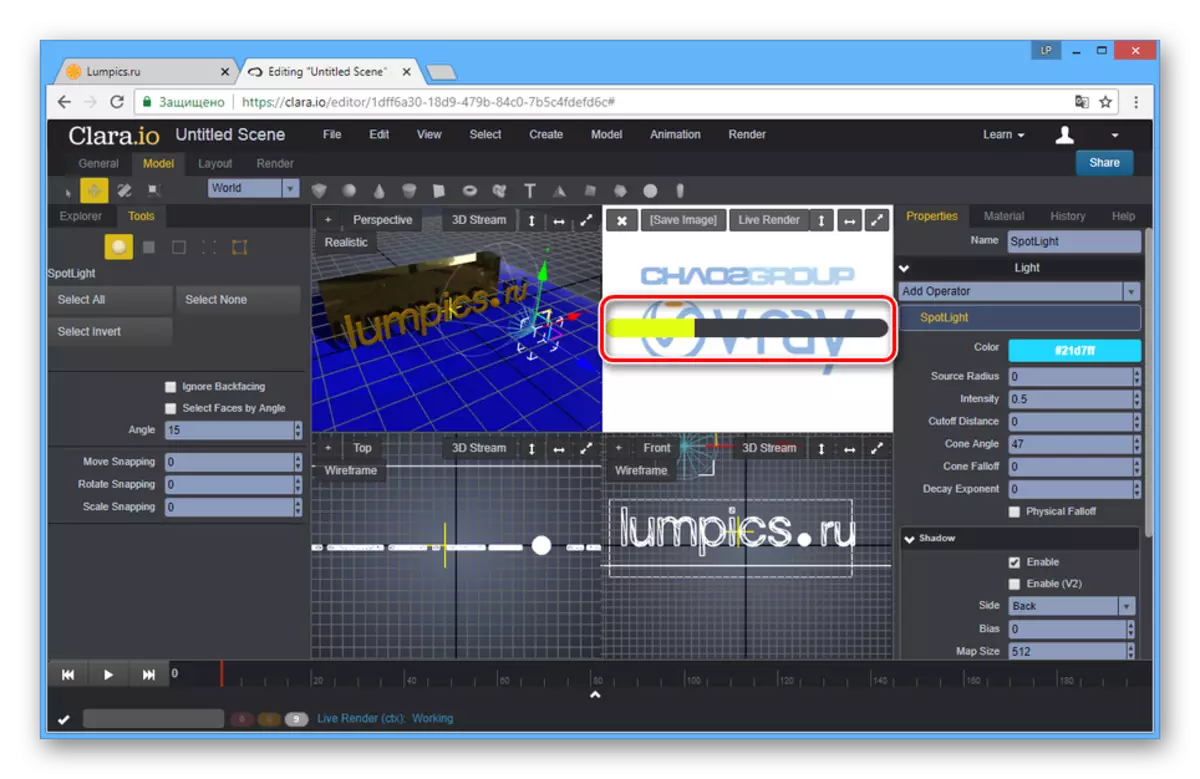
Rendering
- To view the final scene, press the "3D Stream" button and select the appropriate rendering type.
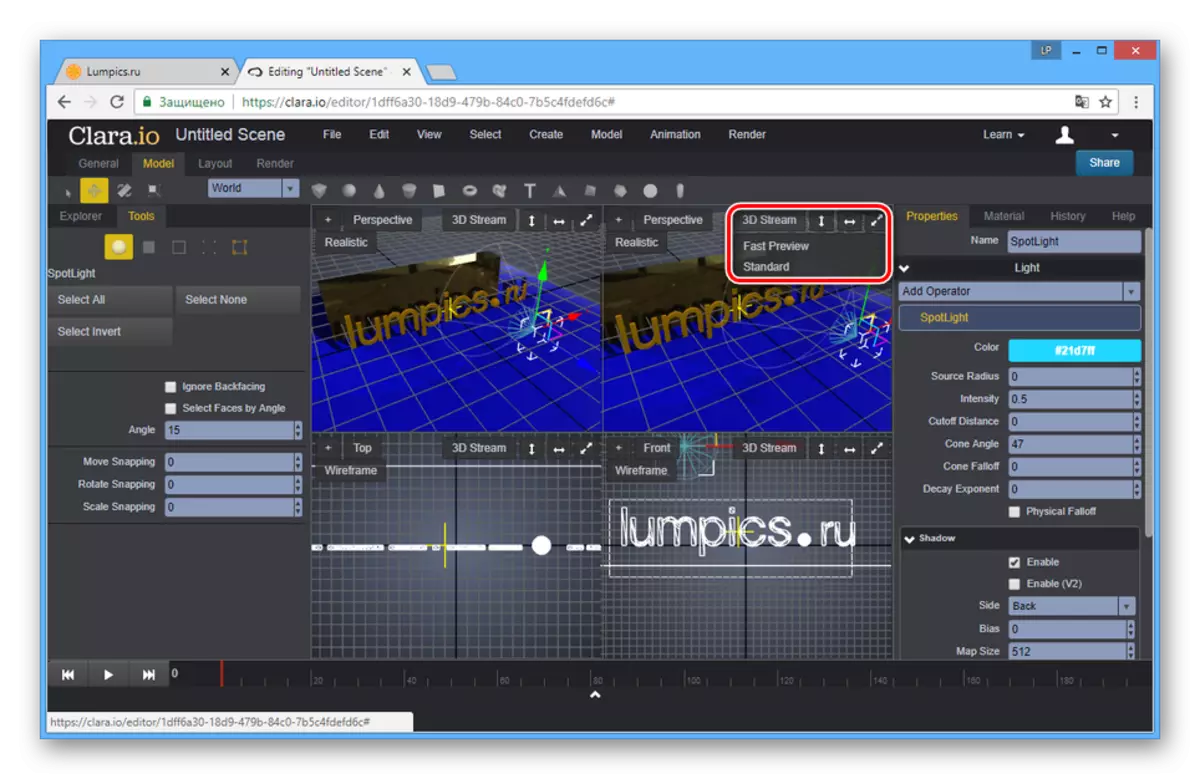
Treatment time will depend on the complexity of the scene created.
Note: During rendering, the camera is automatically added, but it can also be created manually.
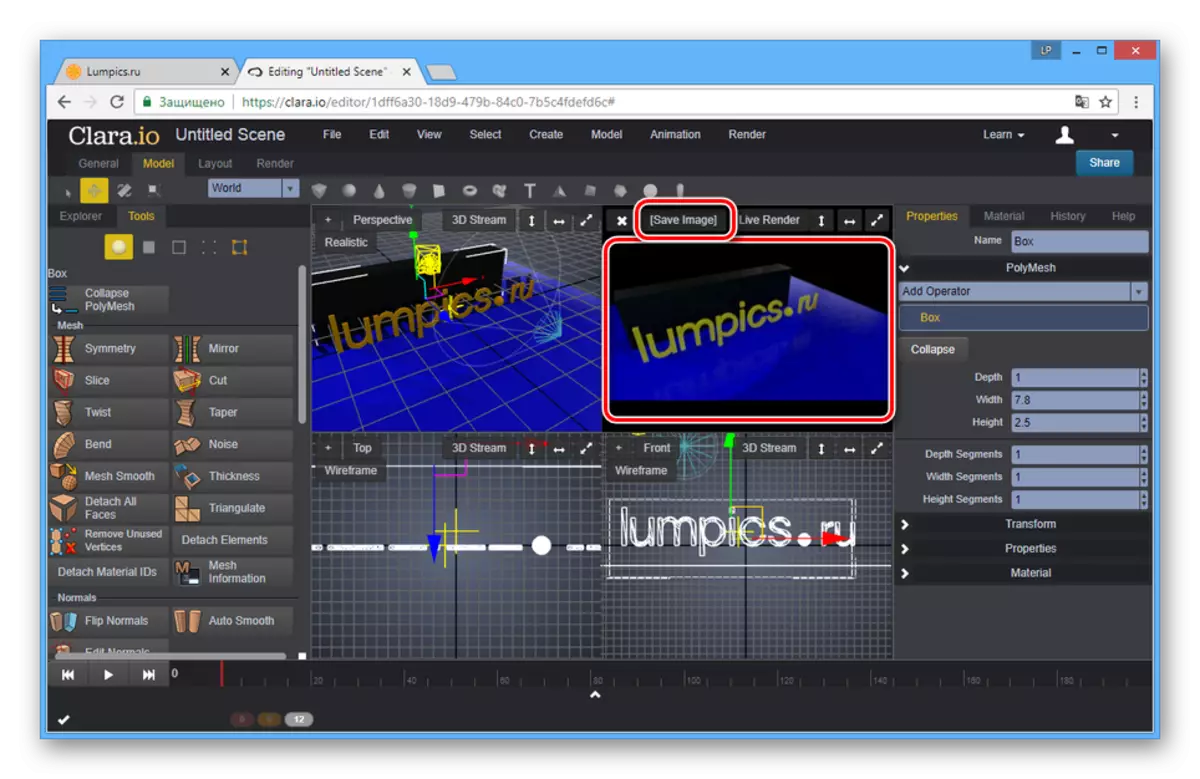
- The result of rendering can be saved as a graphic file.
Preservation
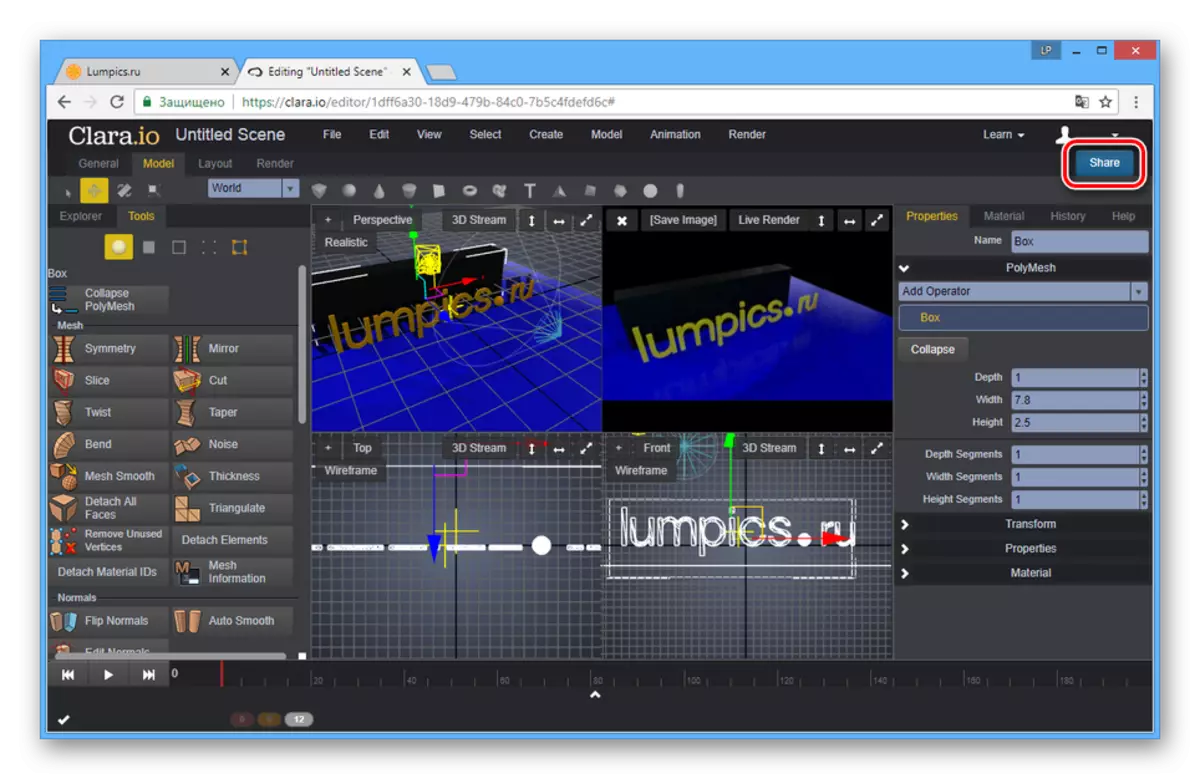
- On the right side of the editor, click the Share button to share the model.
- By providing another user link from the Link to Share line, you will allow him to view a model on a special page.
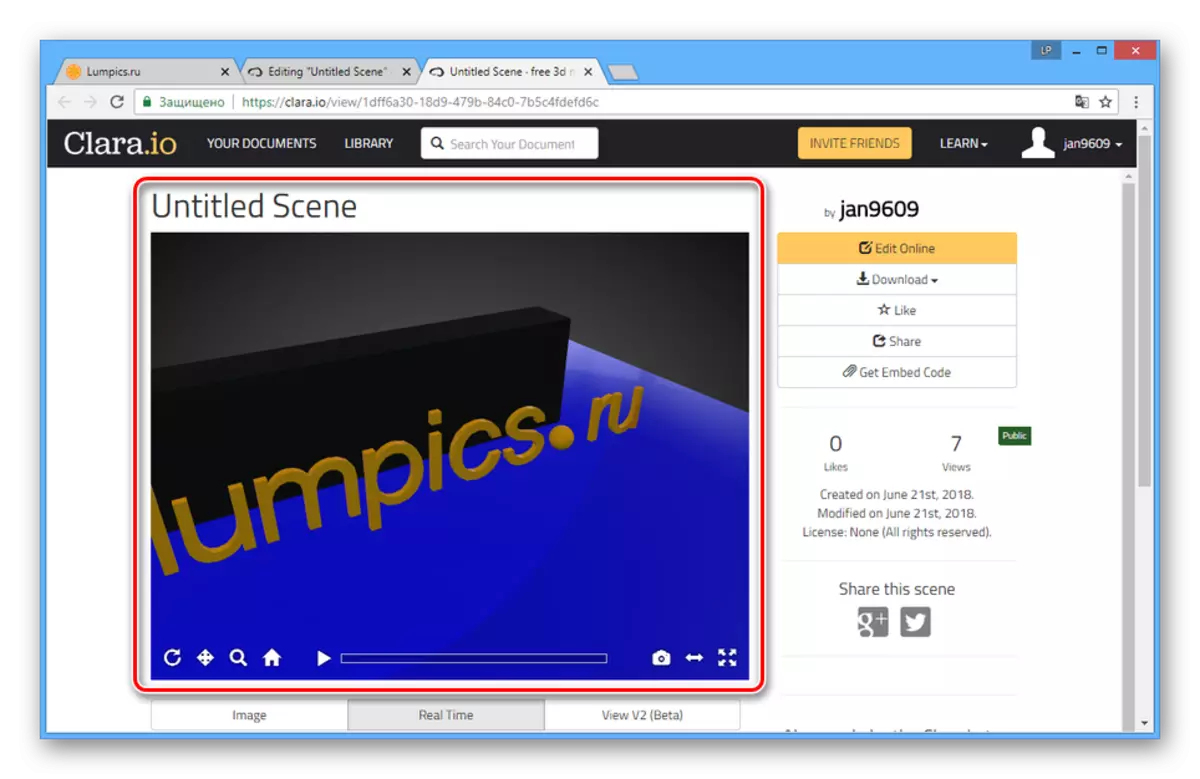
During viewing the scene will be automatic rendering.
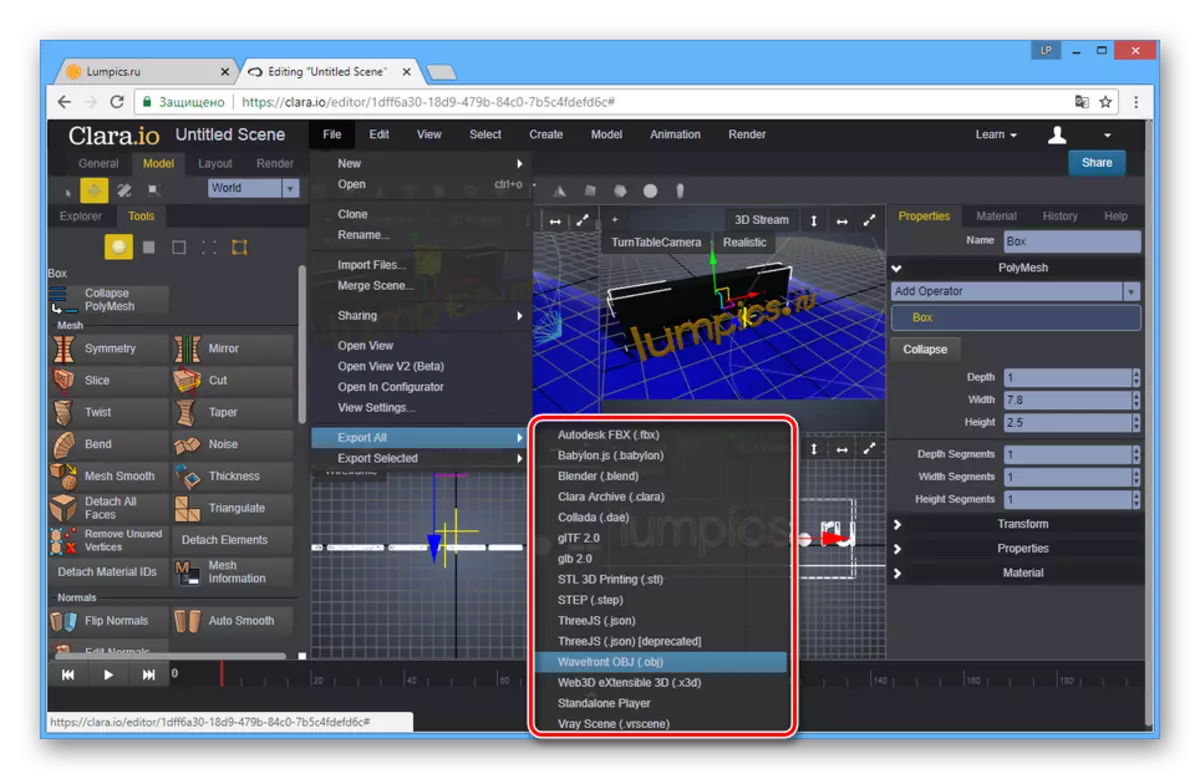
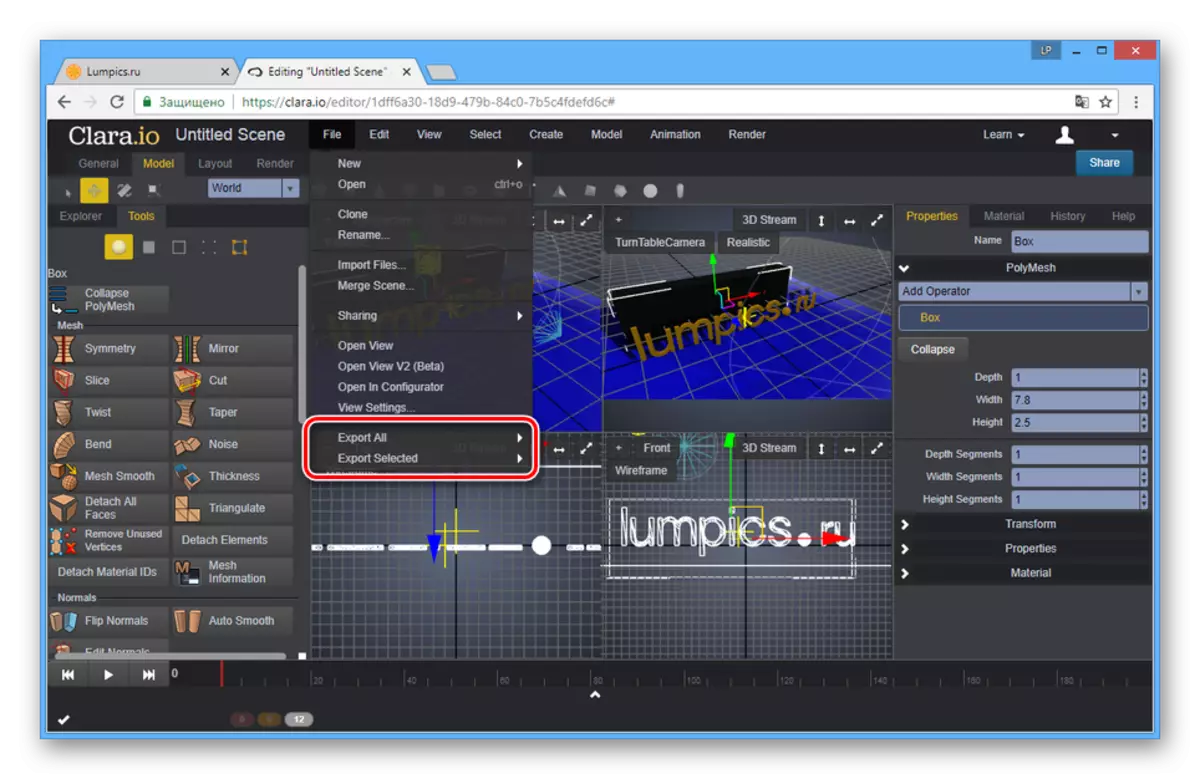
- Open the "File" menu and select one of the export options:
- "Export All" - all scene objects will be included;
- "EXPORT SELECT" - only selected models will be saved.
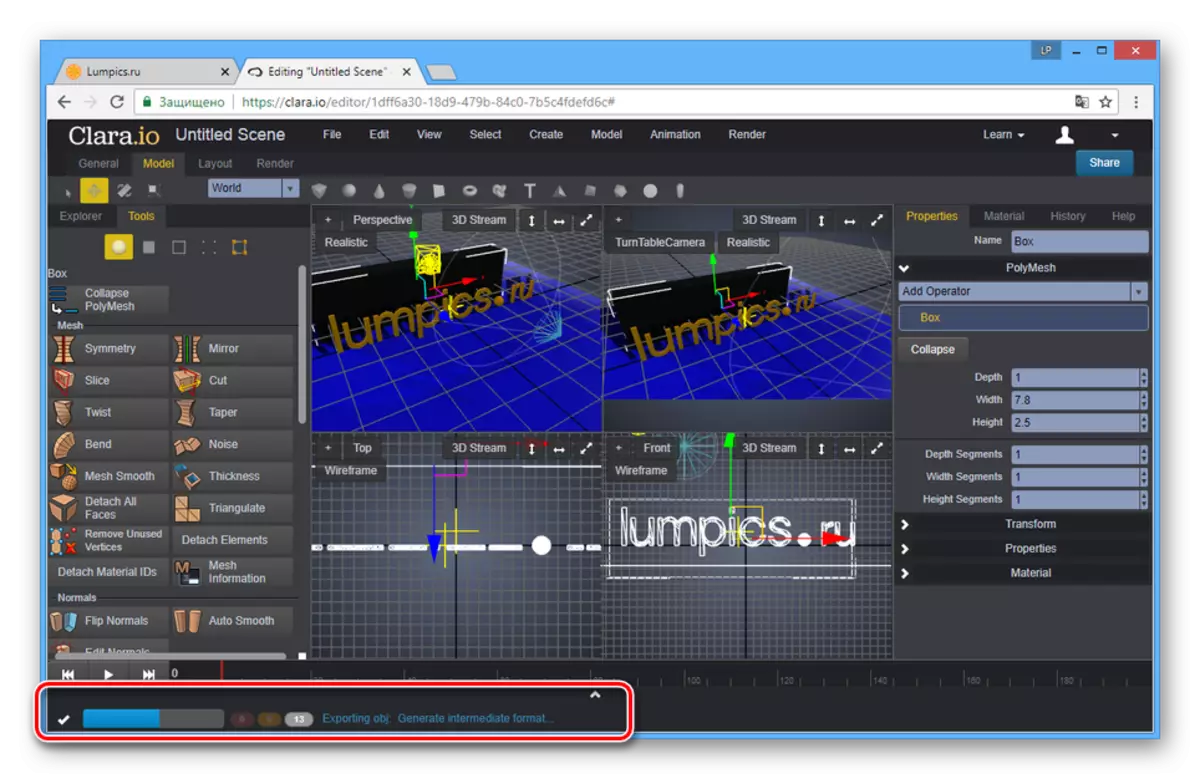
- Now you need to decide on the format in which the scene will remain on the PC.
The processing requires a time that depends on the number of objects and the complexity of rendering.
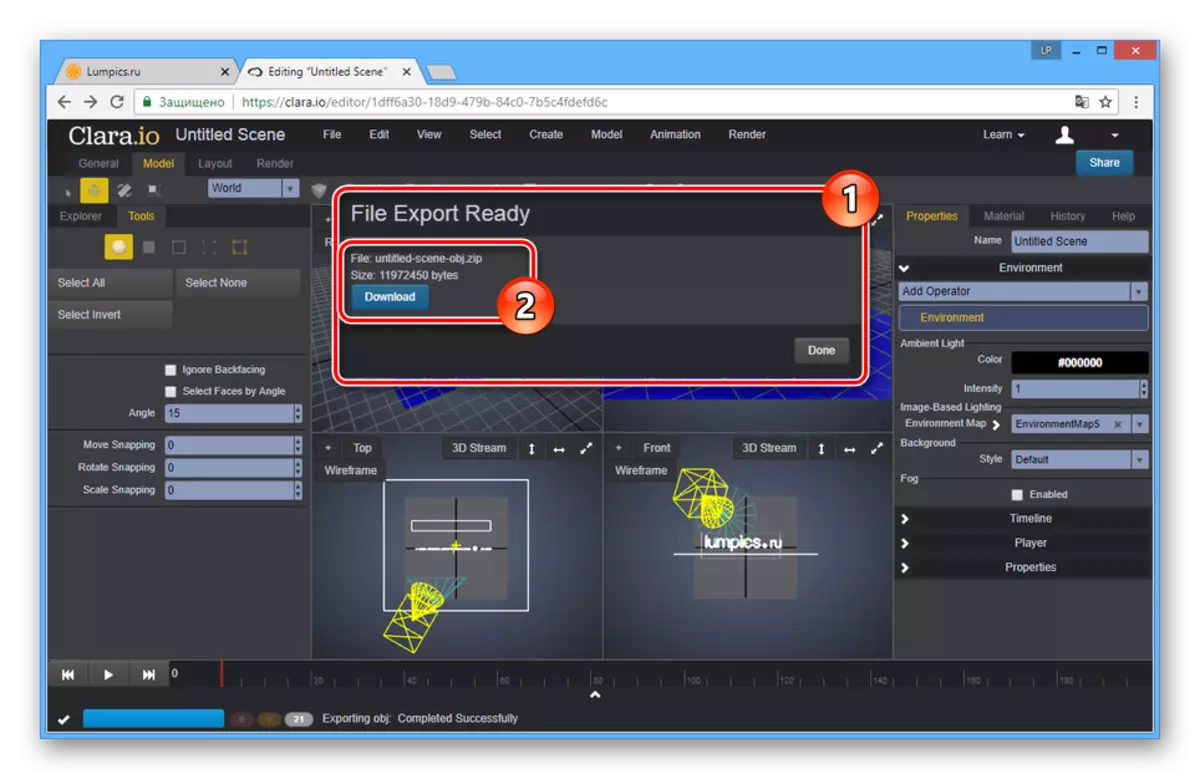
- Click the "Download" button to download the file with the model.
Thanks to the possibilities of this service, you can create models, little inferior to projects made in specialized programs.
Read also: programs for 3D modeling
Conclusion
All online services considered by us, even considering a large number of additional tools for the implementation of many projects, are somewhat inferior to the software created specifically for three-dimensional modeling. Especially if you compare with such a software as Autodesk 3DS Max or Blender.