

Skype, like any other actively developing software, is constantly updated. However, not always new versions look and work better than the previous ones. This case can be resorted to the installation of an outdated program, which we will later tell you in detail.
Installing an outdated version of Skype
To date, the developer completely discontinued support for obsolete versions of Skype by prohibiting authorization using the login and password. You can not bypass this restriction, but the method still exists.Note: It is not possible to install the old version of the Skype application downloaded from Windows Store. Because of this, problems may arise on Windows 10, where Skype is integrated by default.
Step 1: Download
You can download anyone ever version of Skype on an informal site according to the link below. All posted versions are proven and suitable for different supported platform.
Go to download page Skype
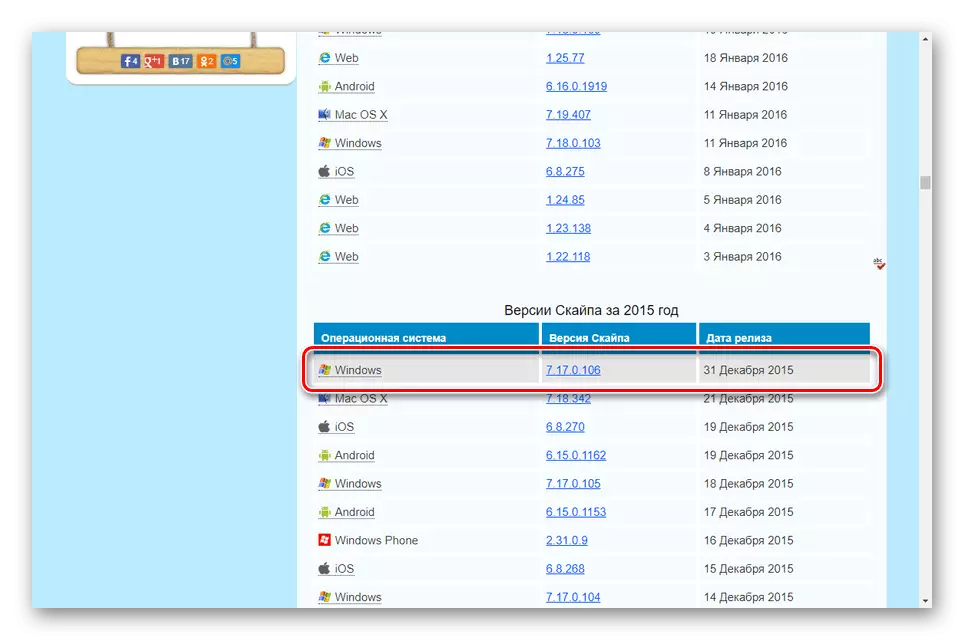
- Open the specified page and click on the link with the version you want.
- On the opened tab, find the Skype for Windows block and click the Download button.
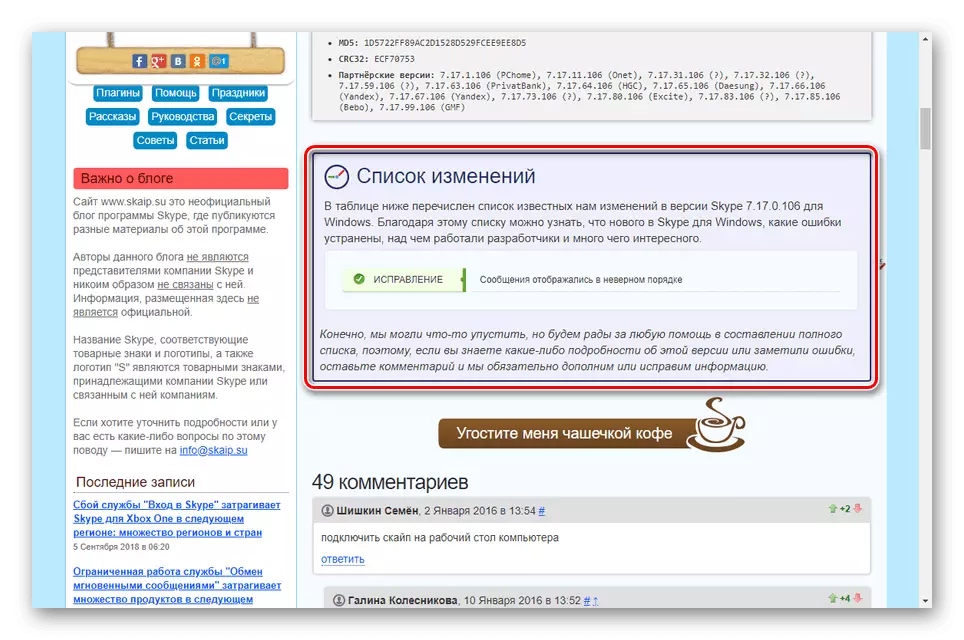
- You can also familiarize yourself with the list of changes in the selected version, for example, if necessary, access to some specific function.
Note: To avoid support problems, do not use too old software software.
- Select the location of the installation file on the computer and click the Save button. If you need to start downloading, you can use the "Click here".


This instruction is completed and one can safely switch to the next step.
Step 2: Installation
Before you start installing the program, you must additionally install the new version of Skype for Windows and perform authorization through it. Only after that it will be possible to log in to the account through the outdated version of the program.
Installing a new version
In a fairly detailed installation process or update process, we have been reviewed in a separate article on the site. You can familiarize yourself with the material according to the link below. In this case, the actions are fully identical for any OS.
Read more: How to install and update the Skype program
- Run and log in to the program using the data from the account.
- After checking the equipment, click on the checkbox icon.
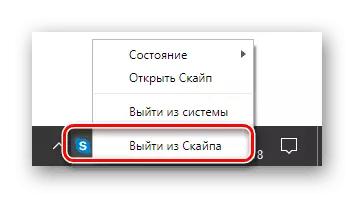
- Right-click on the Skype icon on the Windows taskbar and select "Exit Skype".


Delete new version
- Open the Control Panel window and go to the "Programs and Components" section.
Installing the best way to perform with the Internet disabled to minimize the possible installation of the latest version. Now you can enjoy the outdated version of Skype.
Step 3: Setup
To avoid possible problems with the automatic installation of a new version of Skype without your consent, you need to configure auto-update. You can do this through the appropriate section with the settings in the program itself. We have been told about this in a separate instruction on the site.
Note: Functions, somehow changed in new versions, may well do not work. For example, the possibilities of sending messages will be blocked.
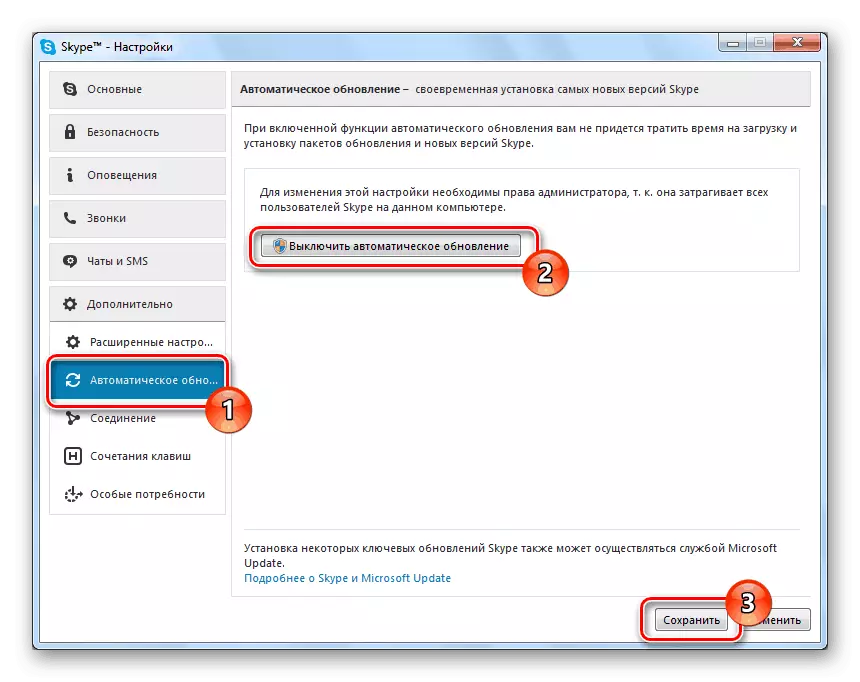
Read more: How to disable automatic update in Skype
Settings are the most important step, as Skype any default version is installed with active auto updates.
Conclusion
The actions considered by us will allow you to install and authorize in the outdated version of Skype. If you still have questions about this topic, be sure to write us about it in the comments.