
Sometimes users encounter loss or randomly deleting the necessary files. If such a situation arises, nothing remains to do, how to try to restore everything with the help of specialized utilities. They spend scanning partitions of a hard disk, find damaged or previously erased objects there and try to return them. Not always, such an operation is successful due to fragmentation or full loss of information, but it is worth trying precisely.
We restore deleted files in Ubuntu
Today we would like to talk about the available solutions for the Ubuntu operating system, which runs on the Linux kernel. That is, the treated methods are suitable for all distributions based on Ubuntu or Debian. Each utility functions in different ways, so if the first did not bring any effect, it must be tried to try the second, and we, in turn, will present the most detailed guidelines on this topic.Method 1: Testdisk
TestDisk, as the next utility, is a console tool, but not the whole process will be carried out by entering commands, some implementation of the graphical interface is still present. Let's start with the installation:
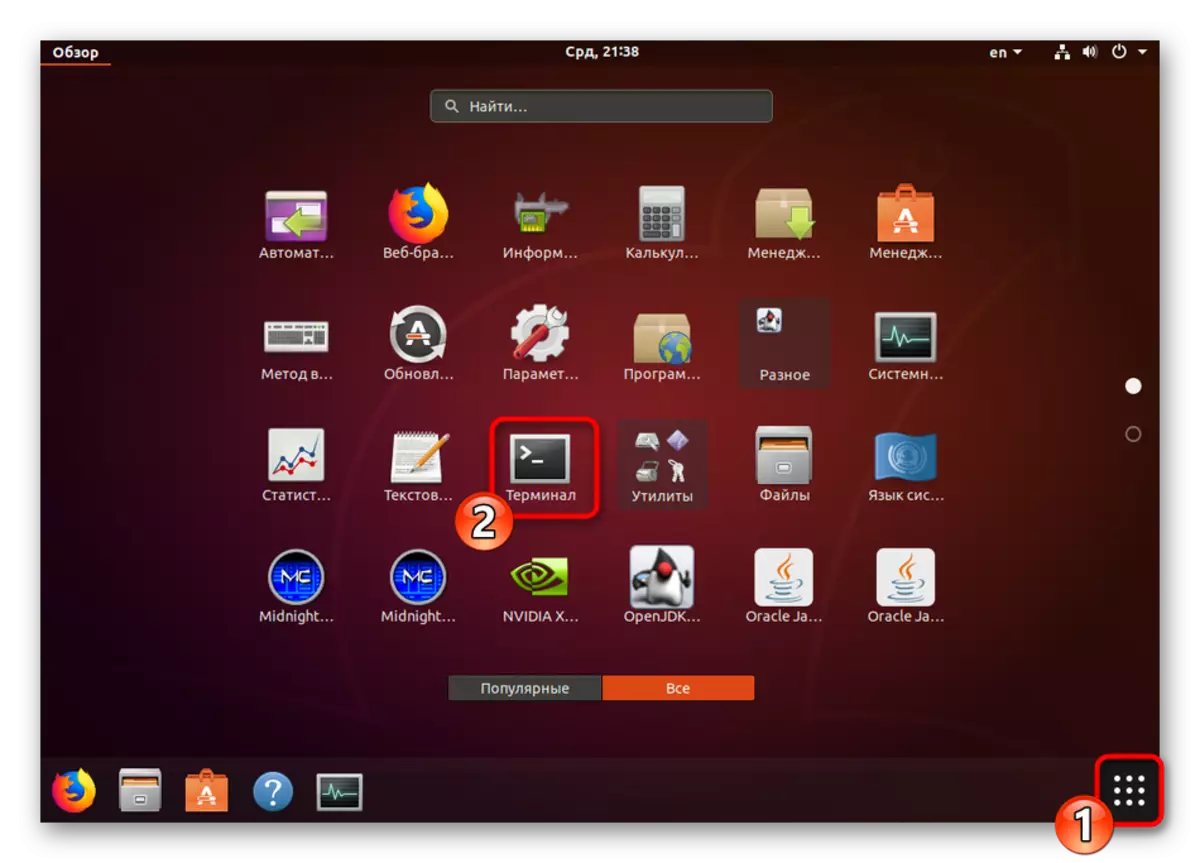
- Go to the menu and run the "Terminal". It is also possible to make it by clapping the hot key Ctrl + Alt + T.
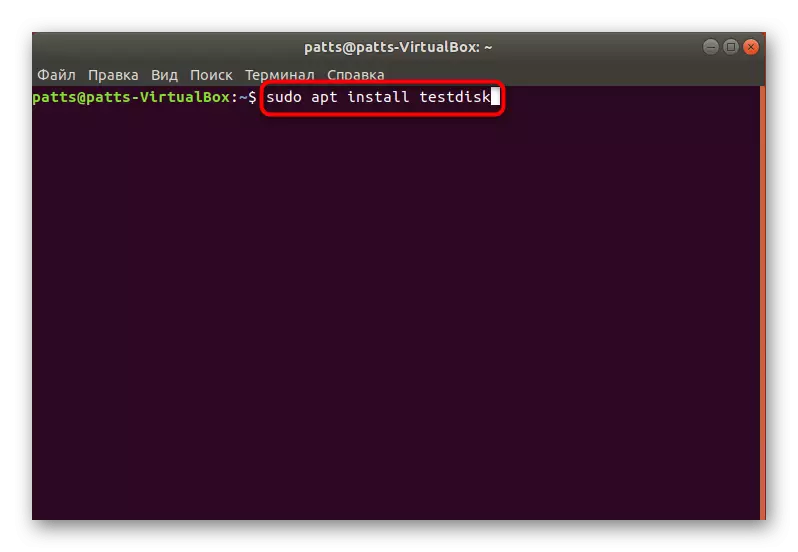
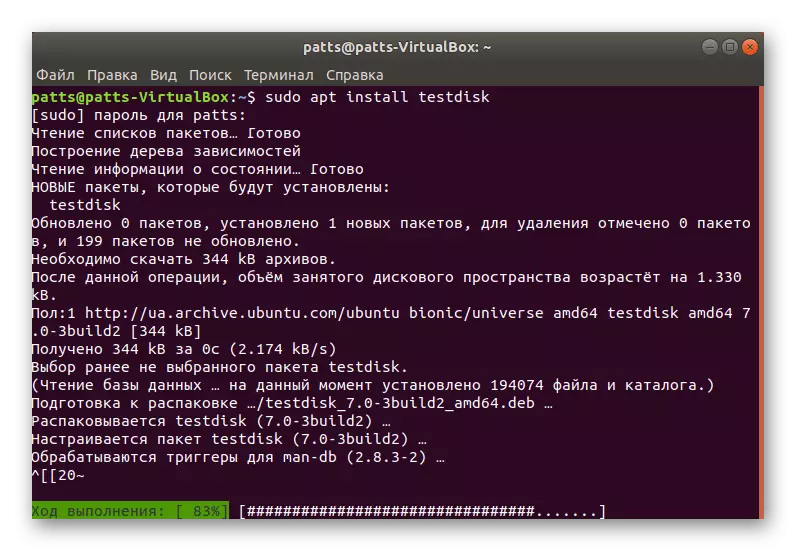
- Push the Sudo Apt Install TestDisk command to start the installation.
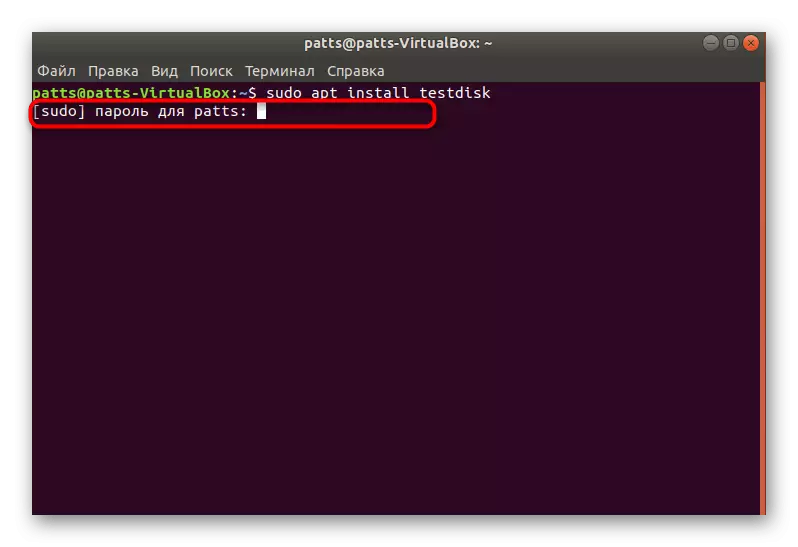
- Next, you should confirm your account by entering a password. Please note that the characters entered are not displayed.
- Learn to complete downloading and unpacking all the necessary packages.
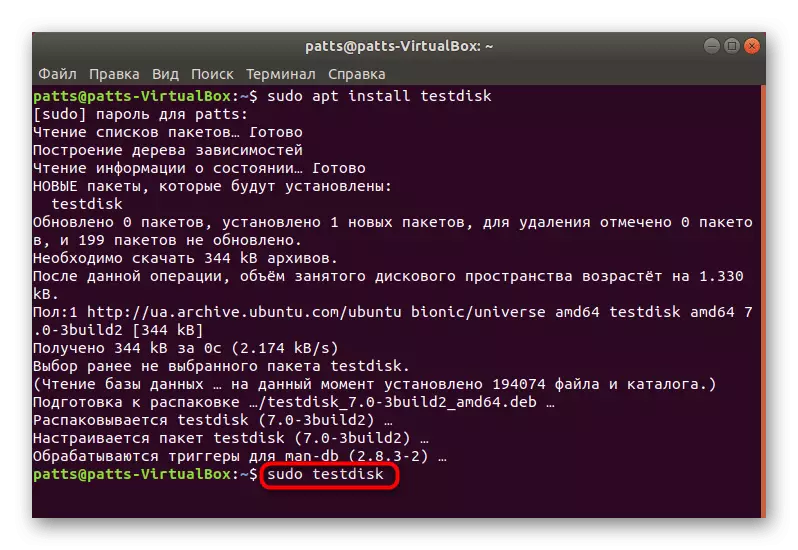
- After the new field appears, you can run the utility itself on the name of the superuser, and it is done through the Sudo Testdisk command.
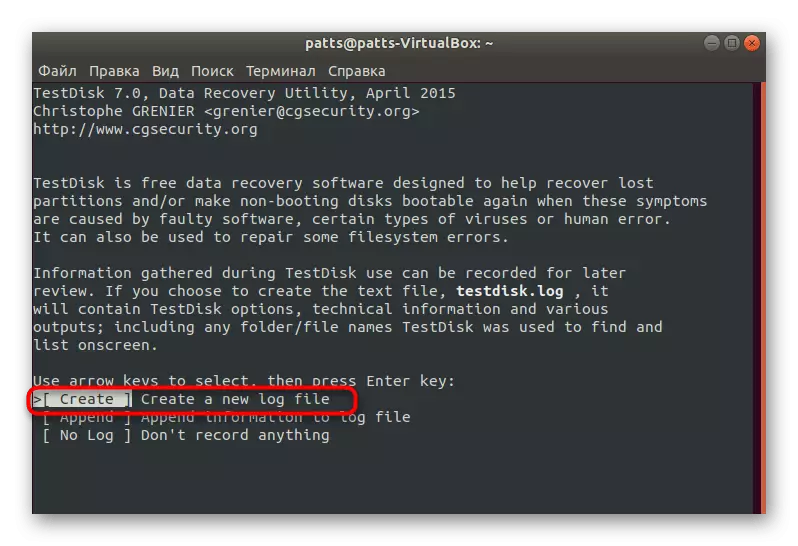
- Now you fall into some kind of simple implementation of the GUI through the console. Control is carried out by the arrows and the Enter key. Start with creating a new log file, in order to keep up to date, what actions were made at a certain point.
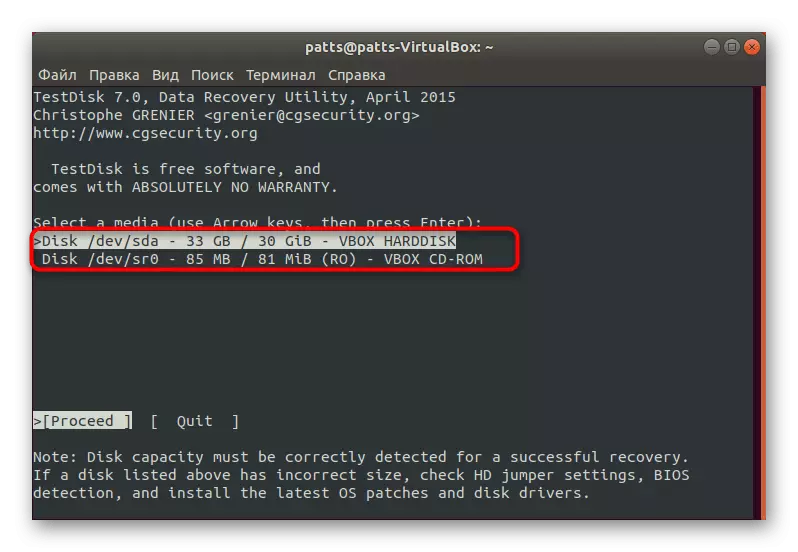
- When displaying all available disks, select the one on which the recovery of lost files will occur.
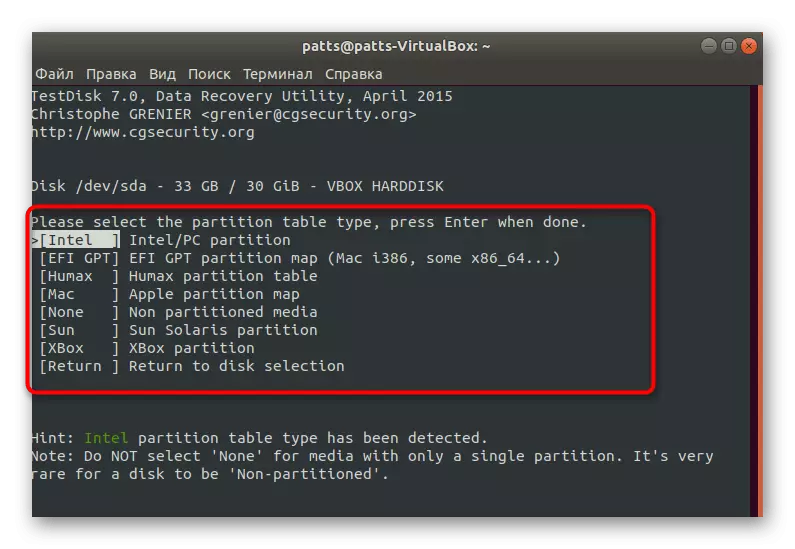
- Select the current partition table. If it is impossible to decide on the selection, read the prompts from the developer.
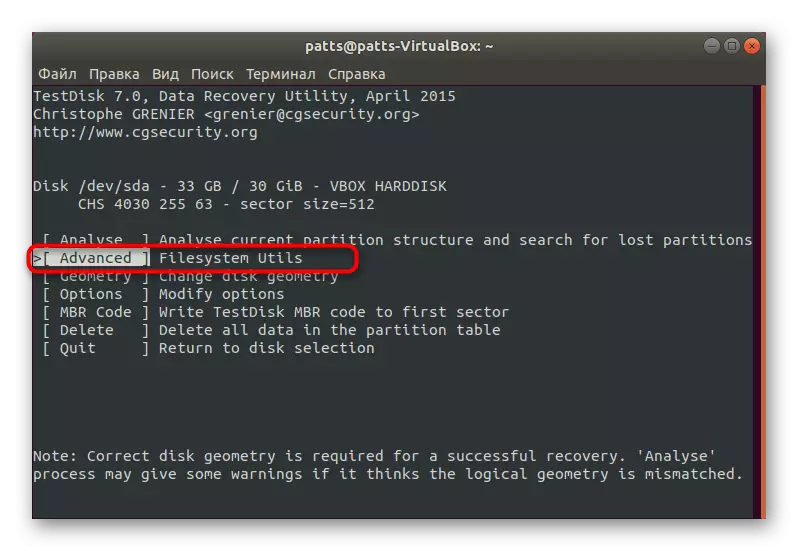
- You fall into the action menu, the return of objects occurs through the Advanced section.
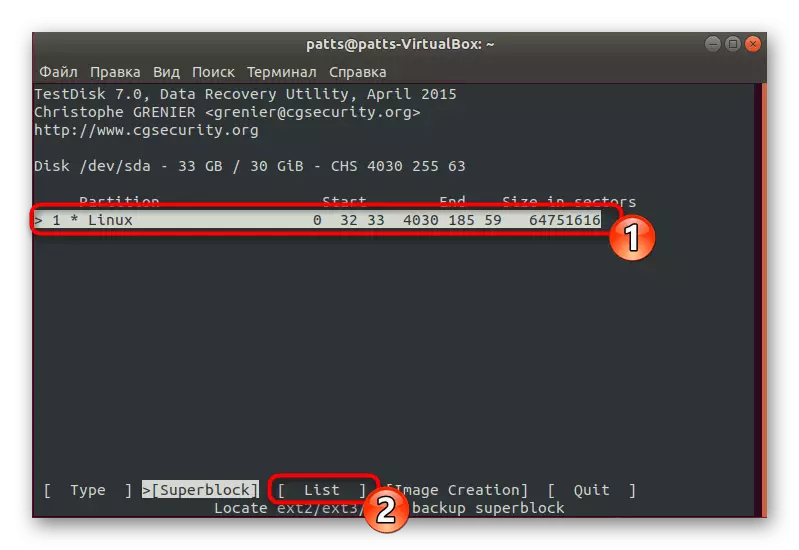
- It remains only with the up and down arrows to determine the part of interest, and with the right and left to specify the desired operation, in our case it is "List".
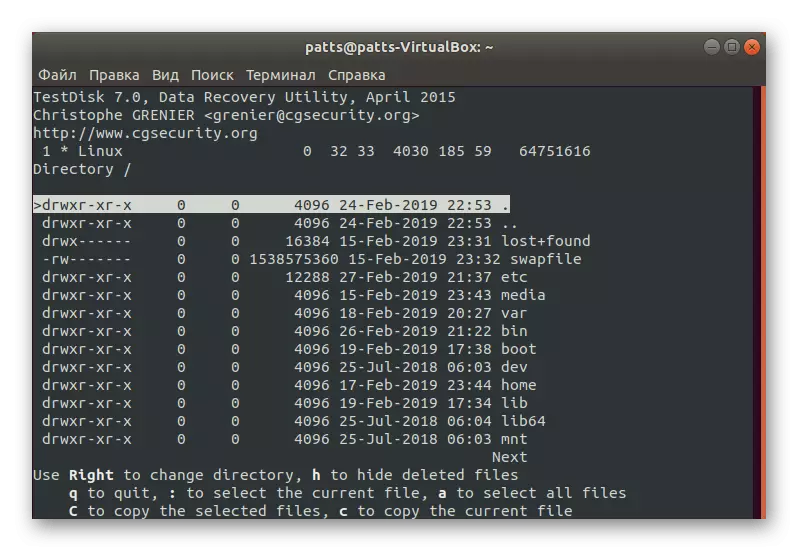
- After a short scan, a list of files on the section will appear. The string marked with red mean that the object was damaged or deleted. You will only only move the selection string to the file of interest and click on to copy it to the desired folder.
The functionality of the considered utility simply amazes, because it can restore not only files, but also entire partitions, and also interacts perfectly with NTFS file systems, FAT and with all versions of EXT. In addition, the tool does not just return the data, but also performs the correction of the errors found, which avoids further problems with the performance of the drive.
Method 2: Scalpel
For a novice user, to deal with the scalpel utility will be a bit more complicated, because here each action is activated by entering the corresponding command, but it is not worth worrying, because we will split in detail every step. As for the functionality of this program, it is not tied to any file systems and works equally well on all their types, and also supports all popular data formats.
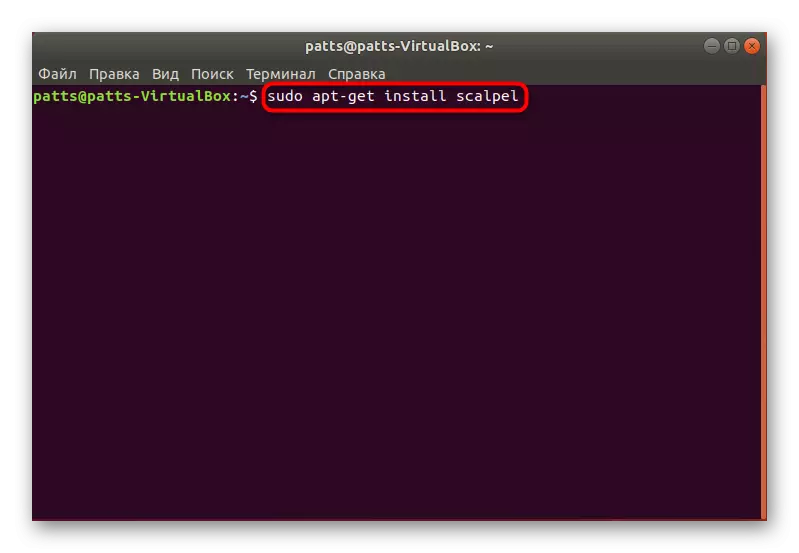
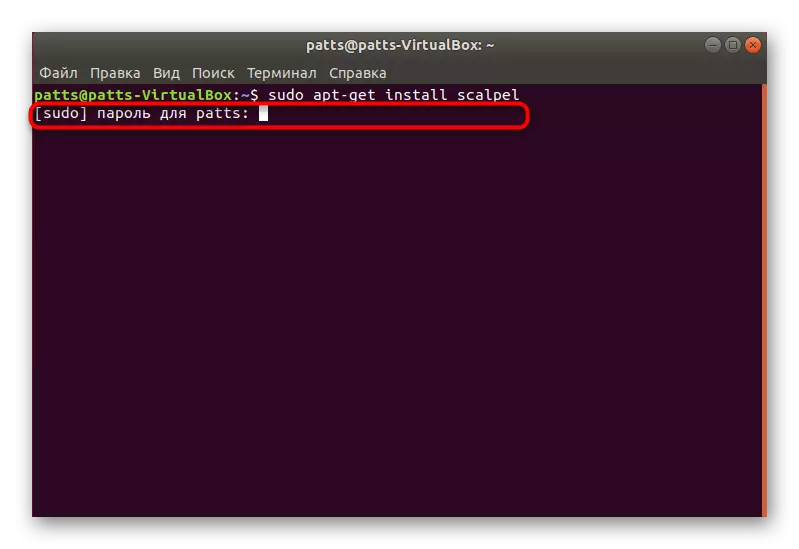
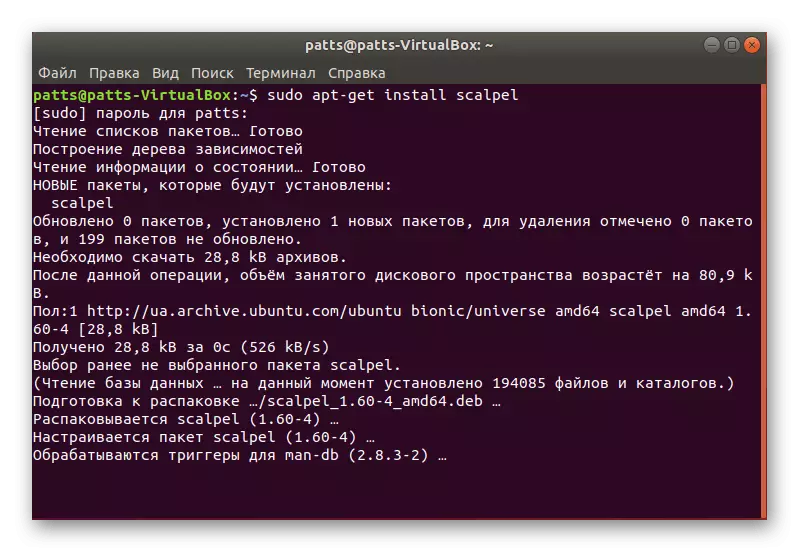
- Downloading all the necessary libraries occurs from the official repository through the sudo APT-Get Install Scalpel.
- Next, you will need to enter a password from your account.
- After that, expect the completion of the addition of new packages before the input row appears.
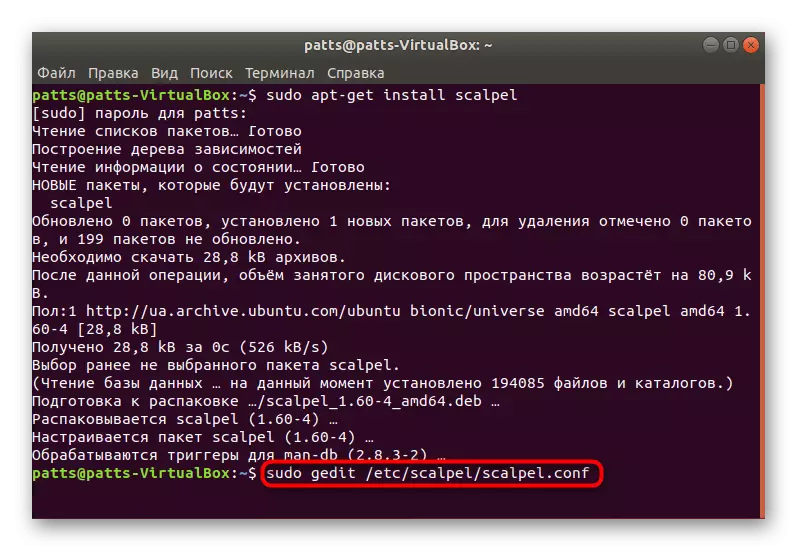
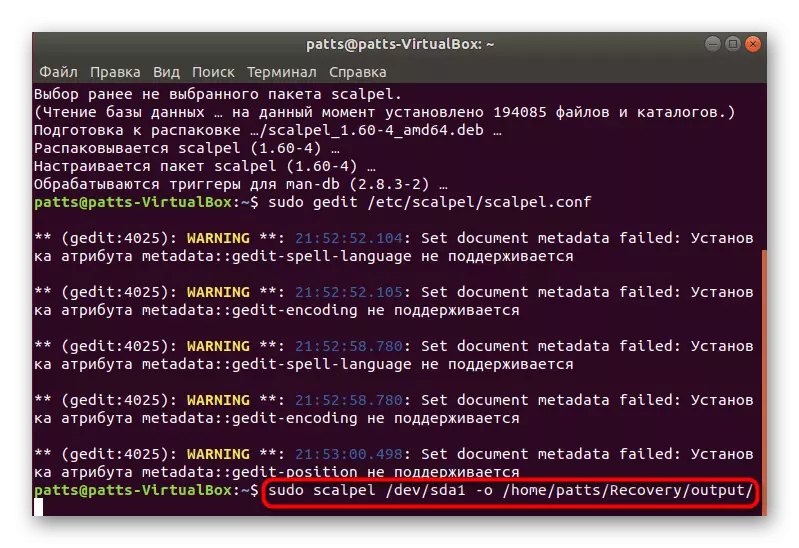
- Now you should configure the configuration file by opening it through the text editor. This string is used for this: sudo gedit /etc/scalpel/scalpel.conf.
- The fact is that by default utility does not work with file formats - they must be connected by rowing it. To do this, simply remove the lattice opposite the desired format, and upon completion of the setting, you retain changes. After executing these actions, Scalpel will normally restore the specified types. This should be done in order for scanning to occupy as little time as possible.
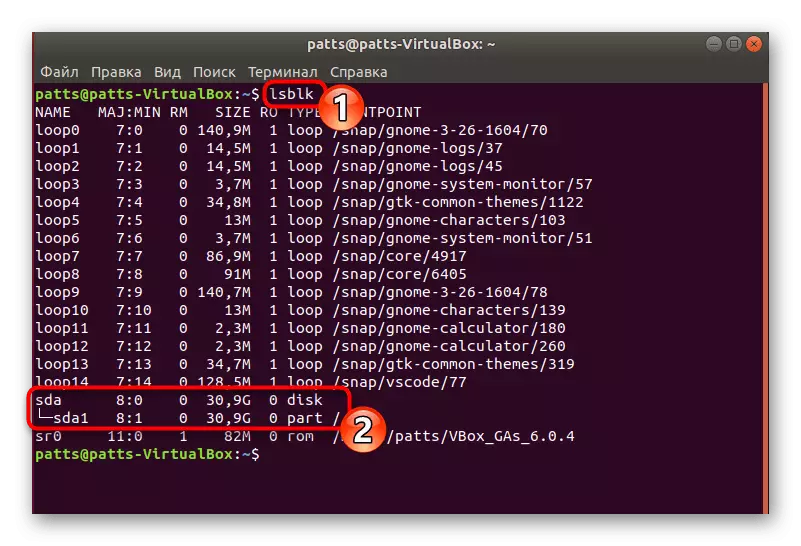
- You can only determine the partition of the hard disk where the analysis will be made. To do this, open the new "Terminal" and suck the LSBLK command. In the list, find the designation of the required drive.
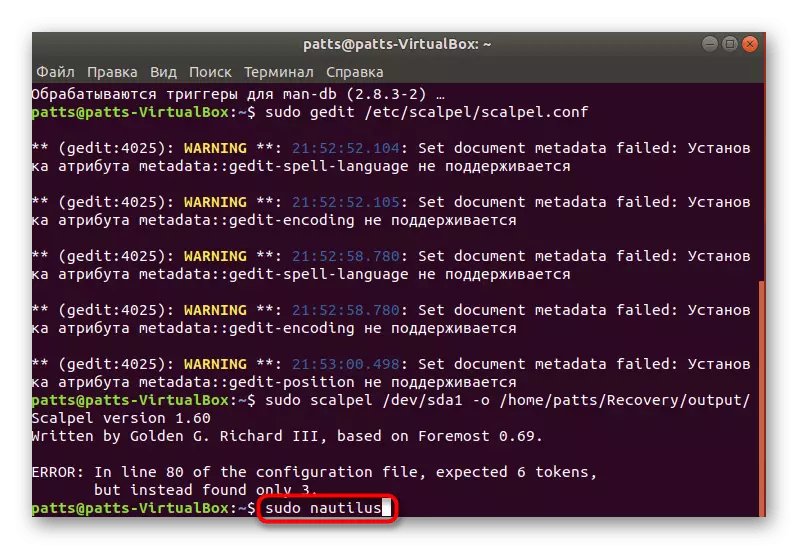
- Run the recovery through the Sudo Scalpel / Dev / SDA0 -O / HOME / user / Folder / OUTPUT / OUTPUT /, where SDA0 is the number of the desired partition, User is the name of the user folder, and Folder is the name of the new folder to which all recovered data will be placed.
- Upon completion, go to the file manager (Sudo Nautilus) and read the objects found.

As you can see, sort out the scalpel will not be a lot of work, and after familiarization with the management, the activation of actions through the teams already does not seem so difficult. Of course, none of these funds guarantees the full recovery of all lost data, but at least some of them each utility must be returned.