

To replace the background when working in the photoshop editor, it is very often resorted. Most studio photos are made on a monophonic background with shadows, and another, more expressive background is required to compile an art composition. In today's lesson, it will be told how to change the background in Photoshop CS6.
Background replacement
The background replacement in the photo occurs in several stages.
- Separation of the model from the old background;
- Transferring the cut-out model to a new background;
- Creating a realistic shadow;
- Color correction, giving the composition of completeness and realism;
Source materials
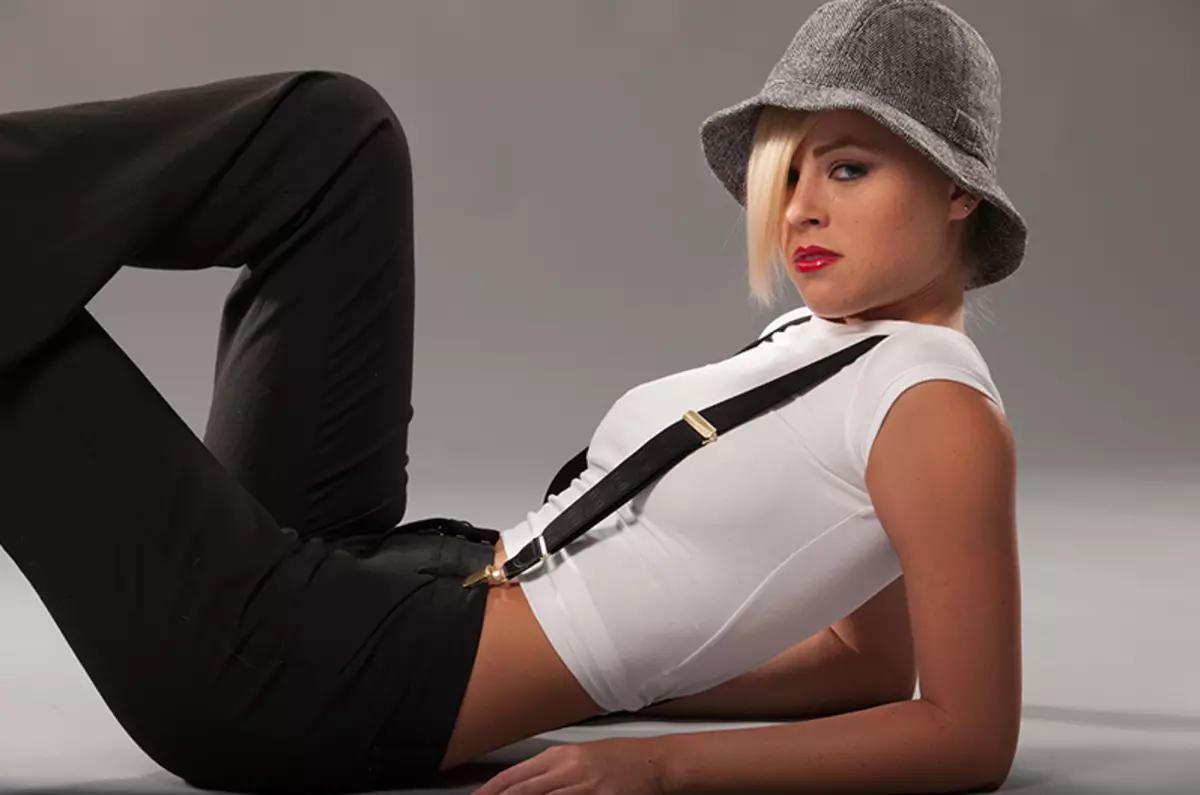
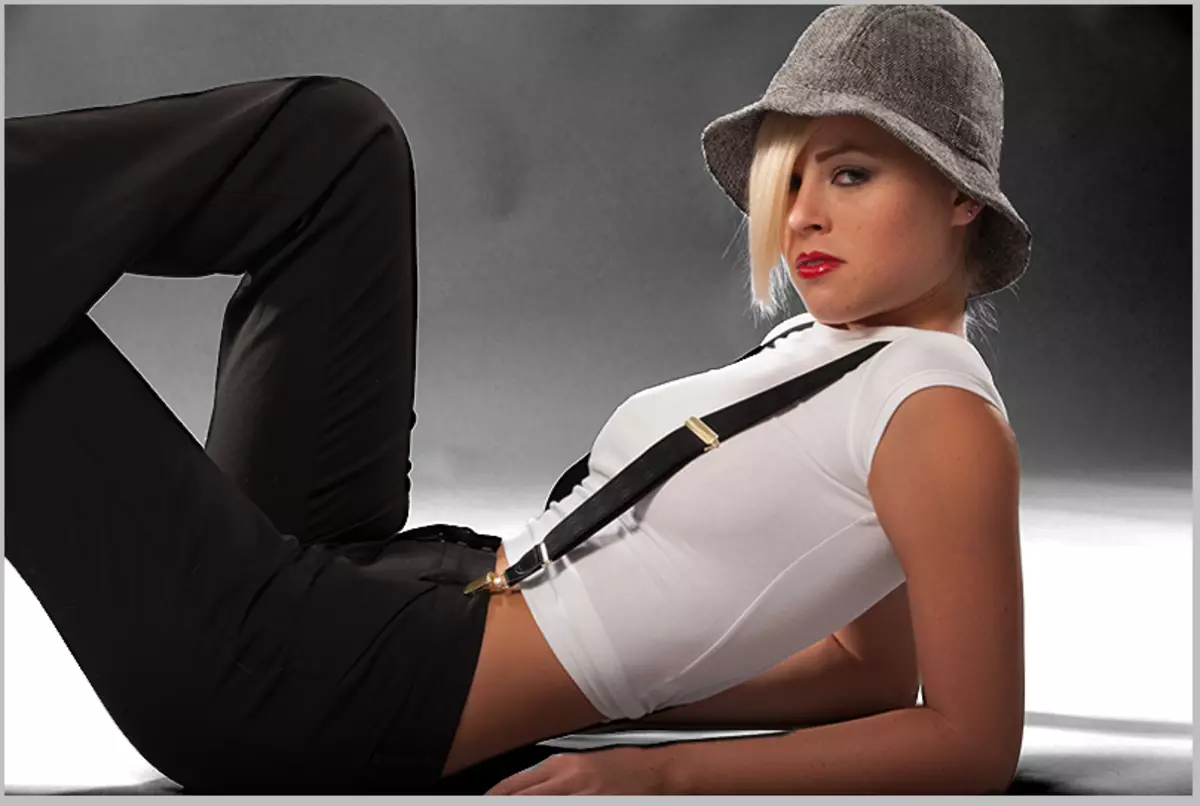
Photo:
Background:

Step 1: Department of Model from Background
First of all, it is necessary to separate the model from the old background. You can do this in different ways, but it is preferable to use the tool called Pen. Below you will find links to lessons in which all the necessary operations are described in detail.
Read more:
How to cut an object in photoshop
How to make a vector image in photoshop
We strongly recommend to explore these materials, because without these skills you cannot work effectively in Photoshop. So, after reading articles and short training sections, we separated the model from the background:
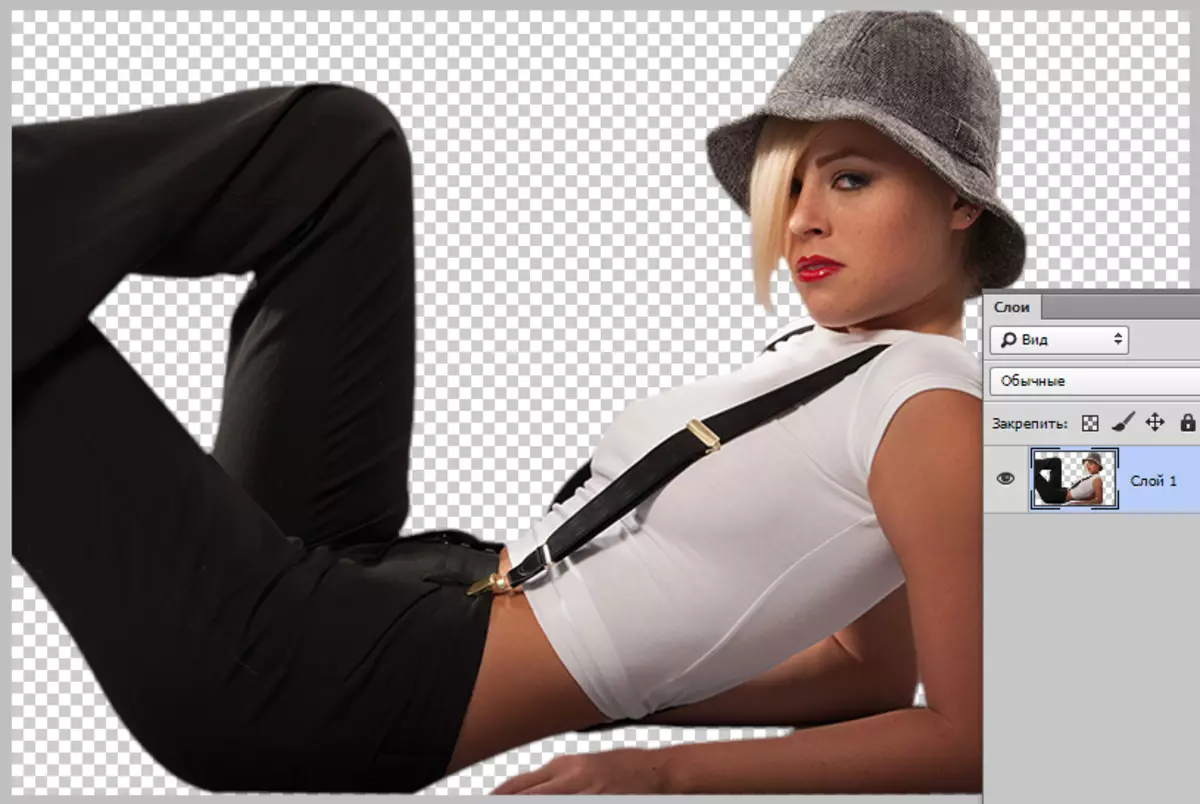
Now it is necessary to transfer it to a new background.
Step 2: Model transfer to new background
To transfer the image to the new background in two ways.
The first and easiest - drag the background to the document with the model, and then place it under the layer with the cut image. If the background is larger or less canvas, it is necessary to adjust its dimensions with Free transformation (Ctrl + T.).
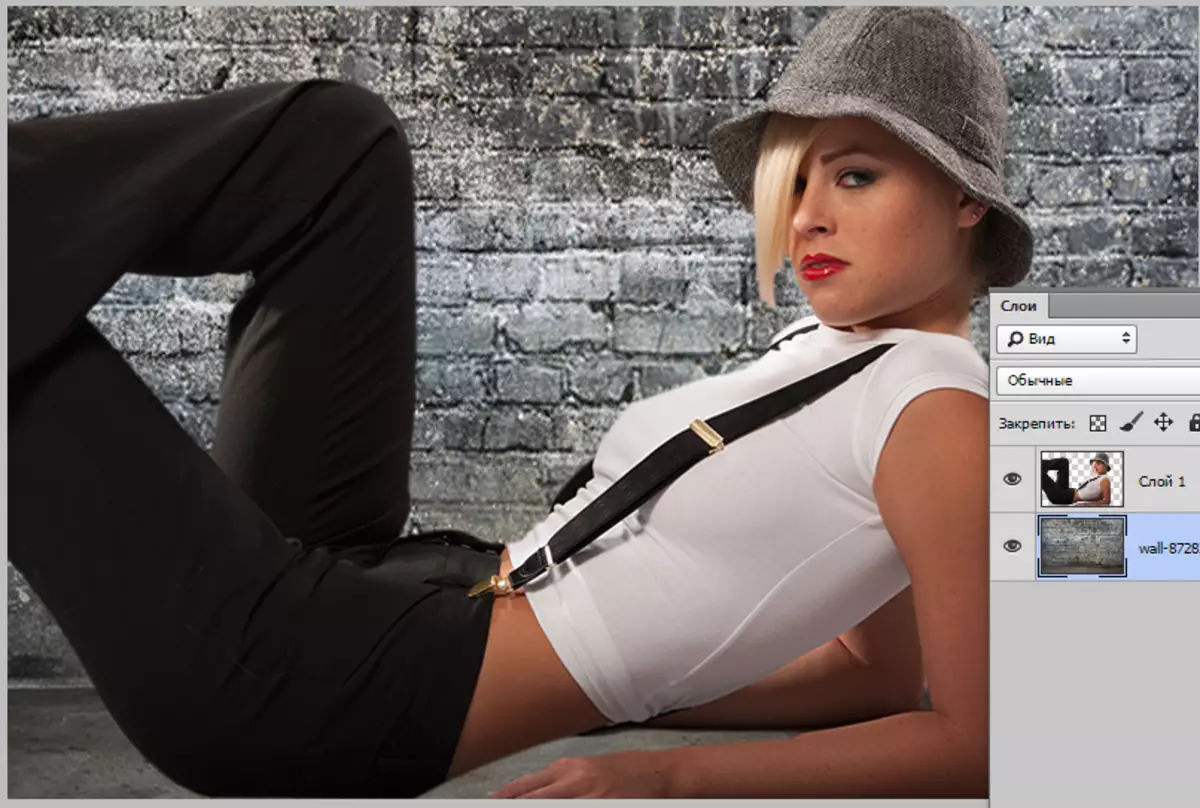
The second way is suitable if you have already opened an image with a background to, for example, edit. In this case, you must drag the layer with the cut-cut model to the document tab with the background. After a short expectation, the document will open, and the layer can be placed on the canvas. All this time, the mouse button must be kept squeezed.

Dimensions and position are also customized with Free transformation (Ctrl + T) with a pinch key Shift. To preserve proportions.
The first method is preferable, as the quality can suffer when resizing. The background we will wash and subject to another processing, so a minor deterioration of its quality will not affect the final result.
Step 3: Creating a shade from the model
When placing a model on a new background, it seems to "hang" in the air. For realistic picture, you need to create a shadow from the model on our improvised floor.
- We need a source picture. It must be dragged to our document and place under a layer with a cut-out model.
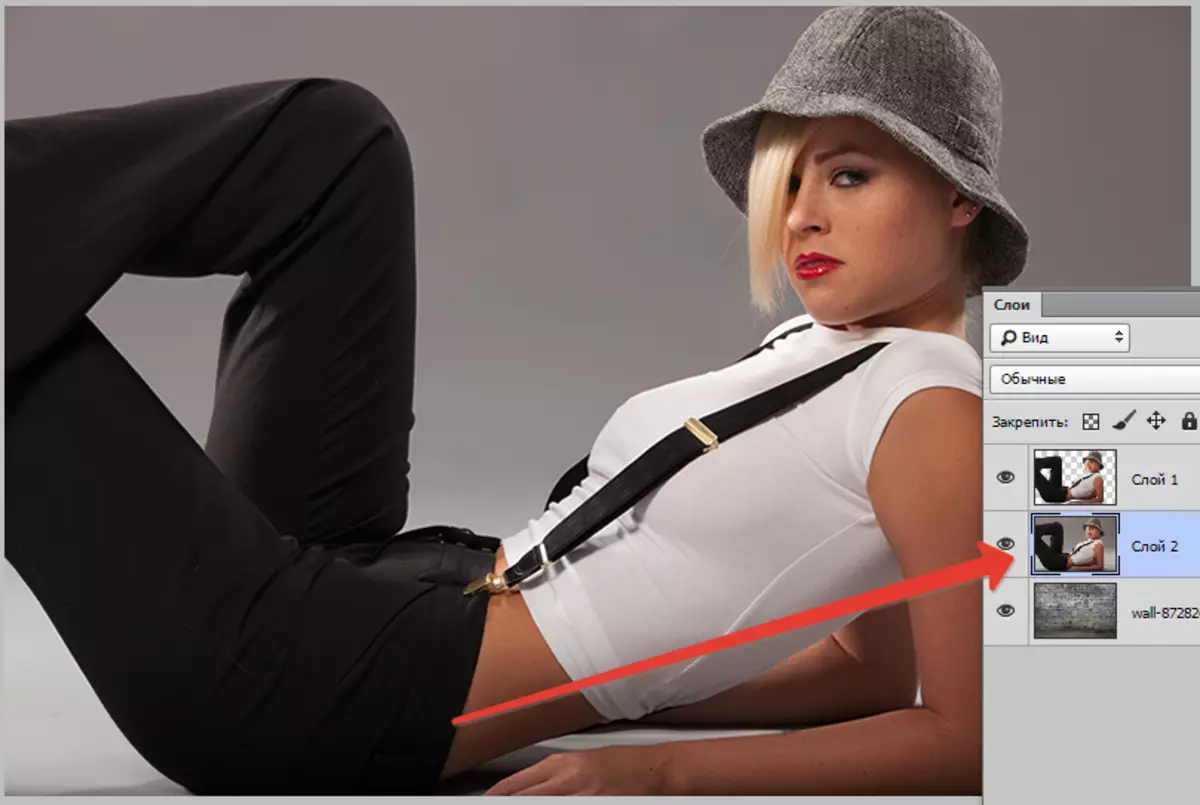
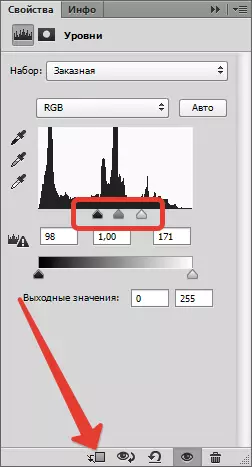
- Then the layer must be discouraged by a combination of keys. Ctrl + SHIFT + U , then apply the correction layer "Levels".

- In the adjustment layer settings, pull up the extreme sliders to the center, and the average regulating the severity of the shadow. In order for the effect only to a layer with a model, activate the button that is listed in the screenshot.
It should be about this result:
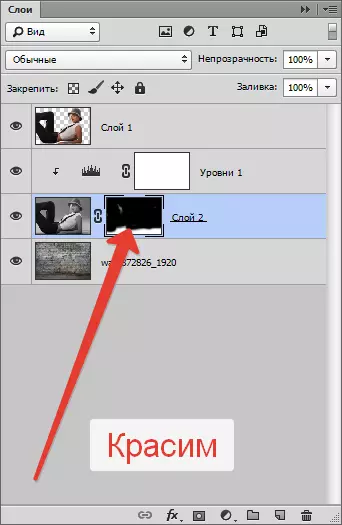
- Go to the layer with the model (which was discolored) and create a mask.

- Then choose the brush tool.

Configure it like this: Soft Round,
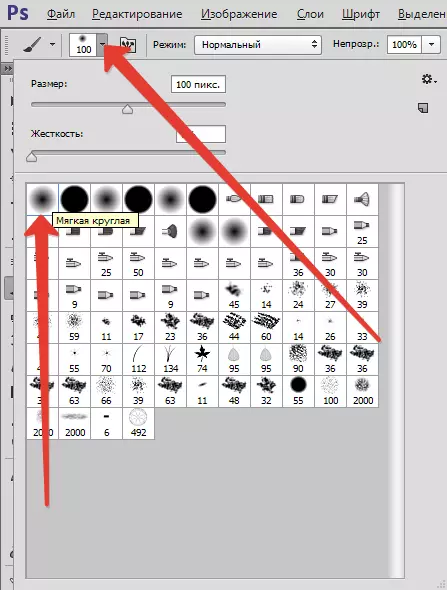
black color.
- Thus configured by a brush, being on the mask, paint (delete) a black area at the top of the image. Actually, we need to erase everything, except for the shade, so we go through the contour of the model.
Some white sites will remain, because they will be problematic to remove, but this we will fix the next action.

- Now change the overlay mode for the layer with the mask on "Multiplication" . This action will remove only white color.
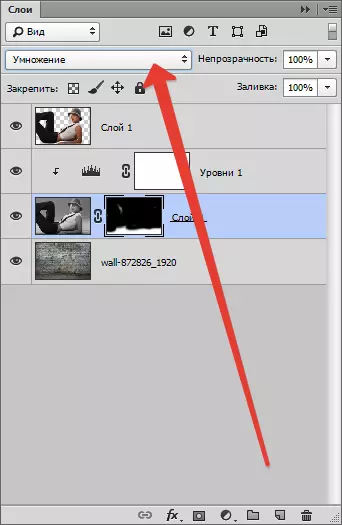
Result:
Step 4: Finishing Strokes
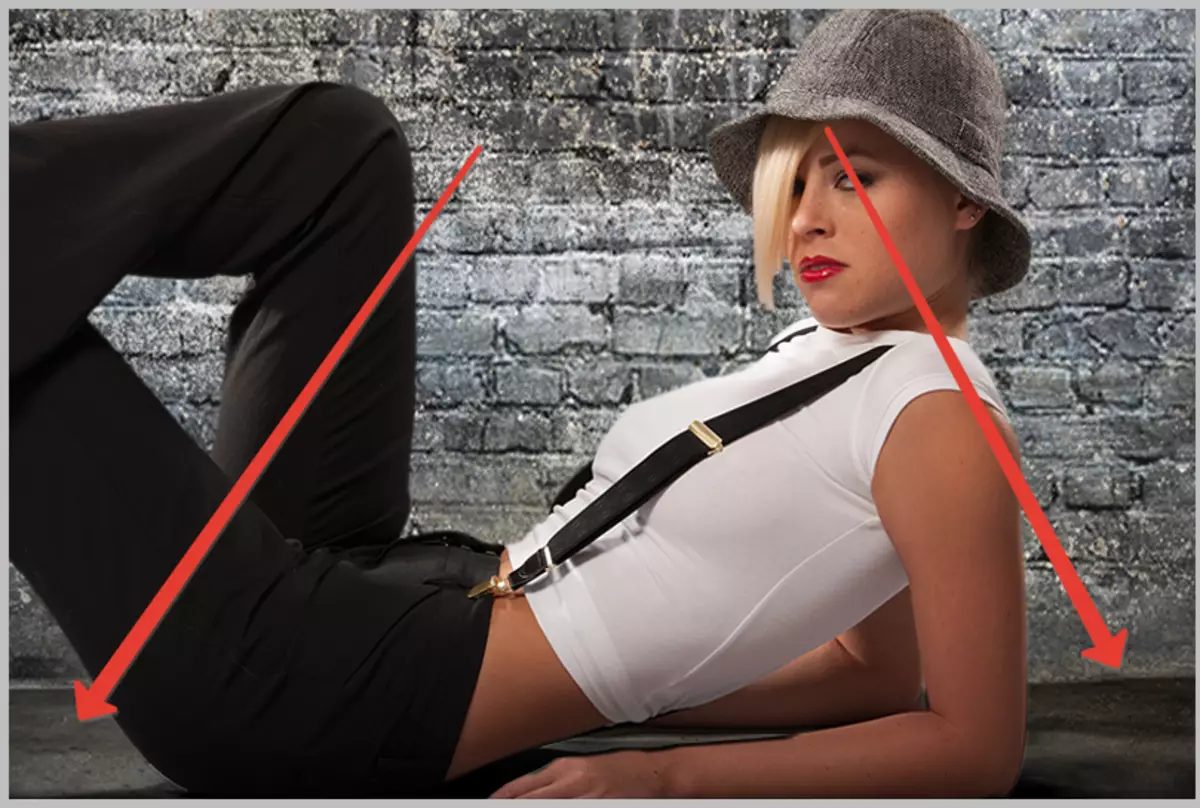
Let's take a look at our composition. First, we see that the model is clearly rushing in terms of chroma than the background.
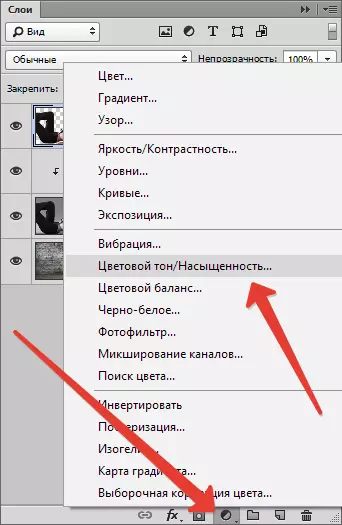
- We turn to the top layer and create a correction layer "Color tone / saturation".
- Slightly reduce the saturation of the layer with the model. Do not forget to activate the binding button.

Result:

Secondly, the background is too bright and contrast, which distracts the viewer's view from the model.
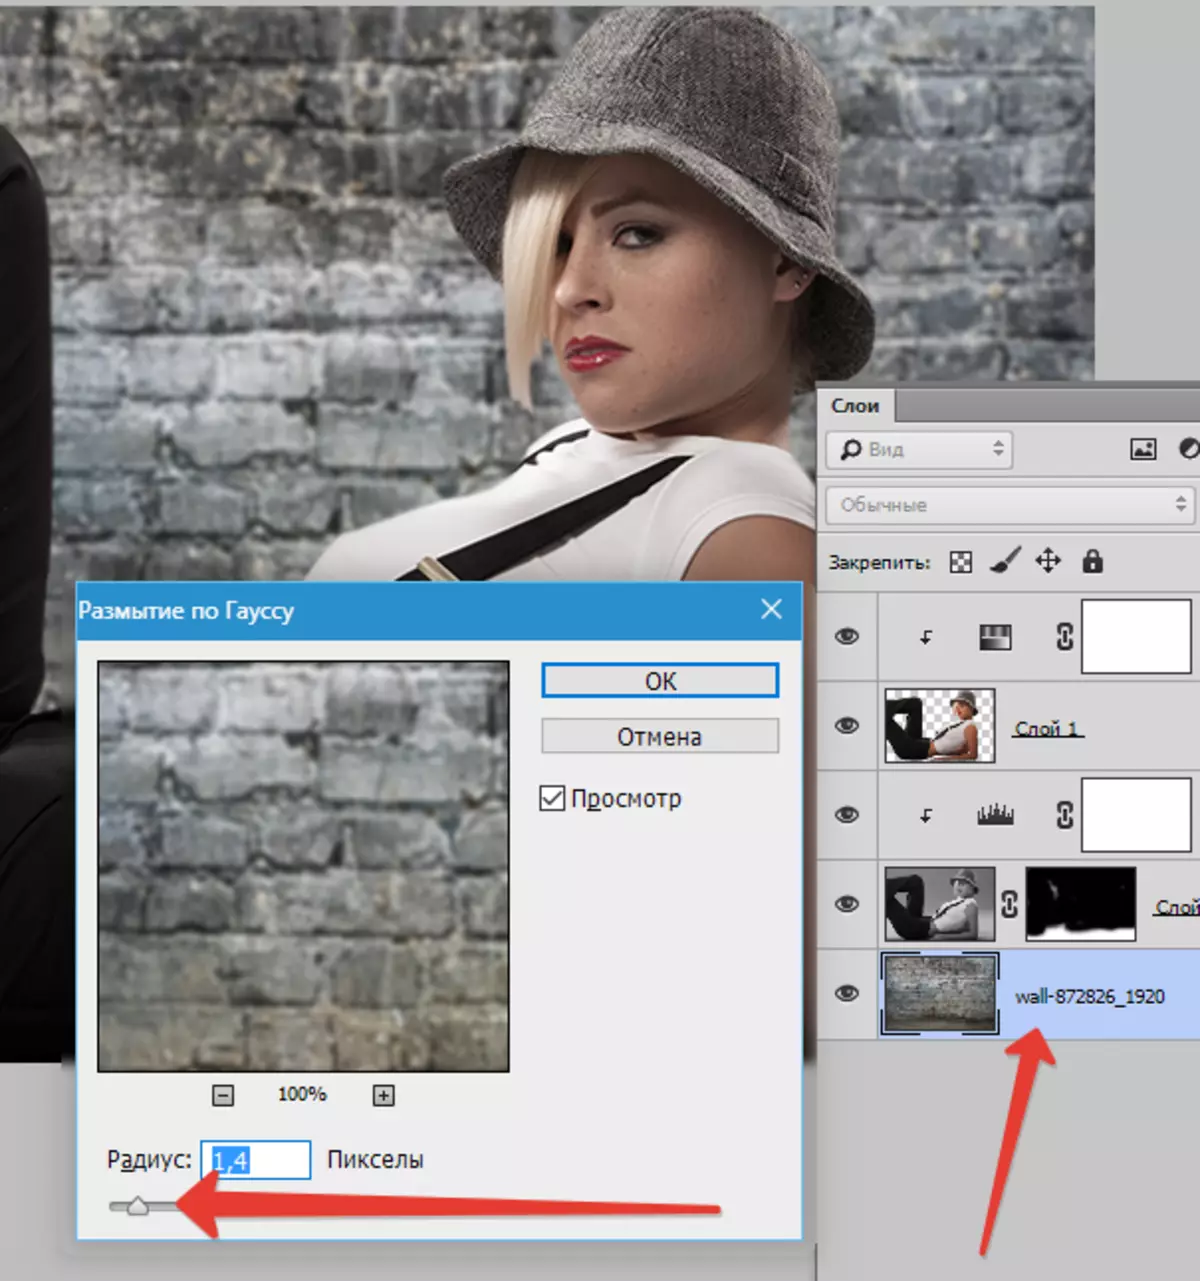
- Moving on the layer with the background and apply the filter "Gaussian blur" Thereby blurring it a little.
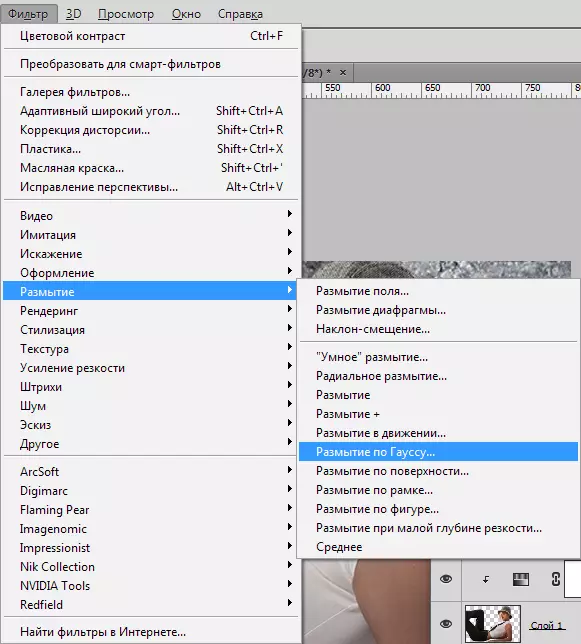
Filter settings:
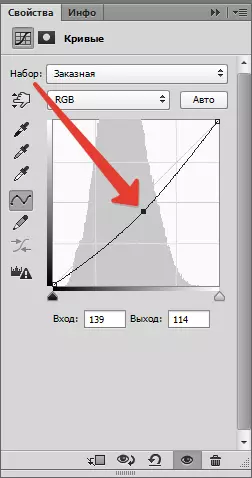
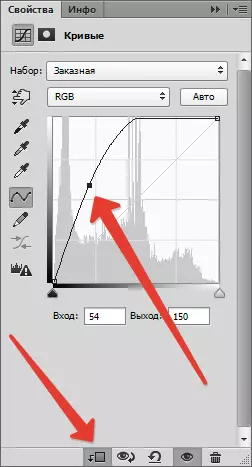
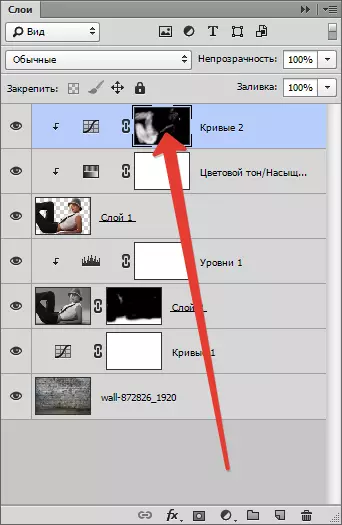
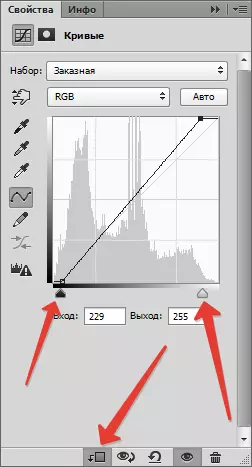
- Then apply the correction layer "Curves".
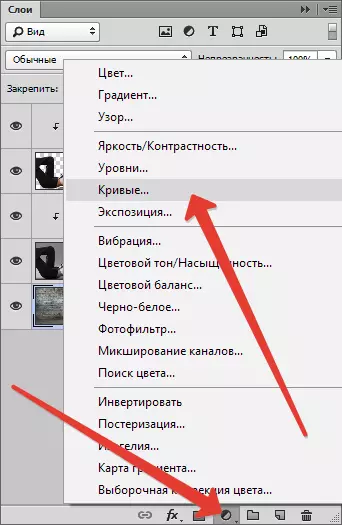
Make a background in Photoshop can be darker, by arming the curve down.
Thirdly, the model's pants are too shaded, which deprives them of the details.
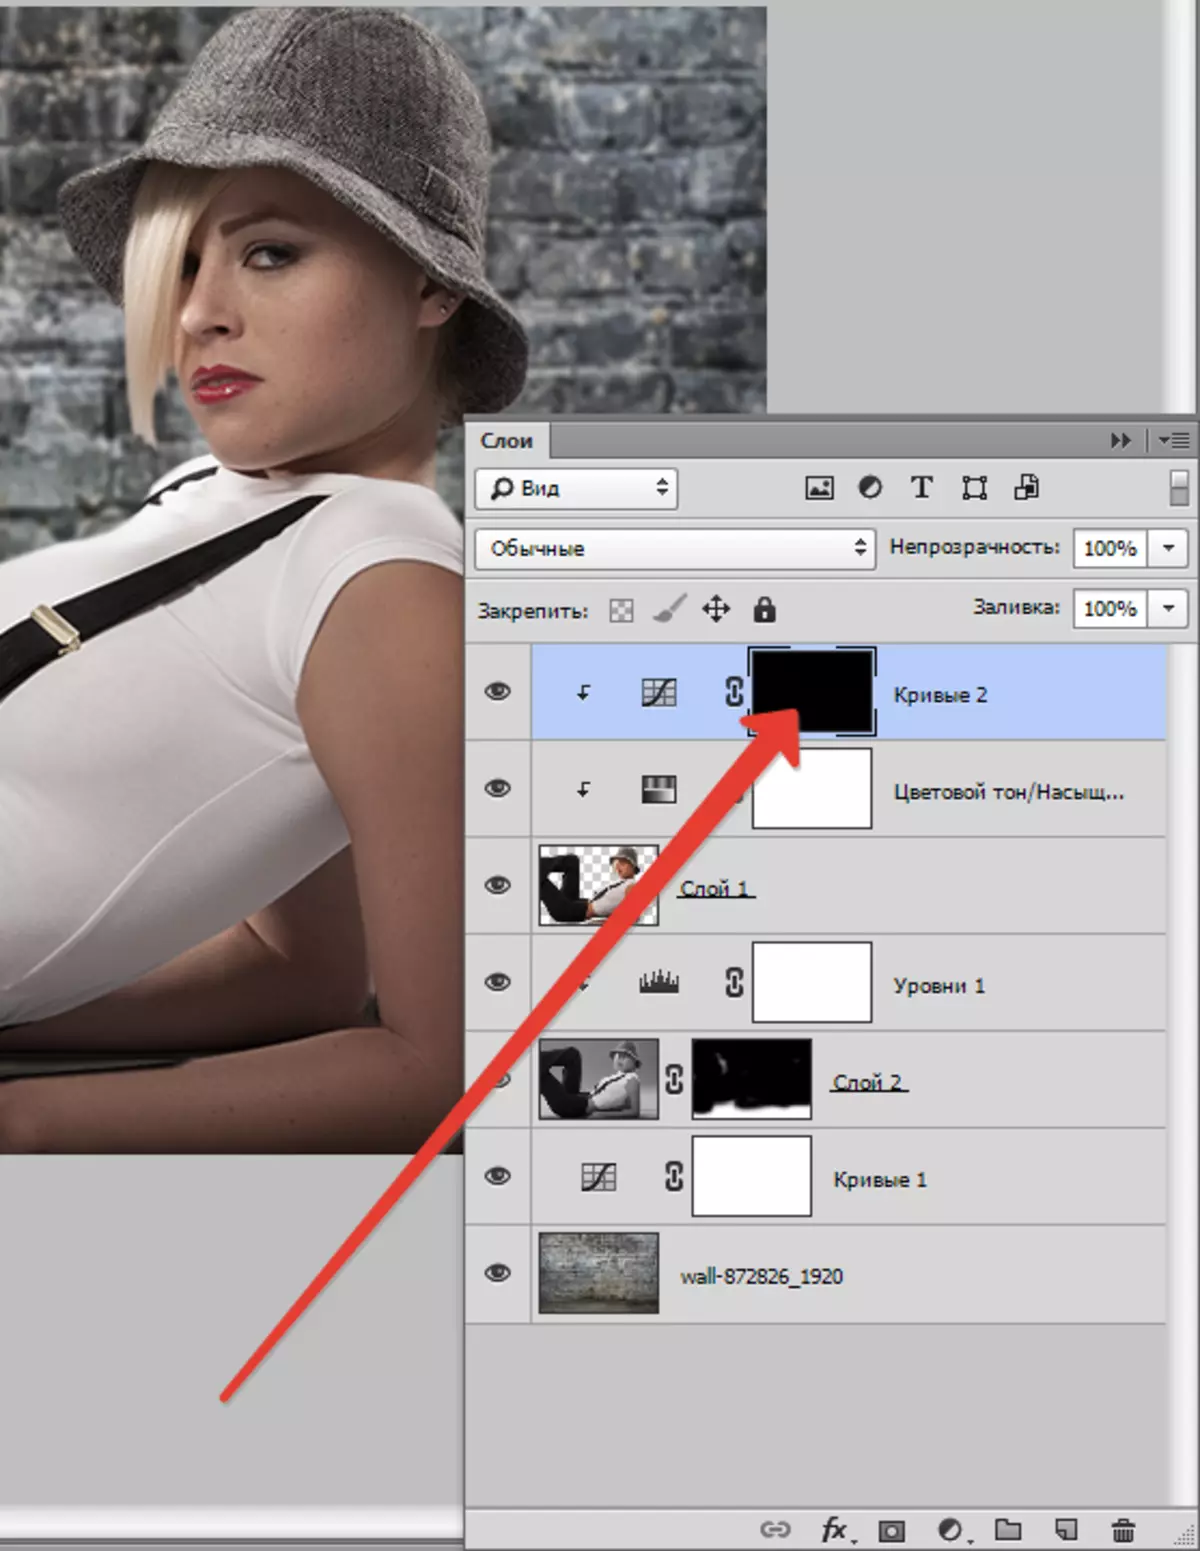
- Go to the topmost layer (this "Color tone / saturation" ) and apply "Curves" . Curva wound up until parts on trousers appear. We do not look at the rest of the pictures, since we will leave the effect only where you need. Do not forget about the binding button.
Result:

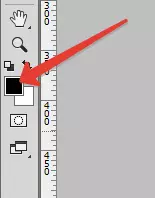
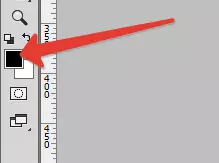
- Next, select the main black color and, being on a layer mask with curves, click Alt + Del..
The mask will sleep in black, and the effect will disappear.
- Then take a soft round brush (see above), but this time white and reduce the opacity to 20-25%.
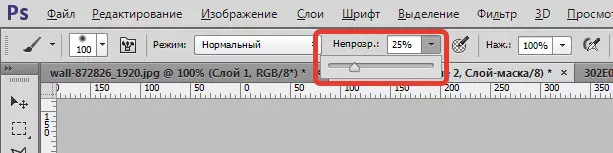
- Being on the layer mask, carefully we take a brush on the pants, opening the effect. In addition, it is possible, still lowered opacity, slightly lit some sites, such as face, light on a hat and hair.
Let's look at the image again:

The final stroke (in our case, you can continue processing) there will be a slight increase in contrast on the model. To do this, create another layer with curves (on top of all layers), give it, and pull the sliders to the center. Watch the items that we open on trousers do not disappear into the shade.
Processing result:
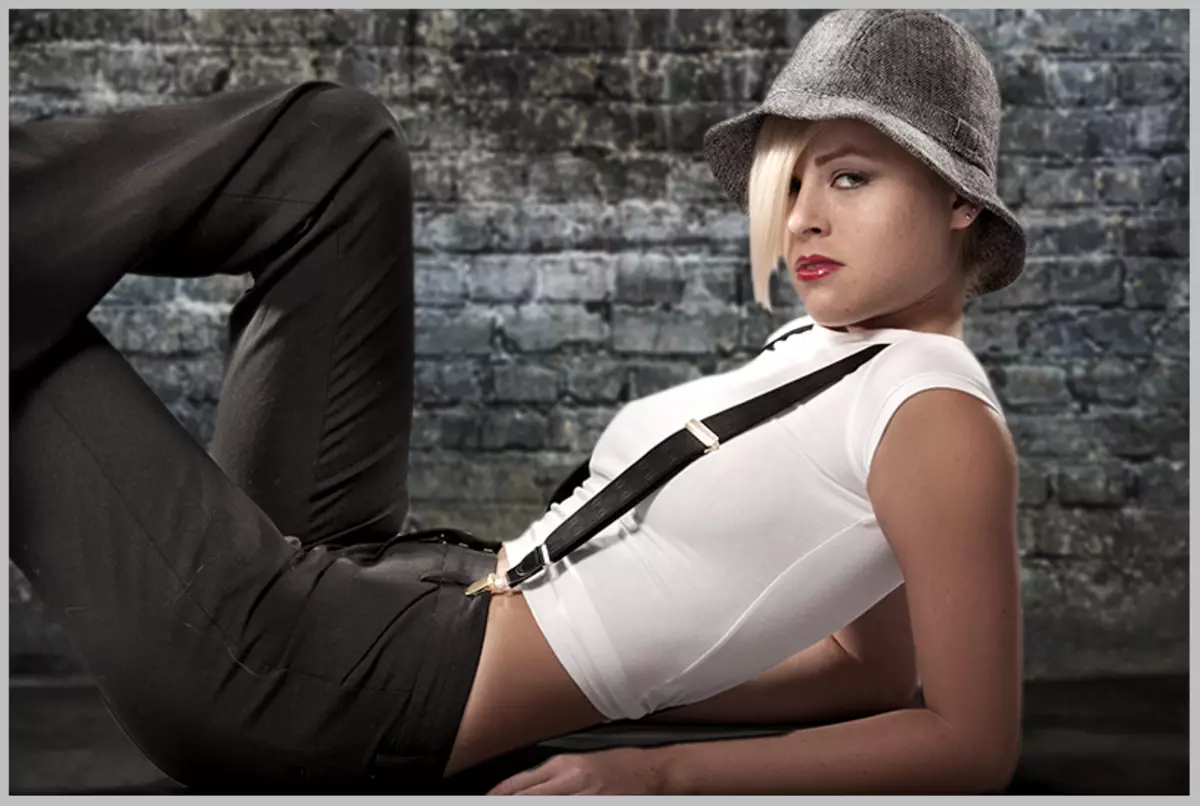
On this lesson is over, we changed the background in the photo. Now you can proceed to further processing and making the composite composition. Good luck in your work and see you in the next articles.