

Changing music format for different devices and operating systems today is not something difficult. Numerous converter programs make it possible to make this process as easy as possible for the user.
Convert music formats
Today we will analyze three ways to change the format of audio files using different programs. The article will contain separate examples to describe the basic principles of software work.Method 1: EZ CD Audio Converter
The first in the queue we set the EZ CD Audio Converter program, which is designed to convert audio to various formats. It is a powerful combine to work with musical tracks. Next, let's talk about how to change the song format on M4A. To play on Apple gadgets, in particular on the iPhone.
Installation
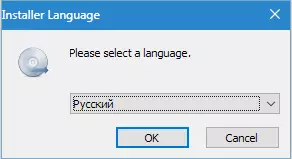
- Run the file downloaded from the official site EZ_CD_AUDIO_CONVERTER_SETUP.EXE. In the dialog that opens, select the language.
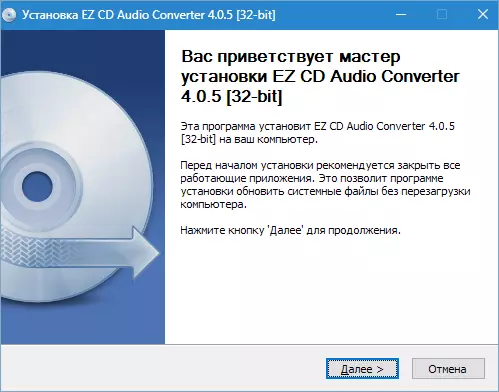
- In the next window, click "Next".
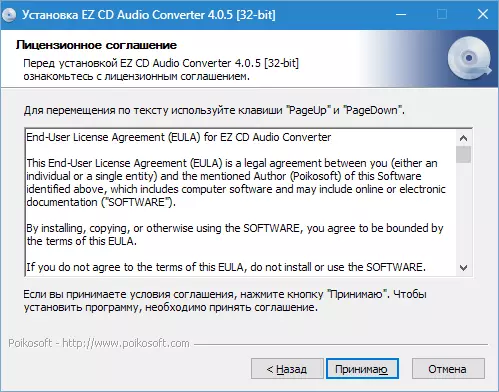
- We accept license terms.
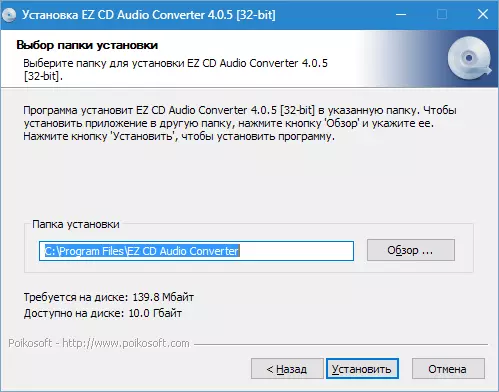
- Here we choose a place to install and click "Install".
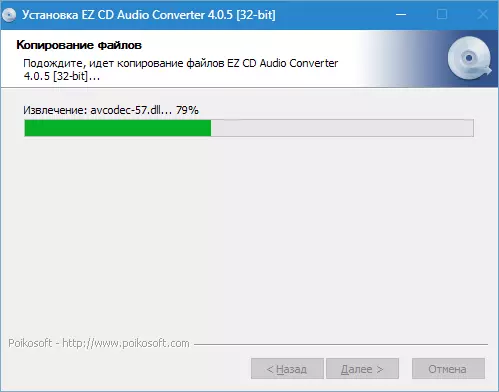
We are waiting for the end of installation.
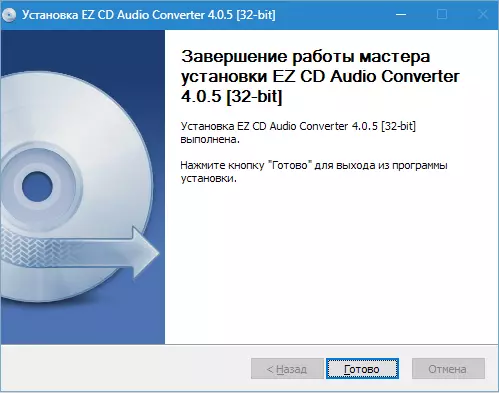
- Ready…
Converting process
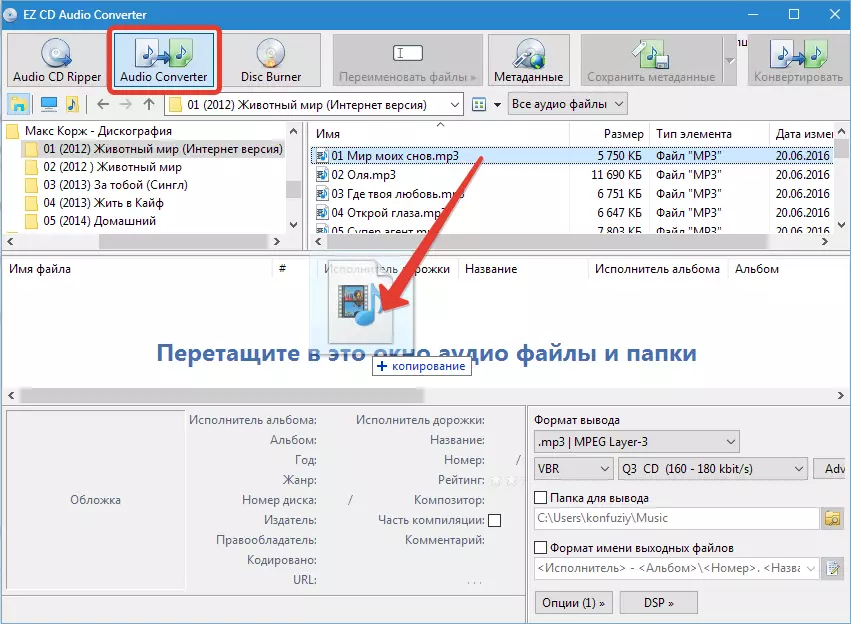
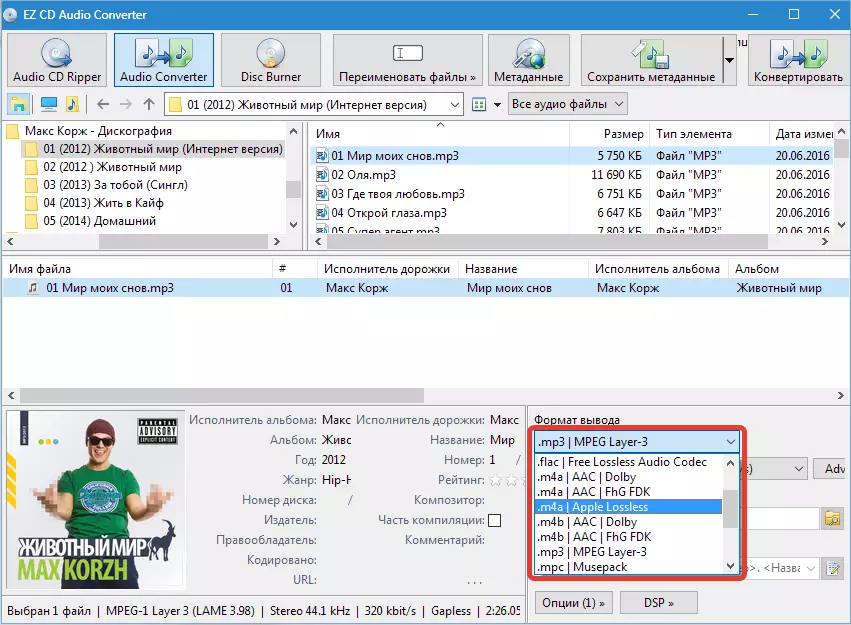
- Run the program and go to the tab "Audio Converter" . We find the desired file in the built-in conductor and drag it into the working window. File (s) can also be moved from any place, for example, with Desktop.
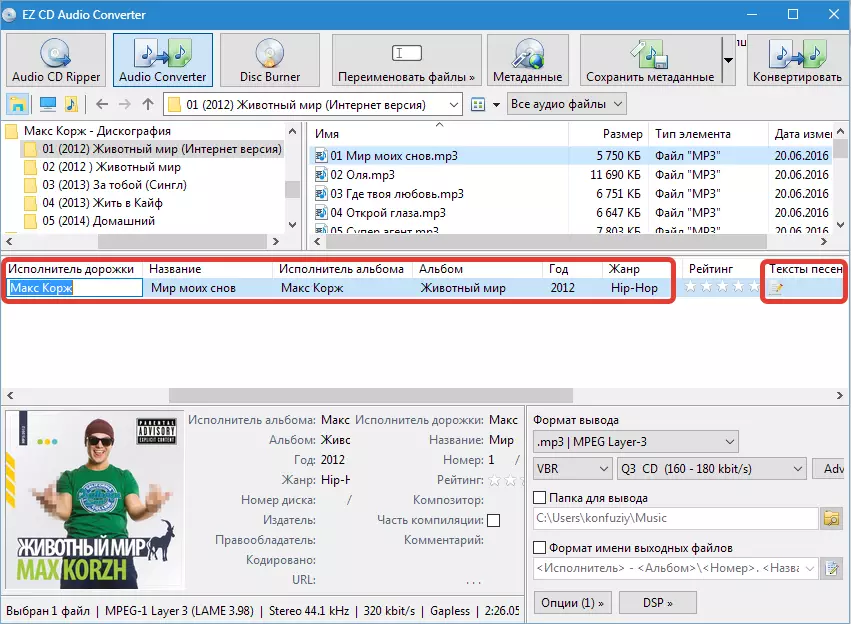
- The composition can be renamed, change the artist, album name, genre, download lyrics.
- Next, choose the format in which we will convert music. Since we need to play the iPhone file, choose M4A Apple Lossless.
- Configure the format: Select the bit rate, mono or stereo and sampling rate. We remember the more value, the higher the quality and, accordingly, the amount of the end file. Here you need to come from the level of reproducing equipment. The values given on the screenshot are suitable for most headphones and speakers.
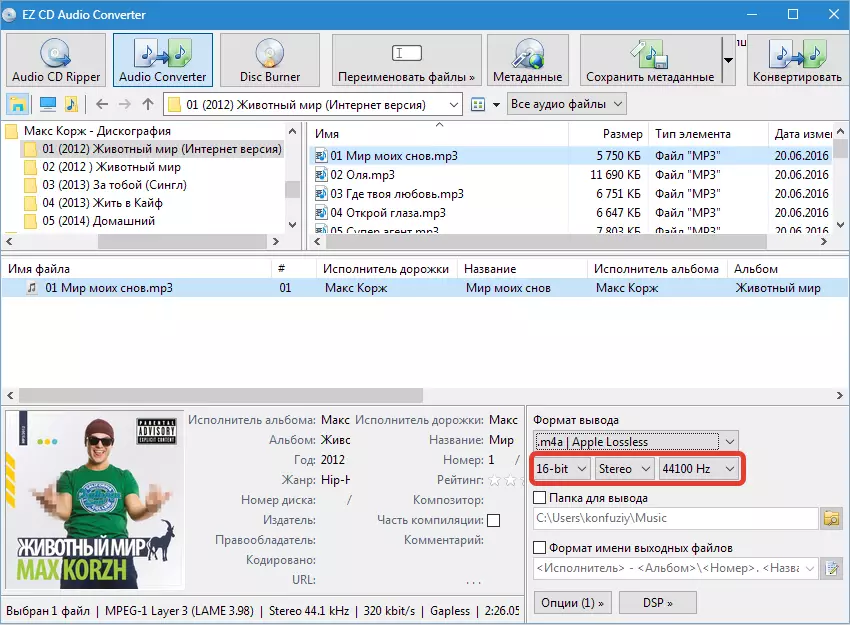
- Select the folder for output.
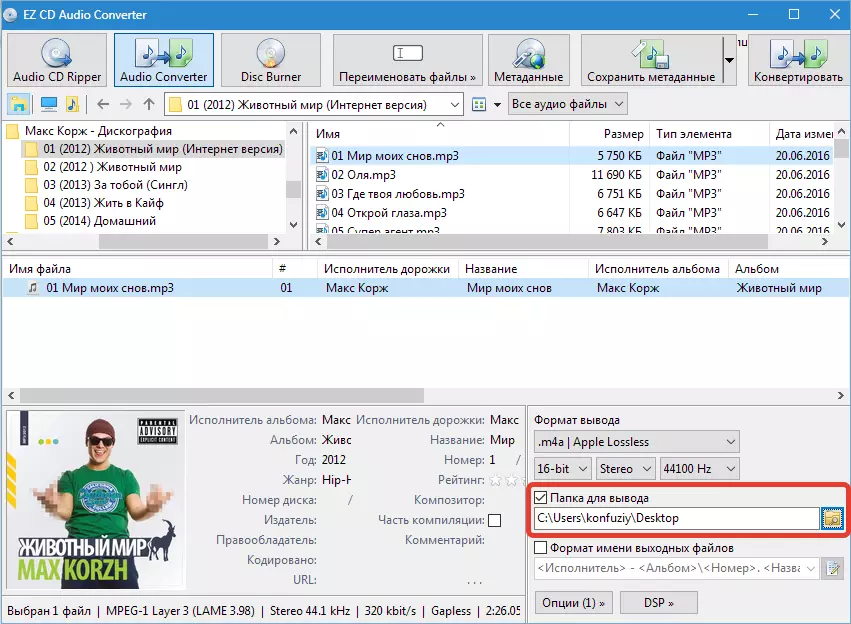
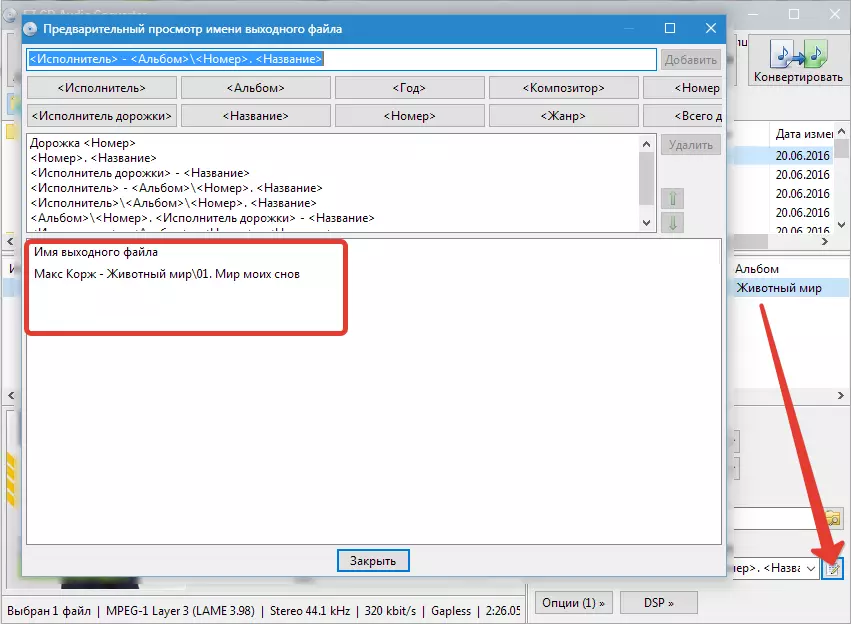
- We change the file name format. This option determines how the file name will be displayed in playlists and libraries.
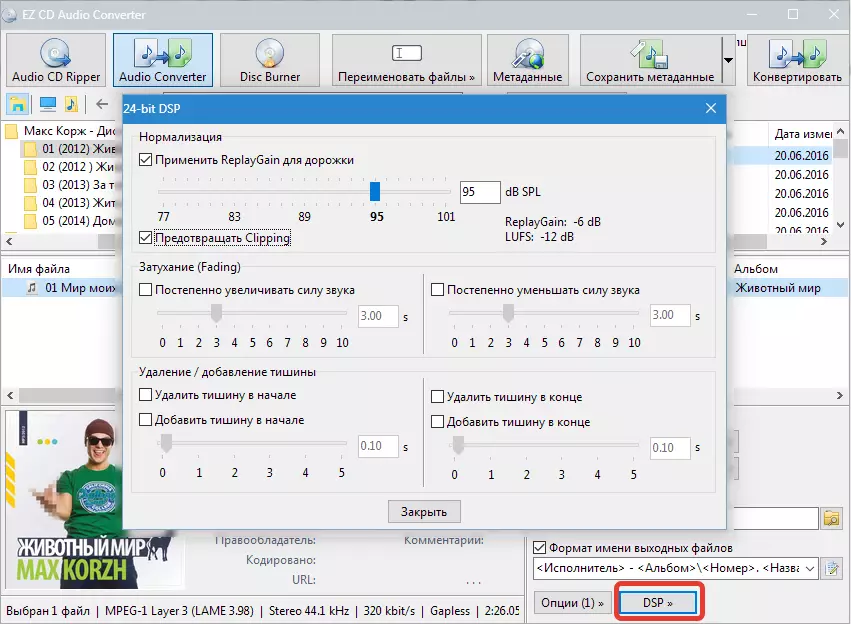
- Settings DSP. (digital signal processor).
- If in the source file during playback, overload or "failures" of sound are observed, it is recommended to enable Replaygain. (Volume alignment). To minimize distortion you need to put a tank opposite "Prevent Clipping".
- Attitude setting allows you to smoothly increase the volume at the beginning of the composition and reduce at the end.
- The name of the addition function (removal) silence speaks for itself. Here you can remove or insert silence into the composition.
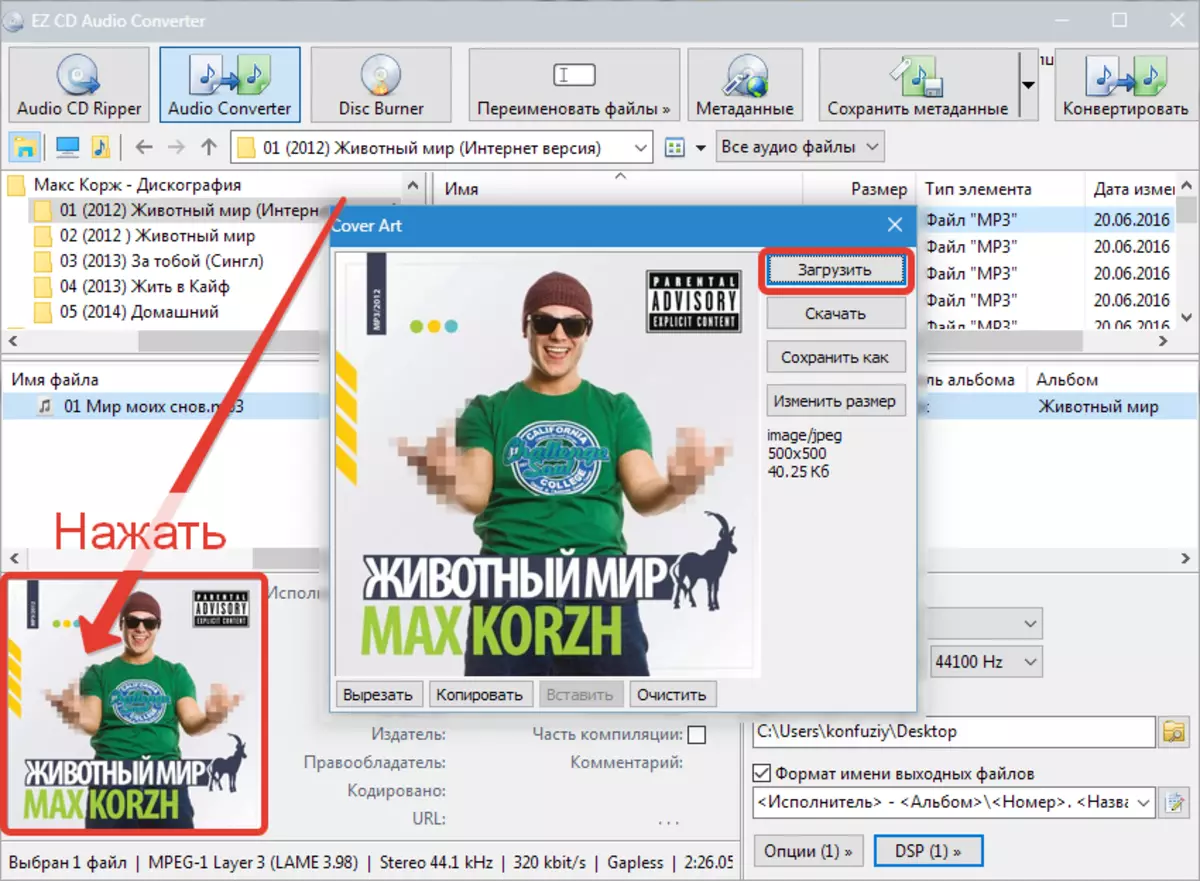
- Change the cover. Some players when playing a file reflect this picture. If it is missing or not like old, you can replace it.
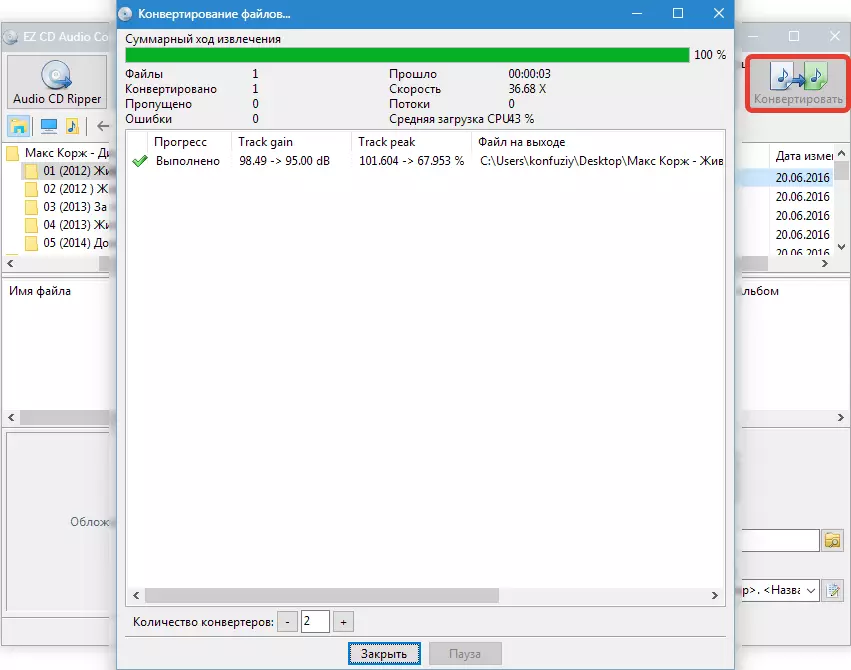
- All necessary settings are made. Press "Convert".
Converting process
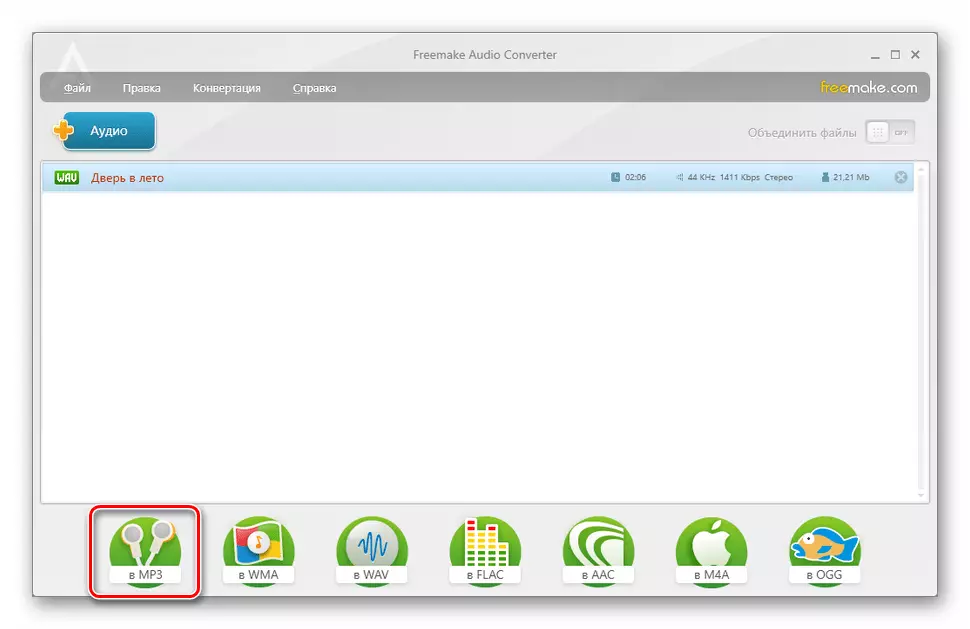
- Press the "Audio" button with a plus.
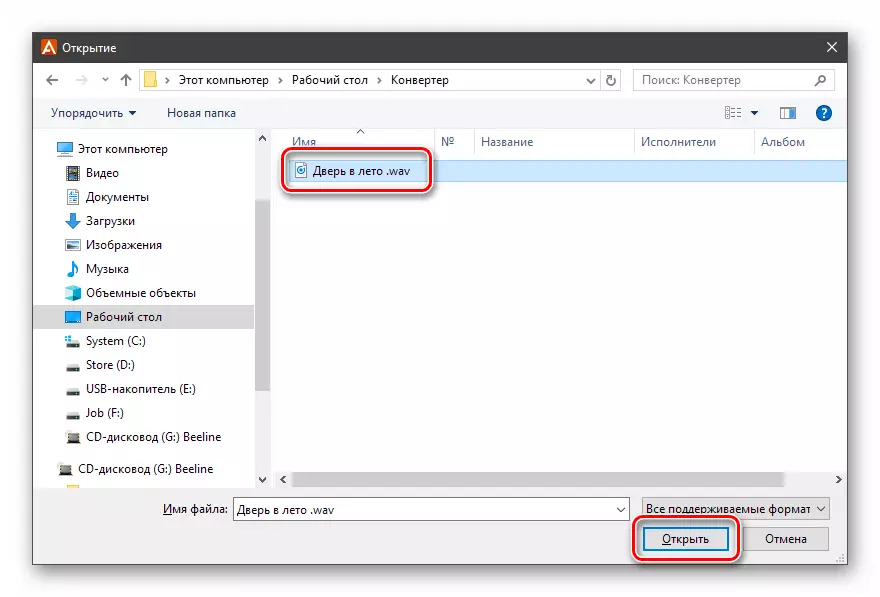
We are looking for a track on the disk, choose it and click "Open".
- On the bottom panel, press the button "in mp3".
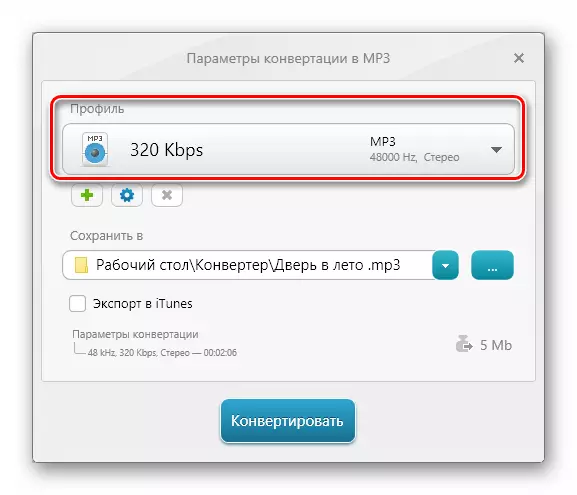
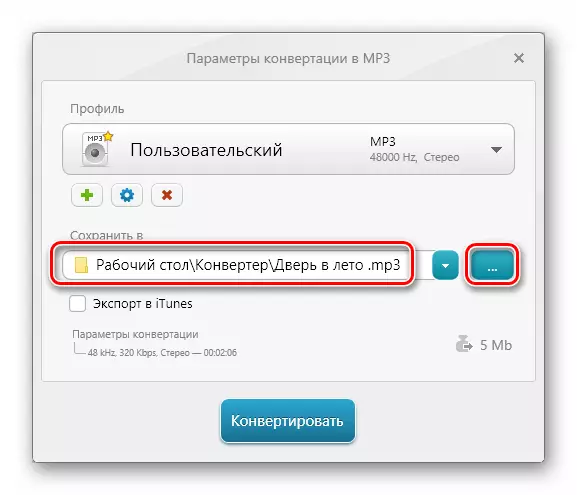
- In the drop-down list "Profile", select the output bitrate.
If necessary, you can change the profile parameters by clicking on the gear icon.
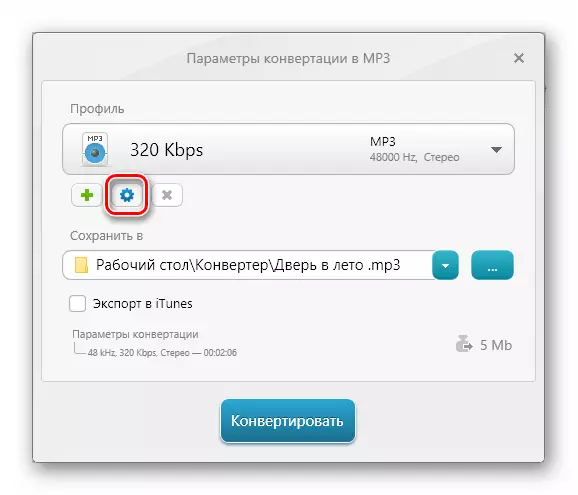
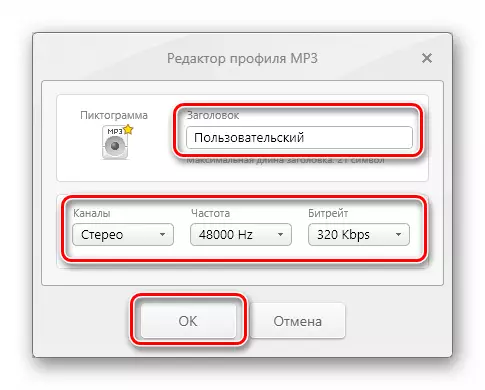
Here you can select the channel, frequency and biter, and then click OK. The program will create a new profile with the title entered in the "Title" field.
- Select a place to save the track by clicking on the button with points. By default, the program prescribes the path to the folder to this field where the source file is located.
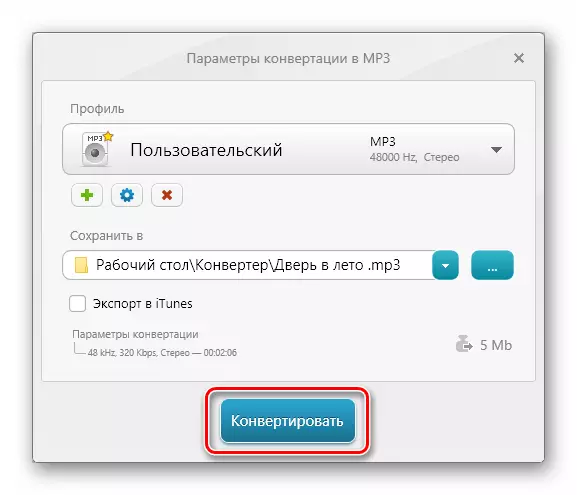
- We click "convert".
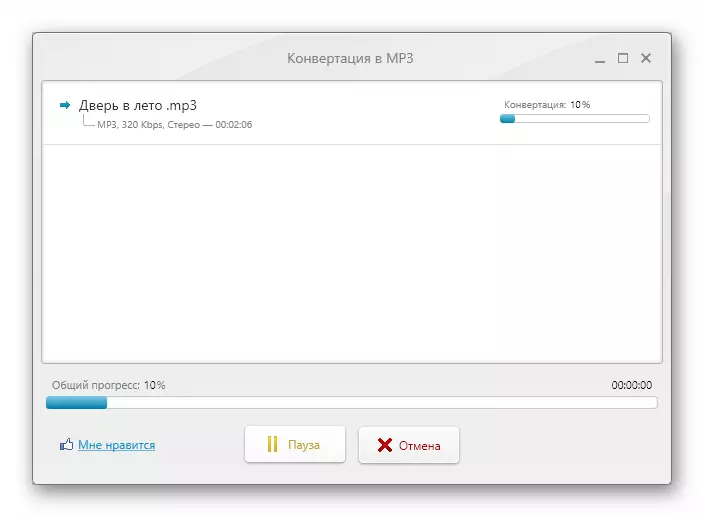
We are waiting for the completion of the operation.
- In the dialog box with the title "Successful" click OK.
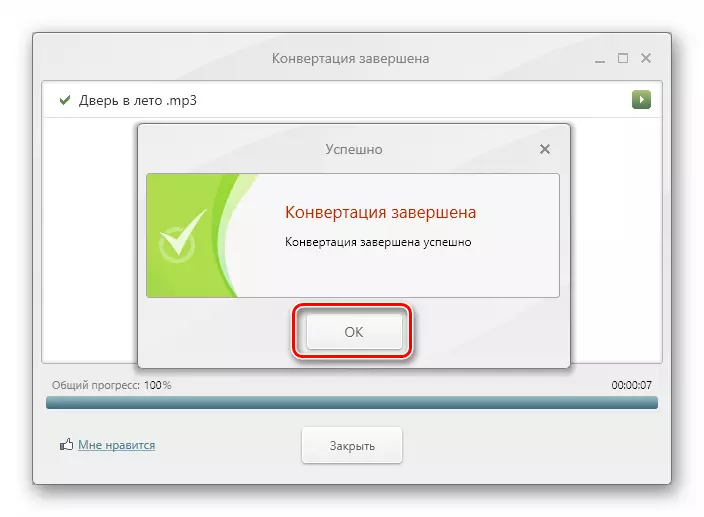
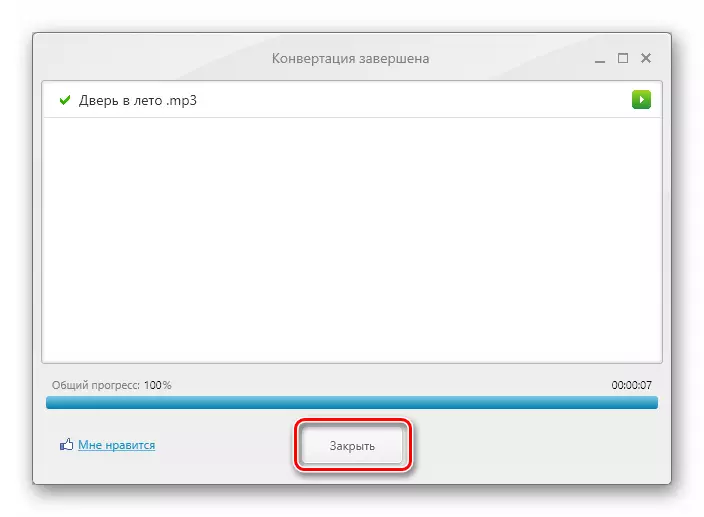
Close the converter window. The finished track can be found in the folder specified in clause 4.
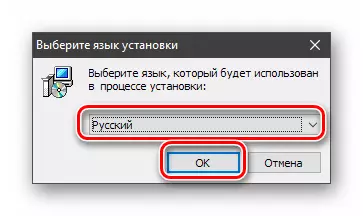
- We launch the installer received on the official website and select the language.
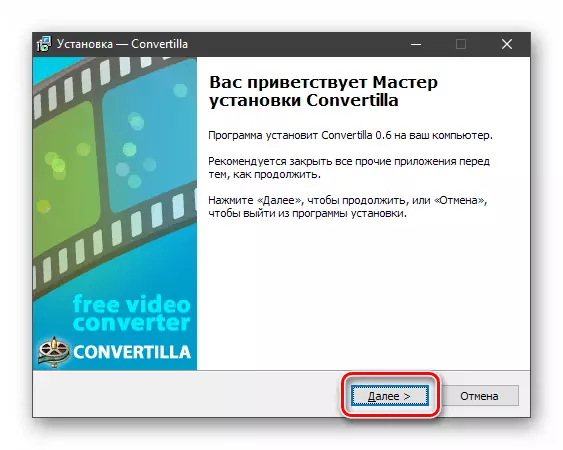
- In the starting window "Masters" click "Next".
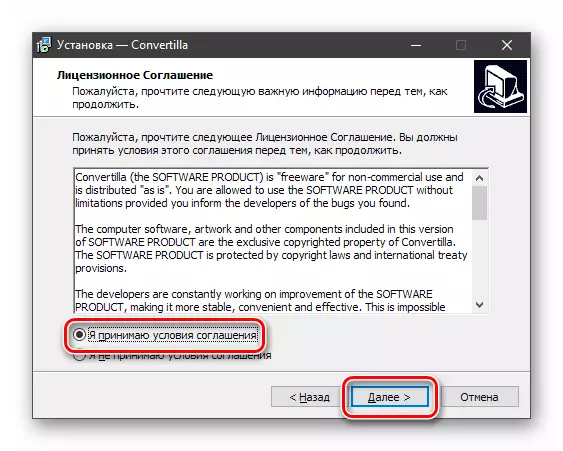
- We accept the terms of the license agreement.
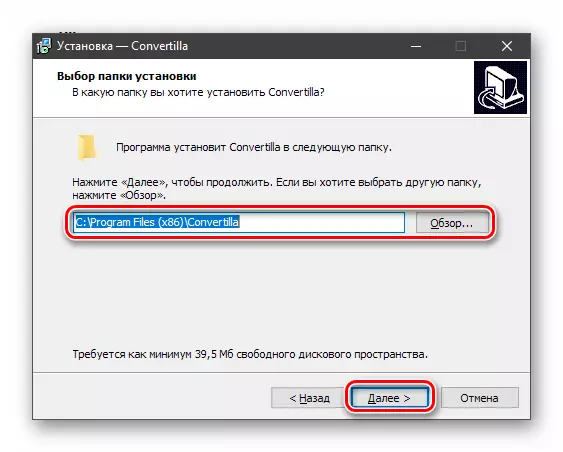
- Select a place to install the program.
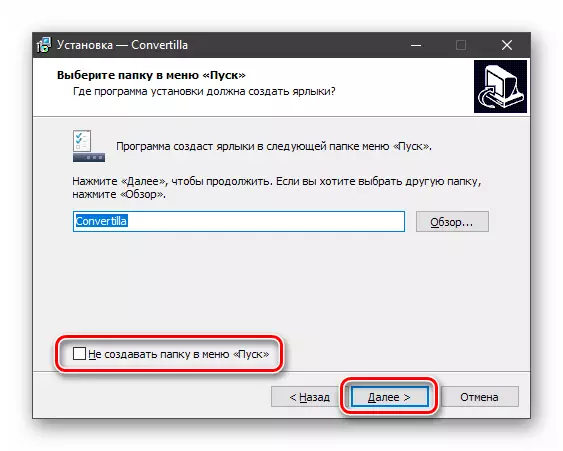
- If there is no need to create a folder in the "Start" menu, put the checkbox to the specified Chekbox and press "Next".
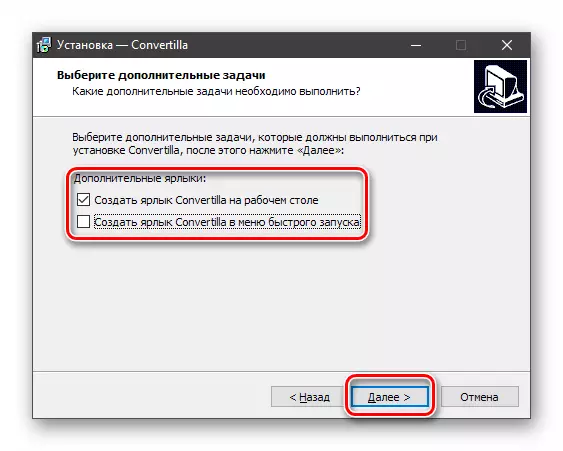
- We are determined with what shortcuts we need, and go further.
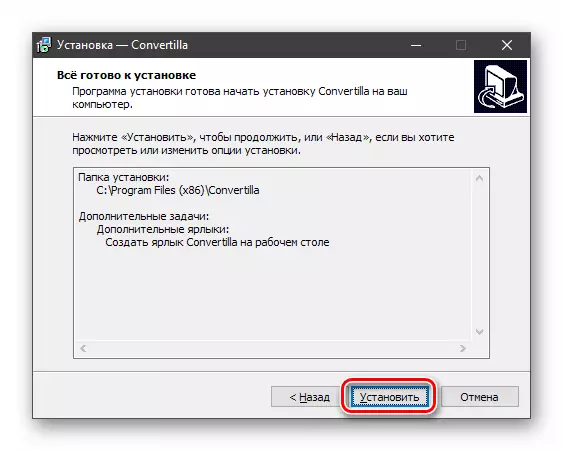
- Run the installation.
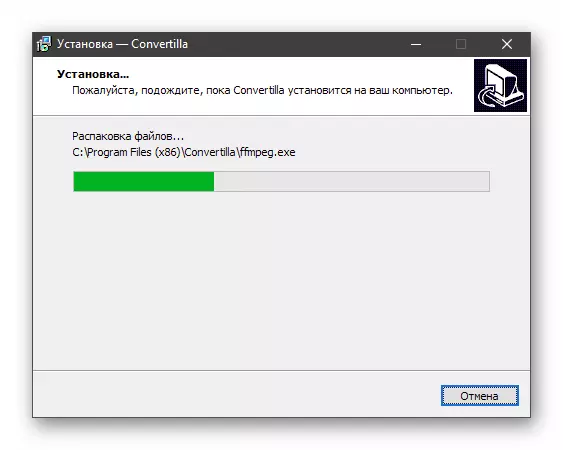
We are waiting for the end of the installation of the installer.
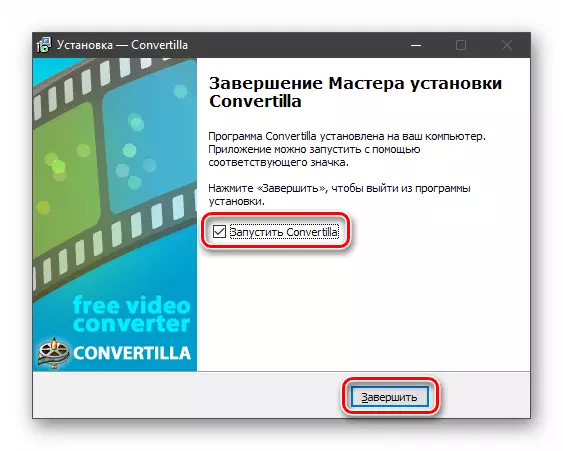
- Close the "Wizard" window with the "Complete" button. If you plan to immediately go to work, we leave the checkbox next to the "Start Convertilla" item.
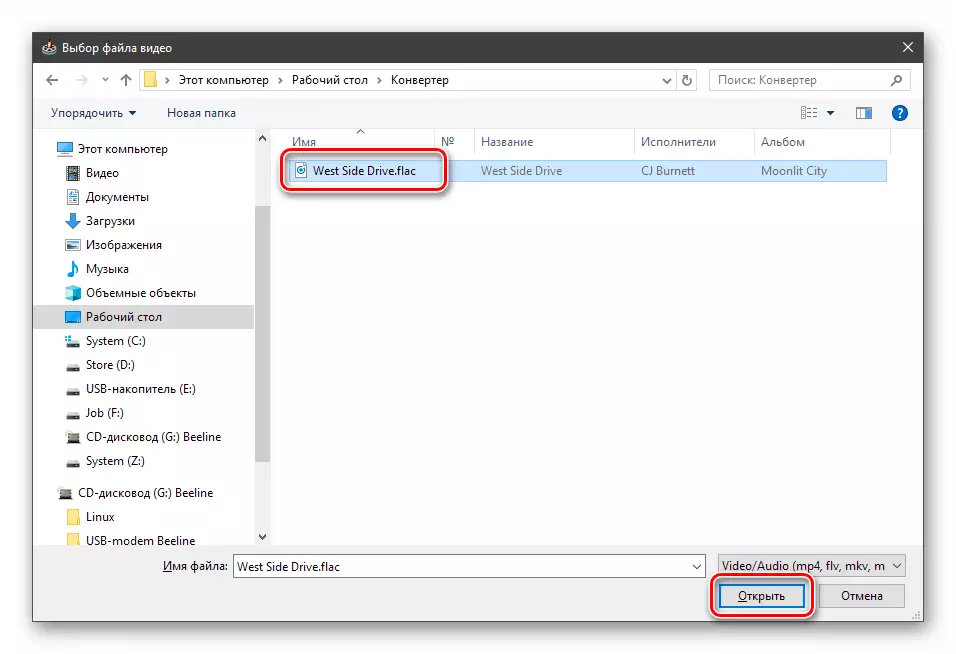
- Run the program and click the Open button.

- We choose the track and "open" again.
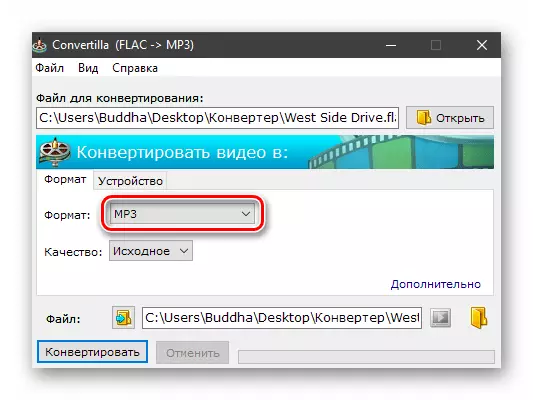
- In the drop-down list "Format" choose "MP3".
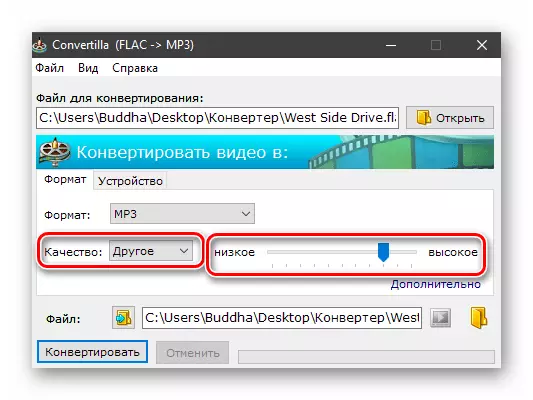
- If you want to change the quality of the track, then the corresponding list is looking for the "Other" item. Moving the slider to the values "low" or "high" "to the eye" define the quality of the output file.
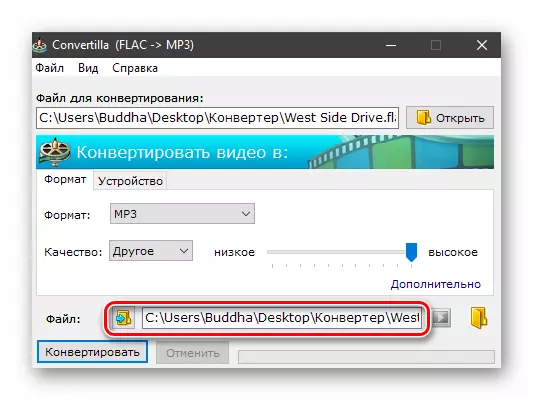
- Select the location of the track. You can leave the default path. In this case, the file will be saved to the source folder.
- Click "Convert".
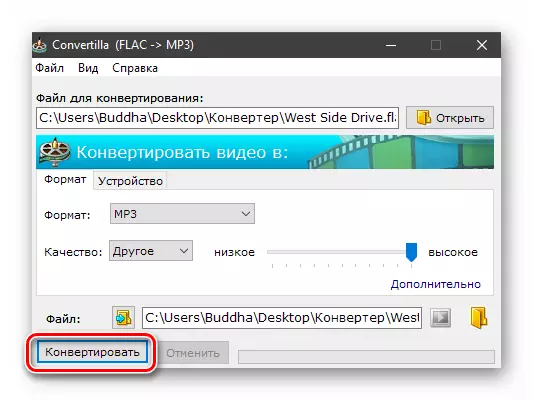
We are waiting for the program to cope with the task.
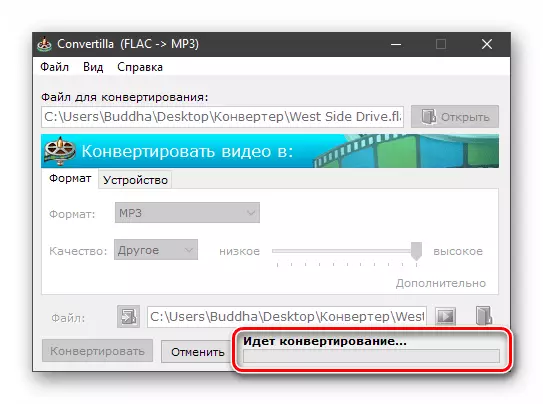
- On this, the process of converting a track in the Convertilla program is completed. You can find the output file in the folder specified in paragraph 5.
Method 3: Convertilla
This program is absolutely free, without restrictions. Despite this and a small size, it has wide formats support and the necessary functionality. Using Convertilla, we convert a large FLAC file in a compressed MP3 to save space on a carrier.
Installation
Converting process
We reviewed three ways to change the expansion of music using different programs. As mentioned above, these were examples of their use. Conversion to other formats is similar.