

Structuring and grouping of all objects in AutoCAD is made through the use of the function of the layers. Each new layer contains a certain number of specified elements with different settings, which allows you to conveniently manage all components of the workspace. Now, in almost every drawing, several layers are involved immediately, which causes the need to manage them in a regular manner. Today we want to talk in more detail about all aspects of interaction with layers, dismissed every detail in detail every detail.
We use layers in the AutoCAD program
The user at any time can create a new layer, edit it, disable visibility, set the display and delete. This is done using a special partition in the software under consideration, where all the necessary tools and functions are displayed. Just about them and this will be discussed.Creating a new layer and menu "Layer Properties"
Of course, to start standing with the addition of new layers, since the standard new project in AutoCAD contains only one group, which is assigned all added objects. It has standard settings, is determined by white, and the weight of the line is zero. Creating new groups occurs in the "Layer Properties" section, and this is done like this:
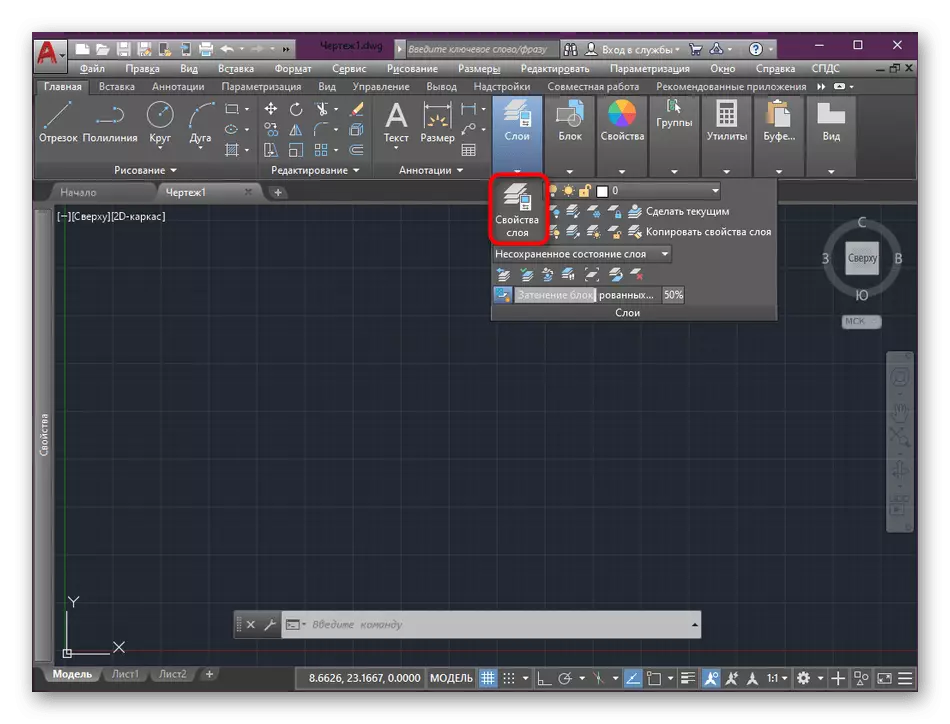
- Open AutoCAD, create a new project and move to the "Home" tab, if suddenly it has not been chosen initially. Here click on the panel called "Layers".
- Click the "Layer Properties" button.
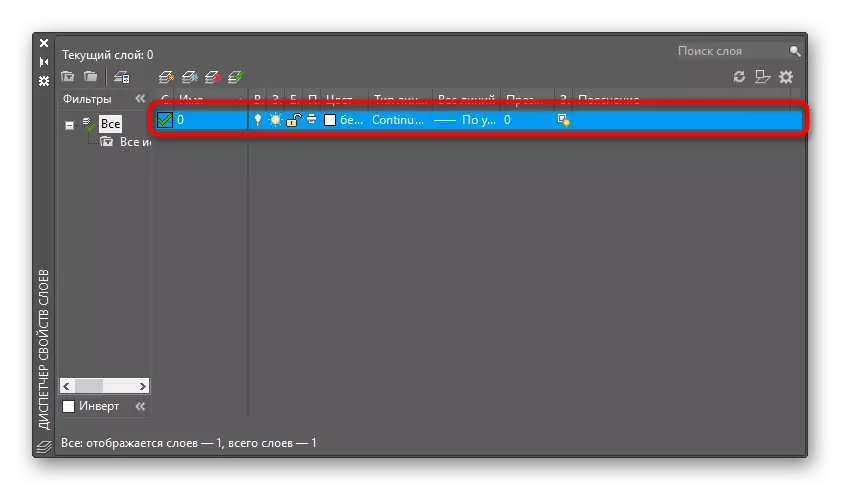
- A separate menu will open, where you just see the group named "0", which is the standard layer that appeared immediately after the project is created.
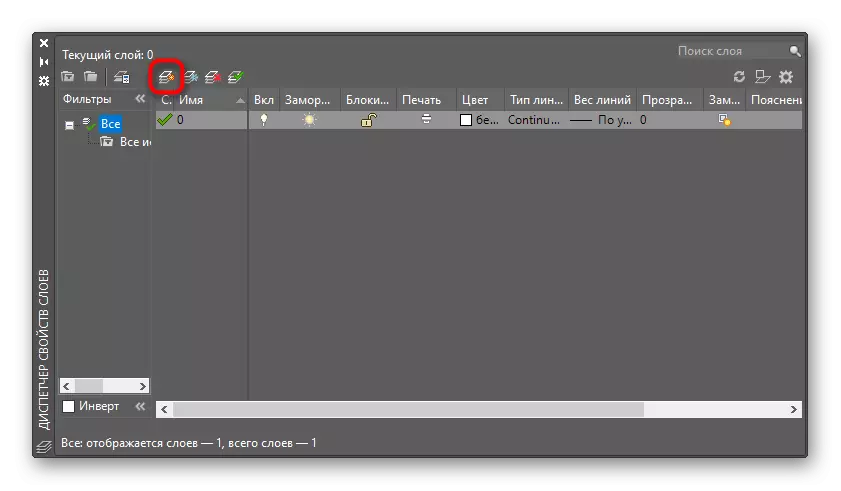
- Pay attention to the screenshot below. There the stroke indicates a button that is responsible for creating a new layer. Click on it to perform this action.
- The inscription in the "Name" section will be highlighted in blue, which means that you can change it by choosing an absolutely any name for the group. At the same time, try to deliberately approach the selection of the name so that when working with a large number of layers, do not get confused in the location of the objects.
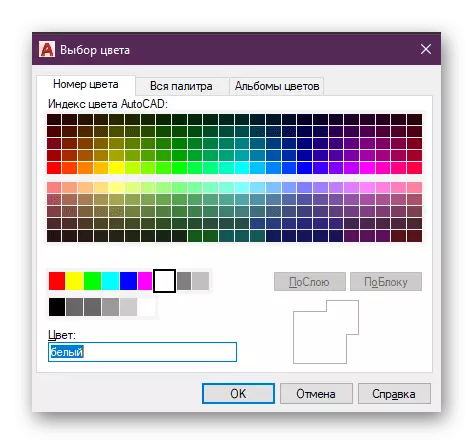
- Now you can change the standard color of the lines. By default, it is always white, and editing is performed after pressing the corresponding button.
- A new "Select Color" menu will appear. There are three different tabs with palettes in which the appropriate shade is selected.
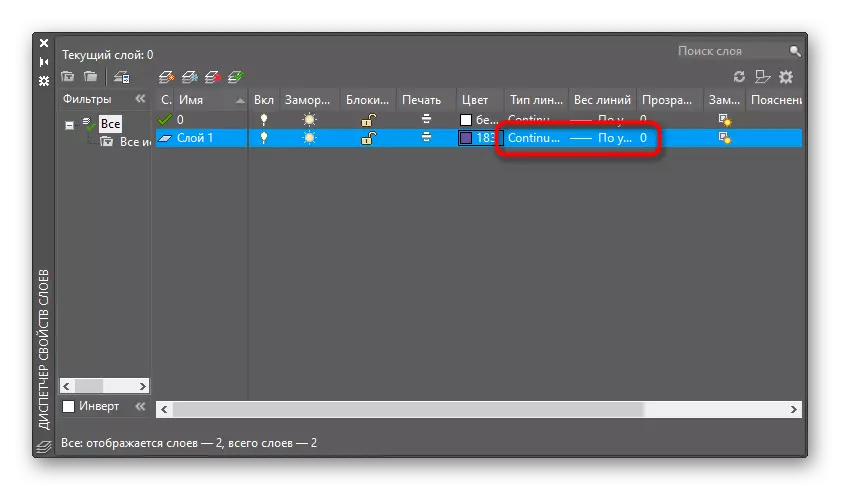
- Next comes the value "Type of lines" and "Weight lines". Initially, the line is a solid straight line, and the change in the rice occurs in the same way as it was with the choice of color - in a separate menu after pressing the parameter.
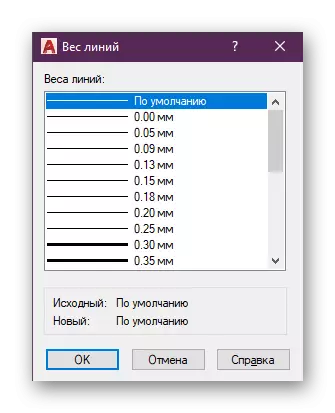
- As for the value of the "weight lines", then this is the thickness of their stroke. One of the options in a separate menu is available to the selection, where the example of the rice is displayed.
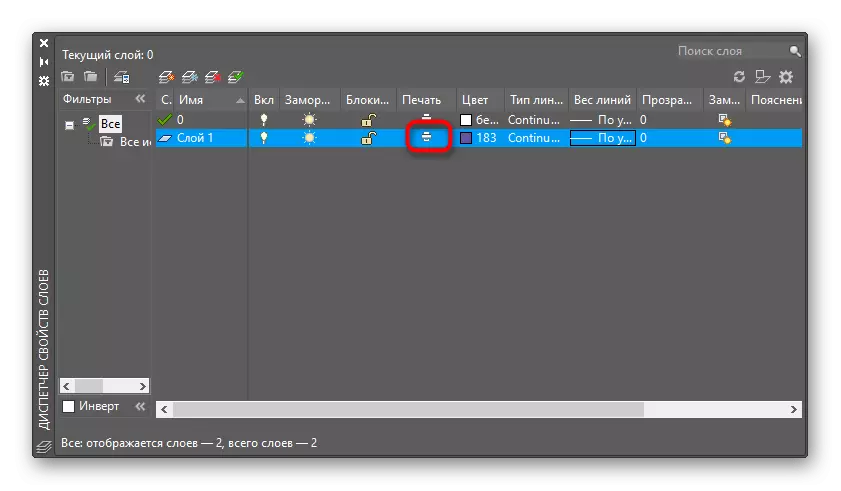
- If you click on the printer icon in the "Print" section, then a red circle appears next to the invisibility of the layer when printing.


In the same way, as you saw in the instructions above, an unlimited number of layers are created in one project. The settings can be completely the same, the main thing is to indicate different names, taking into account the fact that in the future you will have to contact this menu and search for the desired group there.
Editing available layers
Separately, it is worth talking about editing already added layers, since novice users are sometimes asked on this topic. The configuration of the parameters can be carried out at any time, the appearance of all those objects that are assigned to the selected group without exception will be changed. Setting parameters is carried out according to the same principle that is shown in the previous paragraph about the creation of the layers.

Selection of one or several layers
Under the separation of one or more layers, the display of elements of exceptionally selected groups on the workspace is implied. All other objects that are not included in their composition will be hidden, but at any time they can be turned back. To perform this action, it will also be necessary to use the familiar menu "Layers".
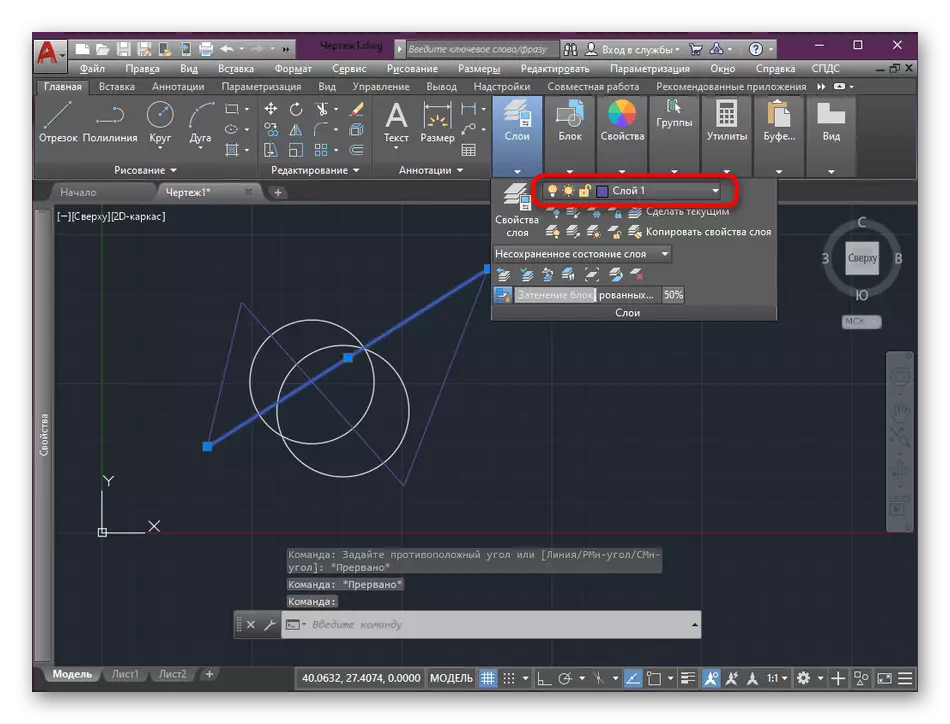
- To begin withdrawing the necessary object to further find out what kind of layer it belongs.
- Open the "Layers" section and pay attention to the active layer - it is a group of a dedicated object. Make these actions with all the items you want to leave in the visibility zone to remember their location.
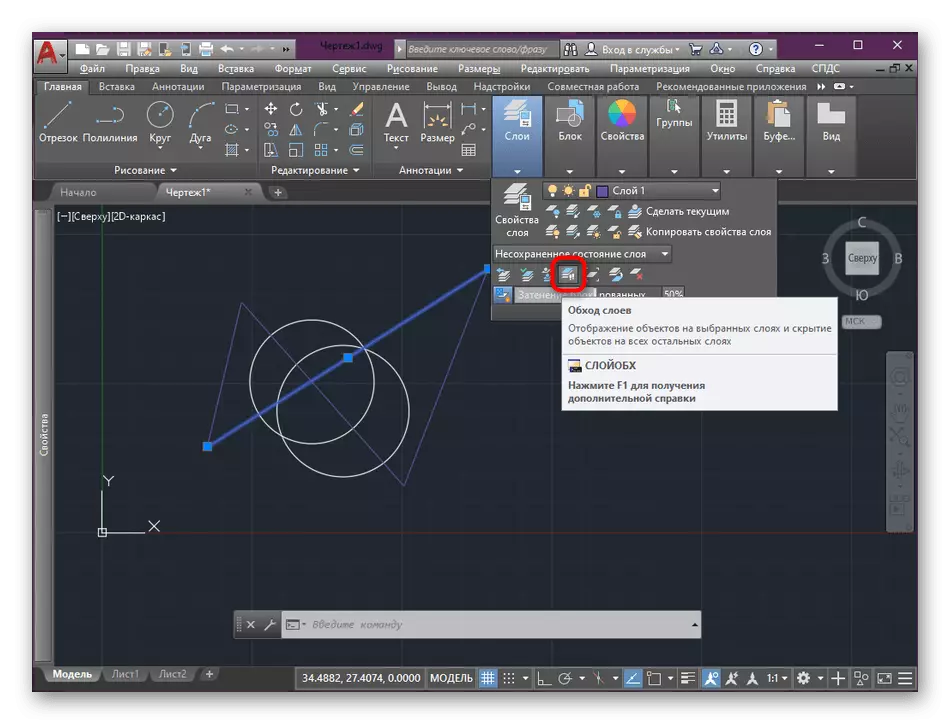
- Next click on the button called "Bypassing the layers". Her species you see in the following image.
- An additional menu opens. Here you need to highlight the required layer. If multiple groups are selected with the Ctrl pinch key.
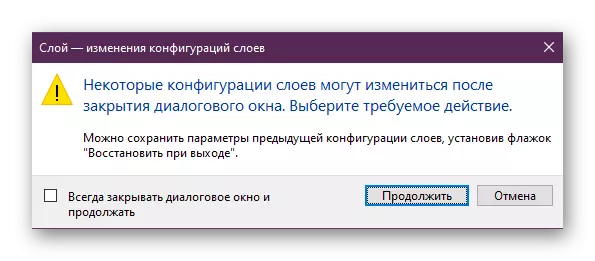
- Remove the checkbox from the "Restore Output" item so that all the changes made are not dropped.
- Close the configuration window by confirming the notification that appears.
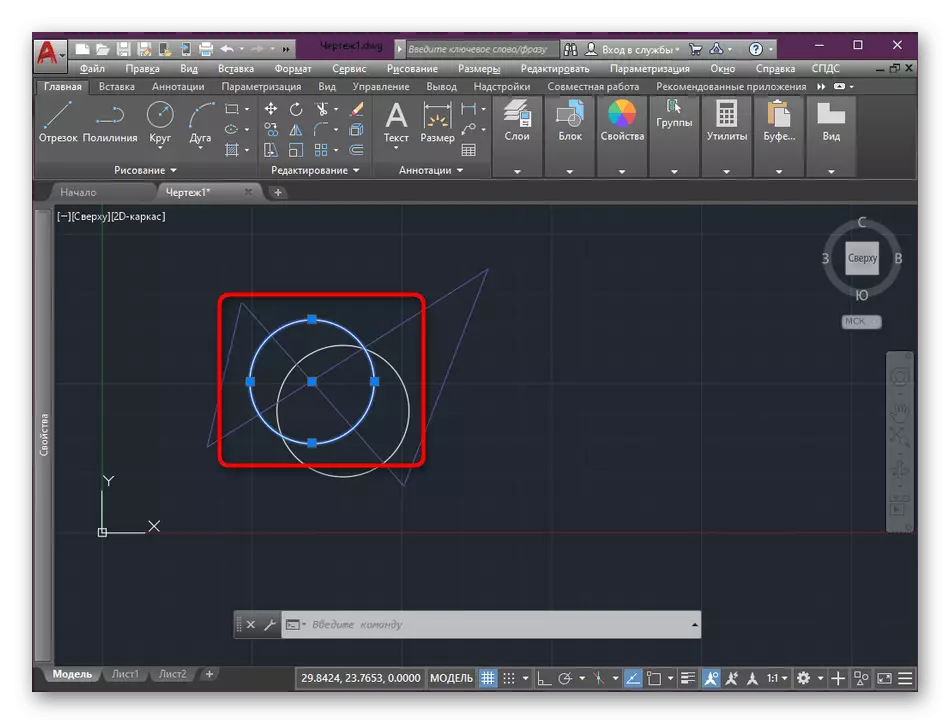
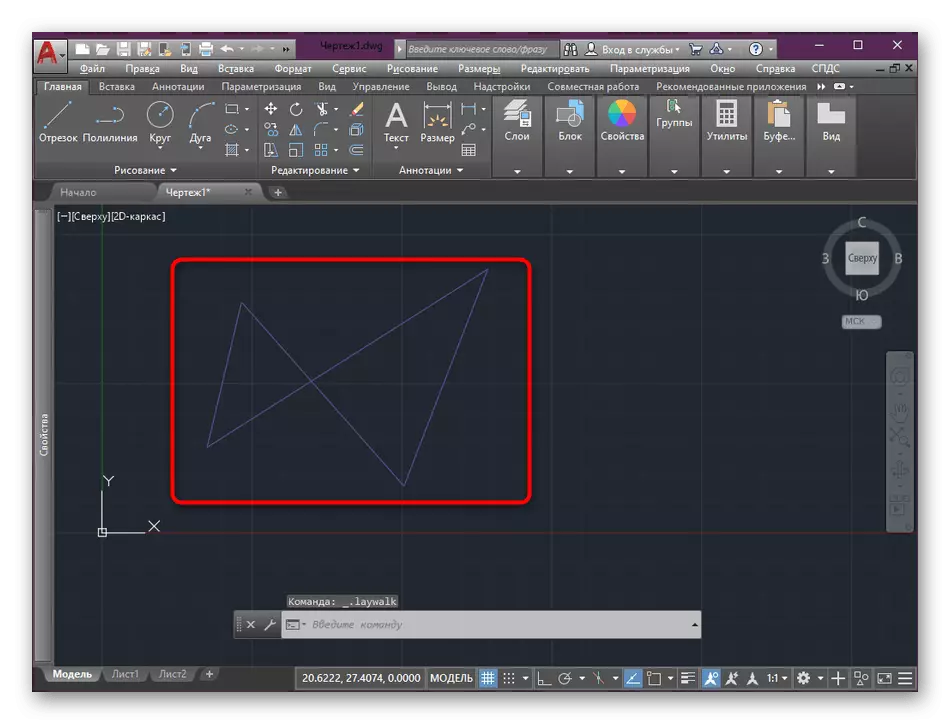
- Now you see that only the selected layer is displayed on the workspace.
- If necessary, open the Control window, where click on "Enable all layers". This will automatically display all the elements hidden earlier.


This feature can be used in order to ensure the temporary hide of unnecessary layers or when working only with certain objects, since it is often a drawing consists of many components that interfere with the implementation of certain actions.
Removal of empty layers
During interaction with various projects, there are many changes that affect objects and layers. There are such situations when after removing any components of the layer remains simply empty. At the same time, it continues to load the workspace by consuming RAM and processor resources. Due to the accumulation of multiple empty groups on weak computers, small brakes are observed while trying to make changes to the drawing. Therefore, it is possible to clean empty layers periodically. It will help in this automatic function.
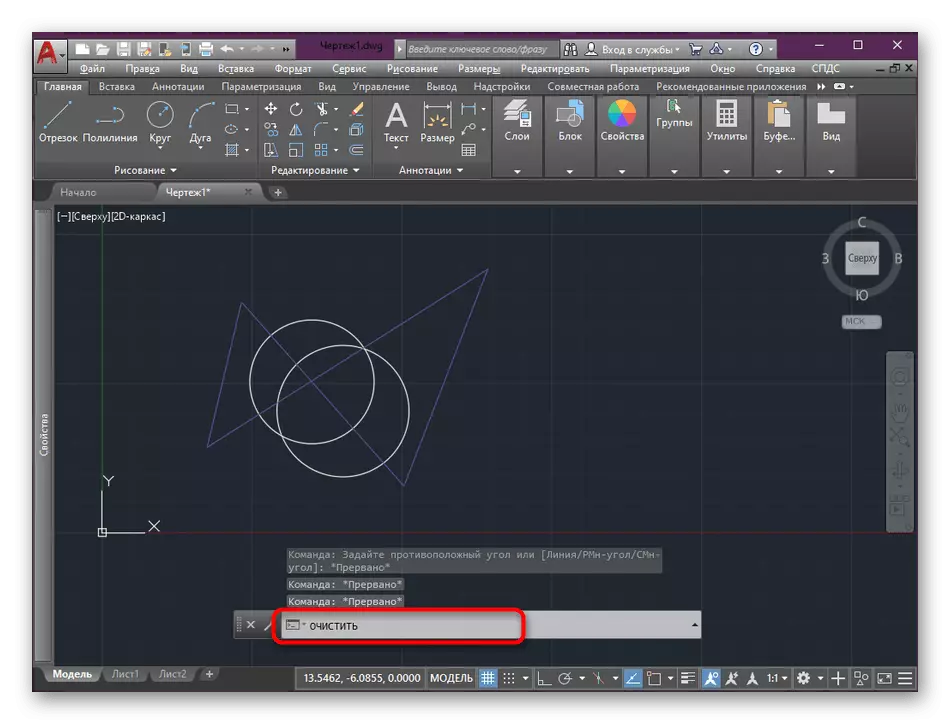
- Start typing the word "Clear" on the keyboard to start the command in the console.
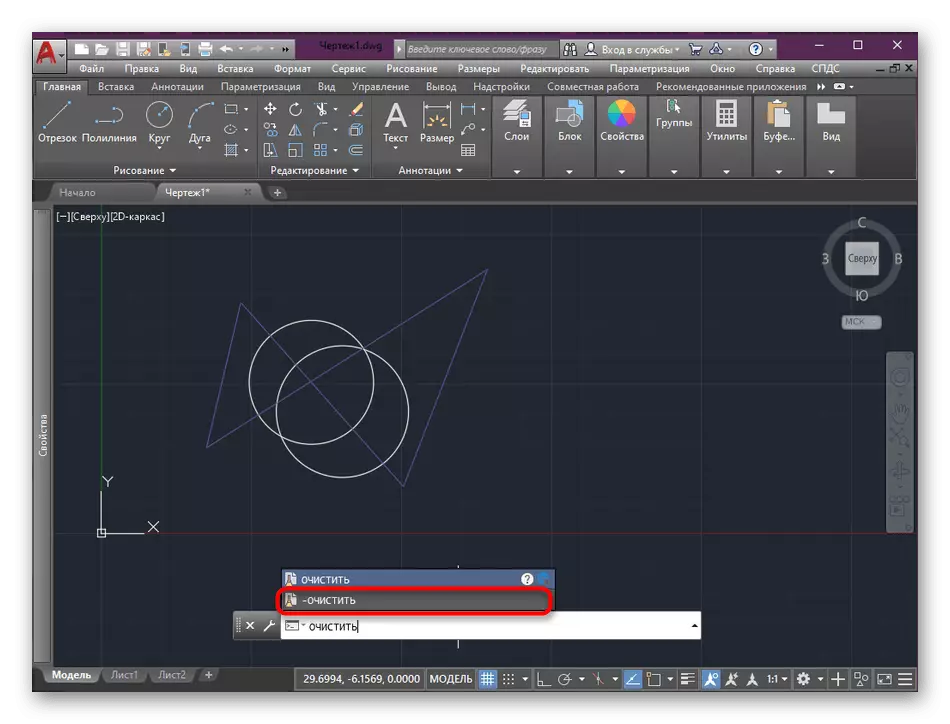
- In the issuance of choices, specify the second option of the cleaning method.
- An additional menu appears with the options for selecting unused objects. Lay in it the corresponding string and click on it with LKM.
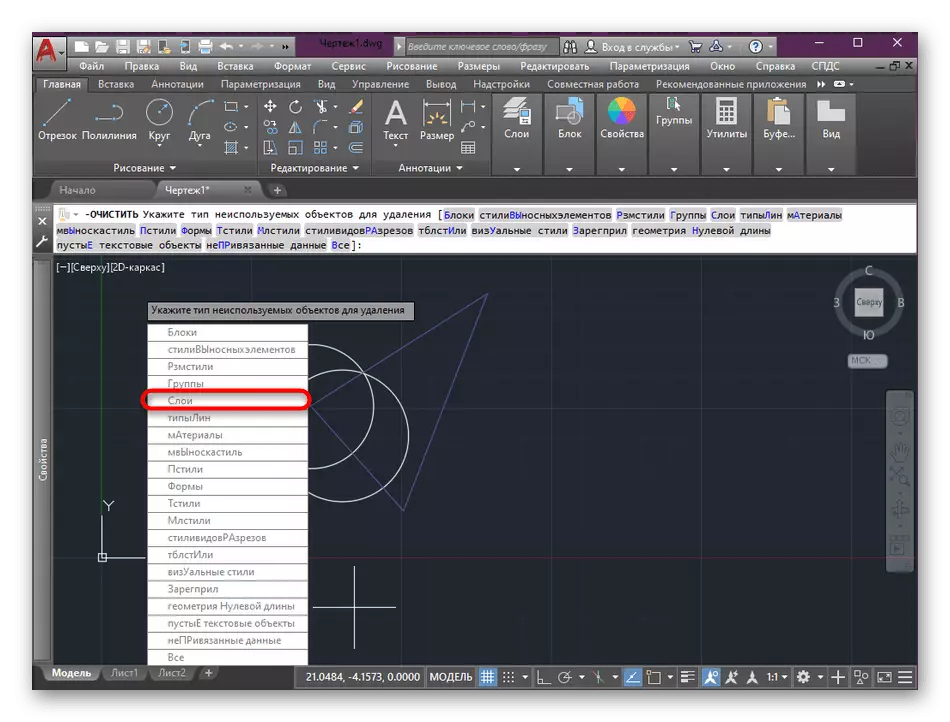
Such such a simple way, literally in a couple of seconds, absolutely any unused objects, groups or materials in AutoCAD are removed.
Turning off the layer in the view screen
The species screen in AutoCAD is mainly used to format the drawing and view its status before printing or saving. We recommend to learn more about the setting and concept of the species screen, we recommend learn in another material by clicking on the link below.
Read more: View screen in AutoCAD
Now we are talking about layers, and their properties allow you to disable a certain group on the current specimen, that is, simply remove visibility.
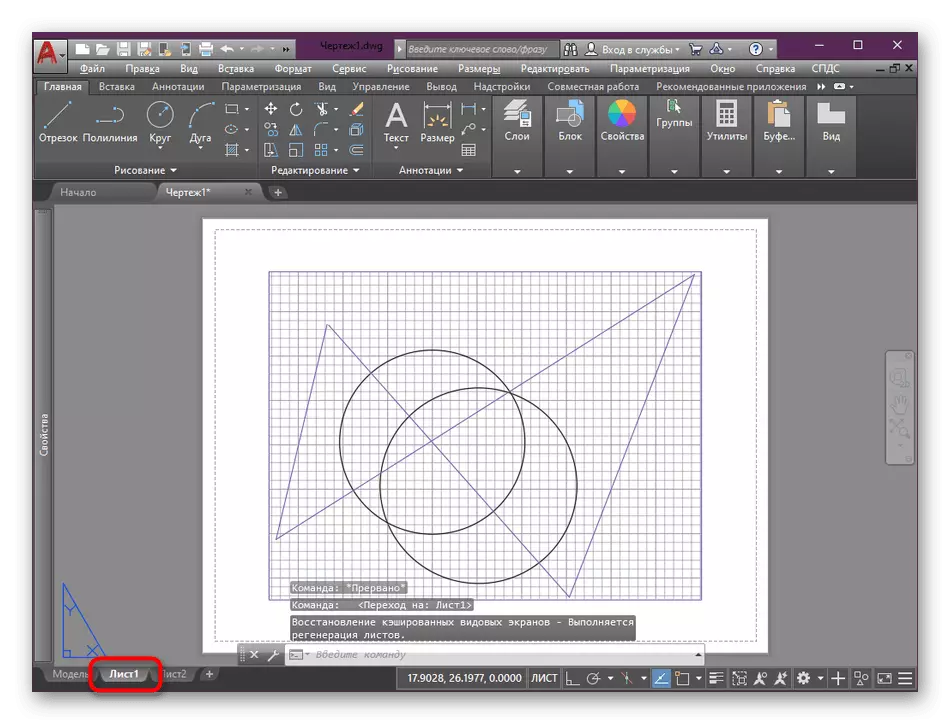
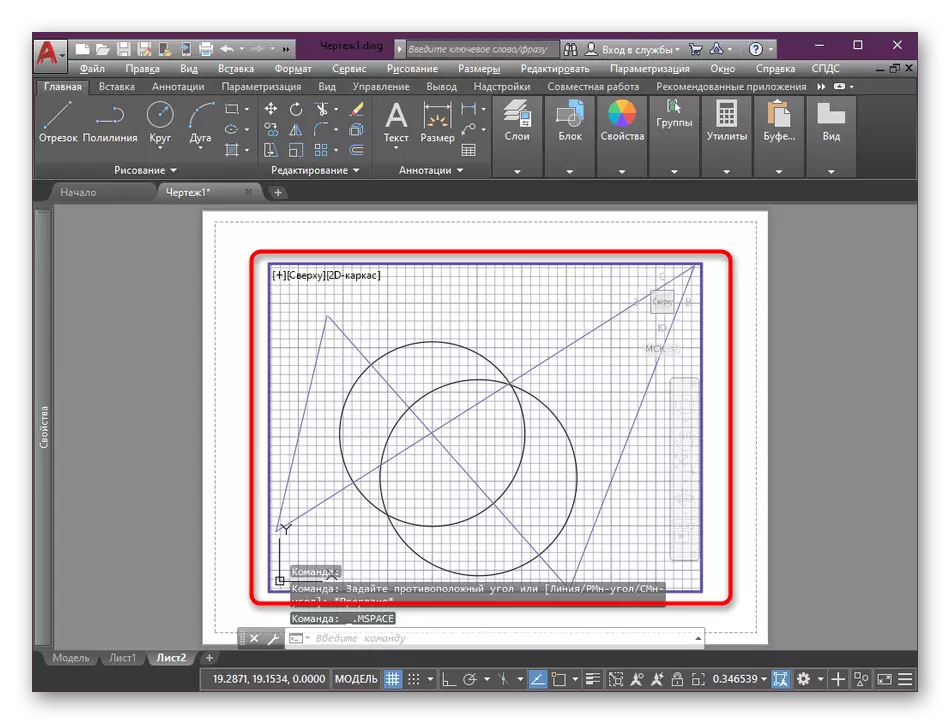
- Move to the desired viewpoint by selecting, for example, "List1".
- Click on the left mouse button on the drawing to activate editing.
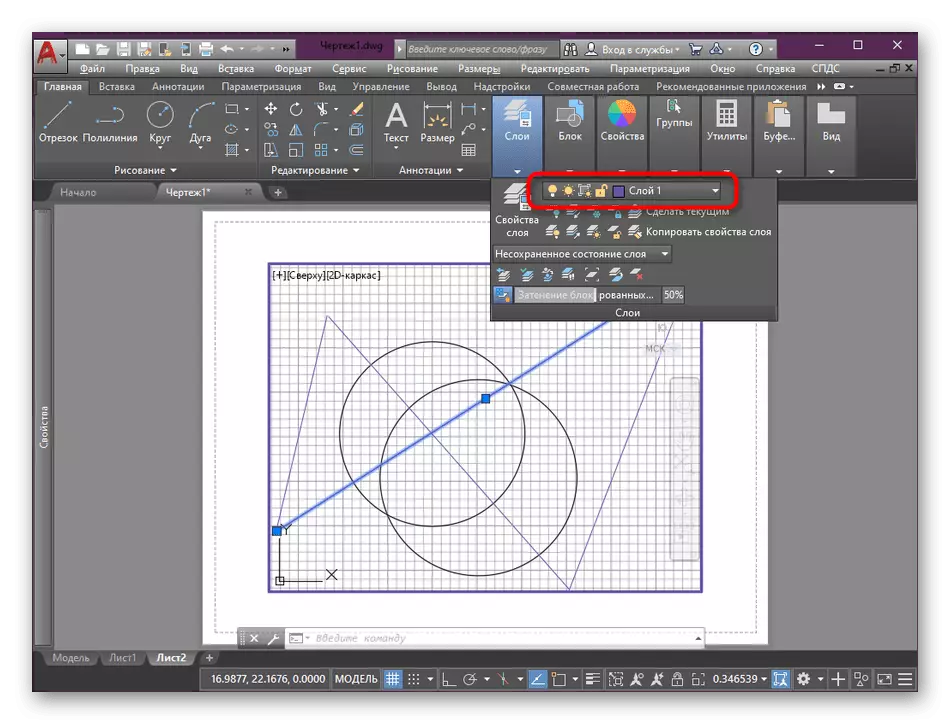
- Highlight one of the objects whose layer you want to hide. The marked items are displayed in blue.
- All In the same configuration section, click on the pop-up list with all layers.
- Disconnect the necessary by clicking on "freezing or defrosting on the current view screen".


If you want to return the layer display in the viewpoint, simply press the button you used.
Assigning objects to another layer
The latter, what we want to talk within the framework of today's article - assigning objects to another layer. This is an extremely simple action performed in two clicks, and it is done when it is necessary to place an item to another group.
- To highlight one or more drawing components.
- Open the "Layers" menu and click on the group where you want to move objects.
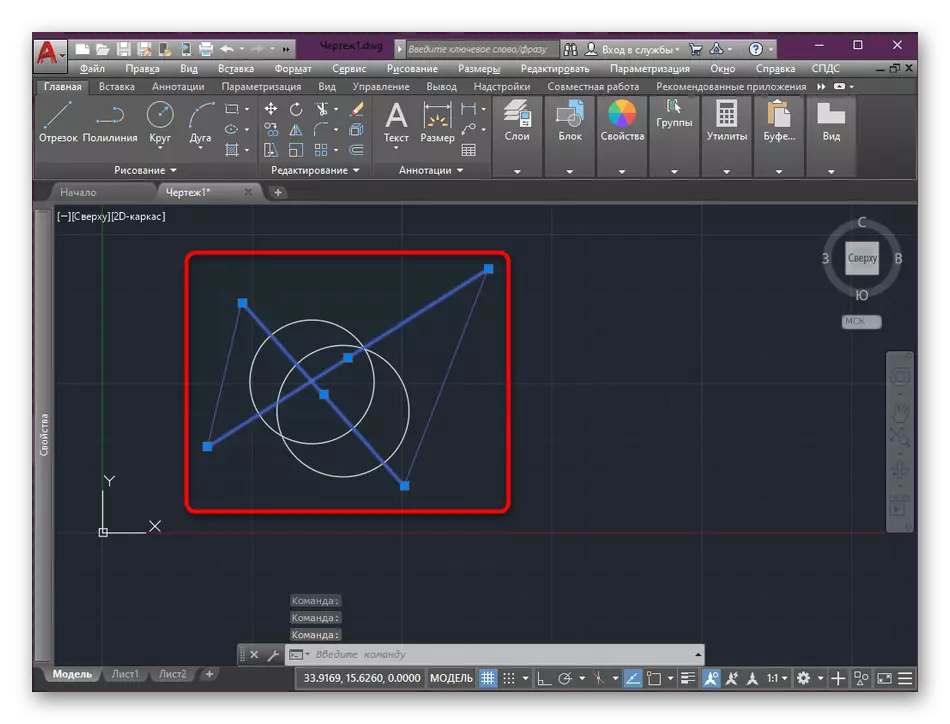
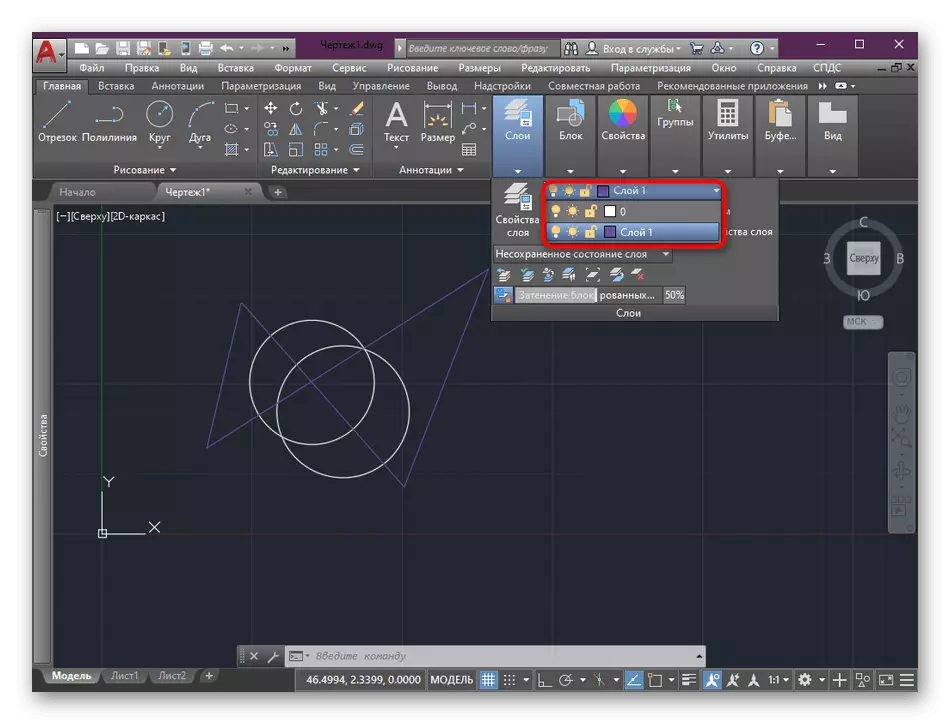
Now there will be automatic redistribution of arguments. The appearance of the object will immediately change as specified in the settings of the selected layer.
As you can see, the management of layers is a fairly simple occupation that does not require a user of long training and mastering complex skills. However, it will be useful during work almost above all the drawings. If you are interested in the development and other aspects of the considerable software, we advise you to get acquainted with the individual training material on this topic further.
Read more: Using AutoCAD Program