
Initially, the DriverPack Cloud program should have become a good solution for those users who wish to automatically optimize the work of their computer, confusting the software to monitor the updates of drivers and garbage cleaning. However, the policy of the developer's company is very intrusive, and itself is often installed on a PC without the knowledge of users. It provokes indignation by the owners of operating systems and causes a desire to get rid of this unnecessary tool. As part of today's material, we will demonstrate accessible ways to completely remove Driverpack Cloud from Windows 7.
Fully remove the DriverPack Cloud program in Windows 7
Very often, DriverPack Cloud falls on the PC along with any desired or advertising applications because of the user's inattention. It can also be added to the system along with malicious files by conventional infection. The reason for the appearance of this software is not so important, since the methods of uninstallation remain the same. We propose to consider three programs that allow you to quickly cope with the task, as well as at the end of the article we will pay time manual procedure.Method 1: CCleaner
With free app called CCleaner, many users are used worldwide. Its basic functionality allows you to quickly optimize the registry, remove the garbage accumulated in the system partition of the hard disk, as well as quickly remove the excess software. With DriverPack Cloud This solution is also able to cope, which looks like this:
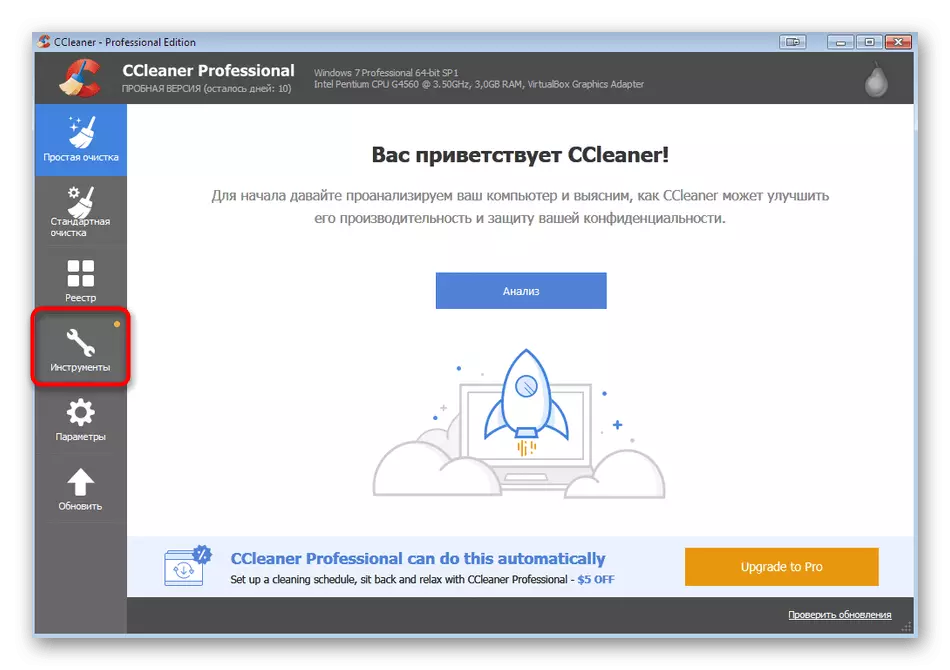
- Follow the link above to download and install CCleaner. After starting, move to the "Tools" section by clicking on the corresponding icon on the left pane.
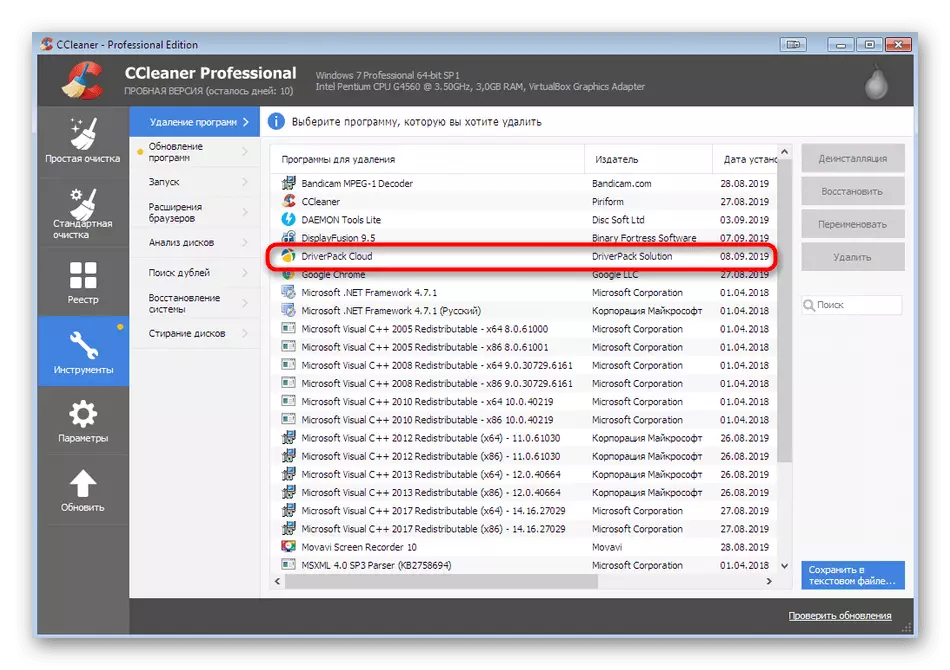
- Watch out the required software and select it with a single click of the left mouse button.
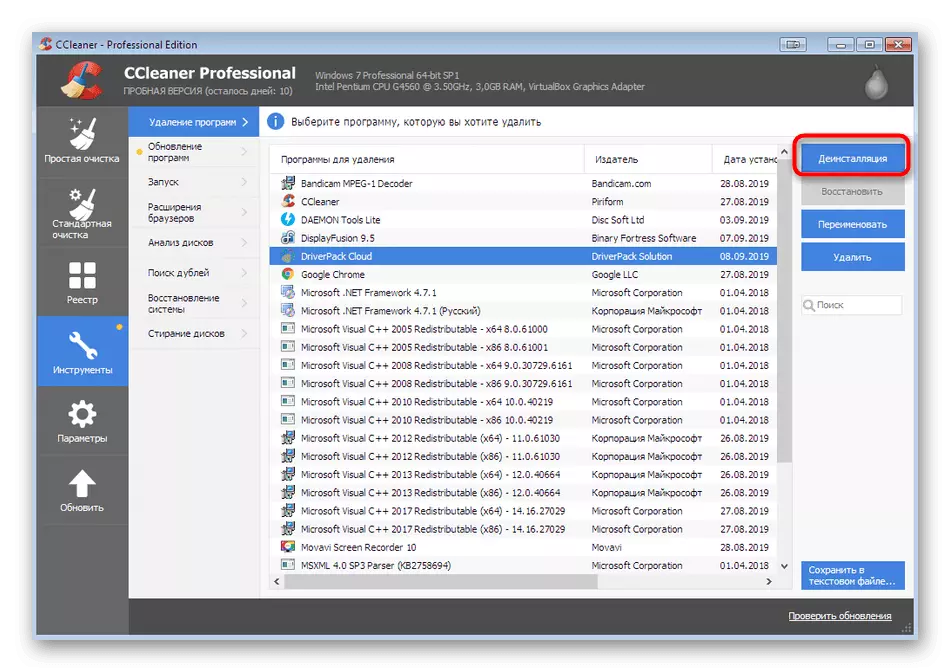
- On the right are activated. Click on the first option "uninstall".
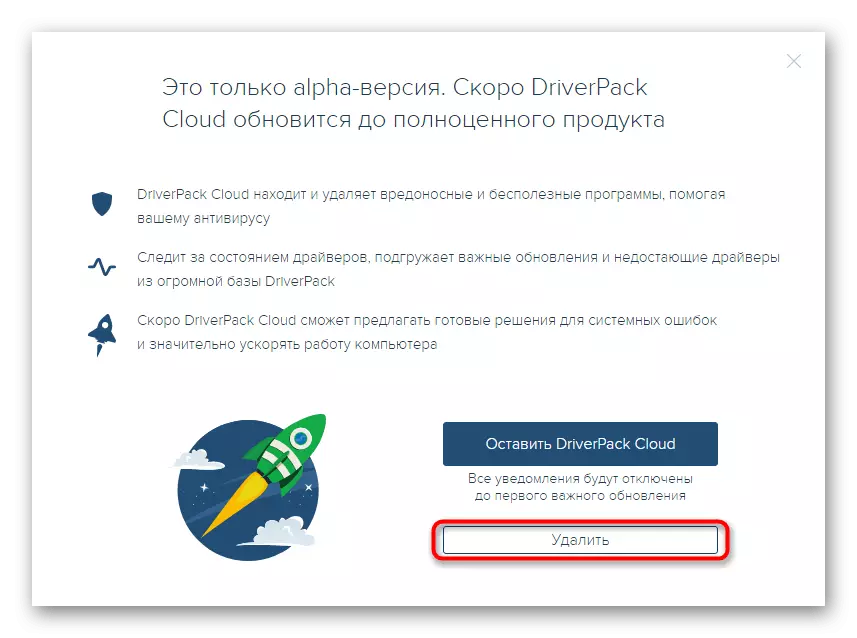
- The standard DRIVERPACK CLOUD removal window opens. It should click on the corresponding button.
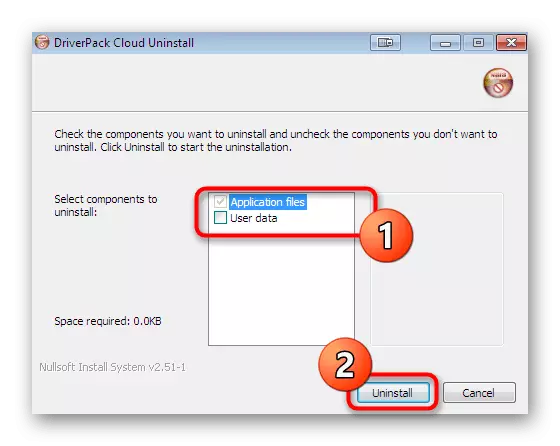
- Put a tick near the "User Data" item and only then choose "Uninstall".
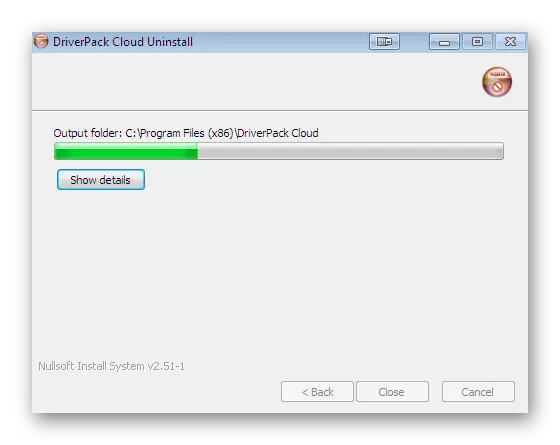
- Expect the process completion.
Unfortunately, CCleaner does not guarantee full cleaning of the tails after removing software. Of course, you can run a built-in optimization tool, but it will be better to search and delete residual files with a manual method, which read more in Method 4.
Method 2: Revo Uninstaller
Revo Uninstaller is one of the most popular free programs that allow you to remove even the software that is not uninstalled by the standard instrument of the operating system. In the case of DriverPack Cloud, this solution will also be very useful, since further clears all user files and the remaining registry keys.
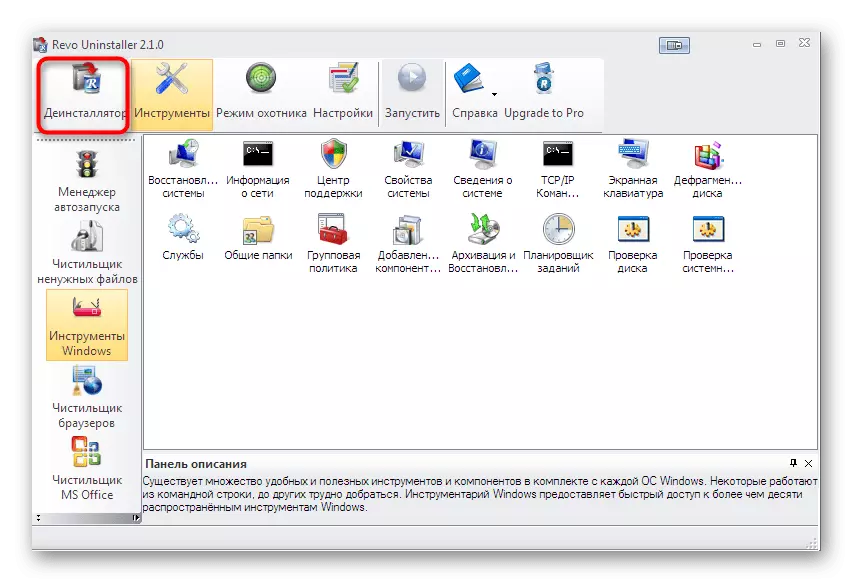
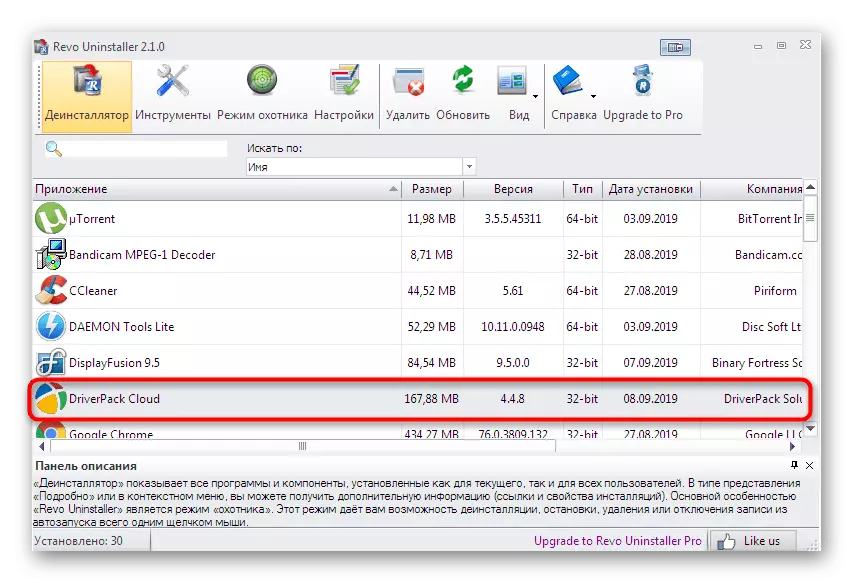
- After successful installation, open Revo Uninstaller and move to the "Uninstaller" section through the panel.
- Here is the left mouse button to highlight the application under consideration today.
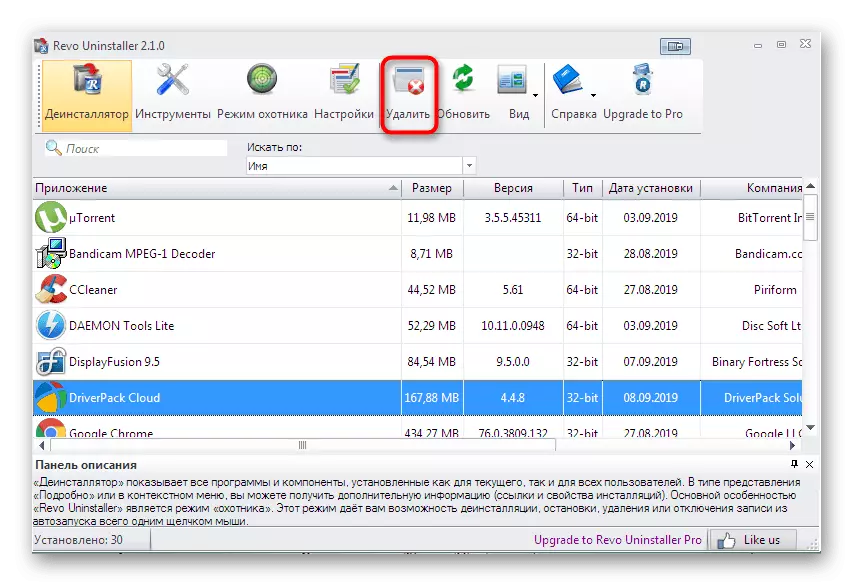
- Then click on "Delete".
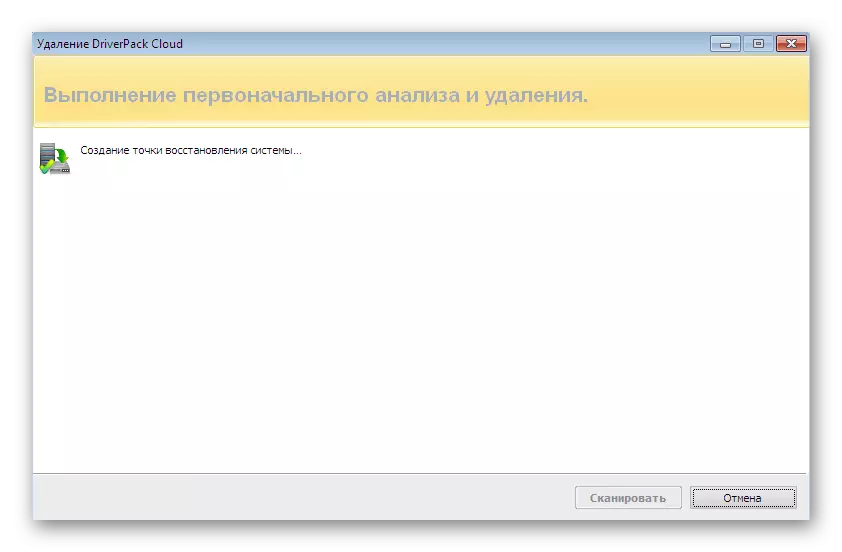
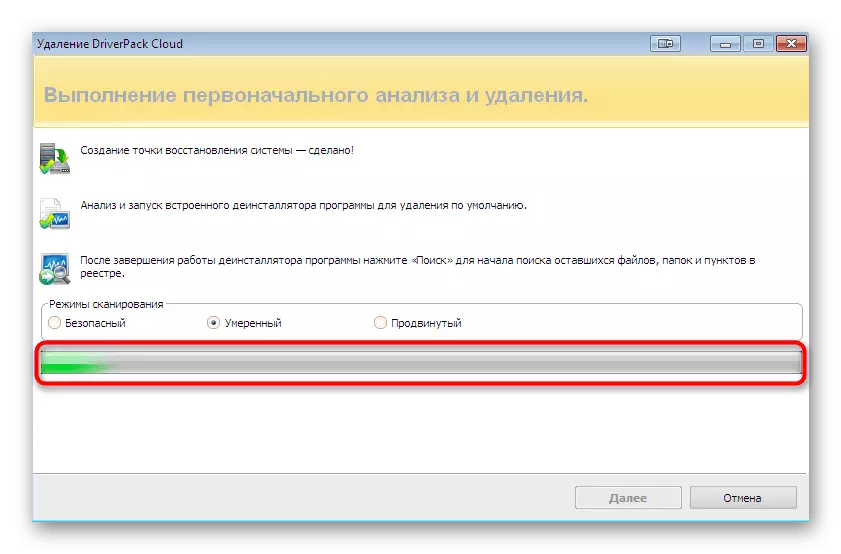
- Expect to create a system recovery point.
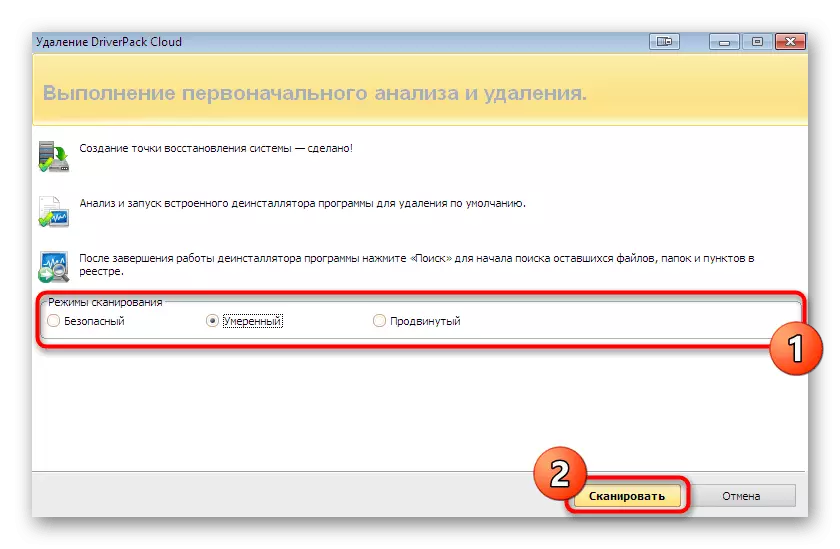
- After that, it will be prompted to scan OS for the remaining files. The default mode "moderate" is selected. We also recommend using it.
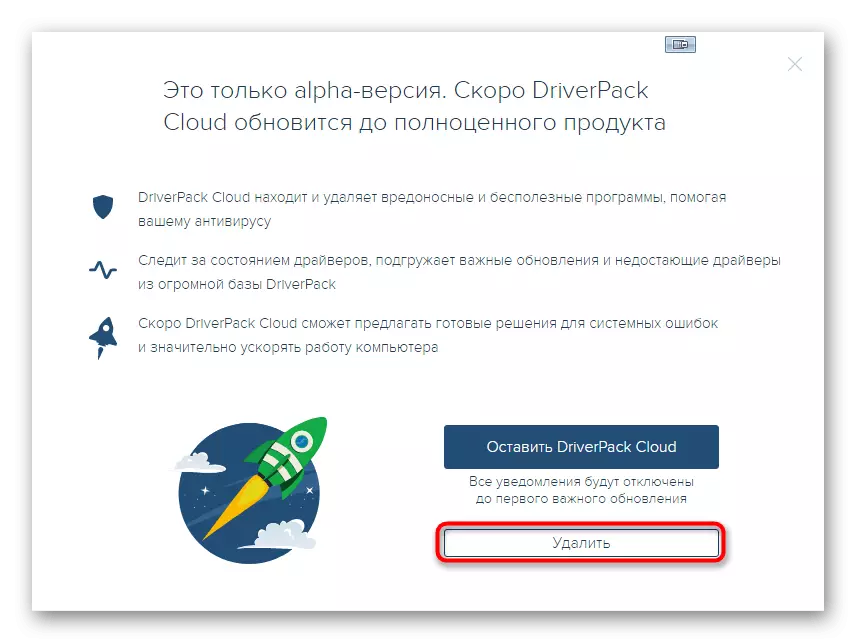
- At the same time, a standard DRIVERPACK CLOUD window will open in a new window, where you need to follow simple instructions.
- Expect the folder scanning to the remaining time after removing the tails.
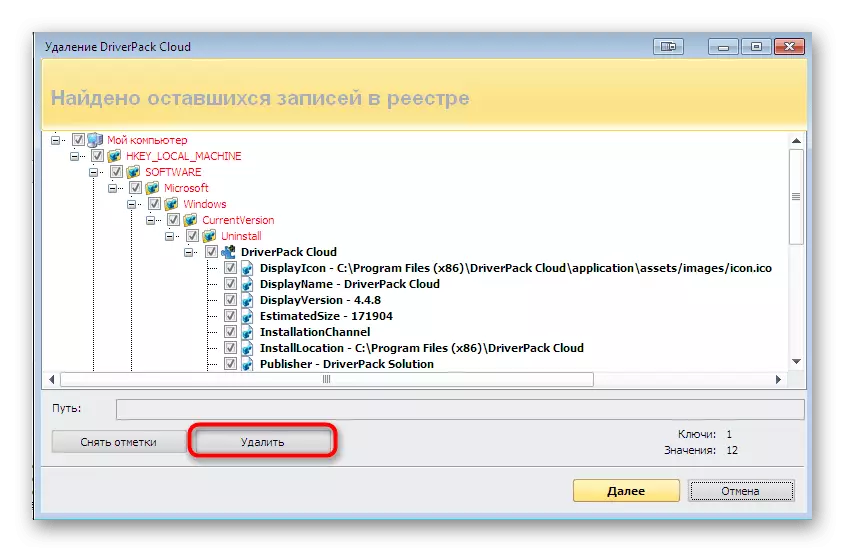
- Now you will display the list of OS by all the records found in the registry. Click on the Delete button to clean them all.
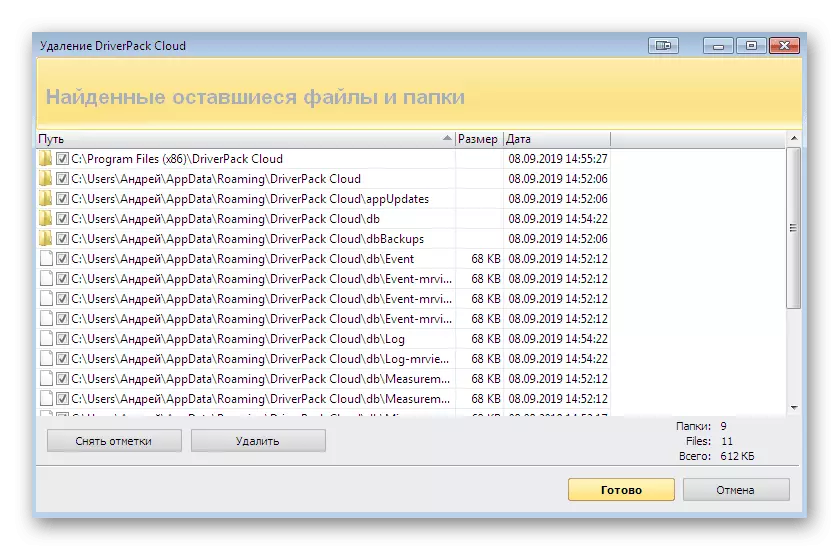
- Additionally, the files and folders created by the program in the system. It is advisable to get rid of all of them immediately, then not to look for each object separately.
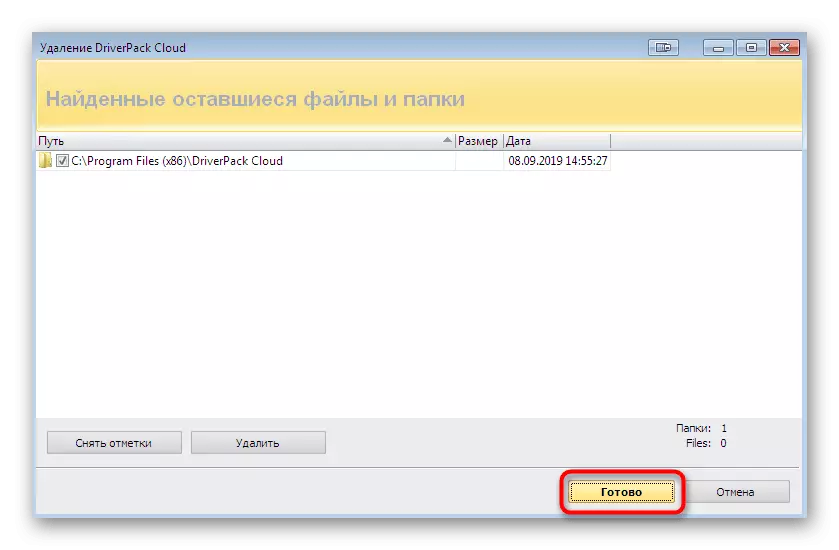
- At the end, it remains only to click on "ready." If any files or directories are still displayed after deleting, restart the computer so that in the new session to continue the normal operation without unnecessary items.
This is how simply removes software through Revo Uninstaller with cleaning absolutely all tails. We can safely advise you to use this particular tool and consider it one of the best. If you are interested in working with this application on an ongoing basis, additionally examine the training material on this topic by turning on the following reference.
Read more: How to use Revo Uninstaller
Method 3: Ashampoo Uninstaller
Some users for some reason are not satisfied with any of the applications previously reviewed. In this case, pay attention to the last today an additional tool called Ashampoo Uninstaller. It is paid, but the trial period is enough to not only remove the driver cloud, but also familiarize yourself with the entire functionality of the solution.
- When you first start ashampoo Uninstaller, a welcome window is displayed with a notification of the start of the trial period. It should click "continue familiarizing".
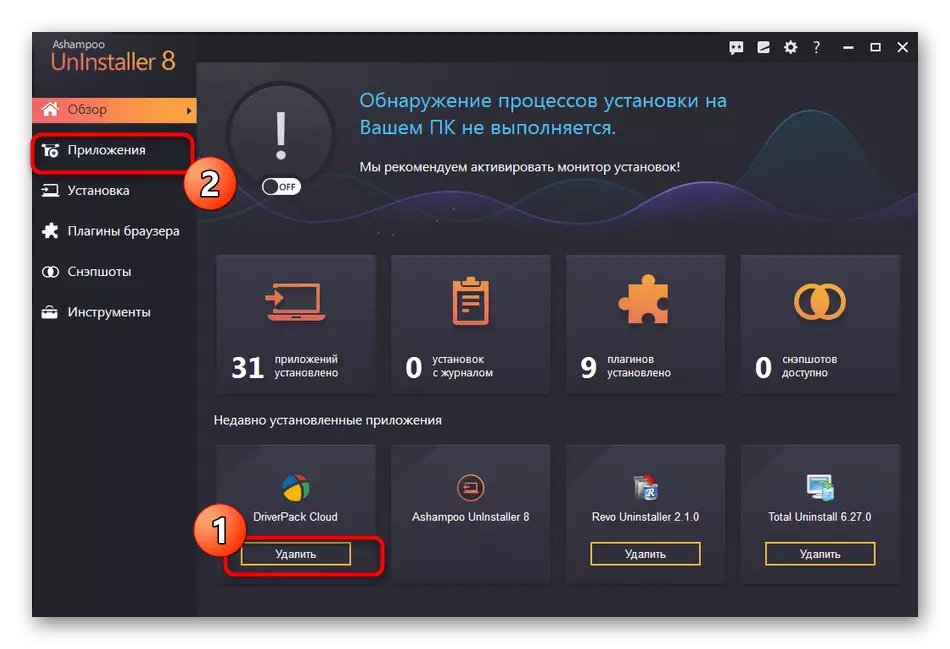
- In the software itself, pay attention to the bottom panel "Recent installed applications". It can display the necessary object, therefore it remains only to click on "Delete". If it is missing there, go to the "Applications" section.
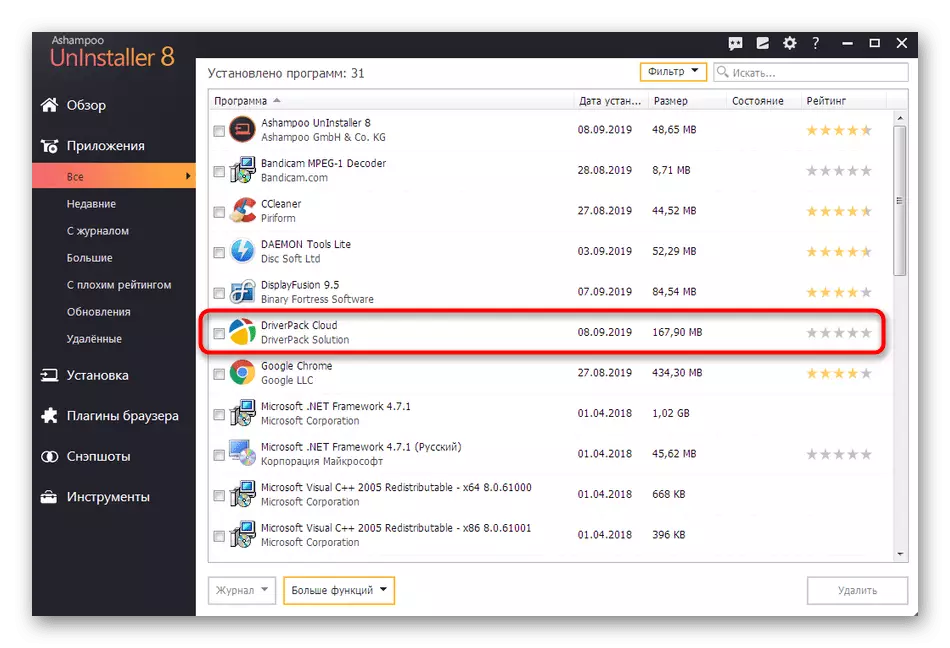
- Here, find the driverpak and highlight it with a check mark. At the same time, select the other software that you want to remove if such, of course, are available.
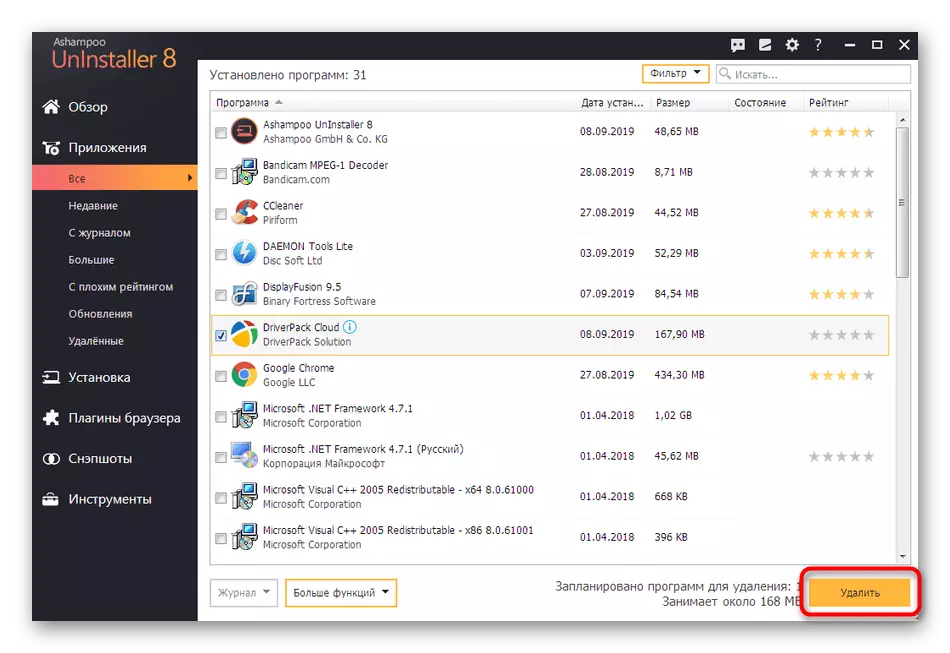
- After the selection, start the uninstall process.
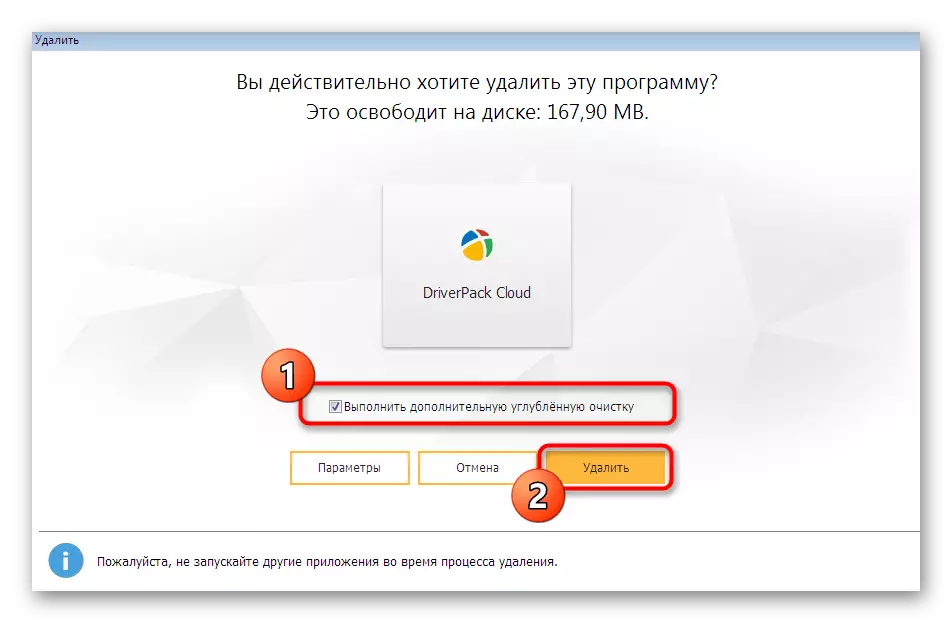
- Be sure to tick the "Perform an additional in-depth cleaning" and go further.
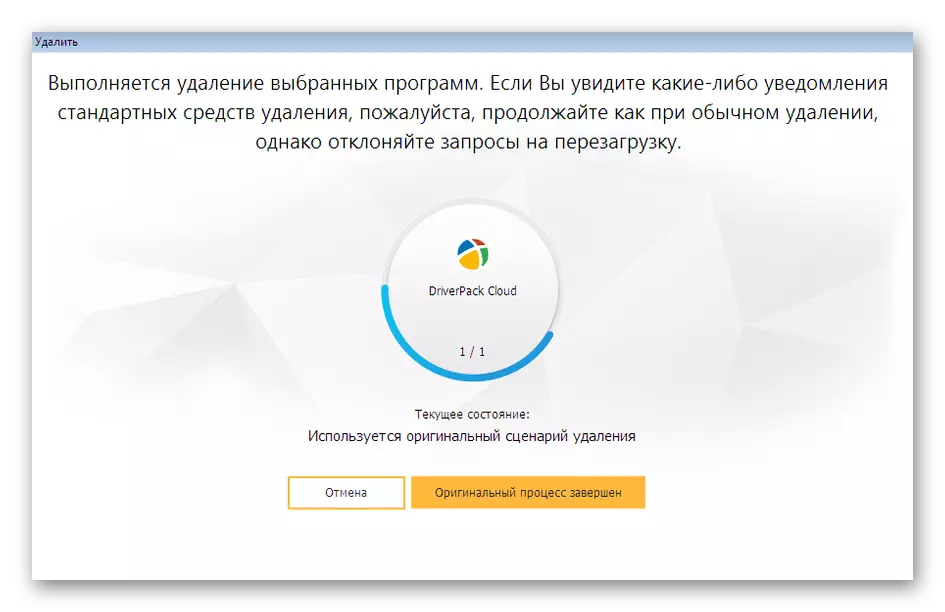
- A new window will appear, where the original removal script will be noted at the bottom.
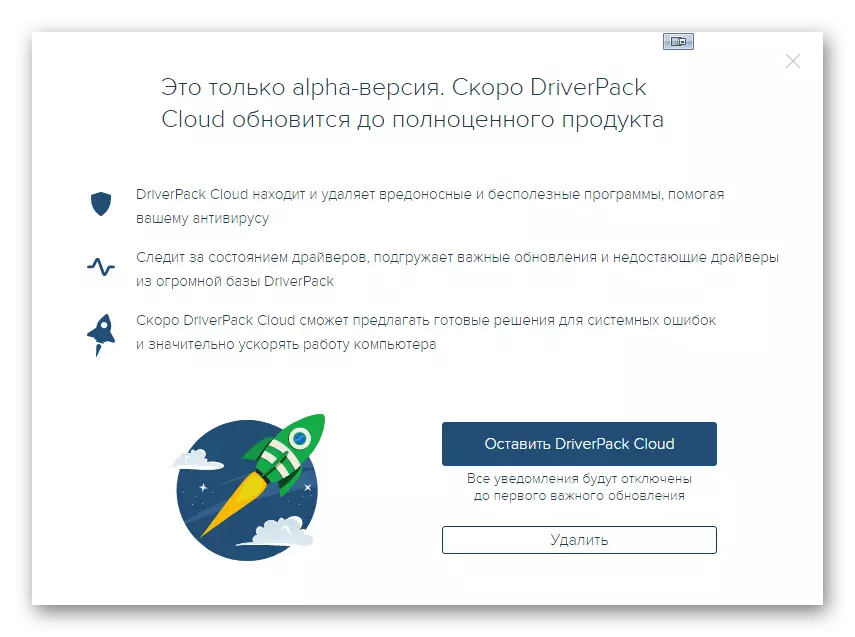
- This means that it will now open directly the window of the program itself, with which you are already familiar. To begin with, make standard uninstallation.
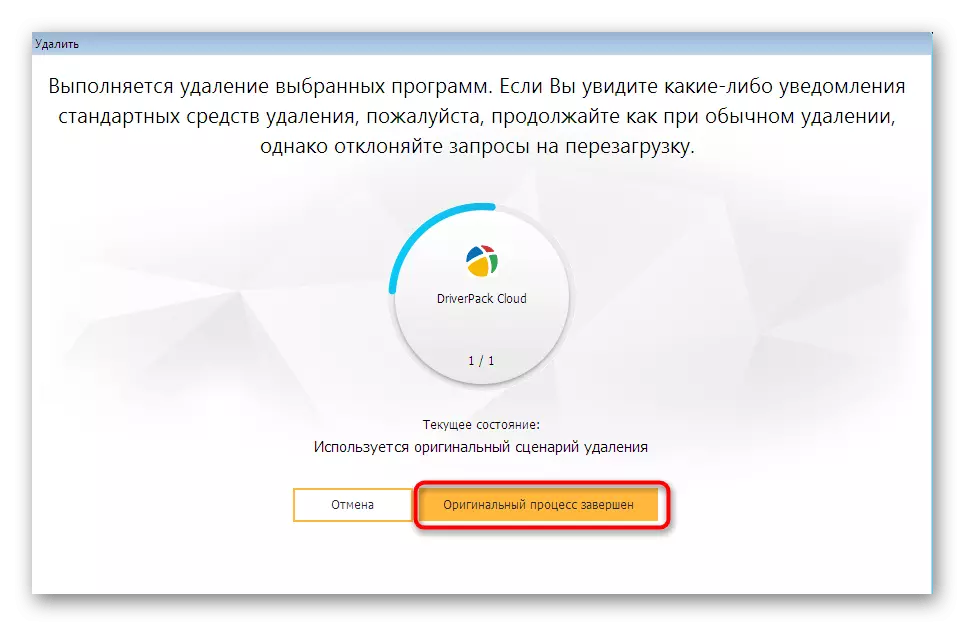
- After that, click on the "original process is completed".
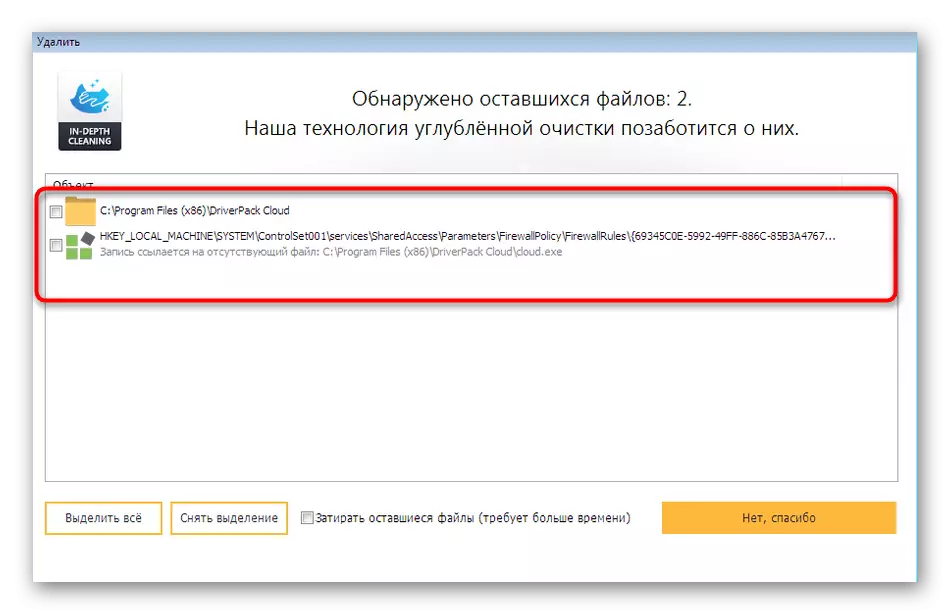
- Tick all found deep cleaning objects.
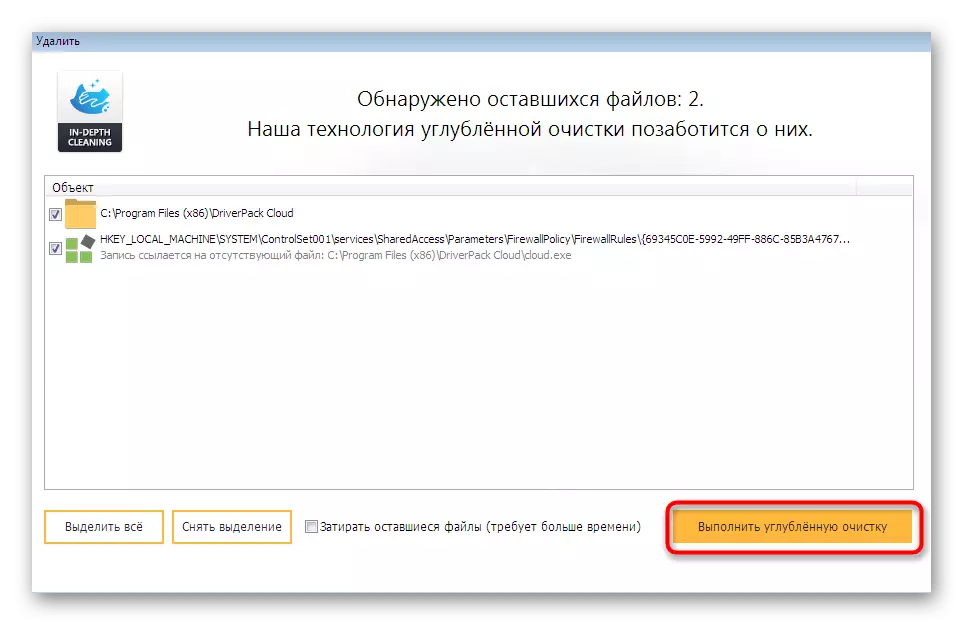
- Run this operation by clicking the button "Run in-depth cleaning".
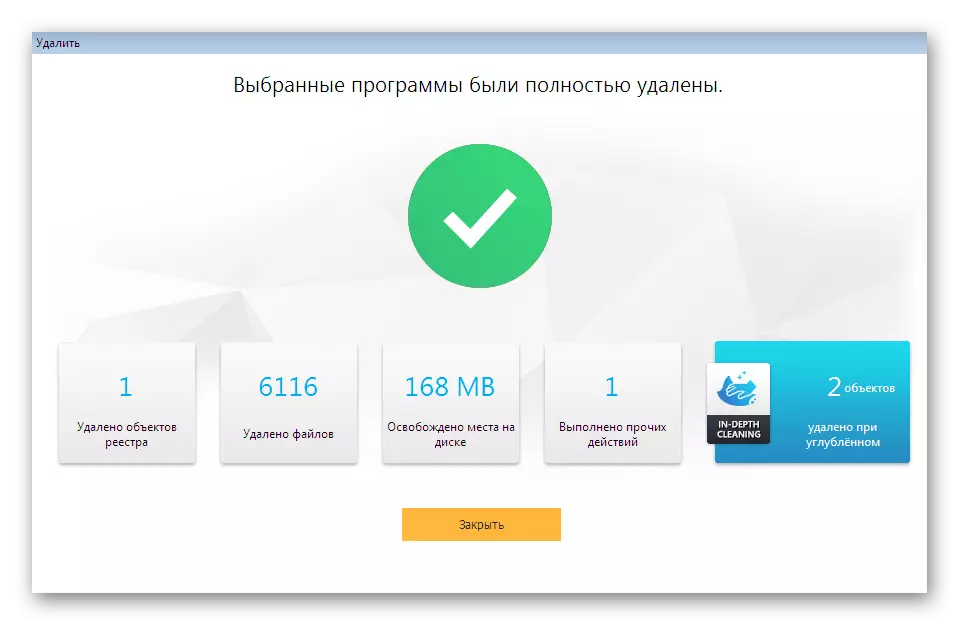
- Upon completion of the process, you will be notified that the program has been successfully removed, and the number of erased objects will appear at the bottom.

Above, we have acquainted you only with three third-party solutions that allow uninstalling programs. In fact, there are still a huge amount. However, all of them work in approximately the same algorithm and only occasionally differ in unique features. If you wish to familiarize yourself with this software, go to a detailed review on our website using the reference below.
Read more: Programs for removing programs that are not deleted
Method 4: Standard OS
We smoothly go to the standard built-in Windows 7. Run it is a bit more complicated, since the cleaning of residual files will have to be done manually. However, this is the only option of complete uninstallation without the use of third-party programs, and the whole process looks like this:
- Open "Start" and go to the "Control Panel" section.
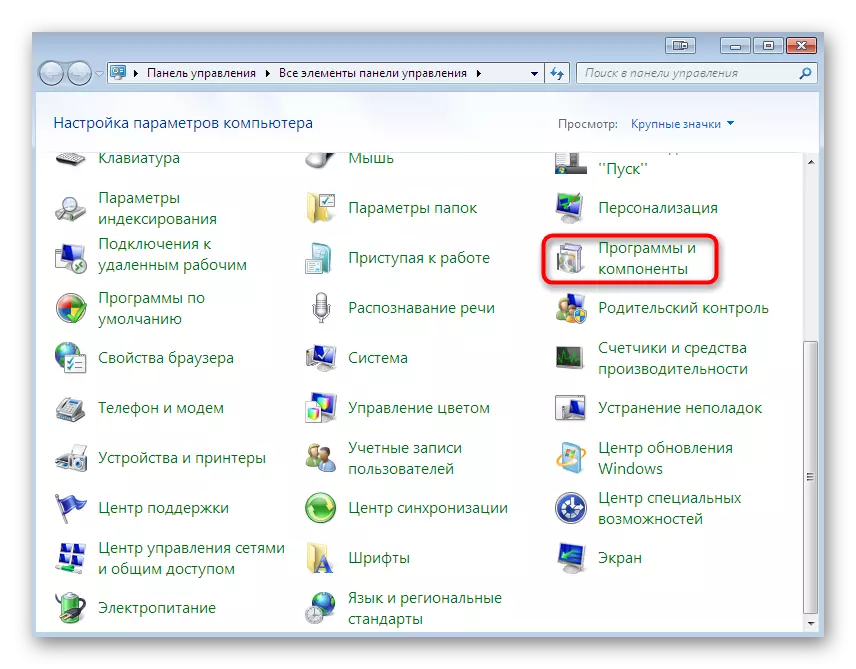
- There, select the category "Programs and Components".
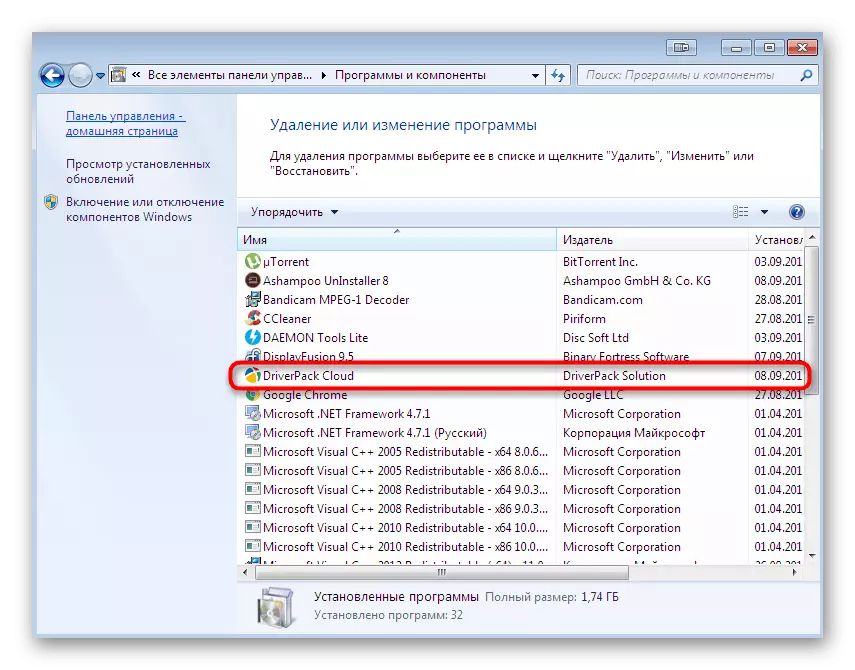
- Double left click Click on the row with driver cloud.
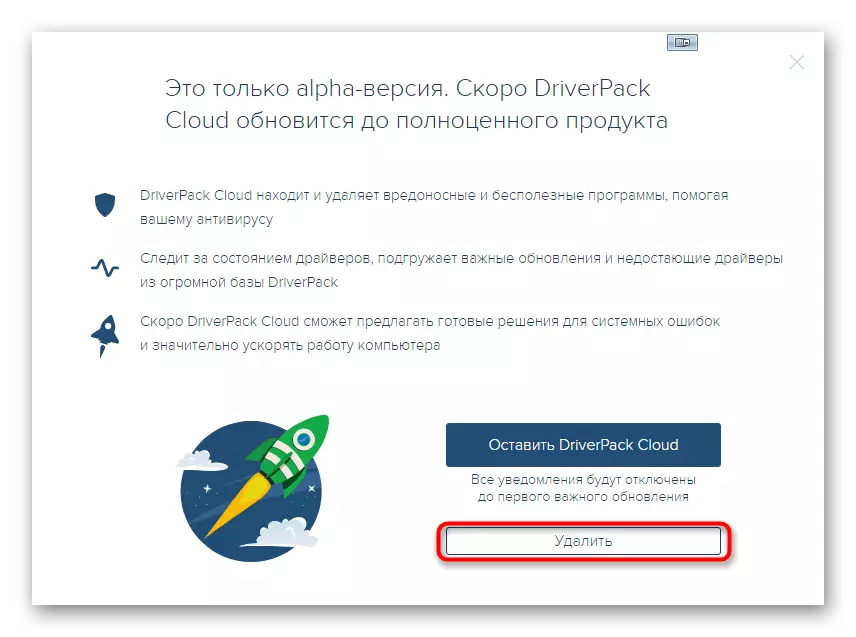
- In the window that appears, click on "Delete" and follow the displayed instructions.
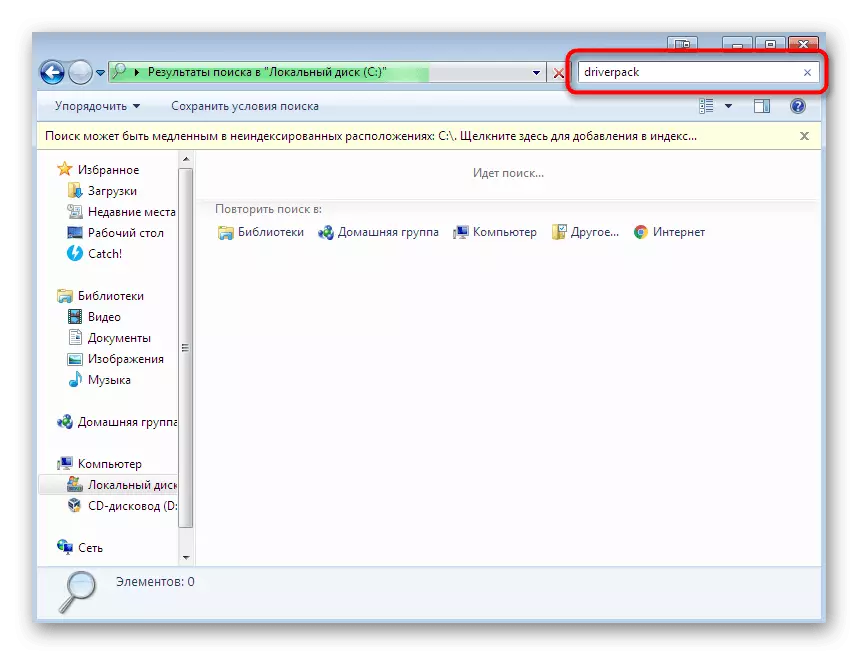
- Upon completion, start the Explorer and drop all the DRIVERPACK-related elements through the search.
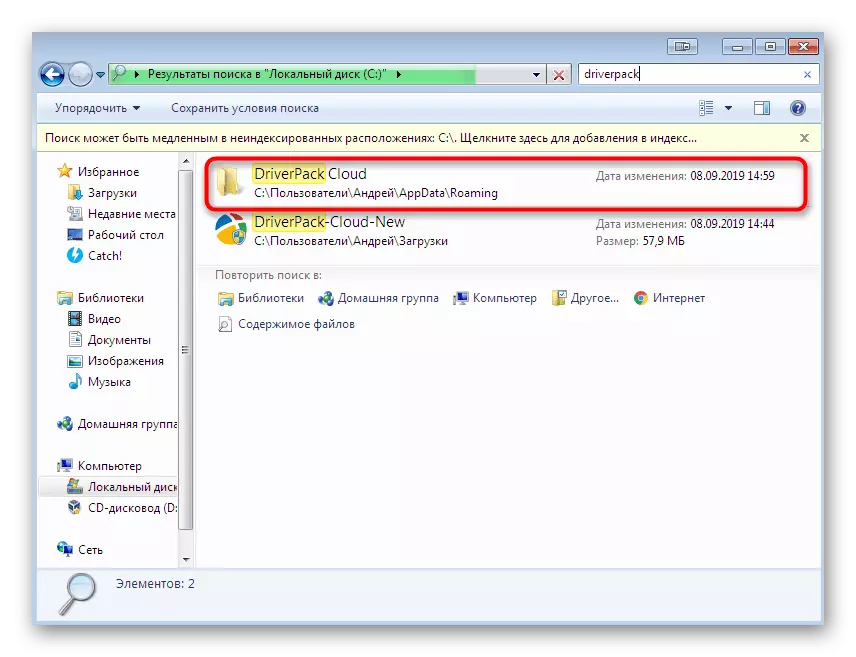
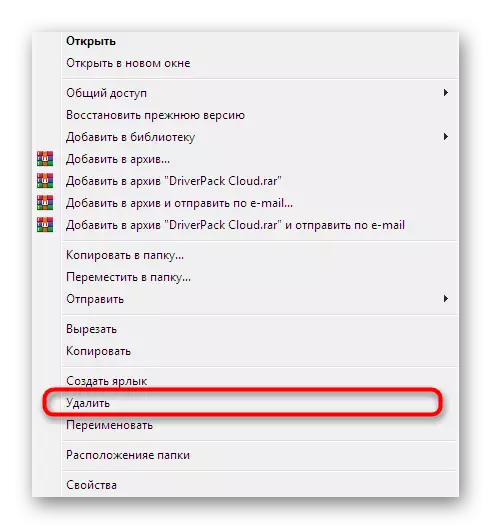
- Press PCM on the object found to open the context menu.
- In it, select the "Delete" option and repeat the same absolutely with all the items.
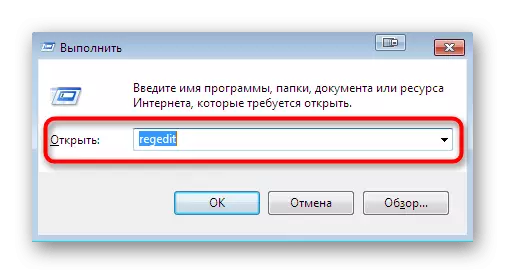
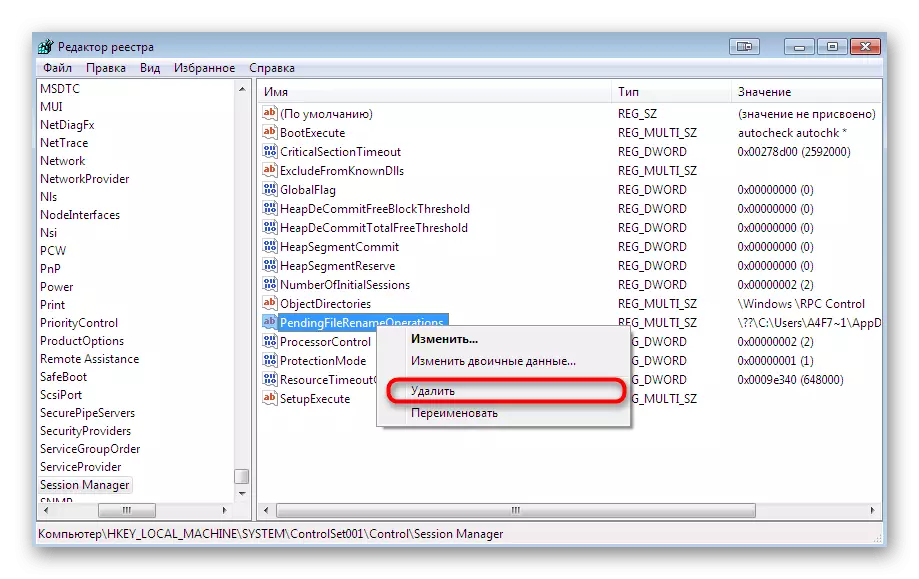
- Now go to the registry editor to clean the keys. Call the standard utility "Run" with the Win + R keys, enter there REGEDIT and press ENTER.
- When you display the User Account Control window, select the "Yes" option.
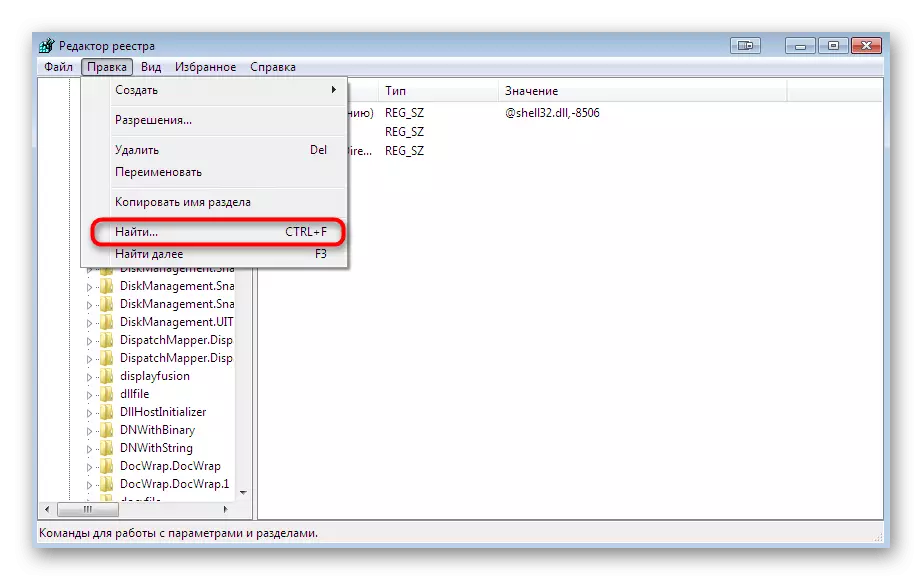
- In the Registry Editor, expand the Edit Menu and click on "Find" or use the familiar to many Ctrl + F keys combination.
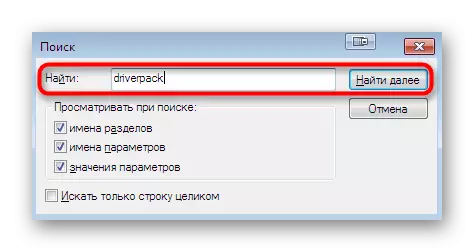
- In the Enter DriverPack field and run the search procedure.
- Remove absolutely all the keys found and move between them with F3.


At the end of this material, we want to note that sometimes Driverpack Cloud enters the computer together with viruses, which even after deleting this program continue their activity and can be reused. To avoid this immediately after uninstalling, it is recommended to scan the PC for threats and remove them all if these were detected. Detailed instructions for these topics are looking for in the material below.
Read more: Fighting computer viruses
Now you are familiar with third-party and standard DRIVERPACK CLOUD removal methods from a computer. You can only learn in detail the presented instructions to find the one that will be optimal. After that, the obsessive application should forever leave the operating system.