
Method 1: "Network and Shared Access Control Center"
The simplest solution of our task is to use the "Network Management Center ..." tool.
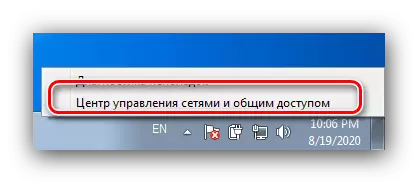
- Pay attention to the system of tray in the lower right corner. Among its icons there should be a wired connection or Wi-Fi element - click on it with the right mouse button and select the option "Network Management Center ...".
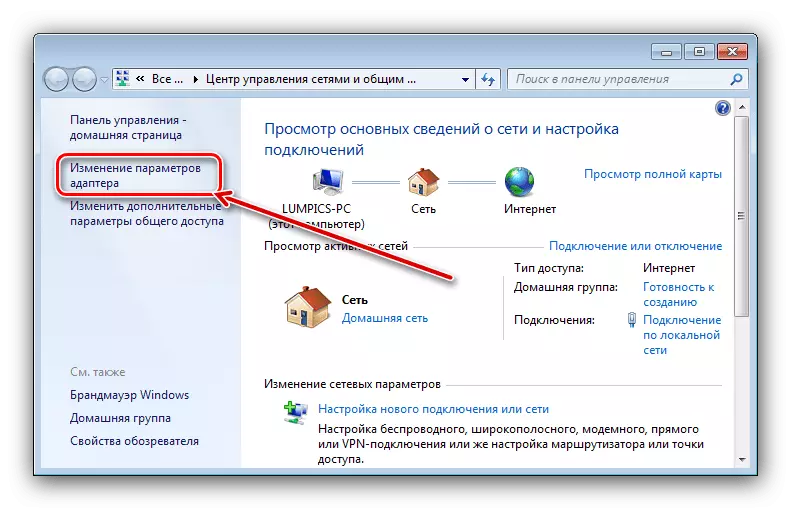
- After starting the snap, use its menu in which to select the "Changing Adapter Settings" position.
- Select the desired item in the list, click on it with PCM and use the "Enable" item.
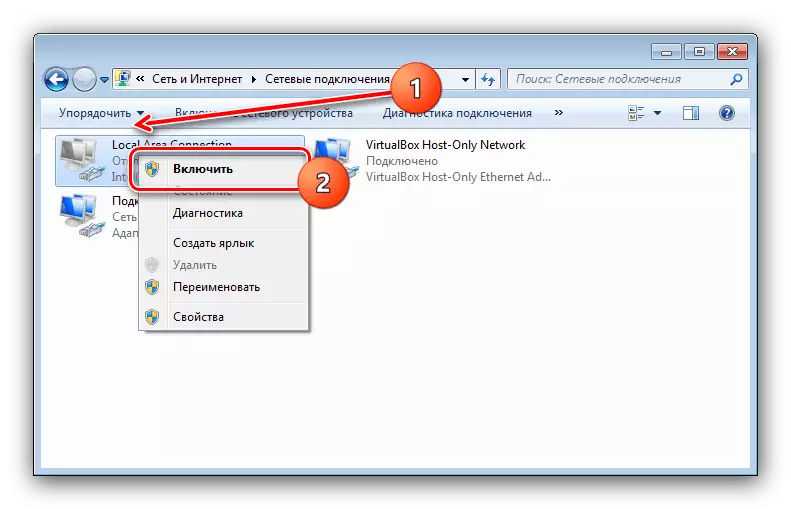
Ready - now the network adapter will be active and ready for work.
Method 2: "Device Manager"
In the device manager, you can programmatically enable and disconnect most of the components represented in it, including network connections.
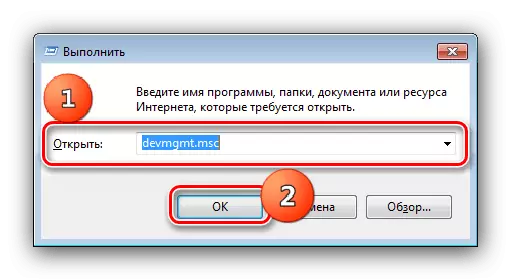
- Run the required snap-in - for example, simultaneously press Win and R keys, in the window that appears, type Devmgmt.msc request, then press ENTER or OK.
Method 3: Command Input Interface
The last option to disconnect the adapter is to use the "command line".
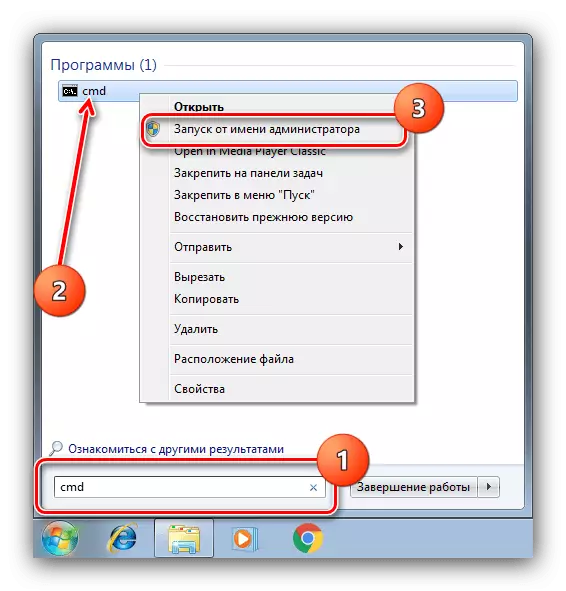
- To start the tool, we use the search - open the "Start", type the CMD query in the appropriate line, then click on the PCM result and select "Run from the administrator name".
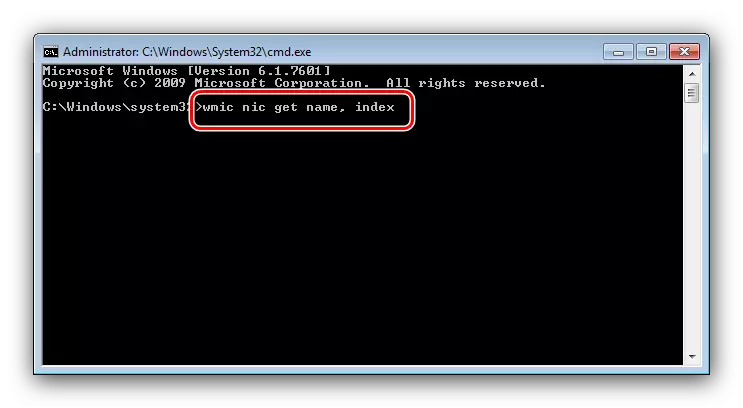
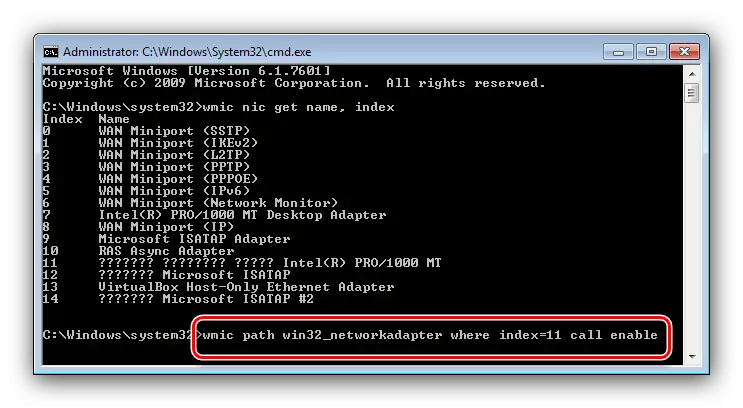
- Now enter the following command and press ENTER:
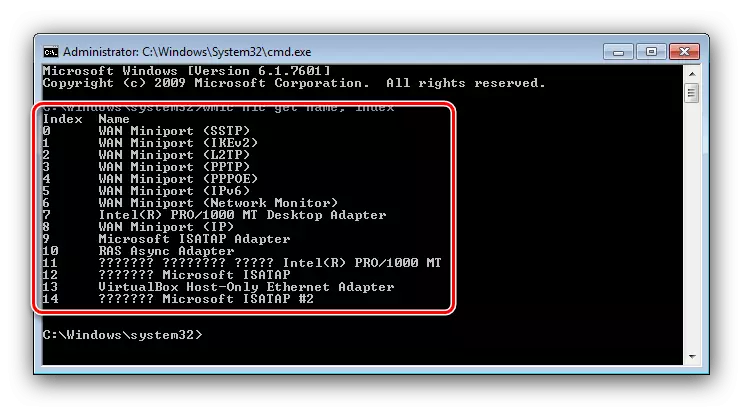
WMIC NIC GET NAME, INDEX
Carefully read the list and remember or write down the number in the "index" column opposite the target device.
- Next type the following:
WMIC Path Win32_Networkadapter WHERE INDEX = * number * Call Enable
Instead of * Number *, enter without stars the value obtained in the previous step.
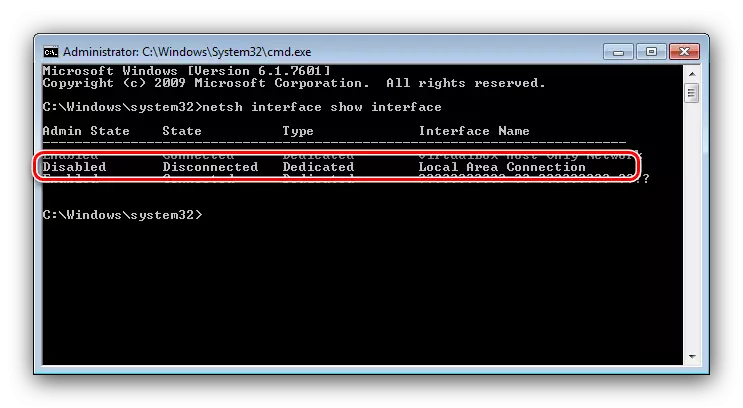
- In addition to the above commands, you can activate network adapters using the Netsh utility - enter the query in the interface:
Netsh Interface Show Interface

Remember the data corresponding to the network device, this time from the "Interface Name" graph - the desired device can be easily determined by the word "disabled" in the Admin State column.
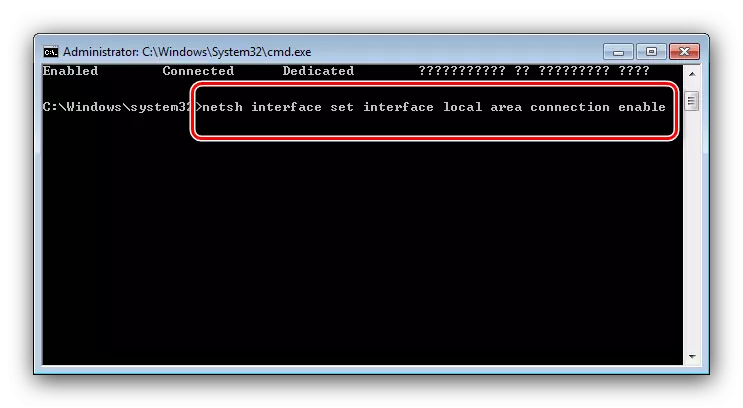
- Then write the following operators:
Netsh Interface Set Interface * * Enable interface
As in the case of a command from step 4, replace * interface * data from step 5.
The "Command Line" is useful to users who for one reason or another can not use previous methods.