
In this manual, it is detailed how to transfer Windows to the Windows swap file to another disk, as well as about some features that should be borne in mind when transferring pageFile.sys to another drive. Please note: if the task is to release the disk system partition, it is possible that the more rational solution will increase its partition, as more in the instructions to enlarge the C drive C. Also can also be useful: SSD programs.
Setting up the location of the paging file in Windows 10, 8.1 and Windows 7
In order to transfer Windows Pogging file to another disk, you will need to perform the following simple steps:
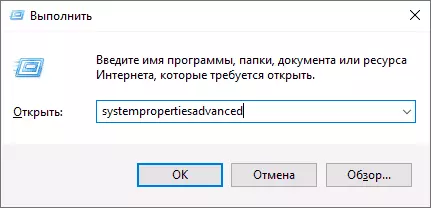
- Open the optional system parameters. This can be done through the "Control Panel" - "System" - "Advanced System Parameters" or, faster, press the Win + R keys, enter the SystemPropertiesAdvanced and press ENTER.
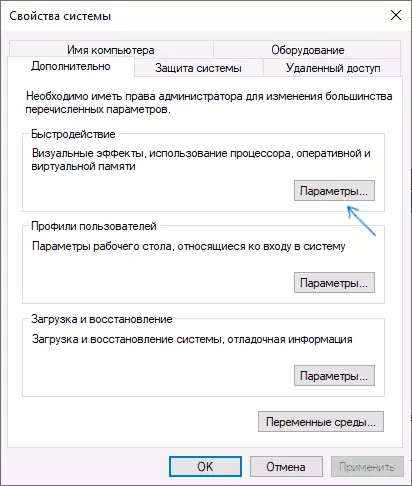
- On the Advanced tab, in the "Speed" section, click the "Parameters" button.
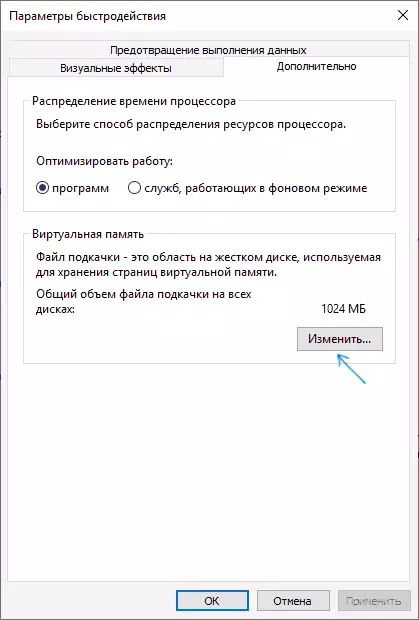
- In the next window on the "Advanced" tab, in the "Virtual Memory" section, click Edit.
- If you have a set "Automatically select the scope file", remove it.
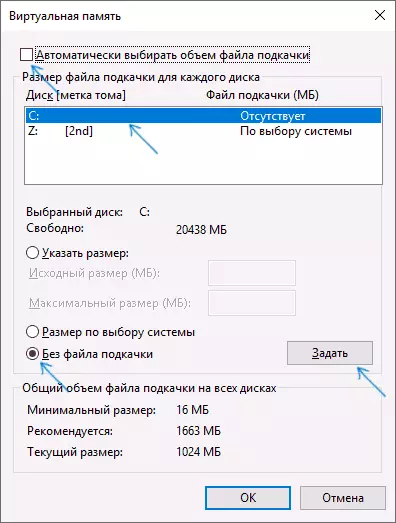
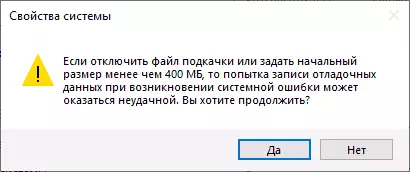
- In the list of disks, select the disk from which the paging file is transferred, select "Without paging file", and then click the "Set" button, and then click "Yes" in the warning that appears (about this warning in the section with additional information).
- In the disk list, select the disk to which the paging file is transferred, then select "Size by selecting a system" or "Specify Size" and specify the desired dimensions. Click the Set button.
- Click OK, and then restart the computer.
After rebooting, the PageFile.sys swap file must be automatically removed from the C disk, but just in case, check it out, and if it is presented - delete manually. Turning on the display of hidden files is not enough to see the paging file: you need to go to the Explorer settings and on the View tab, remove the "Hide Protected System Files".
Additional Information
In essence, the actions described will be enough to move the paging file to another drive, however, the following points should be kept:
- In the absence of a small paging file (400-800 MB) on the Windows section of the Windows disc, depending on the version, may: not write down the debug information with the dumps of the kernel memory during failures or create a "temporary" paging file.
- If the paging file continues to be created on the system section, you can either enable a small paging file on it, or disable the recording information entry. To do this, in the additional parameters of the system (step 1 from the instruction) on the Advanced tab, in the "Download and Recovery" section, click the "Parameters" button. In the section "Writing Debug Information" section in the Dump type list, select "No" and apply settings.
I hope the instruction will be useful. If there are questions or additions - I will be glad to them in the comments. It may also be useful: how to transfer Windows 10 update folder to another disc.